How to setup a conversion in Google Analytics 4
A step by step tutorial on how to setup a conversation in GA4.


The following step by step tutorial walks you through how to setup a conversation in GA4.
If you have yet to upgrade to GA4, we recommend you use our step by step tutorial available in the button below before proceeding.
Step One: Navigate to your GA4 property
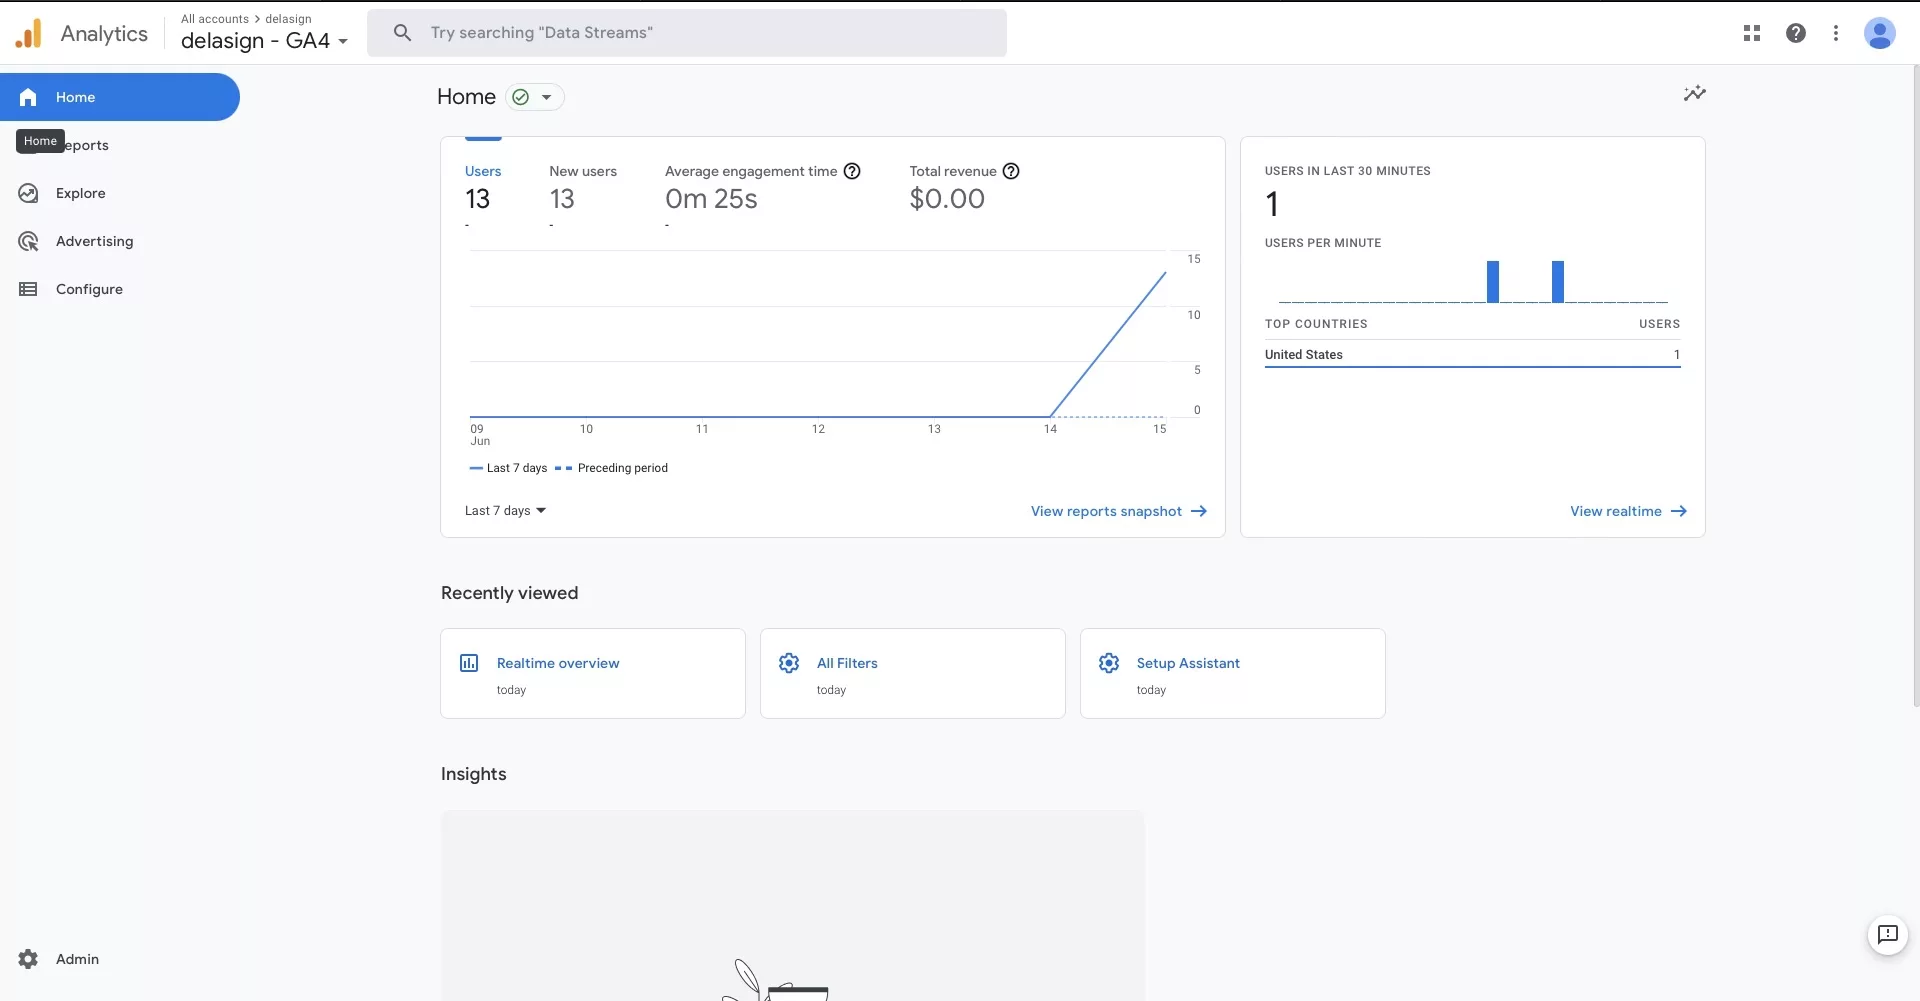
Go to analytics.google.com and navigate to your Google Analytics 4 Property.
Step Two: Select Admin from the menu
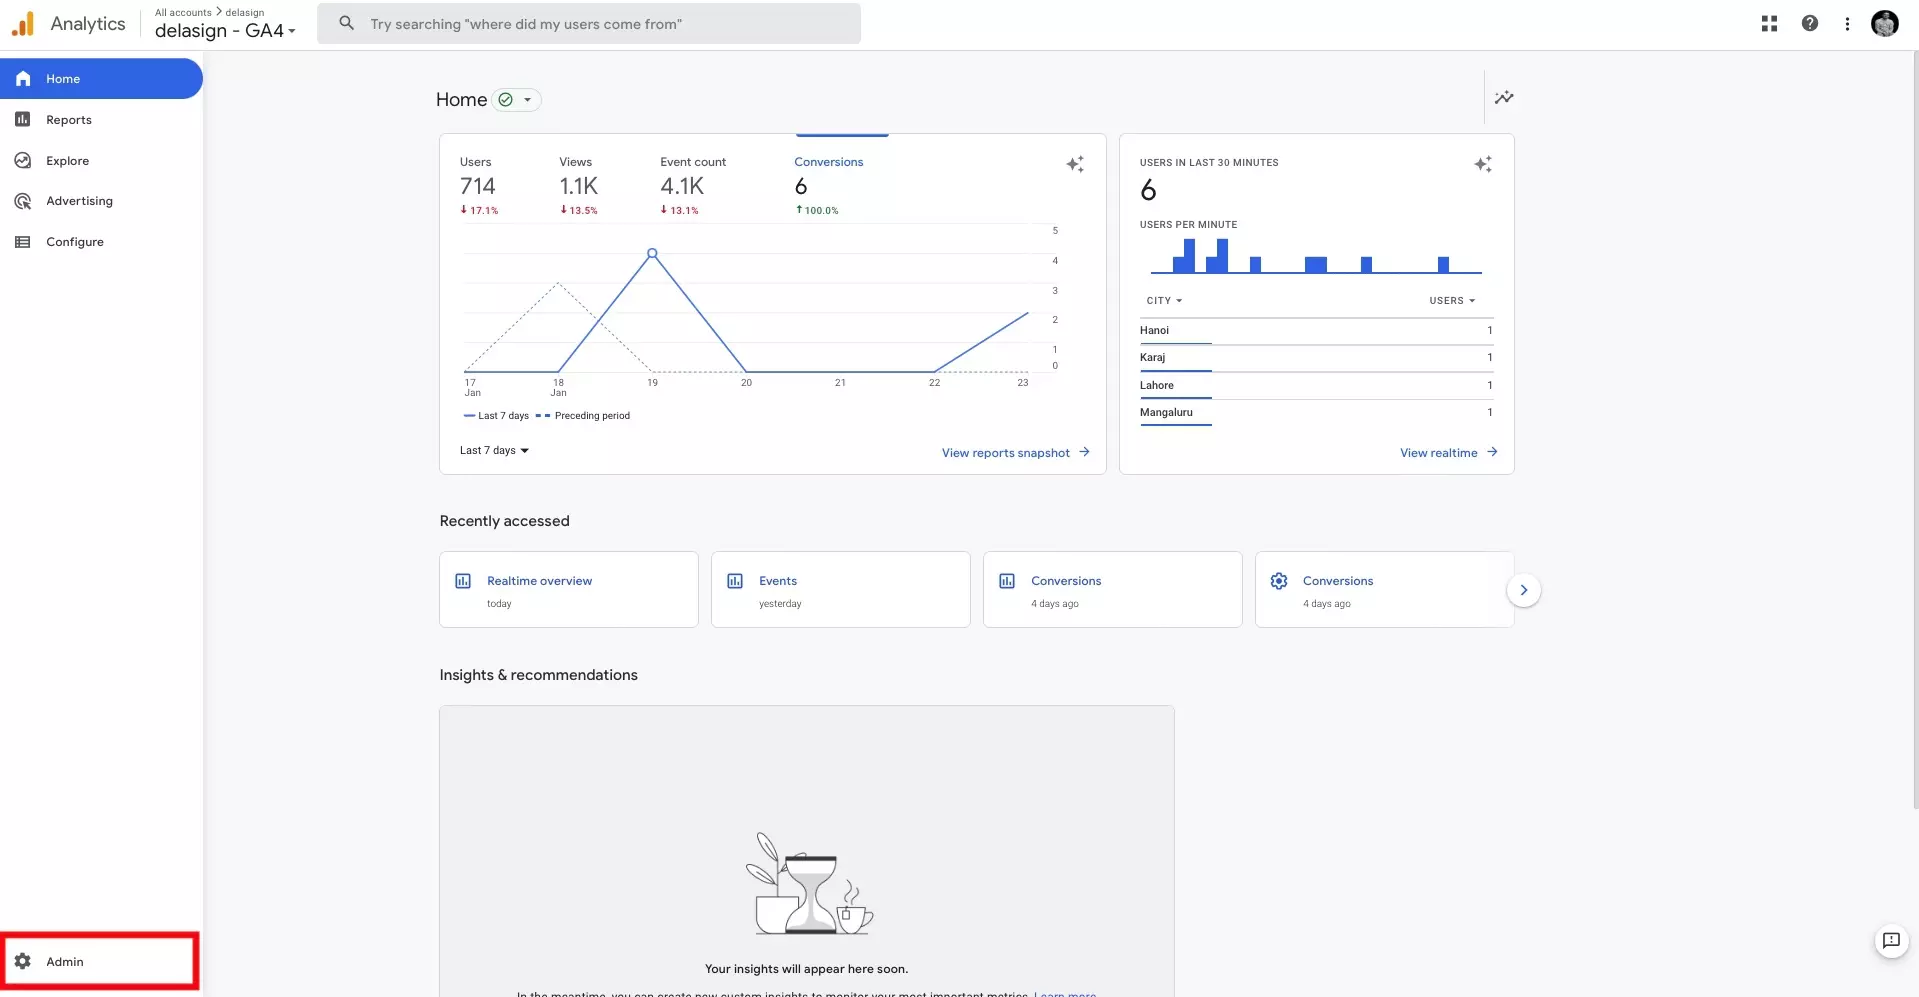
Select Admin from the bottom of the menu on the left hand side.
Step Three: Select Events
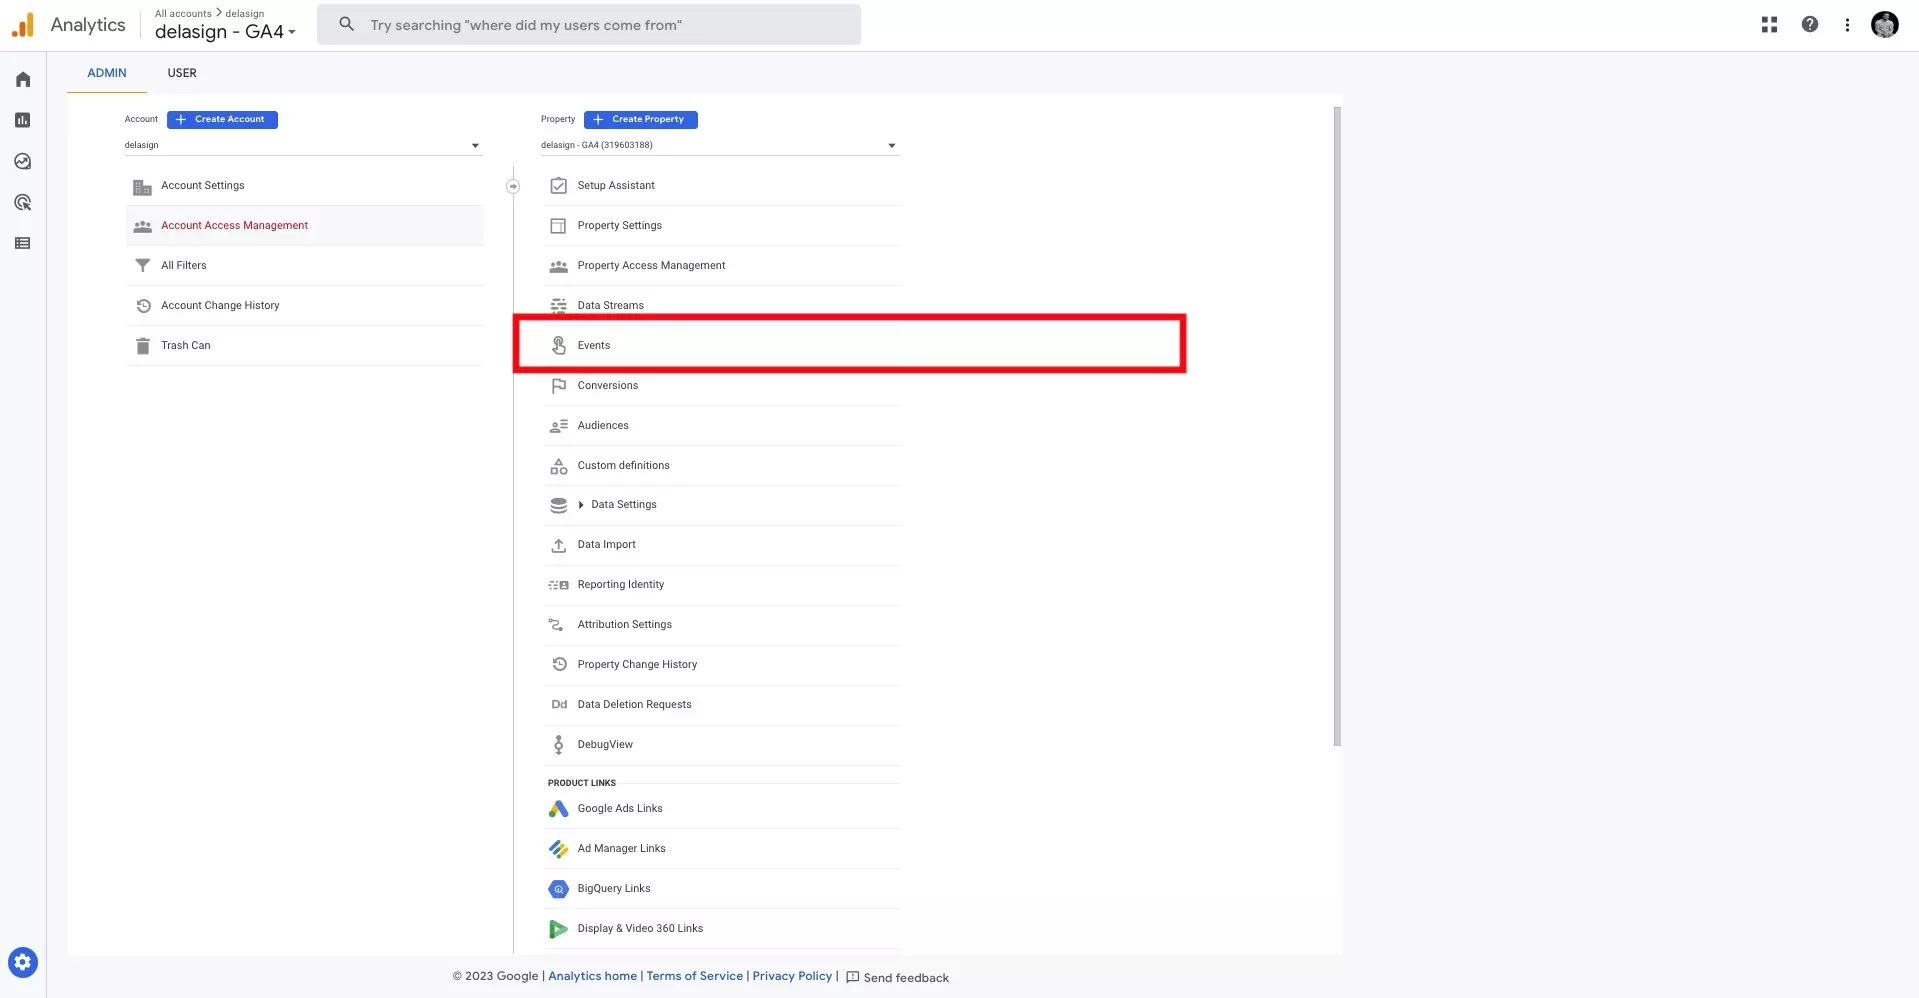
Select Events in the admin page for your GA4 property.
Step Four: Select Create New Event
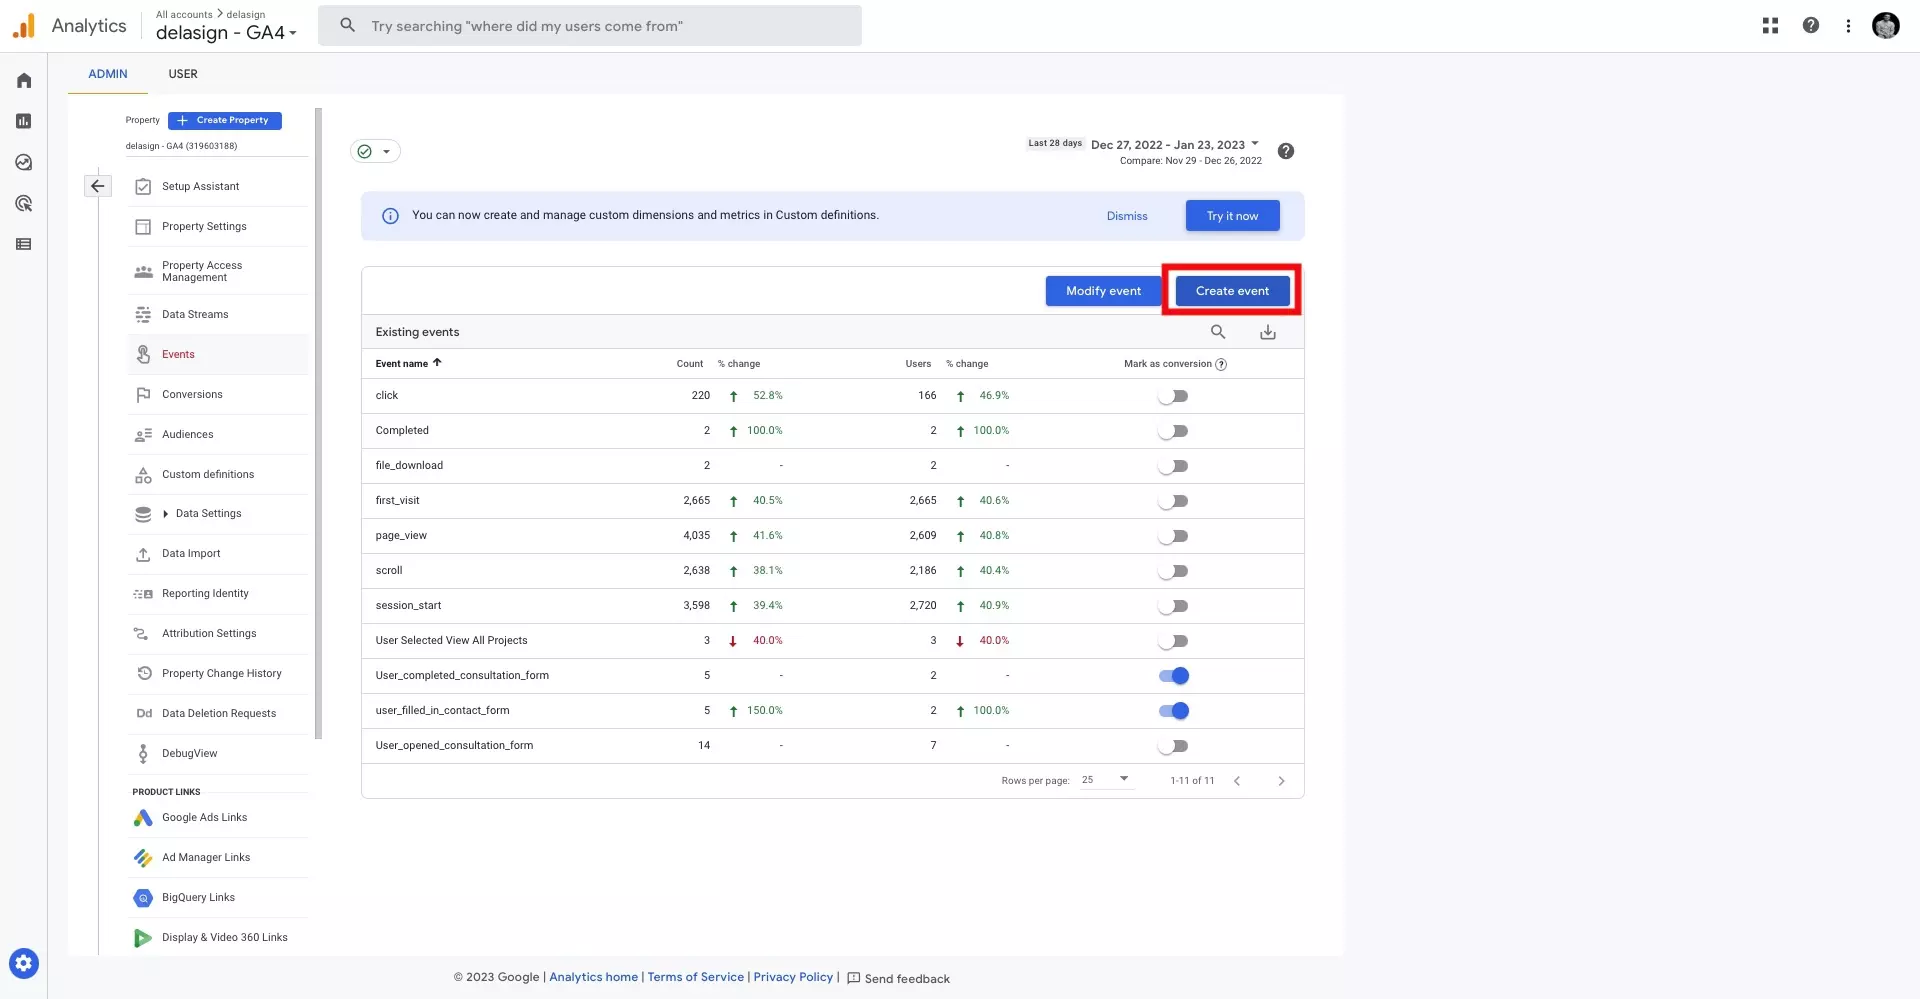
Select Create New Event in the page that appears.
Step Five: Select Create
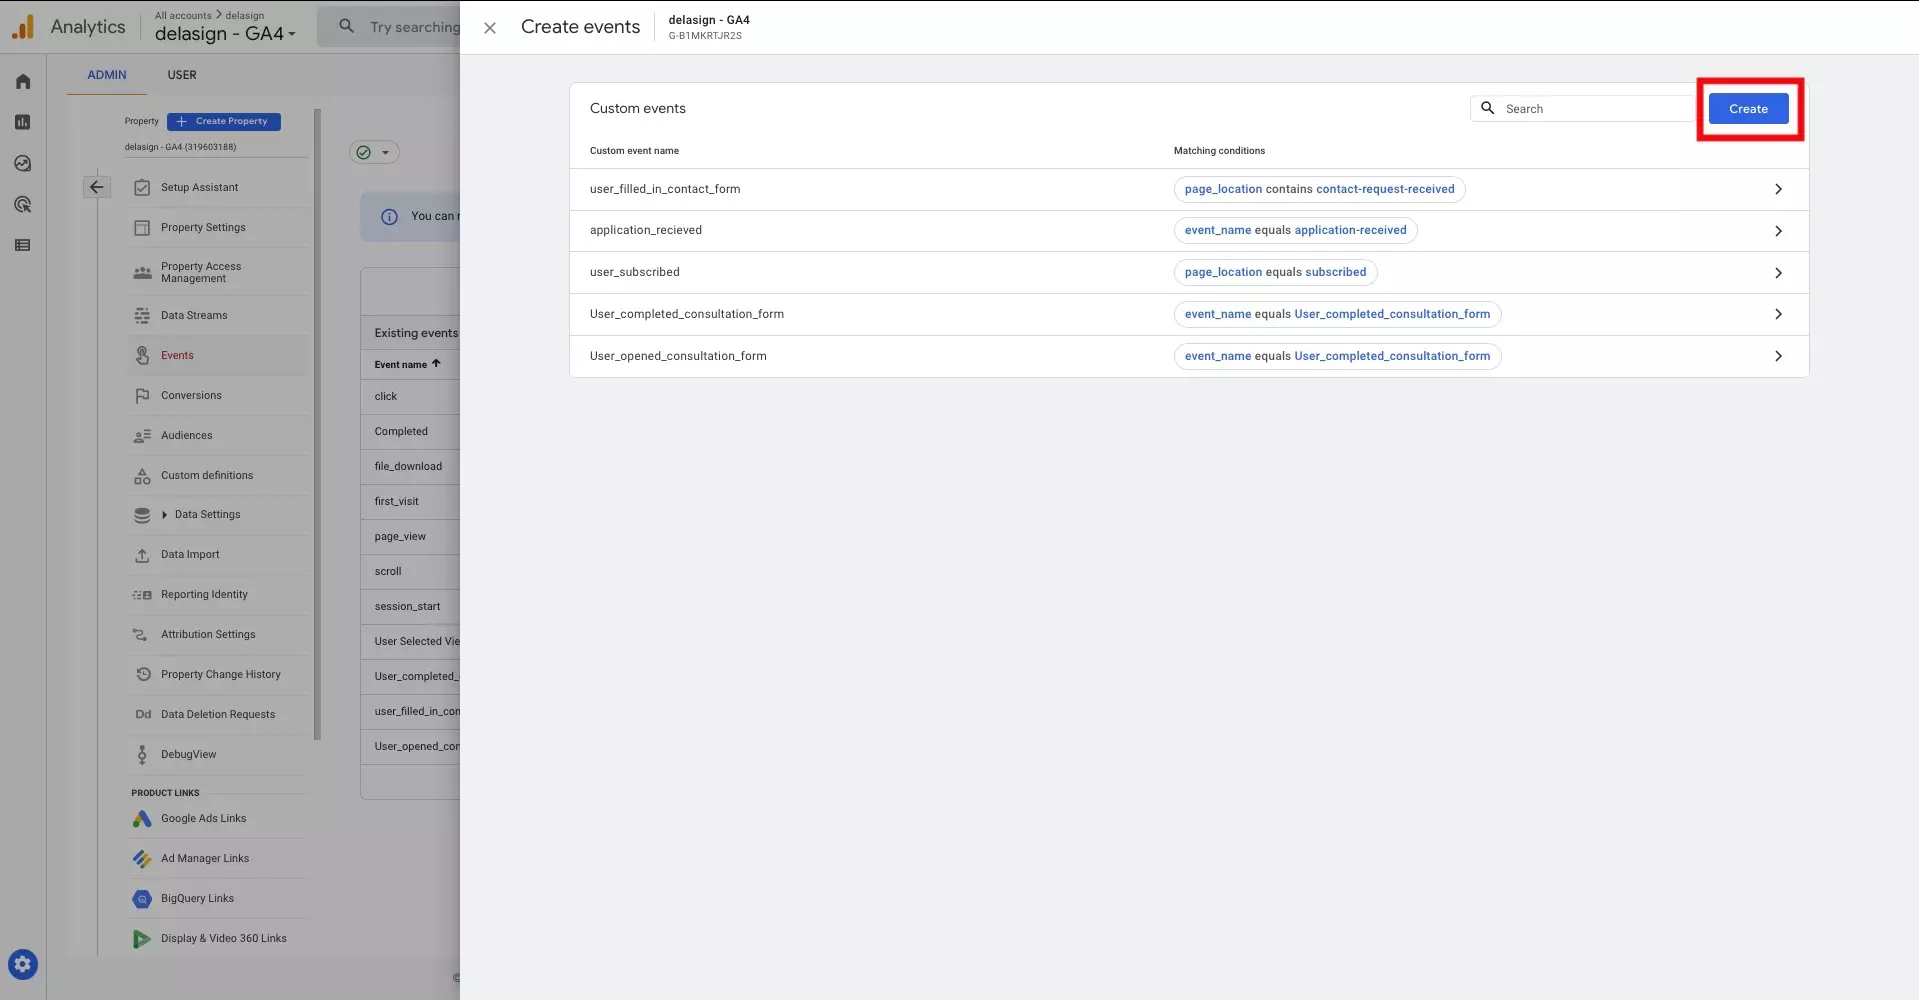
Select Create on the screen that appears.
Step Six: Fill in details
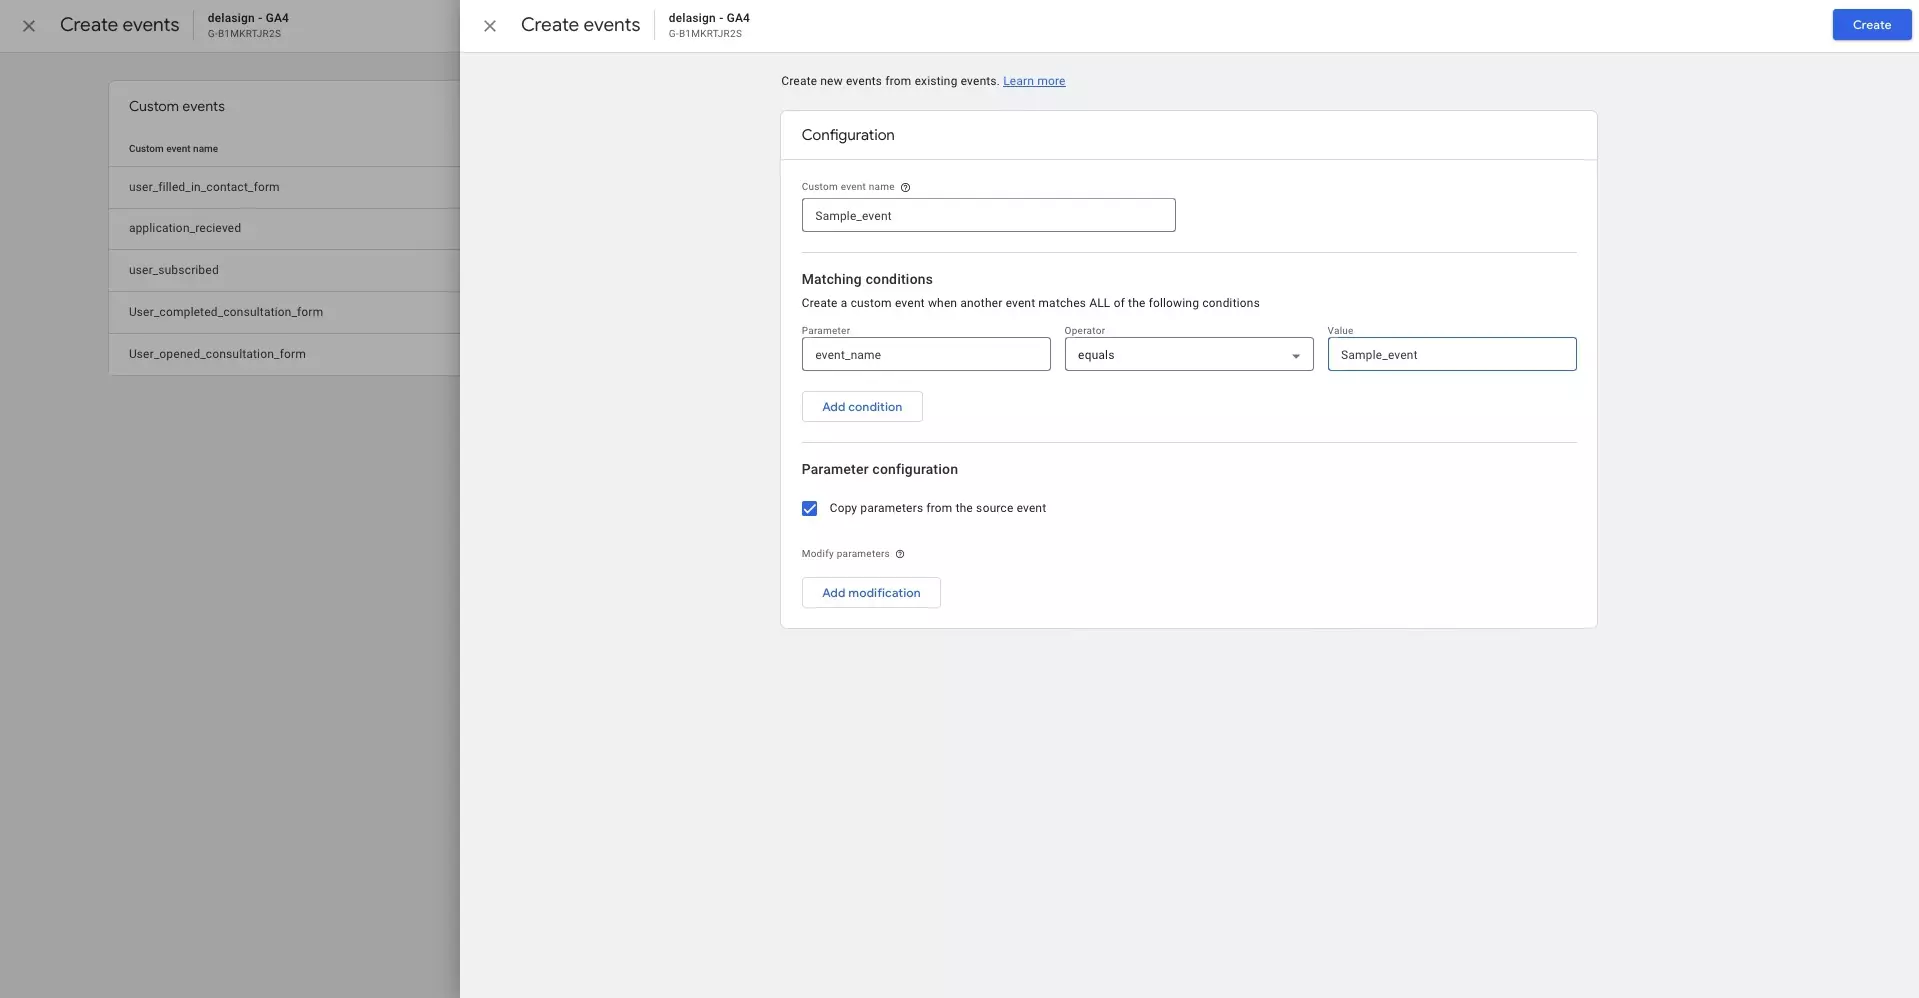
Fill in the details for your event.
Please note that the event name must be less than or equal to 40 characters in order for it to work as a conversion.
Step Seven: Select Create
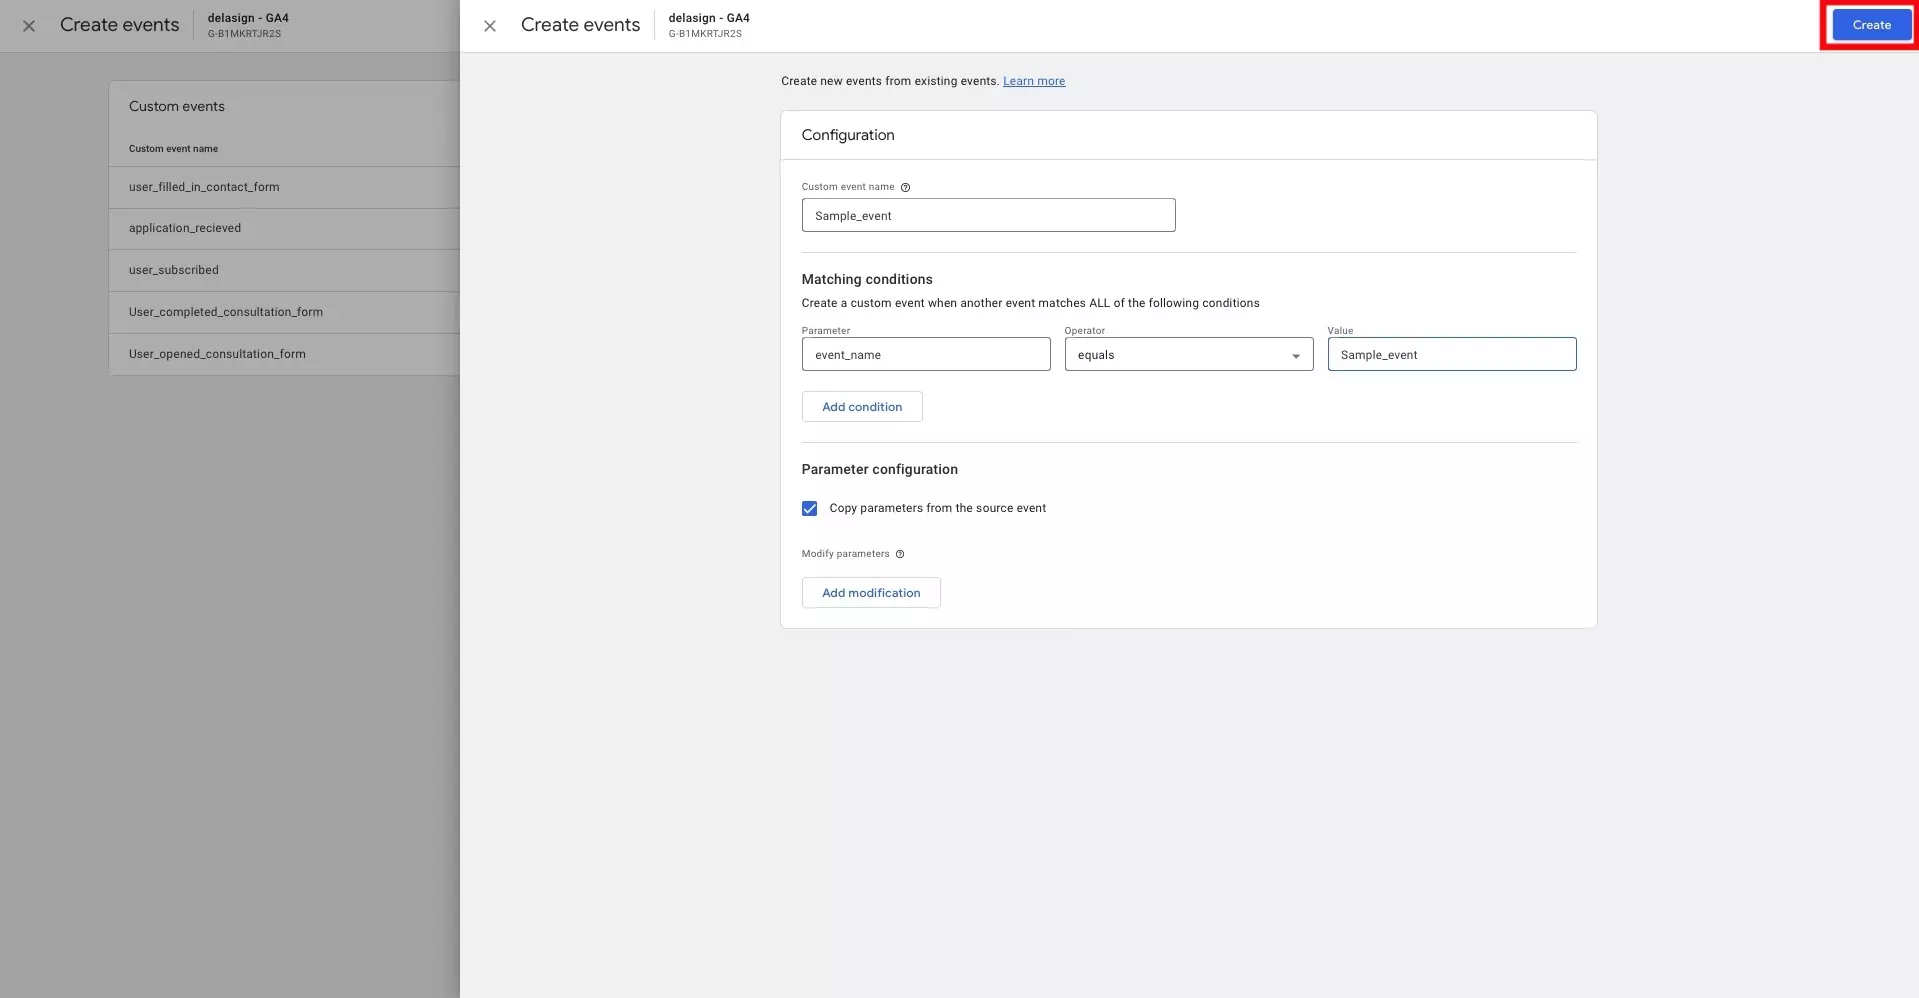
Select Create on the top right once you're ready.
Step Eight: Exit Create Events
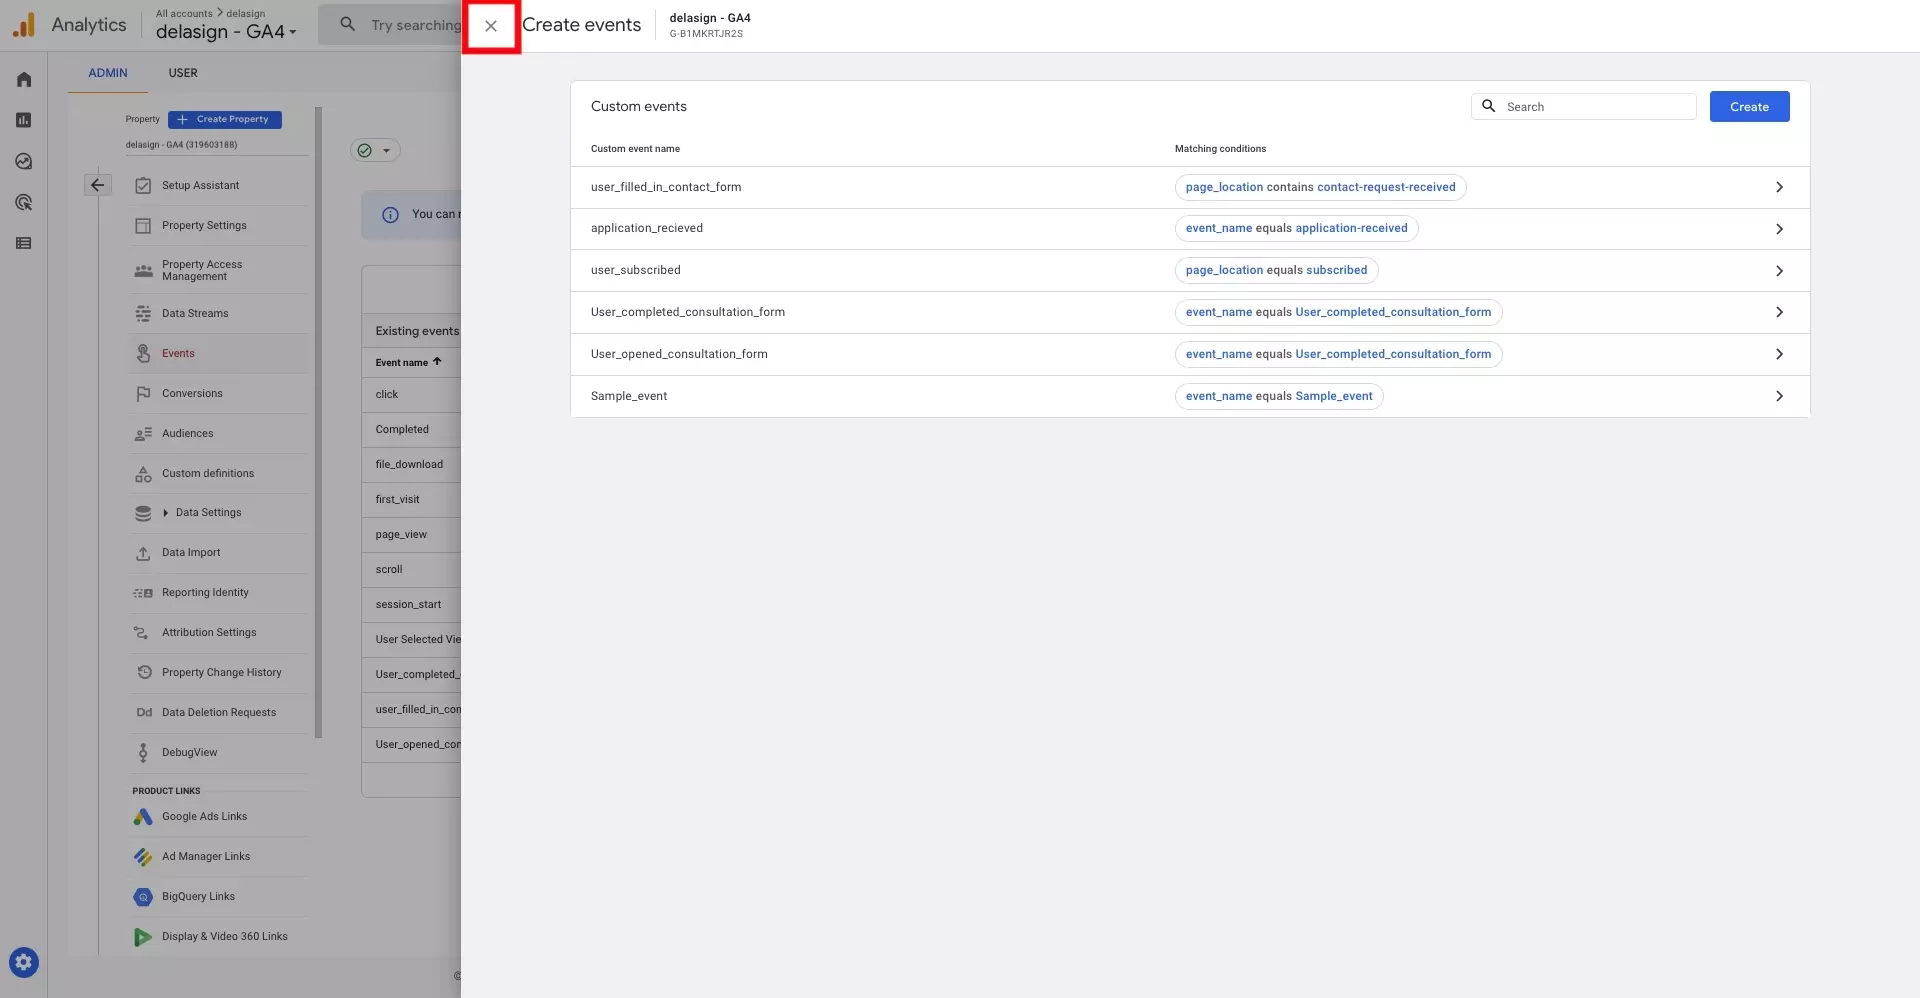
After creating your event, exit the Create Events screen by pressing the 'X' on the top center left of the screen.
Step Nine: Select Conversions
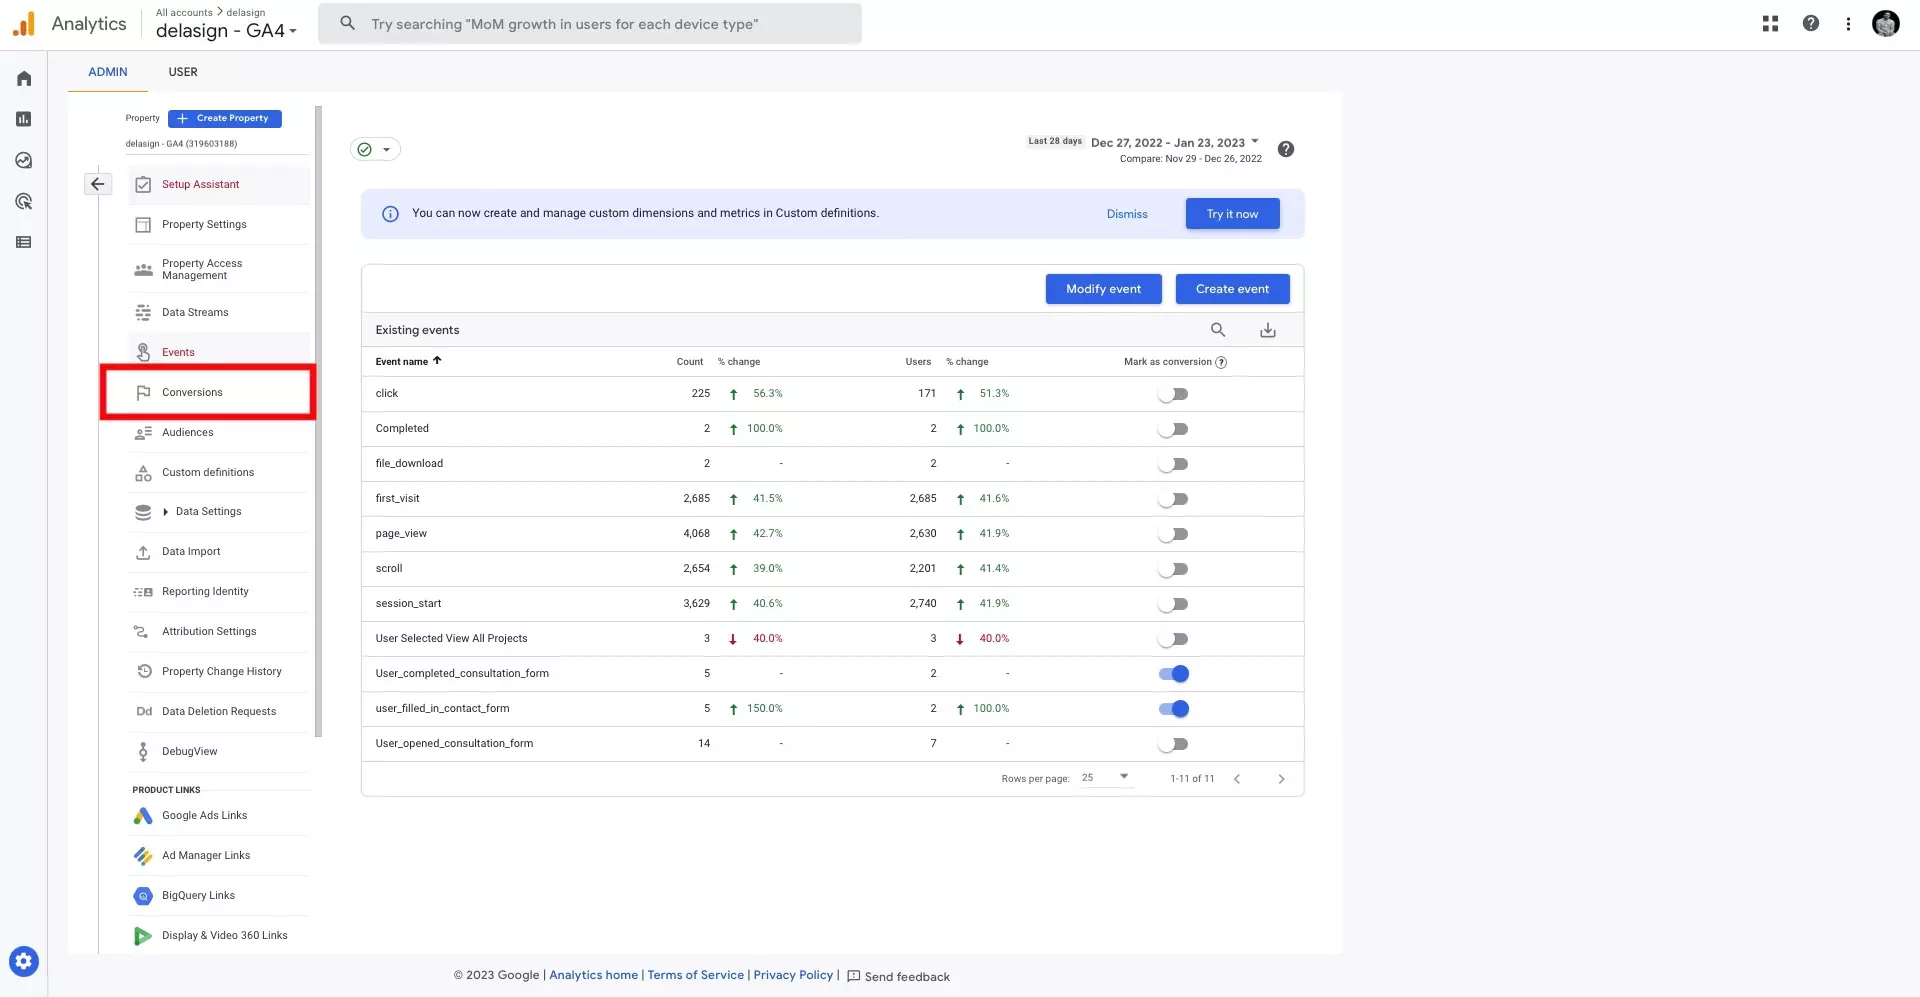
Our next step involves tying the newly created event into a conversion.
The first step towards this is selecting conversions from the menu on the left hand side of the screen.
Step Ten: Select New Conversion Event
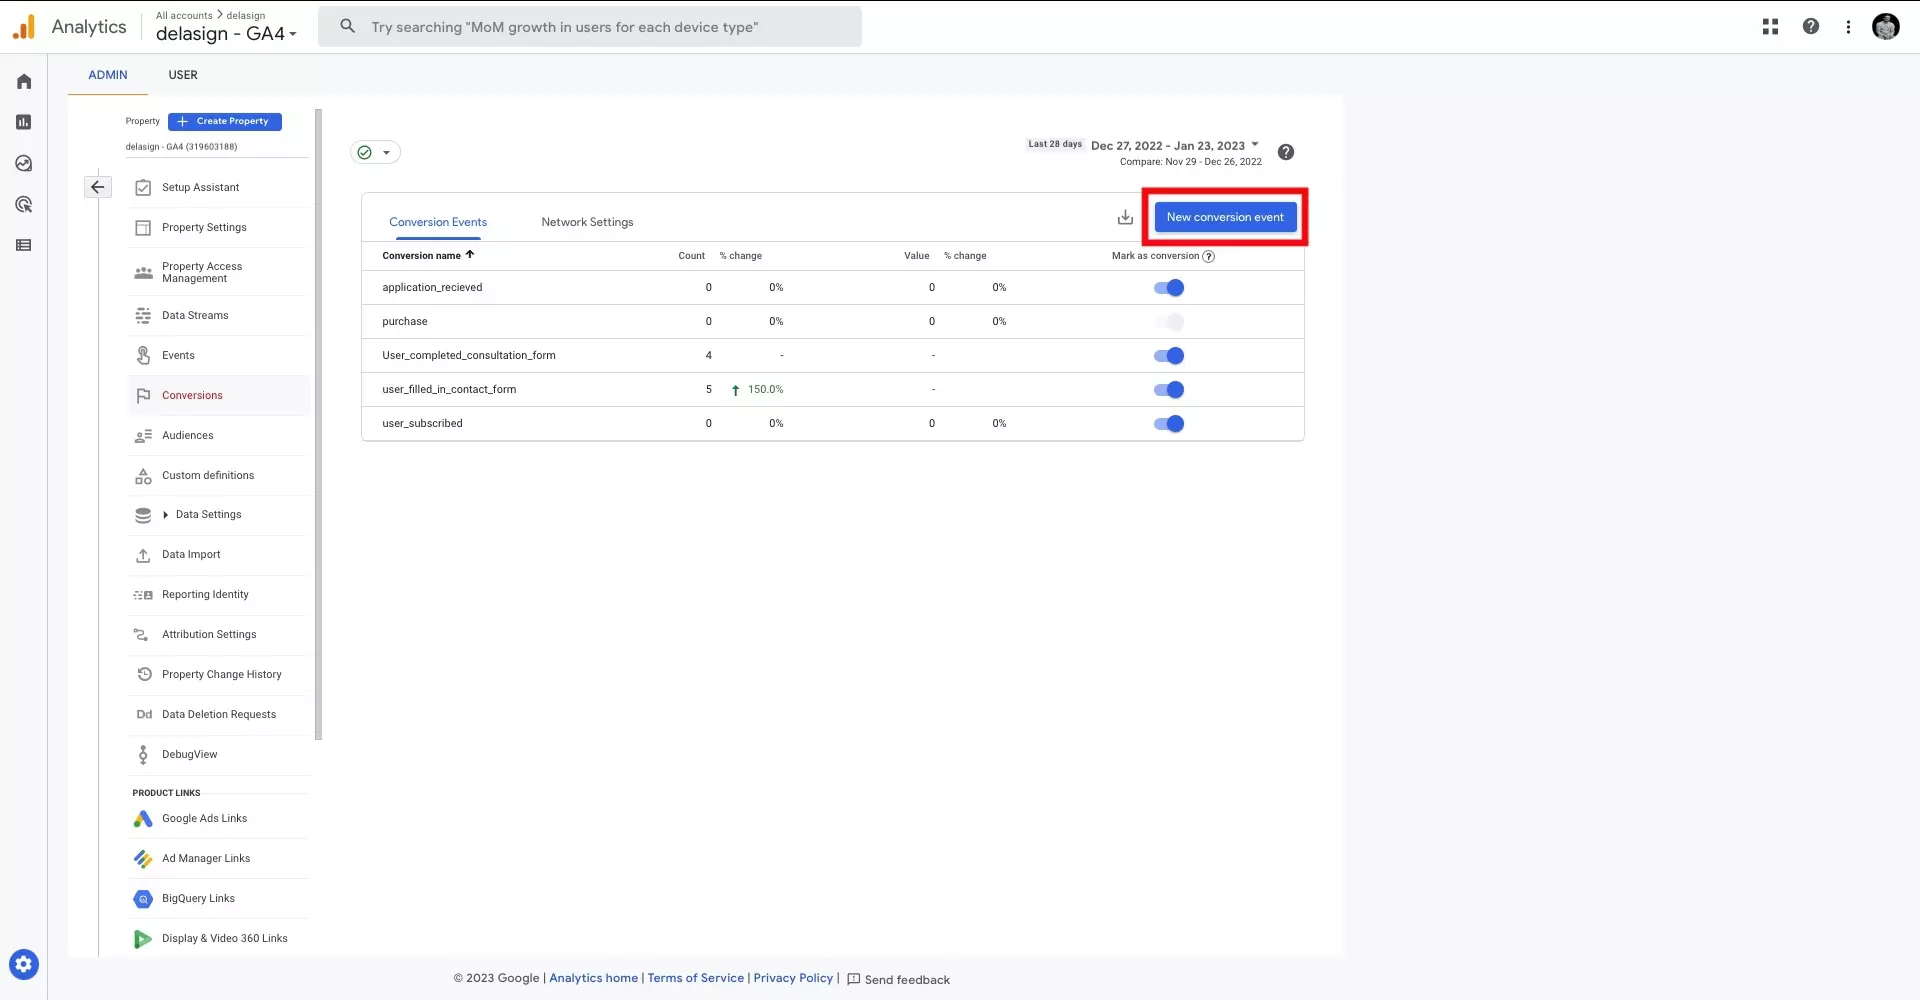
Select New Conversion Event from the screen that appears.
Step Eleven: Match conversion to the custom event name
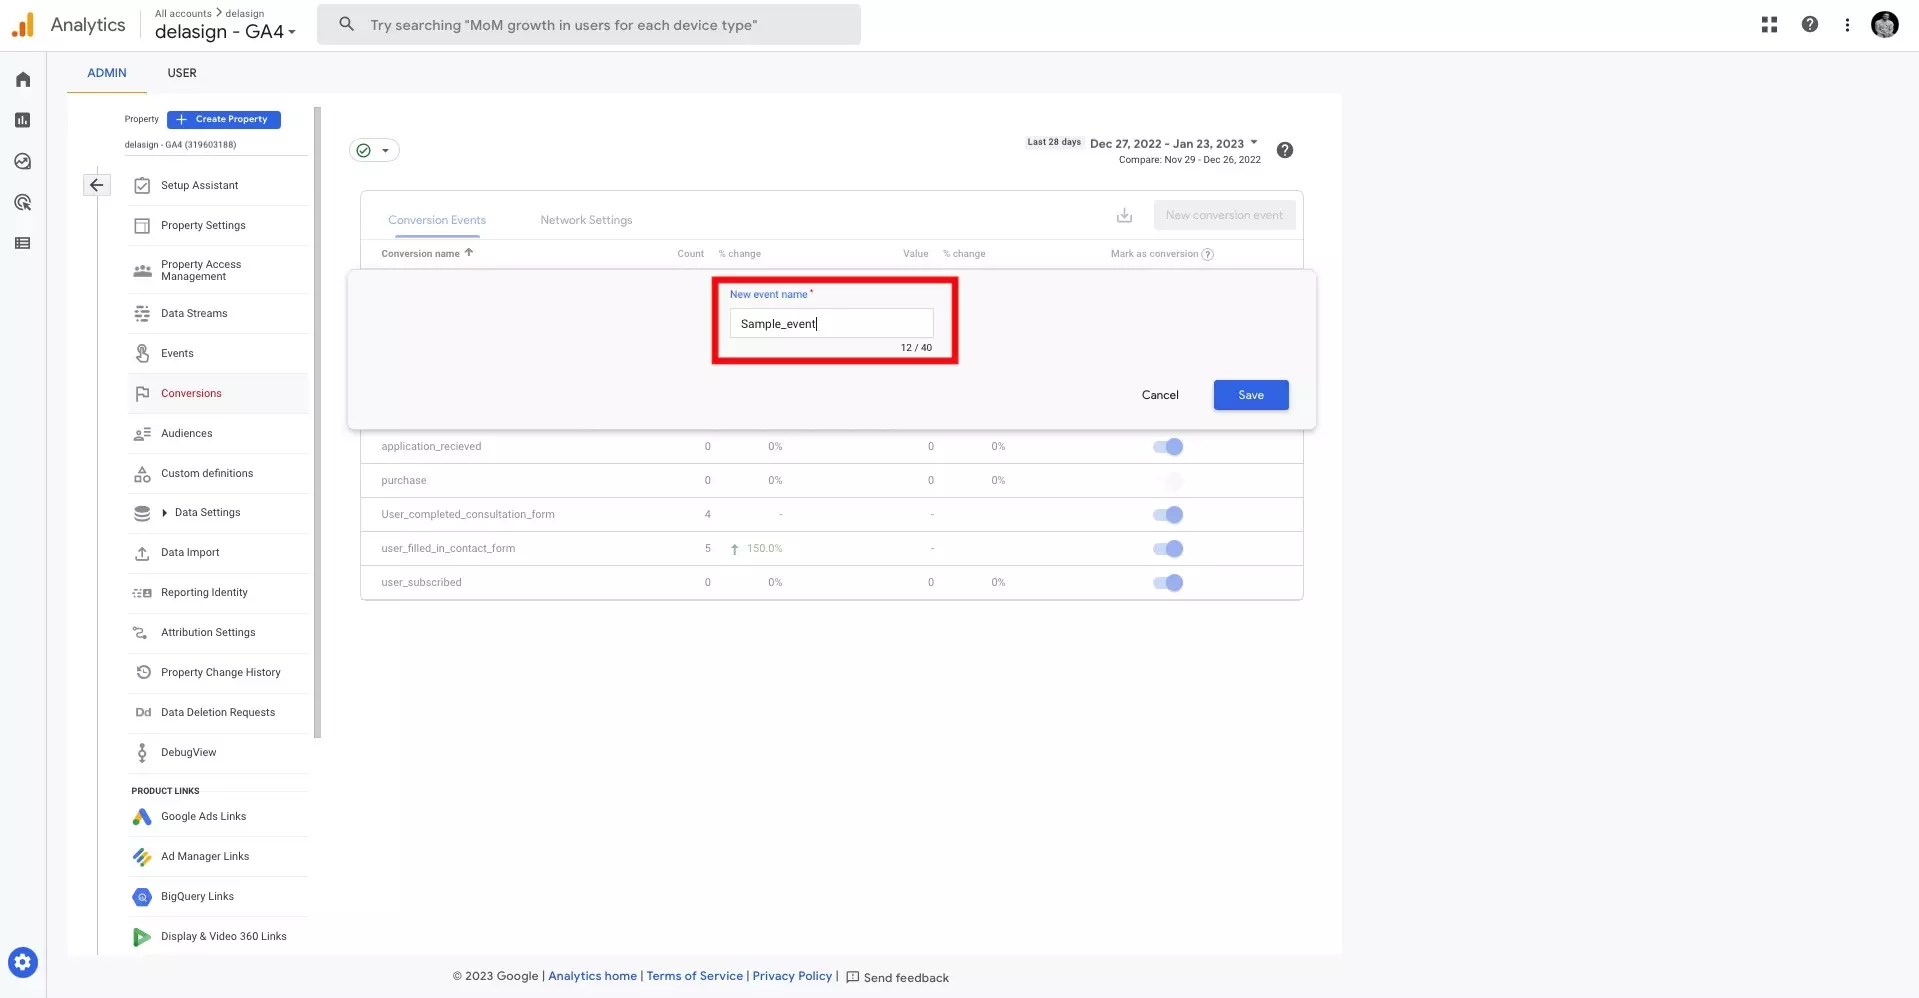
Enter the name of the event that you had previously created to tie the conversion to the custom event.
Step Twelve: Save
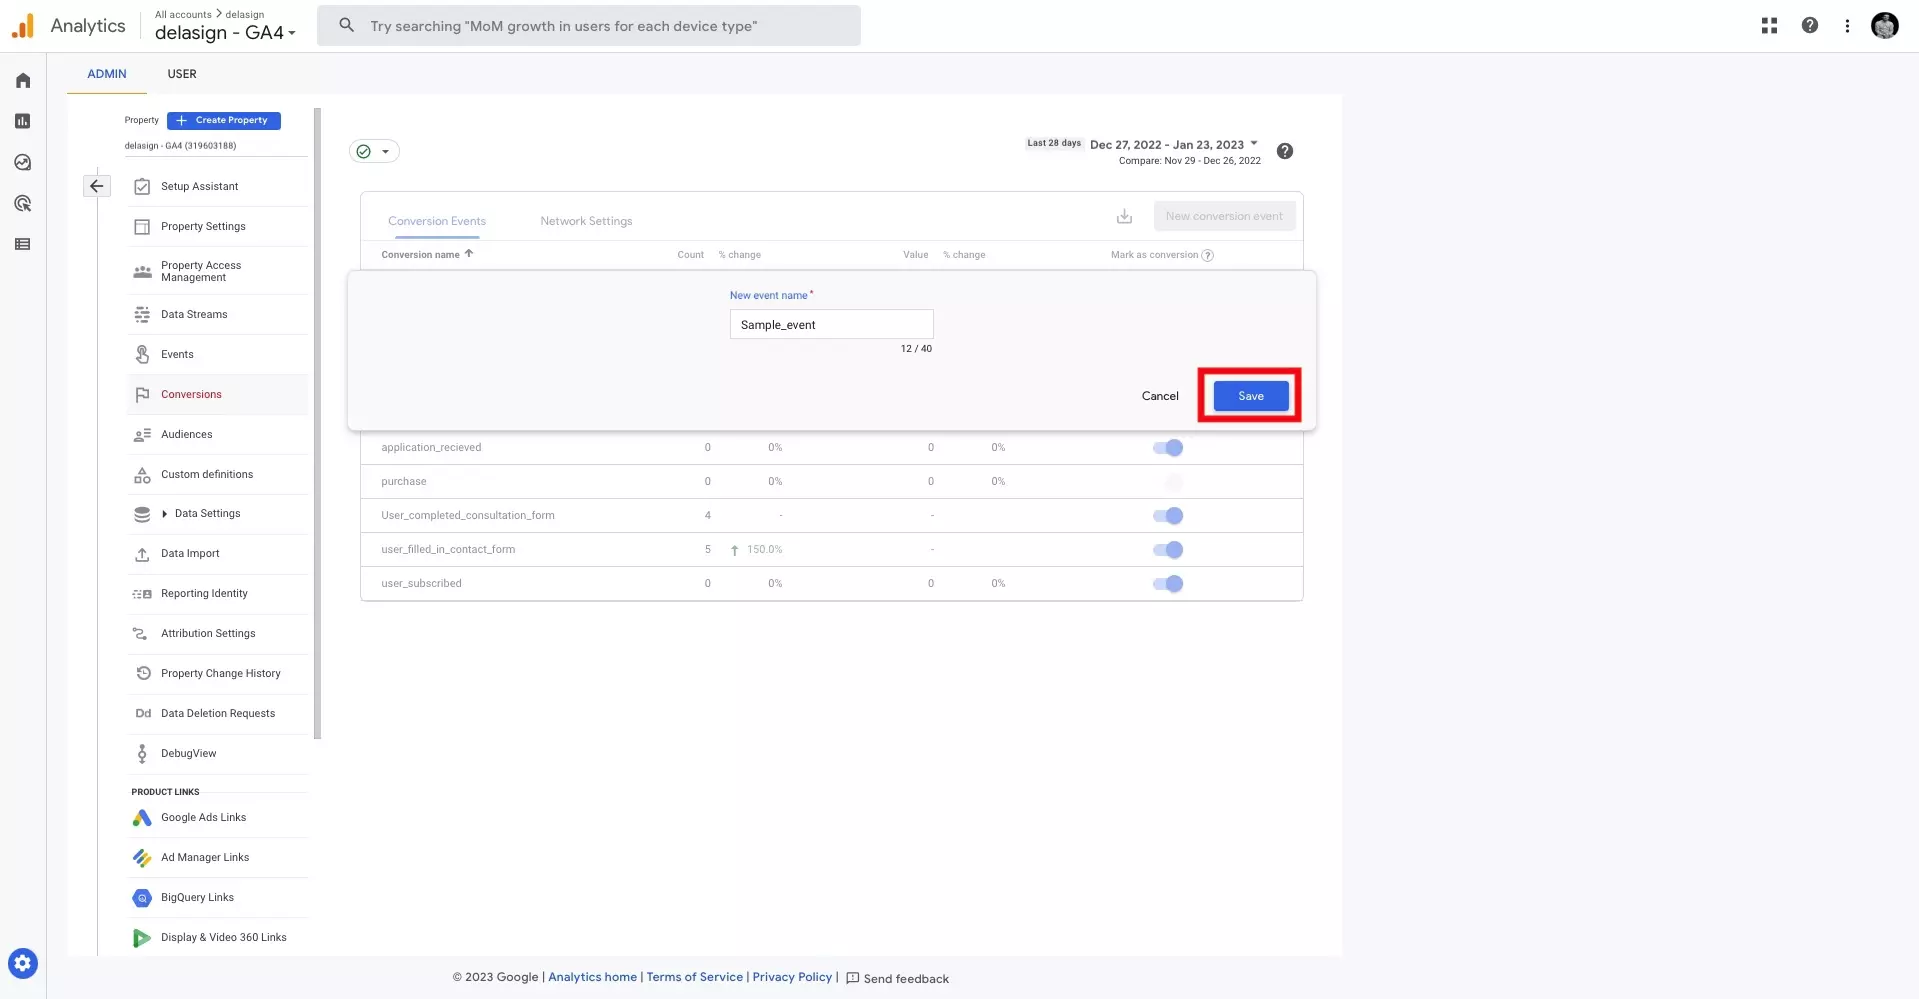
Press Save after naming the conversion to the event that you created.
Step Thirteen: Select Home
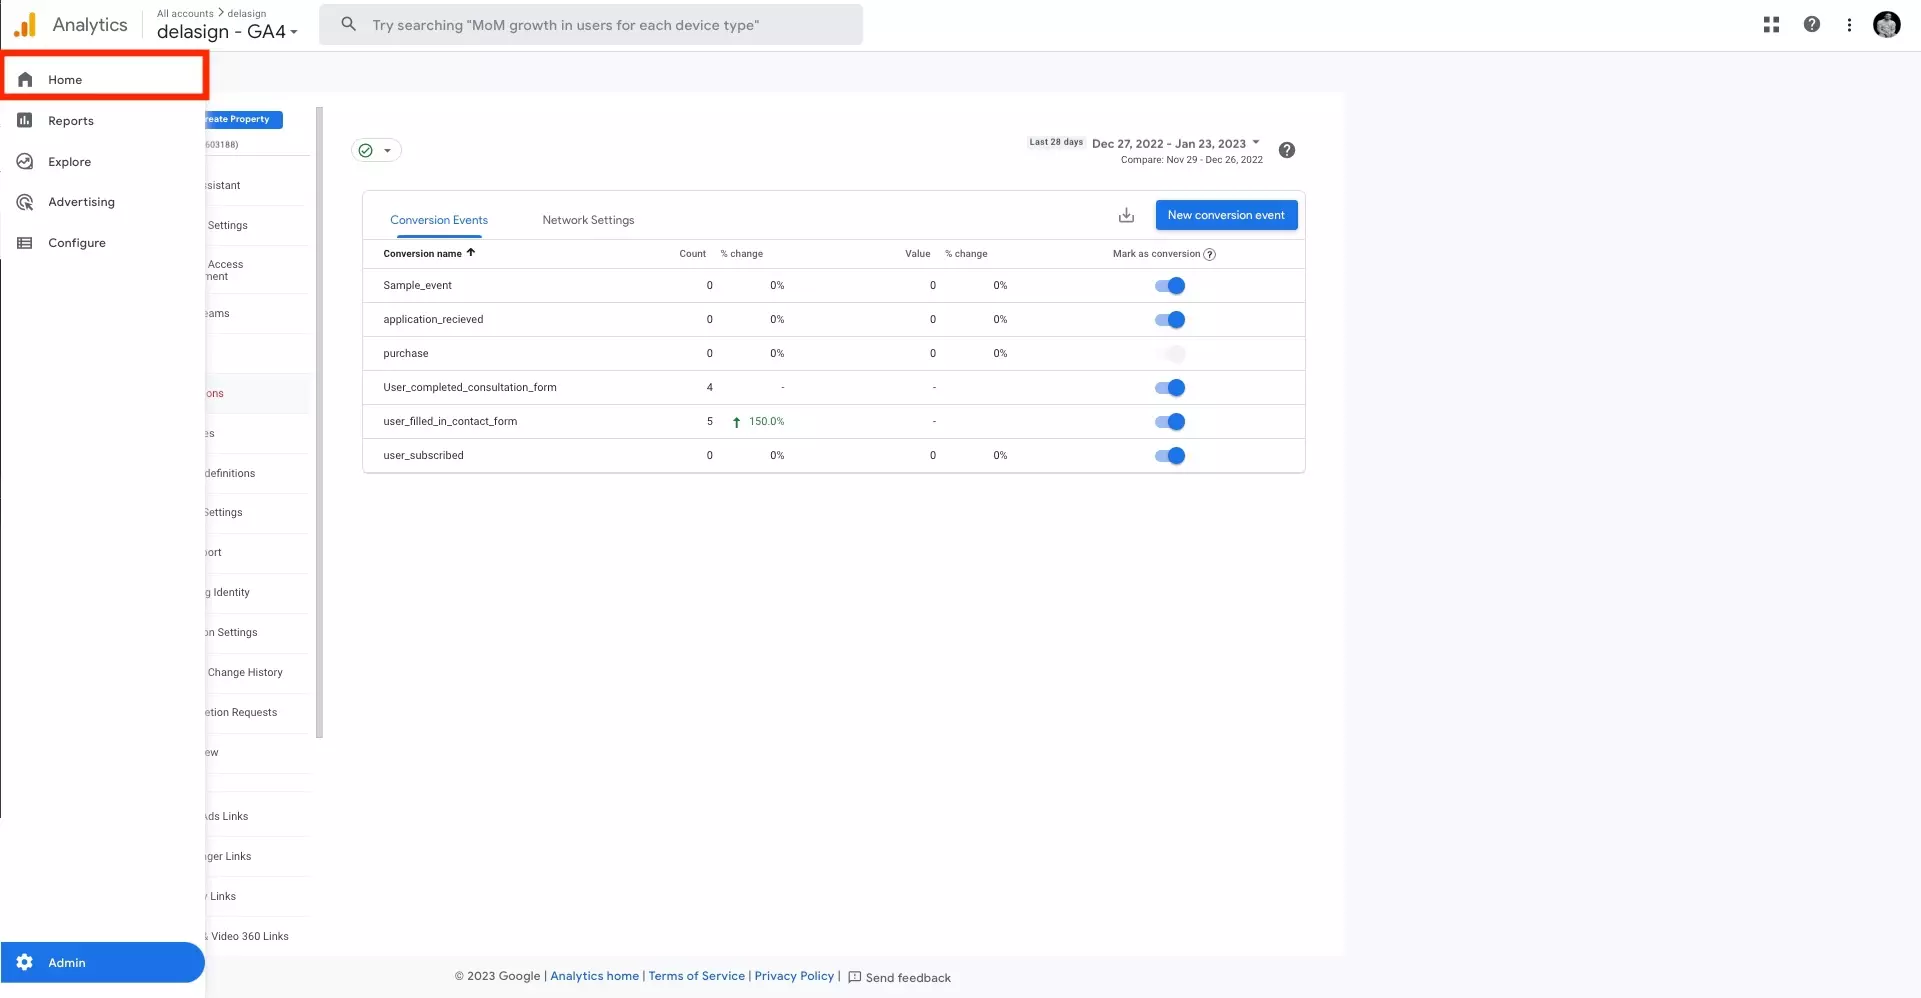
Select Home from the menu on the left hand side.
Step Fourteen: Select View Realtime
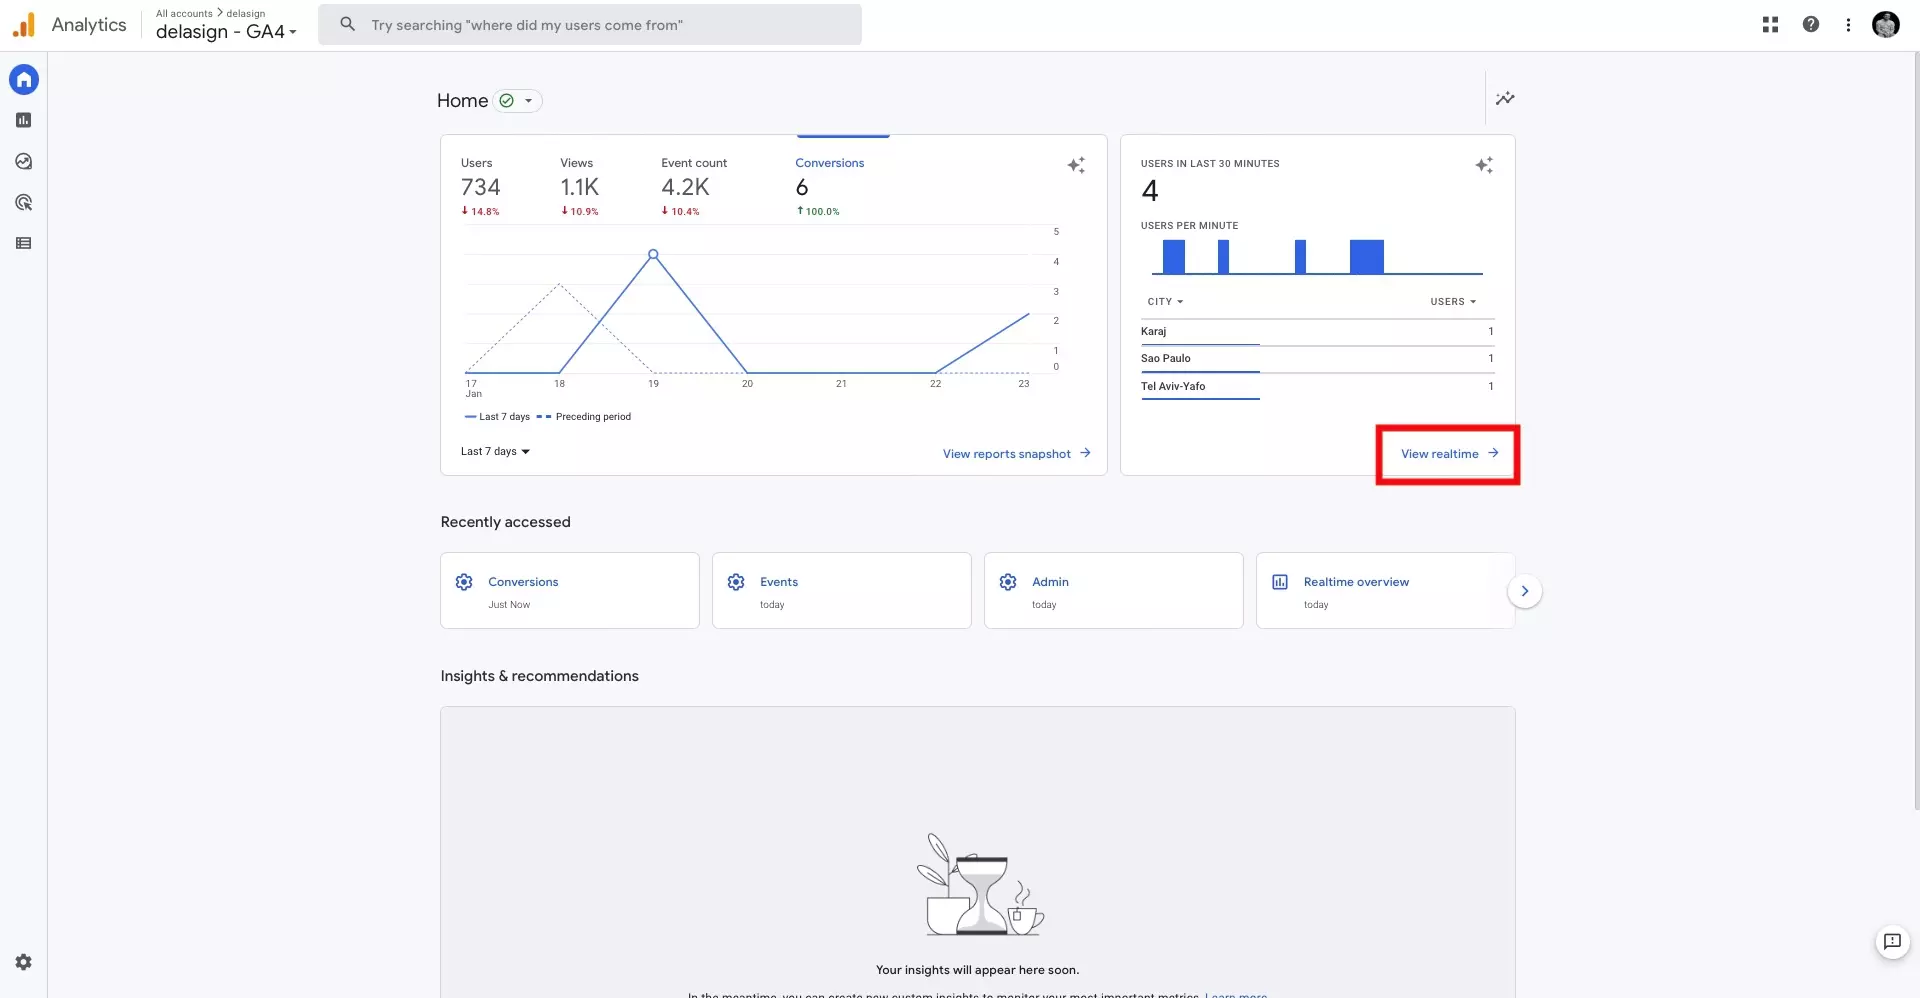
Select the View Realtime button in order to go to the screen that will allow you to verify your conversion.
Step Fifteen: Verify

Scroll down to see the conversion events in the View Realtime screen and then in a separate tab, navigate to the page that you set as a conversion.
After navigating to the page you seek to convert, go back to the Google Analytics tab and see your event and conversion appear in the View Realtime screen.
Please note that there are more events than conversions because it takes about 20-30 minutes for events to begin to register as conversions.
Any Questions?
We are actively looking for feedback on how to improve this resource. Please send us a note to inquiries@delasign.com with any thoughts or feedback you may have.