Craft CMS & DDEV: A Quick Start Guide (2022)
A step by step tutorial on installing DDEV and getting it working with a new or existing Craft CMS project.

A step by step tutorial on installing DDEV and getting it working with a new or existing Craft CMS project.
With Nitro being retired by Pixel & Tonic, we needed to migrate to DDEV and wanted to share our process.
The following tutorial walks you through the process required to get DDEV installed on your machine. Once we cover that, it also informs you on how to get a new or existing Craft CMS project up and running.
The tutorial was built off the Fortrabbit guide & the Craft CMS official quick start guide which can be found in the link below. Please consult them for any questions that you might have on creating a new project or how DDEV functions compared
Step One: Install Homebrew
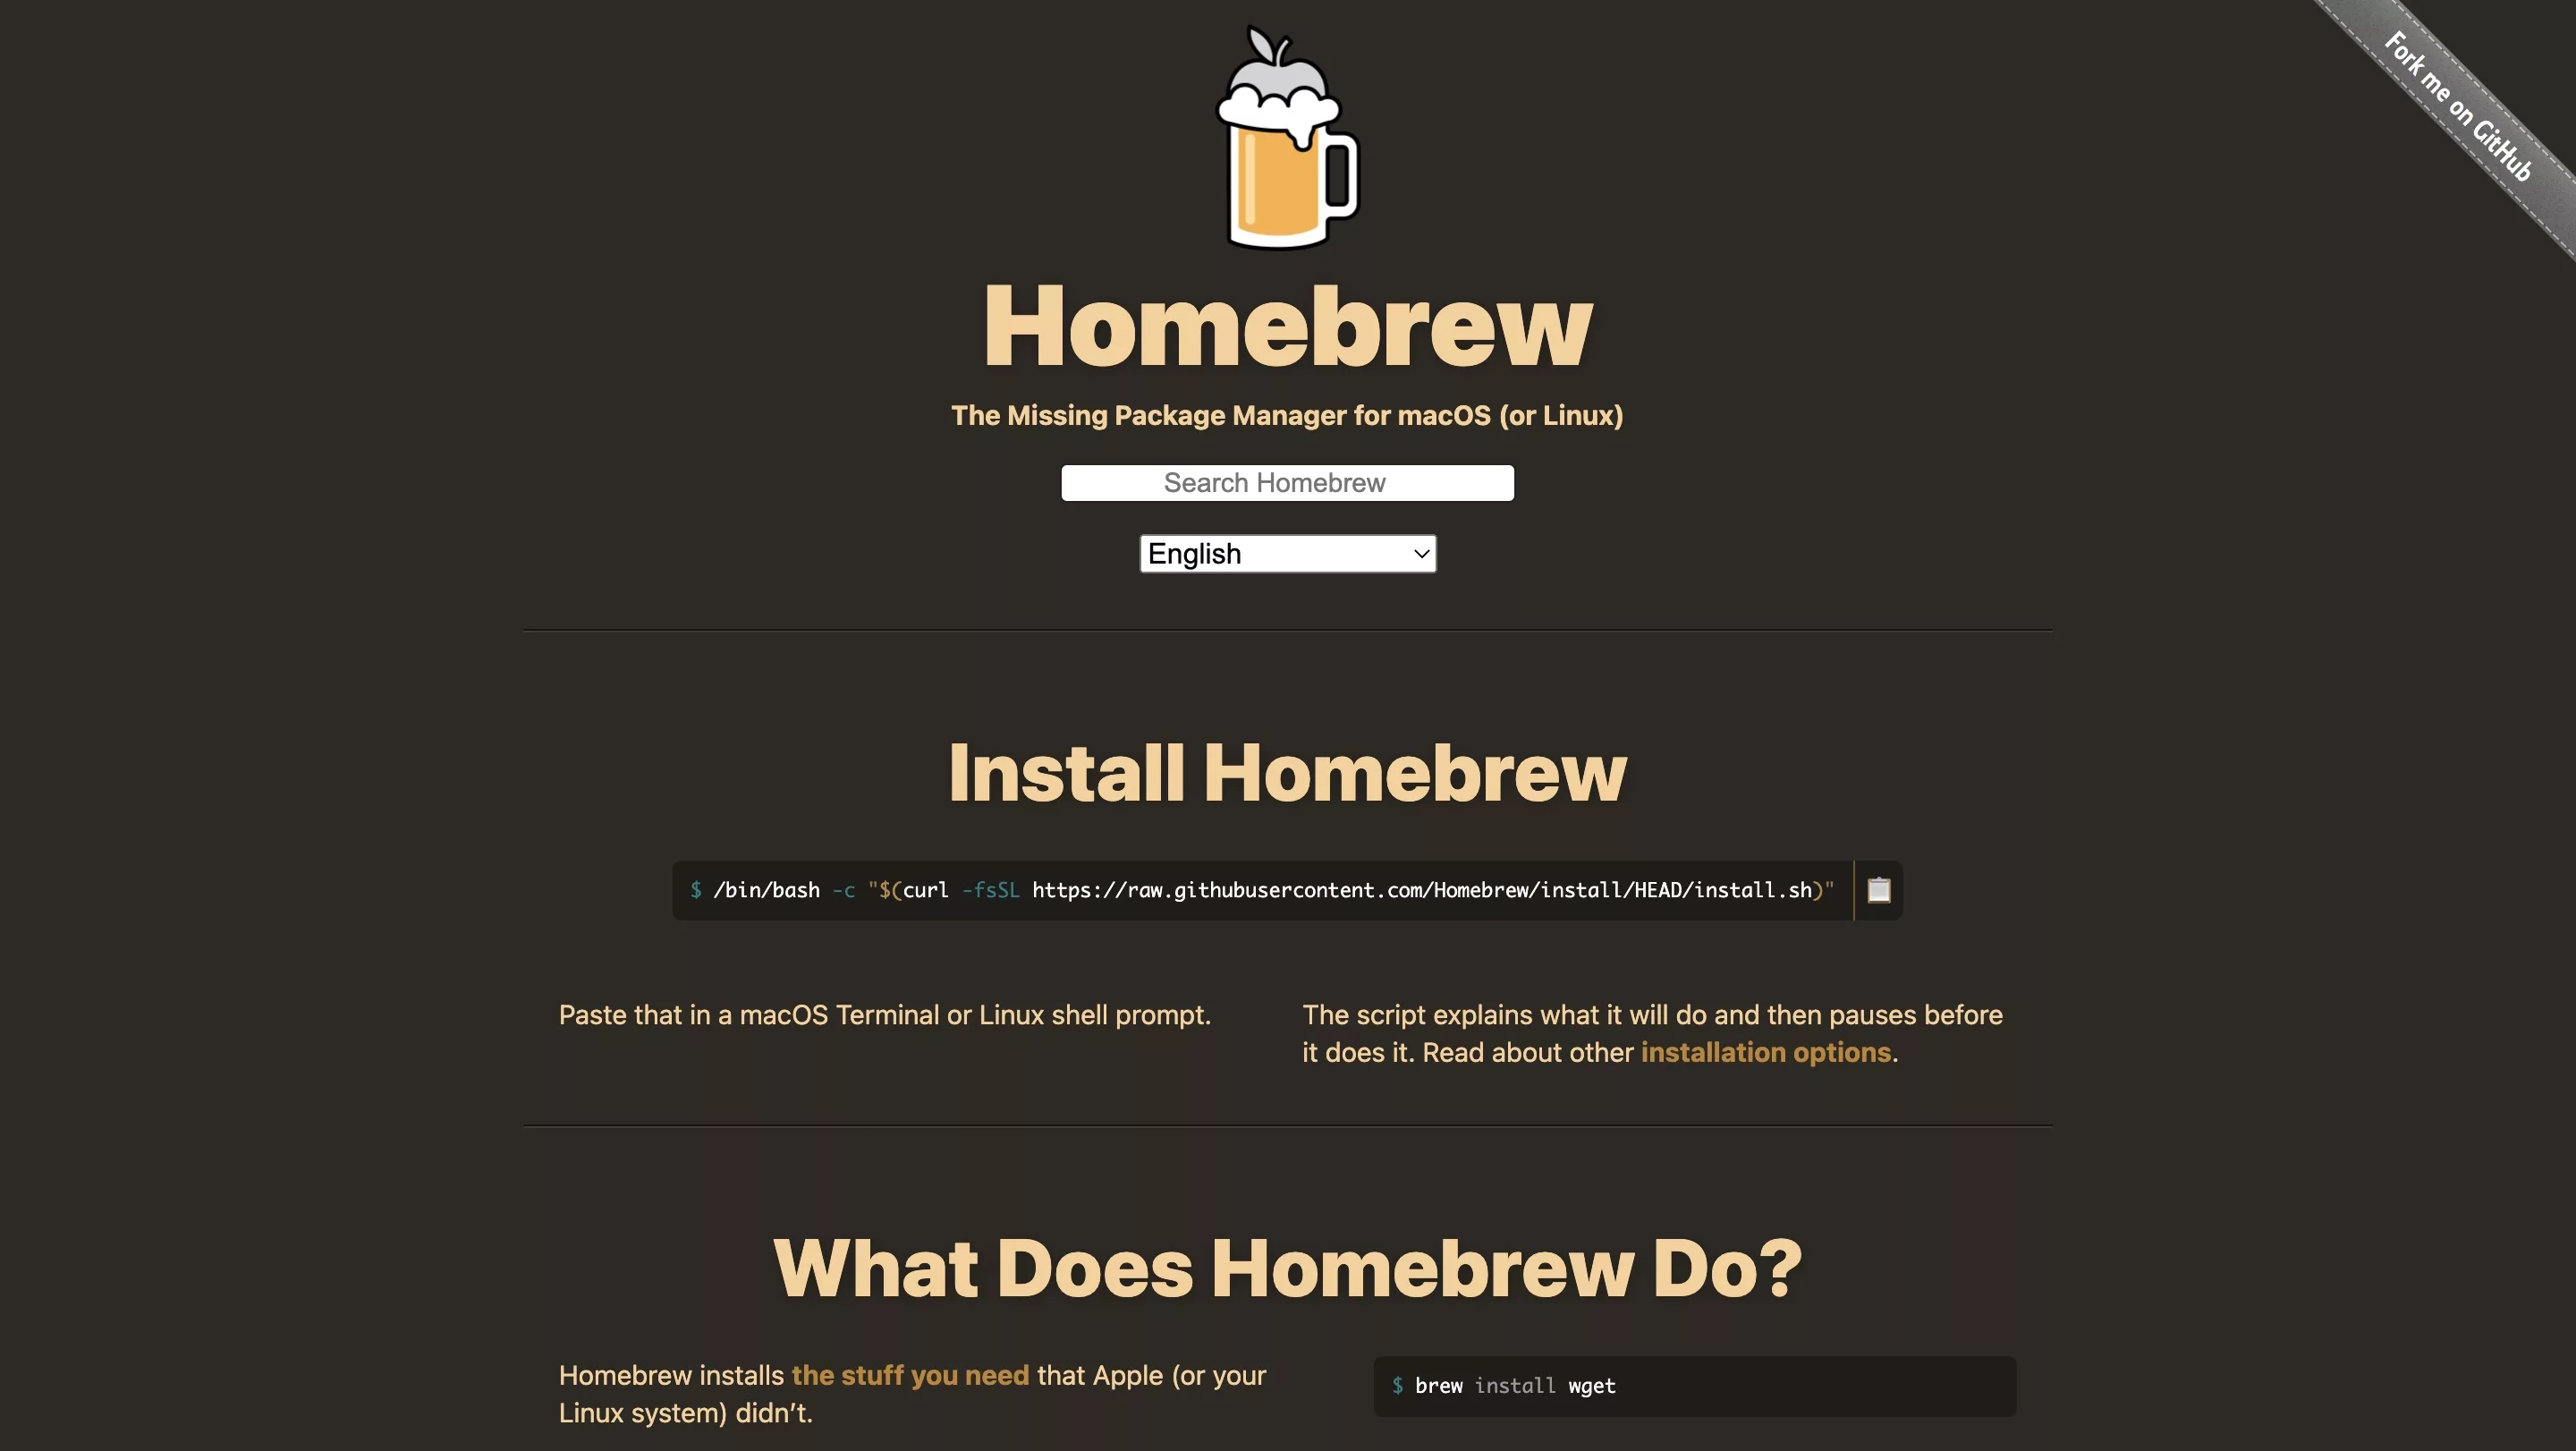
We will use Homebrew to install DDEV. Make sure that the Homebrew package manager is installed on your system, using the link below.
Step Two: Install & Open Docker
DDEV works with Docker, which must be both installed and open for the DDEV installation to work.
Install Docker Desktop
brew cask install dockerOpen Docker App
open /Applications/Docker.app/Step Three: Install DDEV
After making sure that the Docker app is open and has been configured, install DDEV using the following line in terminal.
This will install DDEV and the libraries needed to install it.
brew tap drud/ddev && brew install ddevCongratulations, you have successfully installed DDEV. The next steps are centered around making DDEV work with an existing Craft CMS project.
If by chance you're looking to start a new project, run the following command line in Terminal in the directory that you wish to create a folder with a new Craft CMS project:
composer create-project craftcms/craftIf you are new to Craft CMS, follow their installation guide provided in the link below.
Step Four: Make the Craft CMS project the current directory
In terminal set the current directory to that of the Craft CMS project that you wish to run with DDEV.
Step Five: Configure DDEV
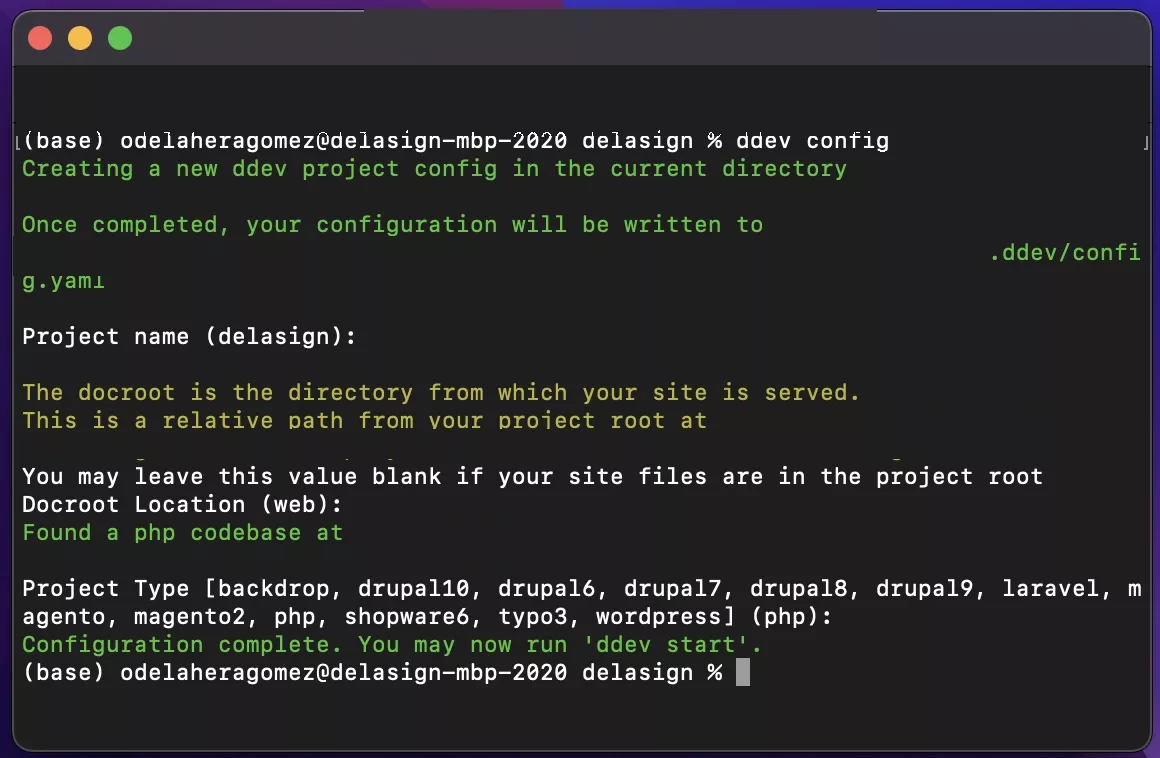
Run the following command in terminal:
ddev configPlease note that the default docroot is web and the project type is php for Craft CMS. This implies that you can press enter to each question that is asked, as it is the default answer.
Step Six: Update DDEV config.yml
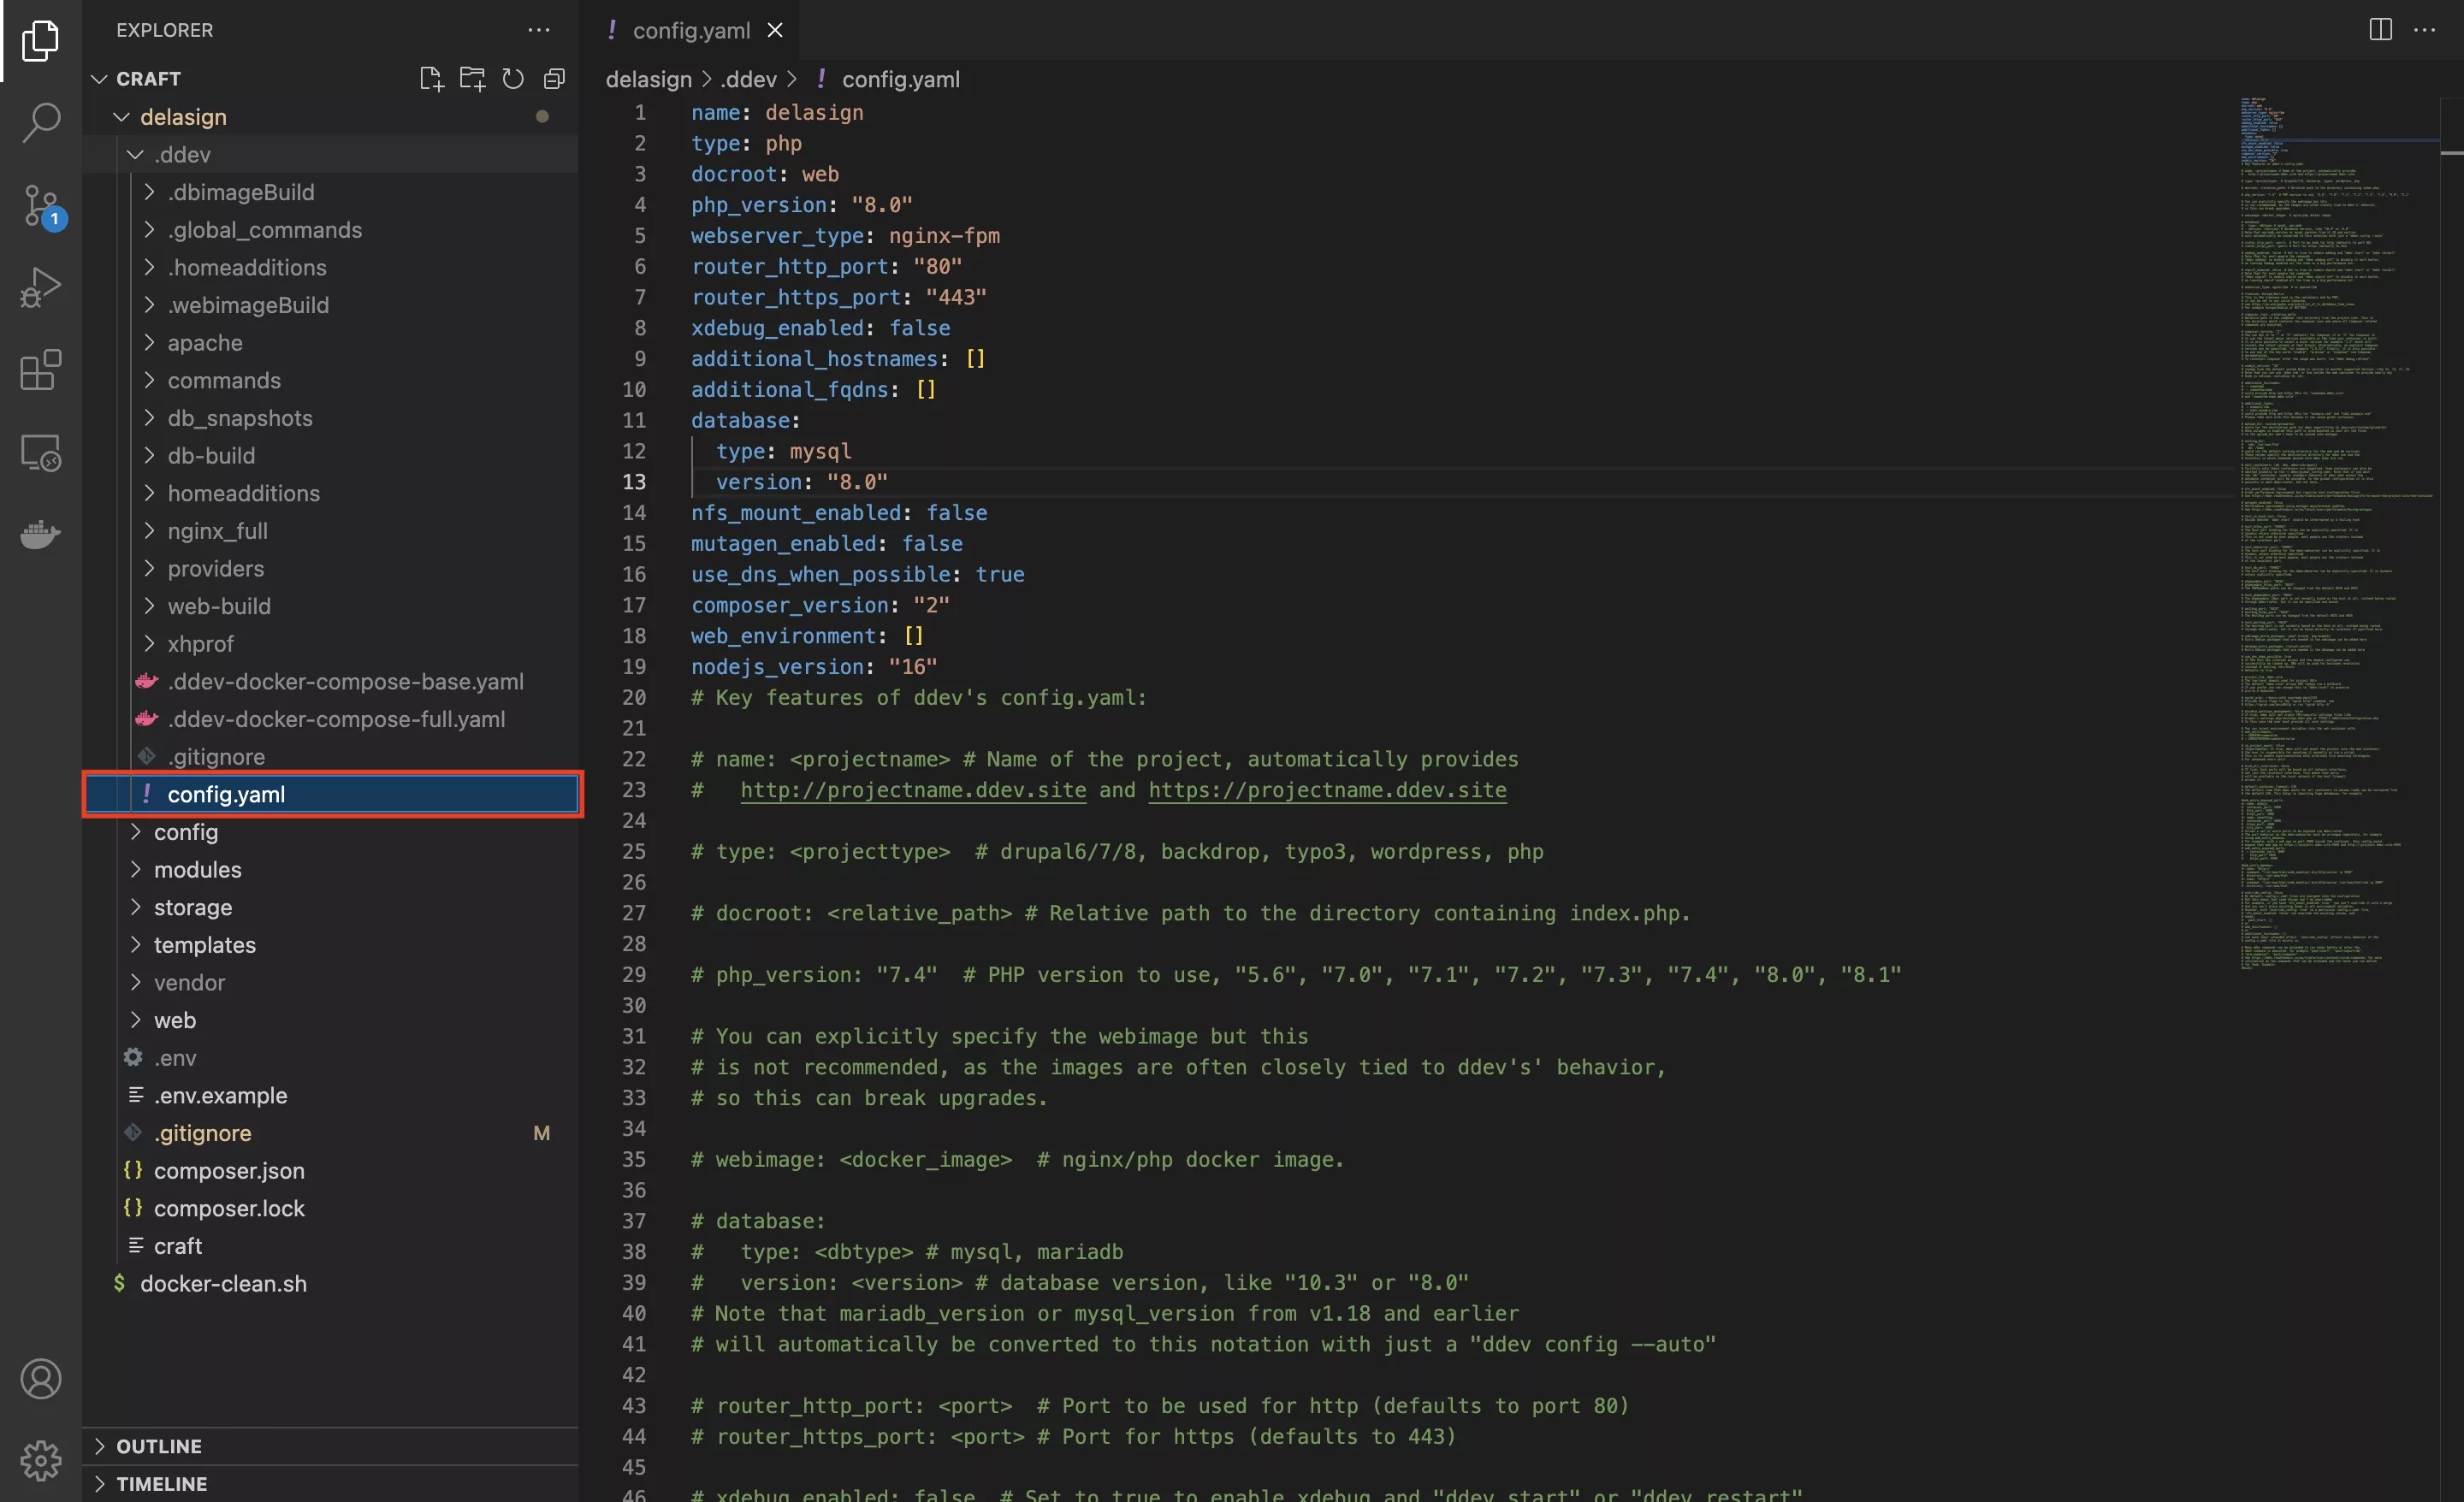
Under the newly created .ddev folder, modify your config.yaml to your needs. Crafts CMS's suggestions are the following:
- Set
php_versionto whichever you need. (More inconfig.yaml’s comments.) - The database type can be
mariadb,mysql, orpostgreswith a corresponding version. - Use
additional_hostnamesfor other*.ddev.sitedomain names you’d like to use, oradditional_fqdnsfor other custom domain names.
In our case, we updated the settings to take a mysql database to match version 8.0 (highest version allowed by DDEV) and subsequently running the following commands in Terminal:
ddev config --database=mariadb:10.4Followed by
ddev debug migrate-database mysql:8.0Step Seven: Start DDEV
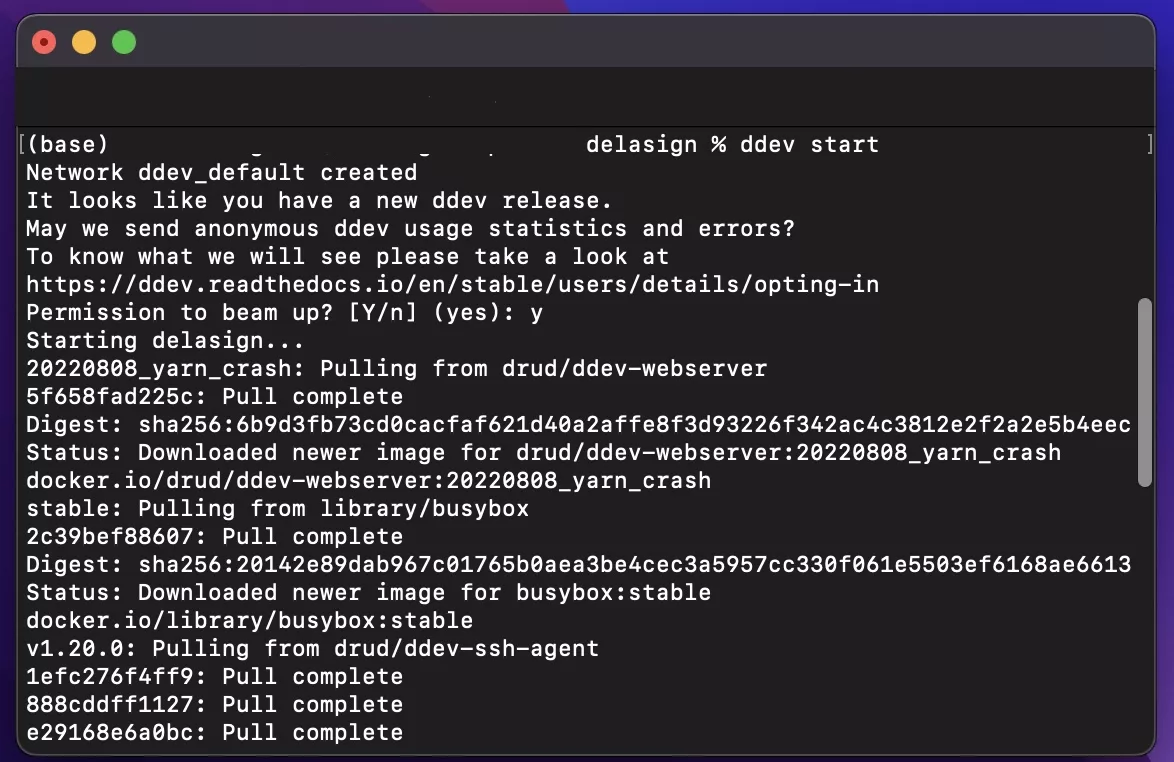
Run the following command in terminal:
ddev start
Step Eight: Run DDEV describe
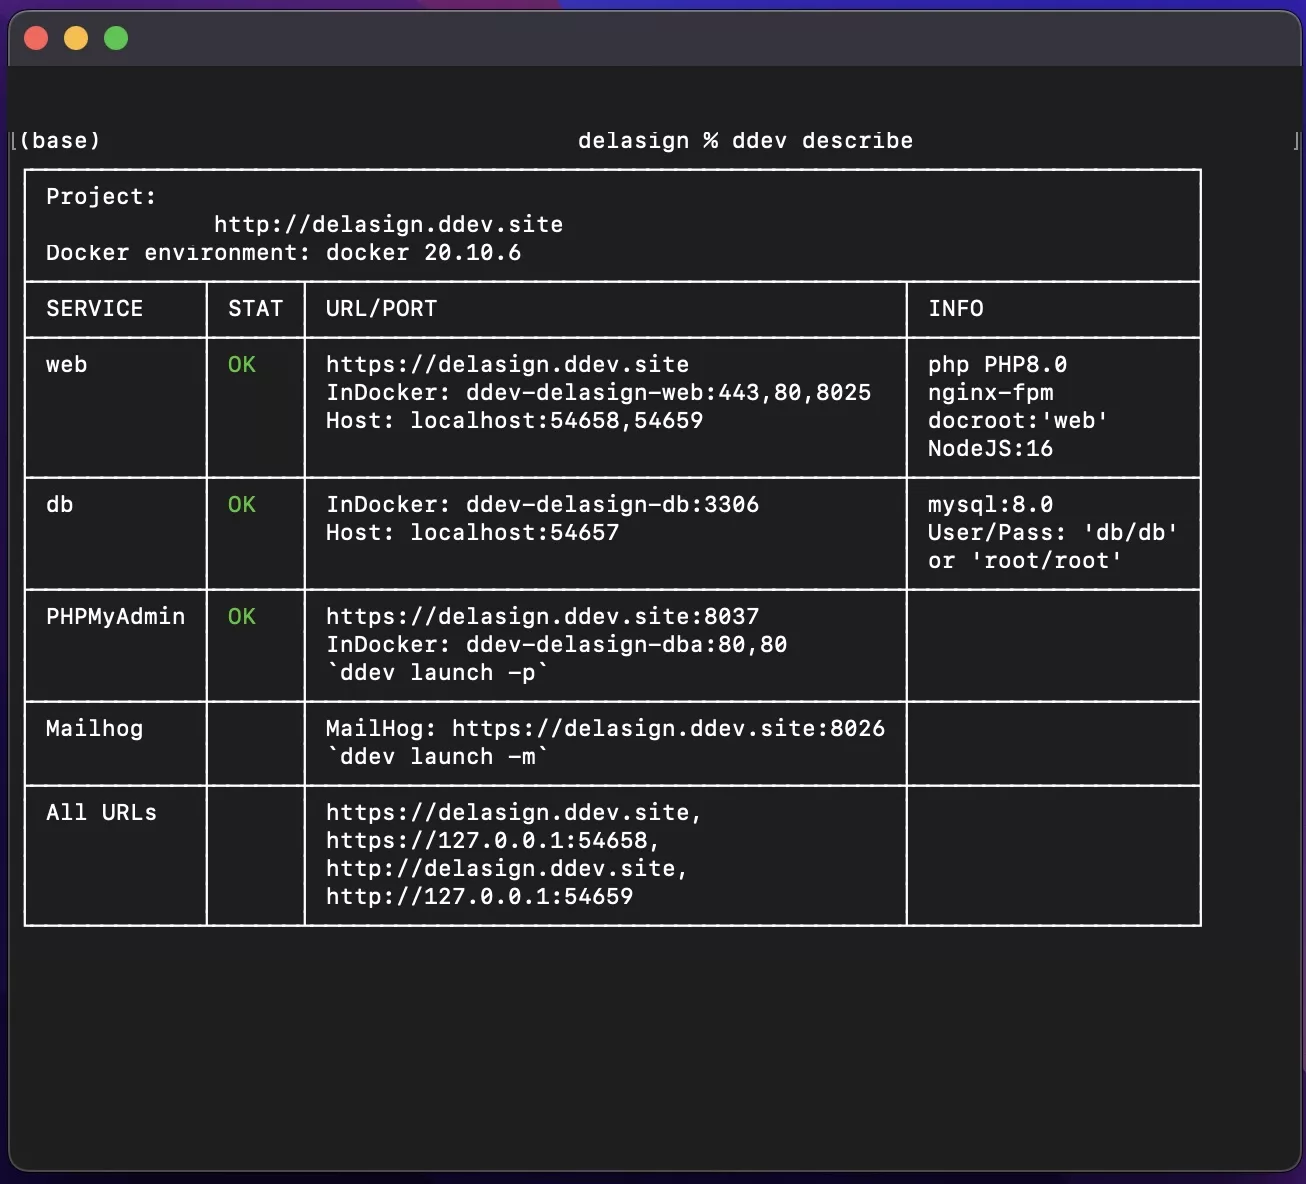
Run the following command in terminal:
ddev describeStep Nine: Update your .env
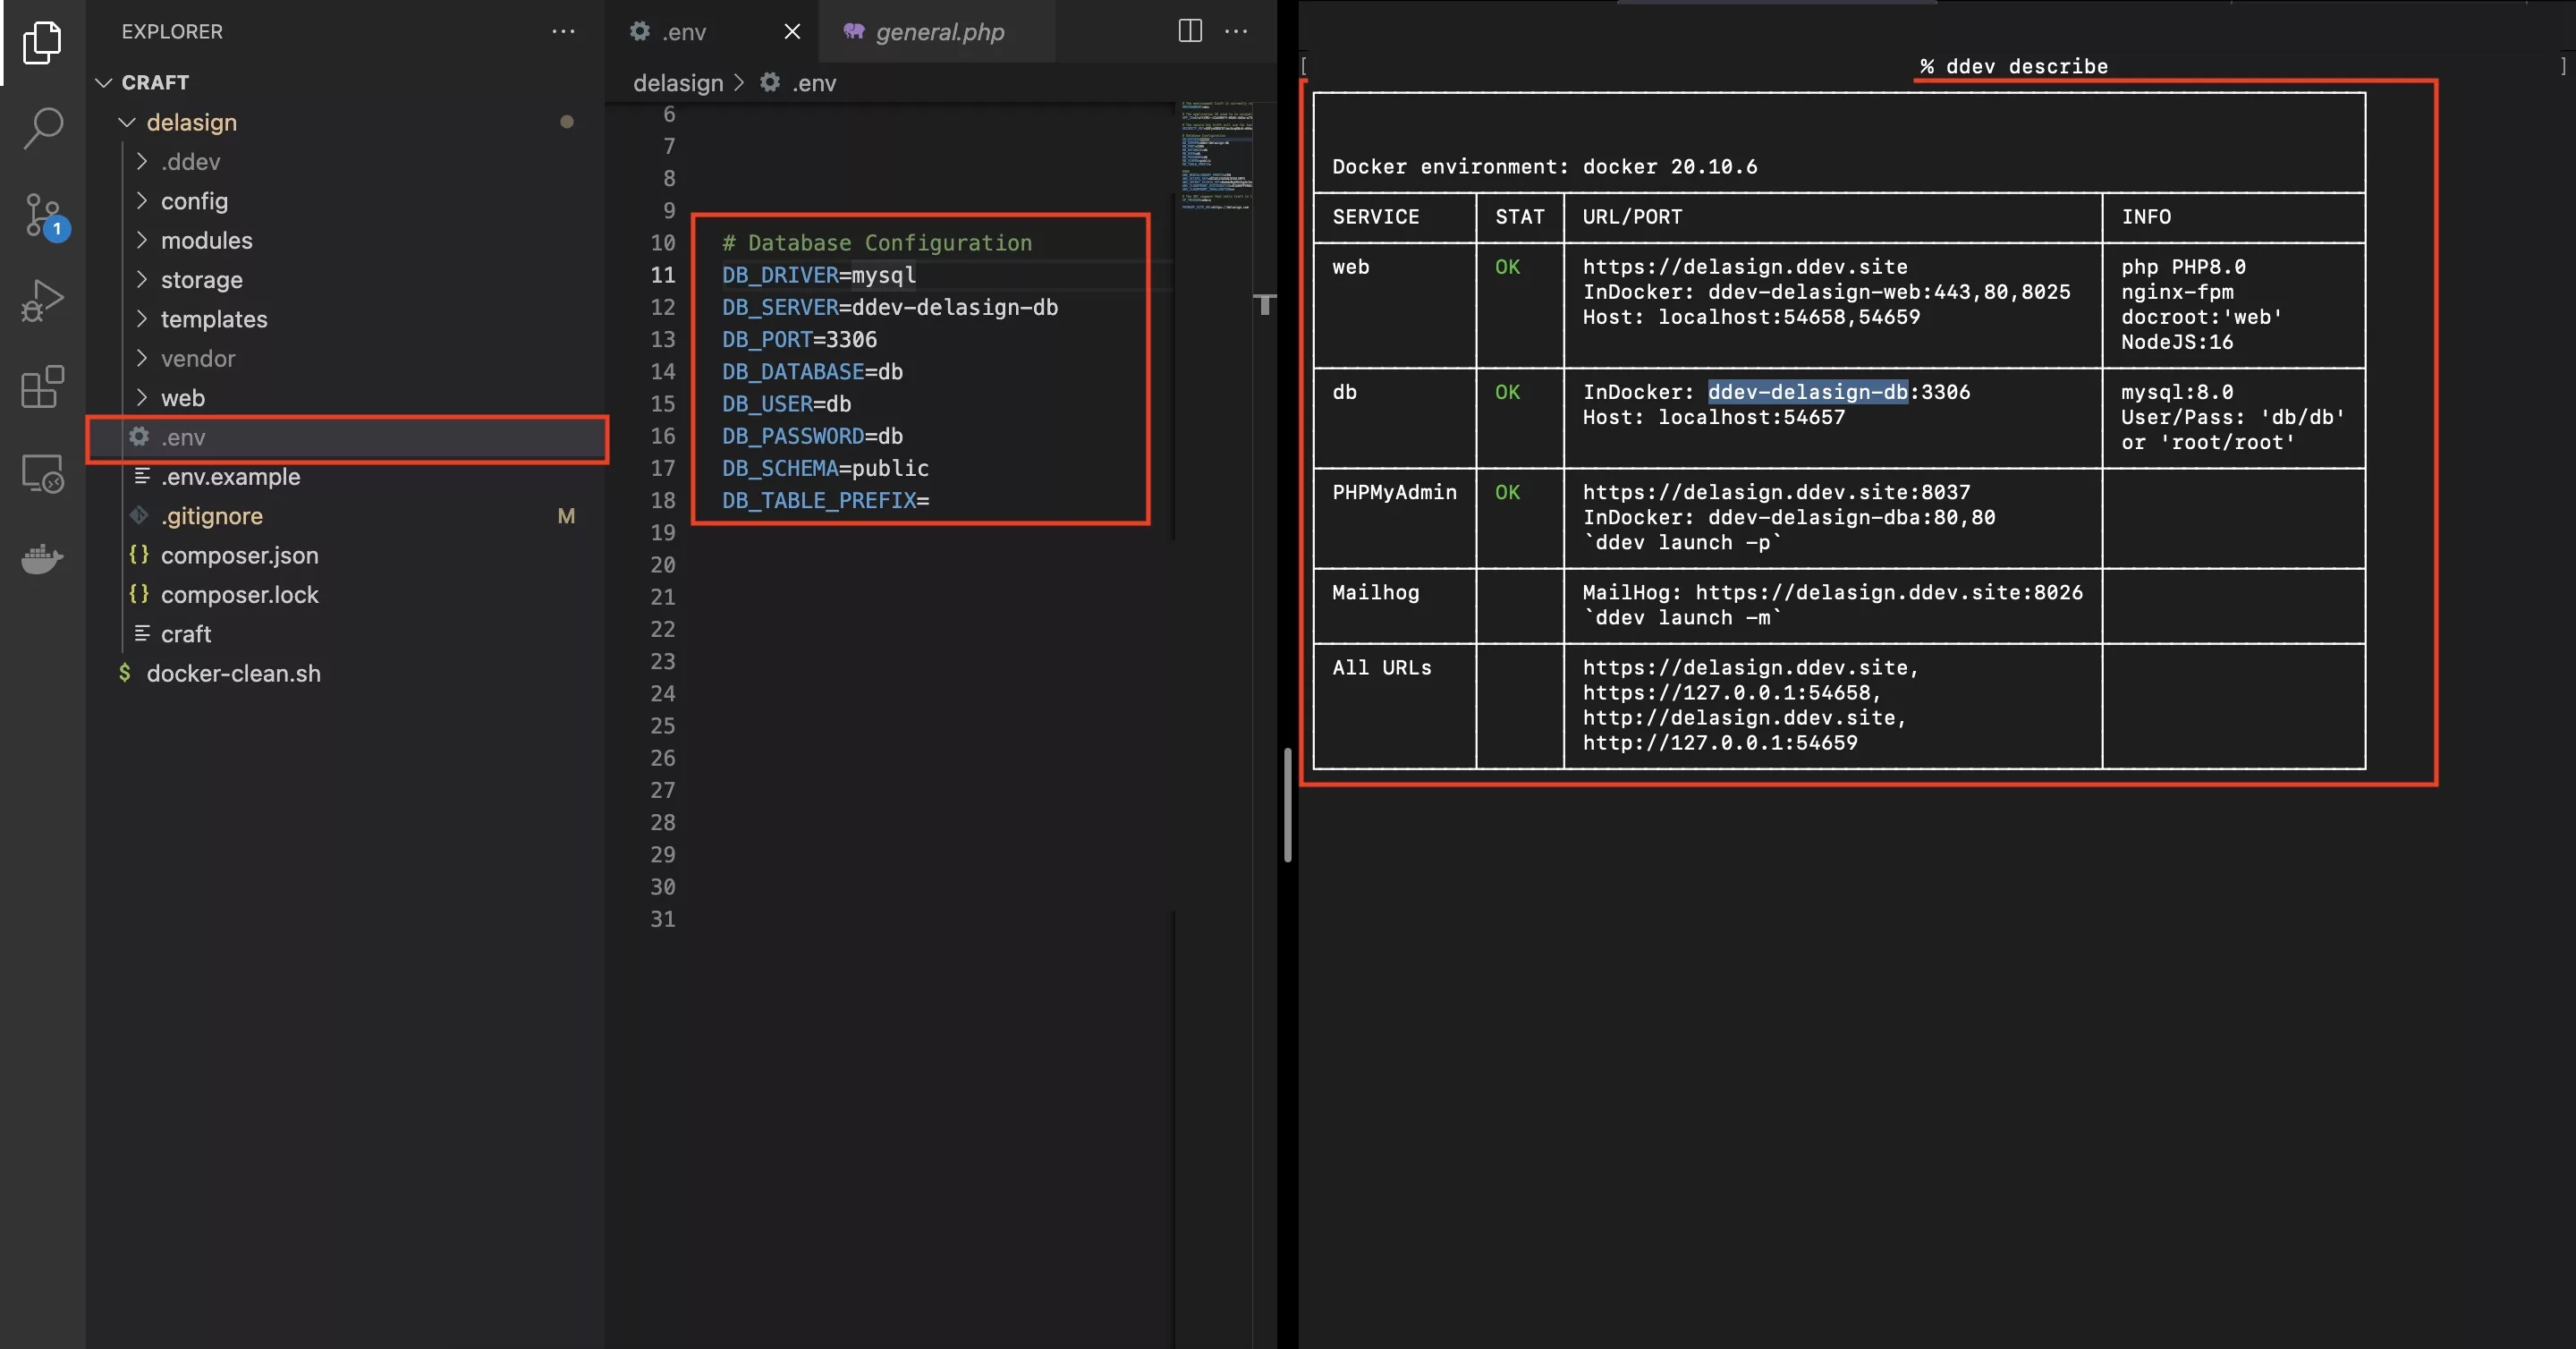
Update your Craft CMS .env to match the details of the ddev describe.
Step Ten: Add .ddev to gitignore
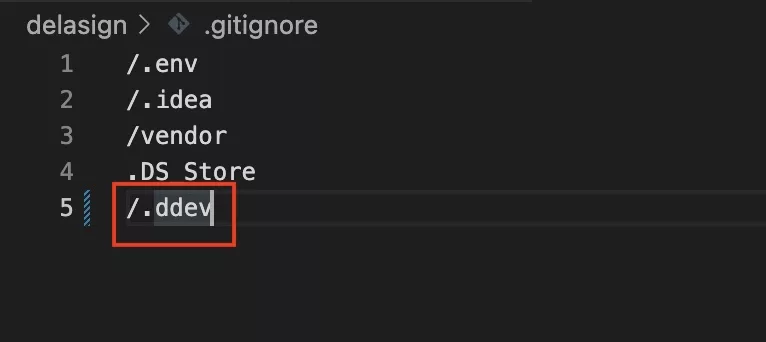
To avoid your project checking in a lot of unnecessary changes, add the .ddev folder to your gitignore.
Step Eleven: Import Database
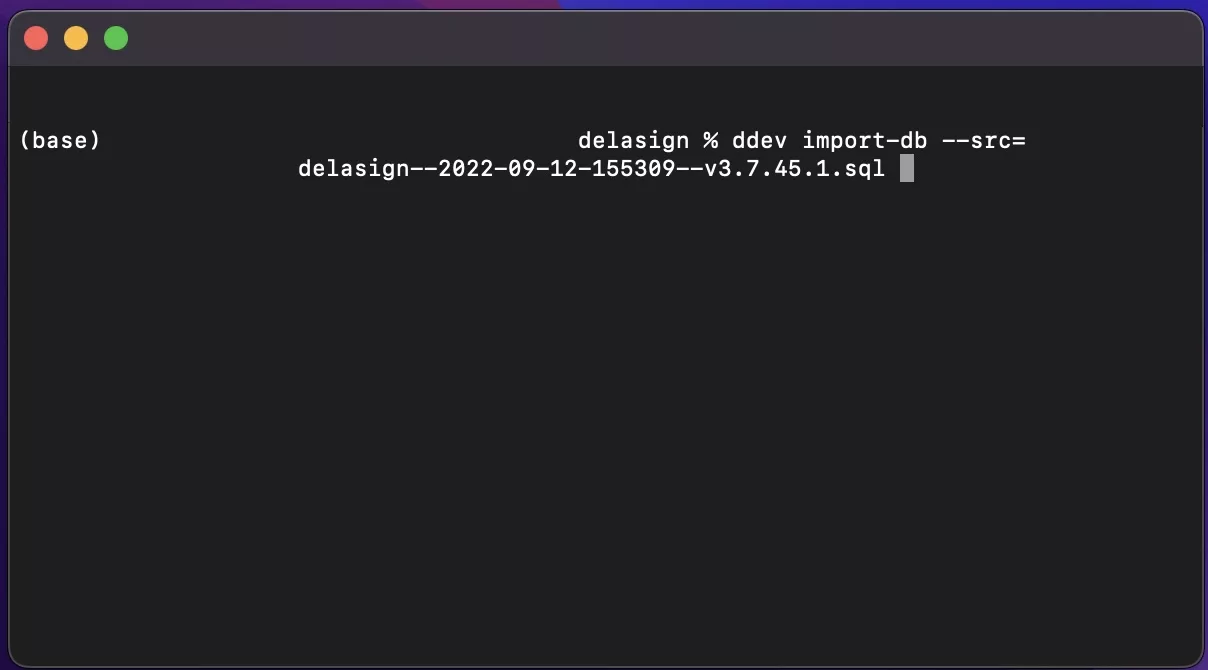
Replace YOUR_DB_PATH, with the path of a dump of your existing database and run the following command in terminal:
ddev import-db --src=YOUR_DB_PATH.sqlStep Eleven: Go to your local website
Copy the Craft CMS website URL found in the ddev describe and paste it into your browser.
Any Questions?
We are actively looking for feedback on how to improve this resource. Please send us a note to inquiries@delasign.com with any thoughts or feedback you may have.