How to create a correct robots.txt file in GatsbyJS


Use the gatsby-plugin-robots-txt along with our guide to submit a valid robot.txt file.

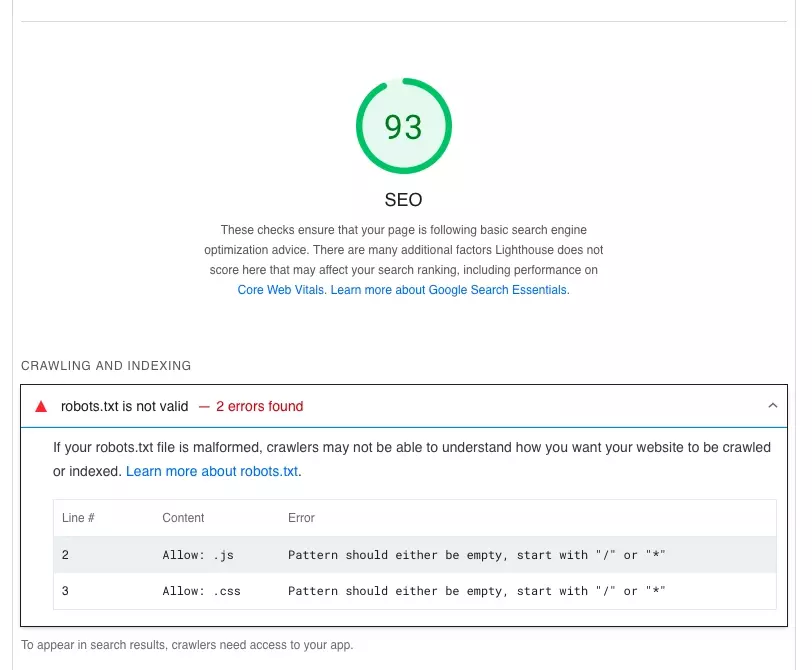
The following article walks you through how to create a correct robots.txt file using GatsbyJS and the gatsby-plugin-robots-txt plugin that produces no errors and which elevates your SEO.
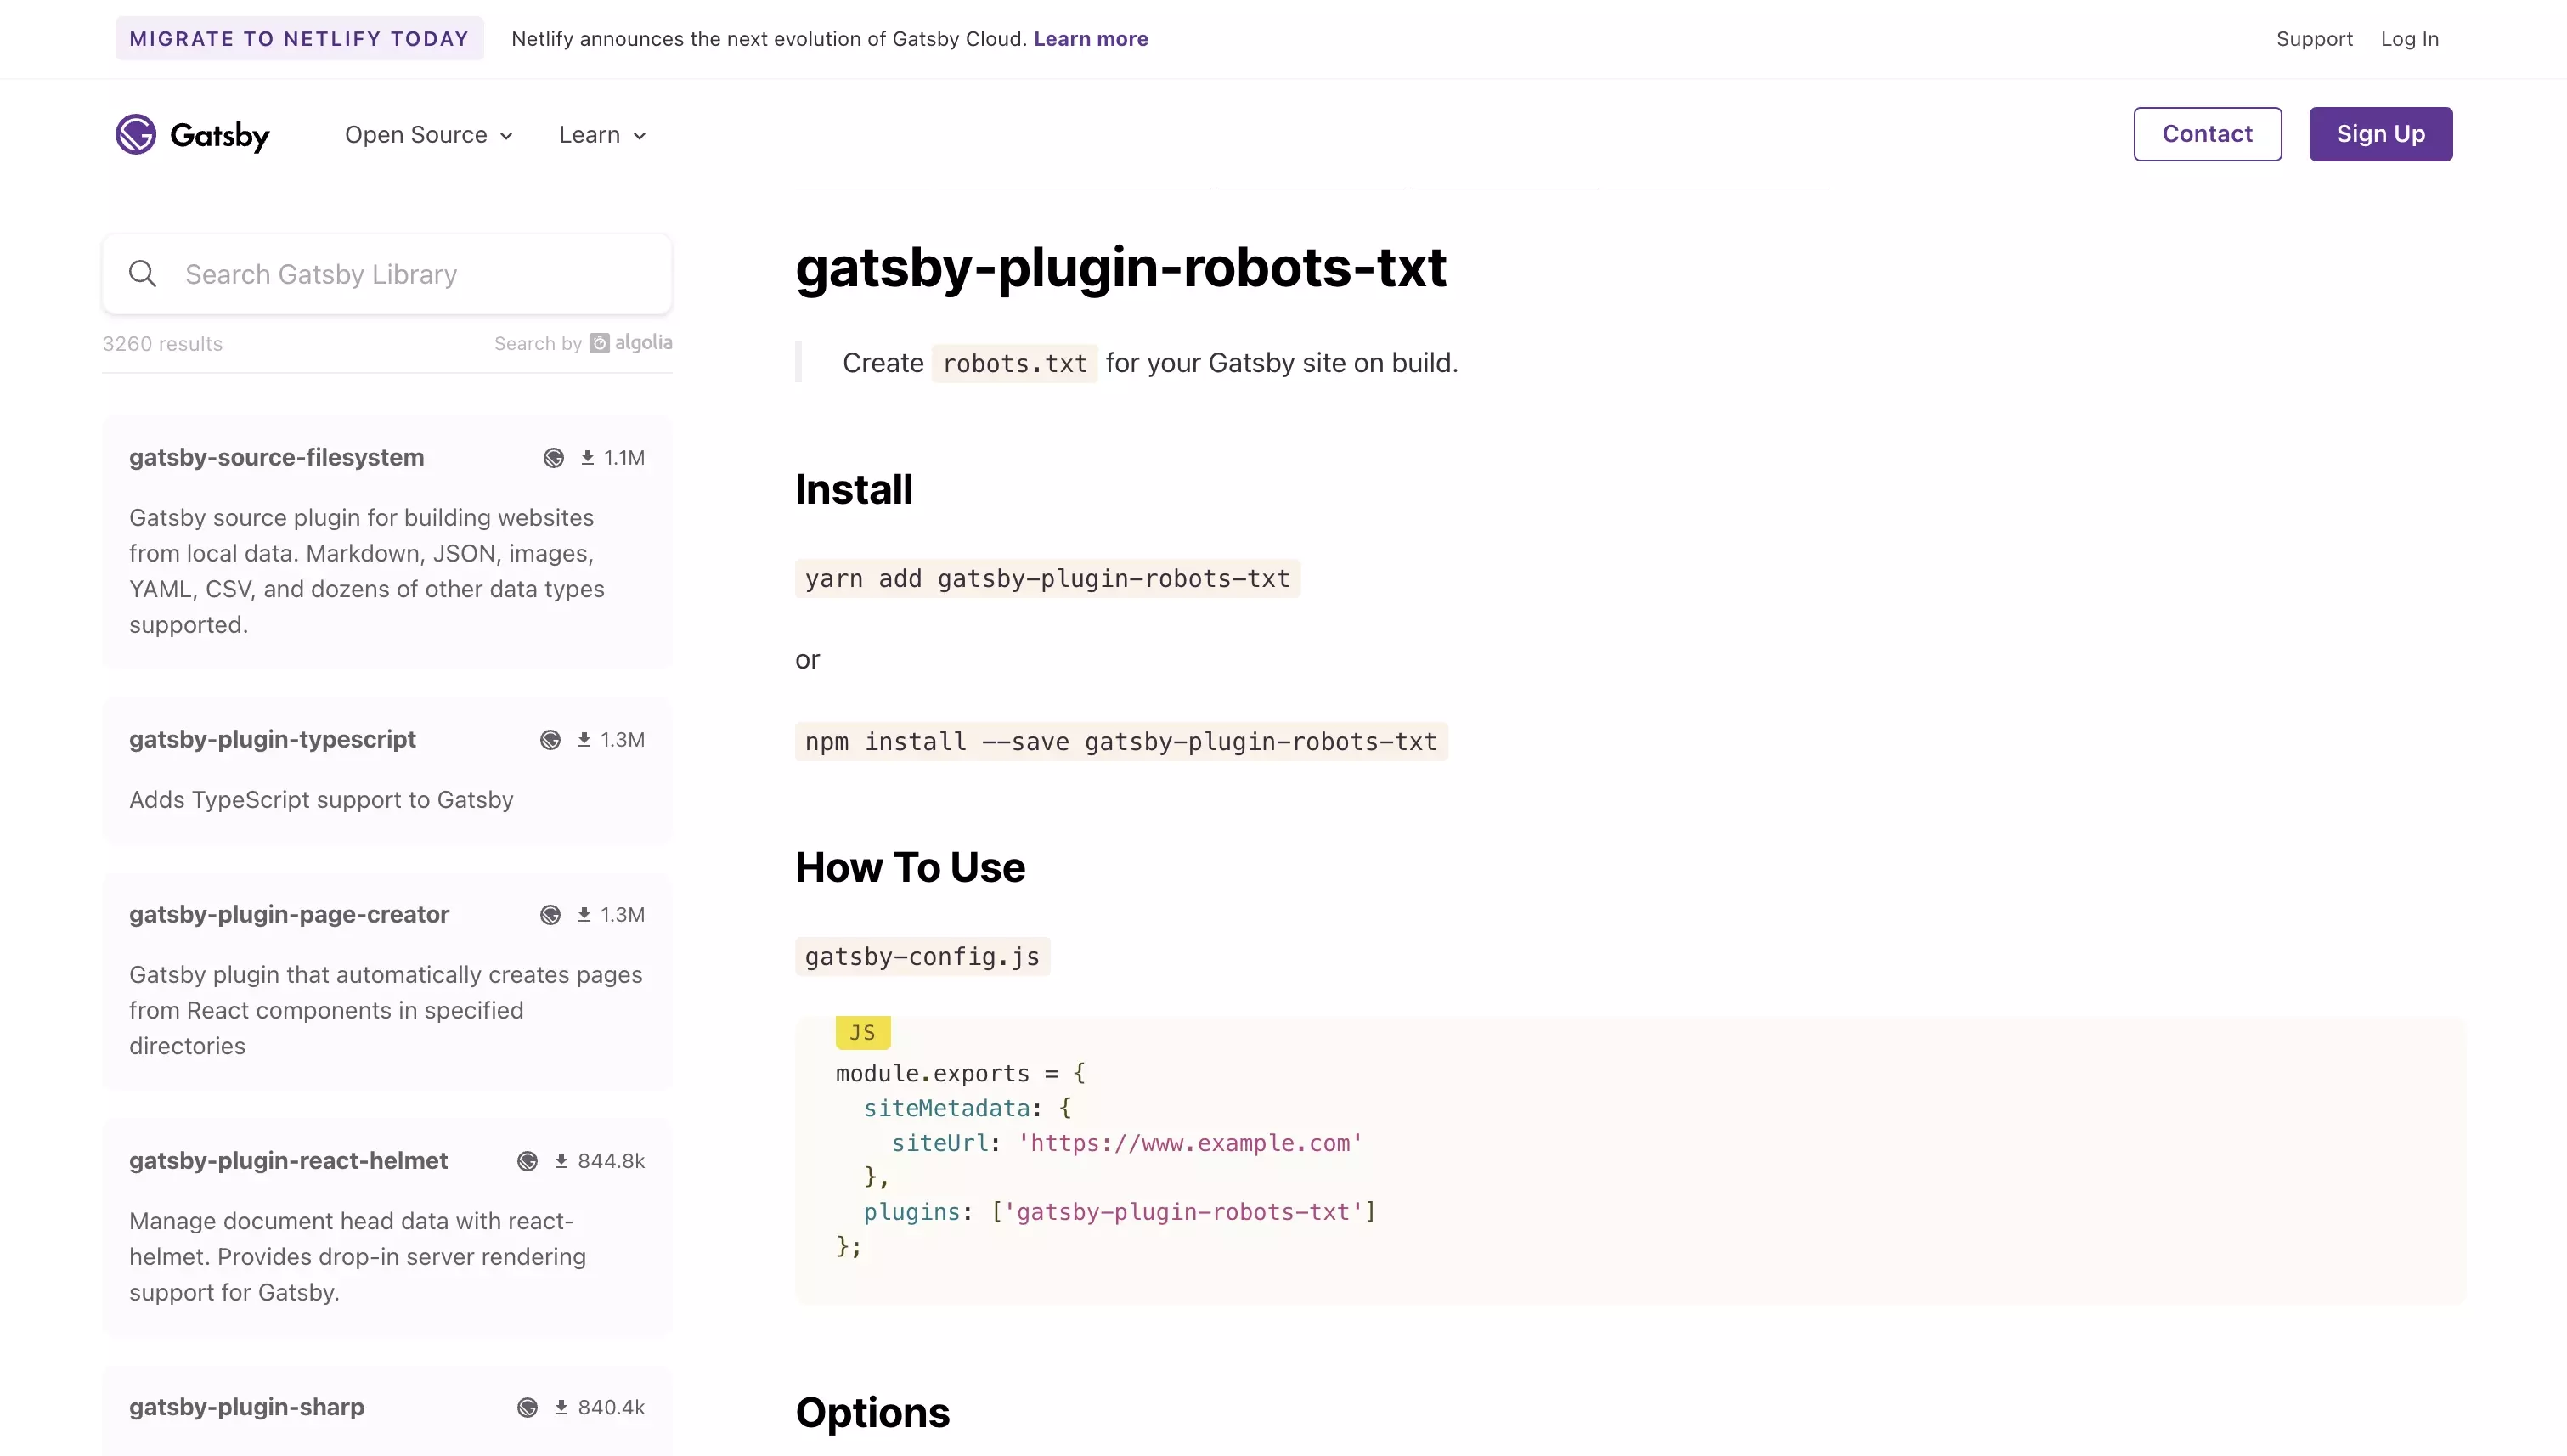
Step One: Add the gatsby-plugin-robots-txt plugin

In Terminal, set the current directory to that of your GatsbyJS project and add the dependency by running the following line:
yarn add gatsby-plugin-robots-txt
The gatsby-plugin-robots-txt plugin will create a robots.txt at the right location within your website.
Step Two: Configure the plugin

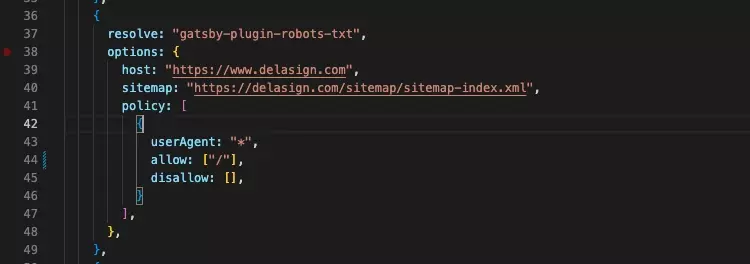
In the gatsby-config.js, add a configuration for the gatsby-plugin-robots.txt similar to the one below.
Please note that you need to update the sitemap url to point to the correct URL.
To learn alternative ways for writing valid robots.txt rules consult the article below.
For an example of using two user-agents, please consult the snippet below. The same pattern can be repeated to add more user-agents.
Step Three: Test

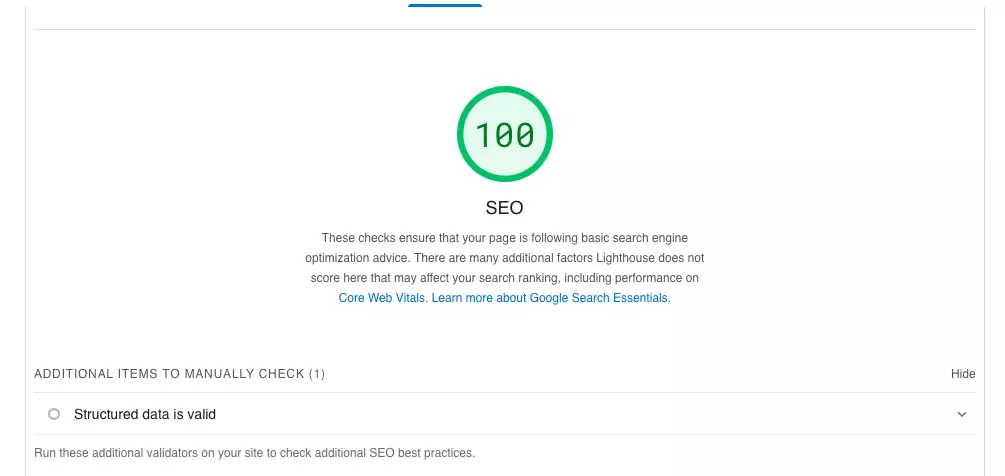
Build and deploy your website and confirm that PageSpeed Insights gives no robots.txt error.
Looking to learn more about ReactJS, GatsbyJS or SEO ?
Search our blog to find educational content on learning SEO as well as how to use ReactJS and GatsbyJS.
