How to create a Typescript NextJS project that uses Tailwind CSS
A step by step guide on creating a NextJS project that uses Typescript and Tailwind CSS.

A step by step guide on creating a NextJS project that uses Typescript and Tailwind CSS.
SubscribeDownload Open Source ProjectNextJS: Create NextJS AppStep One: Install the Dependencies
If you don’t have Node.js installed, install it from here. You’ll need Node.js version 18 or higher.
We also recommend that you install Yarn.
Step Two: Create the Project
In Terminal, set the current directory to the location where you would like to create the project.
cd path/to/directoryThen run the following line, replacing PROJECT_NAME with the name of your project.
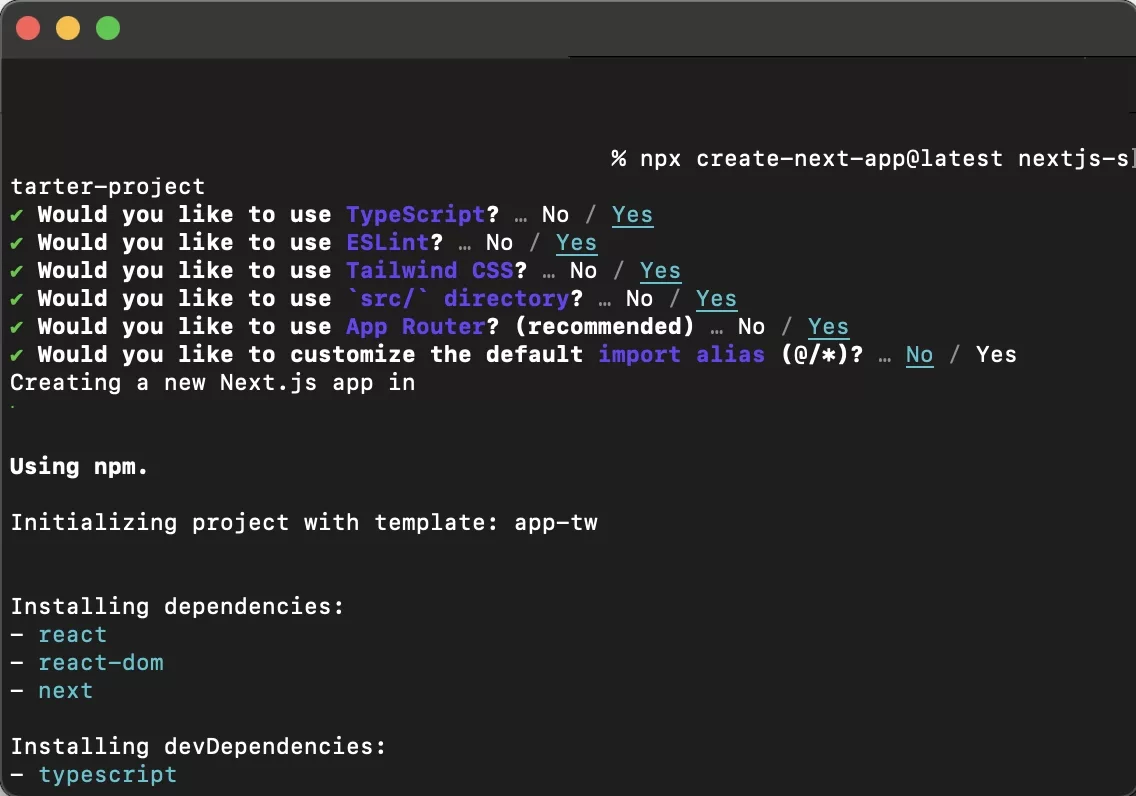
npx create-next-app@latest PROJECT_NAMETo create a project that uses NextJS's blog example, run the following line replacing PROJECT_NAME with the name of your project.
npx create-next-app@latest PROJECT_NAME --use-npm --example "https://github.com/vercel/next-learn/tree/main/basics/learn-starter"Subsequently, answer the questions that the terminal asks to complete the creation of the project.
Step Three: Run Locally
In Terminal, set the current directory to that of the newly created project by running the line below replacing PROJECT_NAME with the name of your project.
cd PROJECT_NAMEThen run the following line:
yarn devPlease note that yarn dev is the equivalent of yarn start in a react project. These commands do the following:
yarn devruns the app in development mode.yarn startruns the app in production.
In order for you to run yarn start you must run yarn build first.
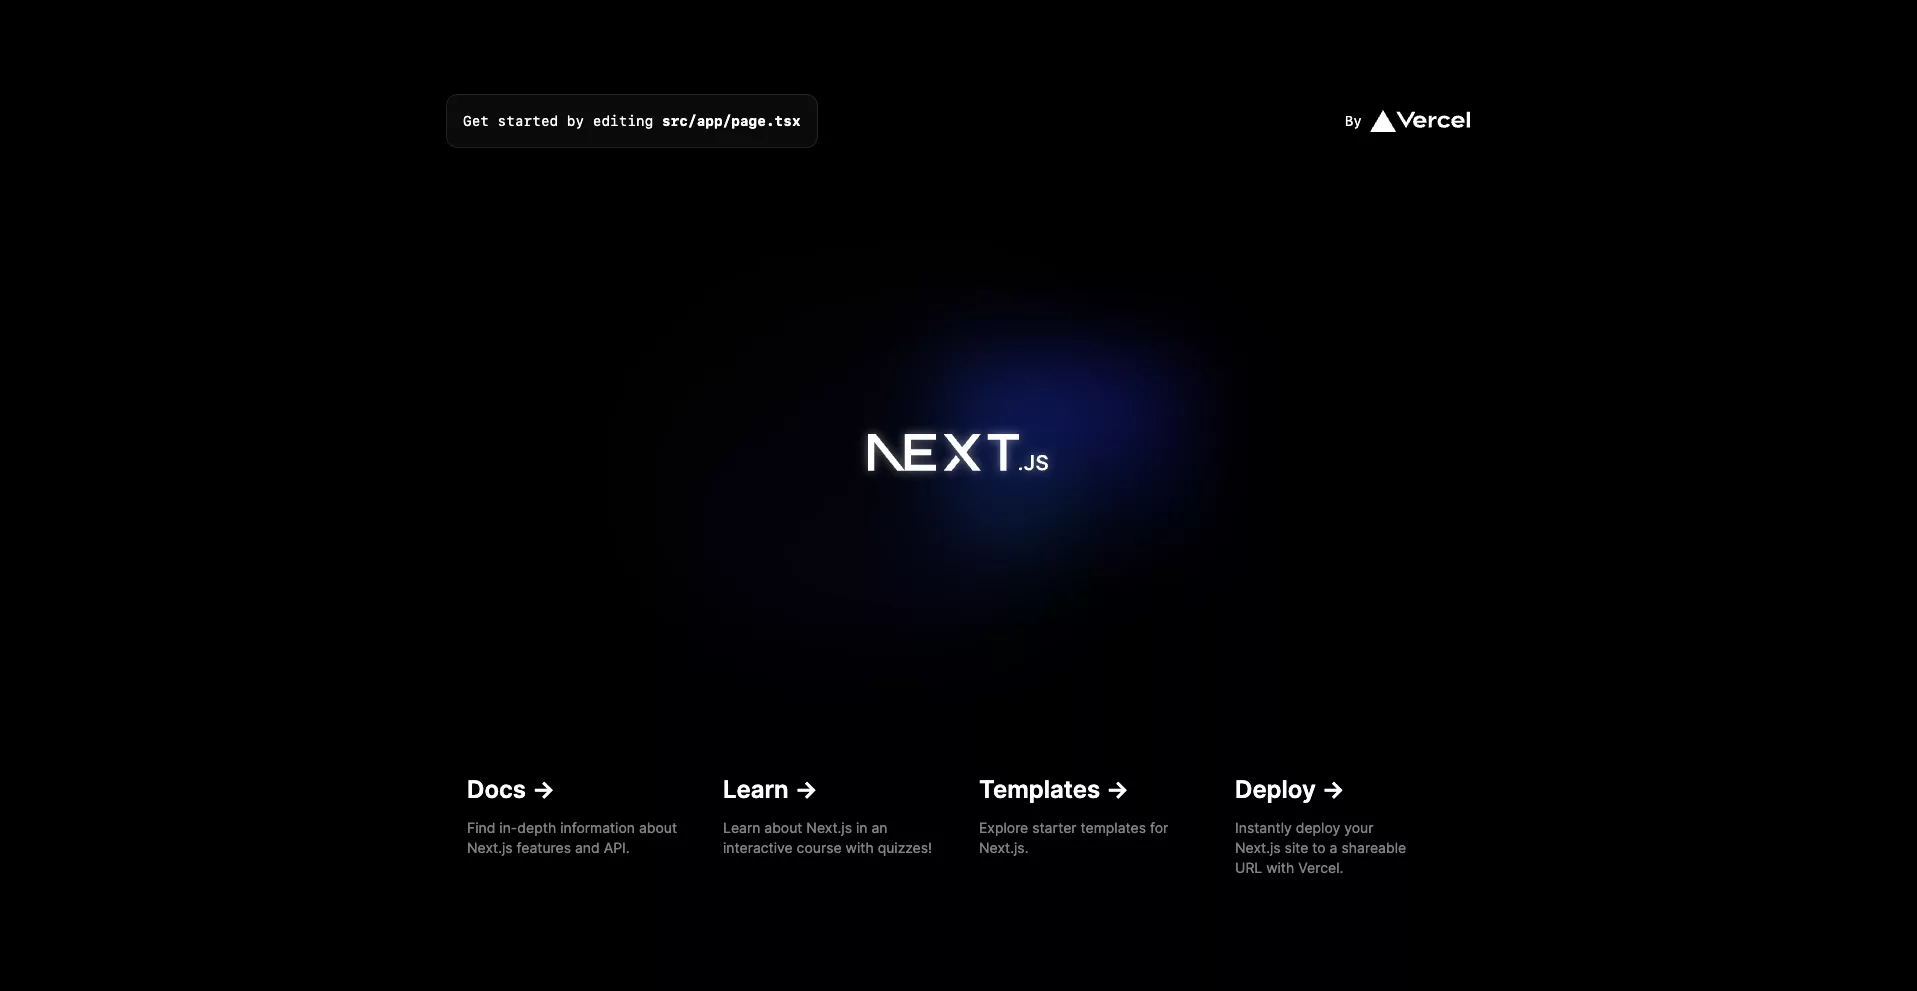
The project will now be available in localhost:3000. Open a new browser window and navigate to localhost:3000 to access the app in development mode.
Looking to learn more about NextJS, ReactJS or web development?
Search our blog to find educational content on NextJS, ReactJS and web development.