How to add a domain to Facebook Events Manager

Oscar de la Hera Gomez
A flower that represents Meta, beneath it sits the text "Add Domain to Events Manager."

A step by step guide on adding a domain to Facebook (Meta) Events Manager.

Please note that you need a Business account for this to work, otherwise you will be taken to a broken link.

Step One: Access the Events Manager

A screenshot of the overview page of the Facebook Business Events Manager. This is the screen that appears after logging in.

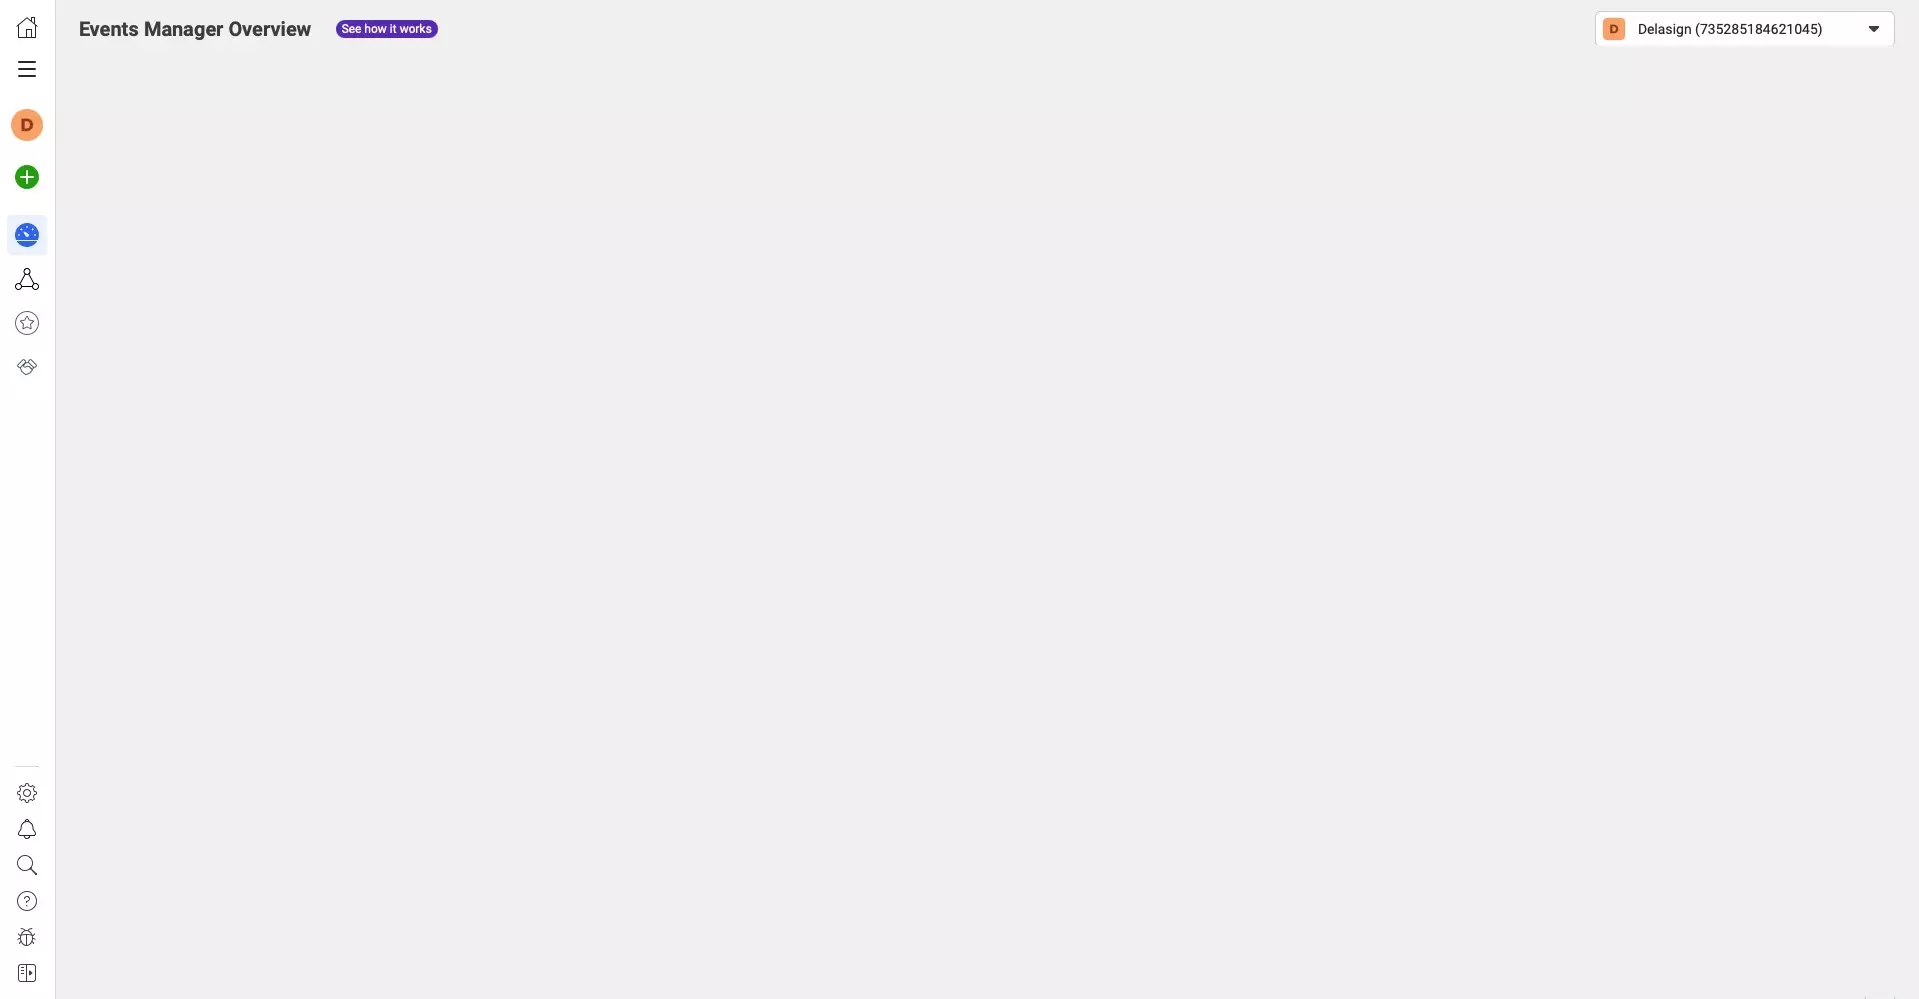
As aforementioned, you need a Facebook business account for this to work.

If you try to access this feature through the add a Meta Pixel flow in the standard events manager, it will show you a broken link.

Step Two: Open Business Settings

A screenshot of the Overview page of the Facebook Business Events Manager with a highlight on the gear on the bottom left which opens the business settings.

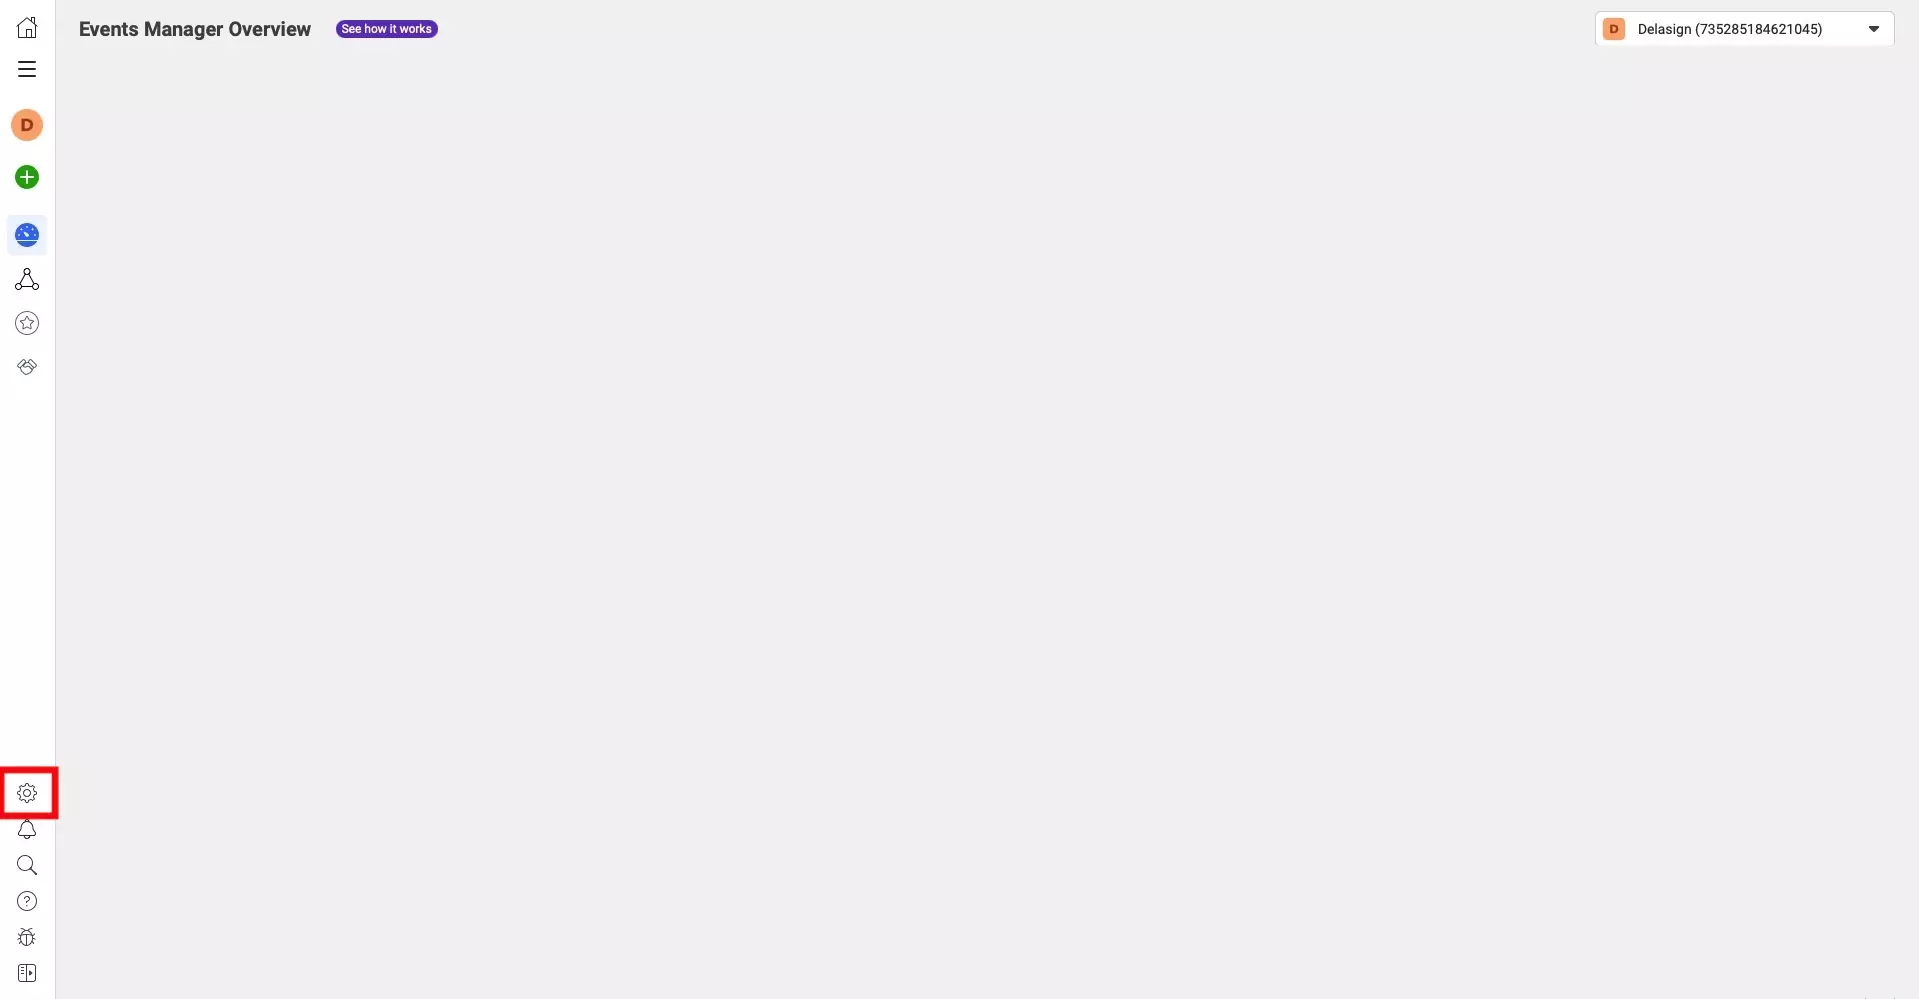
On the left menu side bar, press the Gear icon to open the Business Settings.

Step Three: Select Brand Safety

A screenshot of the Facebook Business Events Manager, Business Settings screen. Highlighted is the Brand Safety tab on the left menu side bar. Press it and move to the next step.

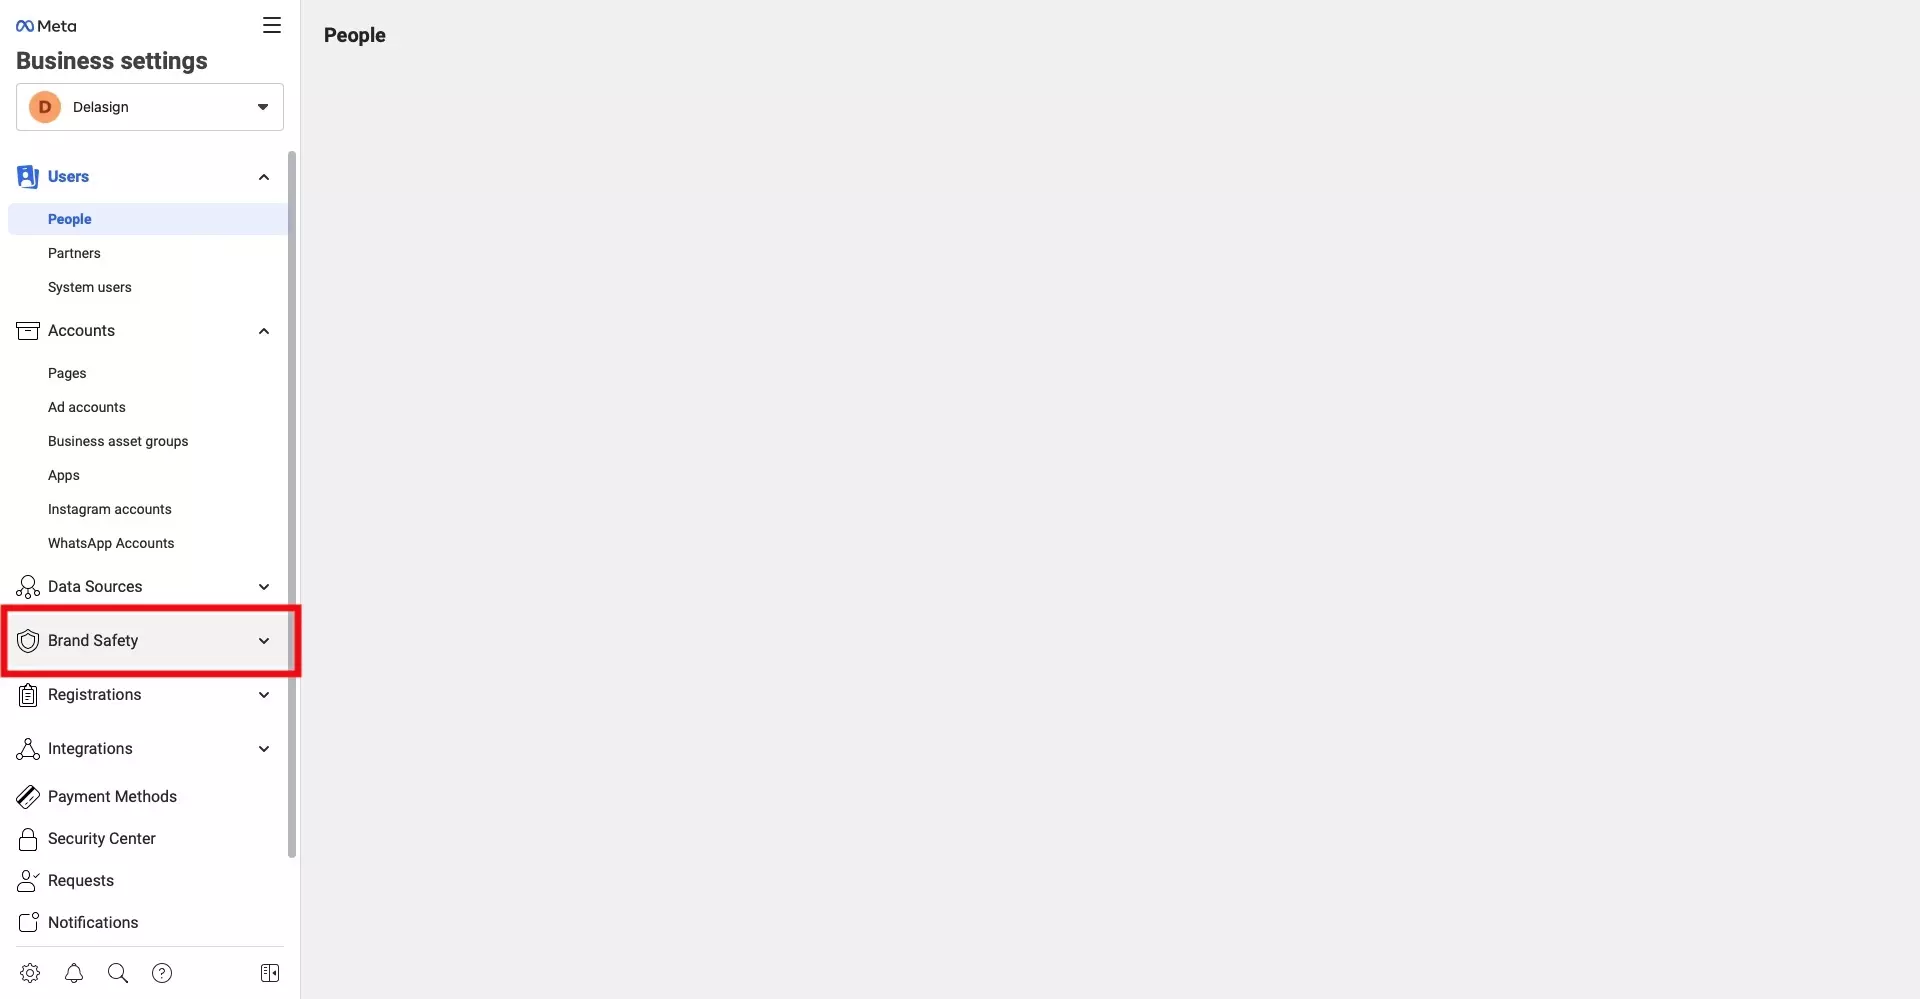
On the left menu side bar, press Brand Safety.

Step Four: Select Domains

A screenshot of the Facebook Business Events Manager, Business Settings screen. Highlighted is the Domains tab on the left menu side bar, that appears when you press Brand Safety. Press it and move to the next step.

Under Brand Safety, on the left menu side bar, press Domains.

Step Five: Add

A screenshot of the Domains page, within the business settings of the Facebook Events Manager. We have highlighted the add button in the center of the screen, which appears if you have never added a domain beforehand.  If you have added added a domain before , consult the text below for the position of this button. Press it to continue to the next step.

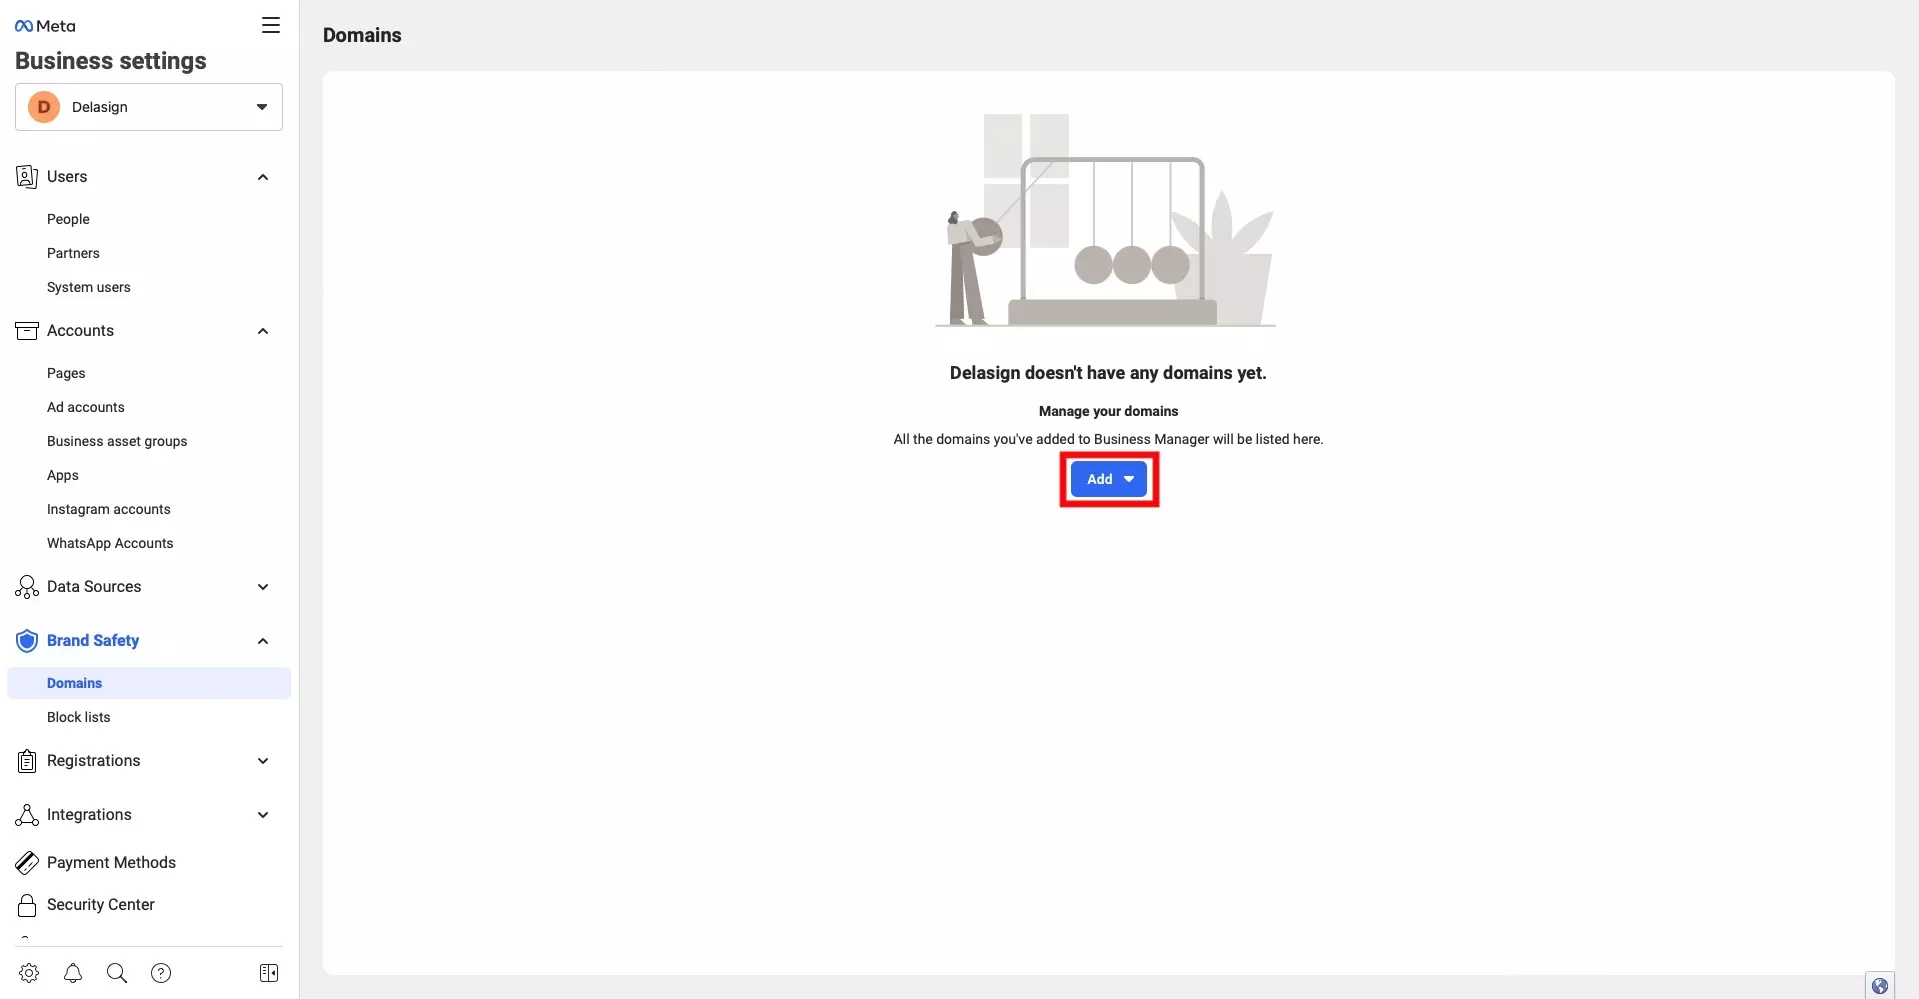
Press the Add button to begin the process of adding a new domain.

If you have already added a domain, this button will be on the top left.

If you have never added a domain, it will the central - as demonstrated in the image above.

Step Six: Select Create a new domain

A screenshot of the modal that appears when you wish to add a new domain. Highlighted is the "Create a new domain" button. Press it to continue to the next page.

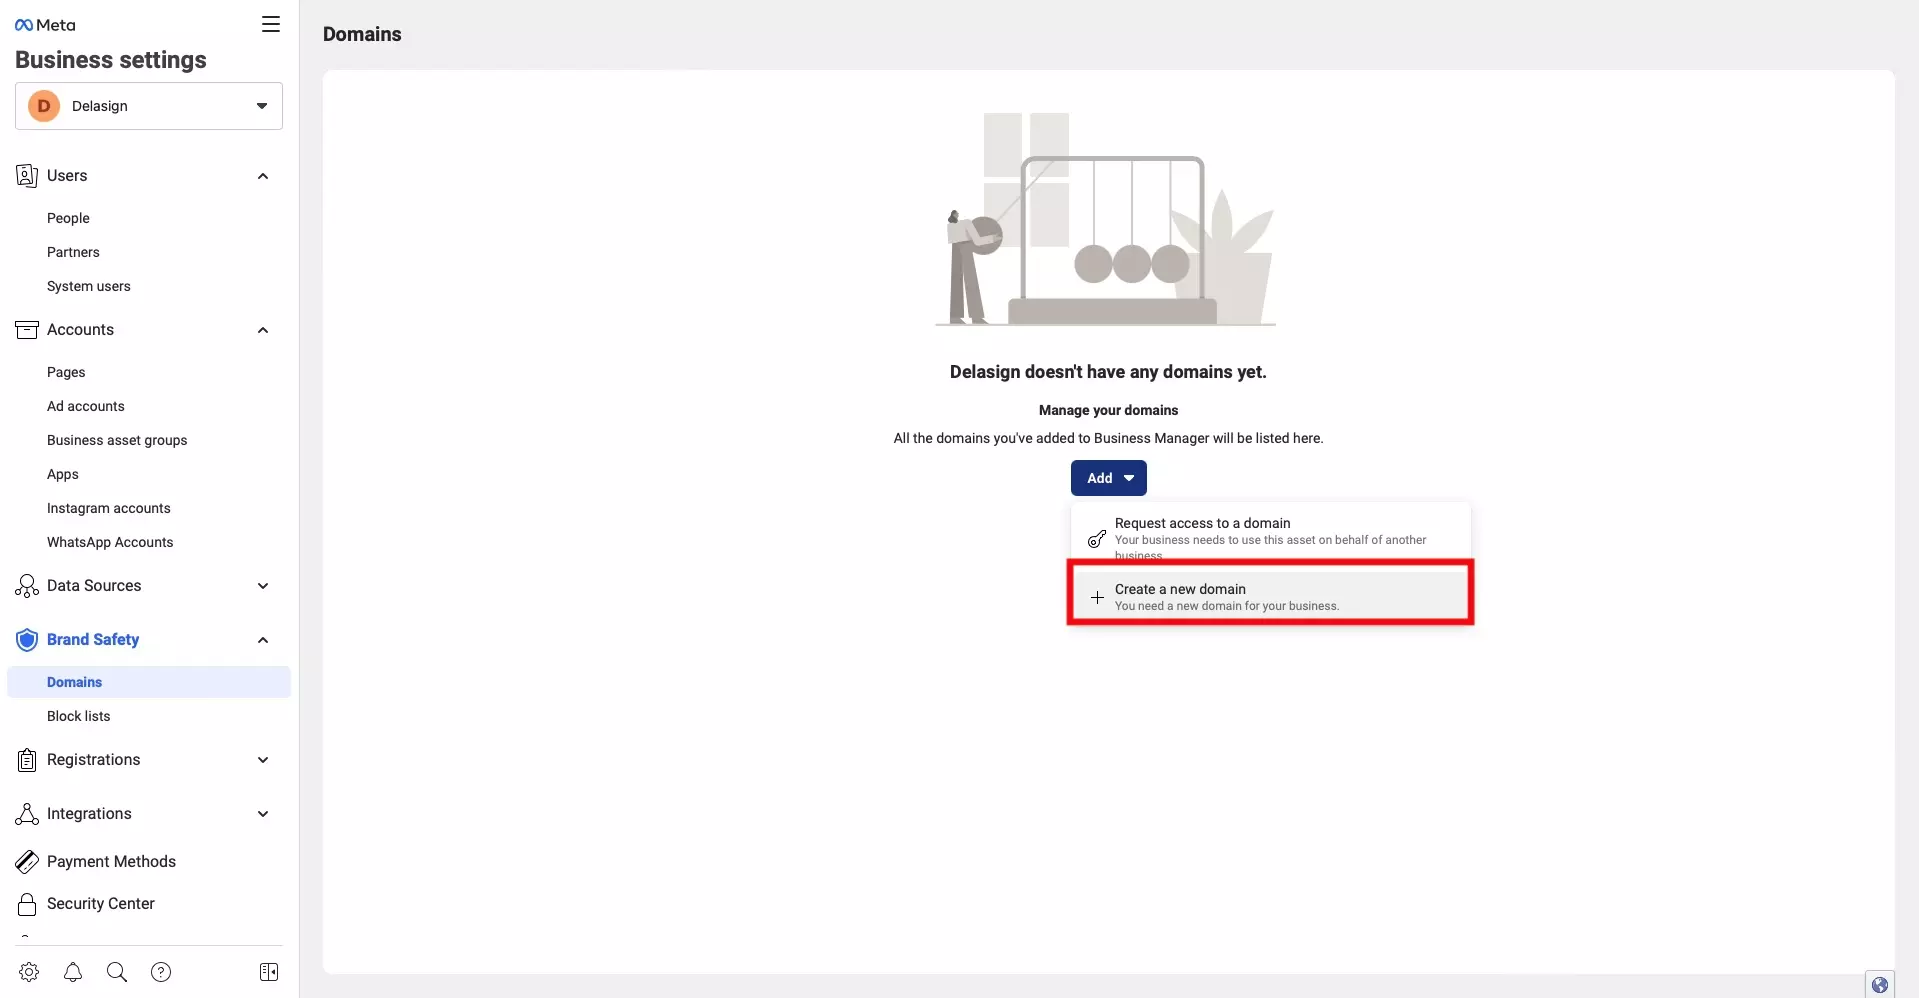
In the modal that appears below the Add button, press Create a new domain.

Step Seven: Name & Add

A screenshot of the Add a Domain modal that appears. Highlighted is the input where you must enter your domain. We have also highlighted the Add button on the bottom right of the modal, which you must press once you have entered your domain to continue to the next step.

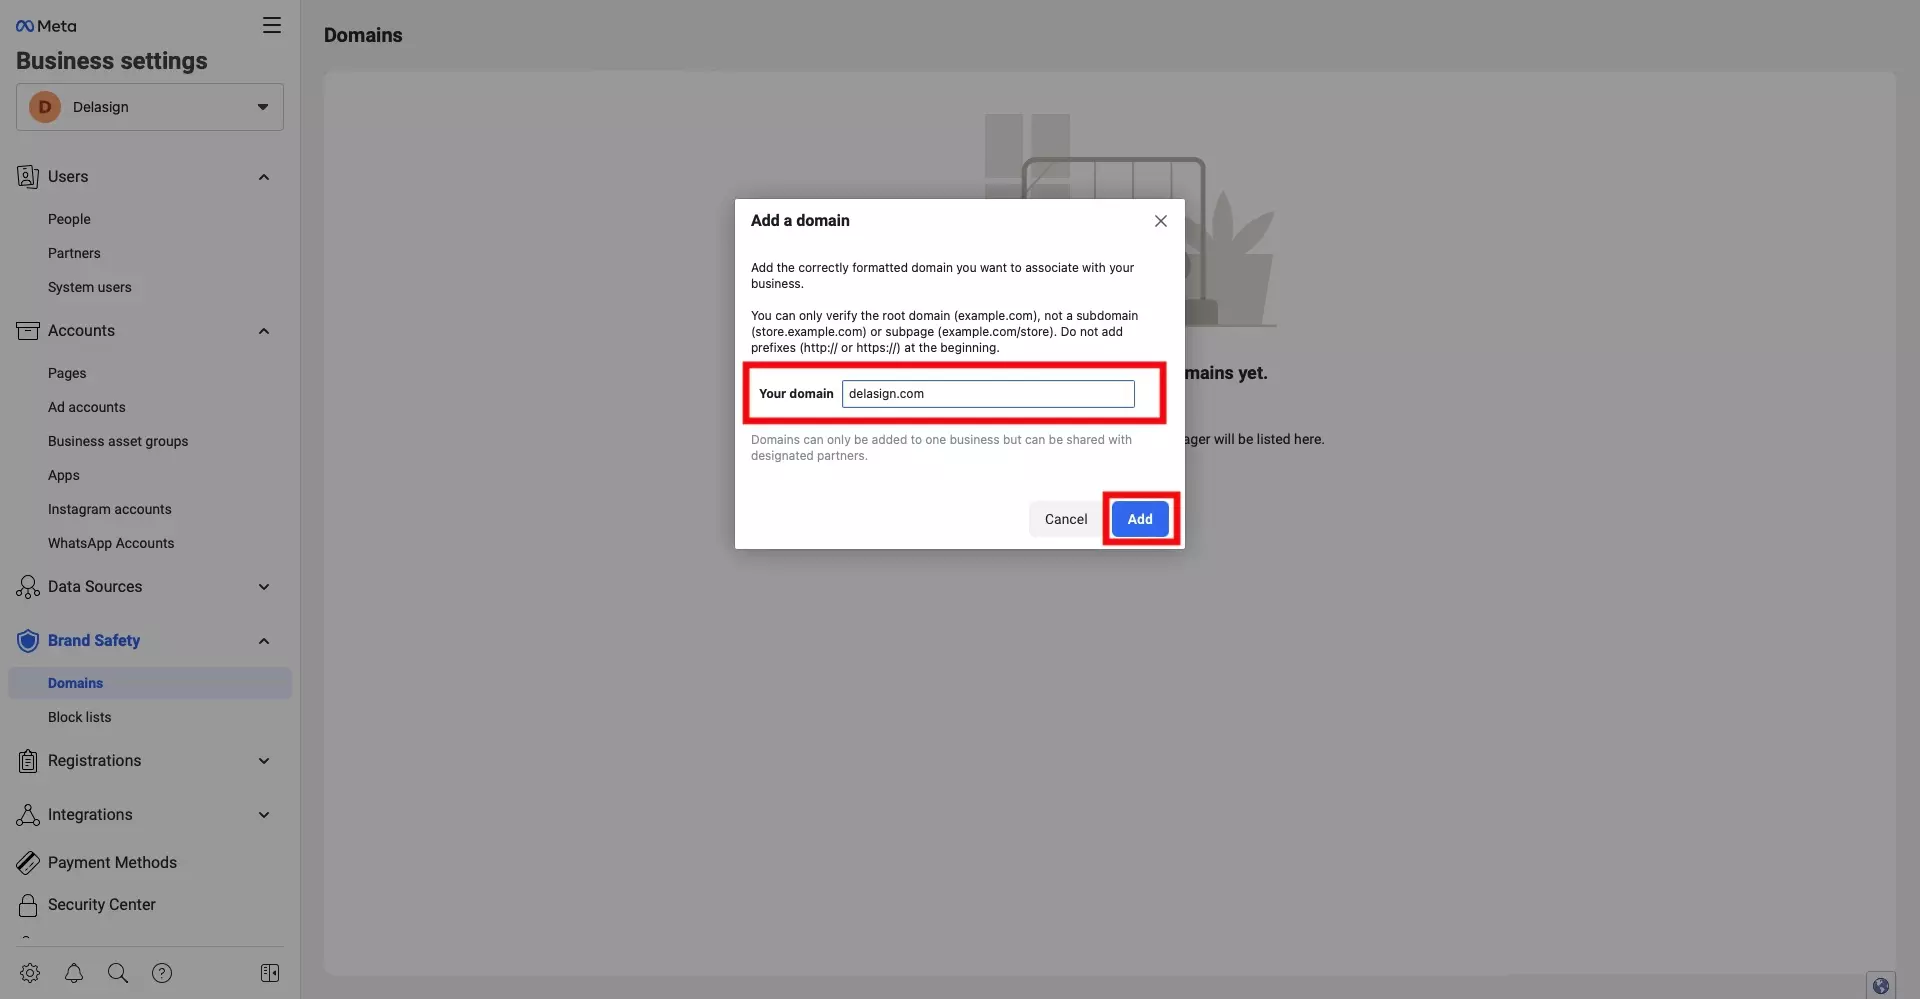
In the modal that appears, next to Your domain enter the domain you wish to add, and subsequently click the Add button on the bottom right of the modal.

Please note Meta can only verify the root domain and the url you must input must not include http:// or https://.

Step Eight: Verify

A screenshot of the created domain without being verified. Follow the instructions on the page to add it to your domain. Once you are done, press the "Verify Domain" which appears below the details on how to add the verification meta tag.

If you reach a page similar to the page above, you have successfully added a domain to Facebook Events Manager. As demonstrated on the screenshot above, you verify it you must add a meta tag to your domains home page and deploy the changes.

Once you are done deploying the changes, press Verify.

If you are using React or Gatsby, we recommend you add this to your react-helmet component if you already have one, or if not, create a new react-helmet component and add this meta tag to it.

Step Nine: Verified

A screenshot of the screen that appears once you have verified the domain. It includes a modal that has a checkmark, informing you that your domain has been successfully verified.

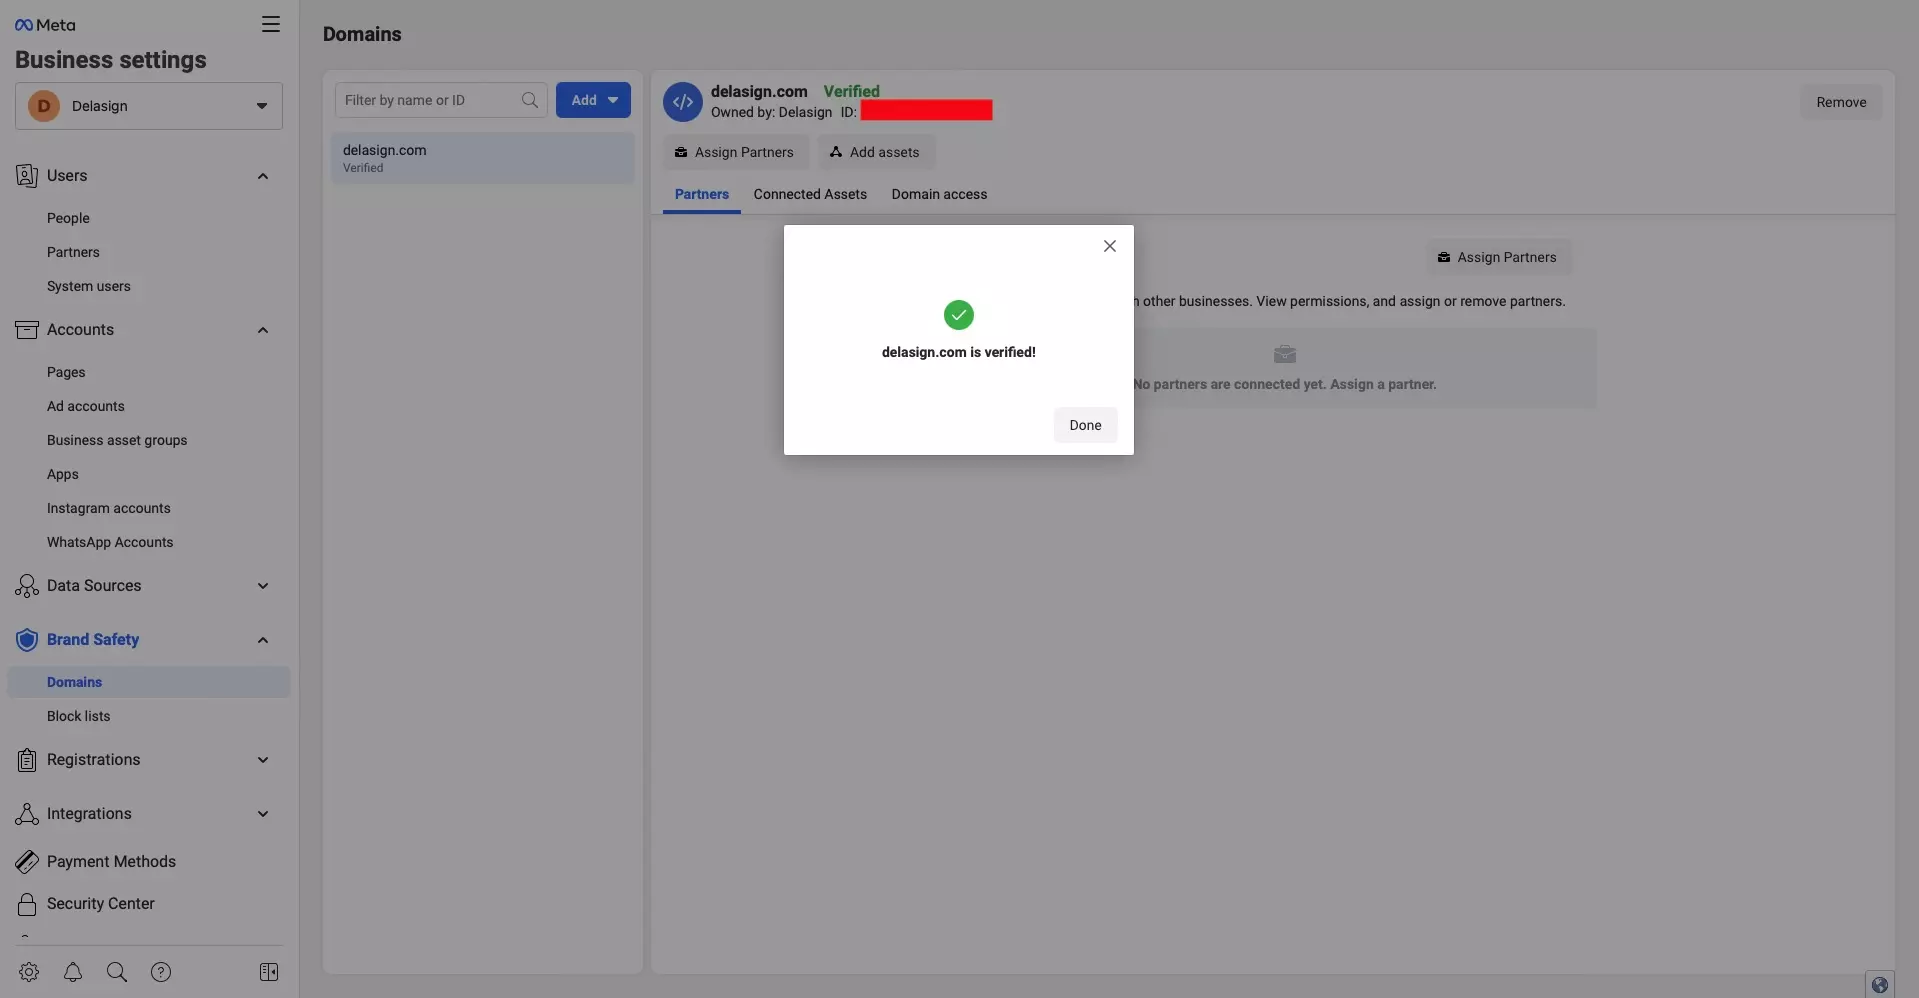
If all goes well you will see a screen similar to the one above.

Any Questions?

We are actively looking for feedback on how to improve this resource. Please send us a note to inquiries@delasign.com with any thoughts or feedback you may have.
delasign logo

Book a Free Consultation.

An icon of an email.

Click here to email us.

Fill in the details below to book a free consultation or to let us know about something else. Whatever it is, we are here to help.

How can we help you ?

Contact Details