How to control anti-aliasing of an MTKView in Swift

To control anti-aliasing in Metal, set the sample count of the MTKView and the raster sample count of the MTLRenderPipelineDescriptor to the same value (i.e 2 is 2x, 4 ix 4x, 8 is 8x).
In Metal, you can control antialiasing through the use of the Multisample Anti-Aliasing (MSAA) technique. MSAA helps reduce jagged edges (also known as "aliasing") in computer graphics by sampling multiple points within each pixel to create smoother and more visually pleasing edges.
To do this you must first create and define a sampleCount variable (i.e. 2 for 2x, 4 for 4x, 8 for 8x) and then apply the variable to the sampelCount of the MTKView and the rasterSampleCount of the MTLRenderPipelineDescriptor.
It is important for you to do it in this order otherwise you will get an error similar to the one detailed below.
The color sample count (1) does not match the renderPipelineState's color sample count (4)
The raster sample count (1) does not match the renderPipelineState's raster sample count (4)
Step One: Declare the Sample Count
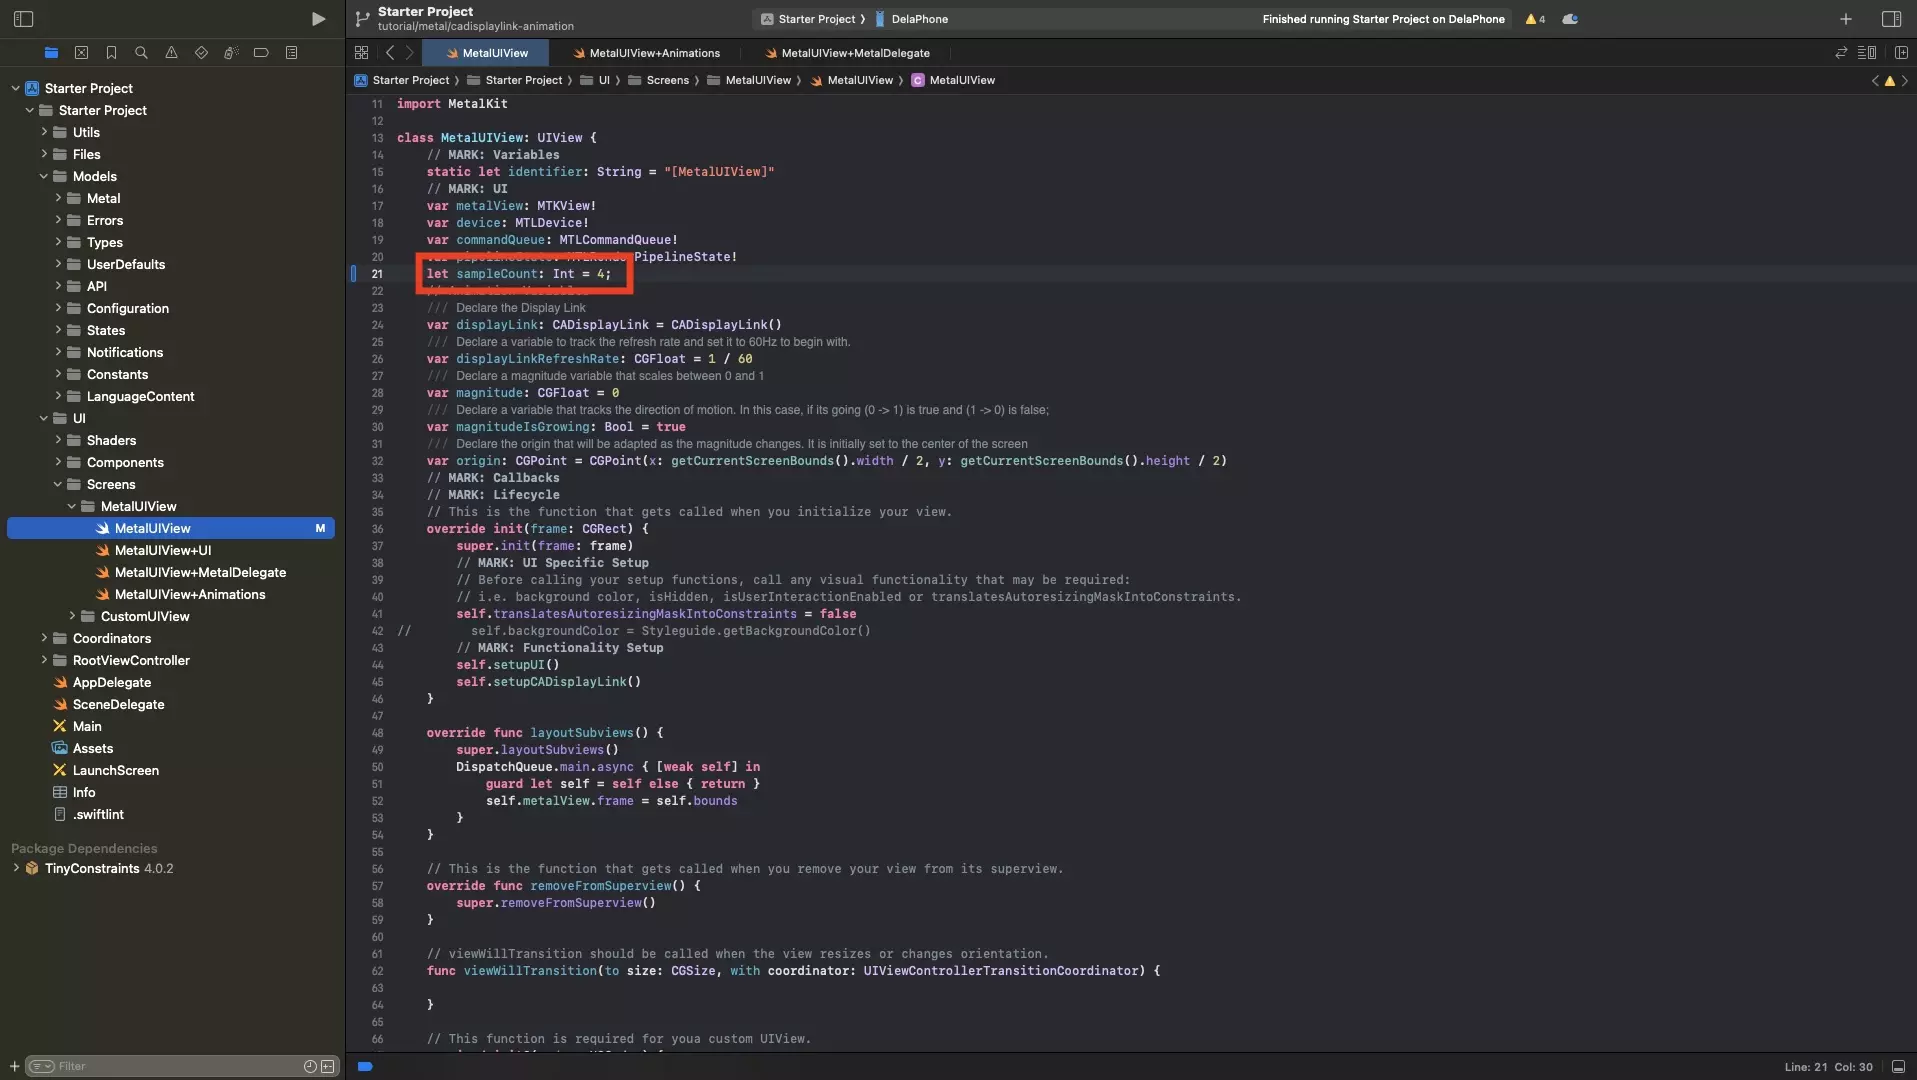
In the declaration of the UIView that hosts your MTKView, declare a constant called sampleCount and set it to the value that you wish (i.e. 2 for 2x, 4 for 4x or 8 for 8x).
If you are looking to learn how to create a view that draws animated shapes on a MTKView, consult the links below.
Step Two: Set the Sample Count of the MTKView
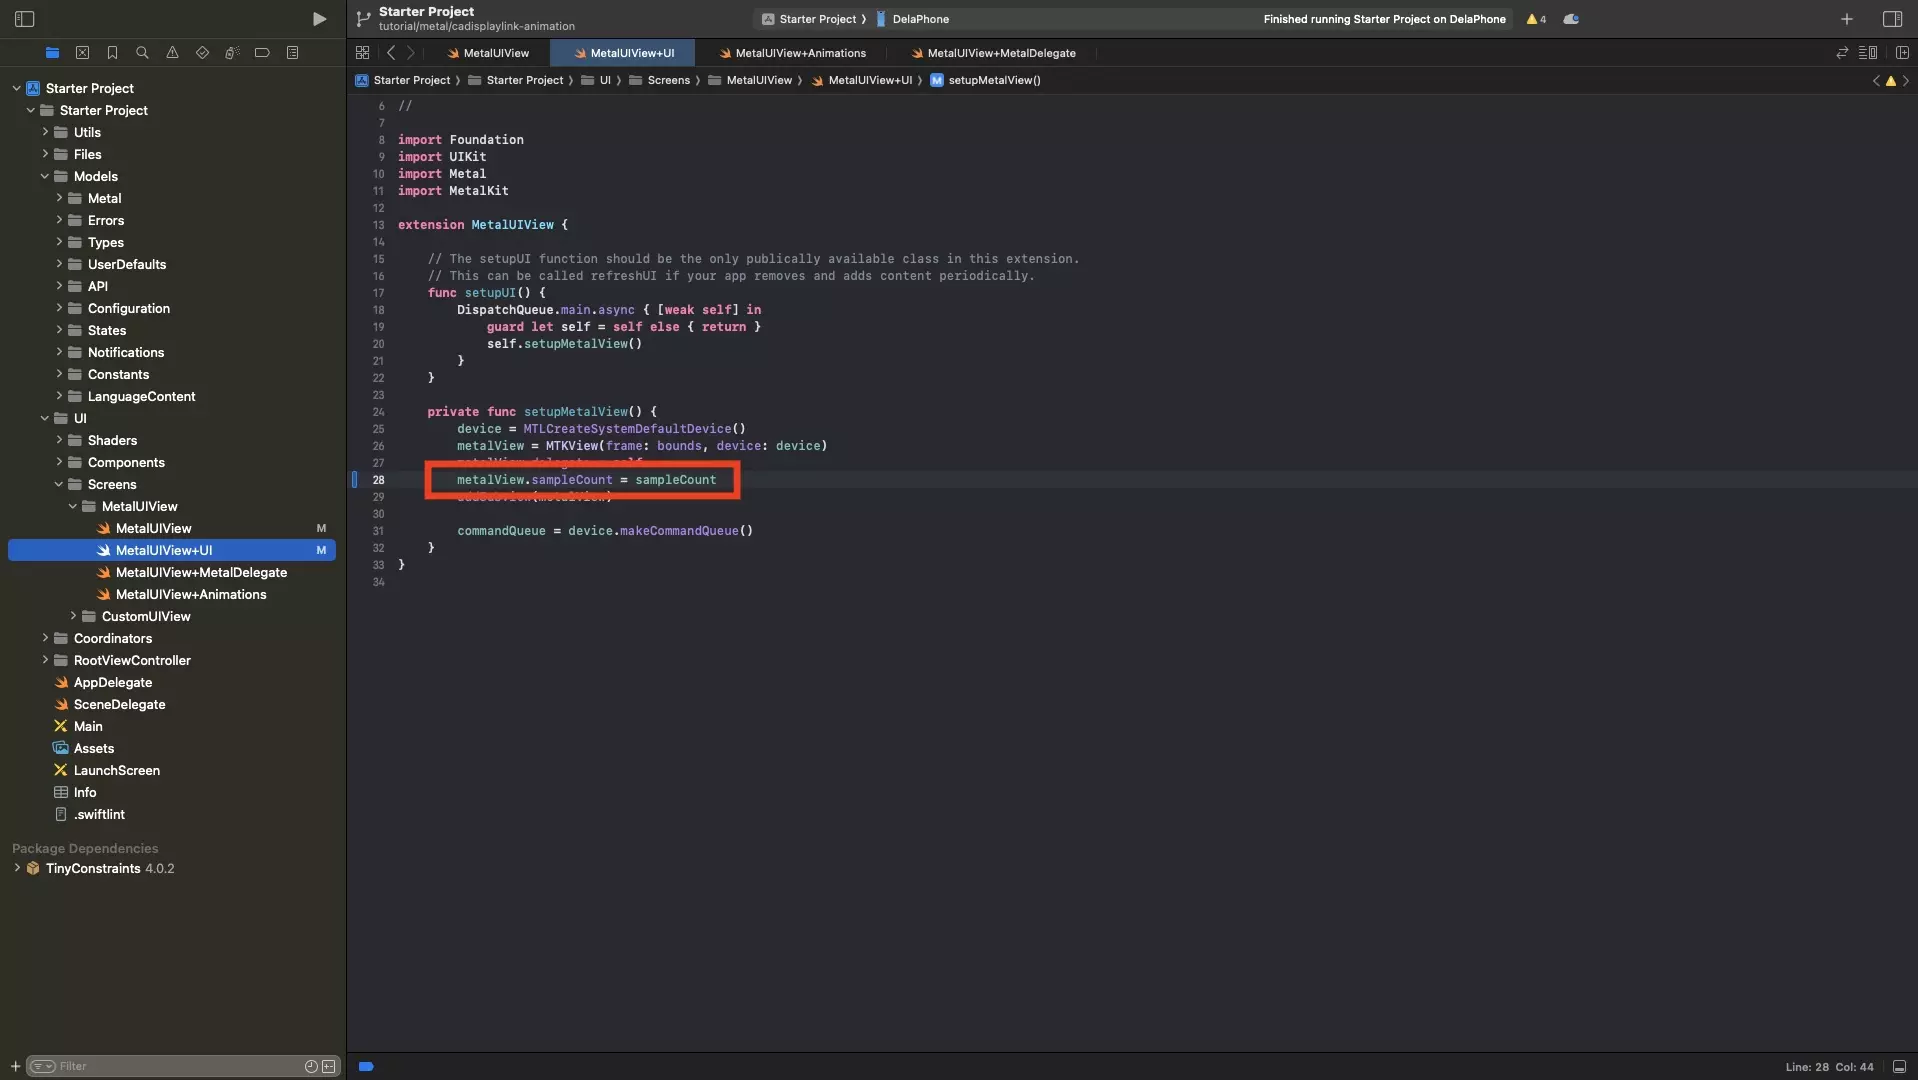
In the function where you setup the MTKView and add it to the UIView, set the sampleCount of the MTKView to the constant declared in Step One.
It is important that you do set the sample count of the MTKView before you access the view's drawableSize and device properties. Otherwise the process will not work.
Step Three: Set the Raster Sample Count of the MTLRenderPipelineDescriptor
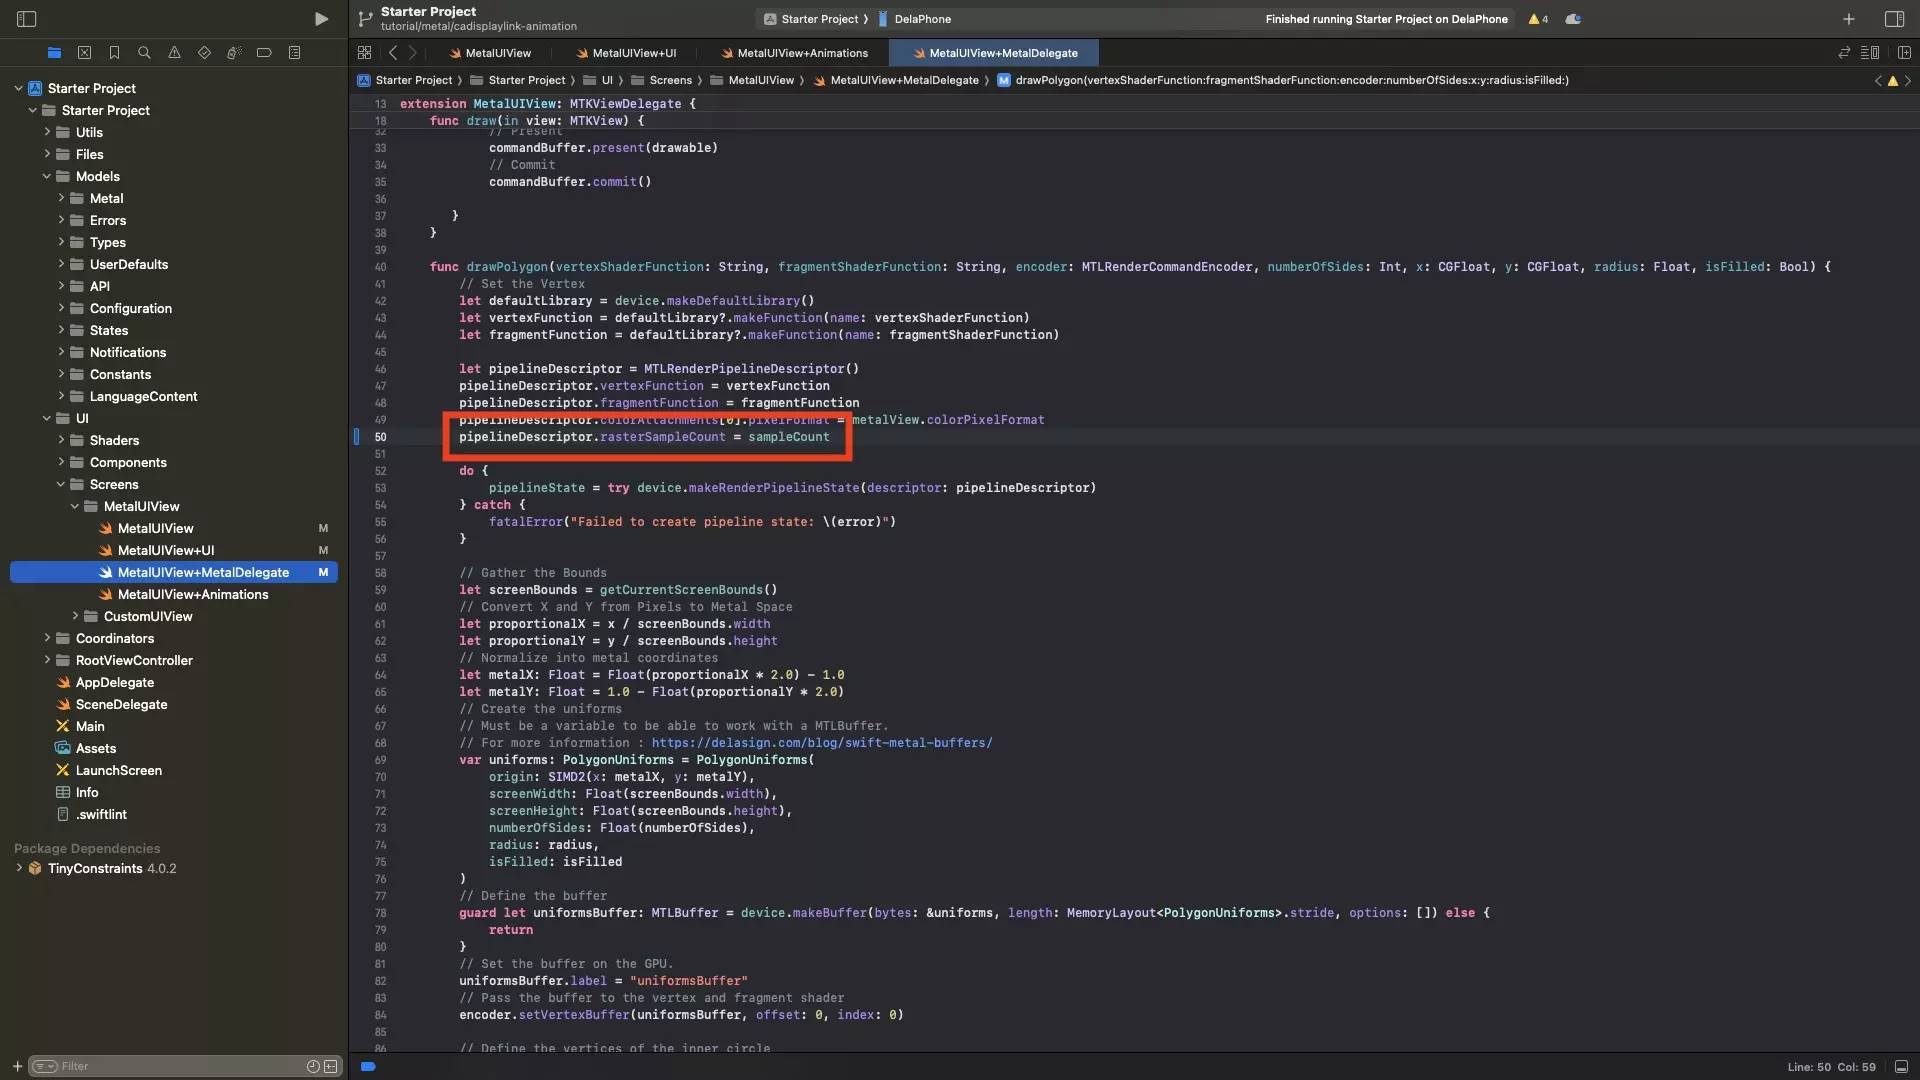
In the function where you setup or adapt the MTLRenderPipelineDescriptor, set the rasterSampleCount of the MTLRenderPipelineDescriptor to the constant declared in Step One.
Step Four: Test
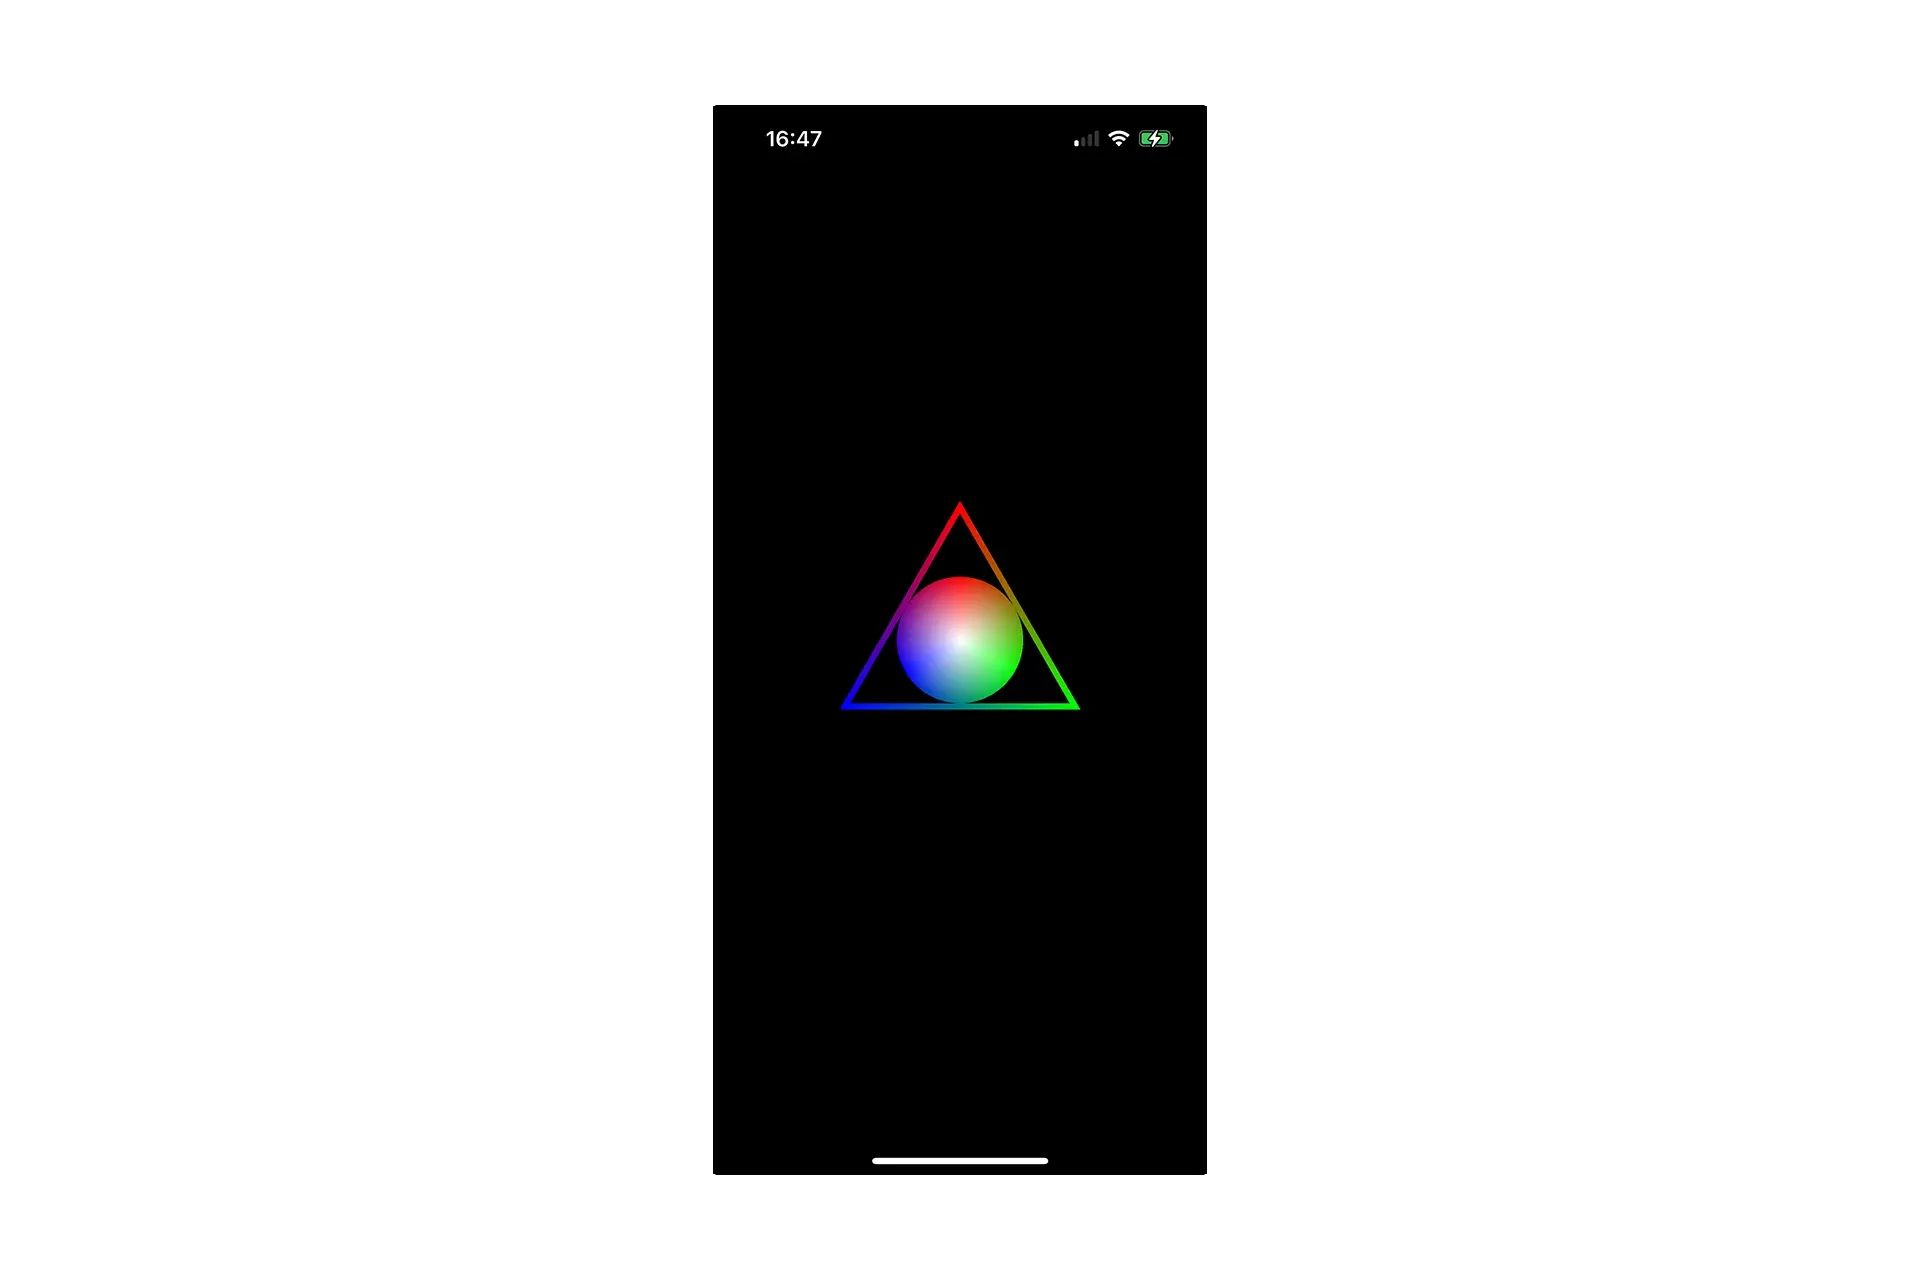
Run the code on a device and confirm that everything looks and works as expected.
If you are curious how we drew the outlined shape, follow the tutorial linked below.
Looking to learn more about things you can do with Swift, Metal and XCode ?
Search our blog to find educational content on learning how to use Swift, Metal and XCode.
