How to activate & deactivate constraints in Swift
A step by step guide on updating and changing the constraints for a view in Swift depending on screen orientation or dimensions. Github repository included.

A step by step guide on changing the constraints for a view in Swift depending on screen orientation or dimensions. Github repository included.
The following guide uses our Open Source Swift project to offer a step by step walkthrough on changing the position of a label on a screen depending on the orientation of the device.
If you are looking for a quick solution, critical functionality can be found in Step One and Step Five.
This guide uses TinyConstraints and executes the solution by activating and deactivating the relevant constraints; which first deactivates all the constraints before activating the relevant constraints for each orientation.
We recommend that you clone our Open Source Swift Starter Project, checking out the main branch and carrying out the steps below. The changes can be found on the tutorial/modify-constraints branch.
git clone git@github.com:delasign/swift-starter-project.gitStep One: Setup the utilities
If you don't have one already, create a Utils folder at the root of your project. Then add the following utilities.
Please note that these utilities come with our Open Source starter project and if you downloaded it and are starting from there, you can skip this step.
A | Get device orientation
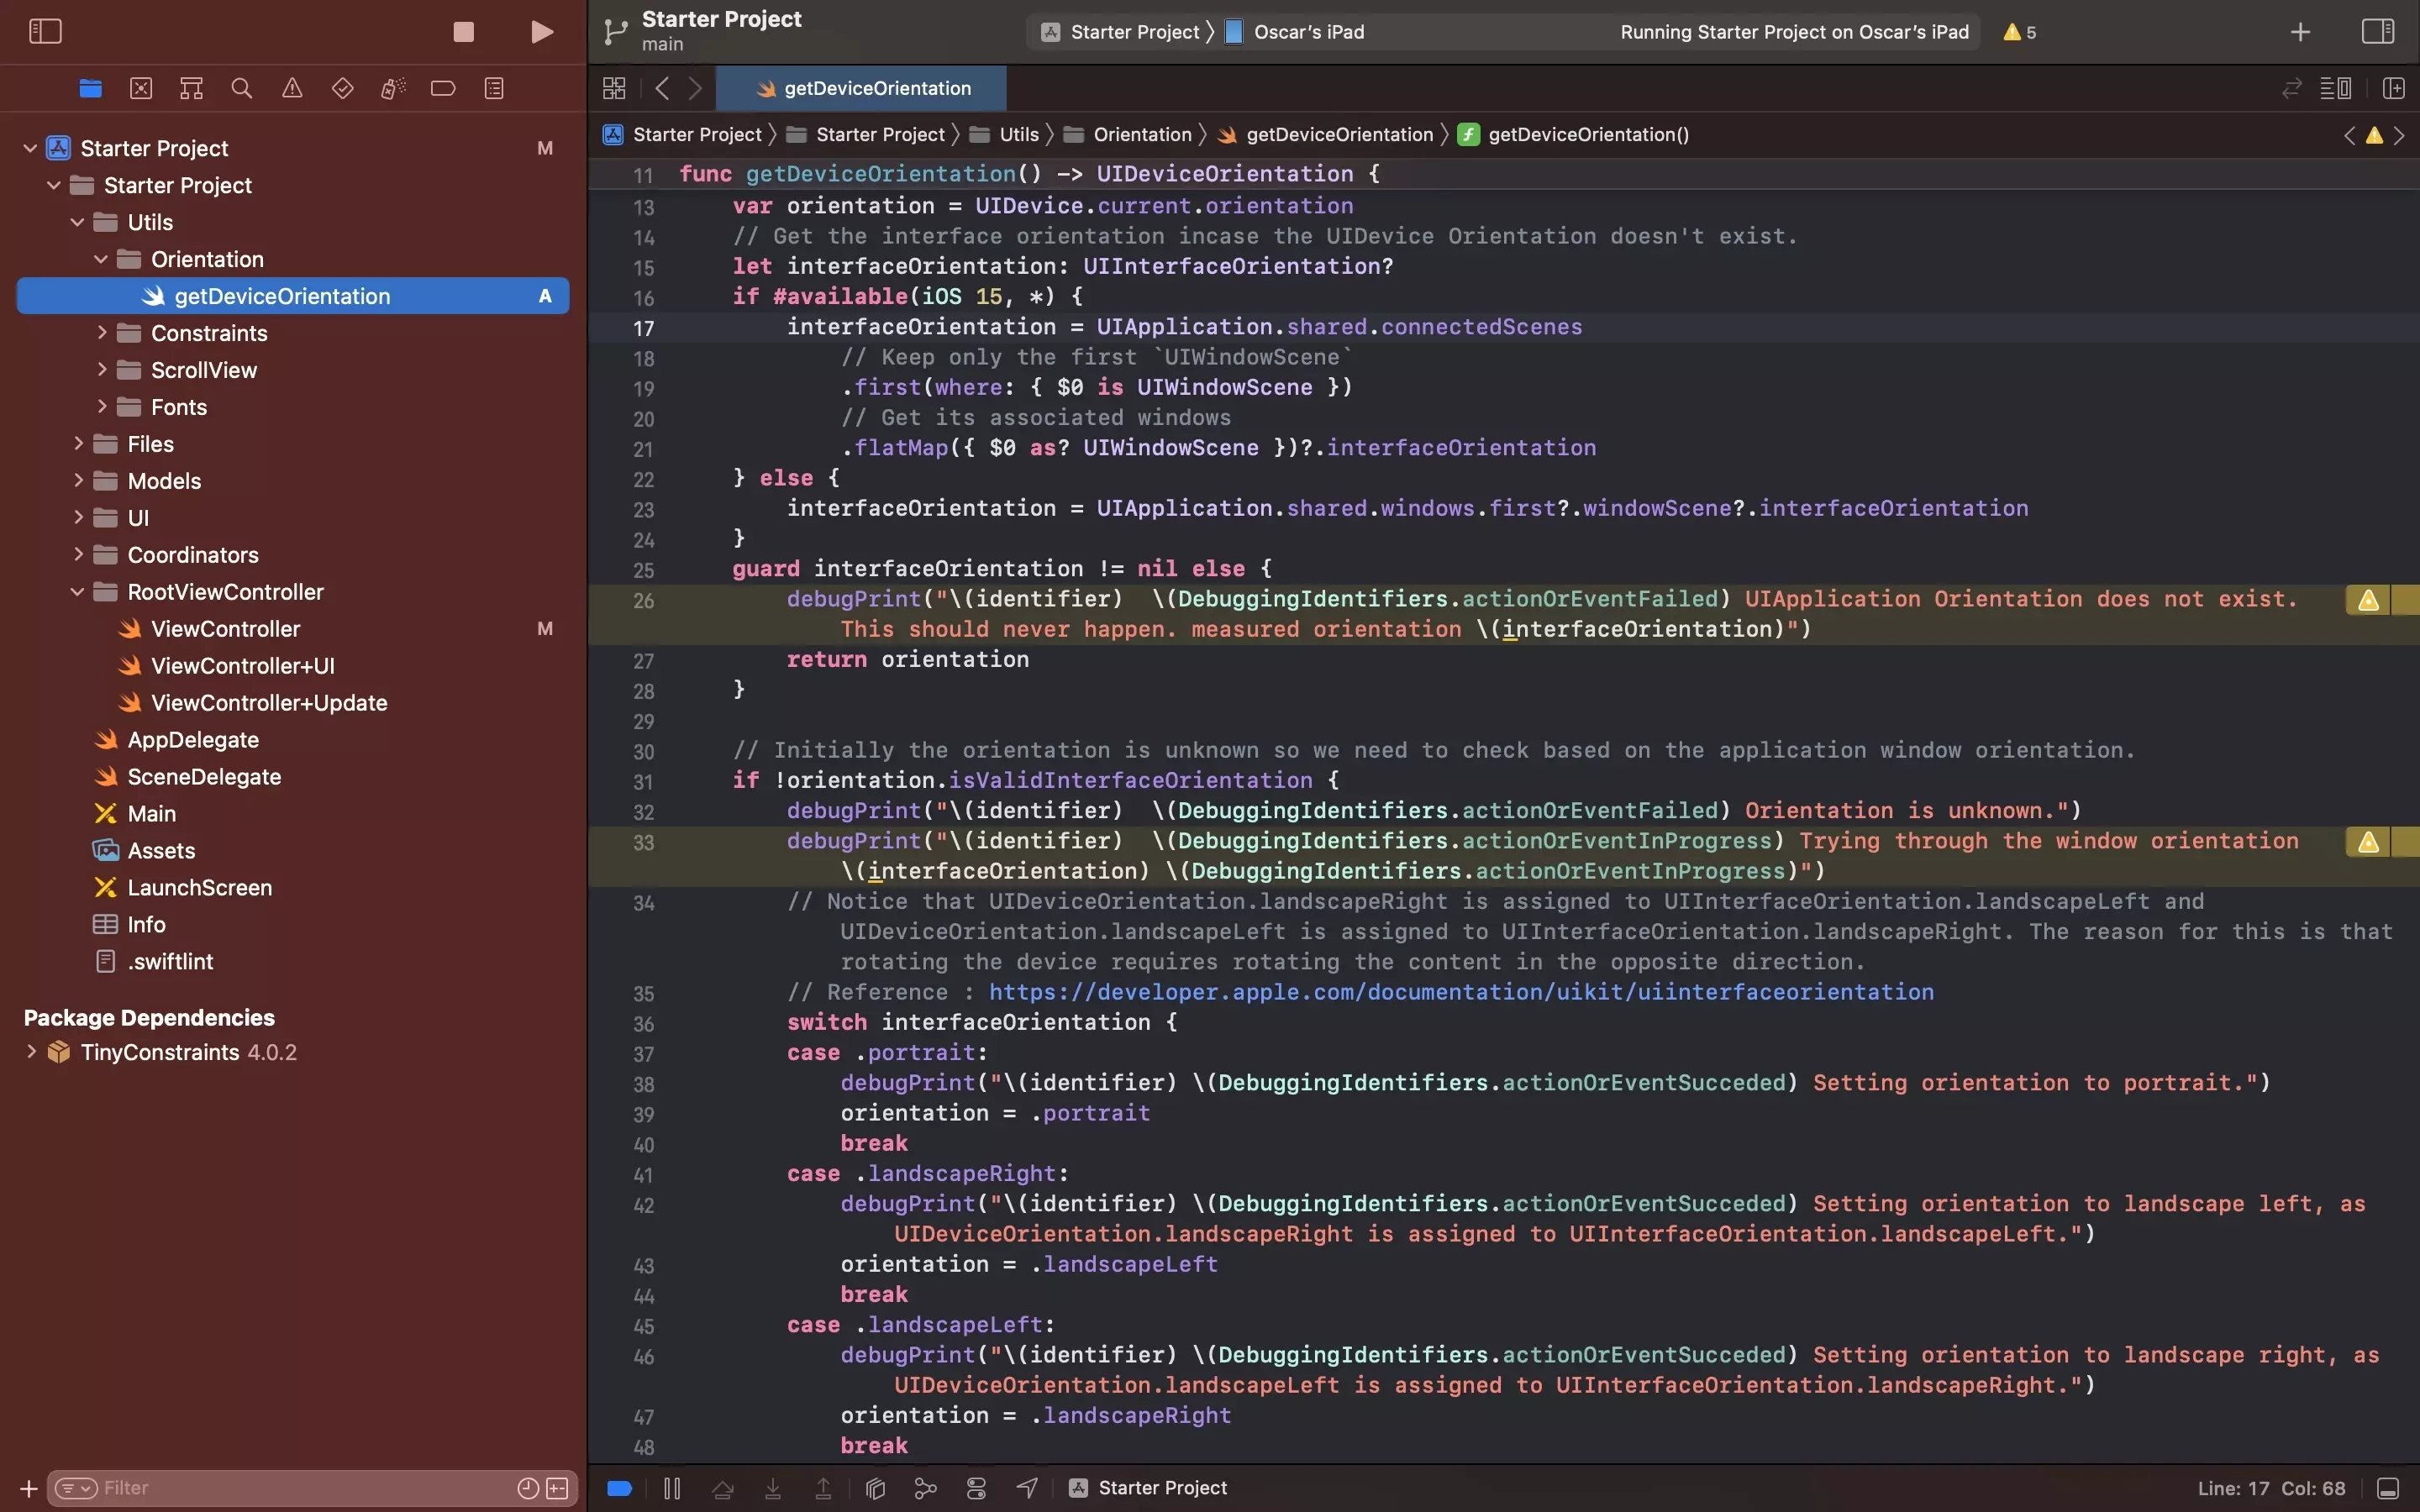
Add the getDeviceOrientation utility using the tutorial below.
B | Deactivate Constraints
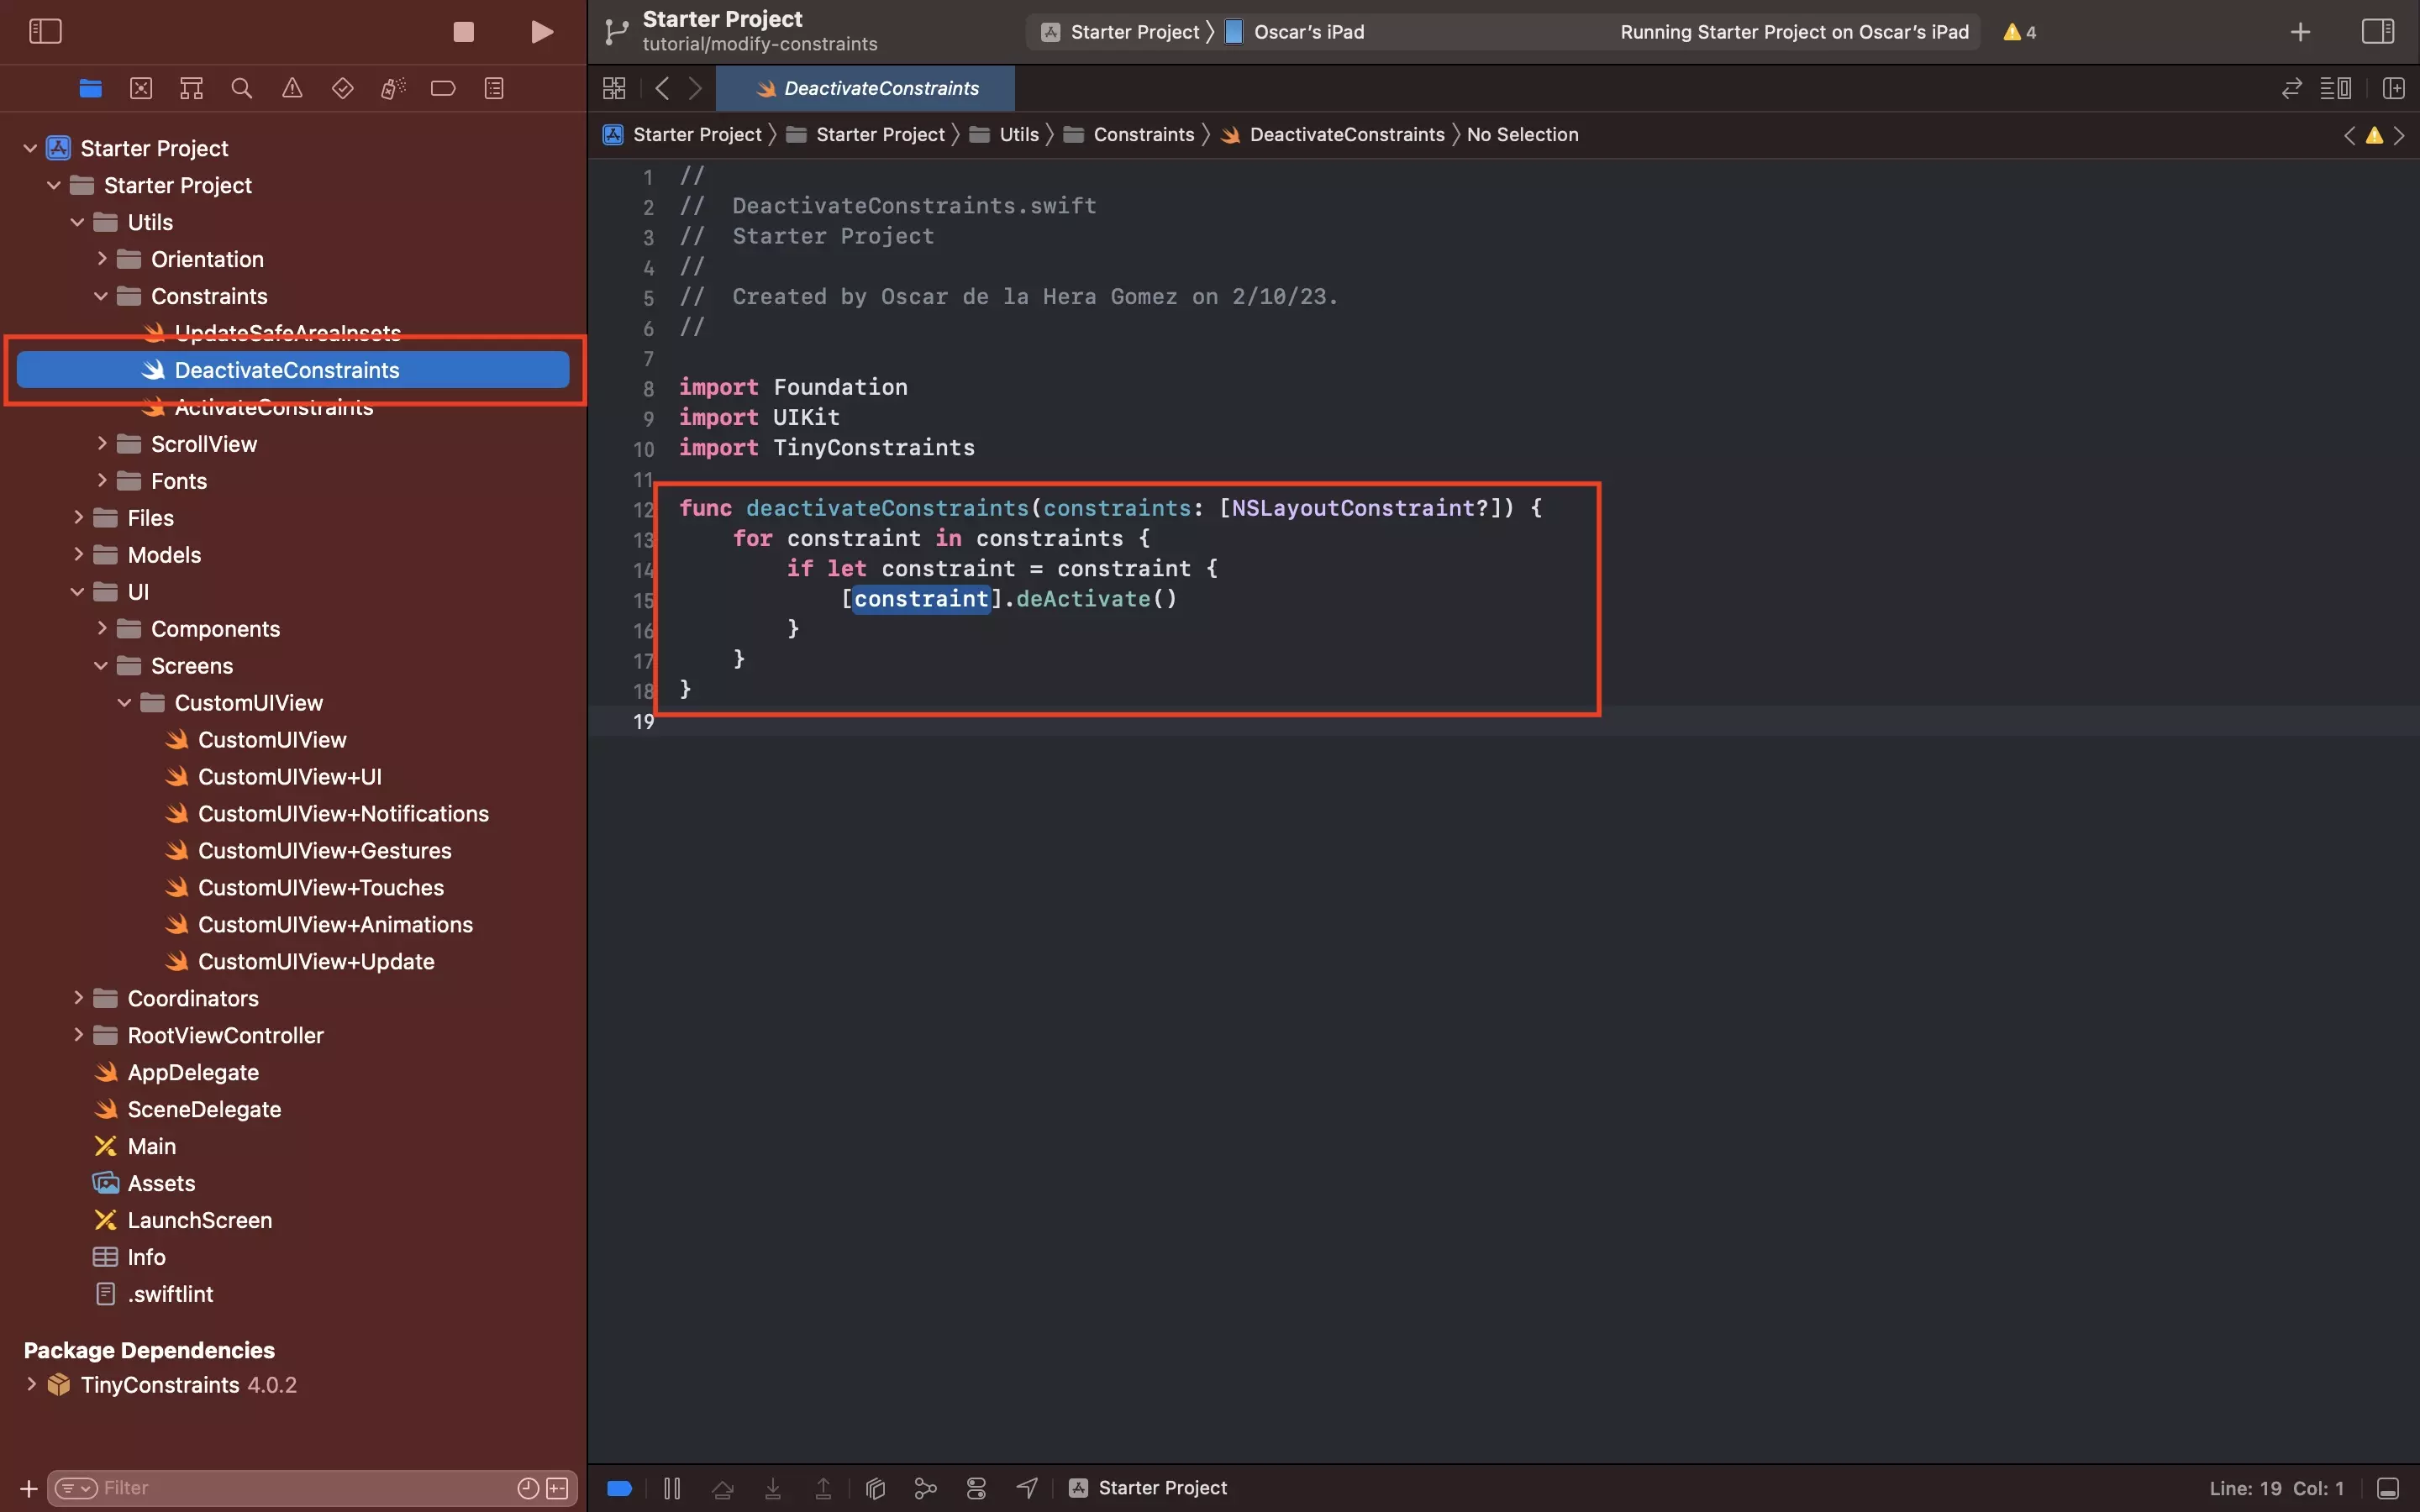
Create a DeactivateConstraints.swift file in the Constraints folder under Utilities and copy in the code below.
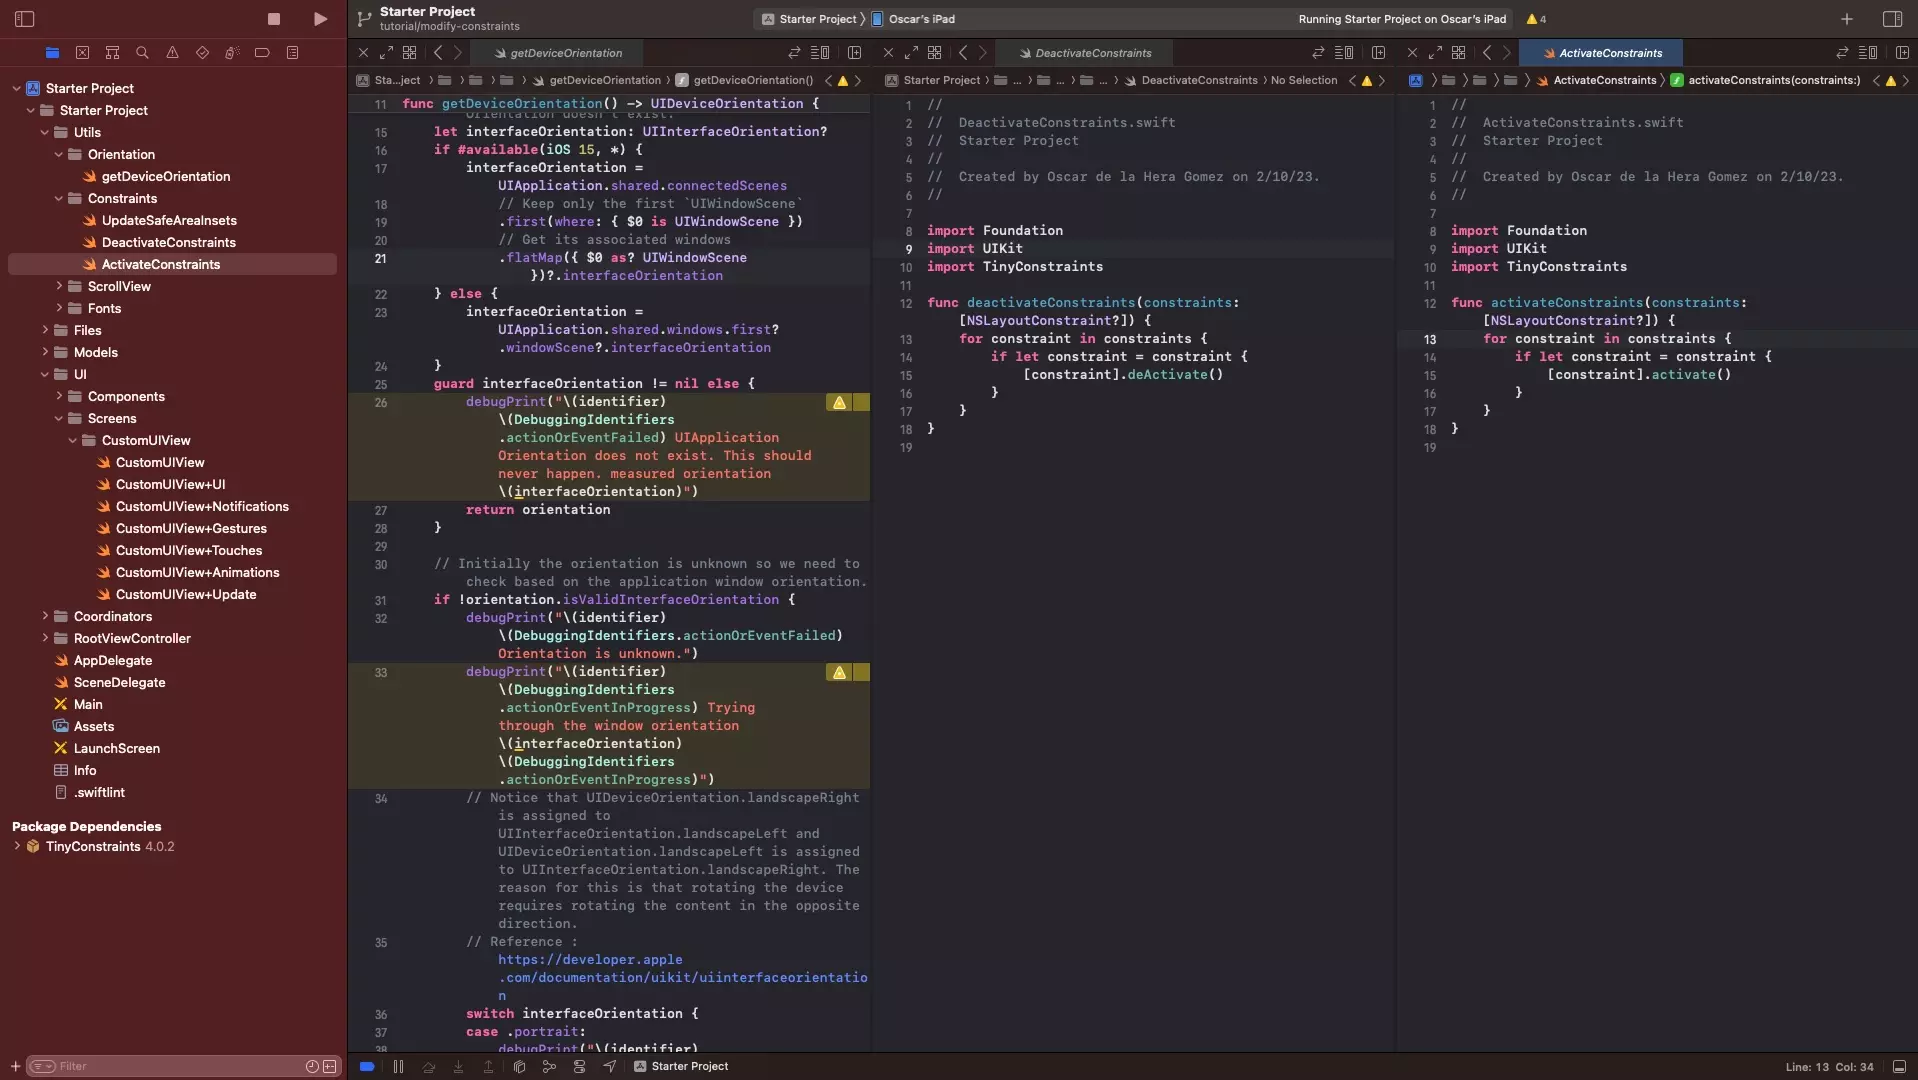
C | Activate Constraints

Create a ActivateConstraints.swift file in the Constraints folder under Utilities and copy in the code below.
Step Two: Create the label variable
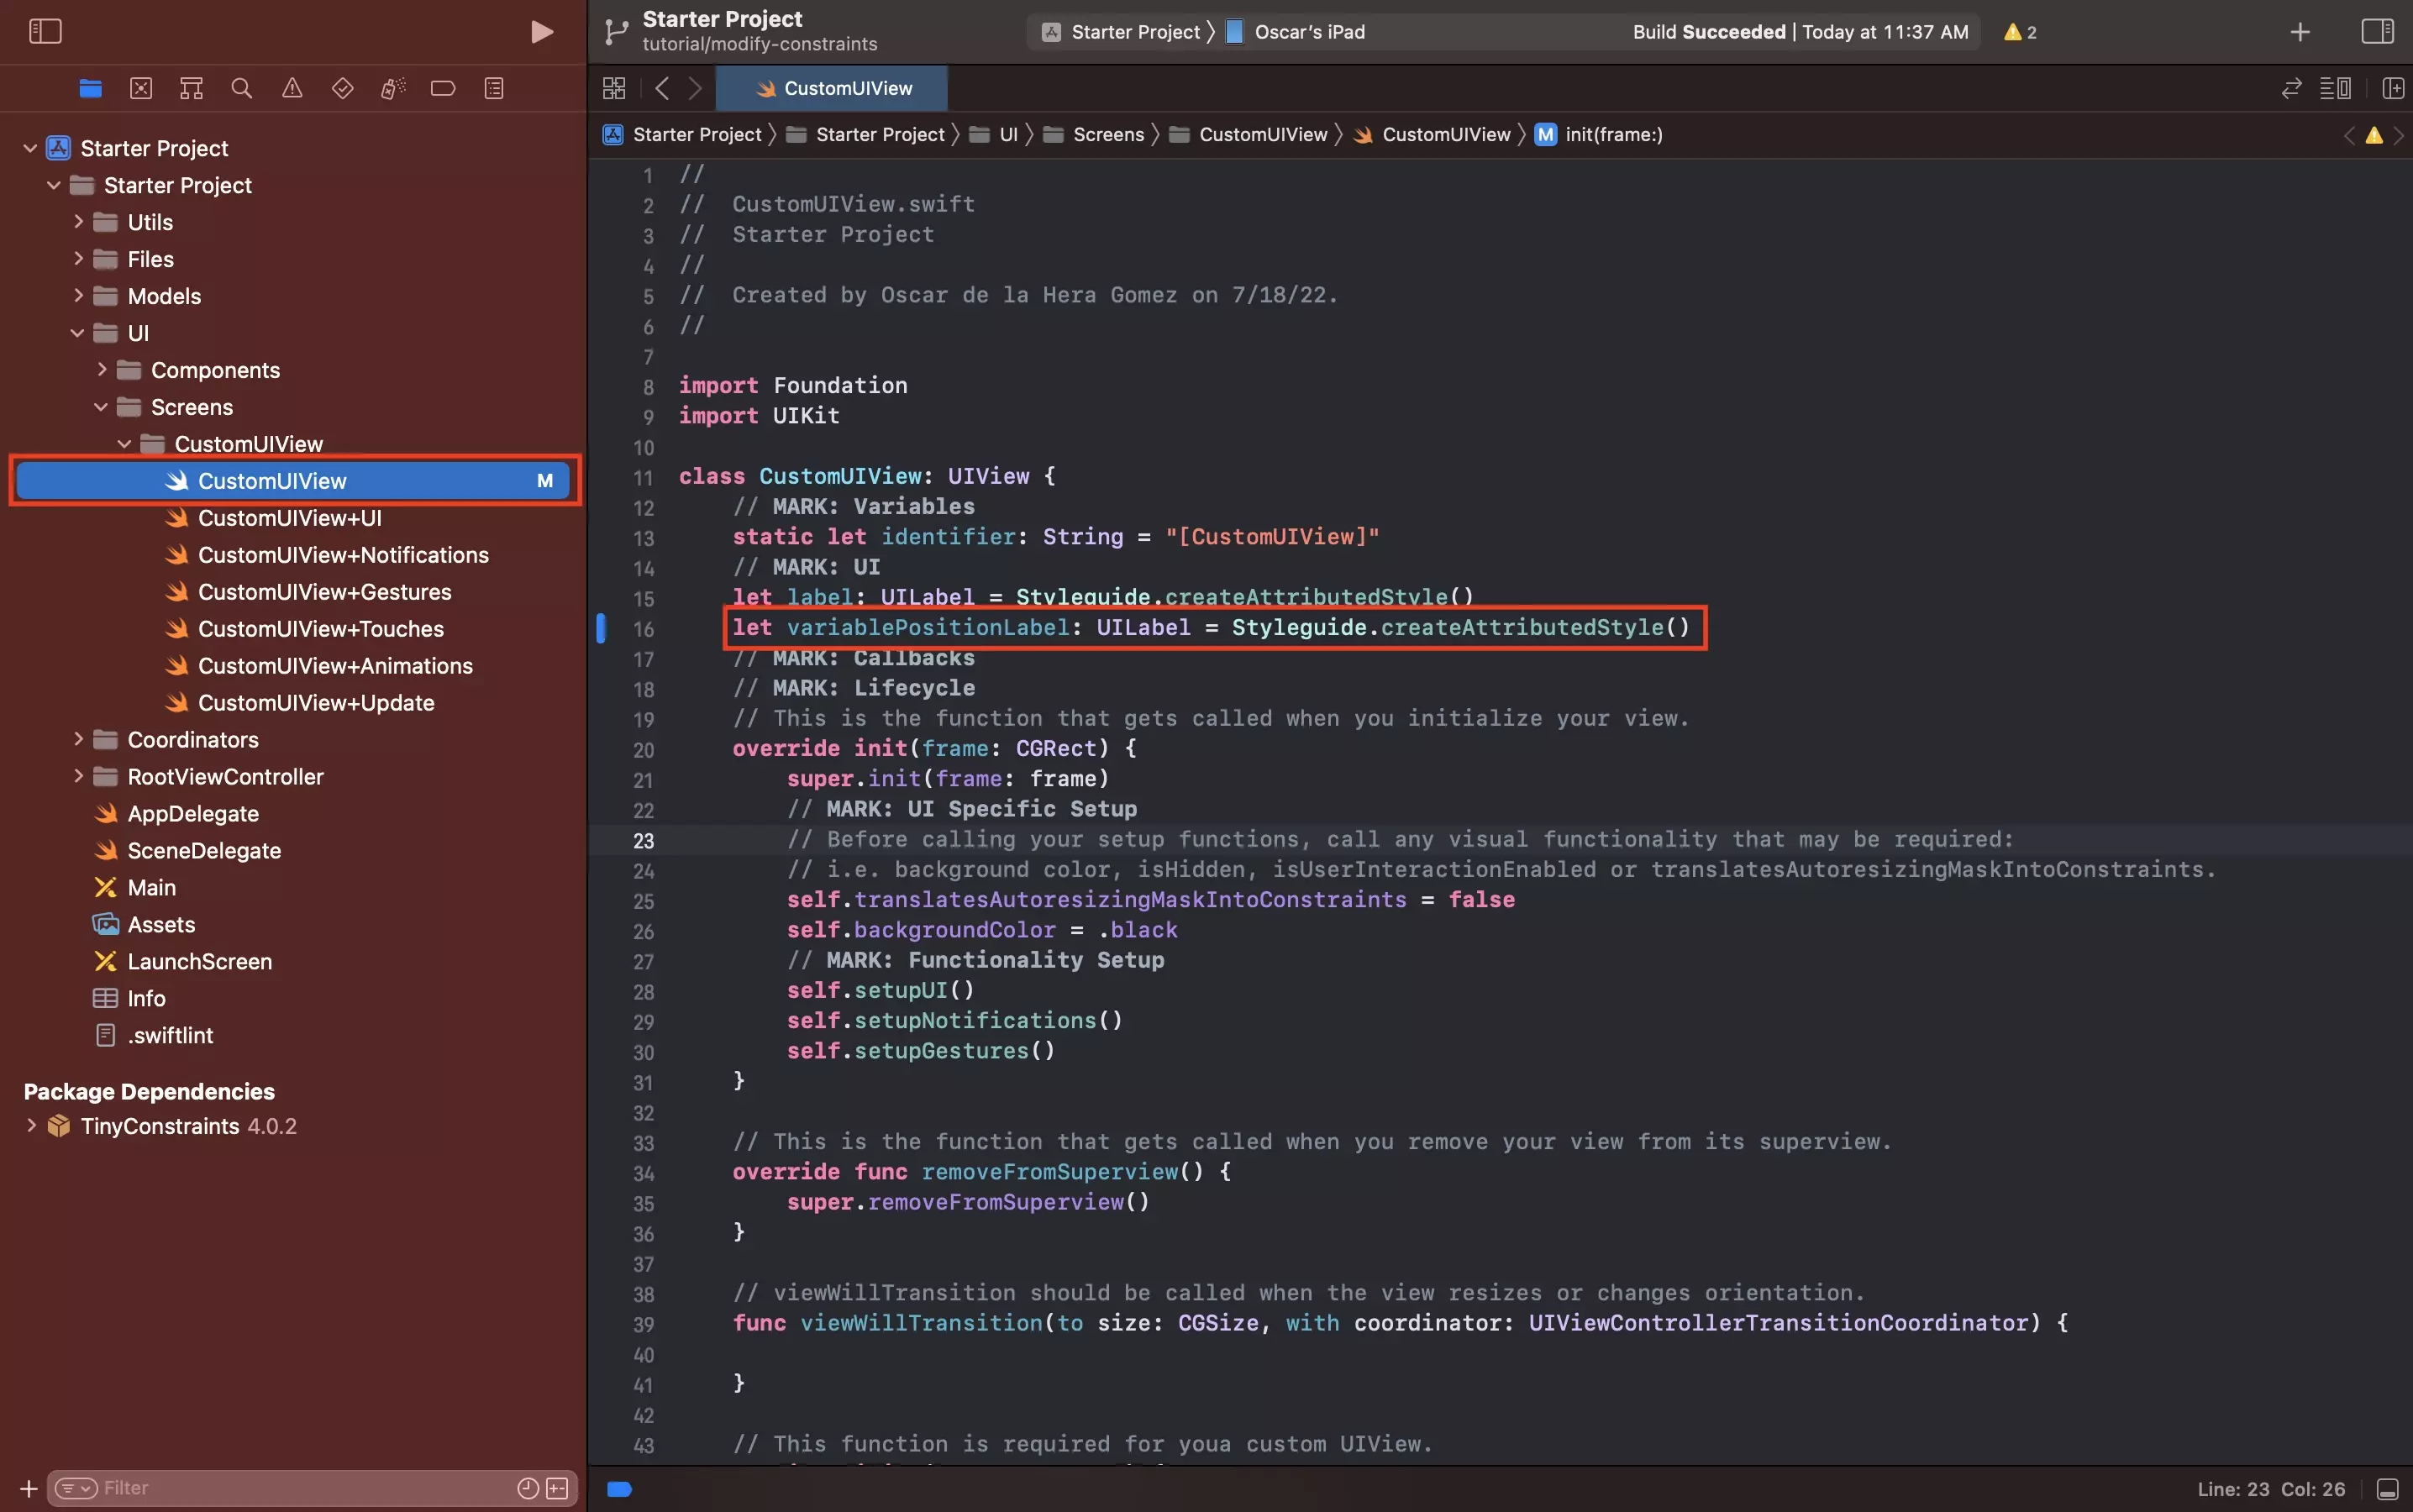
In CustomUIView.swift, create a new label variable.
let variablePositionLabel: UILabel = Styleguide.createAttributedStyle()Step Three: Create the constraints
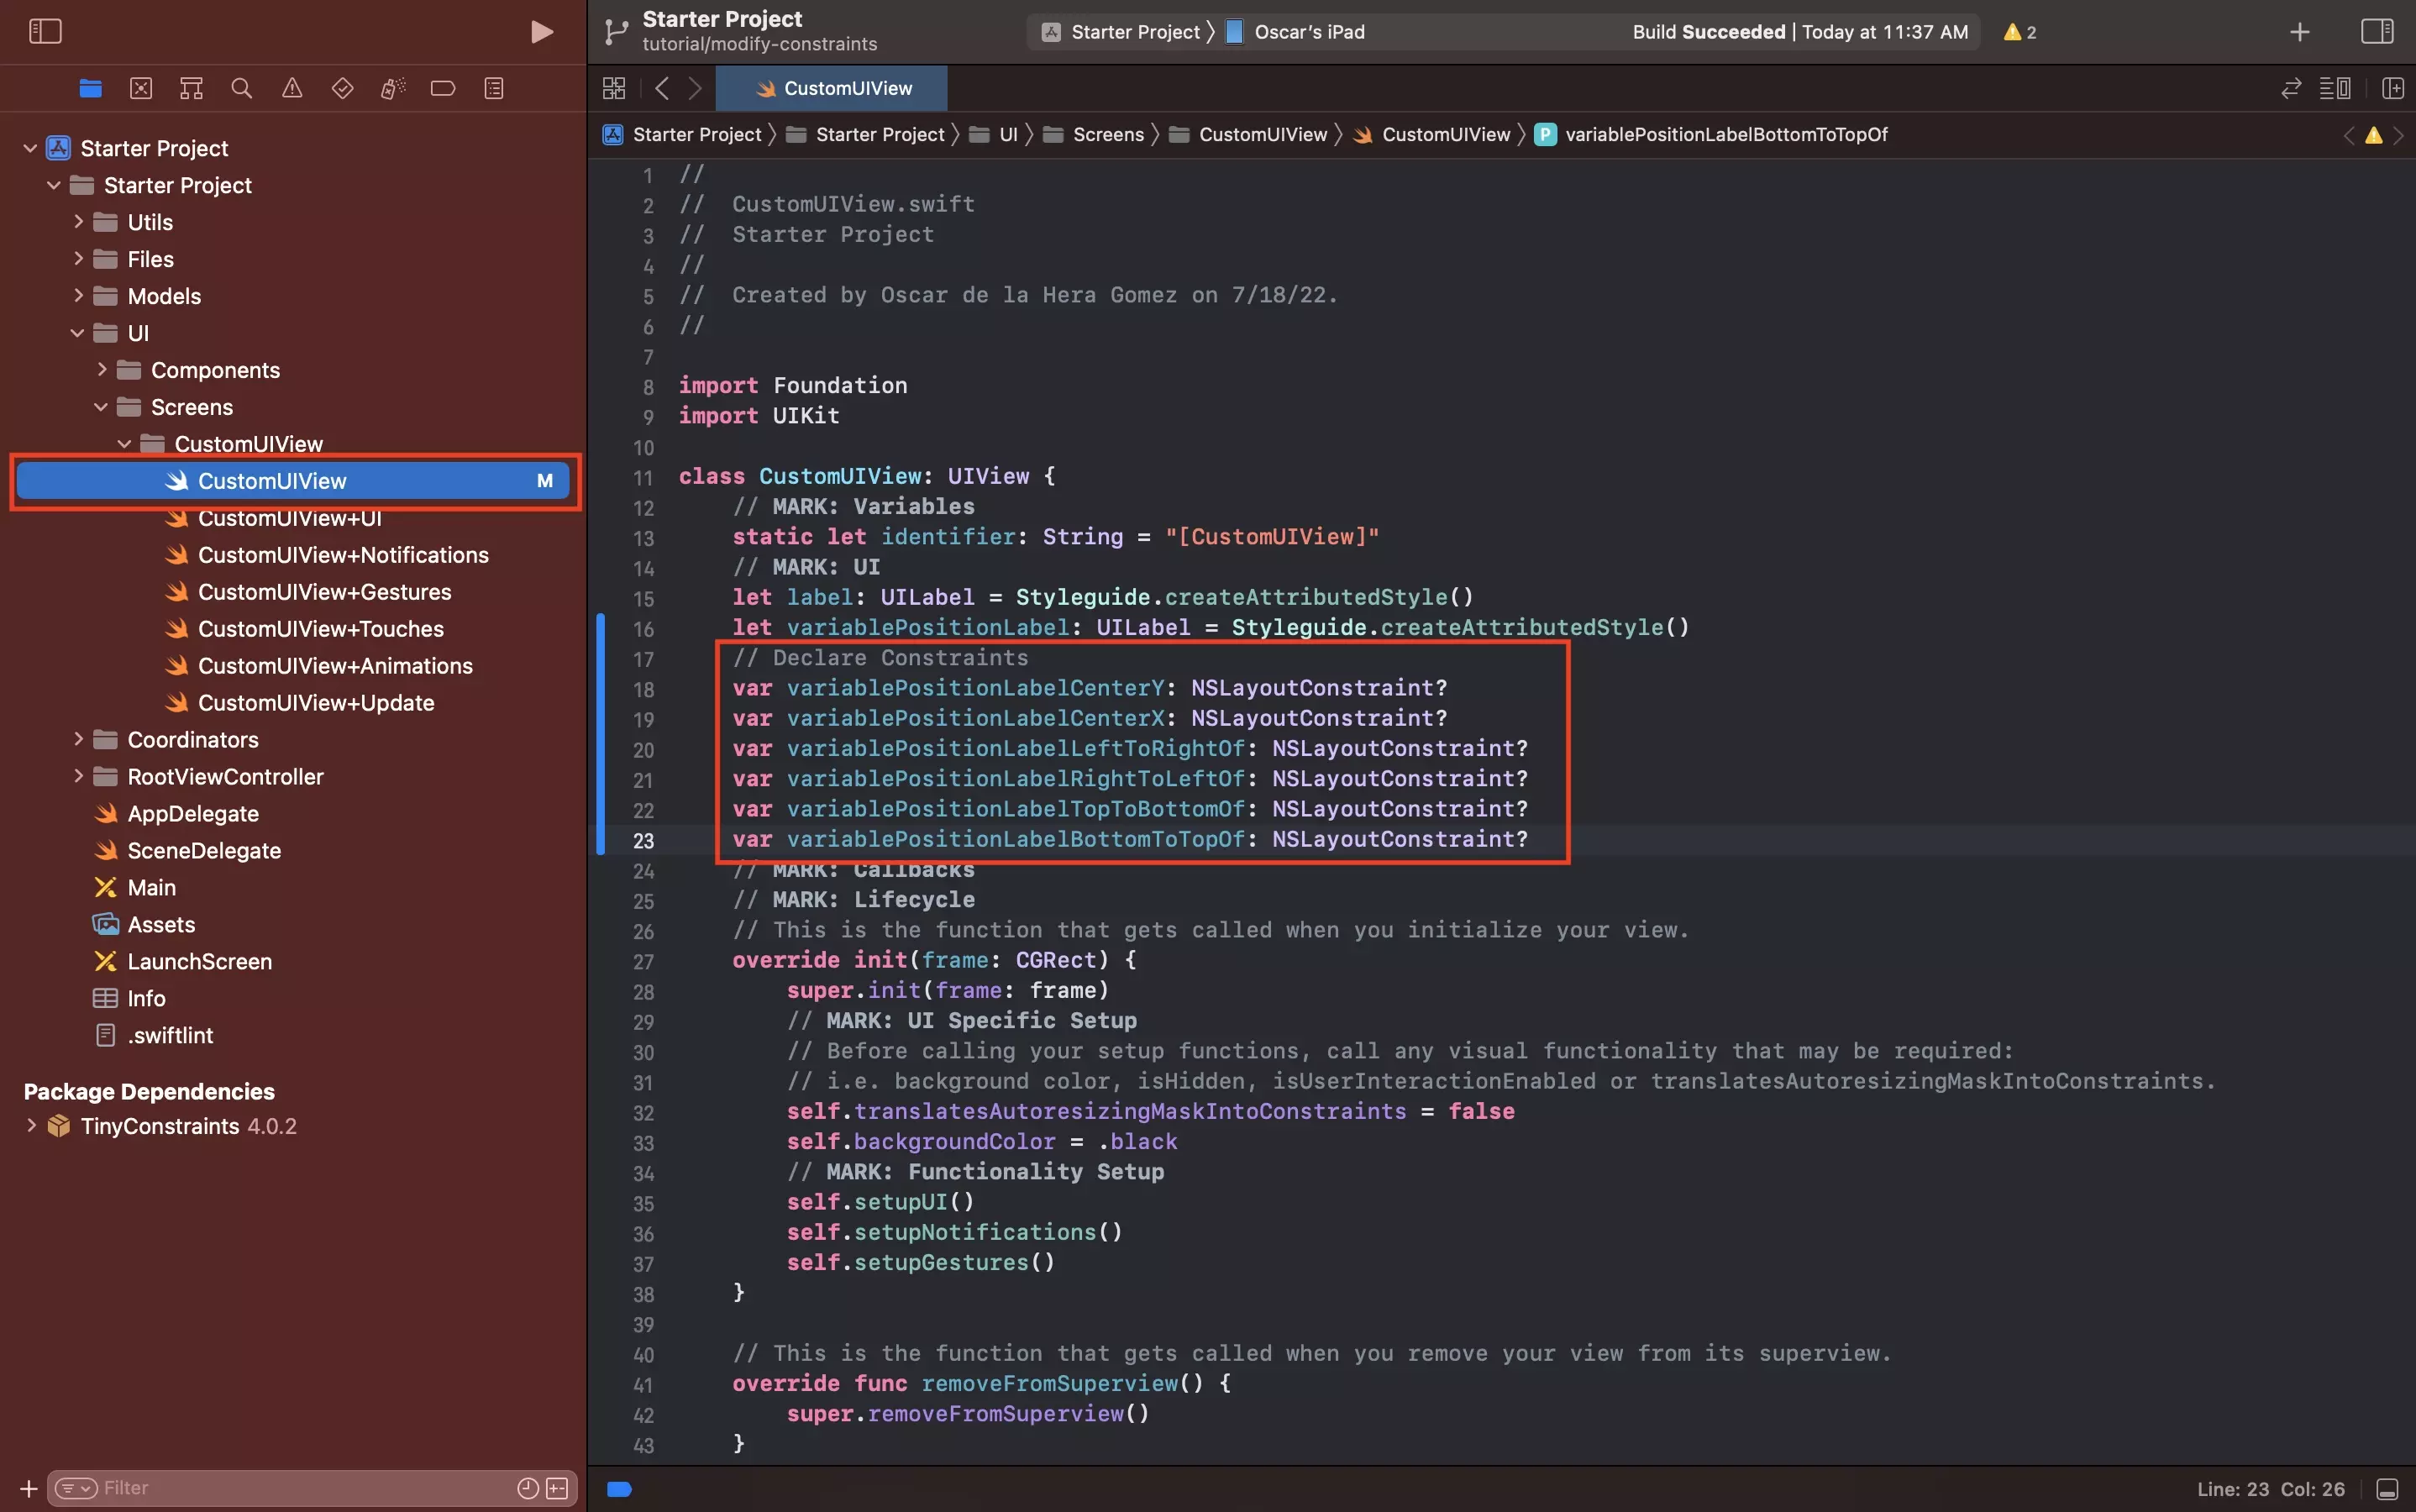
Under your newly created label, create all the constraints that you will need across the experience.
Please note that these constraints must be declared as optionals.
Step Four: Setup label & constraints
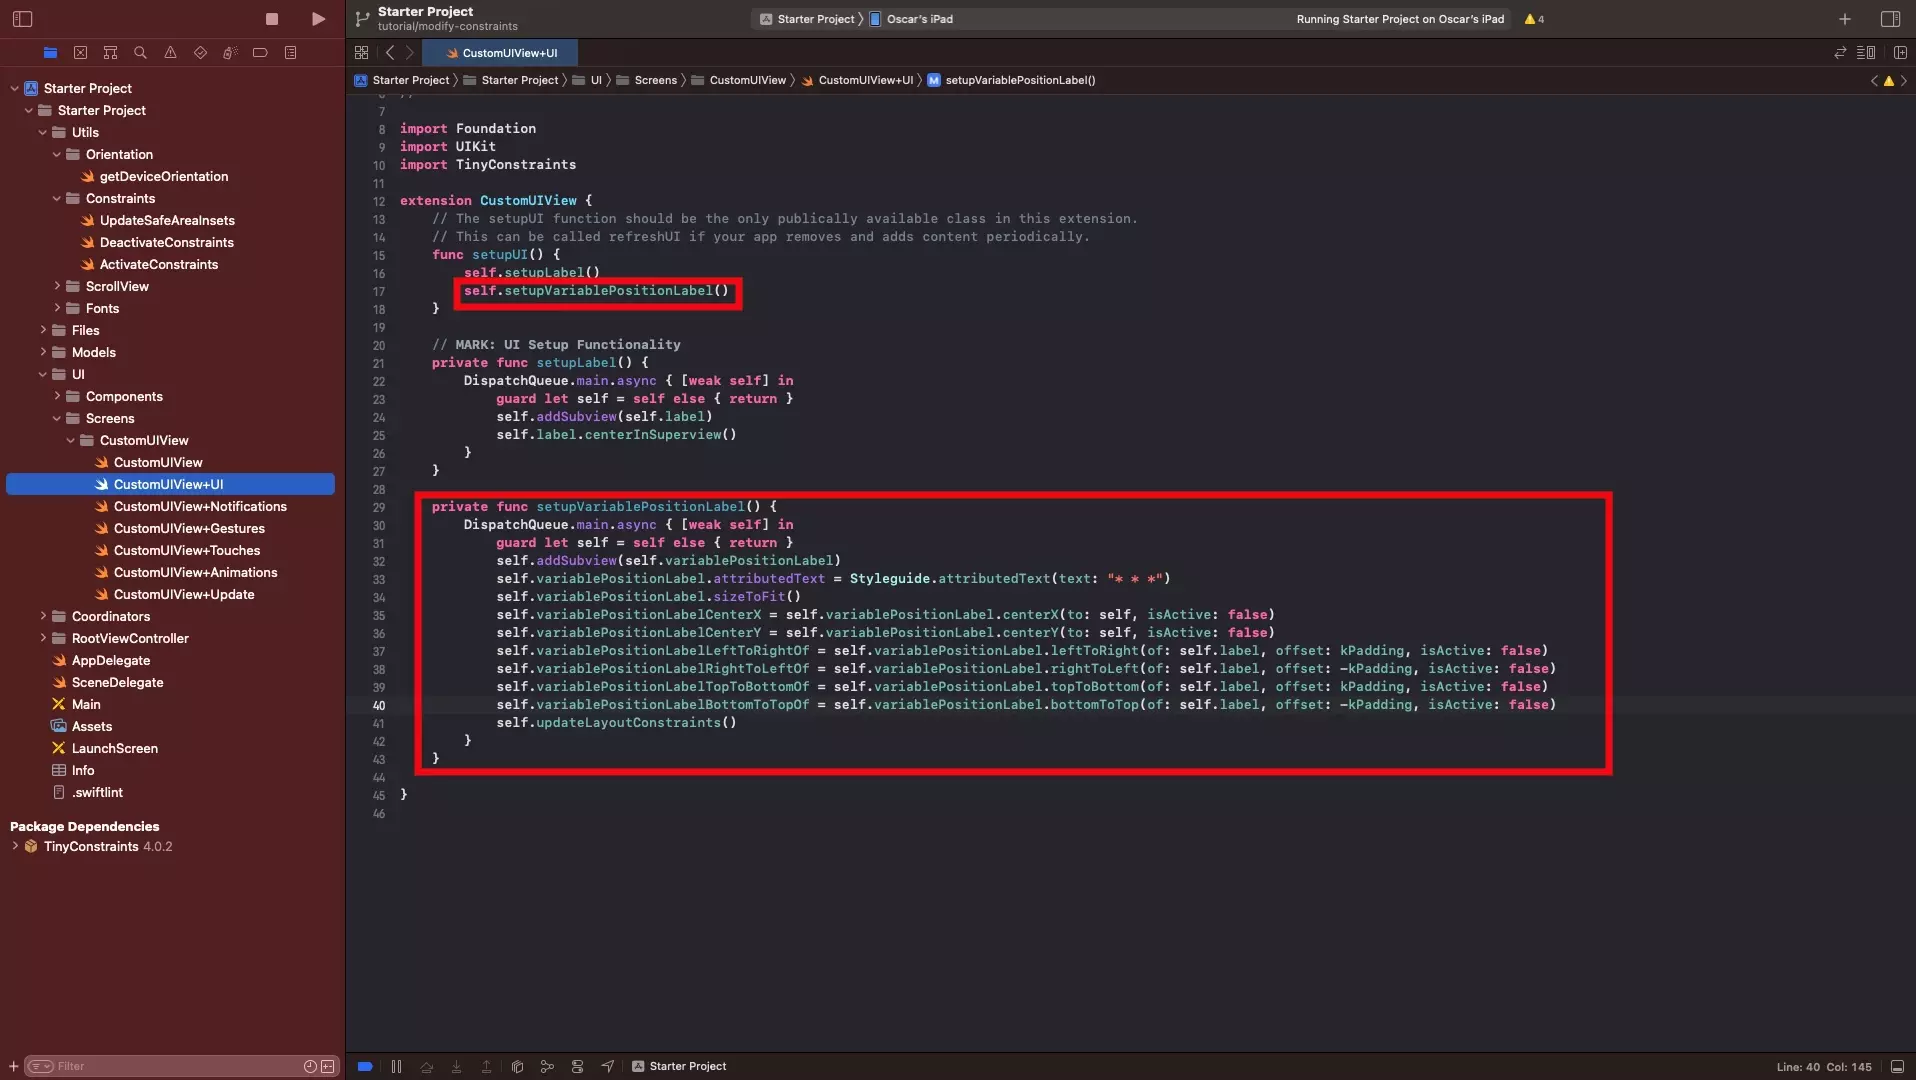
In CustomUIView+UI.swift, add the label to the UI and create all the constraints.
Make sure that you call setupVariablePositionLabel() in setupUI function.
Please note that you must set all the constraints to isActive: false to avoid errors.
Step Five: Create update constraint functionality
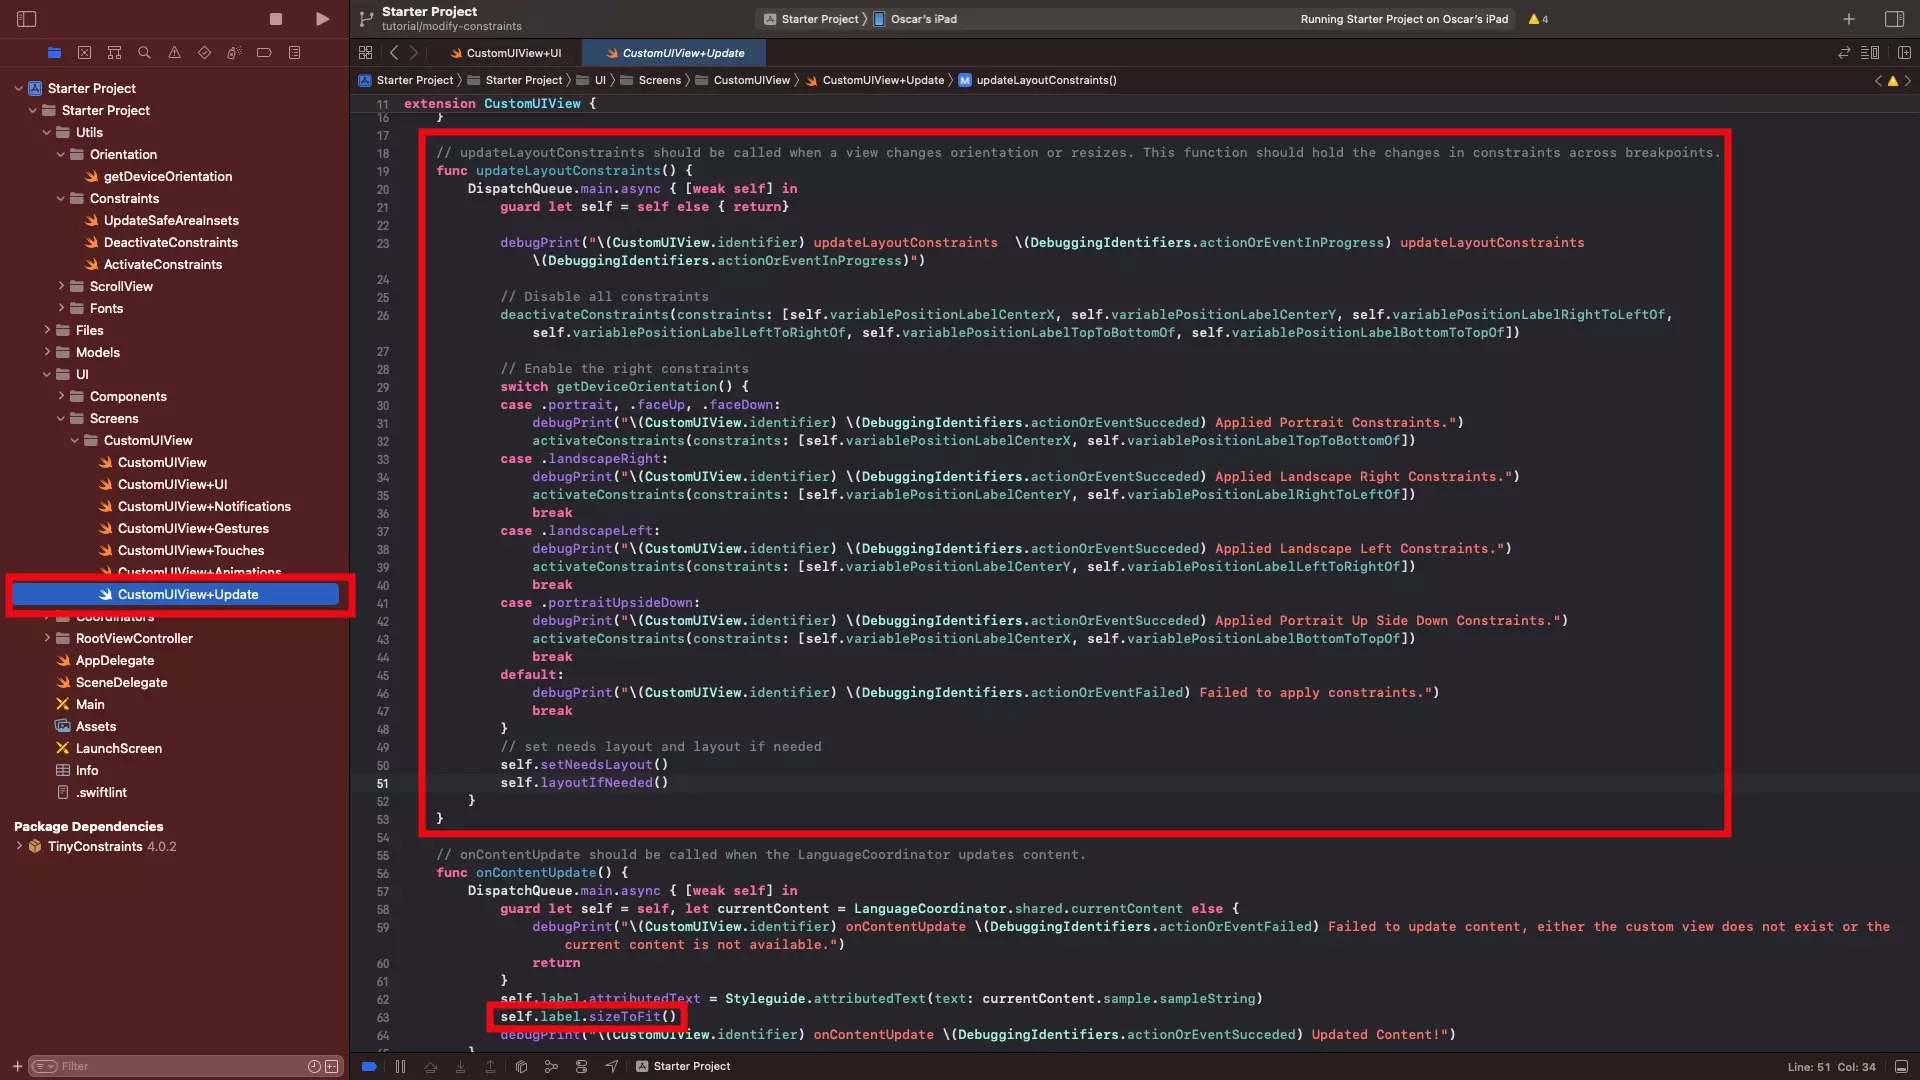
In CustomUIView+Update.swift, update the updateLayoutConstraints() to the function below.
Please note that we have added code to make the label sizeToFit() in the onContentUpdate, and that you need to add your constraints in the positions of the placeholders in the file below.
Step Six: Update constraints on orientation change or screen size changes
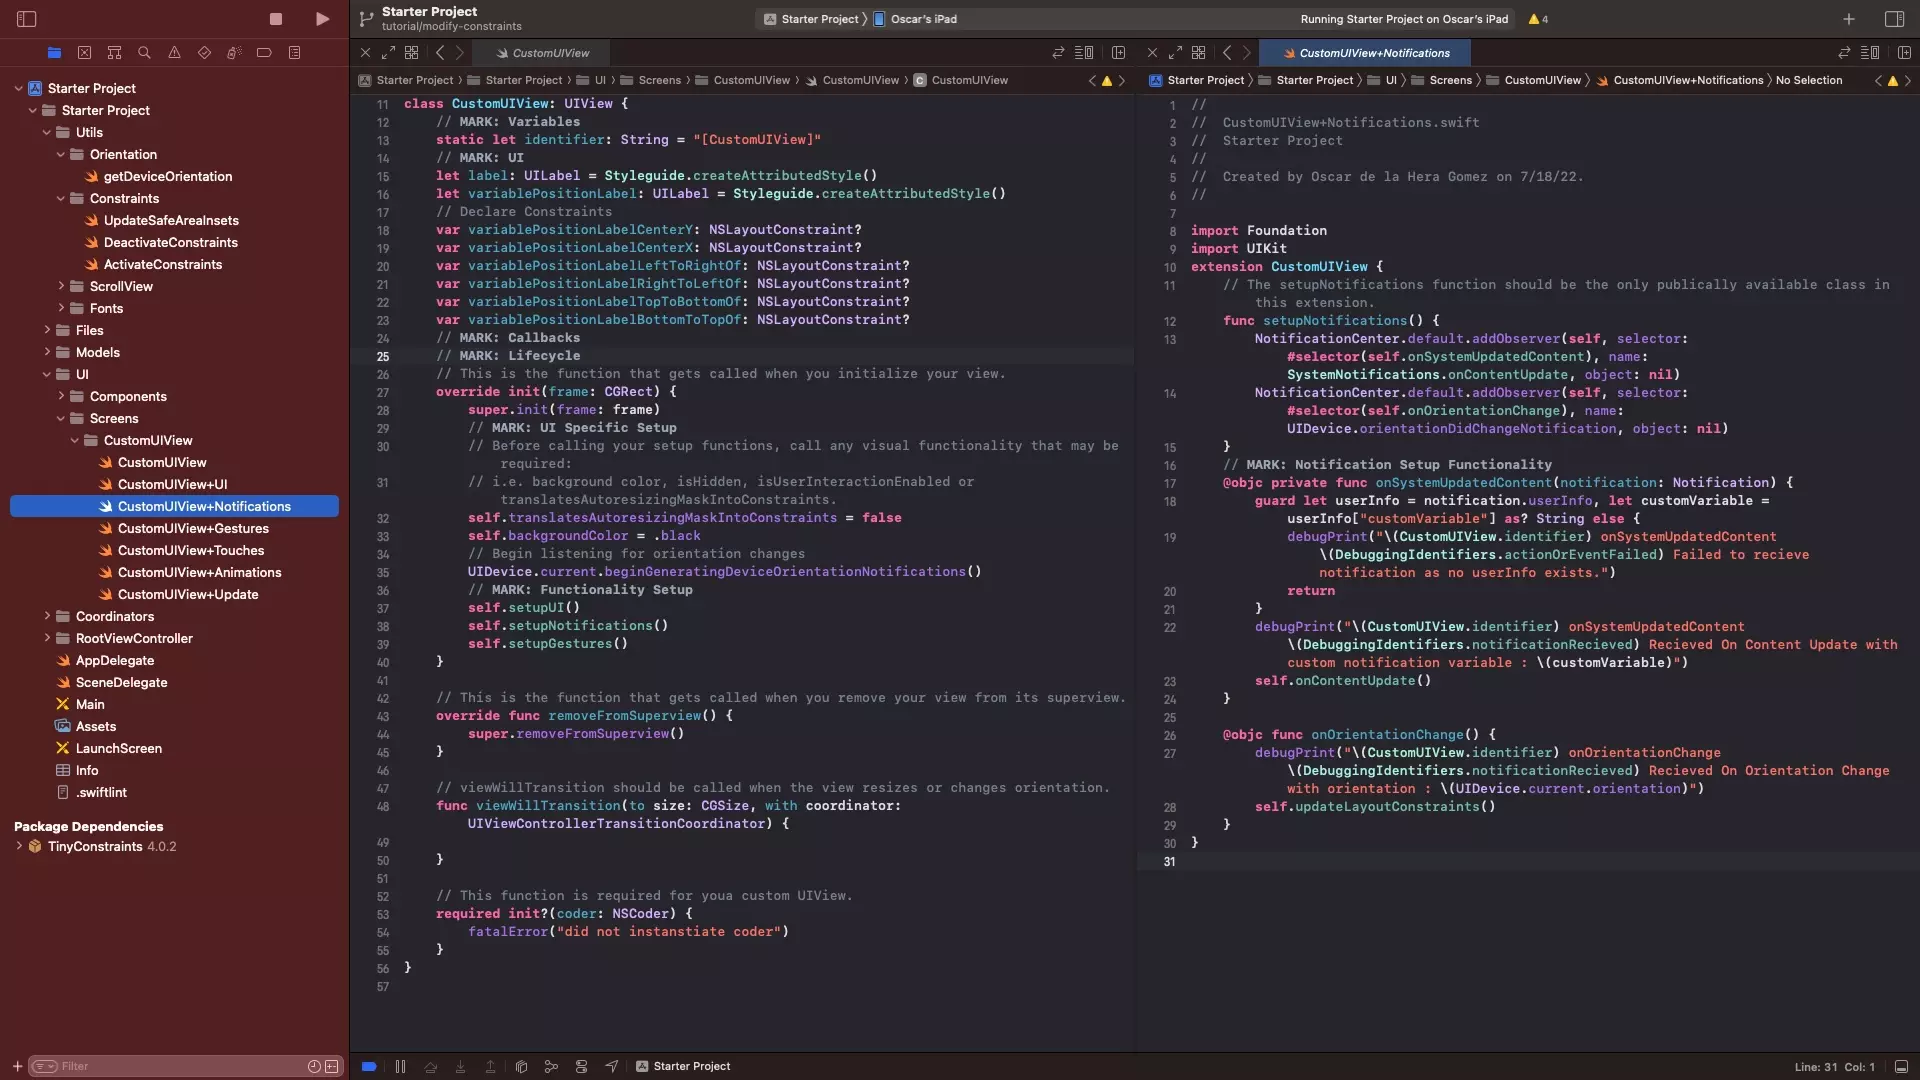
Add the required functionality to listen for orientation changes via notifications using the tutorial below.
Make sure that you call updateLayoutConstraints() when receiving updates in device orientation.
Alternatively, if you are seeking to use this for Mac or a Multitasking iPad app, please implement the viewWillTransition function using the tutorial below and notify your views via a notification, or by calling a similar function in the view.
Make sure that you call updateLayoutConstraints() when receiving updates in the viewWillTransition function.
Step Seven: Verify
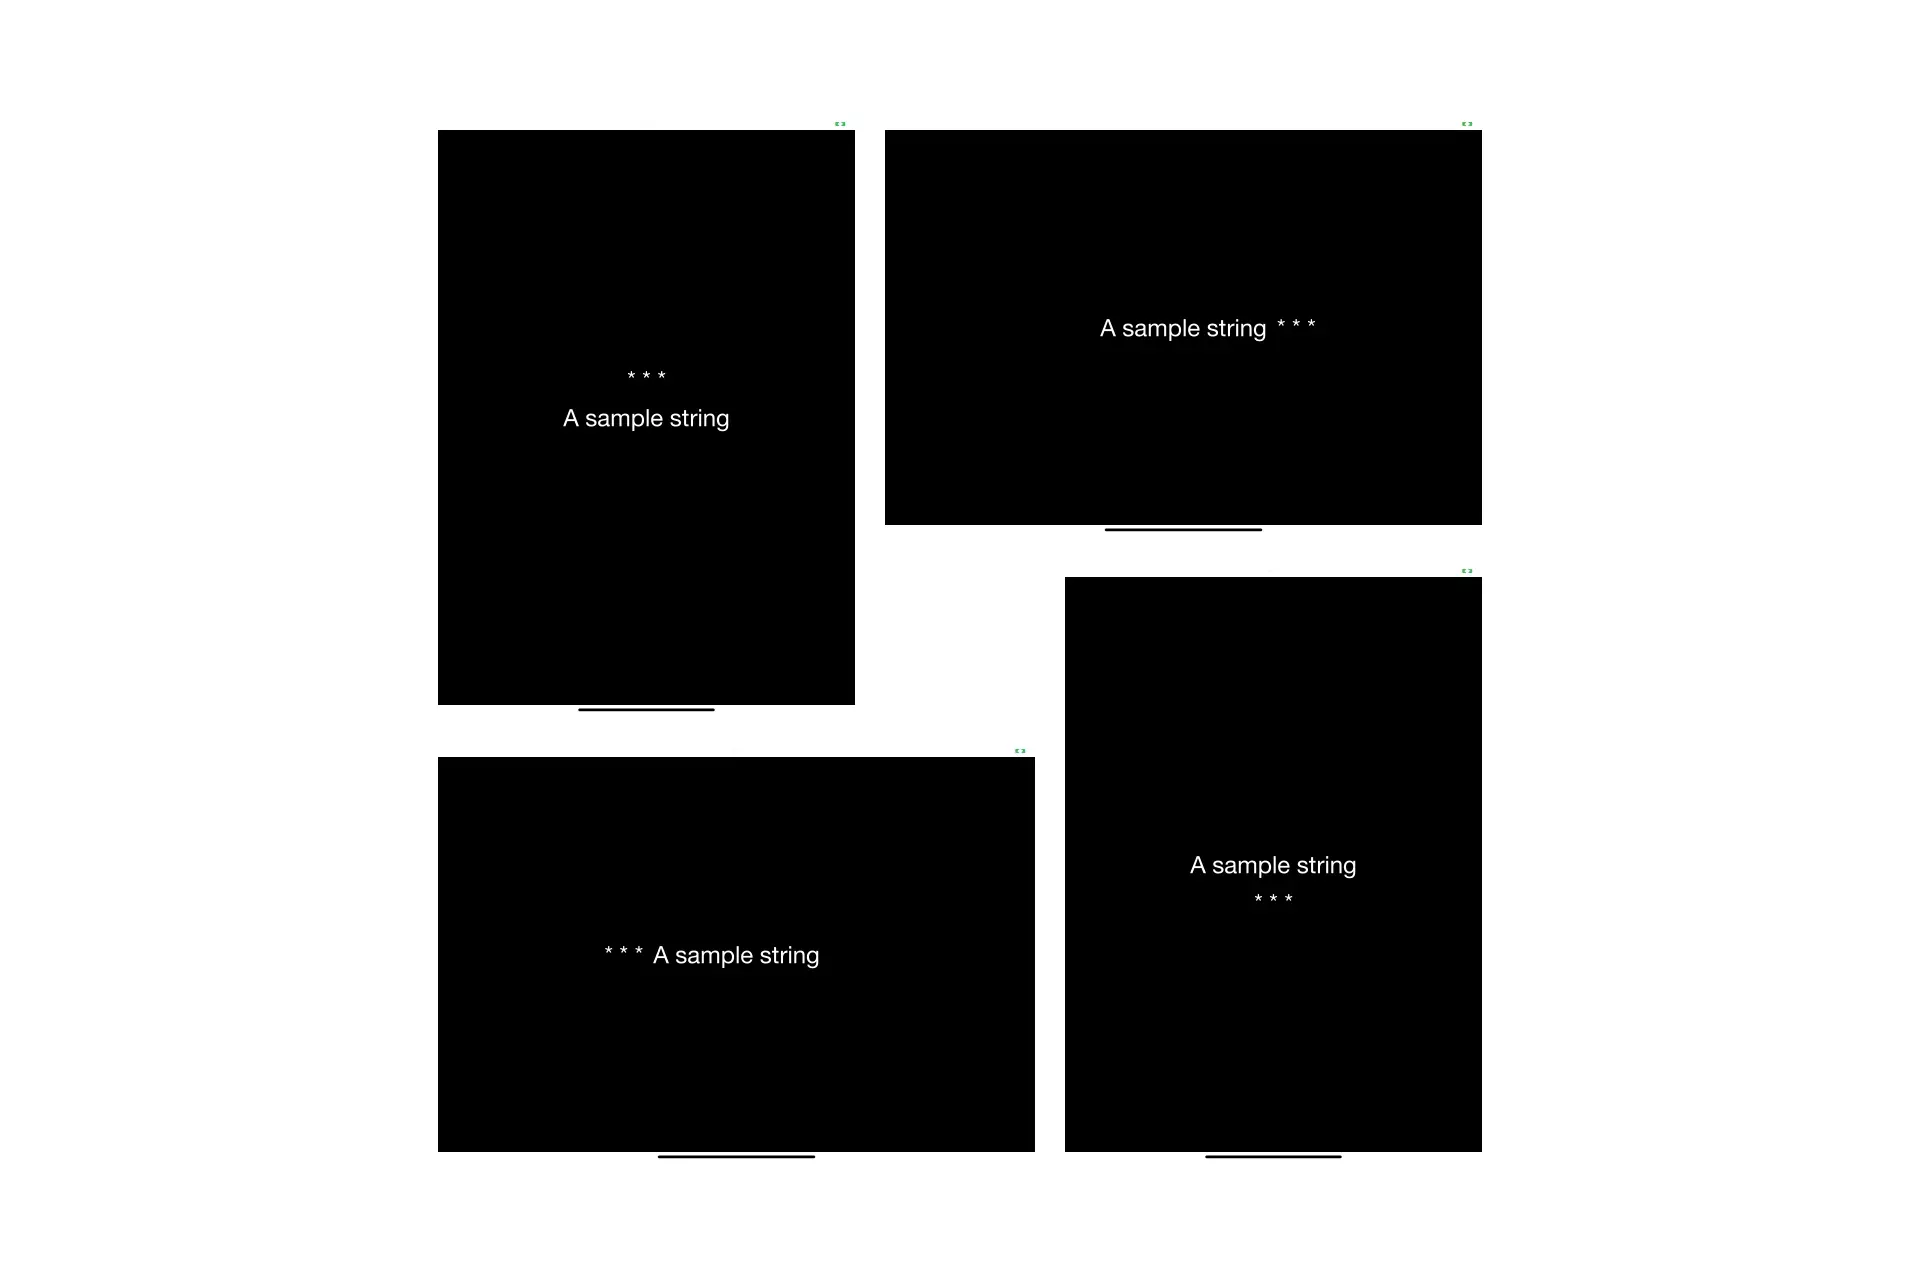
Run the app on XCode and witness how the label starts correctly and seamlessly updates position as you change orientation.