How to change the Android app icon in Android Studio
A step by step guide for customizing an Android app icon using Android Studio.

A step by step guide for customizing an Android app icon using Android Studio.
SubscribeDownload Open Source Kotlin Starter ProjectThe following tutorial builds on our Open Source Kotlin project which can be downloaded using the link below, and aims to walk you through how to change an Android apps icon through the example of our Price After app icon.
We recommend that you checkout the main branch and carry out the steps described below. The changes that took place can be found on the tutorial/branding/icon branch.
git clone git@github.com:delasign/kotlin-android-starter-project.gitStep One: Setup the Colors
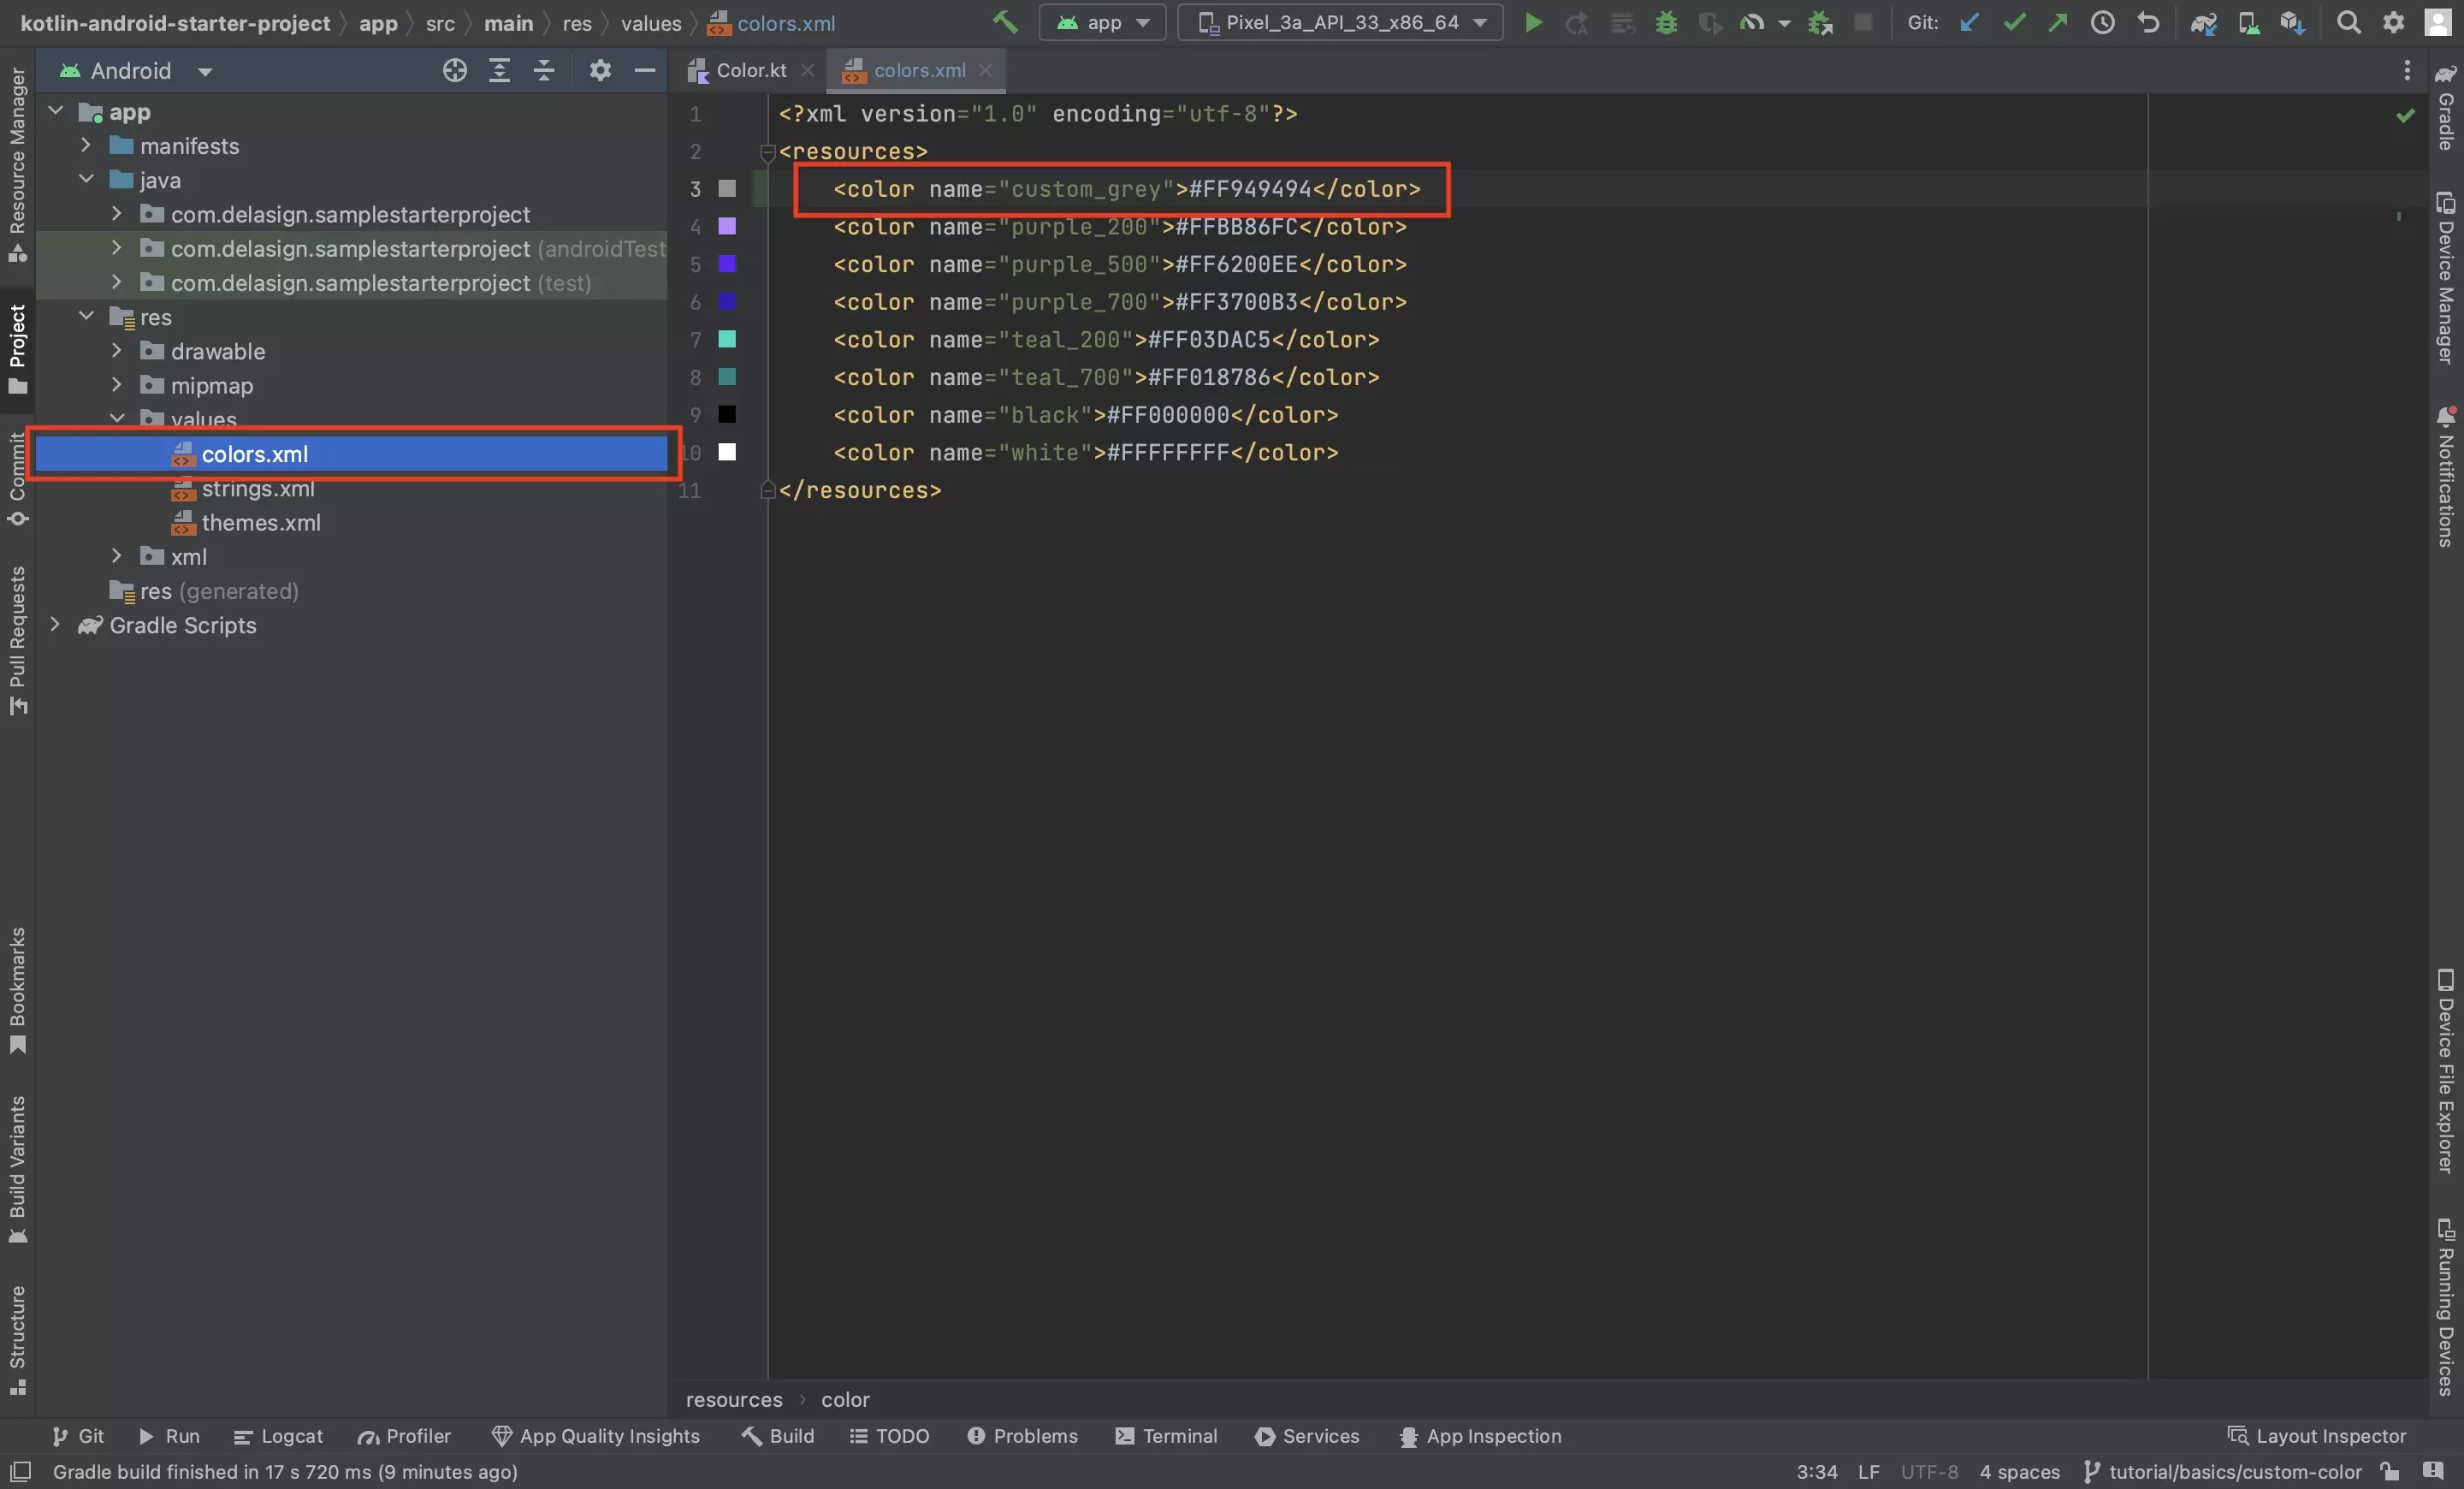
Add the ARGB colors that you wish to use in your icon to the projects colors.xml file.
If you do not know how to do this, follow the tutorial linked below.
Step Two: Change the Icon's background
In the res > drawable > ic_launcher_background.xml file, change the icons background.
We have highlighted how we changed the icon to have a black background.
Step Three: Create the Icon
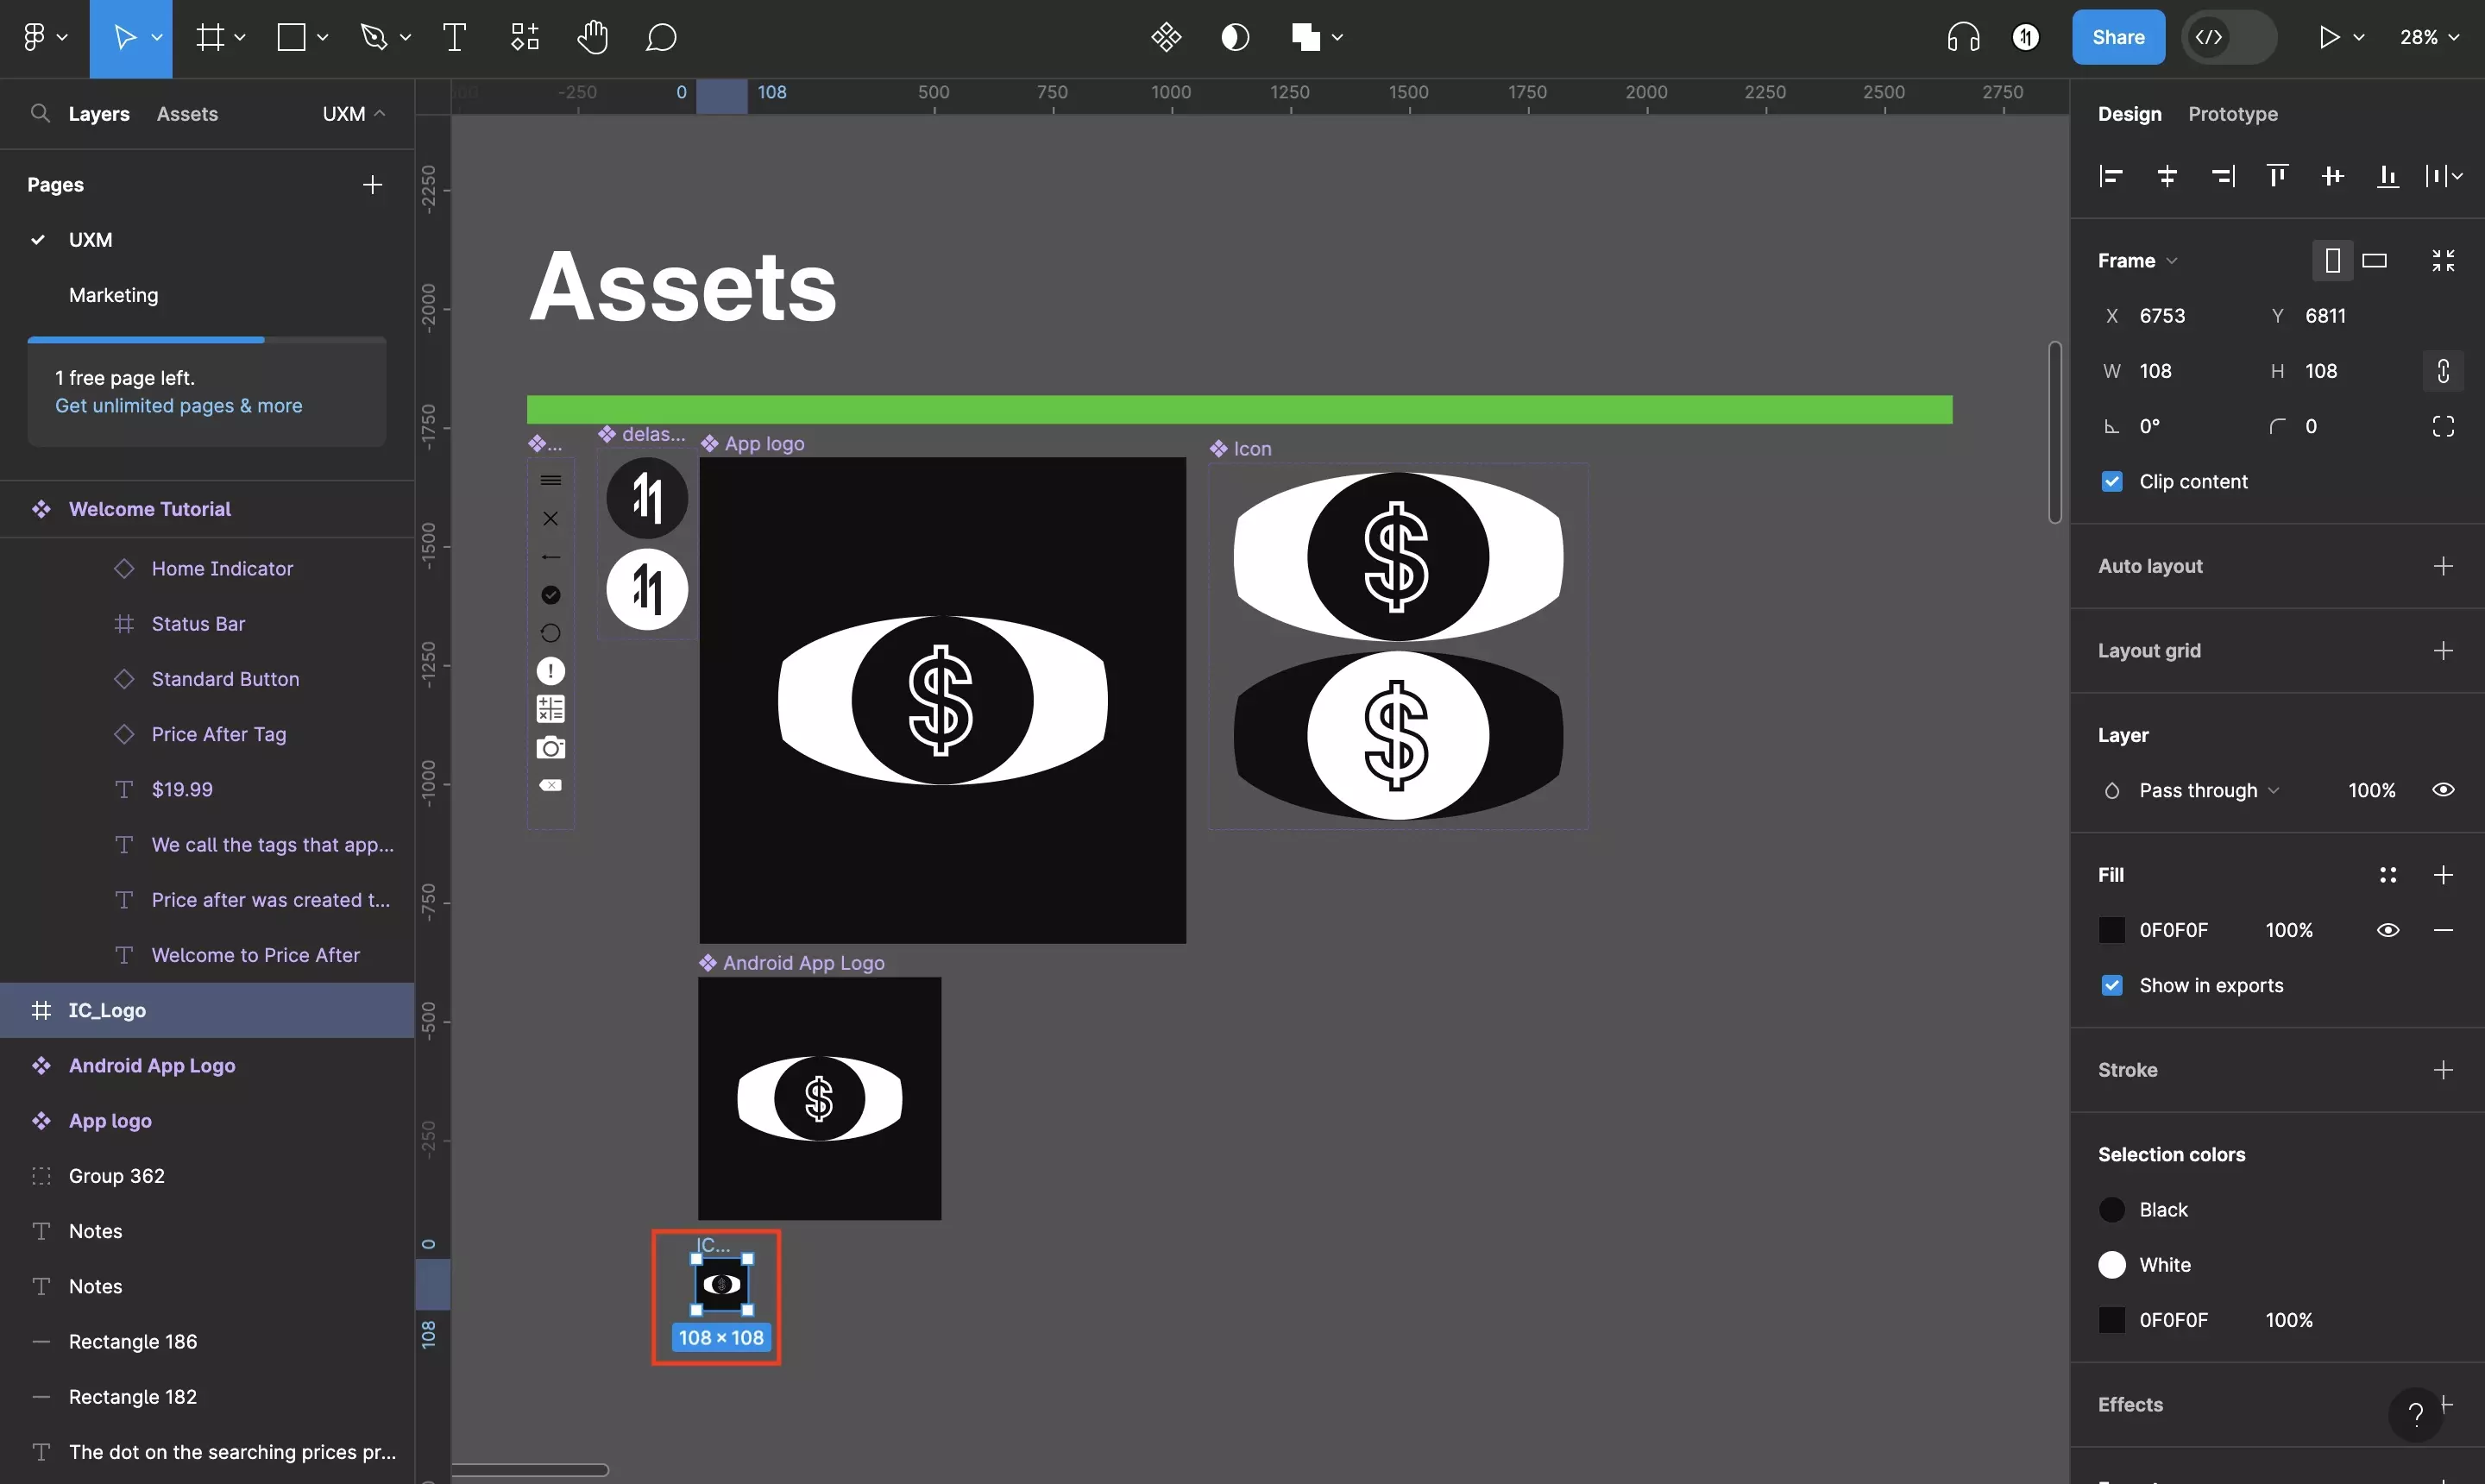
In Figma, create a frame that's 108px by 108px and place your app icon inside it.
It is imperative that the icons frame is 108px by 108px, otherwise it won't appear as desired when implemented in Android Studio.
Step Four: Export the SVG Code
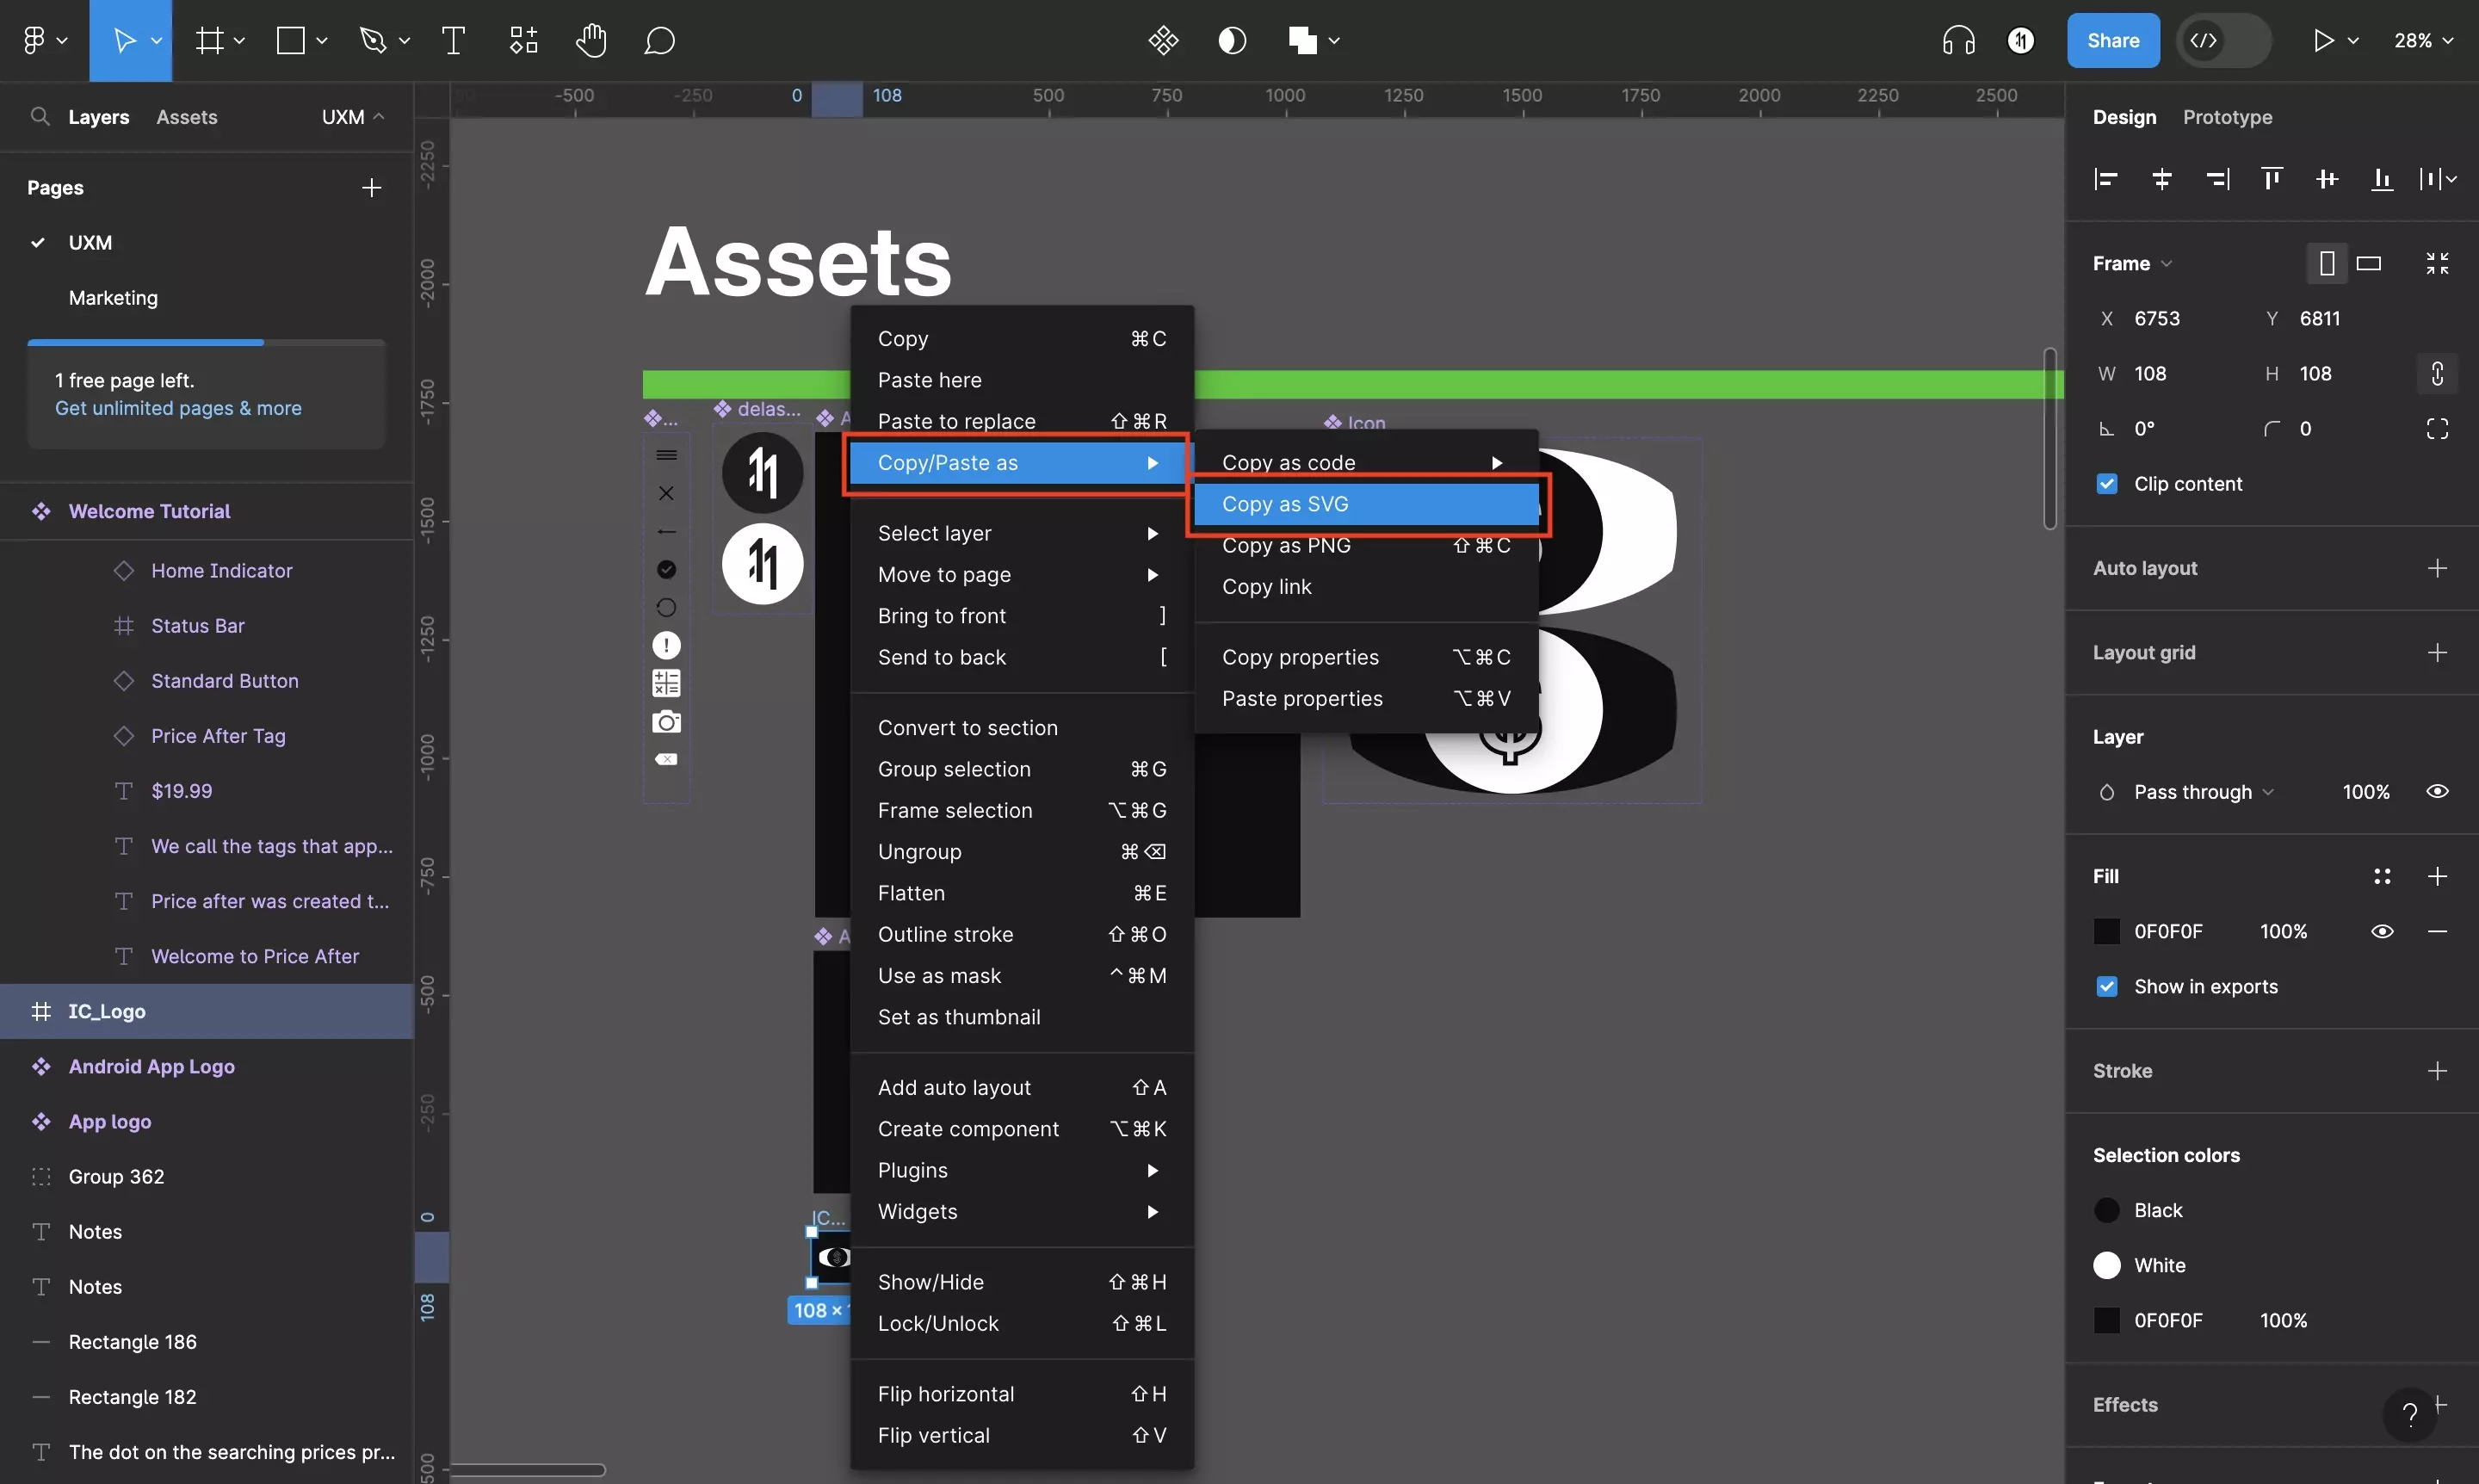
Select the frame or objects, right click and select Copy/Paste as > Copy as SVG.
Step Five: Paste into Android Studio
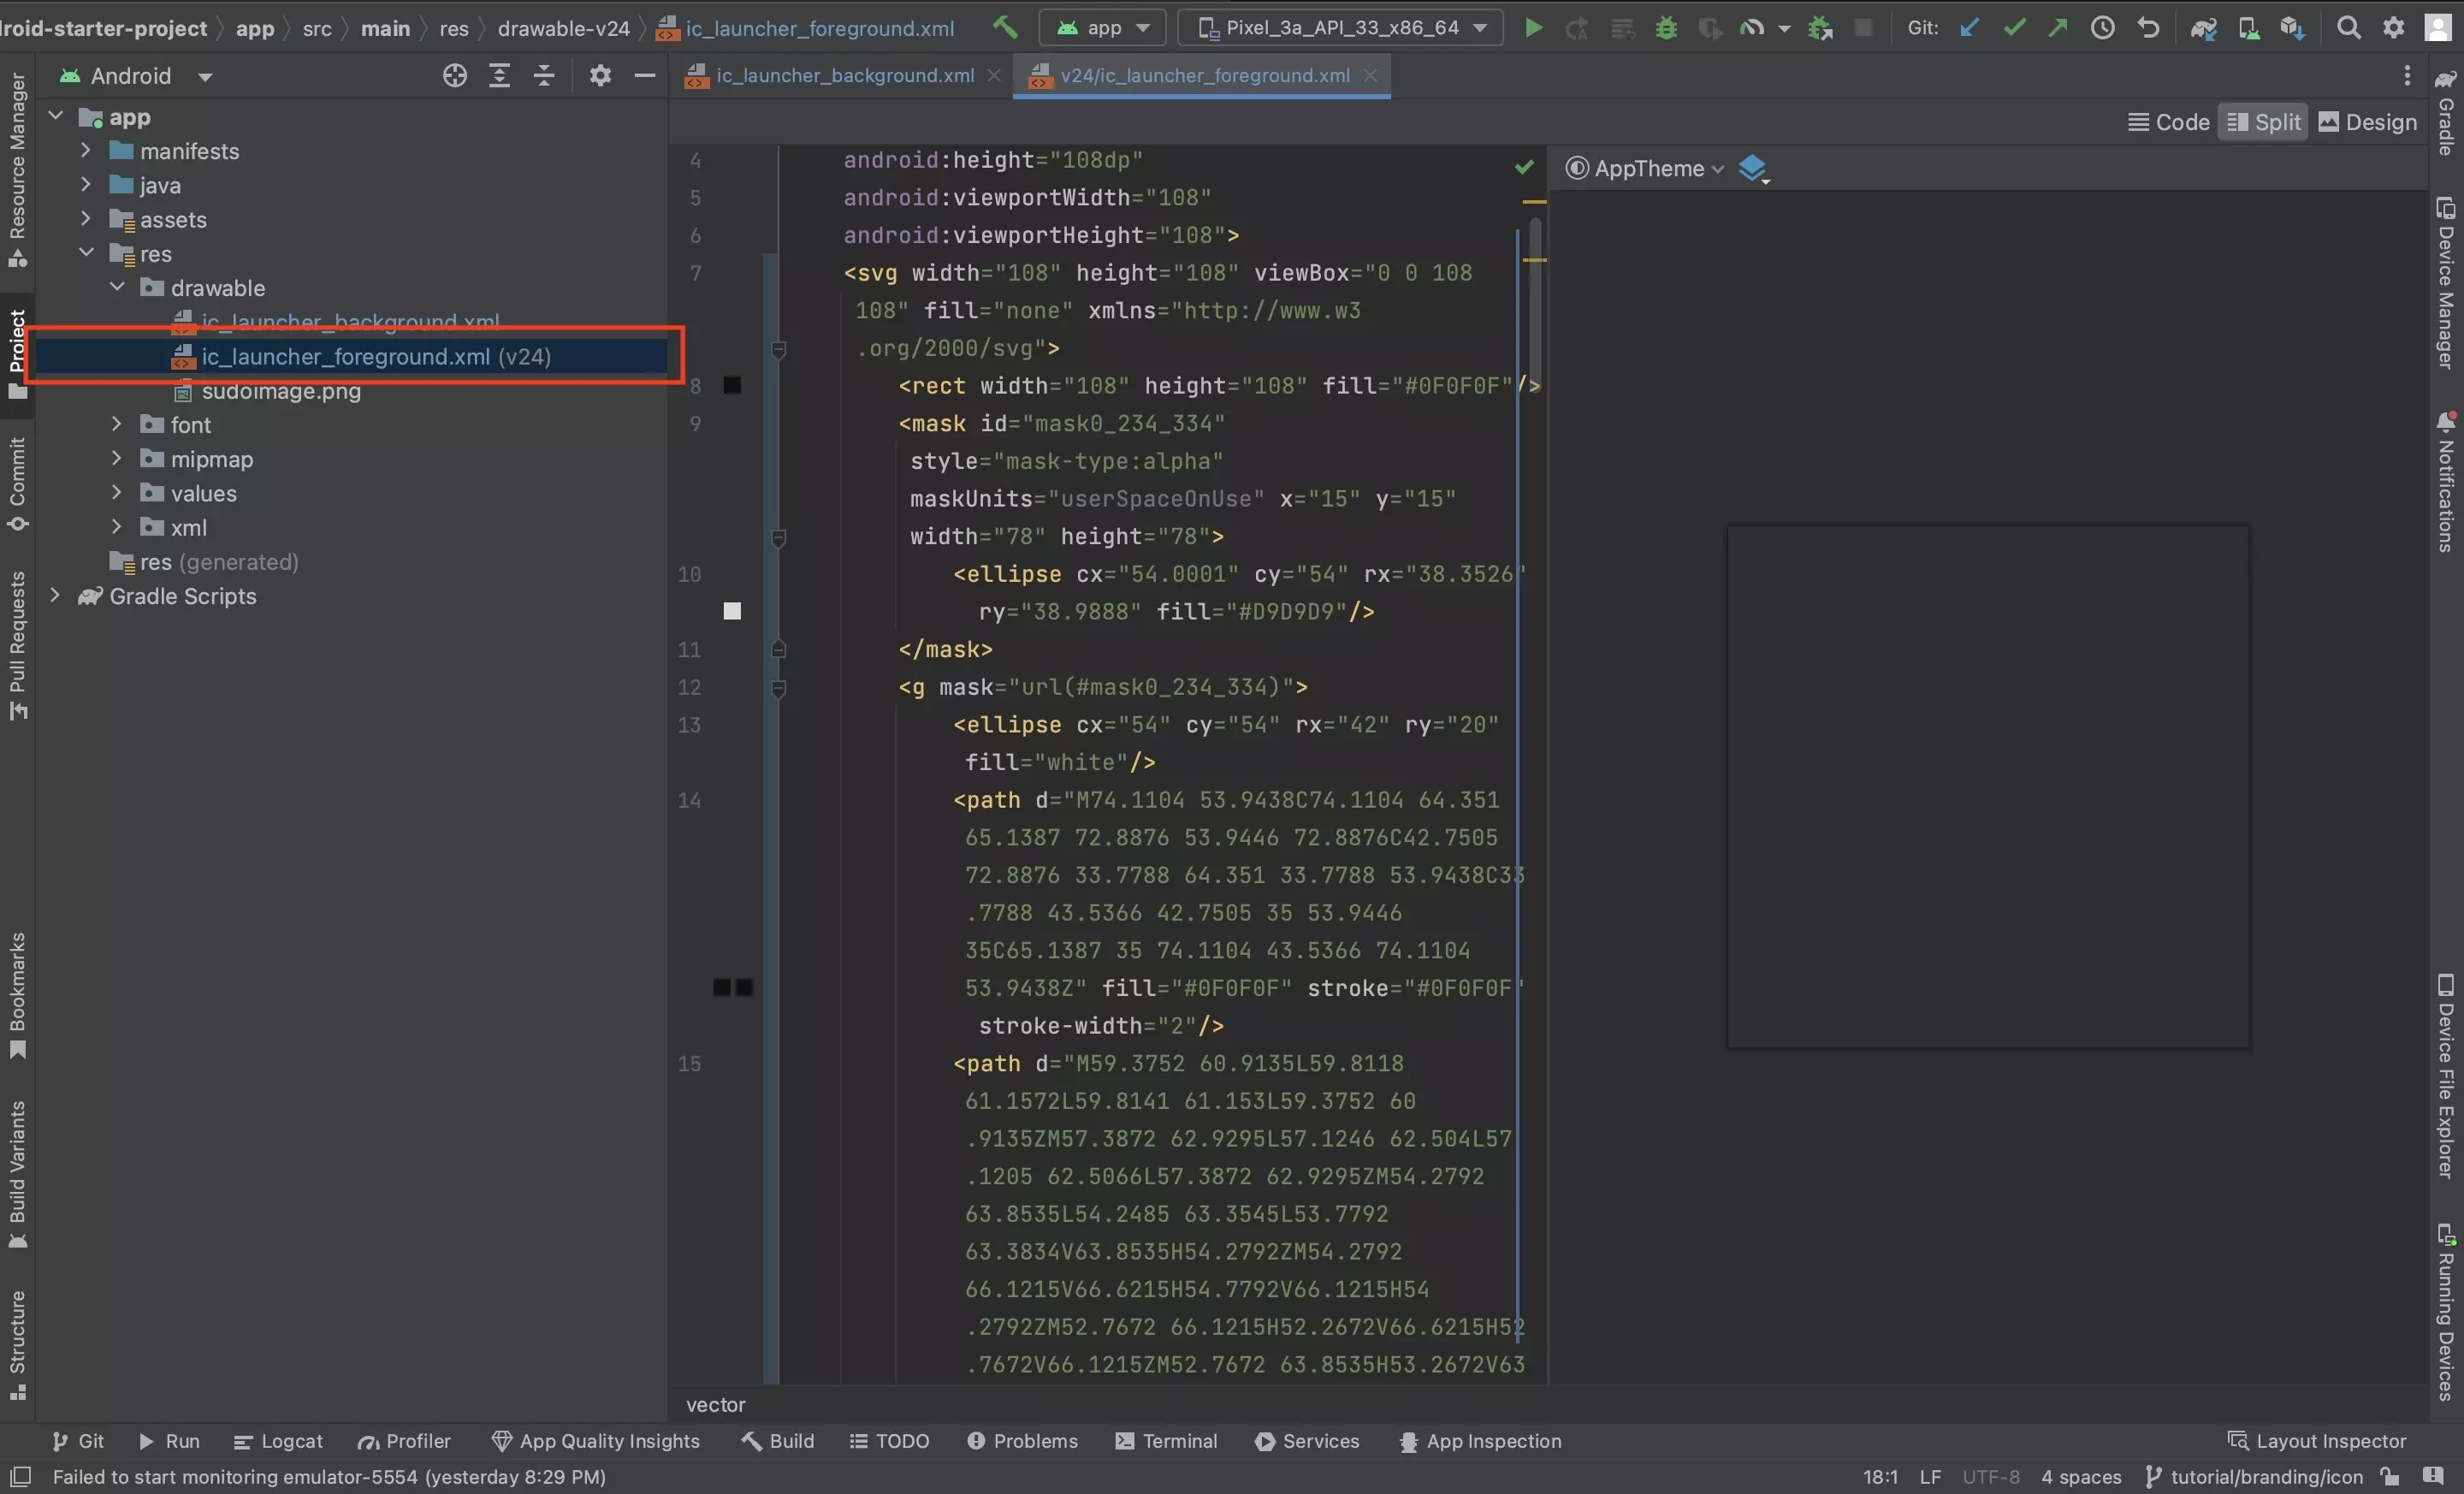
In the res > ic_launcher_foreground.xml file, highlight the svg paths and replace them by pasting in the code from Step Four.
Step Six: Remove everything except the paths
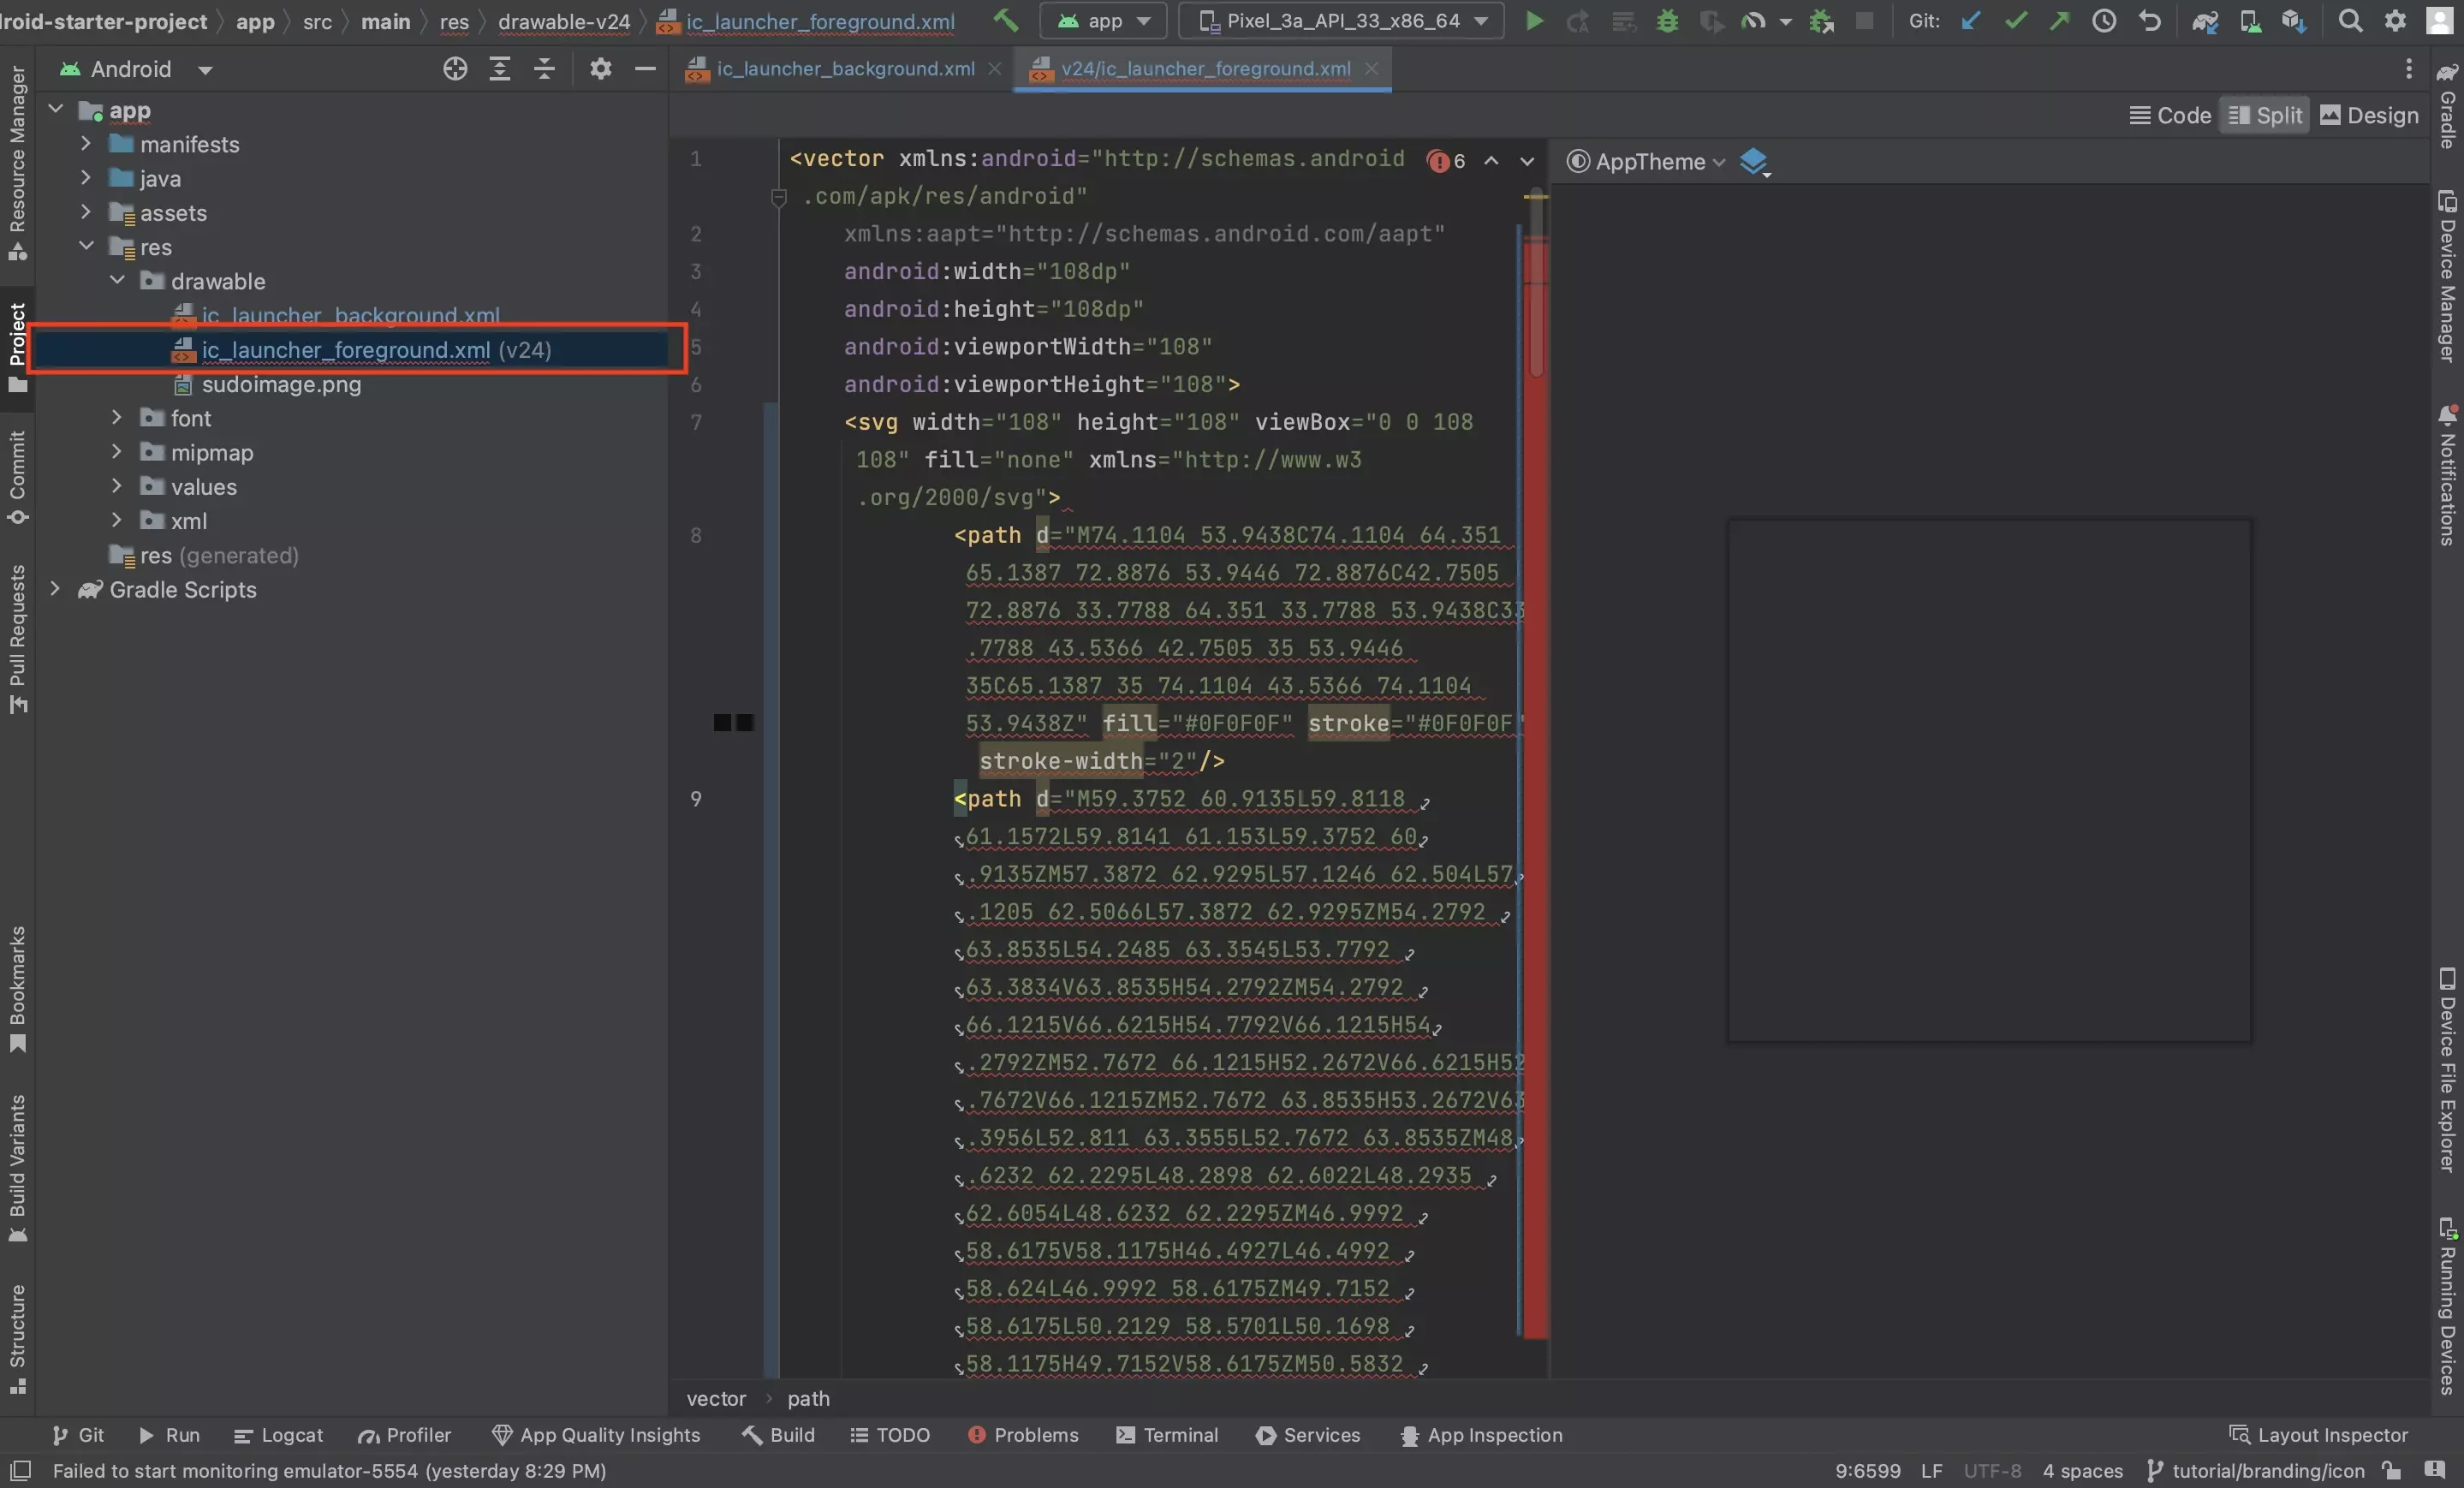
Clean up the ic_launcher_foreground.xml file, such that only the svg paths remain from the code that you pasted in Step Five.
Step Seven: Implement Android Specific Code
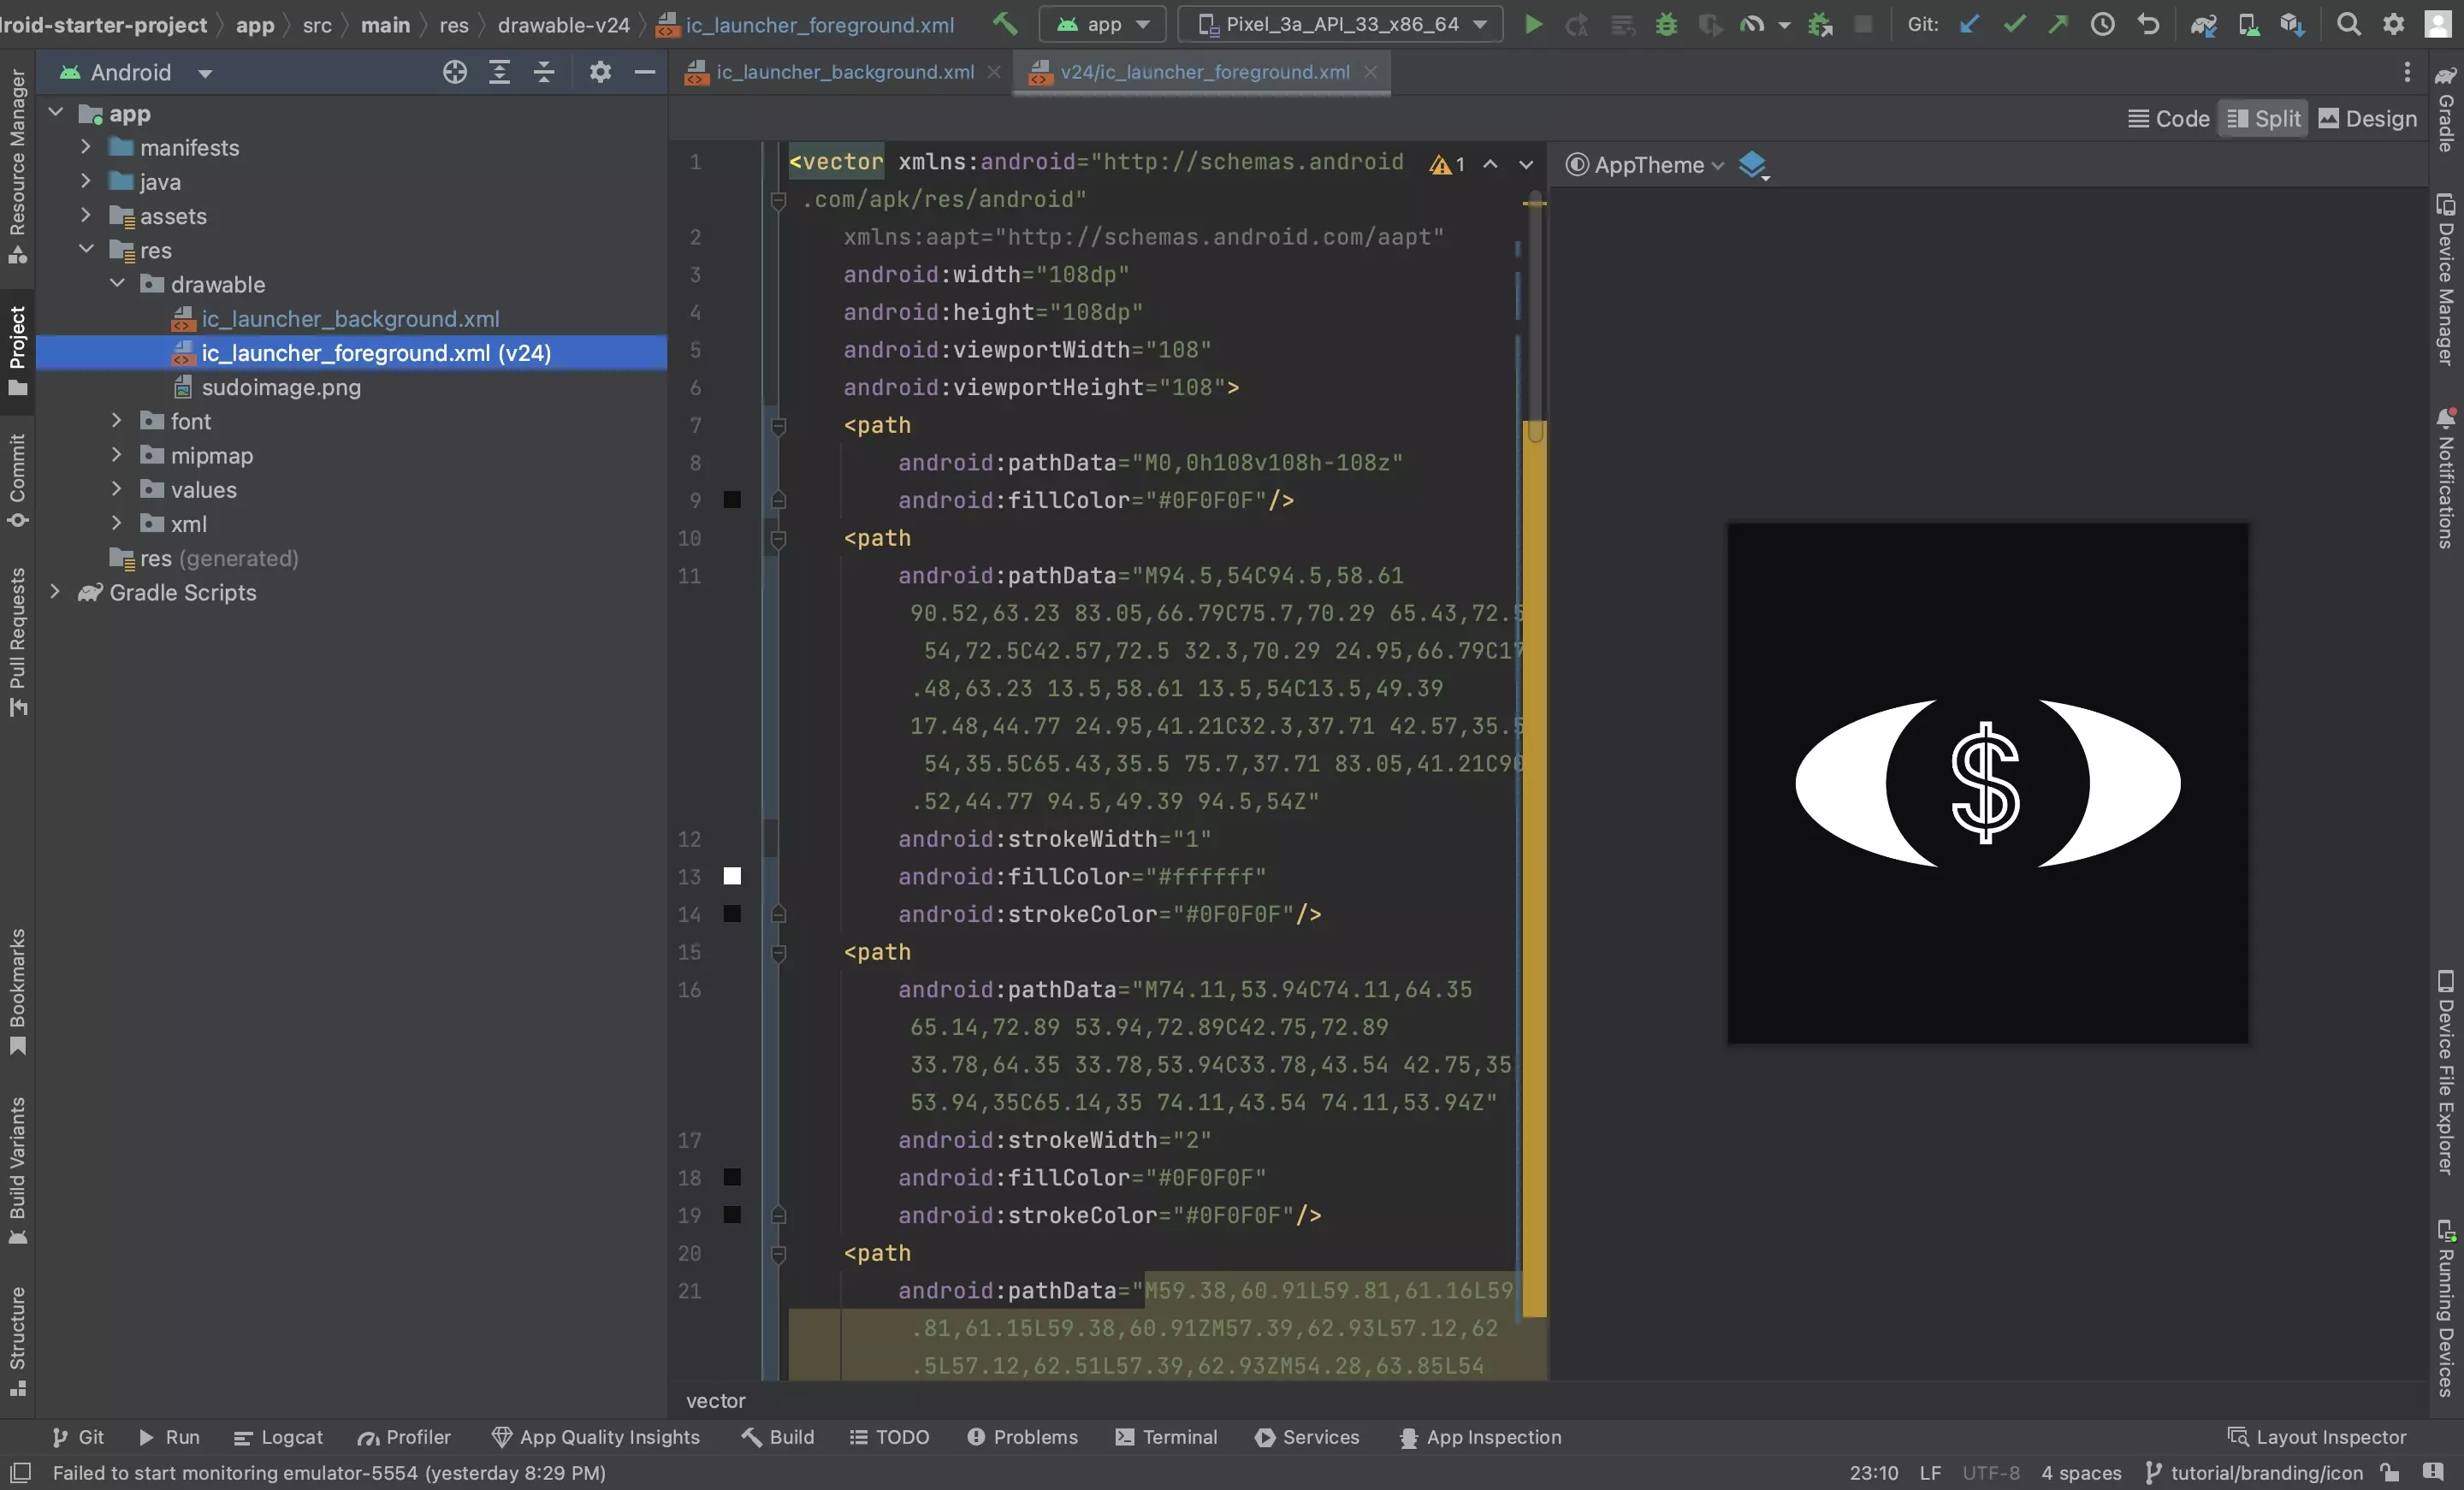
In the ic_launcher_foreground.xml file, convert the svg paths to their android equivalent:
- d -> android:pathData
- fill -> android:fillColor
- stroke-width -> android:strokeWidth
- stroke -> android:strokeColor
Step Eight: Test
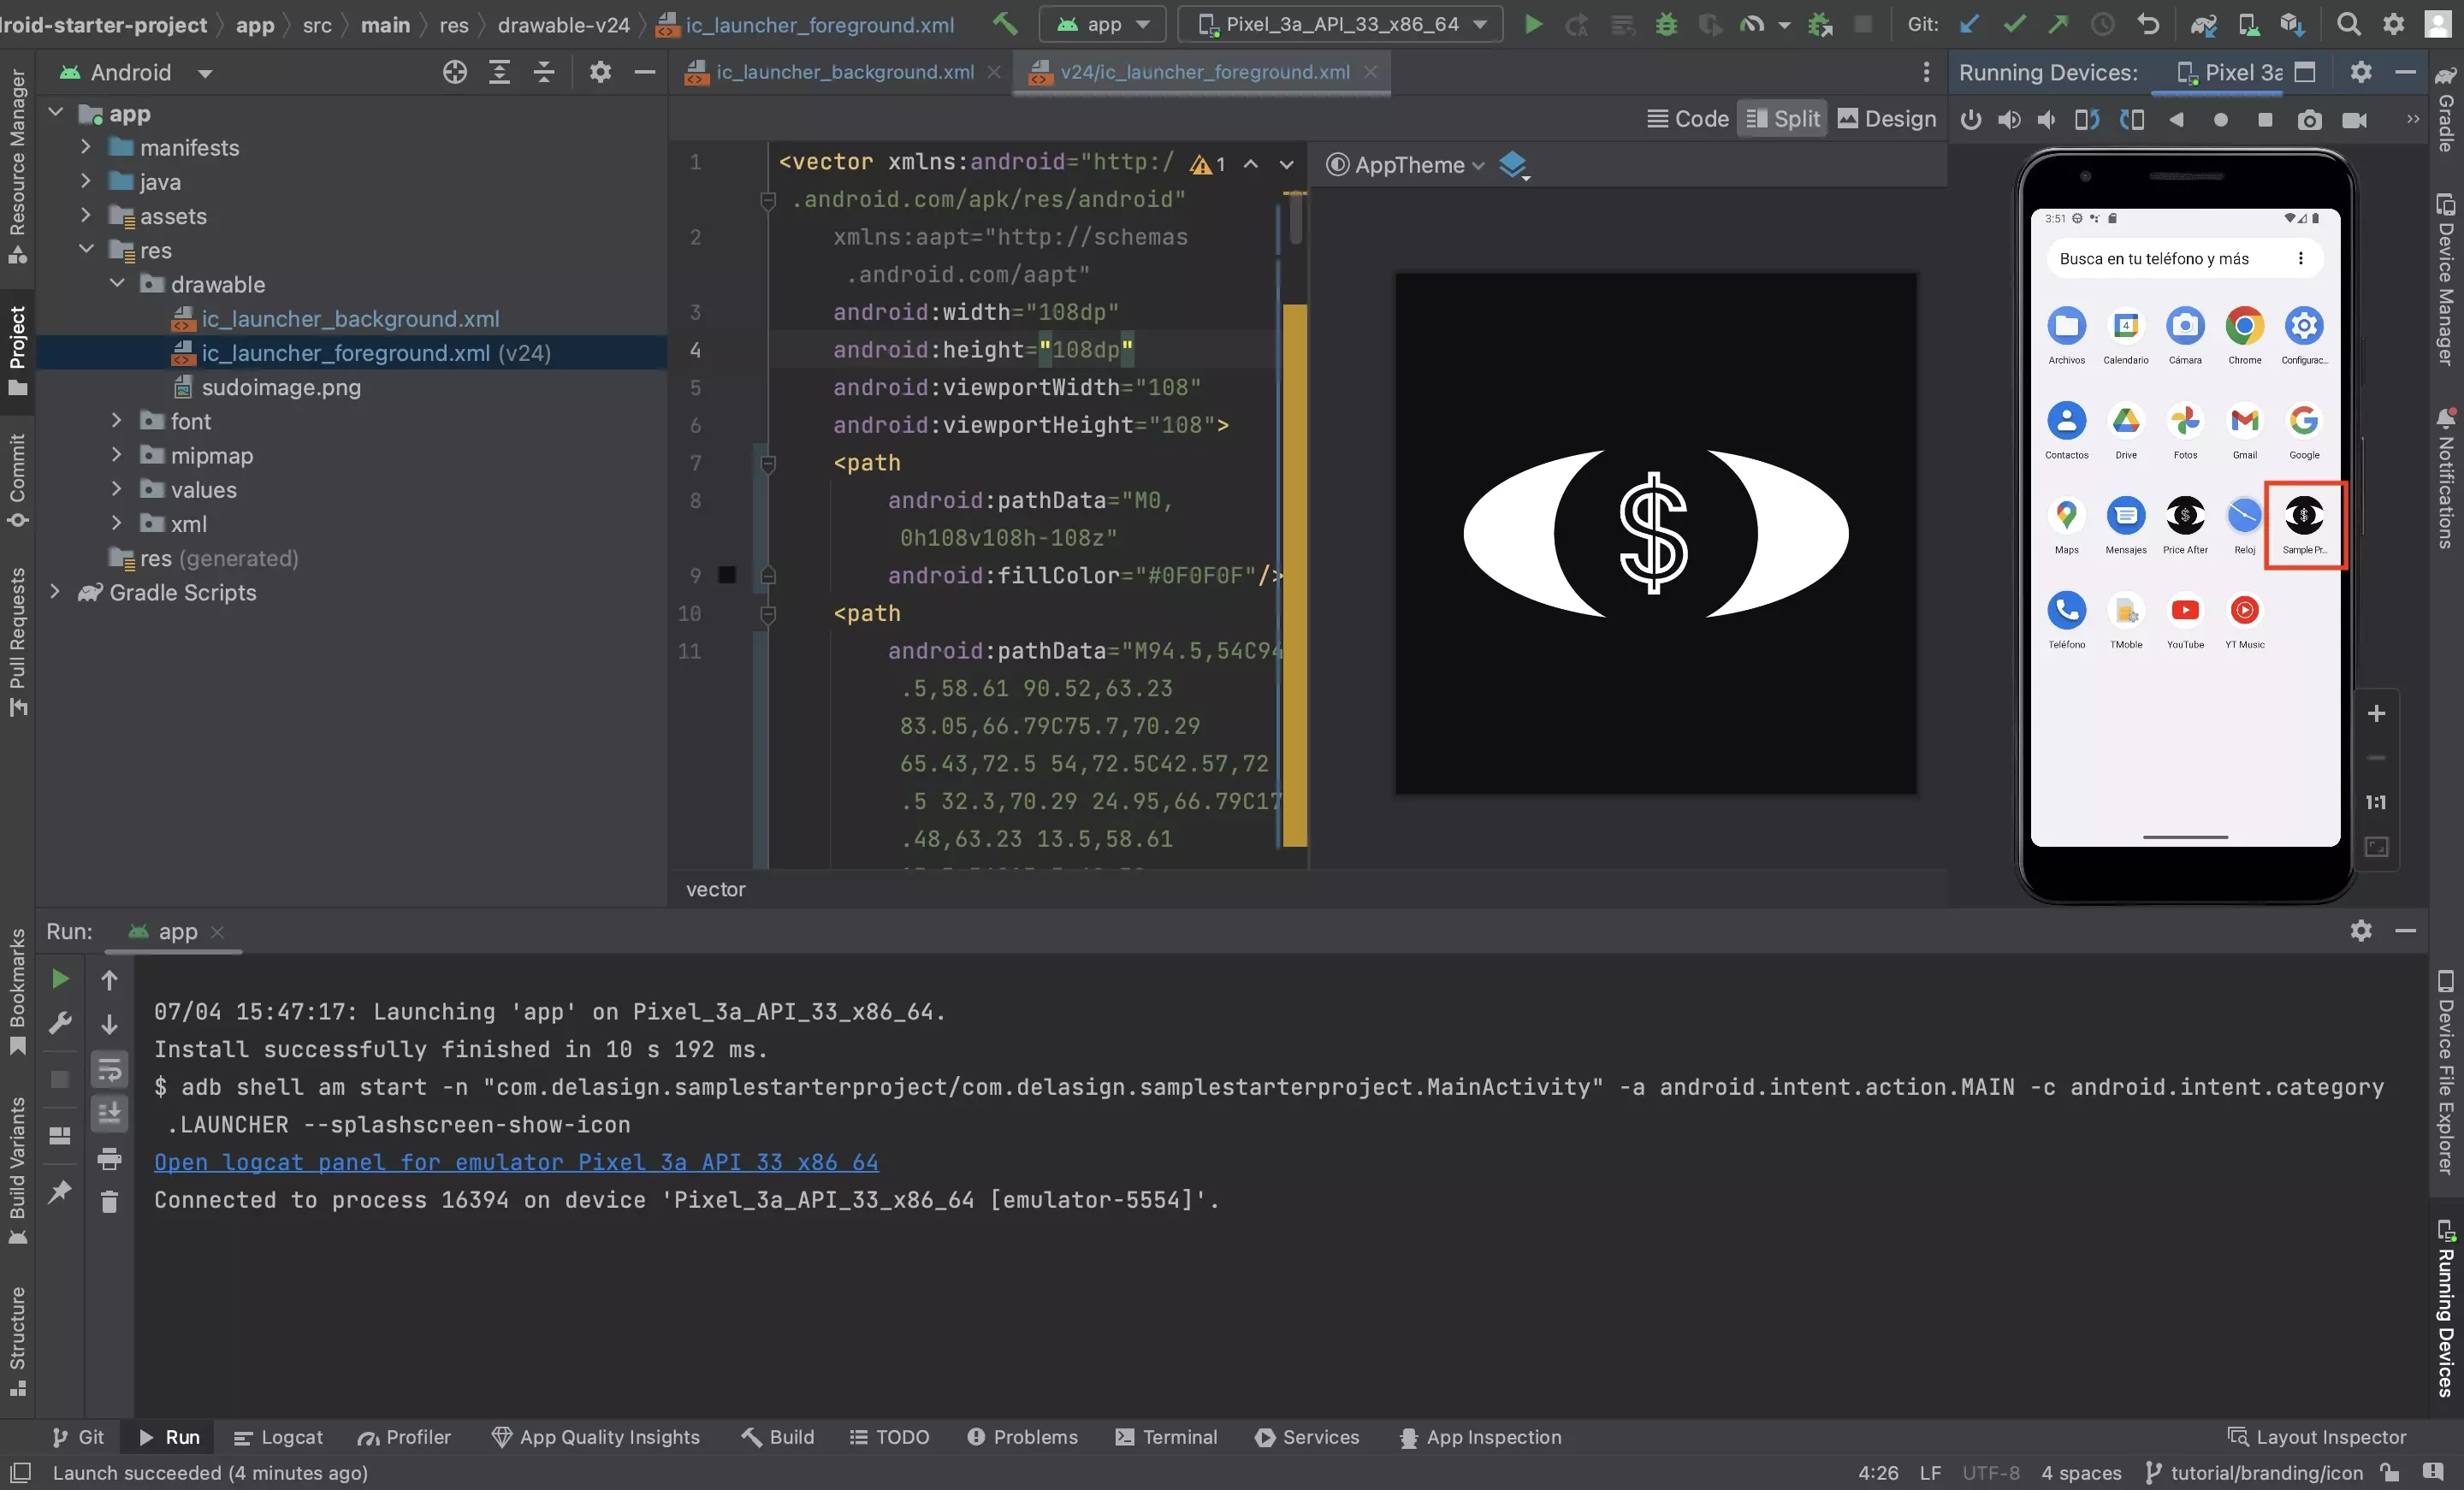
Run the code and confirm that the app icon updates on a device or emulator.