How to create component variants in Figma
A step by step tutorial on creating a component variant in Figma.

A step by step tutorial on creating a component variant in Figma, through the demonstration of a menu button.
SubscribeWhat is a Component?This tutorial assumes that you know how to create a component and follows our tutorial where we created a MenuButton component. This tutorial is available via the button below.
Step One: Select your component
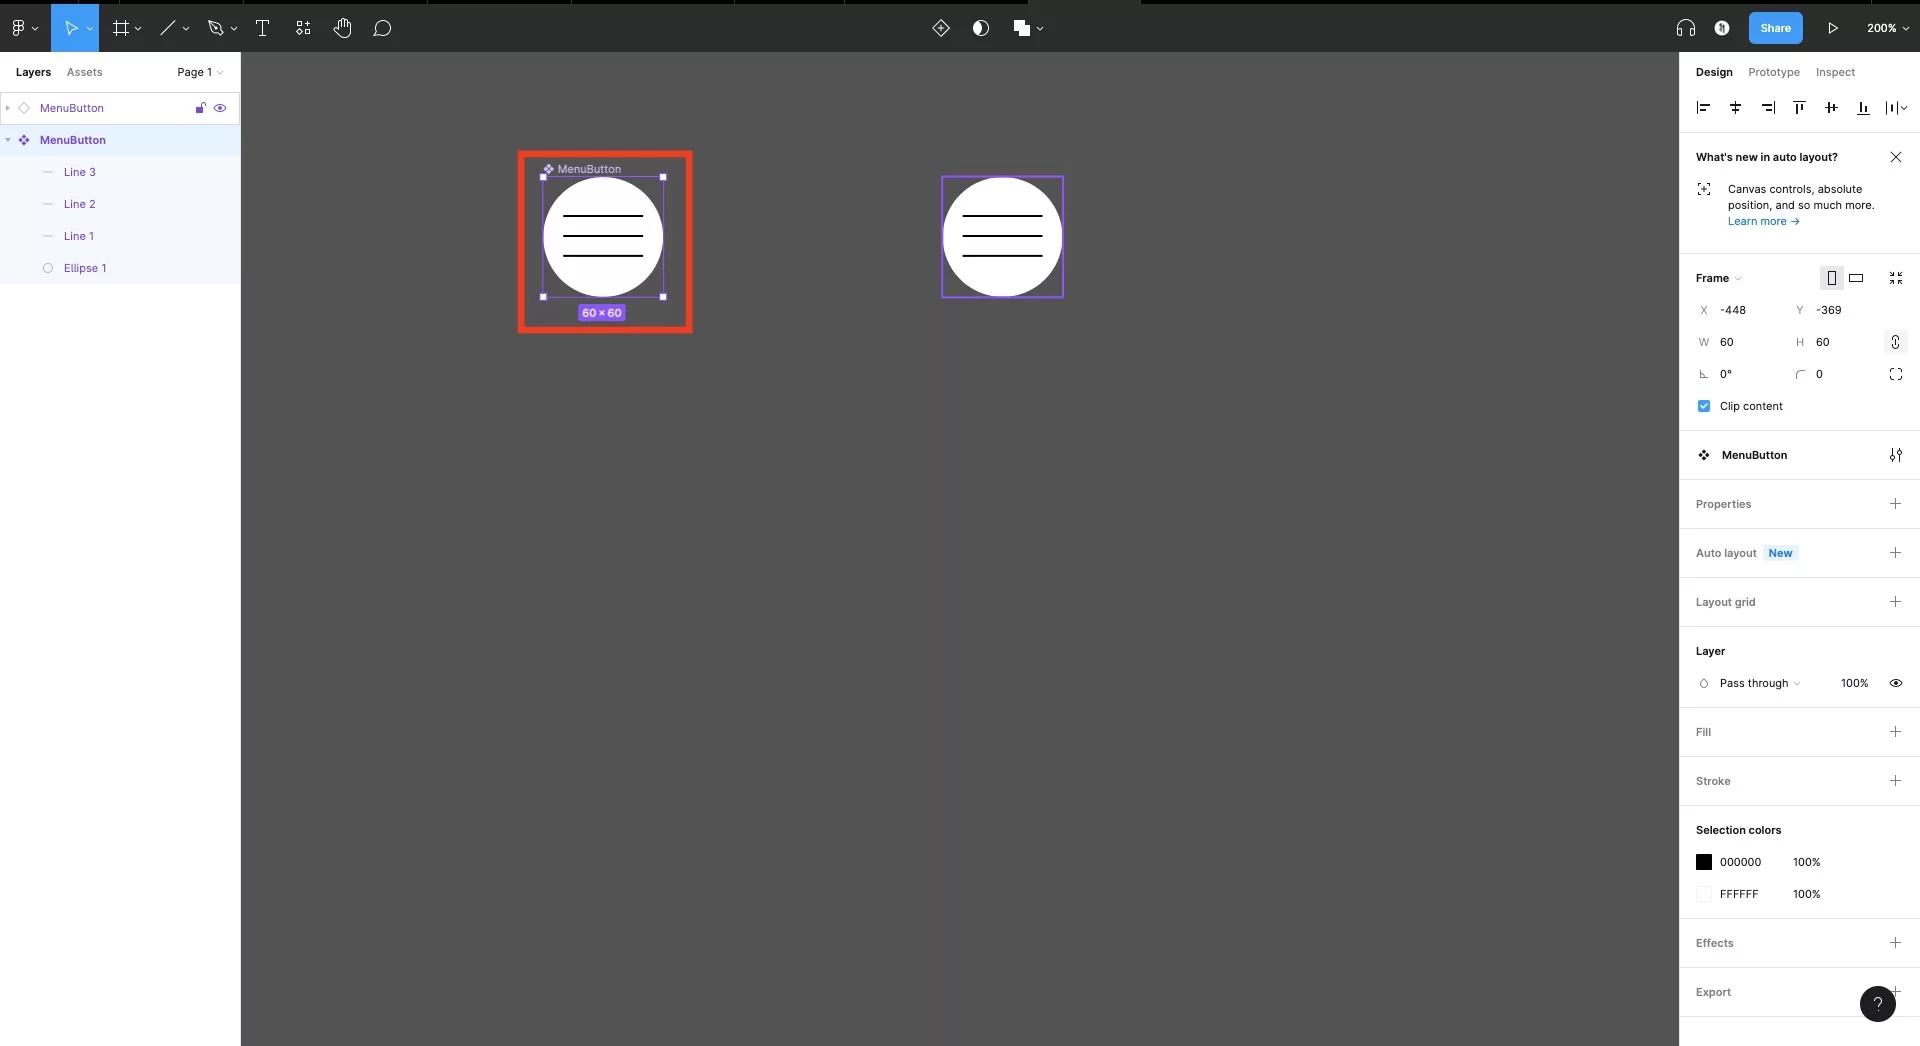
In Figma, select a previously created component.
Step Two: Select Create New Component Property
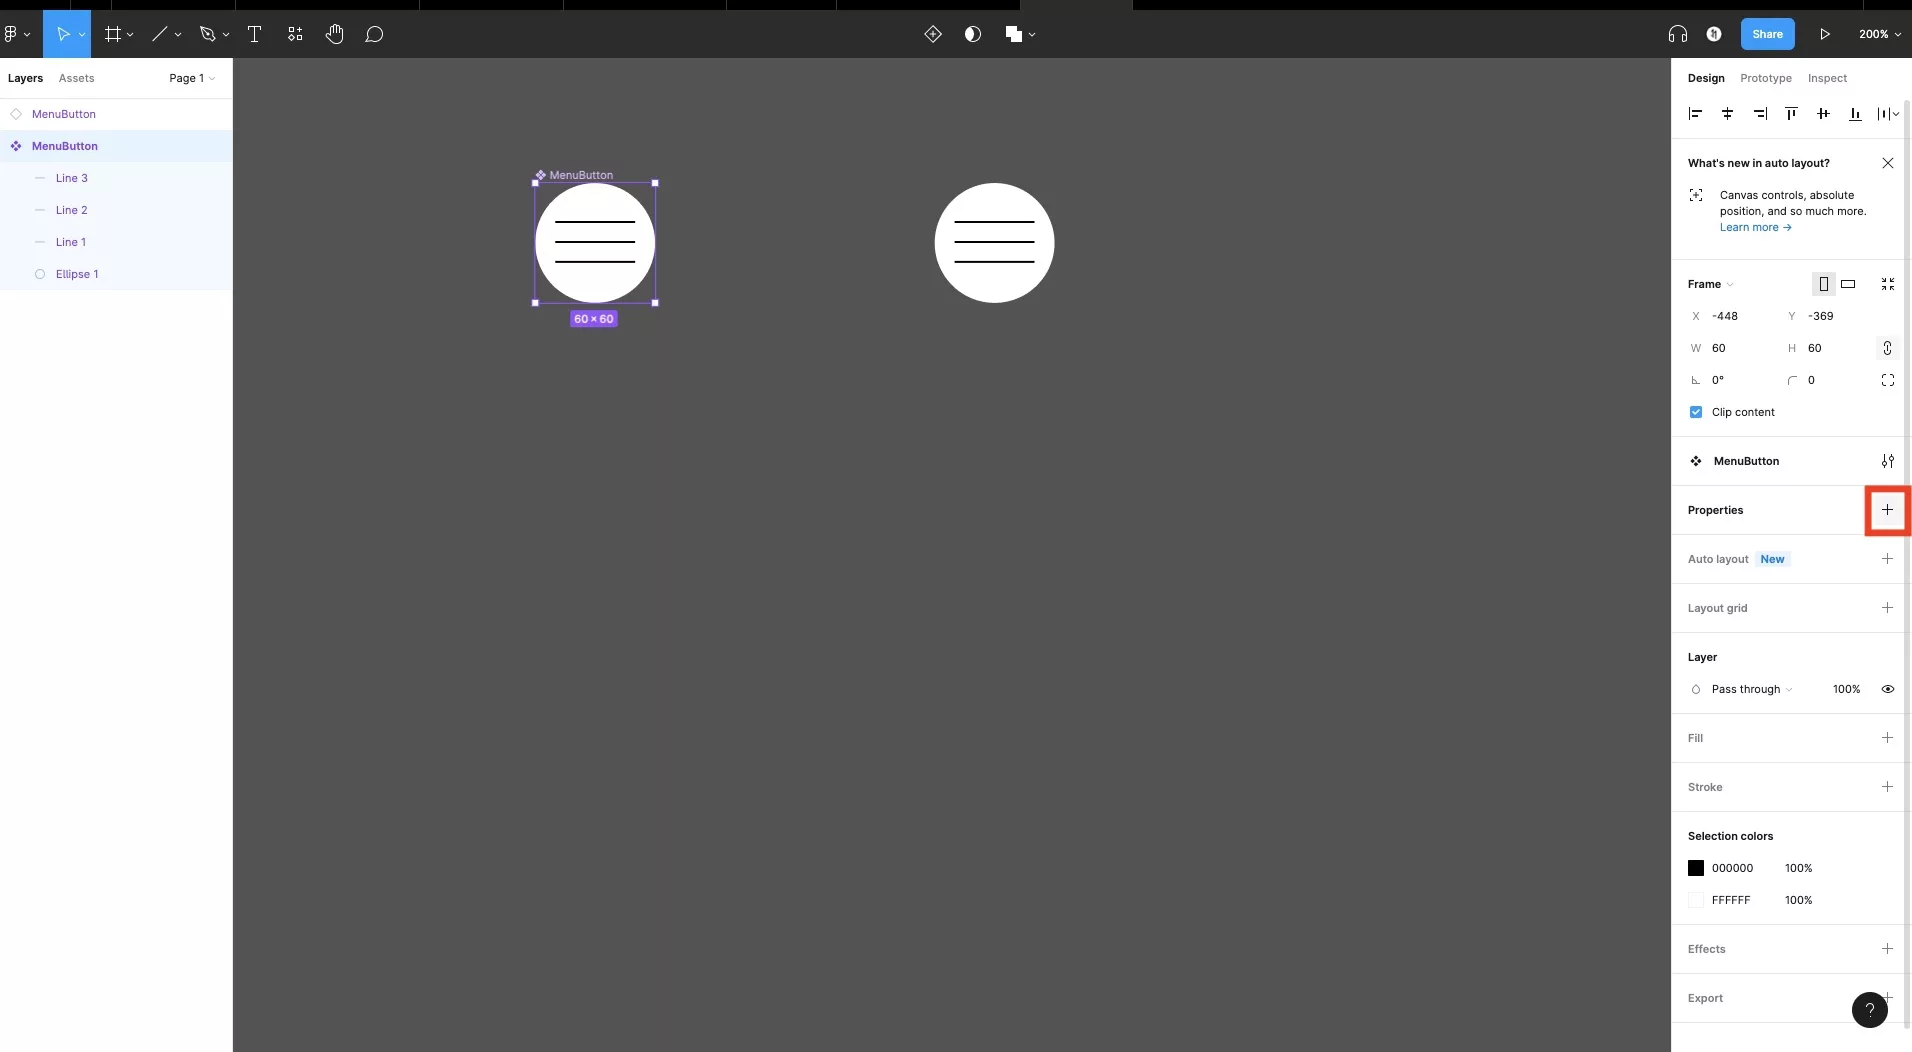
Select the '+' next to properties.
Step Three: Select Variant

Select Variant from the pop over that appears.
Step Four: The component should now be outlined
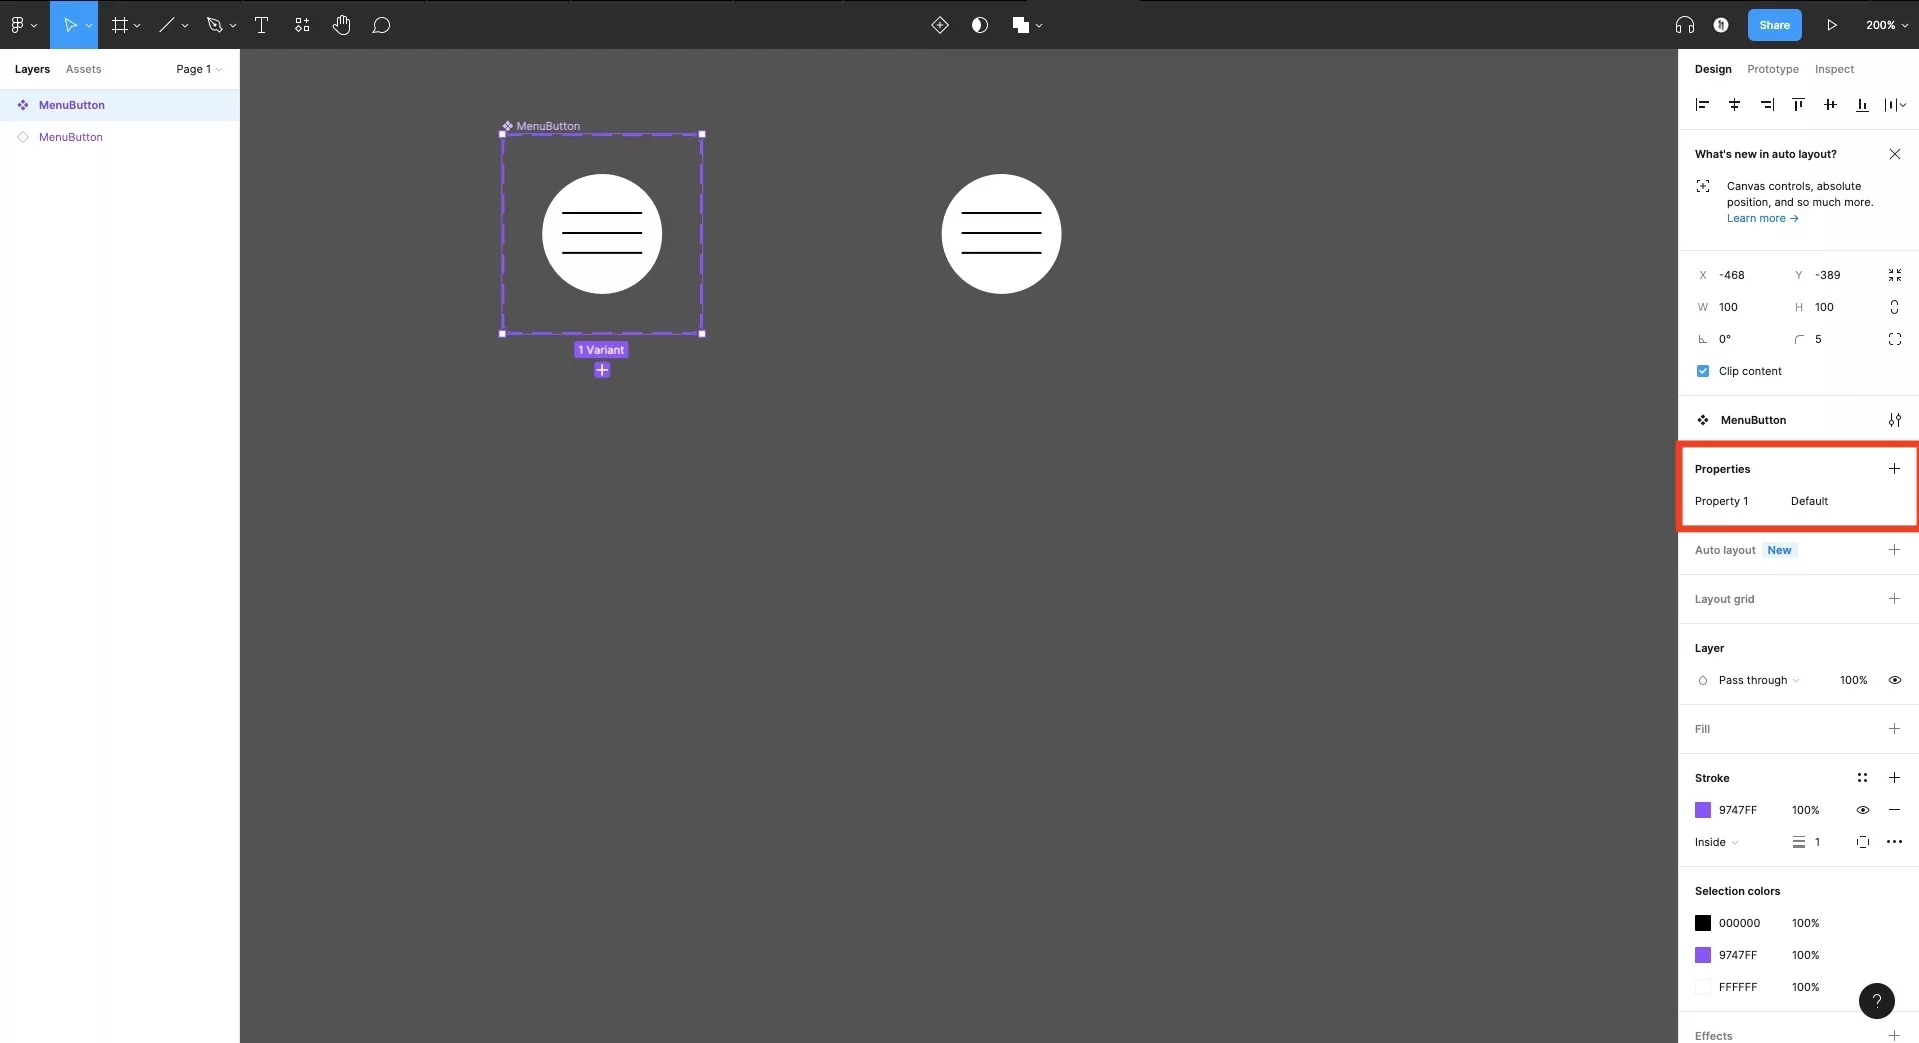
The component you selected should now have an outline - which we call the component variation area. Your previously created component should now be called the Default variation.
Step Five: Increase the component variation area
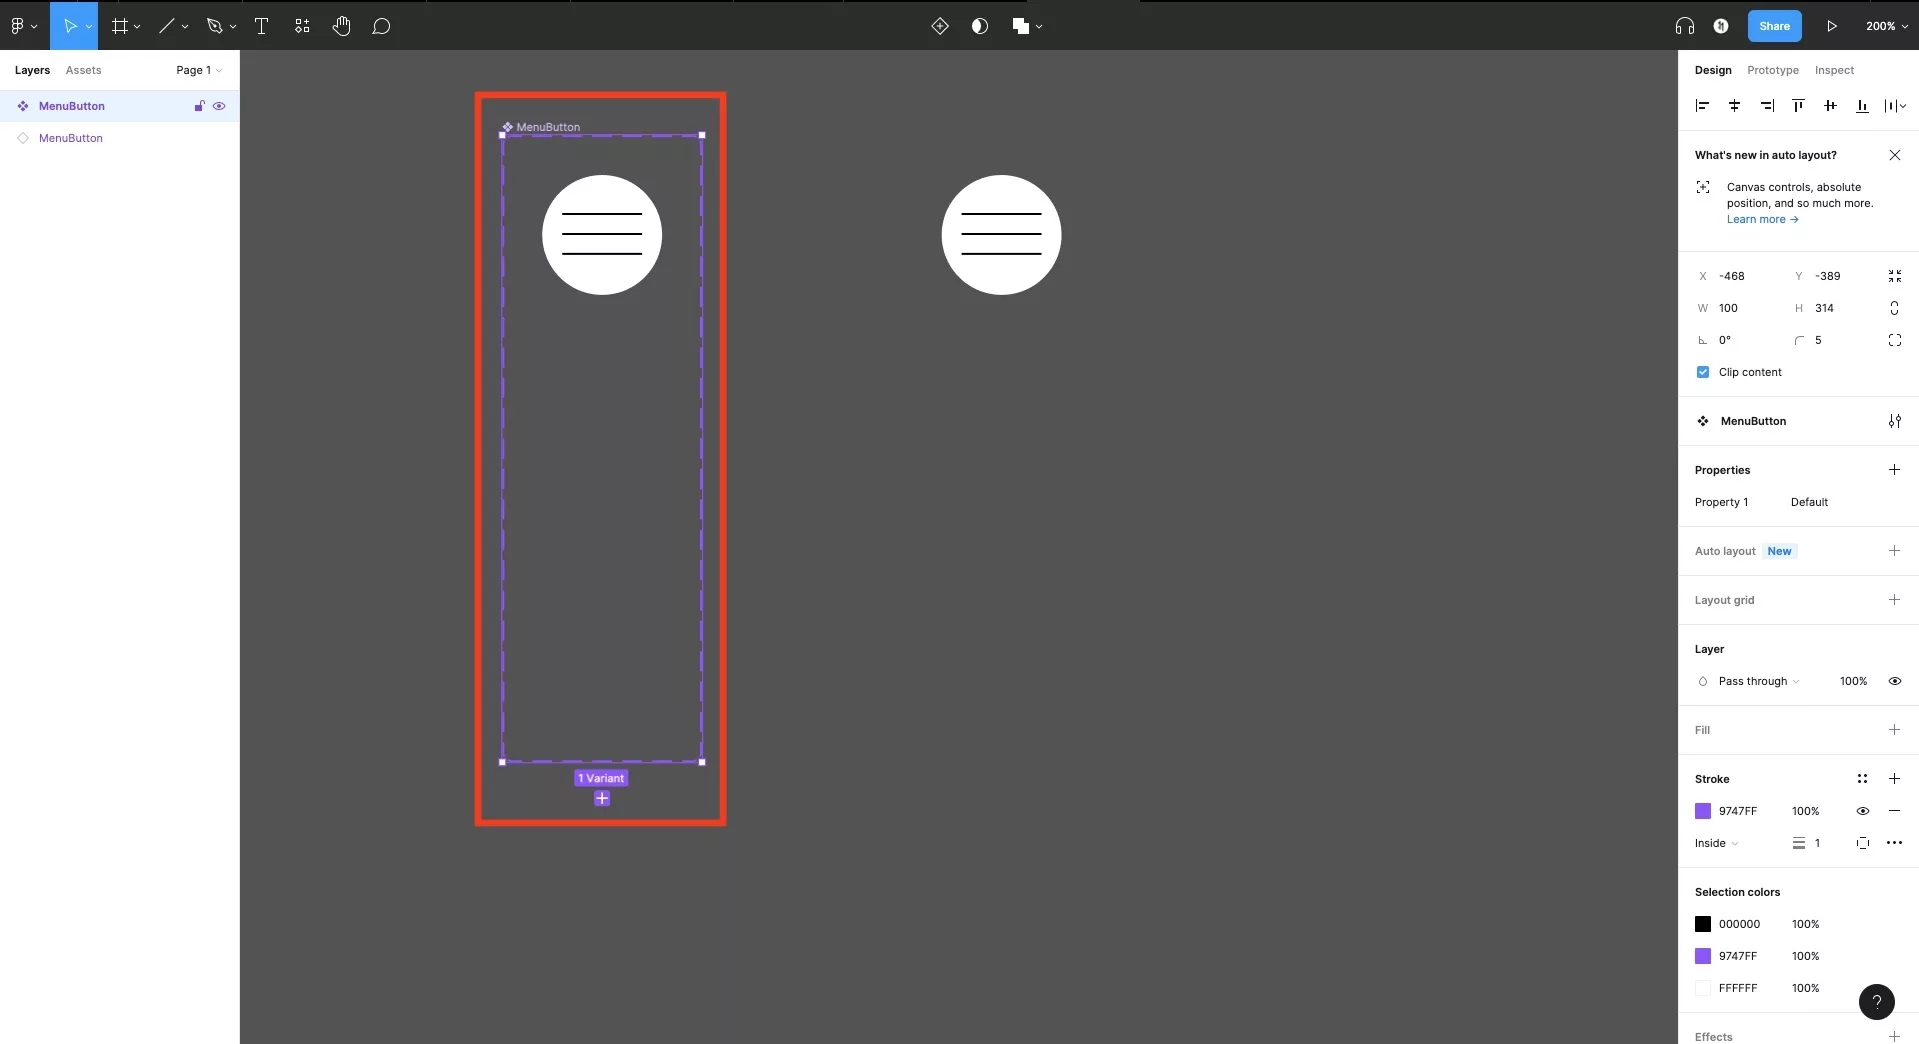
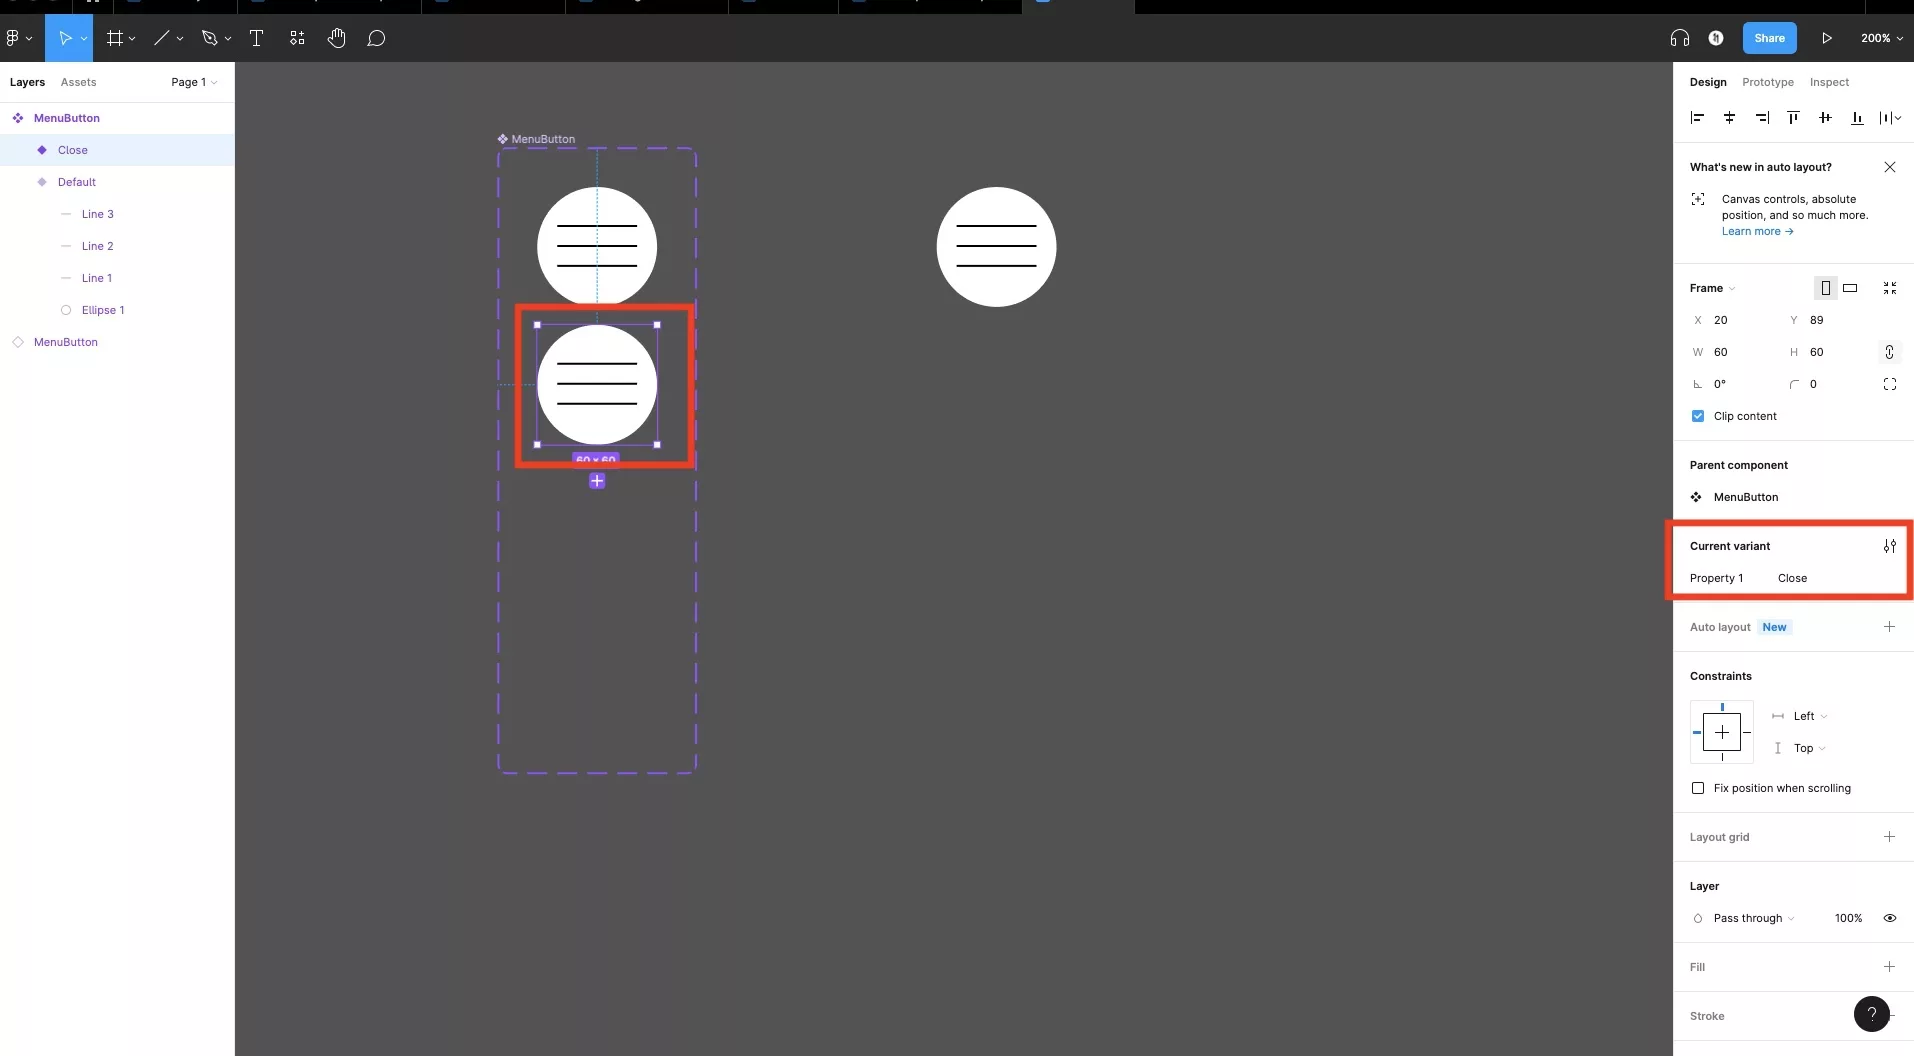
Select your component variation area and resize it your preferred size.
Step Six: Select the Default variation
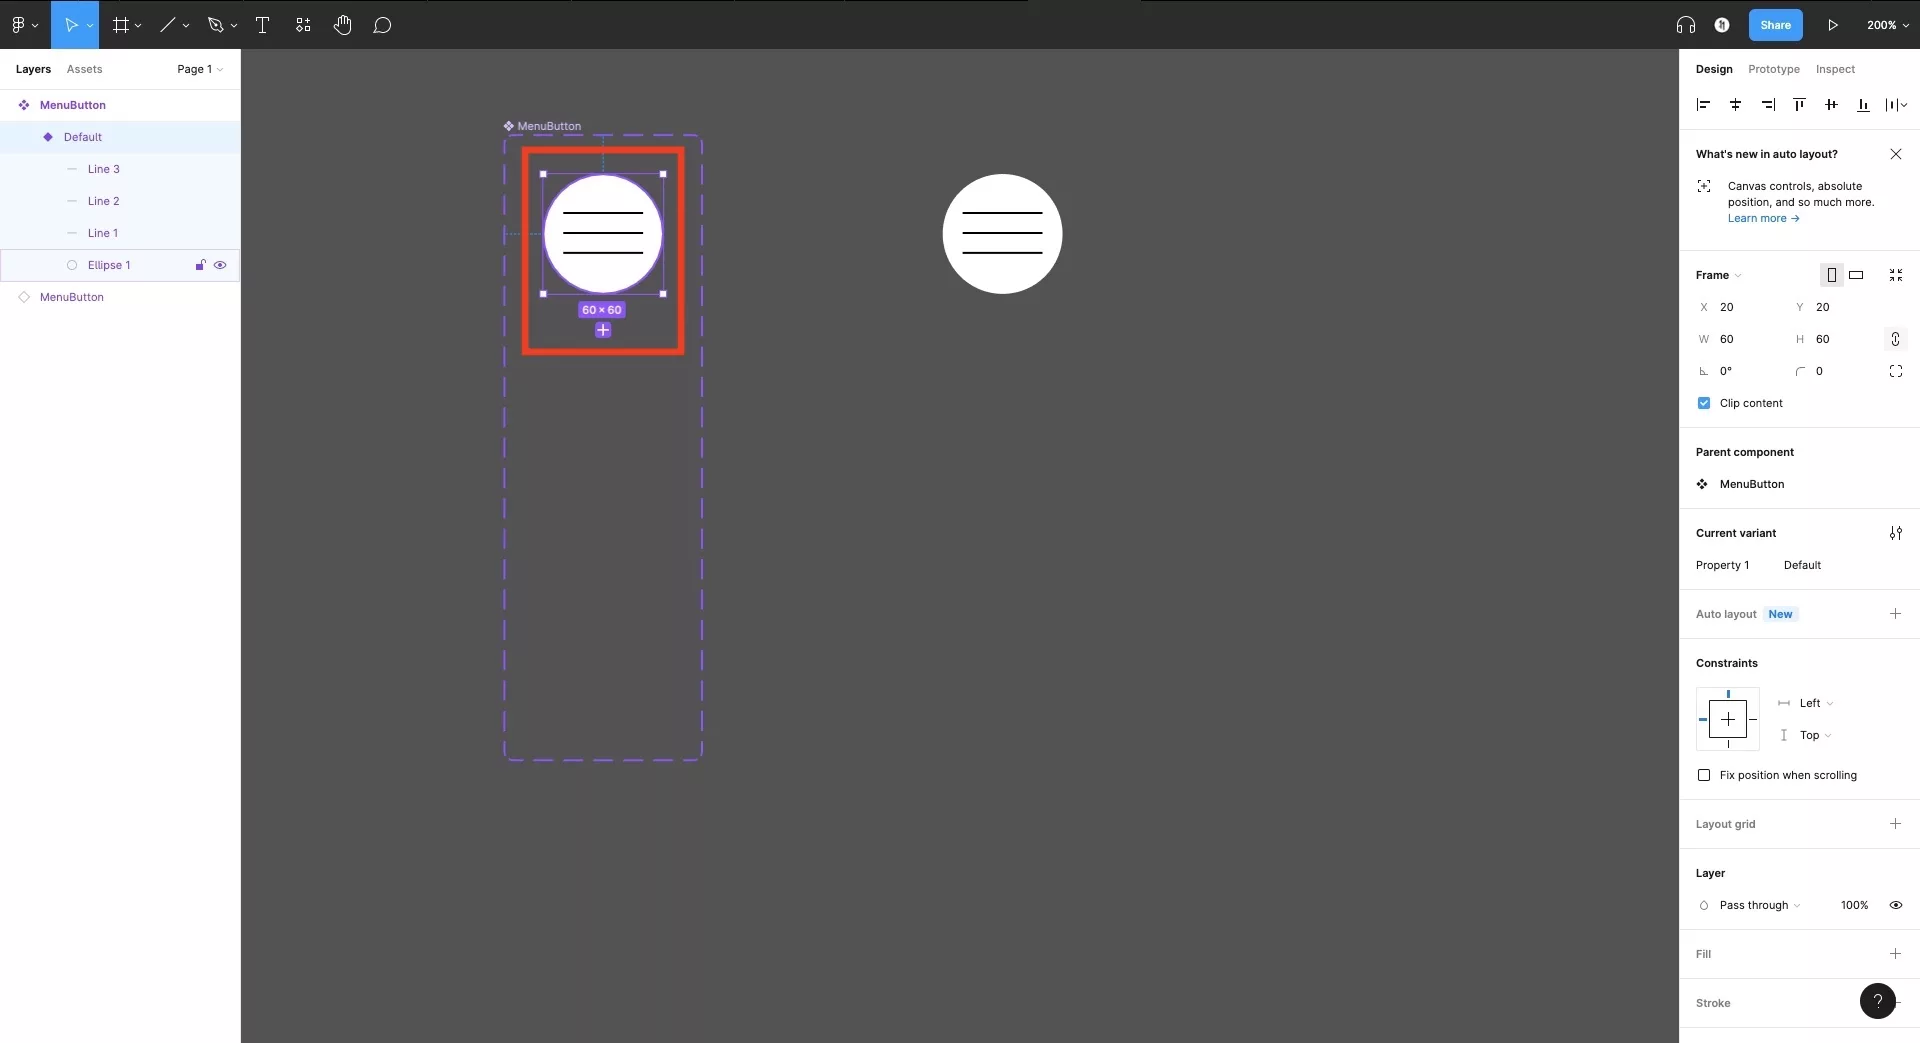
Select the existing component within the variation area. As previously mentioned, this should be called the Default variation as shown under Properties in the Dessign menu on the right hand side.
Step Seven: Add a new variant
Select the '+' under the Default variation to create a new variation.
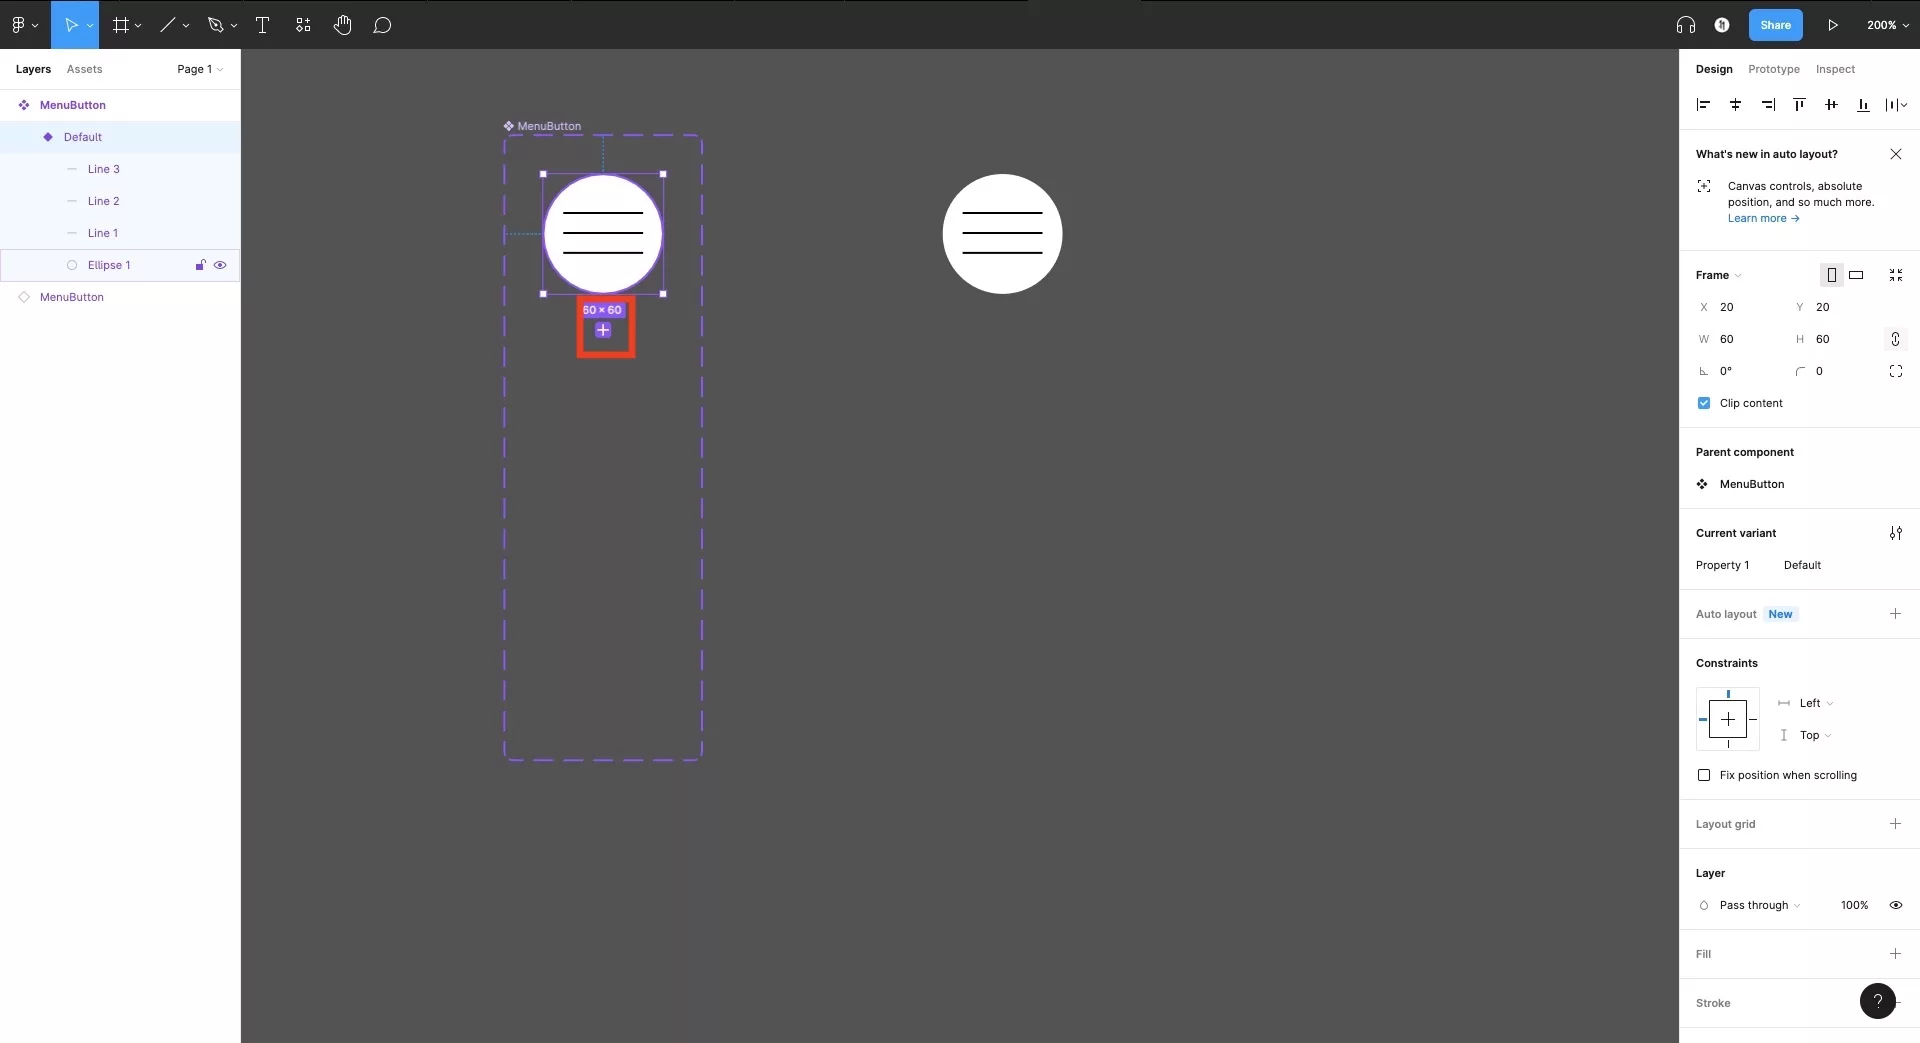
Step Eight: Rename the variation that appears
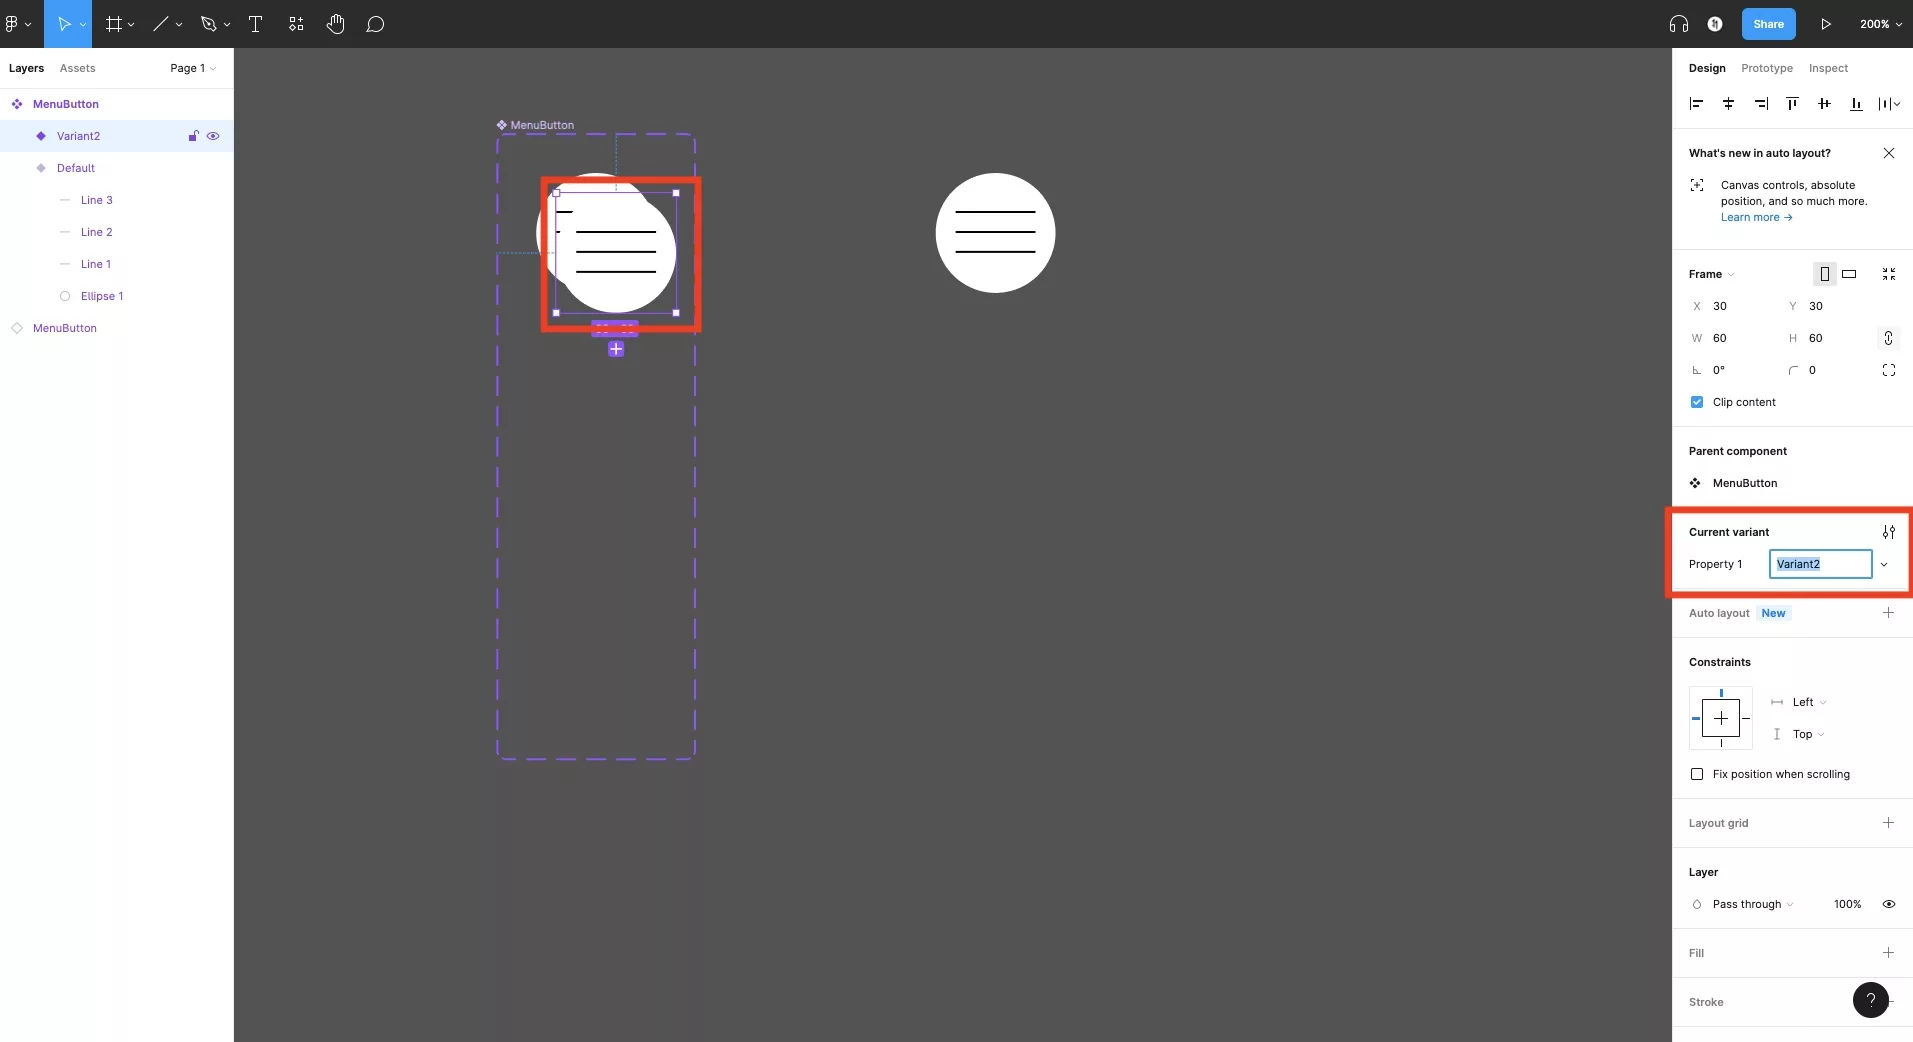
Rename the new variation that appears using the Property 1 input under Current Variant on the Design menu on the right hand side.
Step Nine: Move the variation into position
Move your variation into your position of choice within the component variation area.
Step Ten: Illustrate your variation
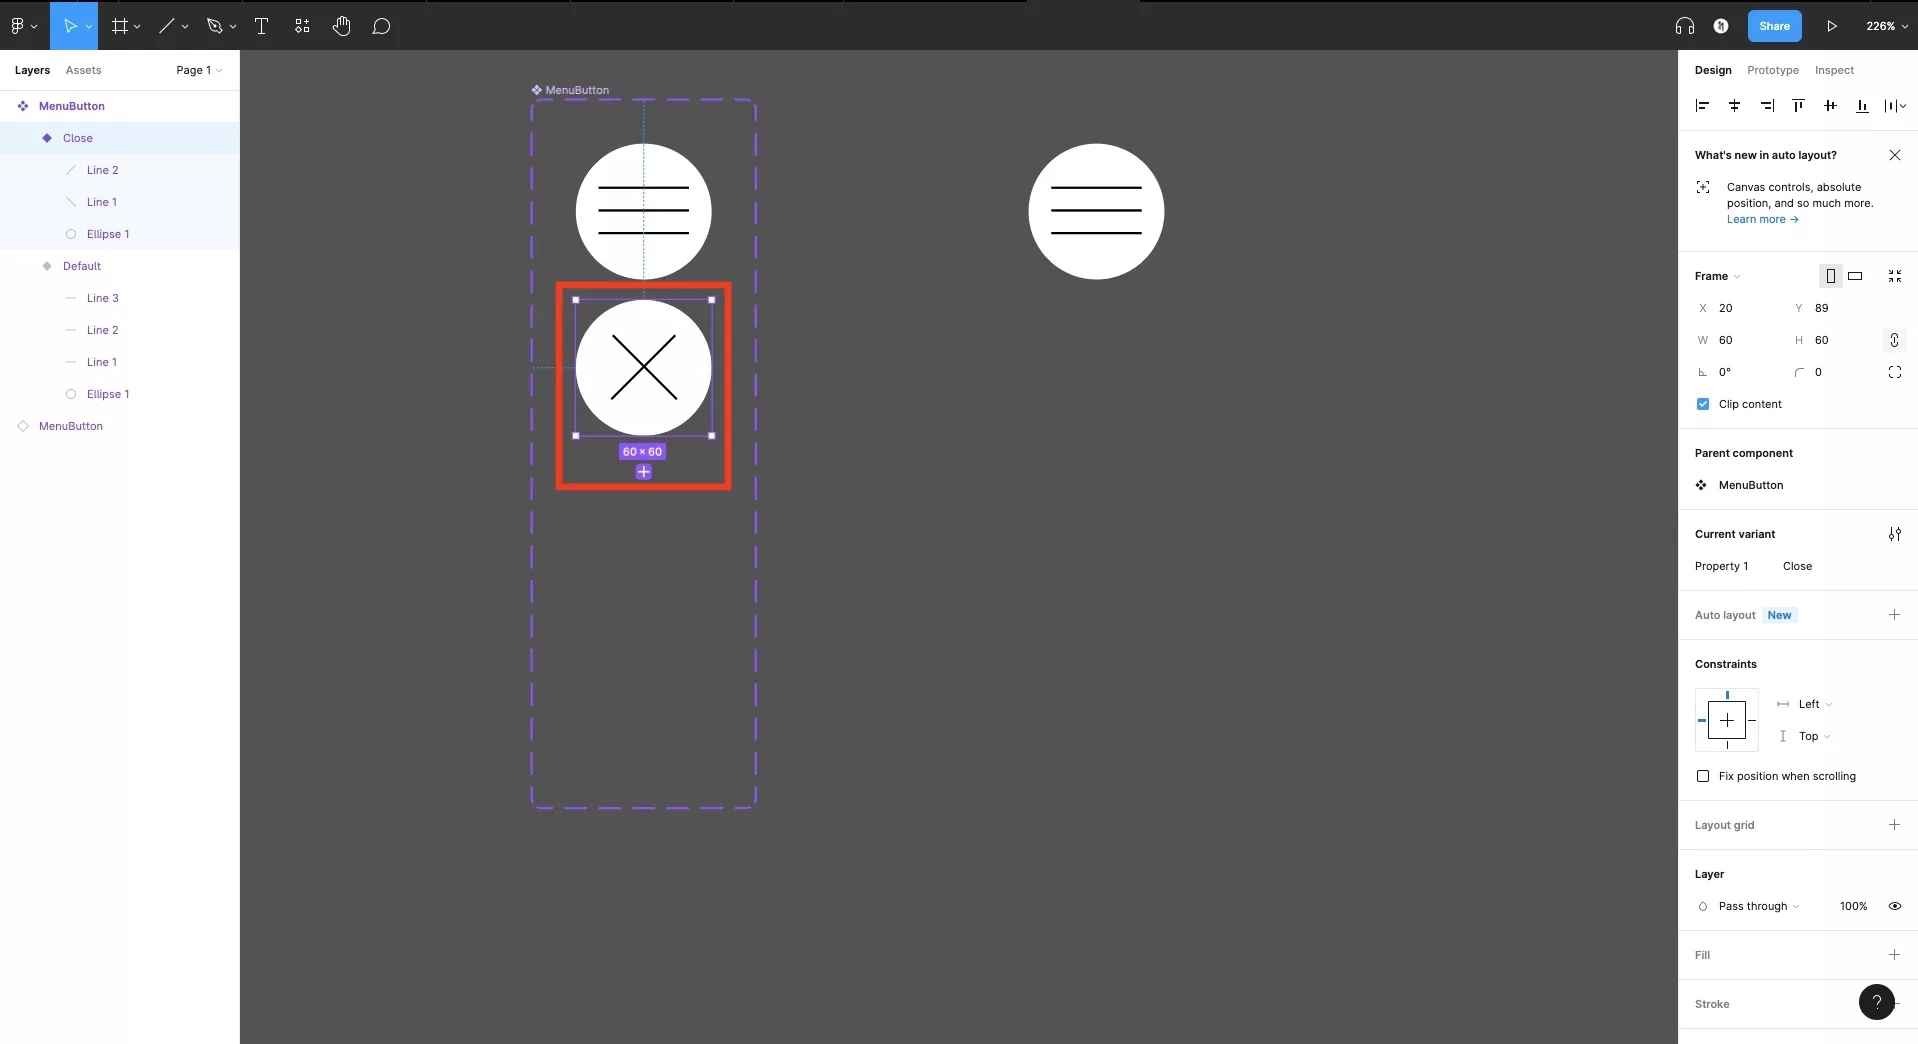
Modify the new variation to match your desired design.
Step Eleven: Select the copy of your component
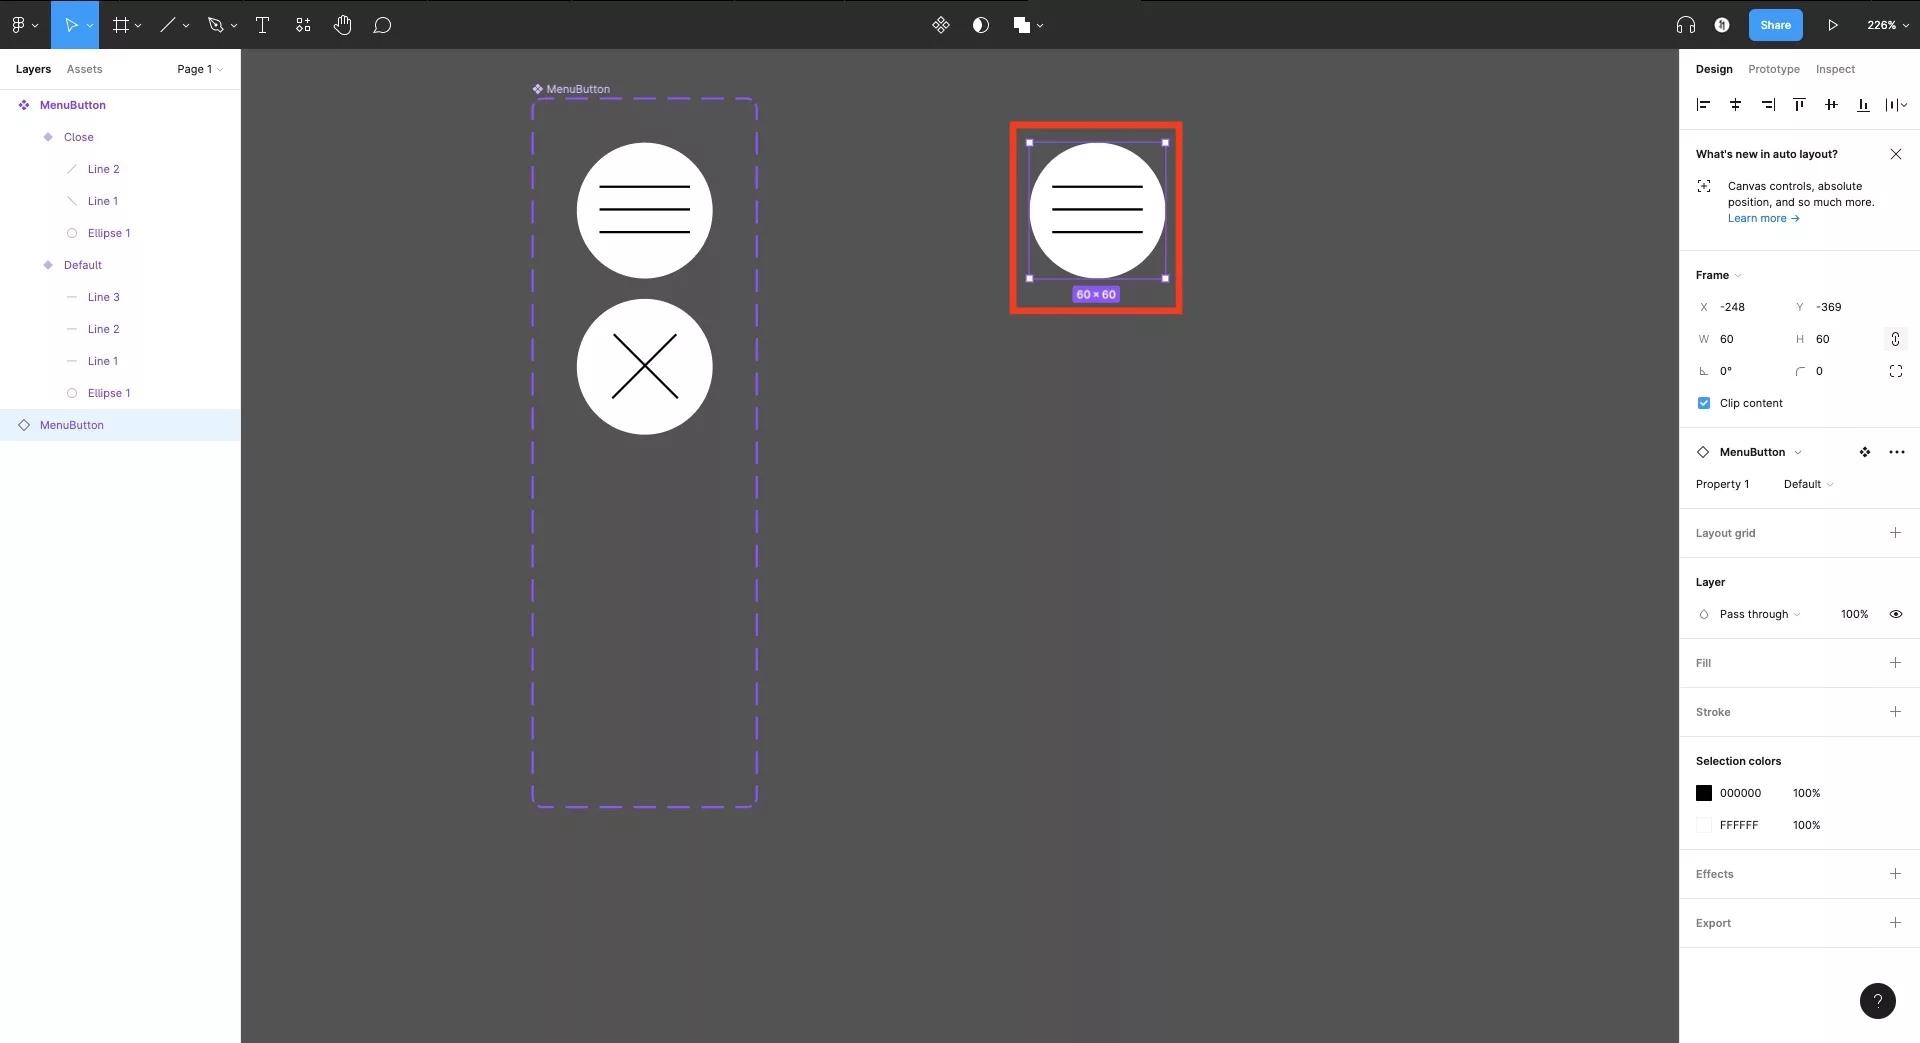
Select the previously created copy of your component.
Step Twelve: Change the variation
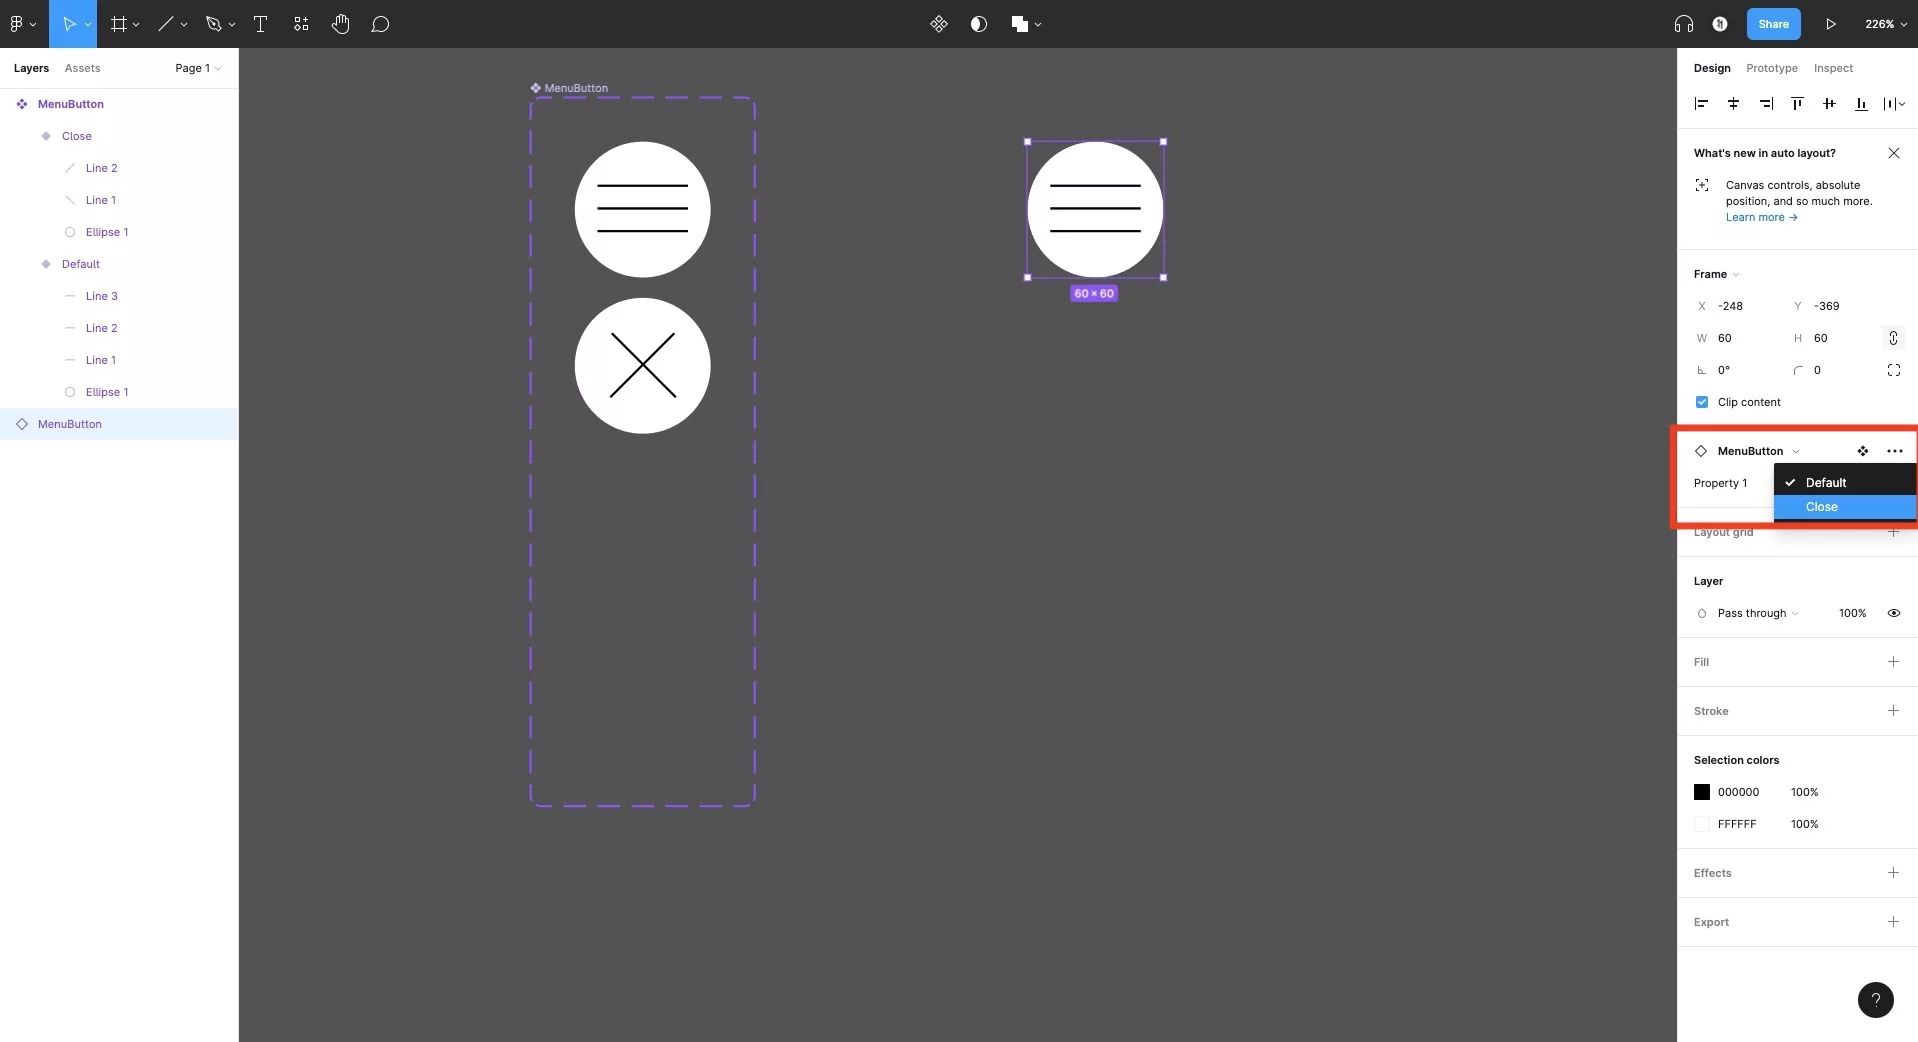
Change its variation using the Property 1 dropdown in the Design menu on the right hand side.
Step Thirteen: The copy should match the variation
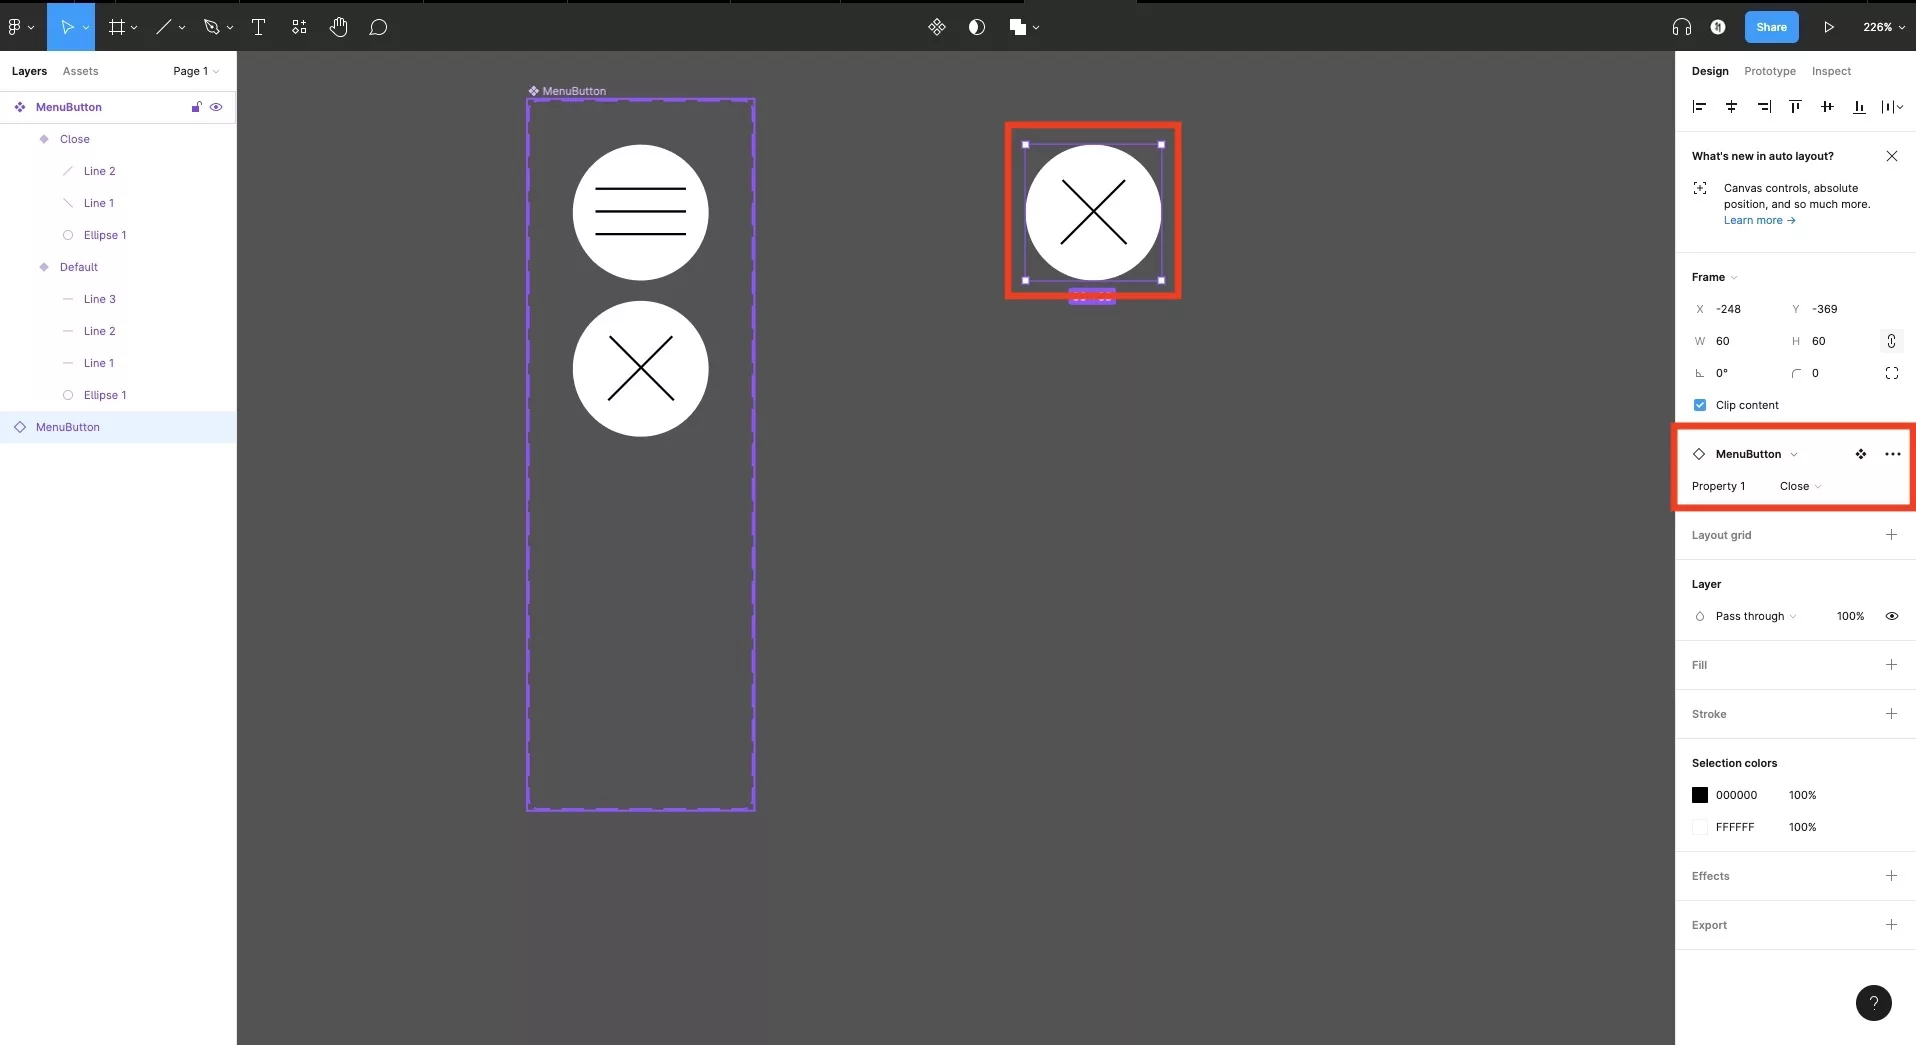
The copy of your component should now look identical to your new variation.
Looking to learn more about things you can do with Figma ?
We recommend the following tutorials to help you advance in your learning, or to search our blog to find educational content on learning how to use Figma.
Any Questions
We are actively looking for feedback on how to improve this resource. Please send us a note to inquiries@delasign.com with any thoughts or feedback you may have.