How to create an Amazon S3 Filesystem in Craft CMS
A step by step guide on creating an Amazon S3 Filesystem in Craft CMS.

A step by step guide on creating an Amazon S3 Filesystem in Craft CMS.
SubscribeDownload Open Source Craft CMS projectWe recommend checking out the main branch of our open source Craft CMS starter project and following the steps below.
git clone git@github.com:delasign/craft-cms-starter.gitStep One: Go to the Plugin Store
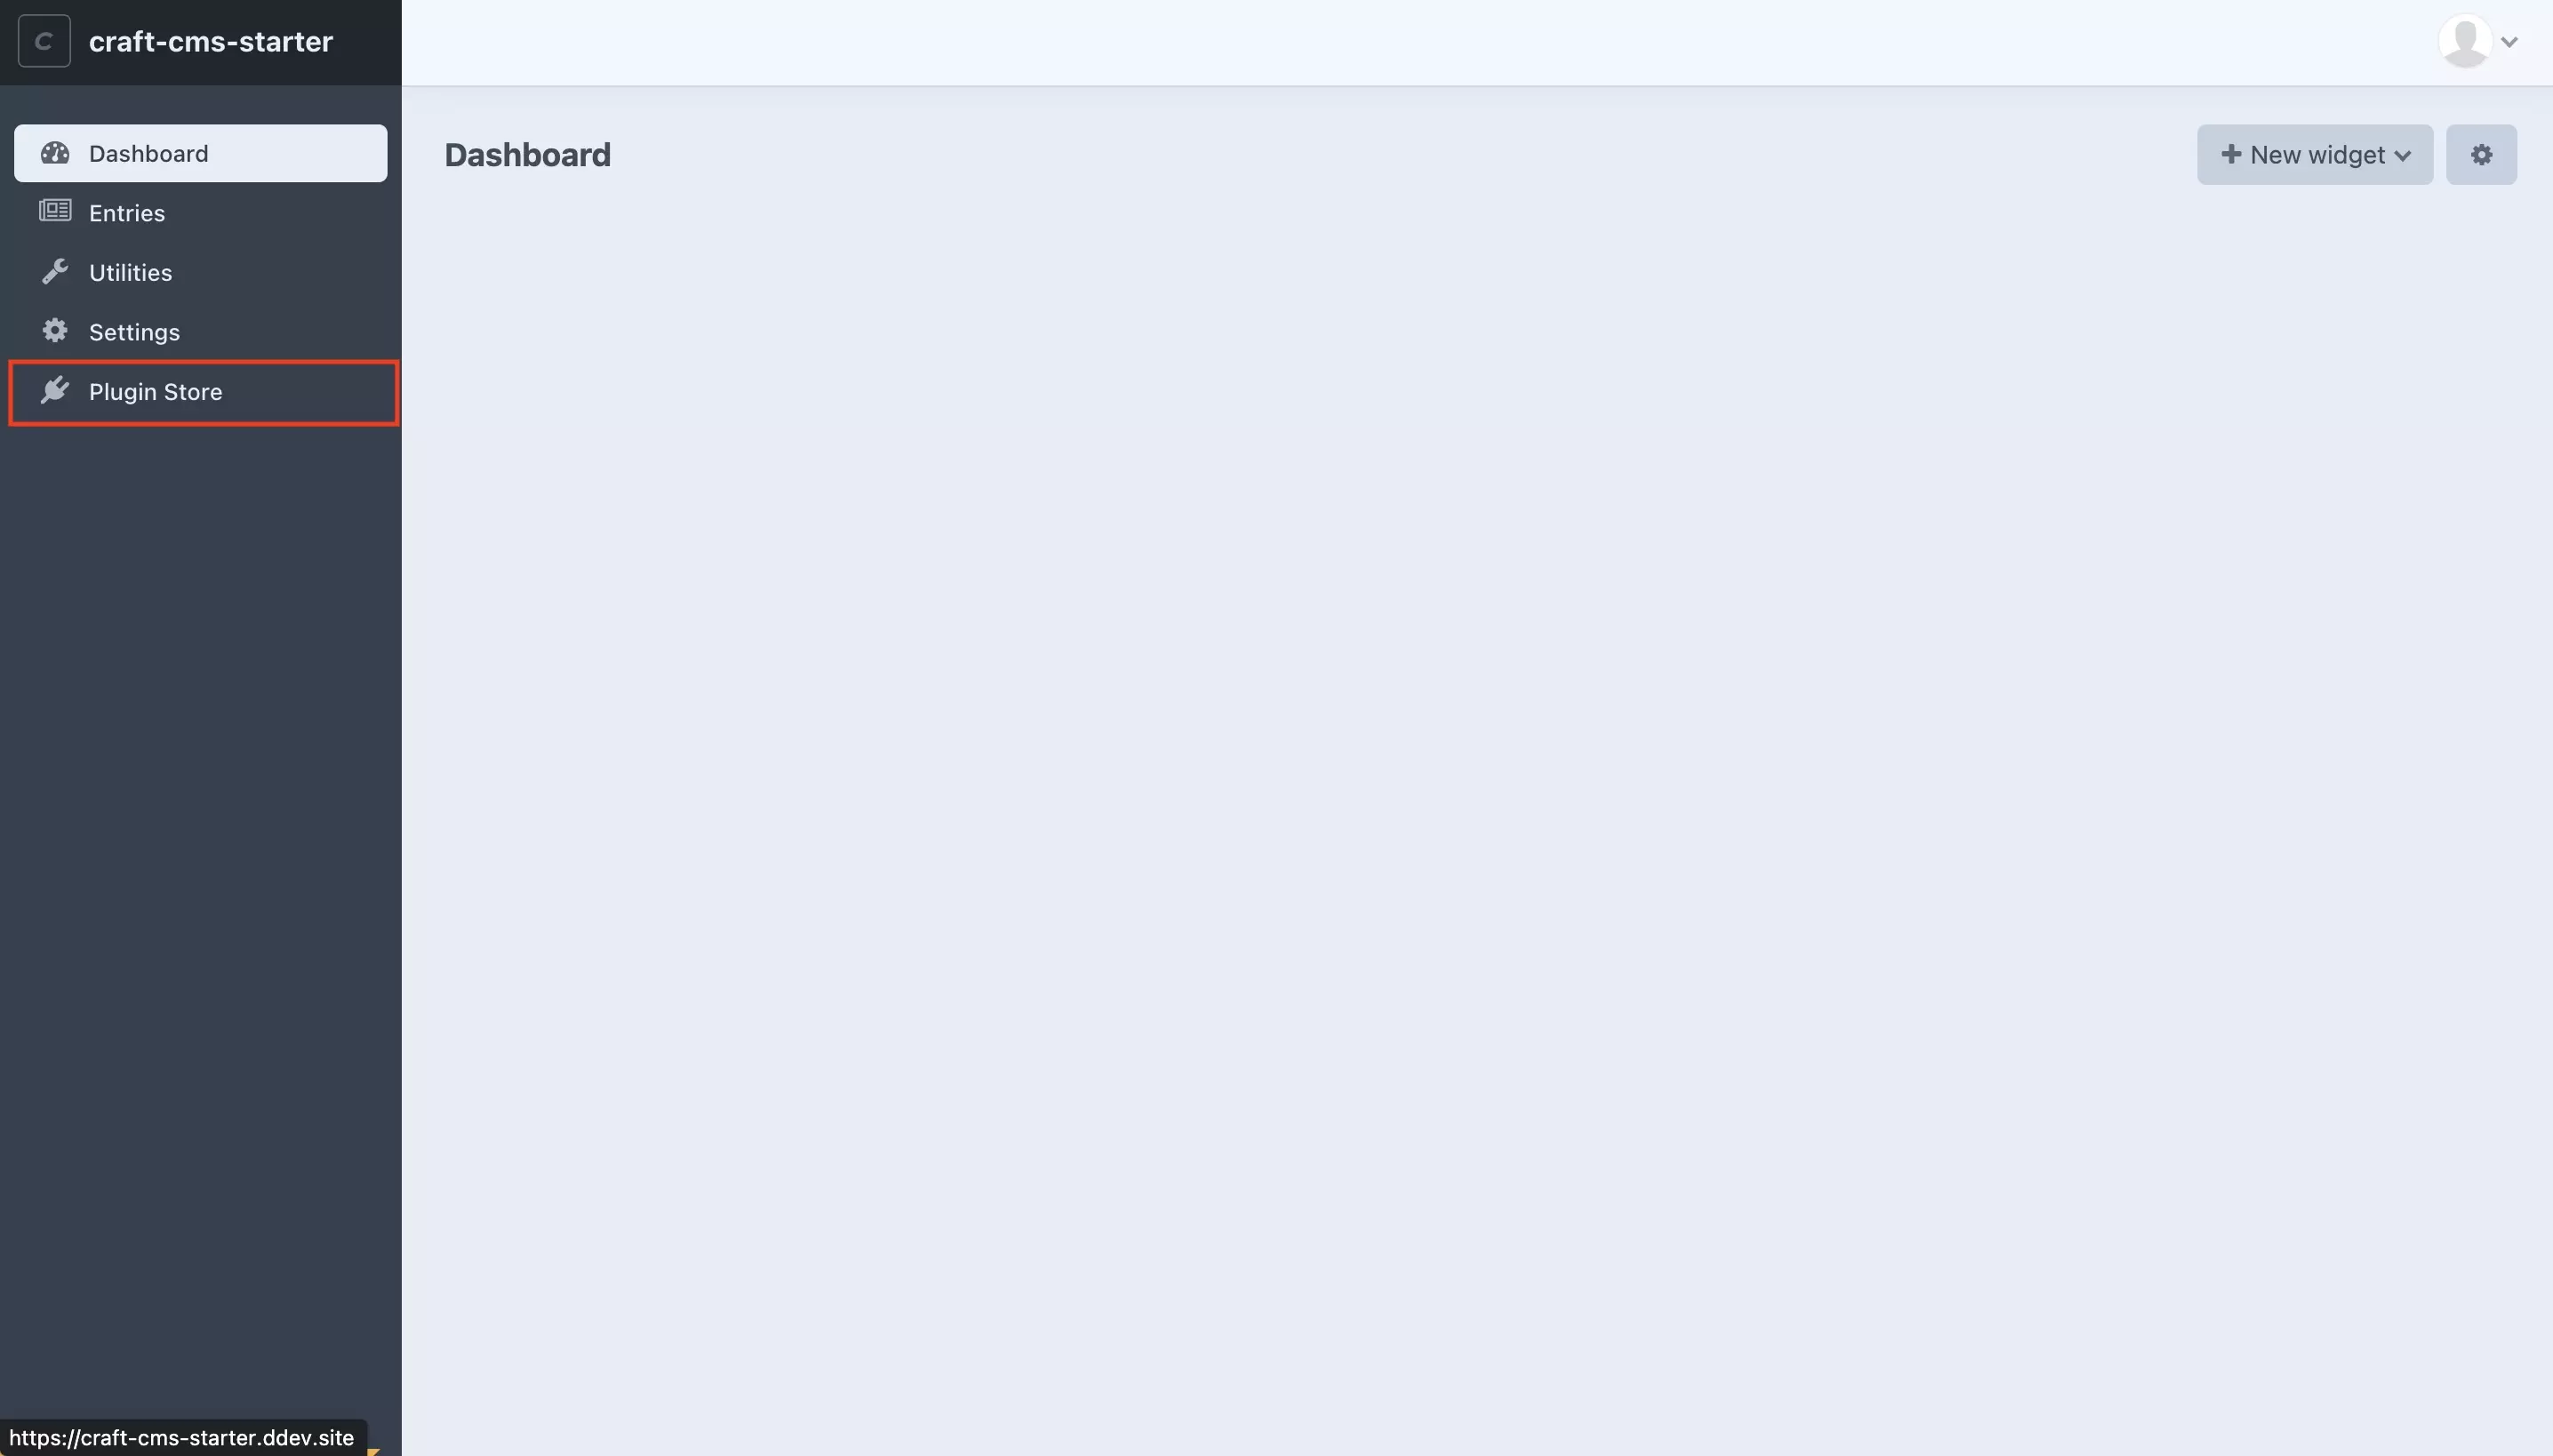
On the left menu side bar, select the Plugin Store tab.
Step Two: Navigate to Amazon S3
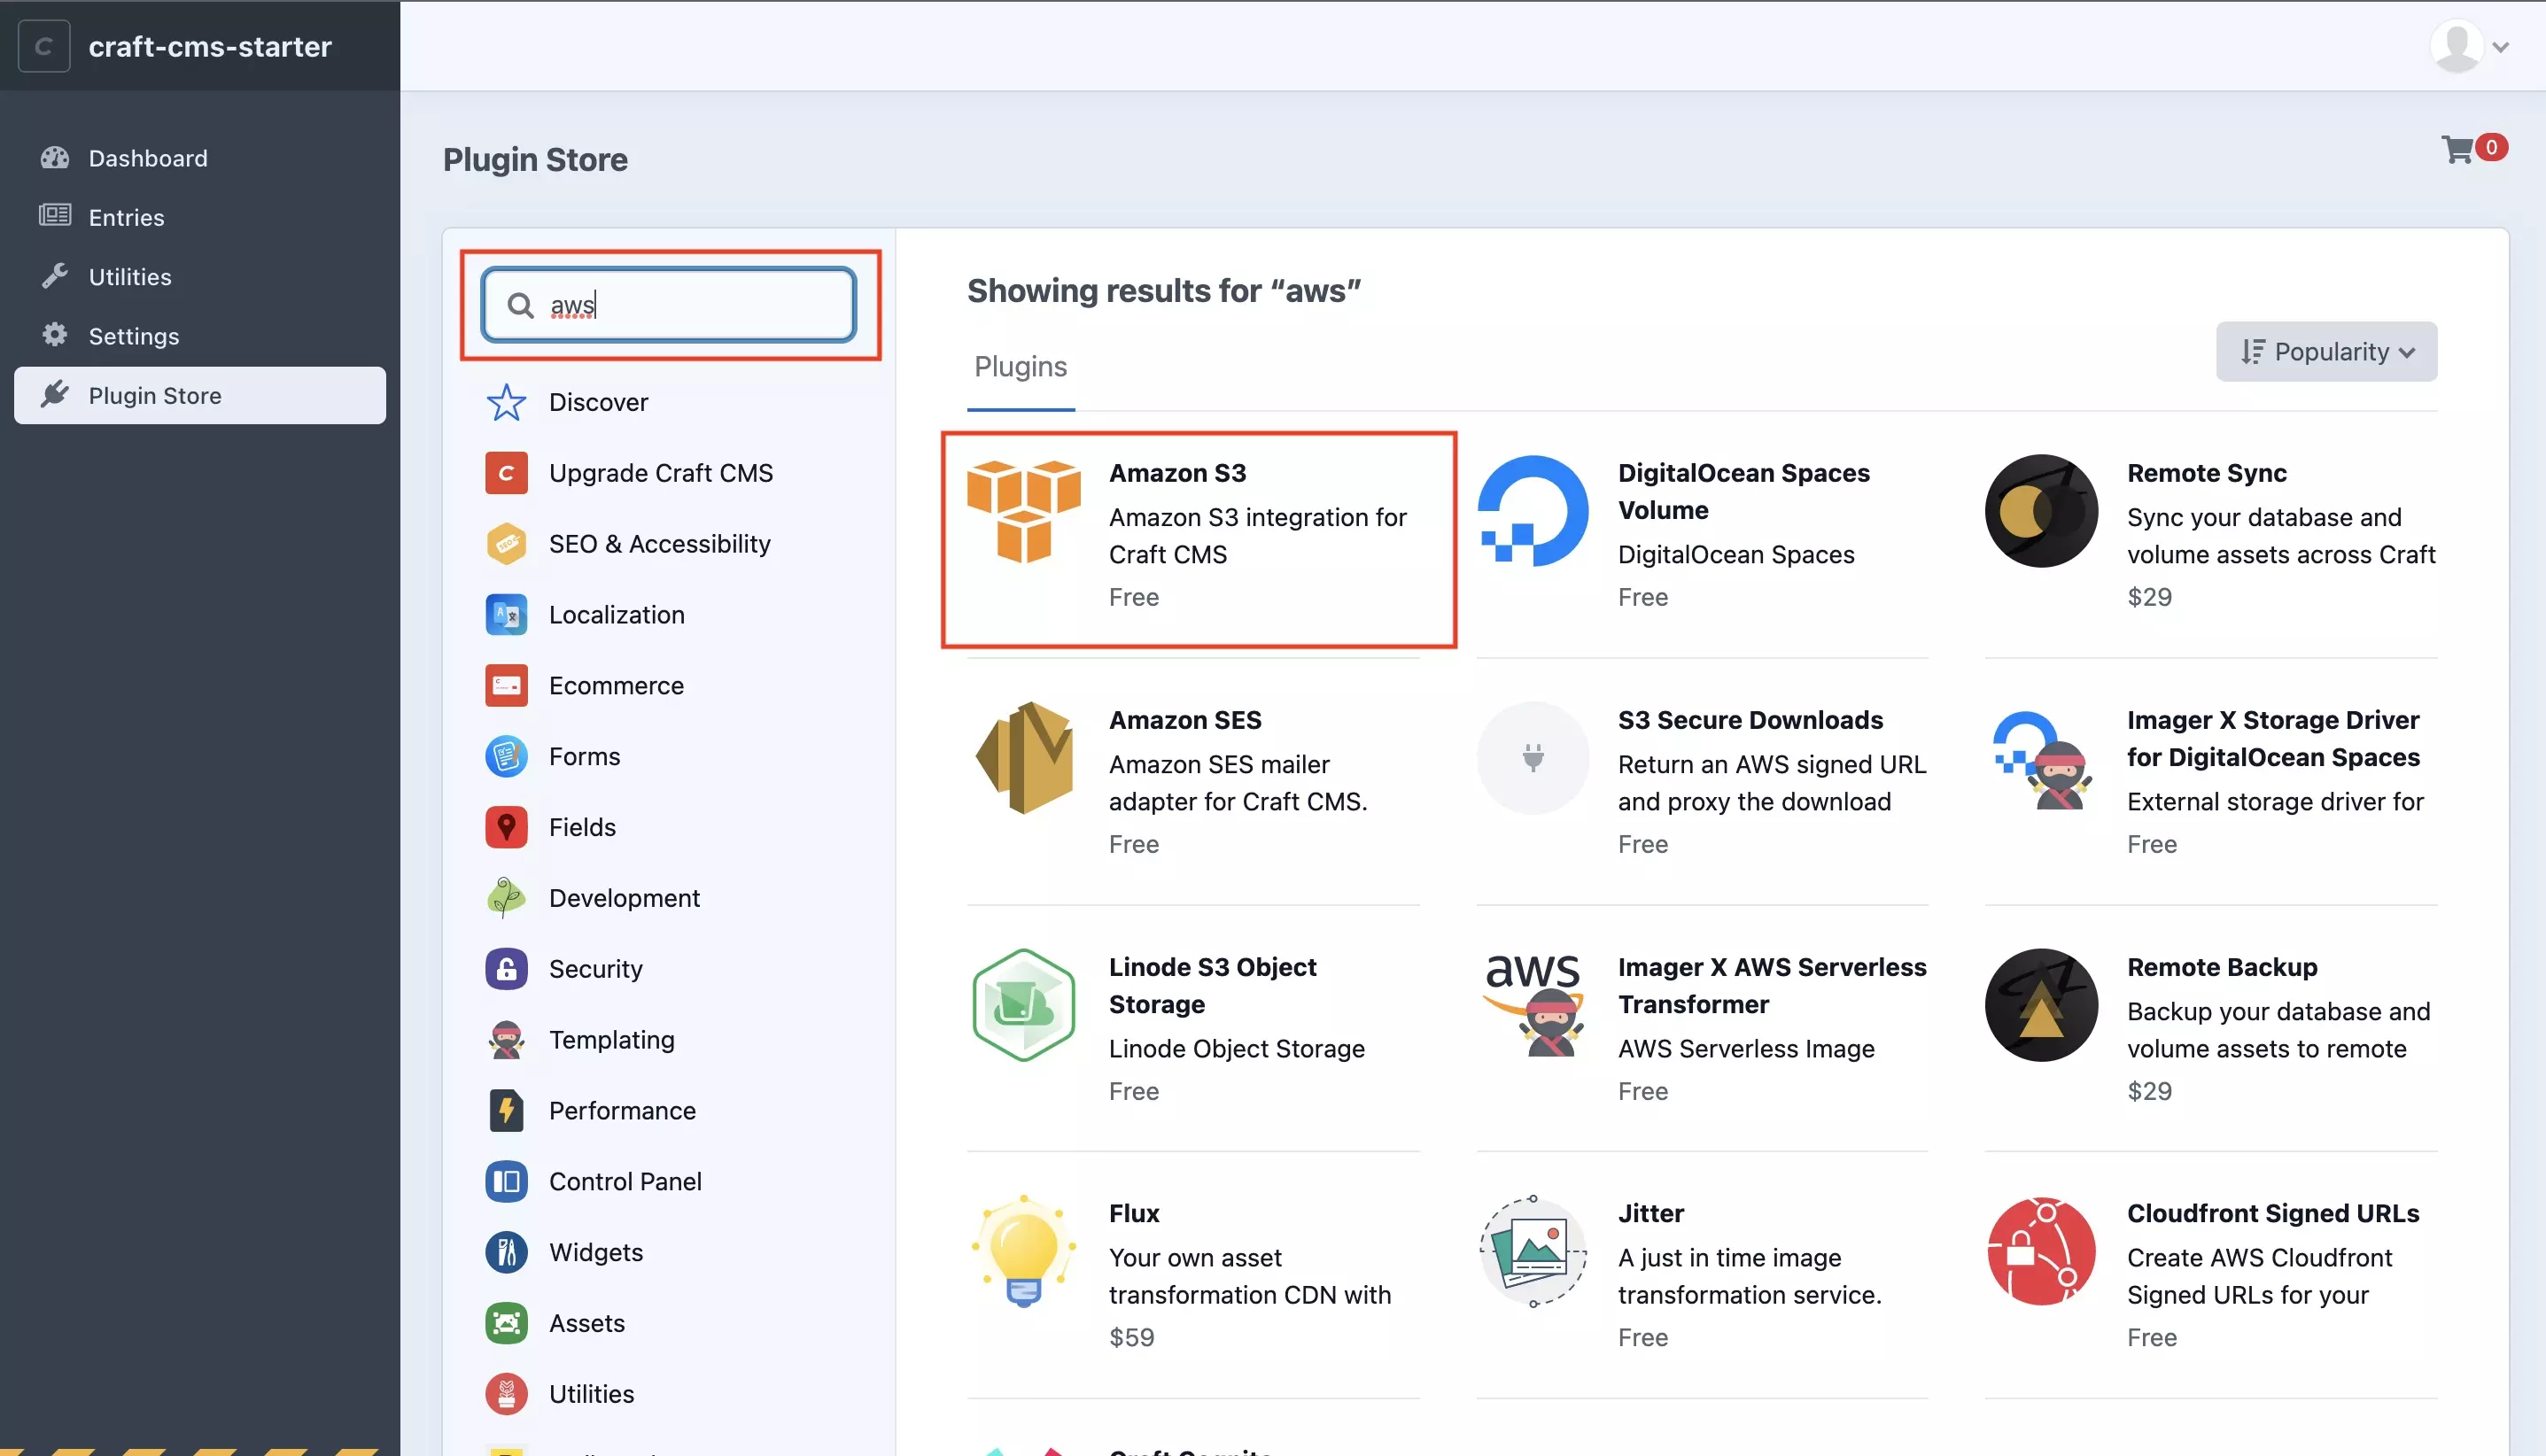
In the Plugin Store, use the search bar to find the Amazon S3 plugin. When it appears, select it.
Step Three: Install Amazon S3
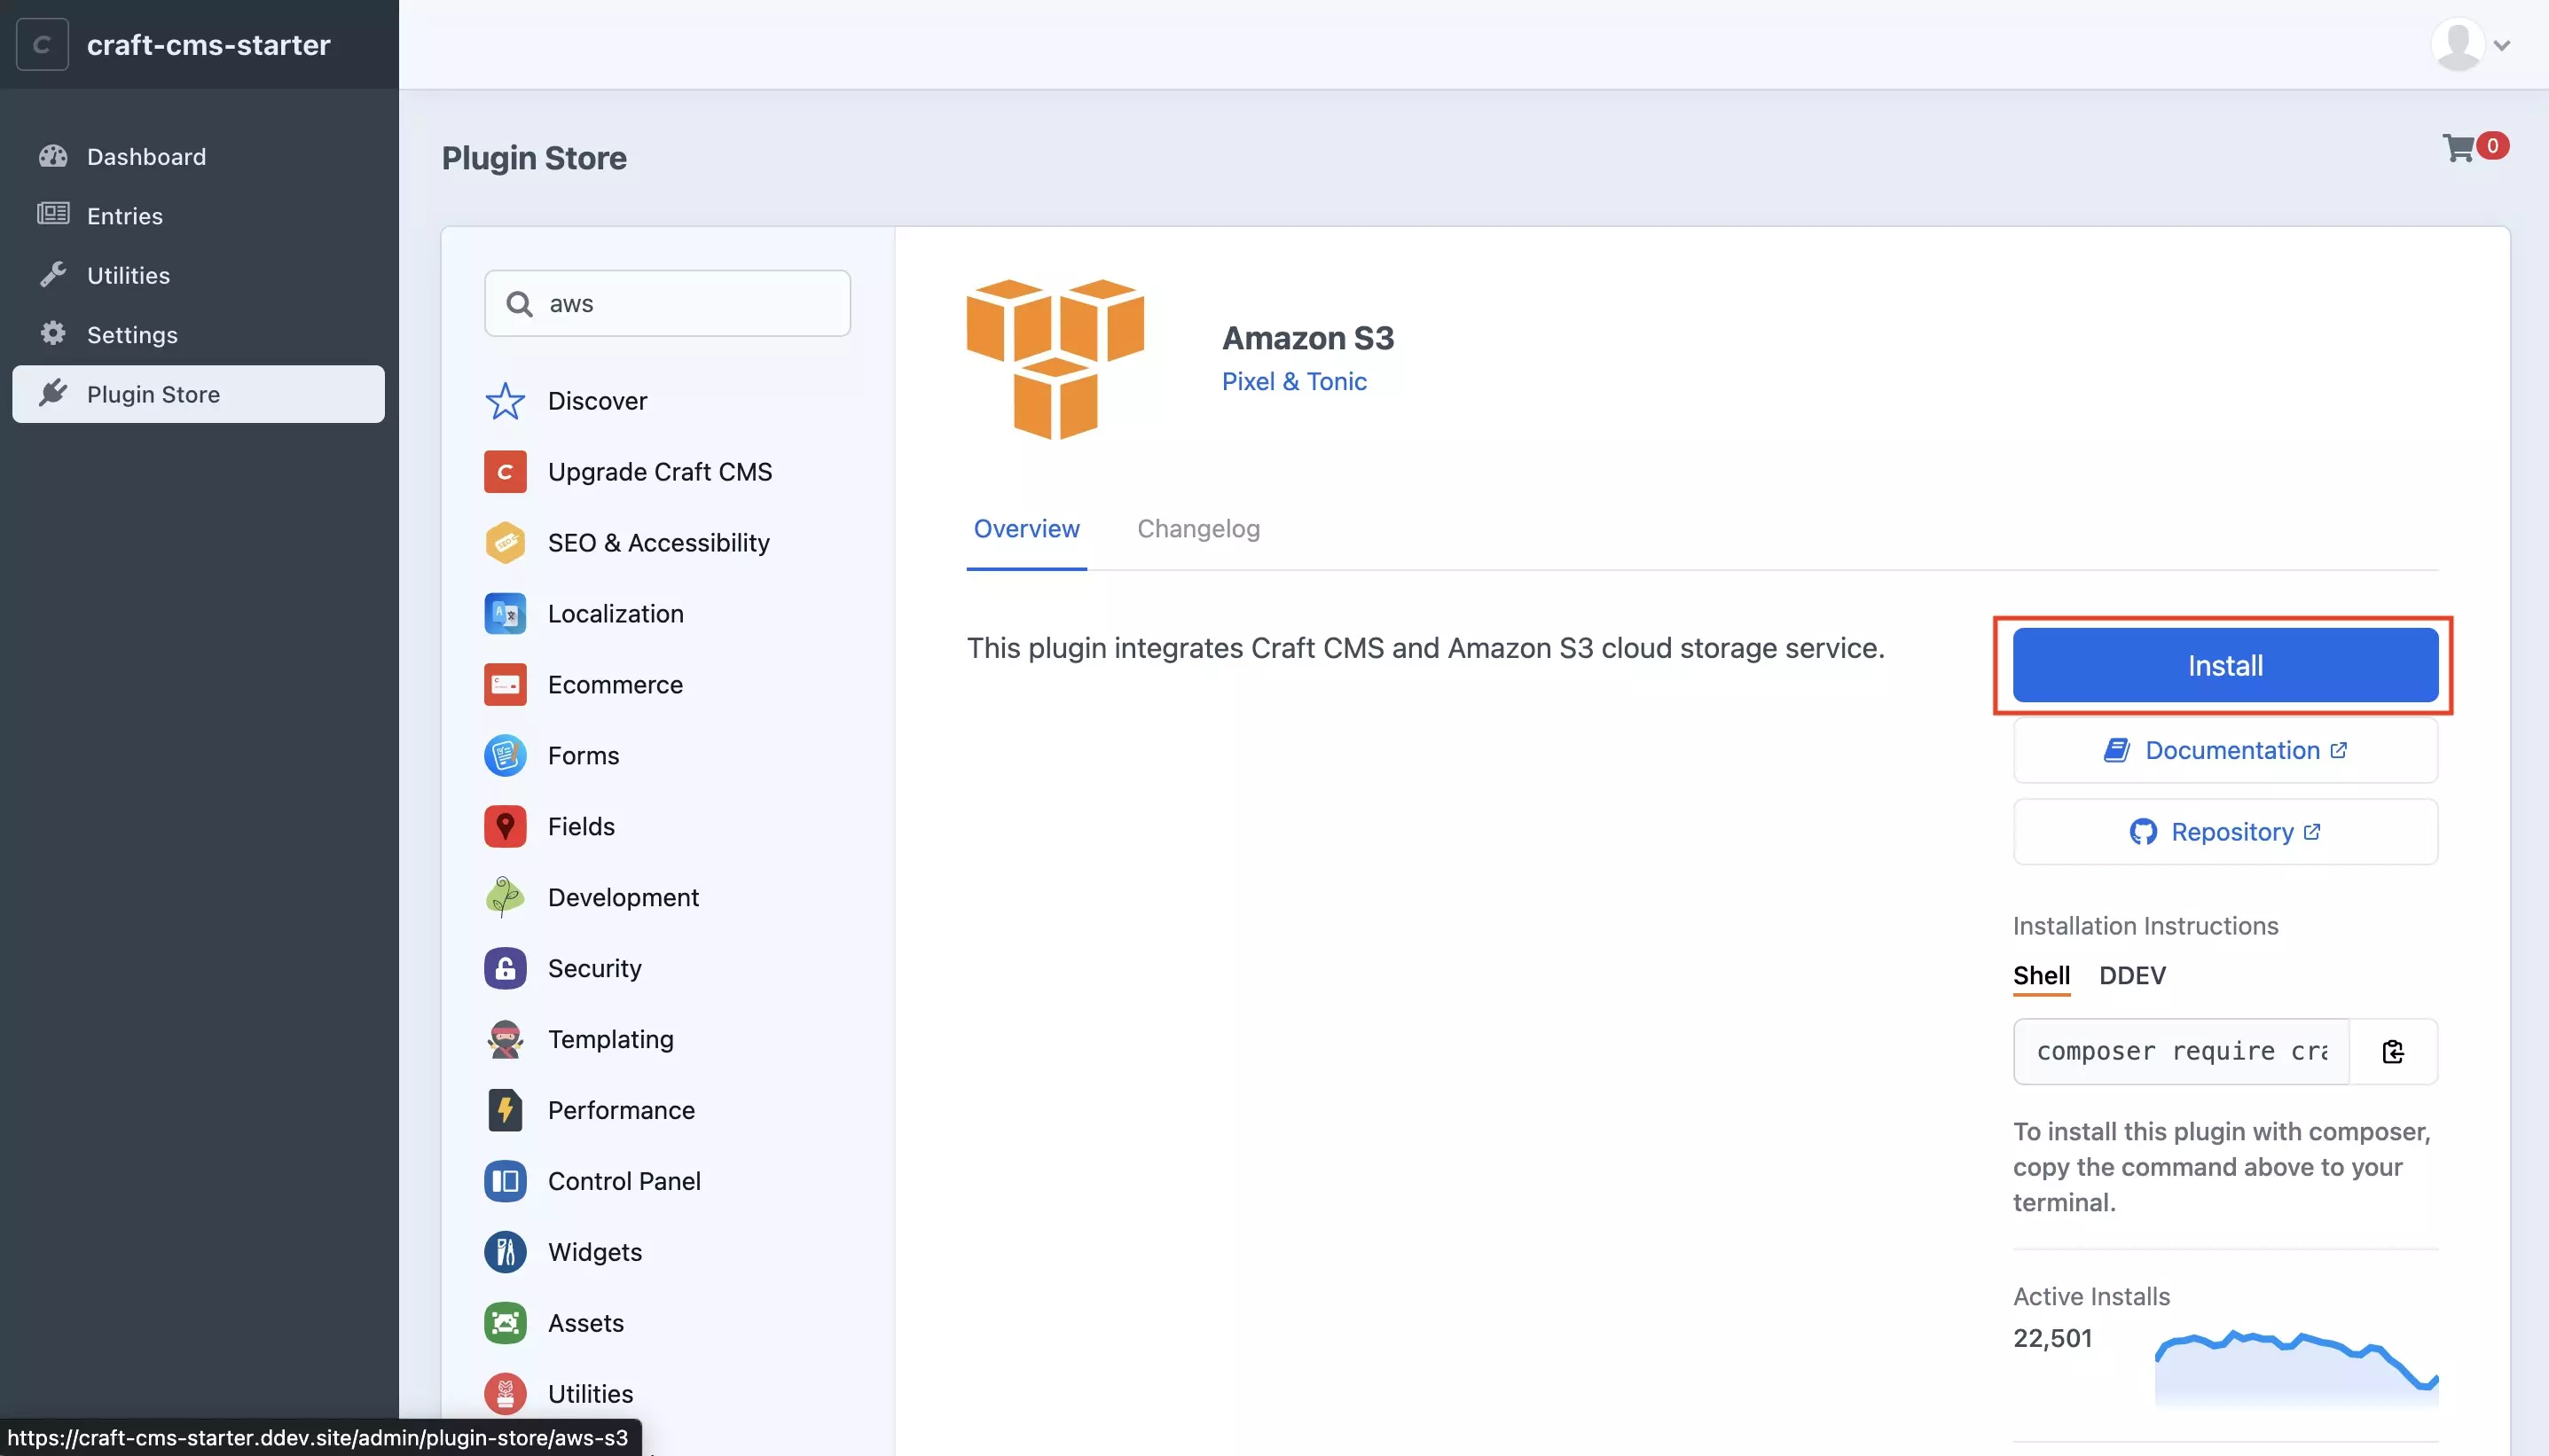
In the page that appears, press Install.
This will trigger a process that installs the package through Composer.
Step Four: Add the Environment Variables
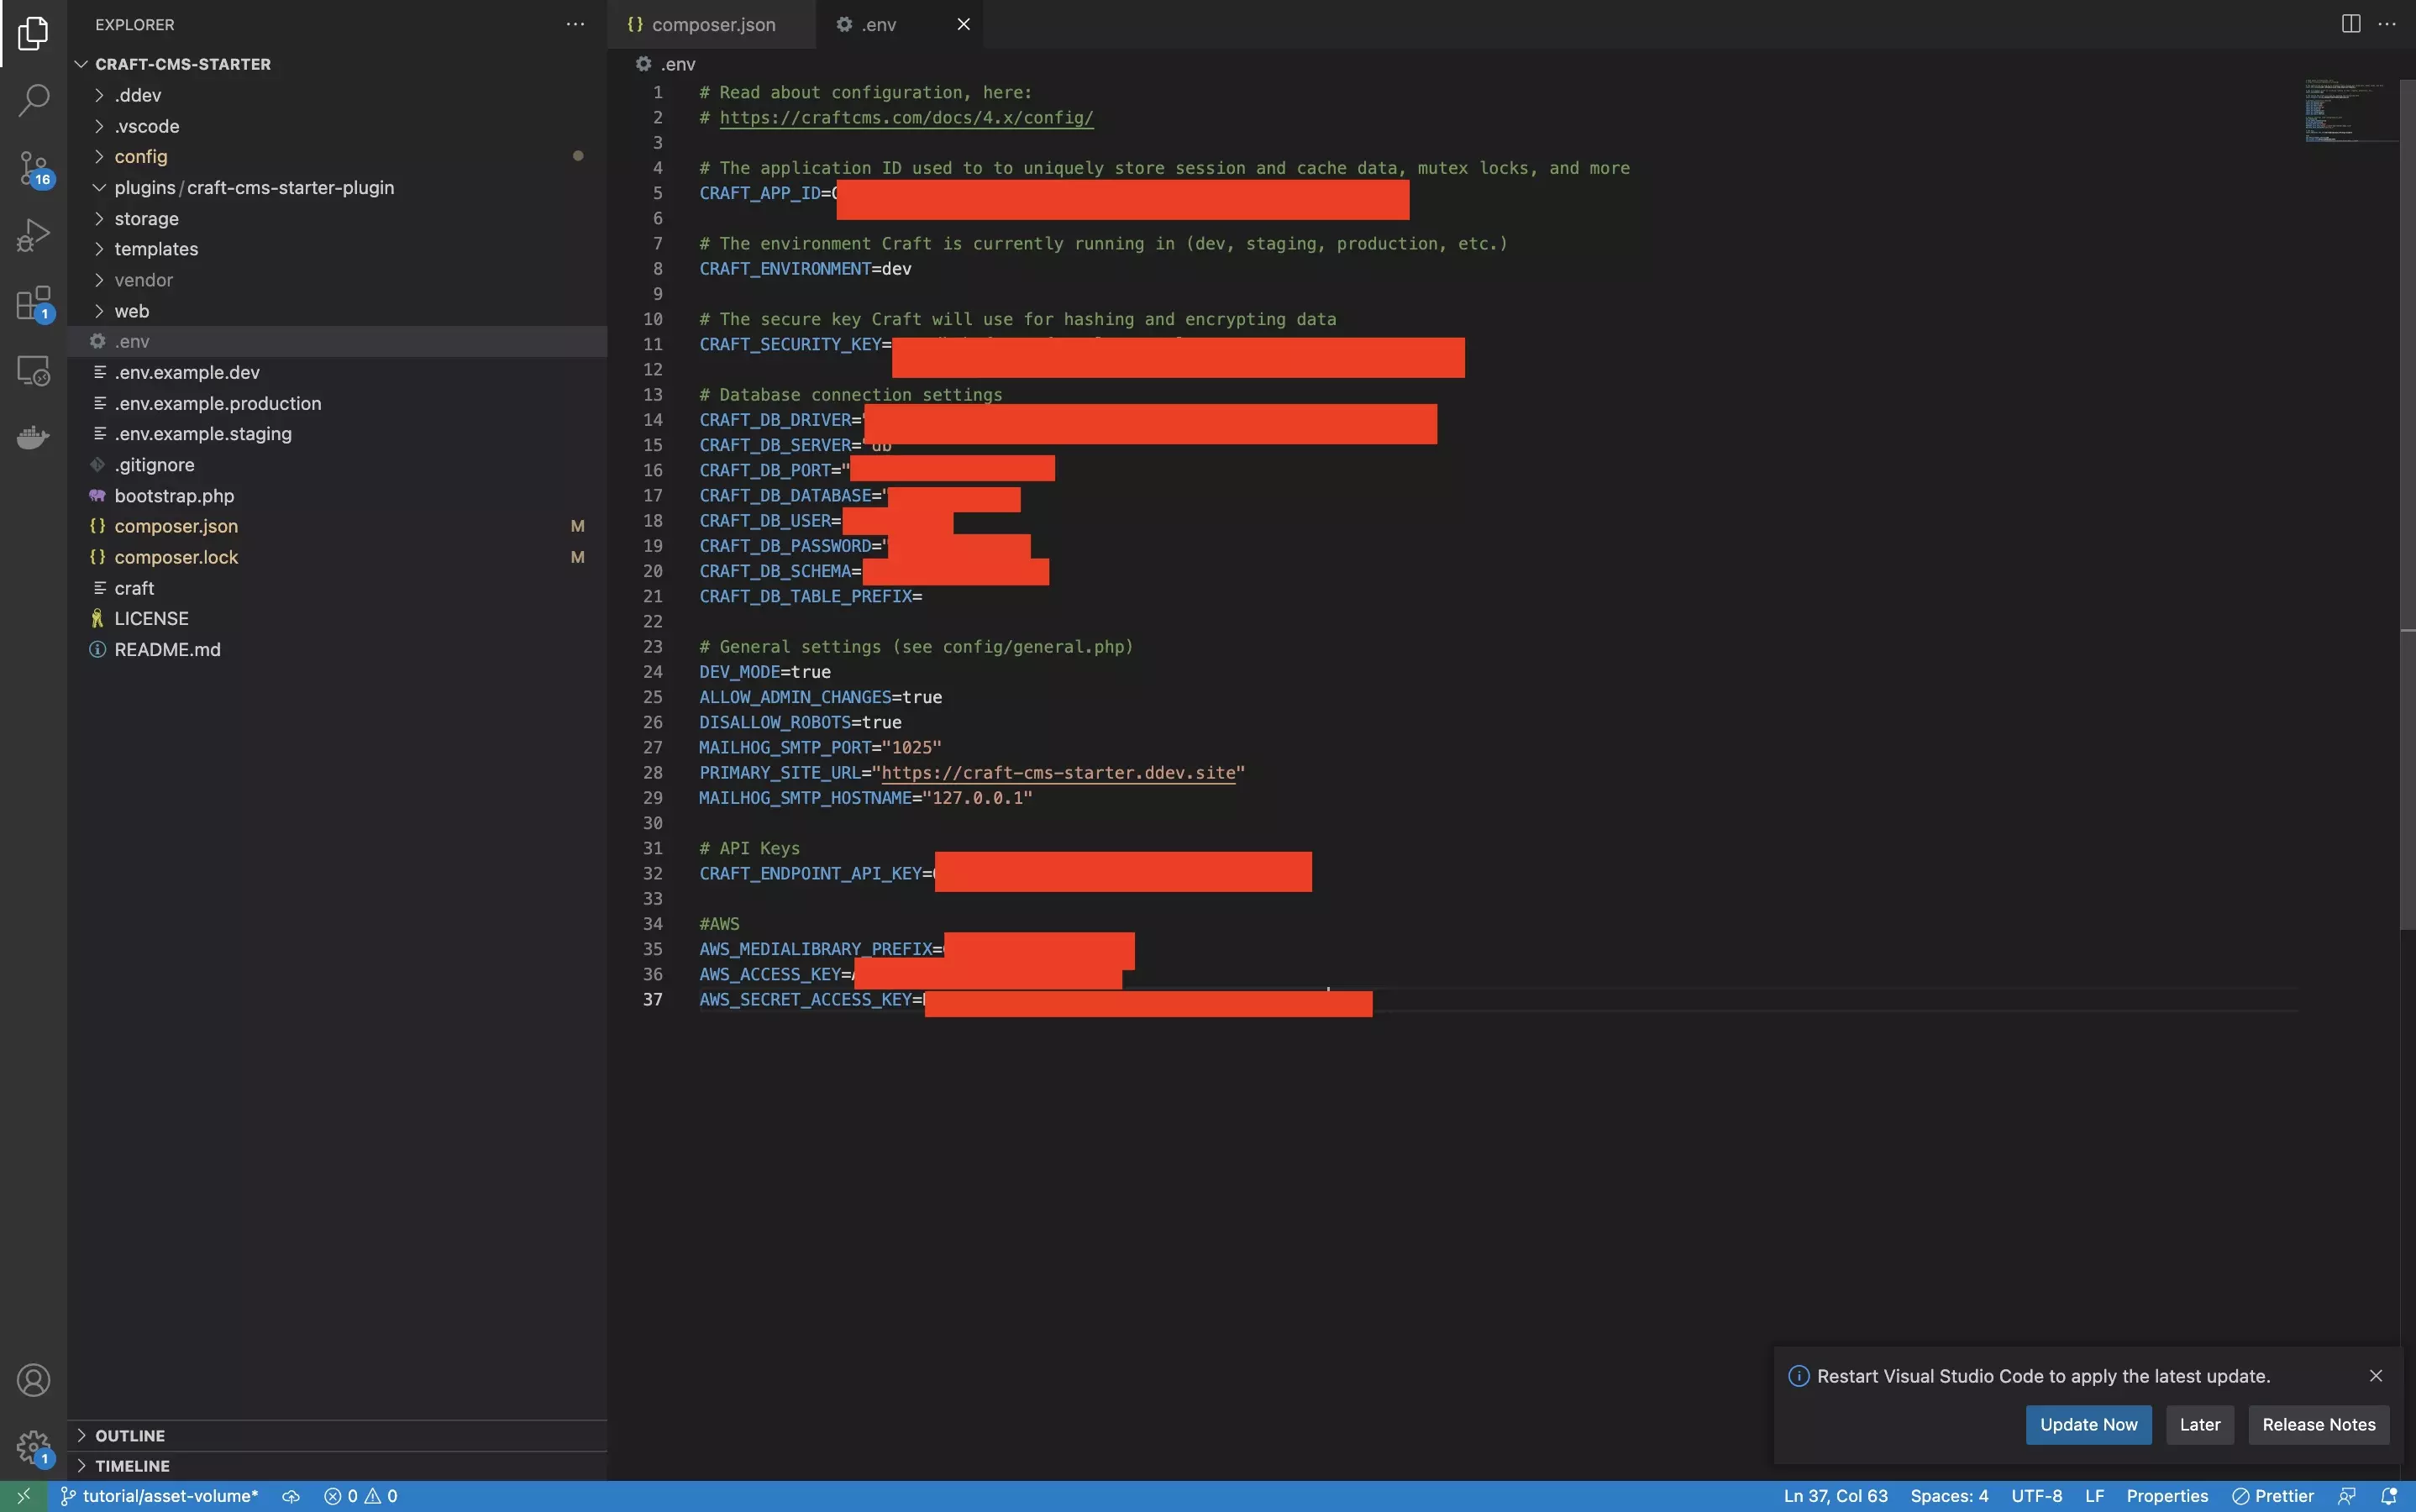
In your Craft CMS project, in the .env file, add the following AWS variables:
- AWS_MEDIALIBRARY_PREFIX - The prefix for the folder that holds all your assets in AWS.
- AWS_ACCESS_KEY - The AWS Access Key.
- AWS_SECRET_ACCESS_KEY - The AWS Secret Key that allows access to your AWS.
Optionally, if you use a cloudfront:
- AWS_CLOUDFRONT_DISTRIBUTION - The cloud front distribution.
- AWS_CLOUDFRONT_INVALIDATION - The invalidation path.
Step Five: Restart your server
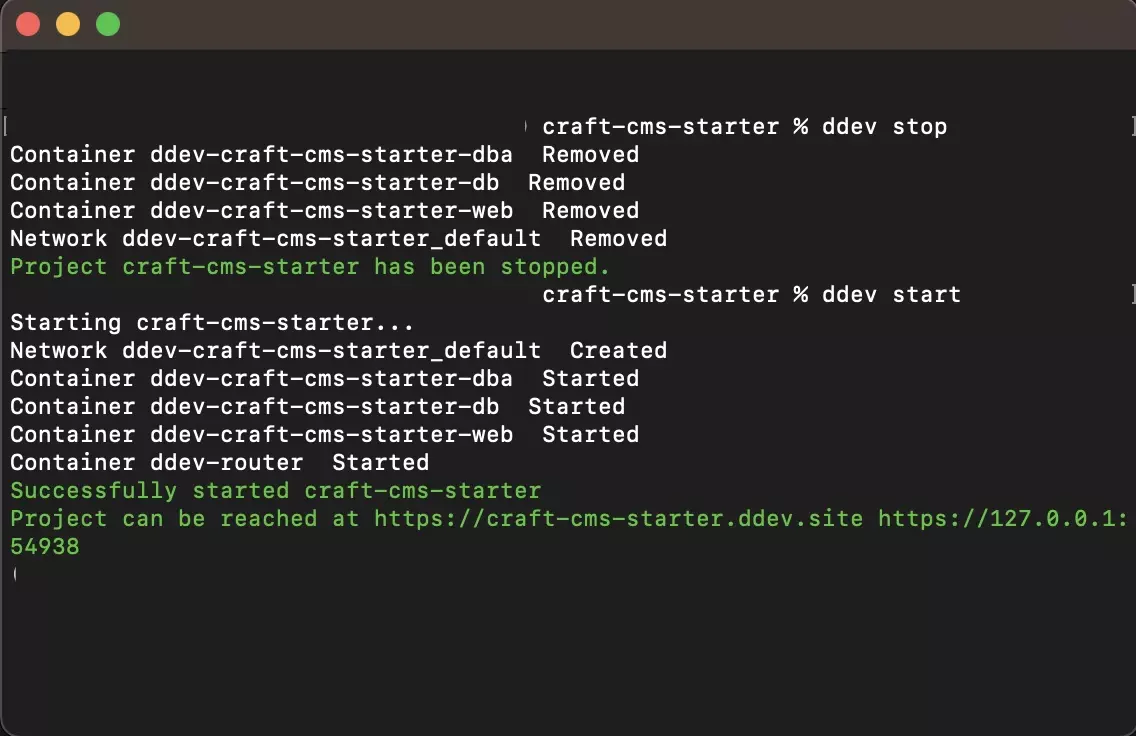
If you're using DDEV, run ddev stop followed by ddev start, in Terminal with the current directory set to that of your Craft CMS project.
This is required so that the environment variables are registered.
Step Five: Select Settings
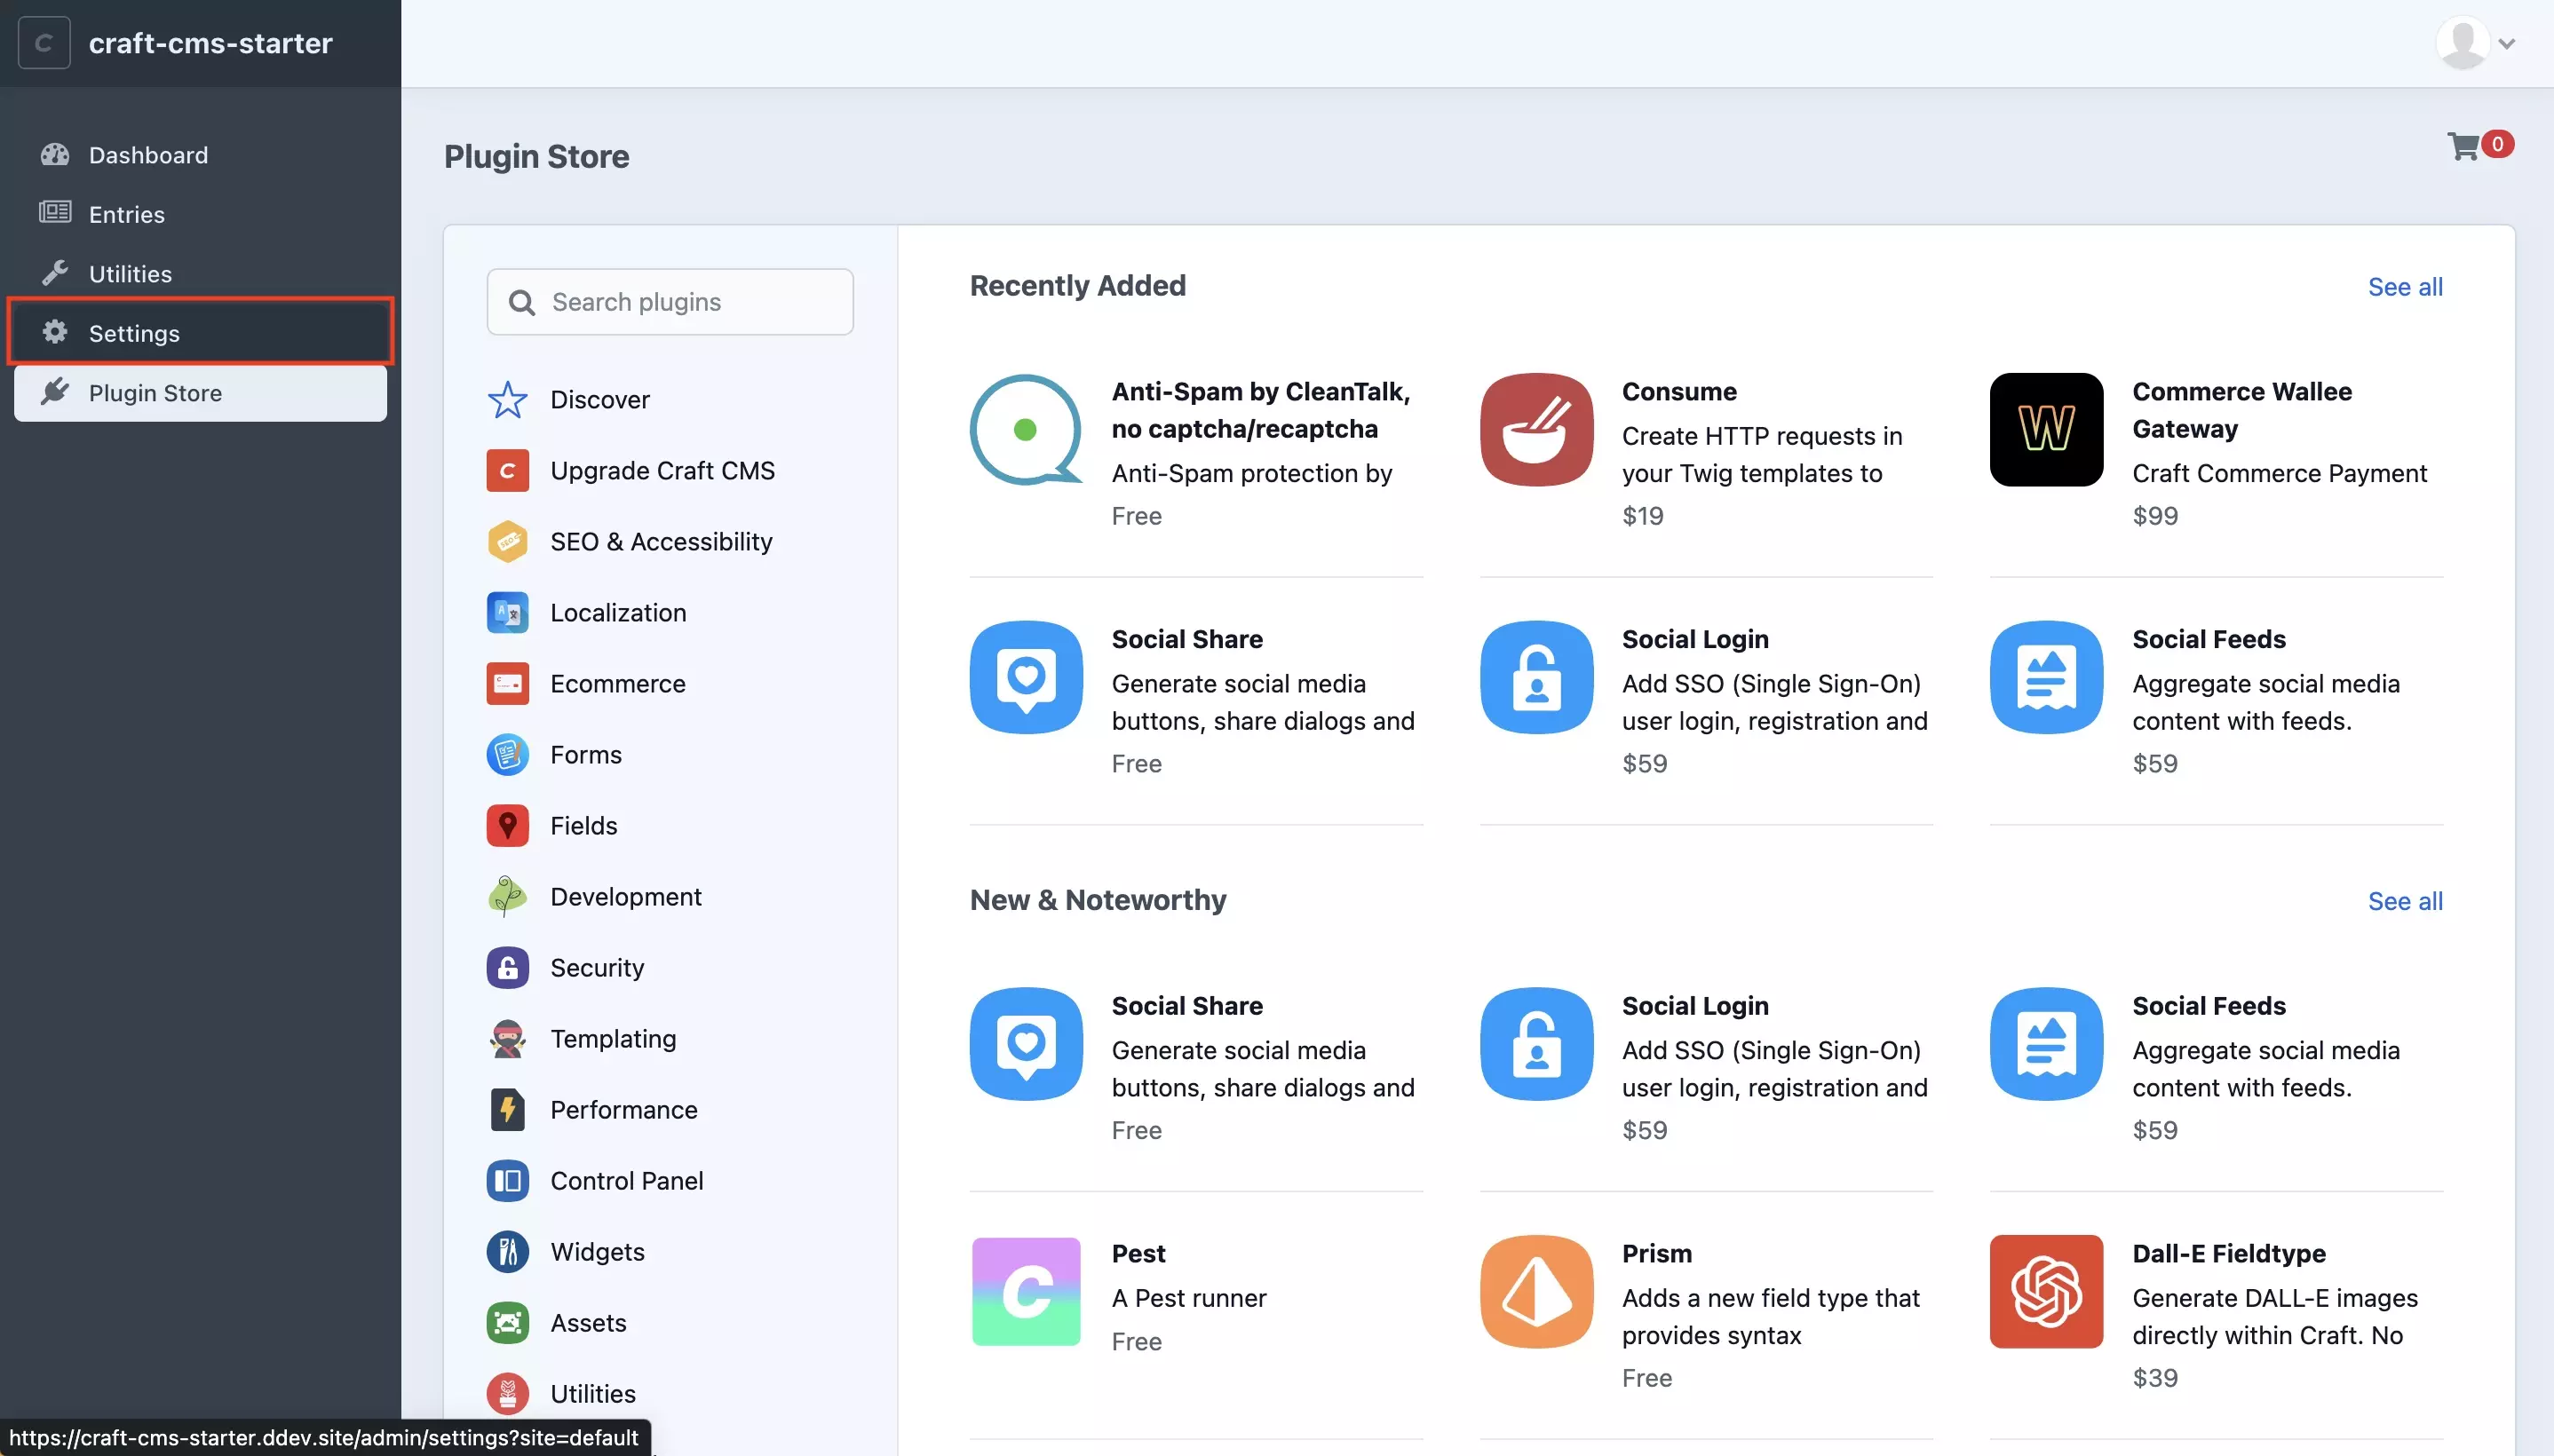
In the left menu side bar of the Craft CMS project, press the Settings tab.
Step Six: Select Filesystems
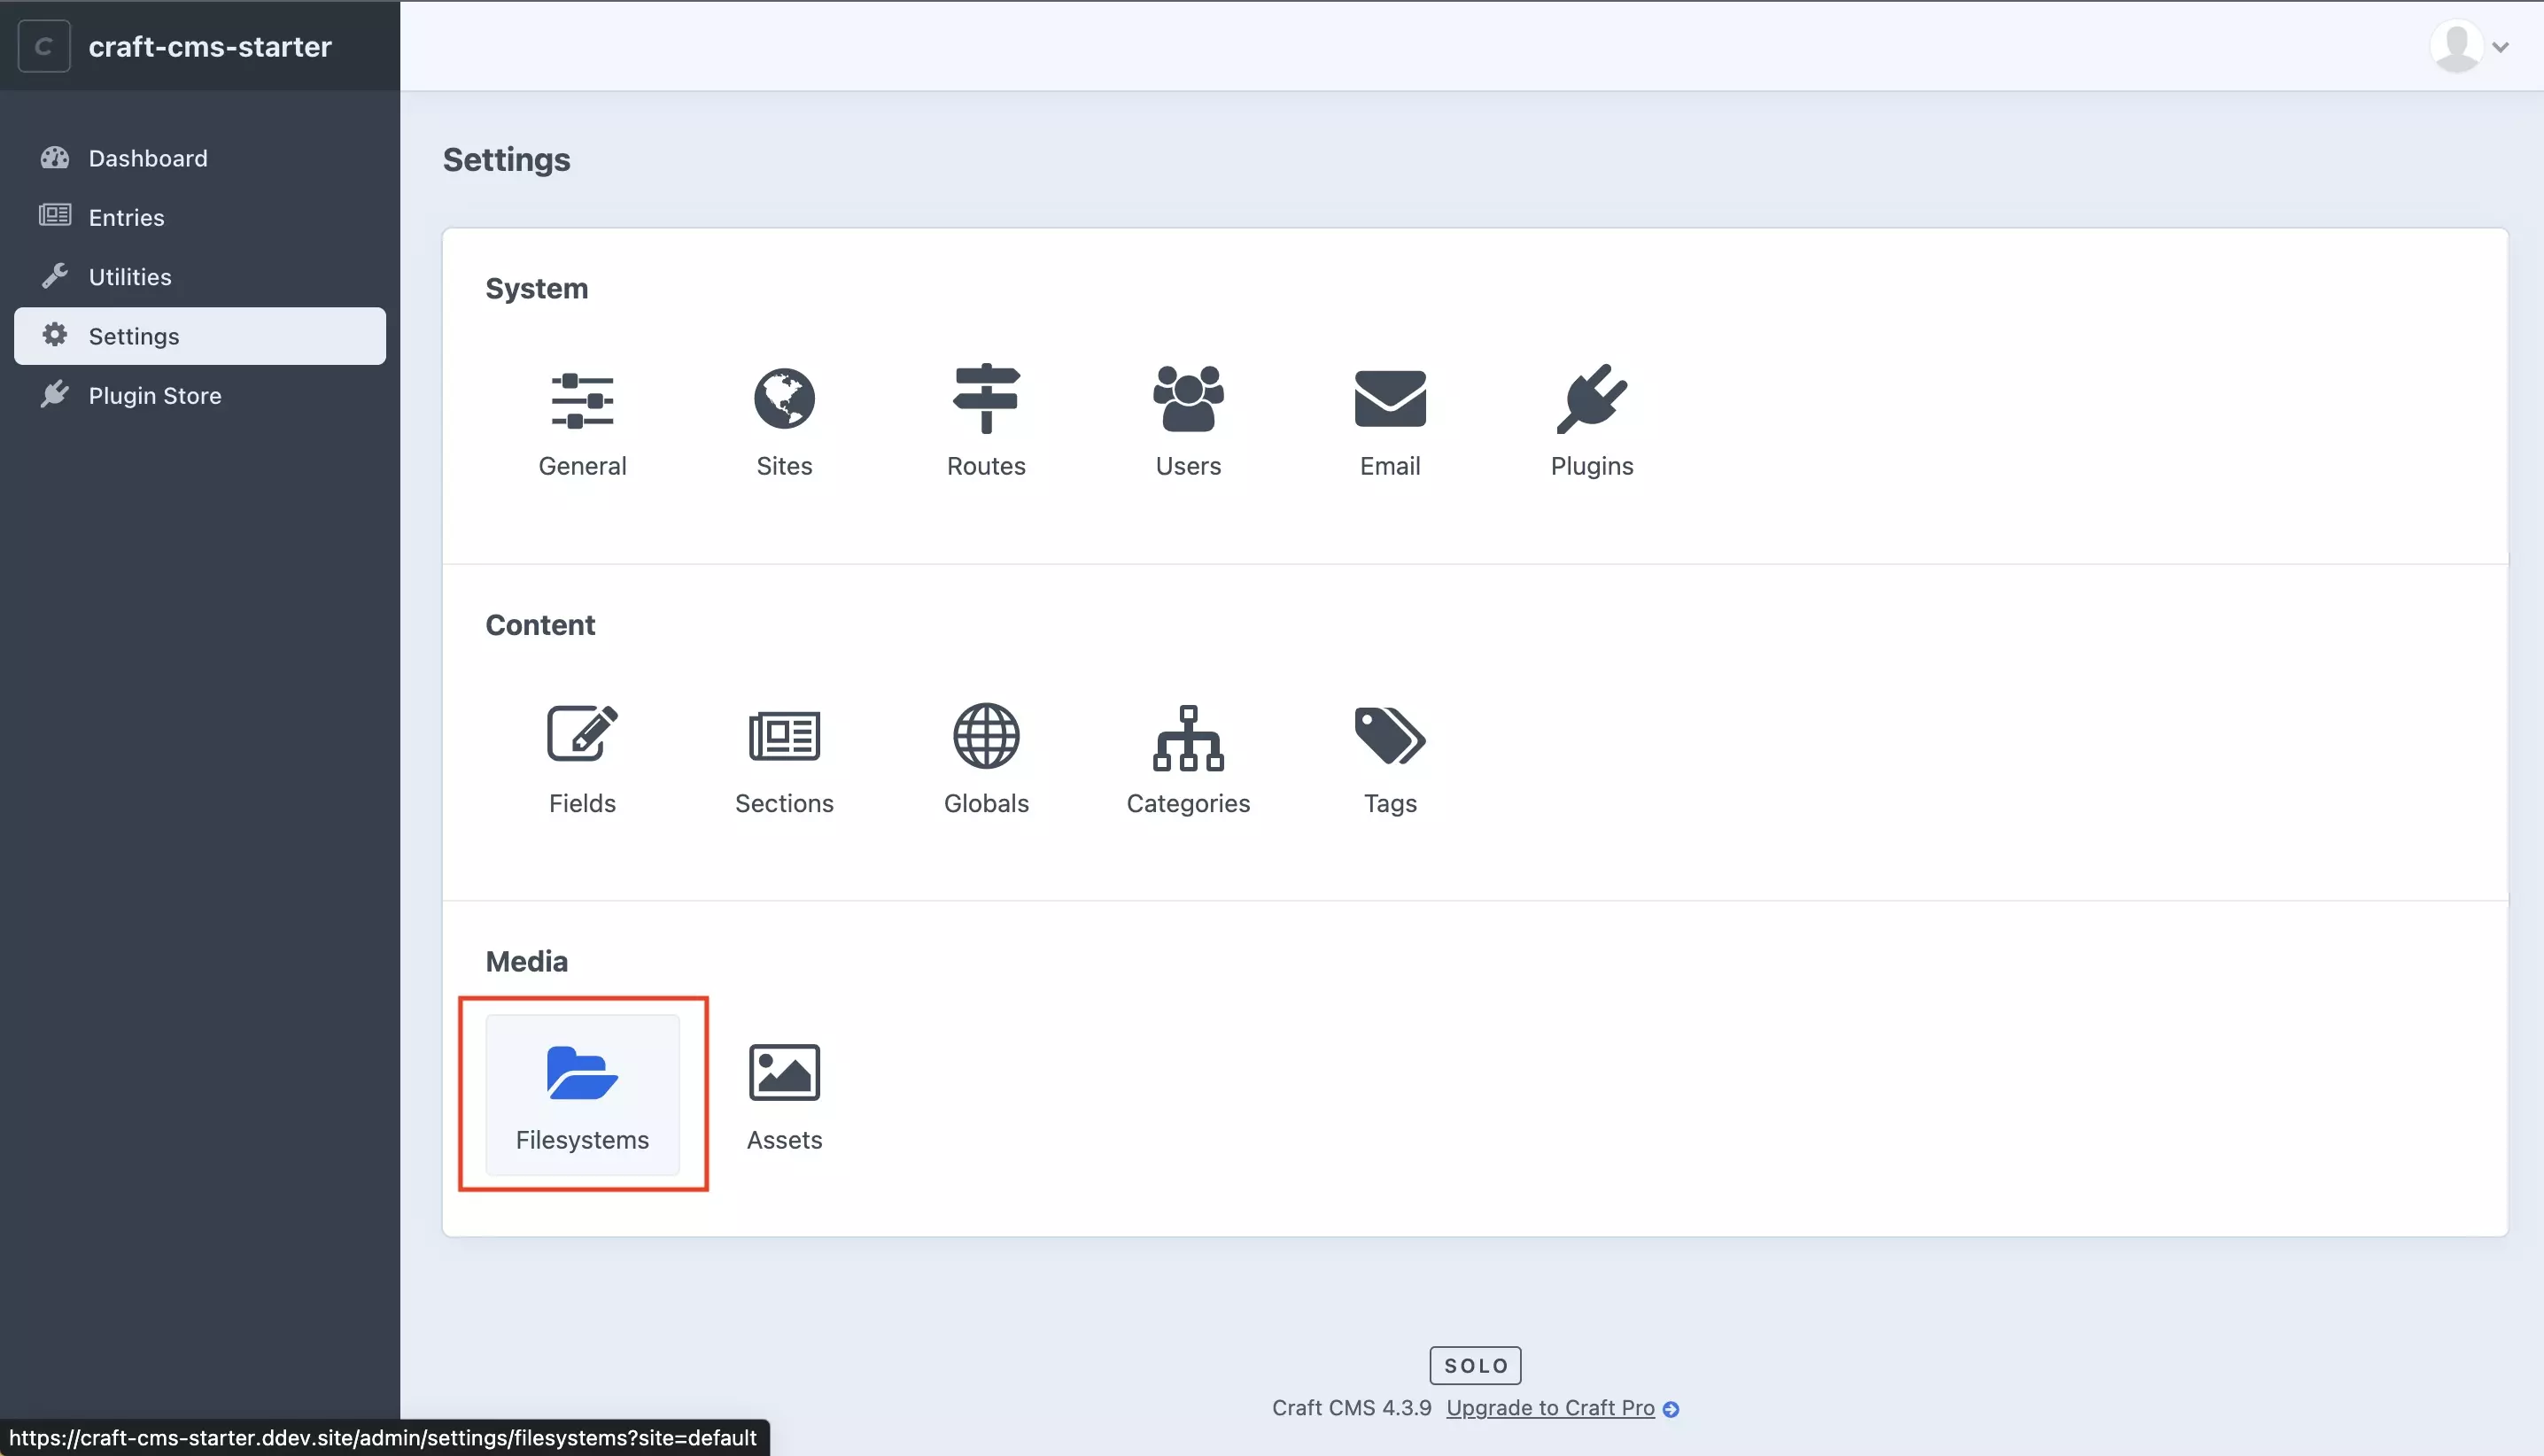
In the Settings page, select the Filesystems tile under Media.
Step Seven: + New filesystem
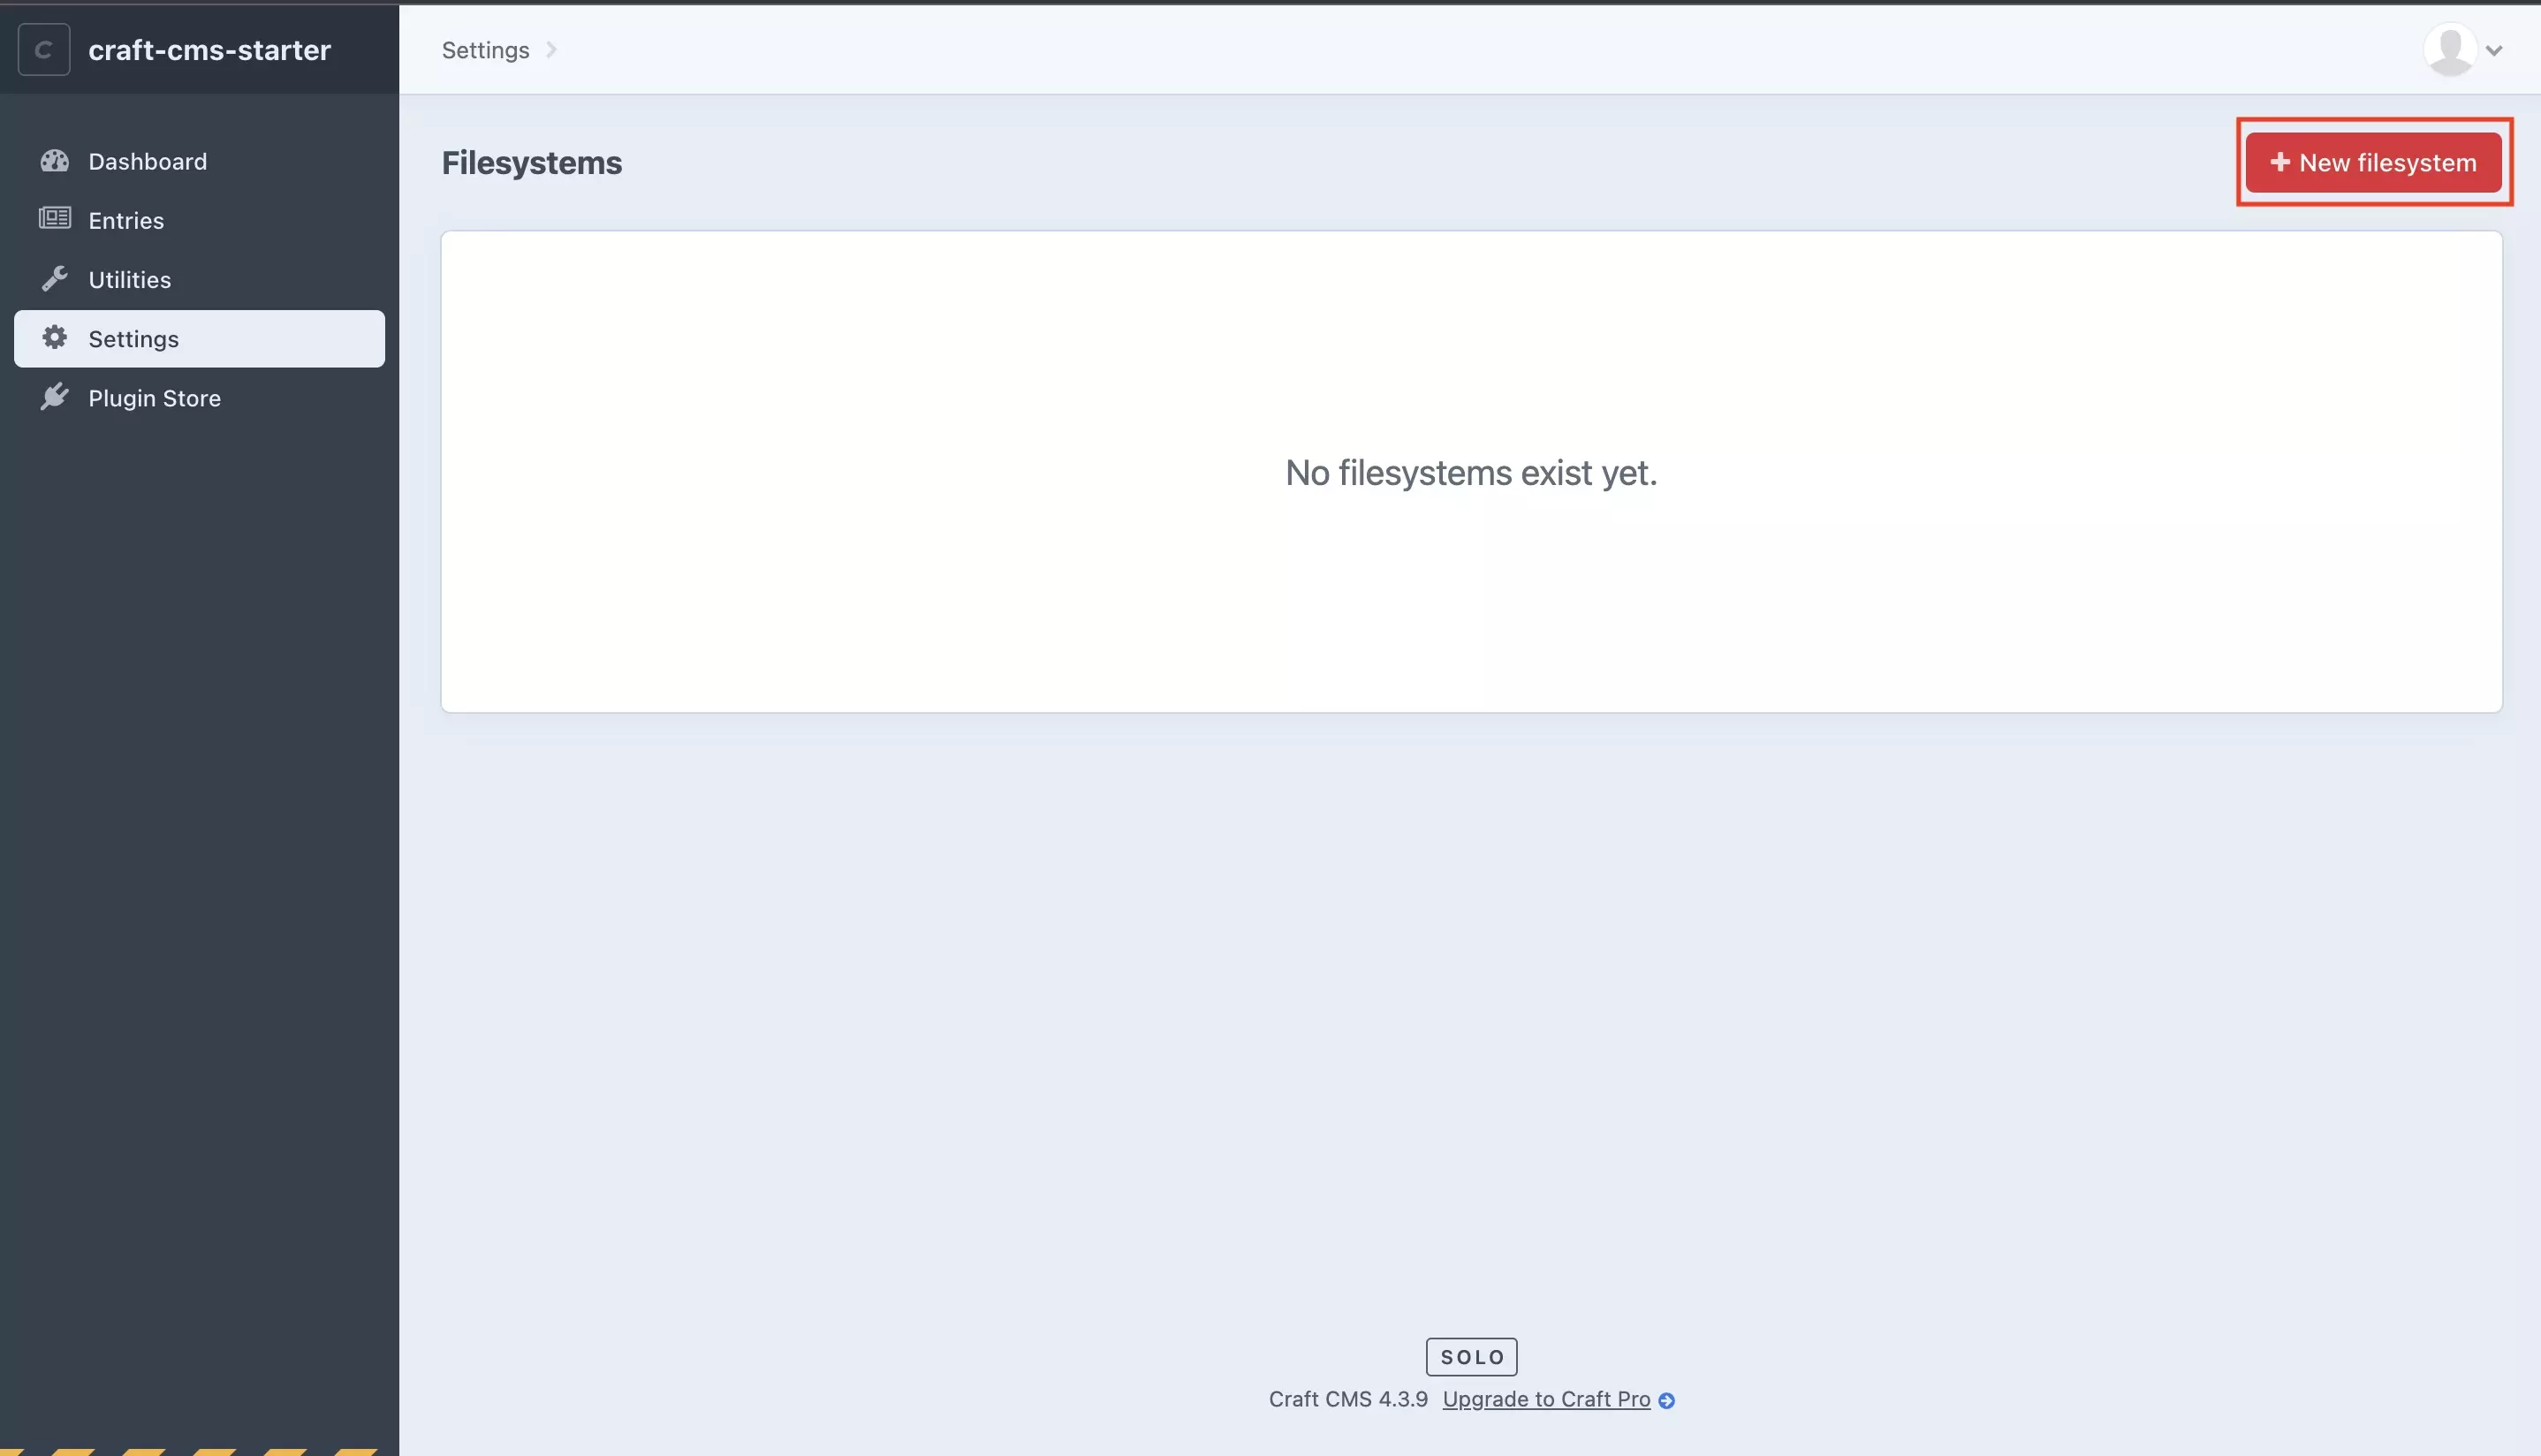
In the Filesystems page, press the + New filesystem button.
Step Eight: Set Amazon S3 Filesystem type
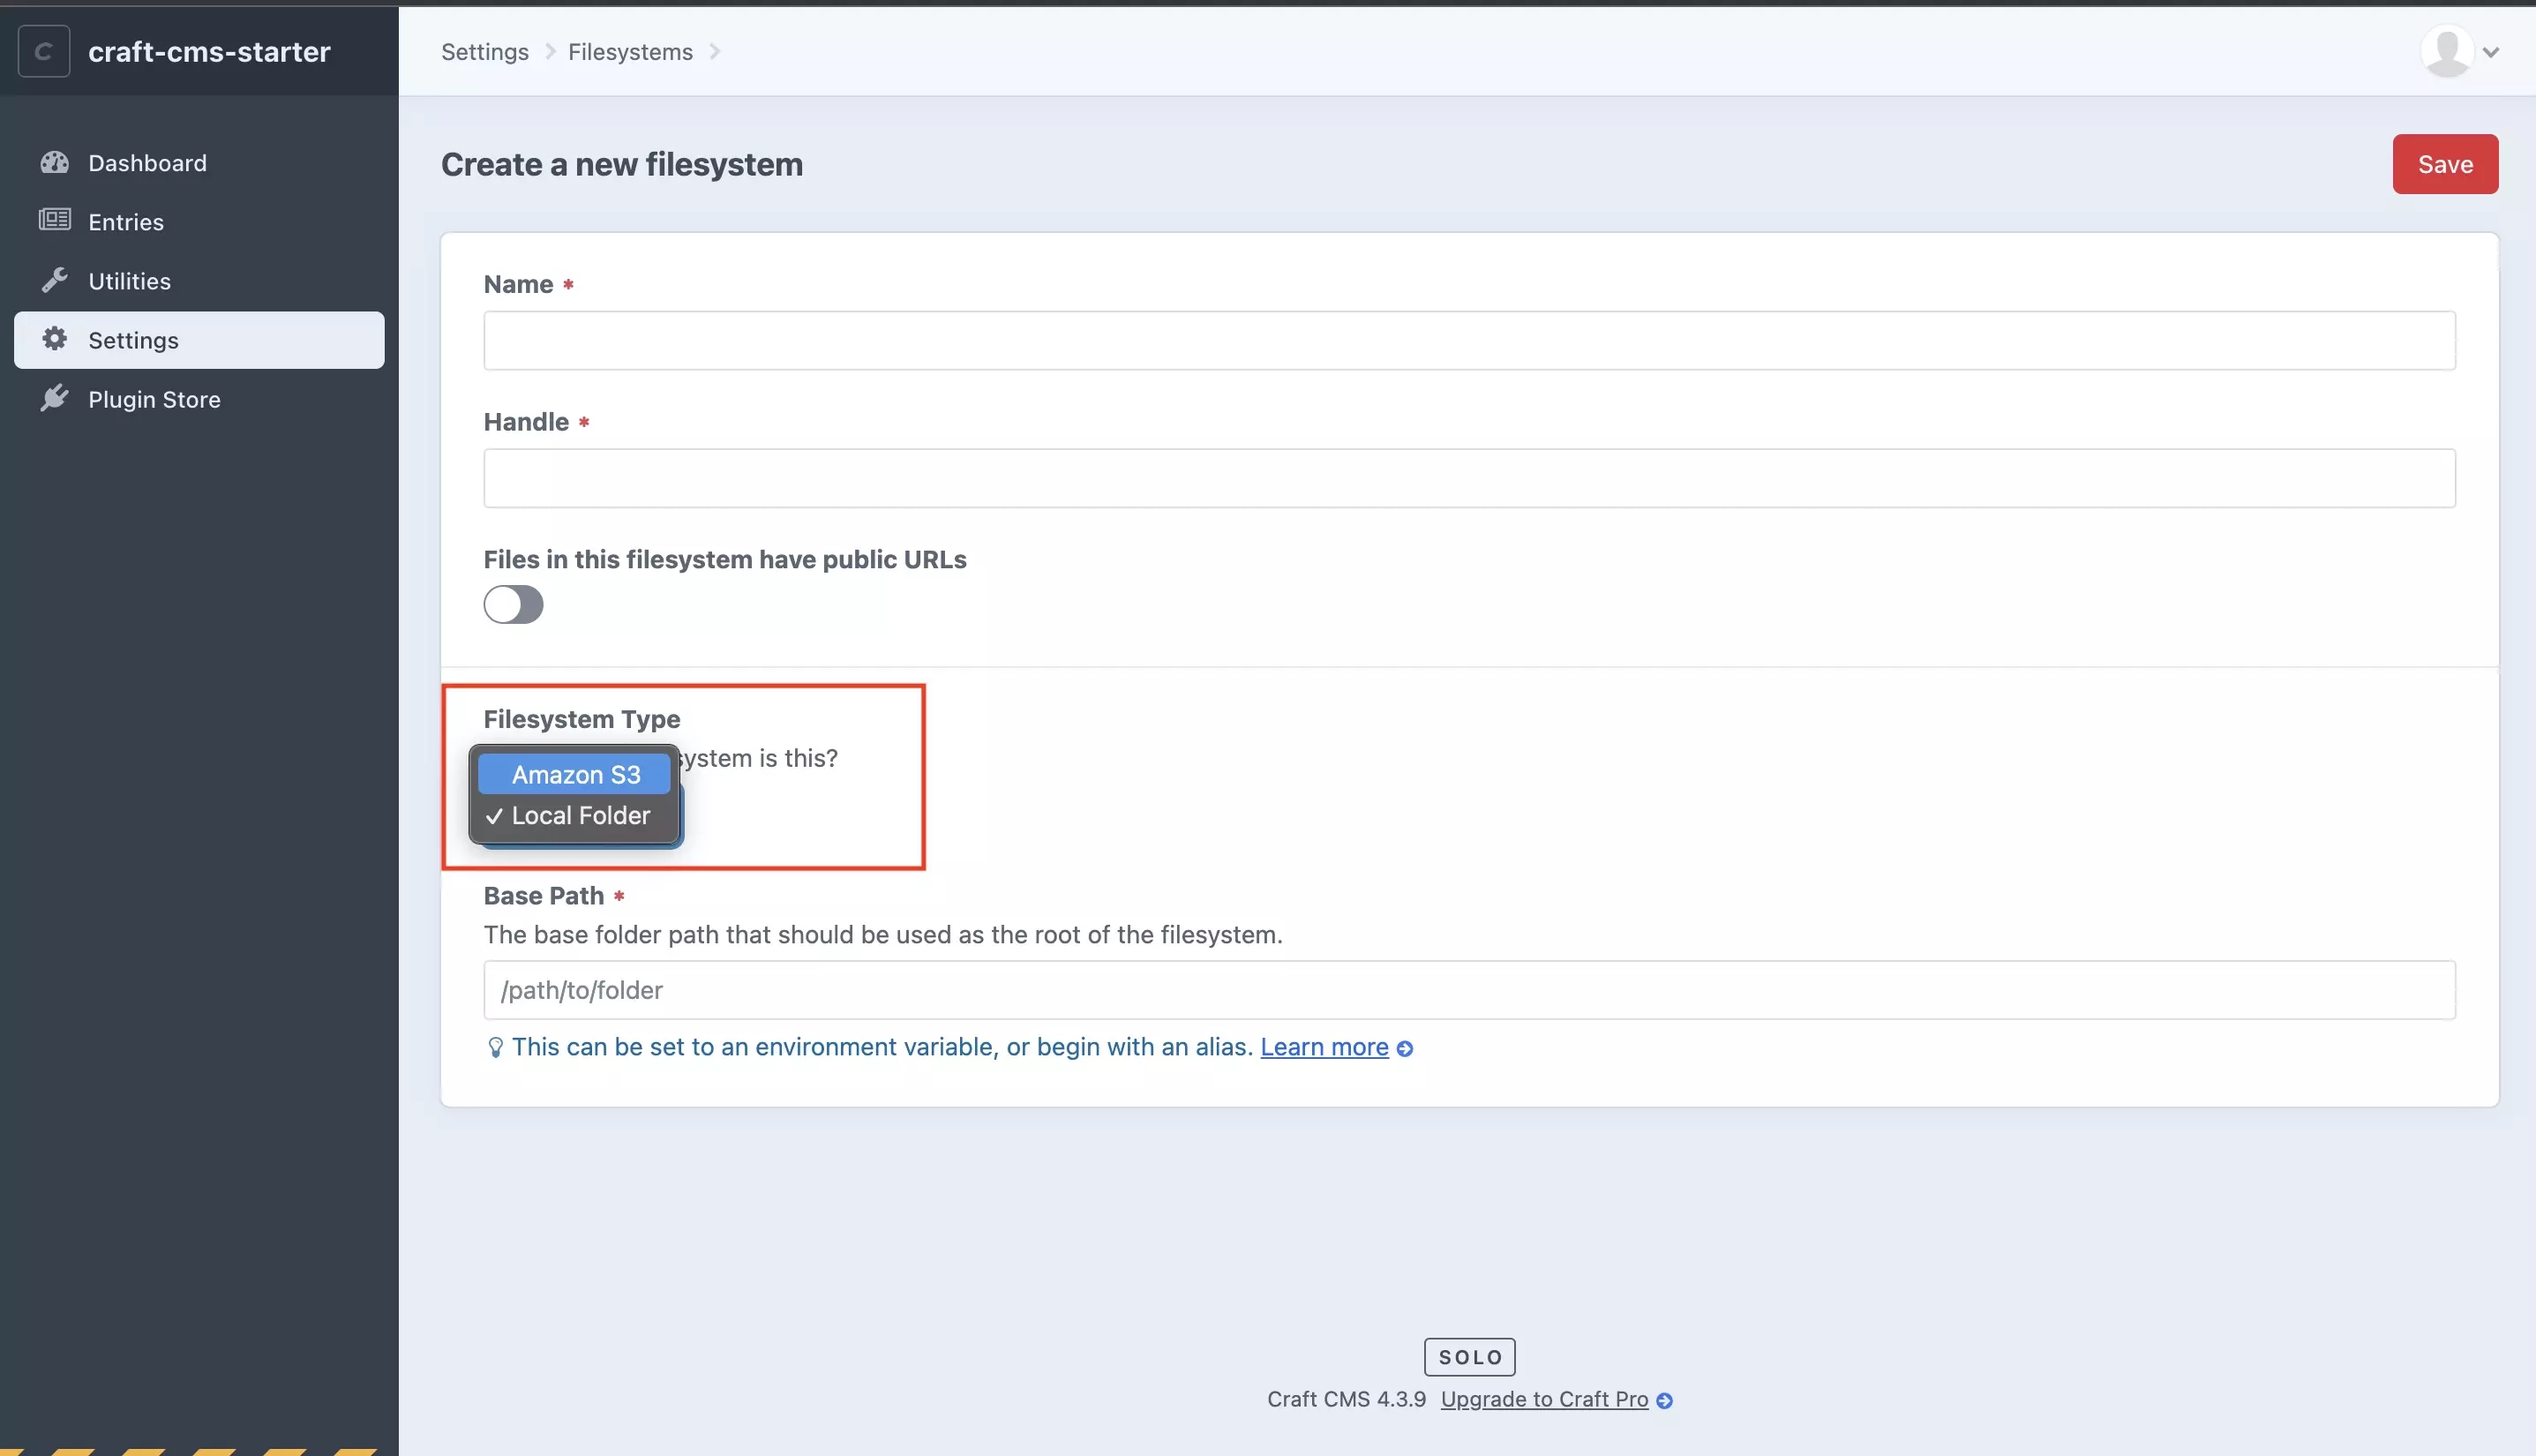
In the Create a new filesystem page, in the Filesystem type dropdown select Amazon S3.
Step Nine: Fill in details
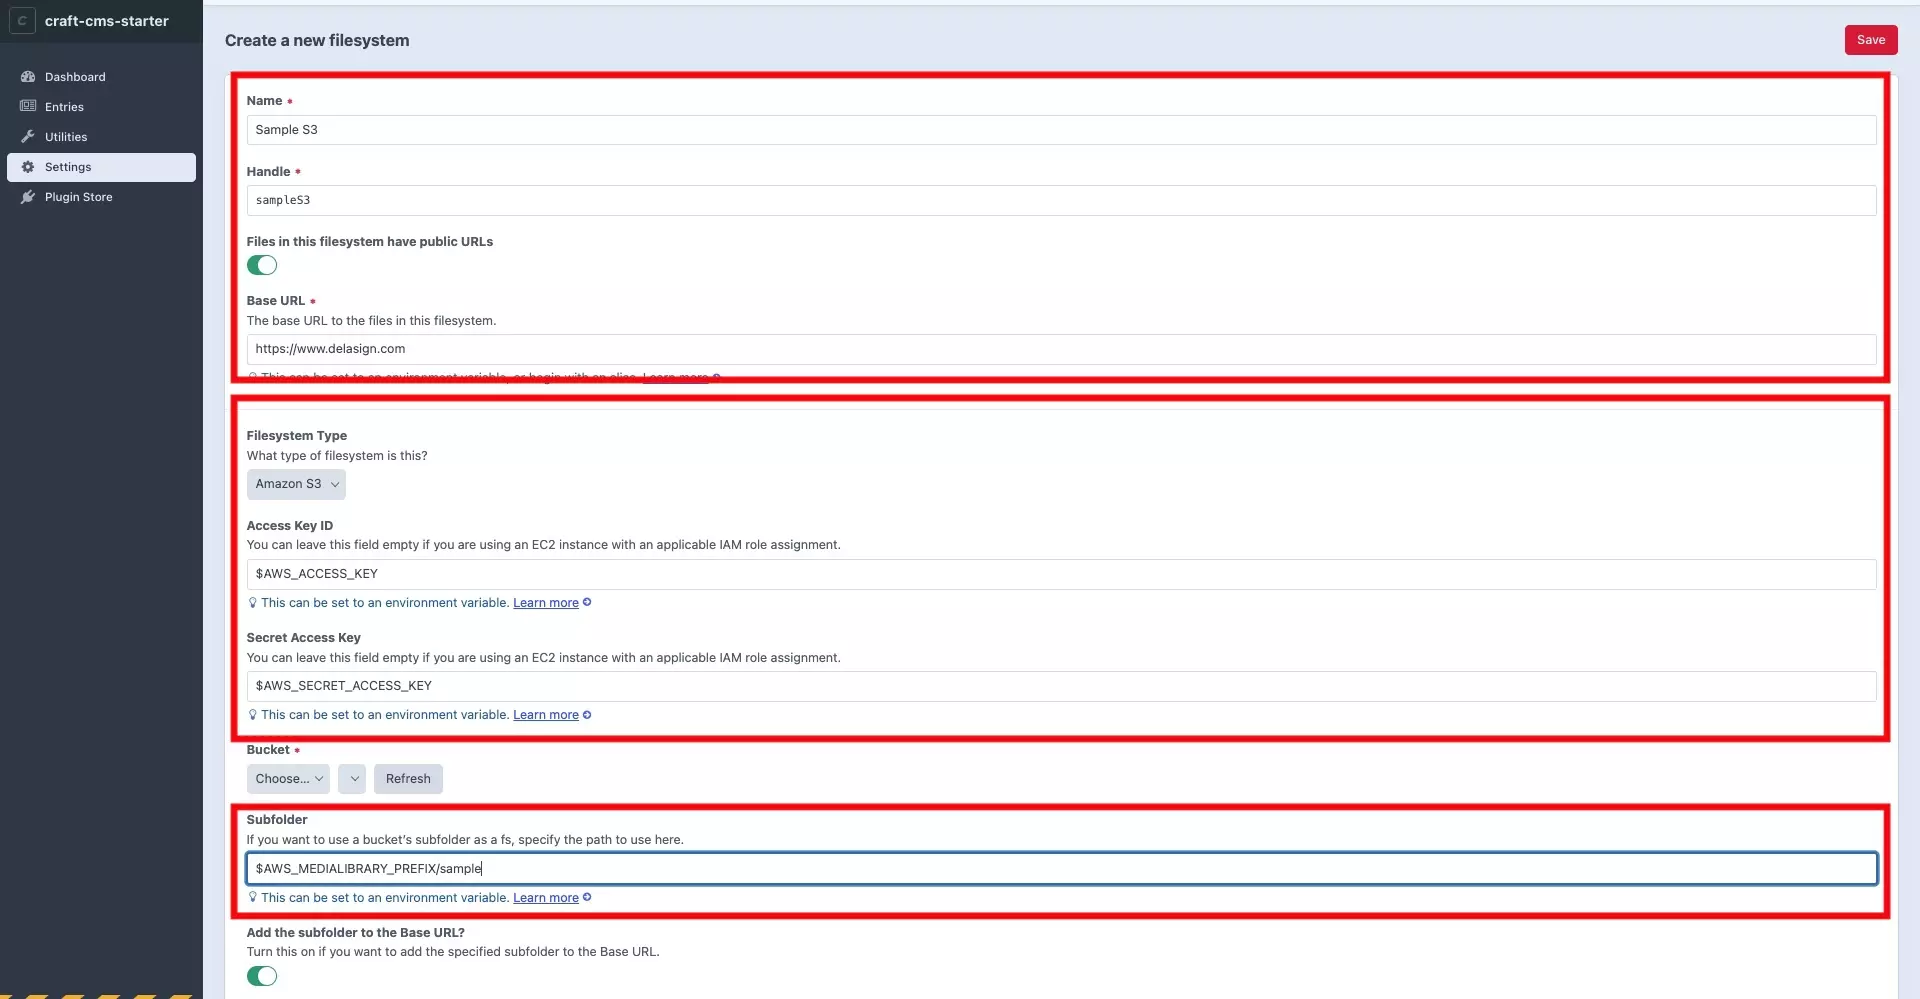
Fill in the details for your filesystem, using the environment variables where possible.
Please note the Subfolder input is used in the event you want all of the assets in that asset volume to be added to a specific folder within your bucket.
Please note that we recommend that you also set cache duration to 3156000 seconds (Not Shown).
Step Ten: Press Refresh
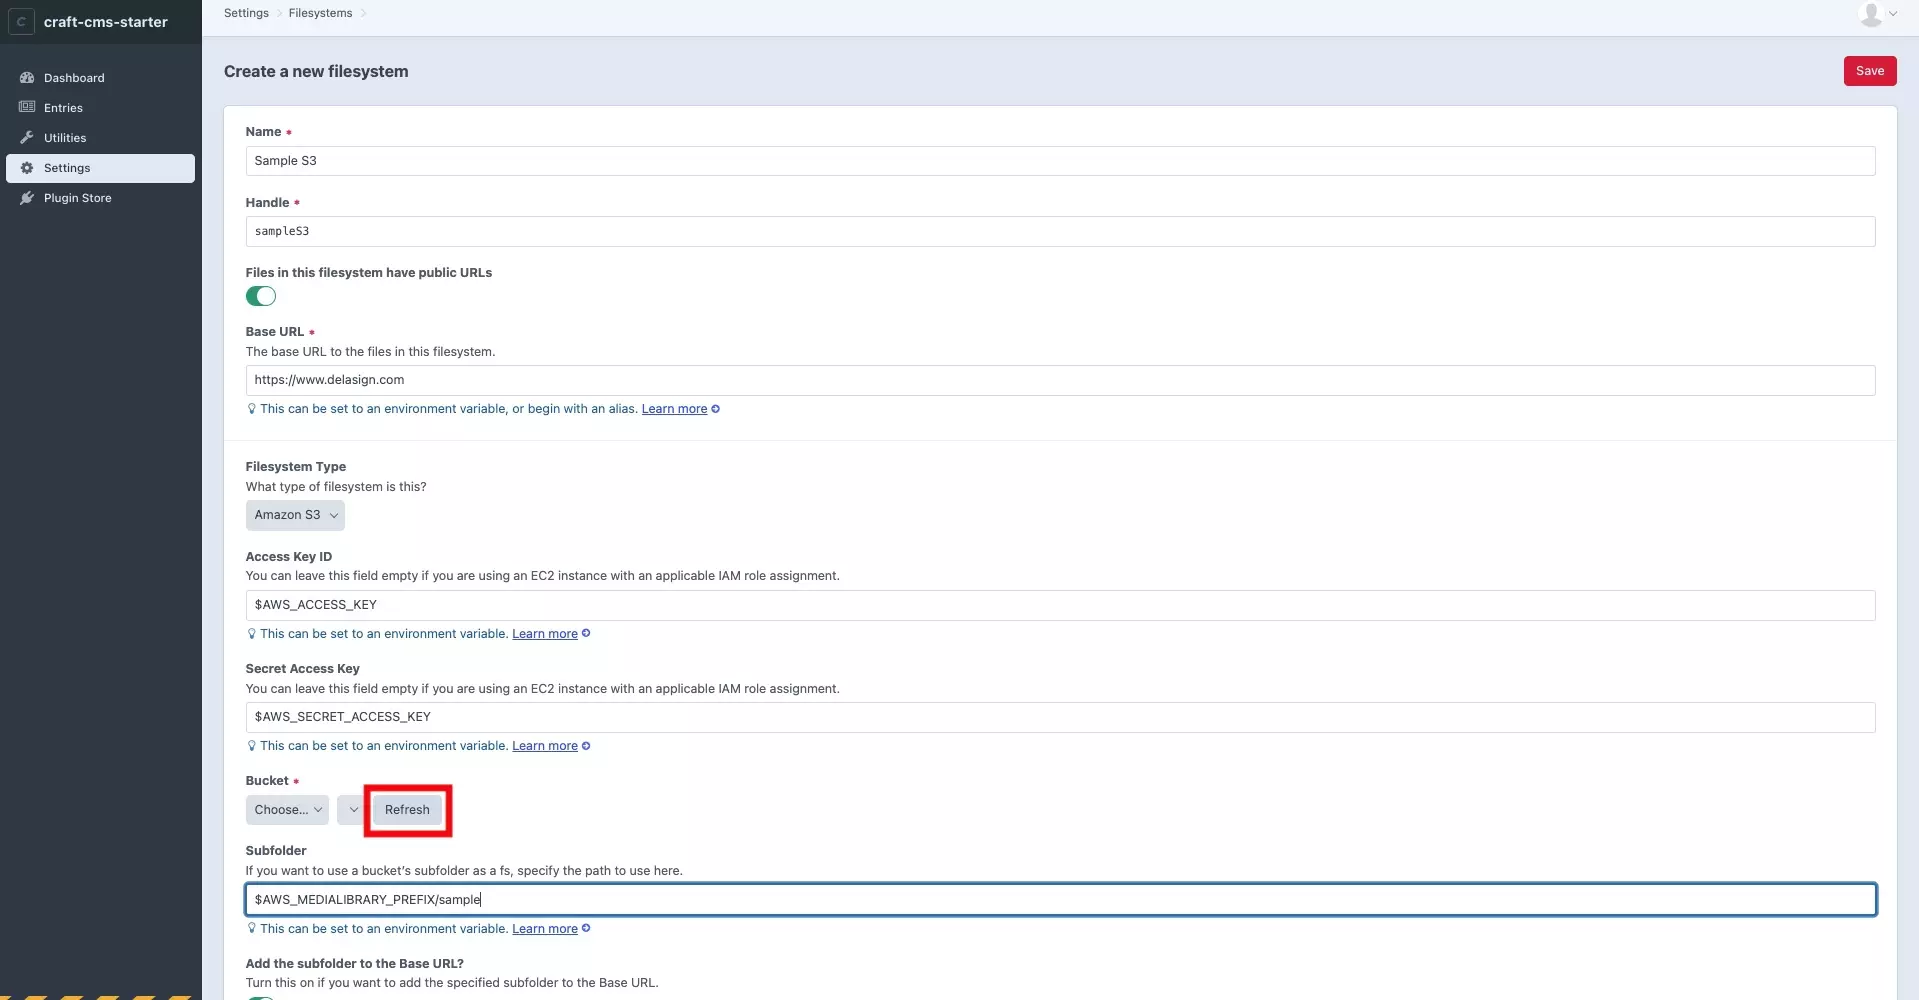
Once you have added the Access Key ID and the Secret Access Key, press the Refresh button under Bucket*.
This will load the buckets available to those keys.
Step Eleven: Set Bucket & Save
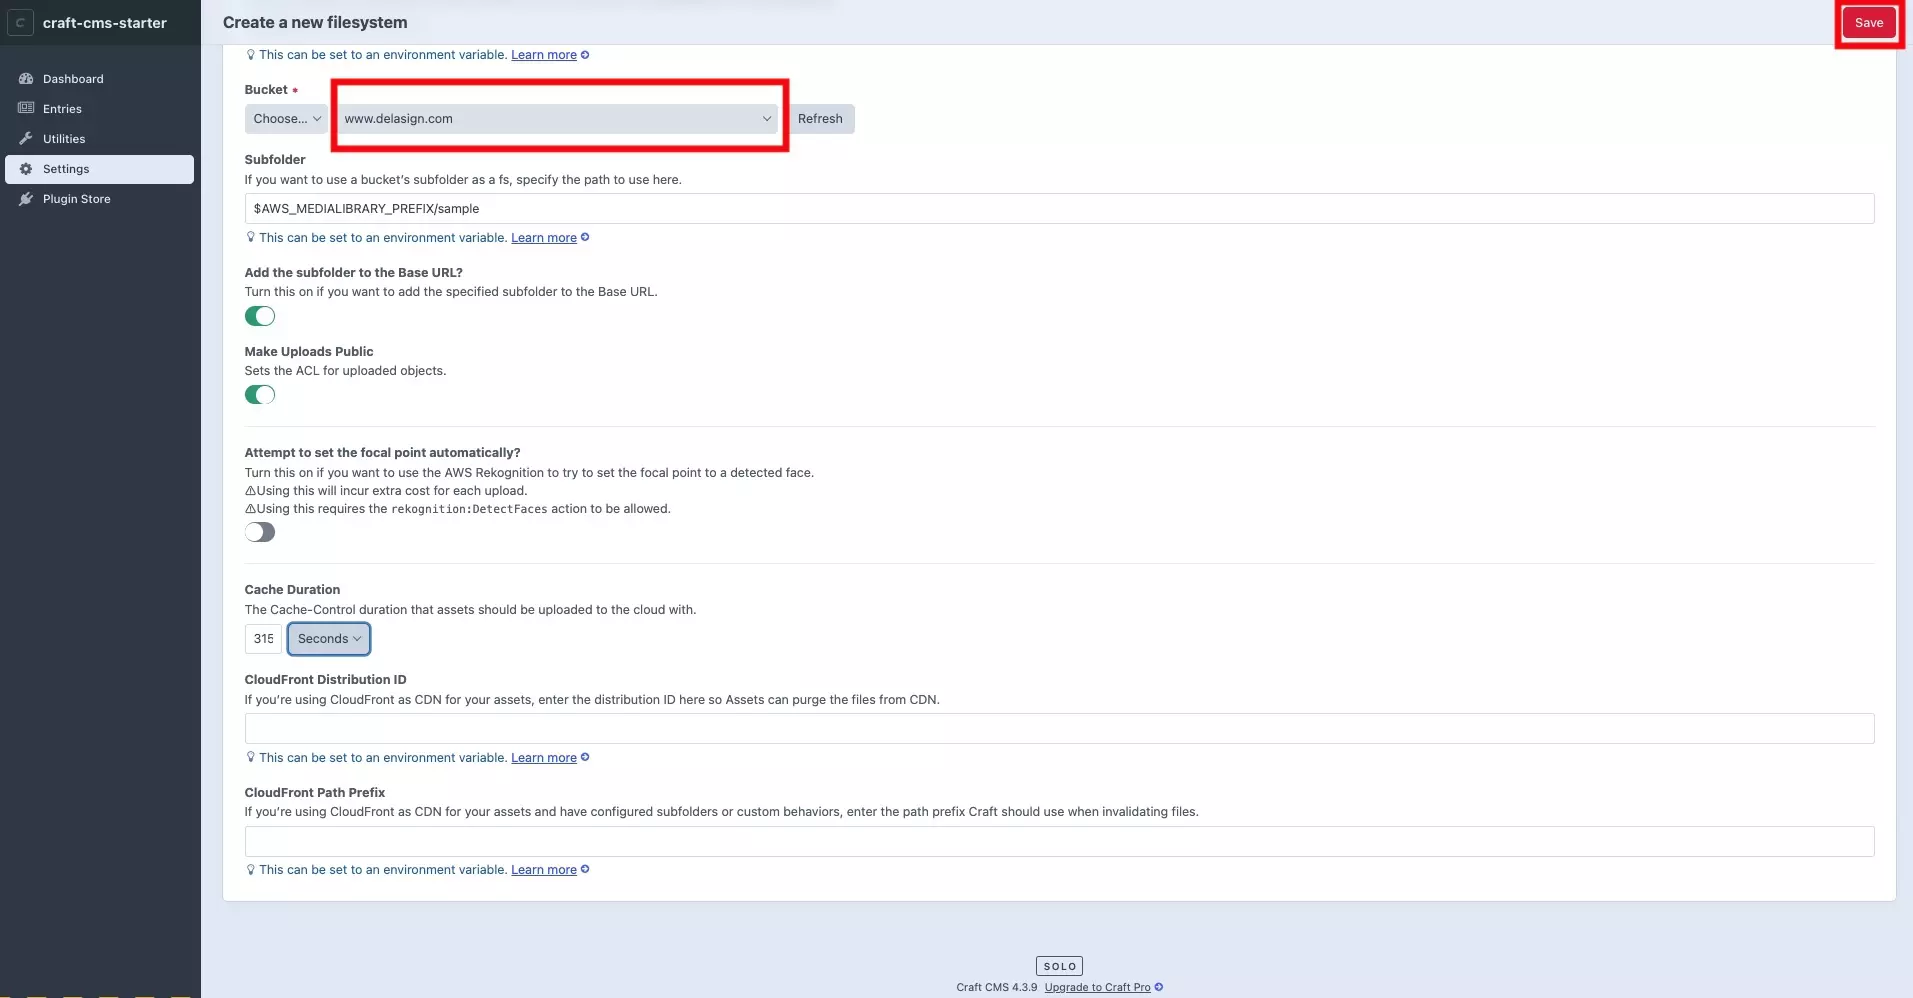
Names of all the buckets available to your keys should appear next to the Choose... dropdown.
Select the bucket you wish to save assets to and when you're ready, press Save.