How to create & setup a Craft CMS project
A step by step tutorial for creating a Craft CMS project. Github repository included.

A step by step tutorial for creating a Craft CMS project. Github repository included.
The following guide walks you through how we created our Open Source Craft CMS project that is available through the GitHub repository link listed below. If you are cloning the repository, if you have not already, we recommend that you install Homebrew, DDEV and Docker before moving on to Step Seven to complete the installation.
Additionally, if you would like to get an existing Craft CMS up and running with DDEV we recommend following our guide linked below.
Minimum Requirements
- PHP 8.0.2+
- MySQL 5.7.8+ with InnoDB, MariaDB 10.2.7+, or PostgreSQL 10+
- 256MB+ memory allocated to PHP
- 200MB+ free disk space
- Composer 2.0+
- Docker
Tutorial
Step One: Install Homebrew
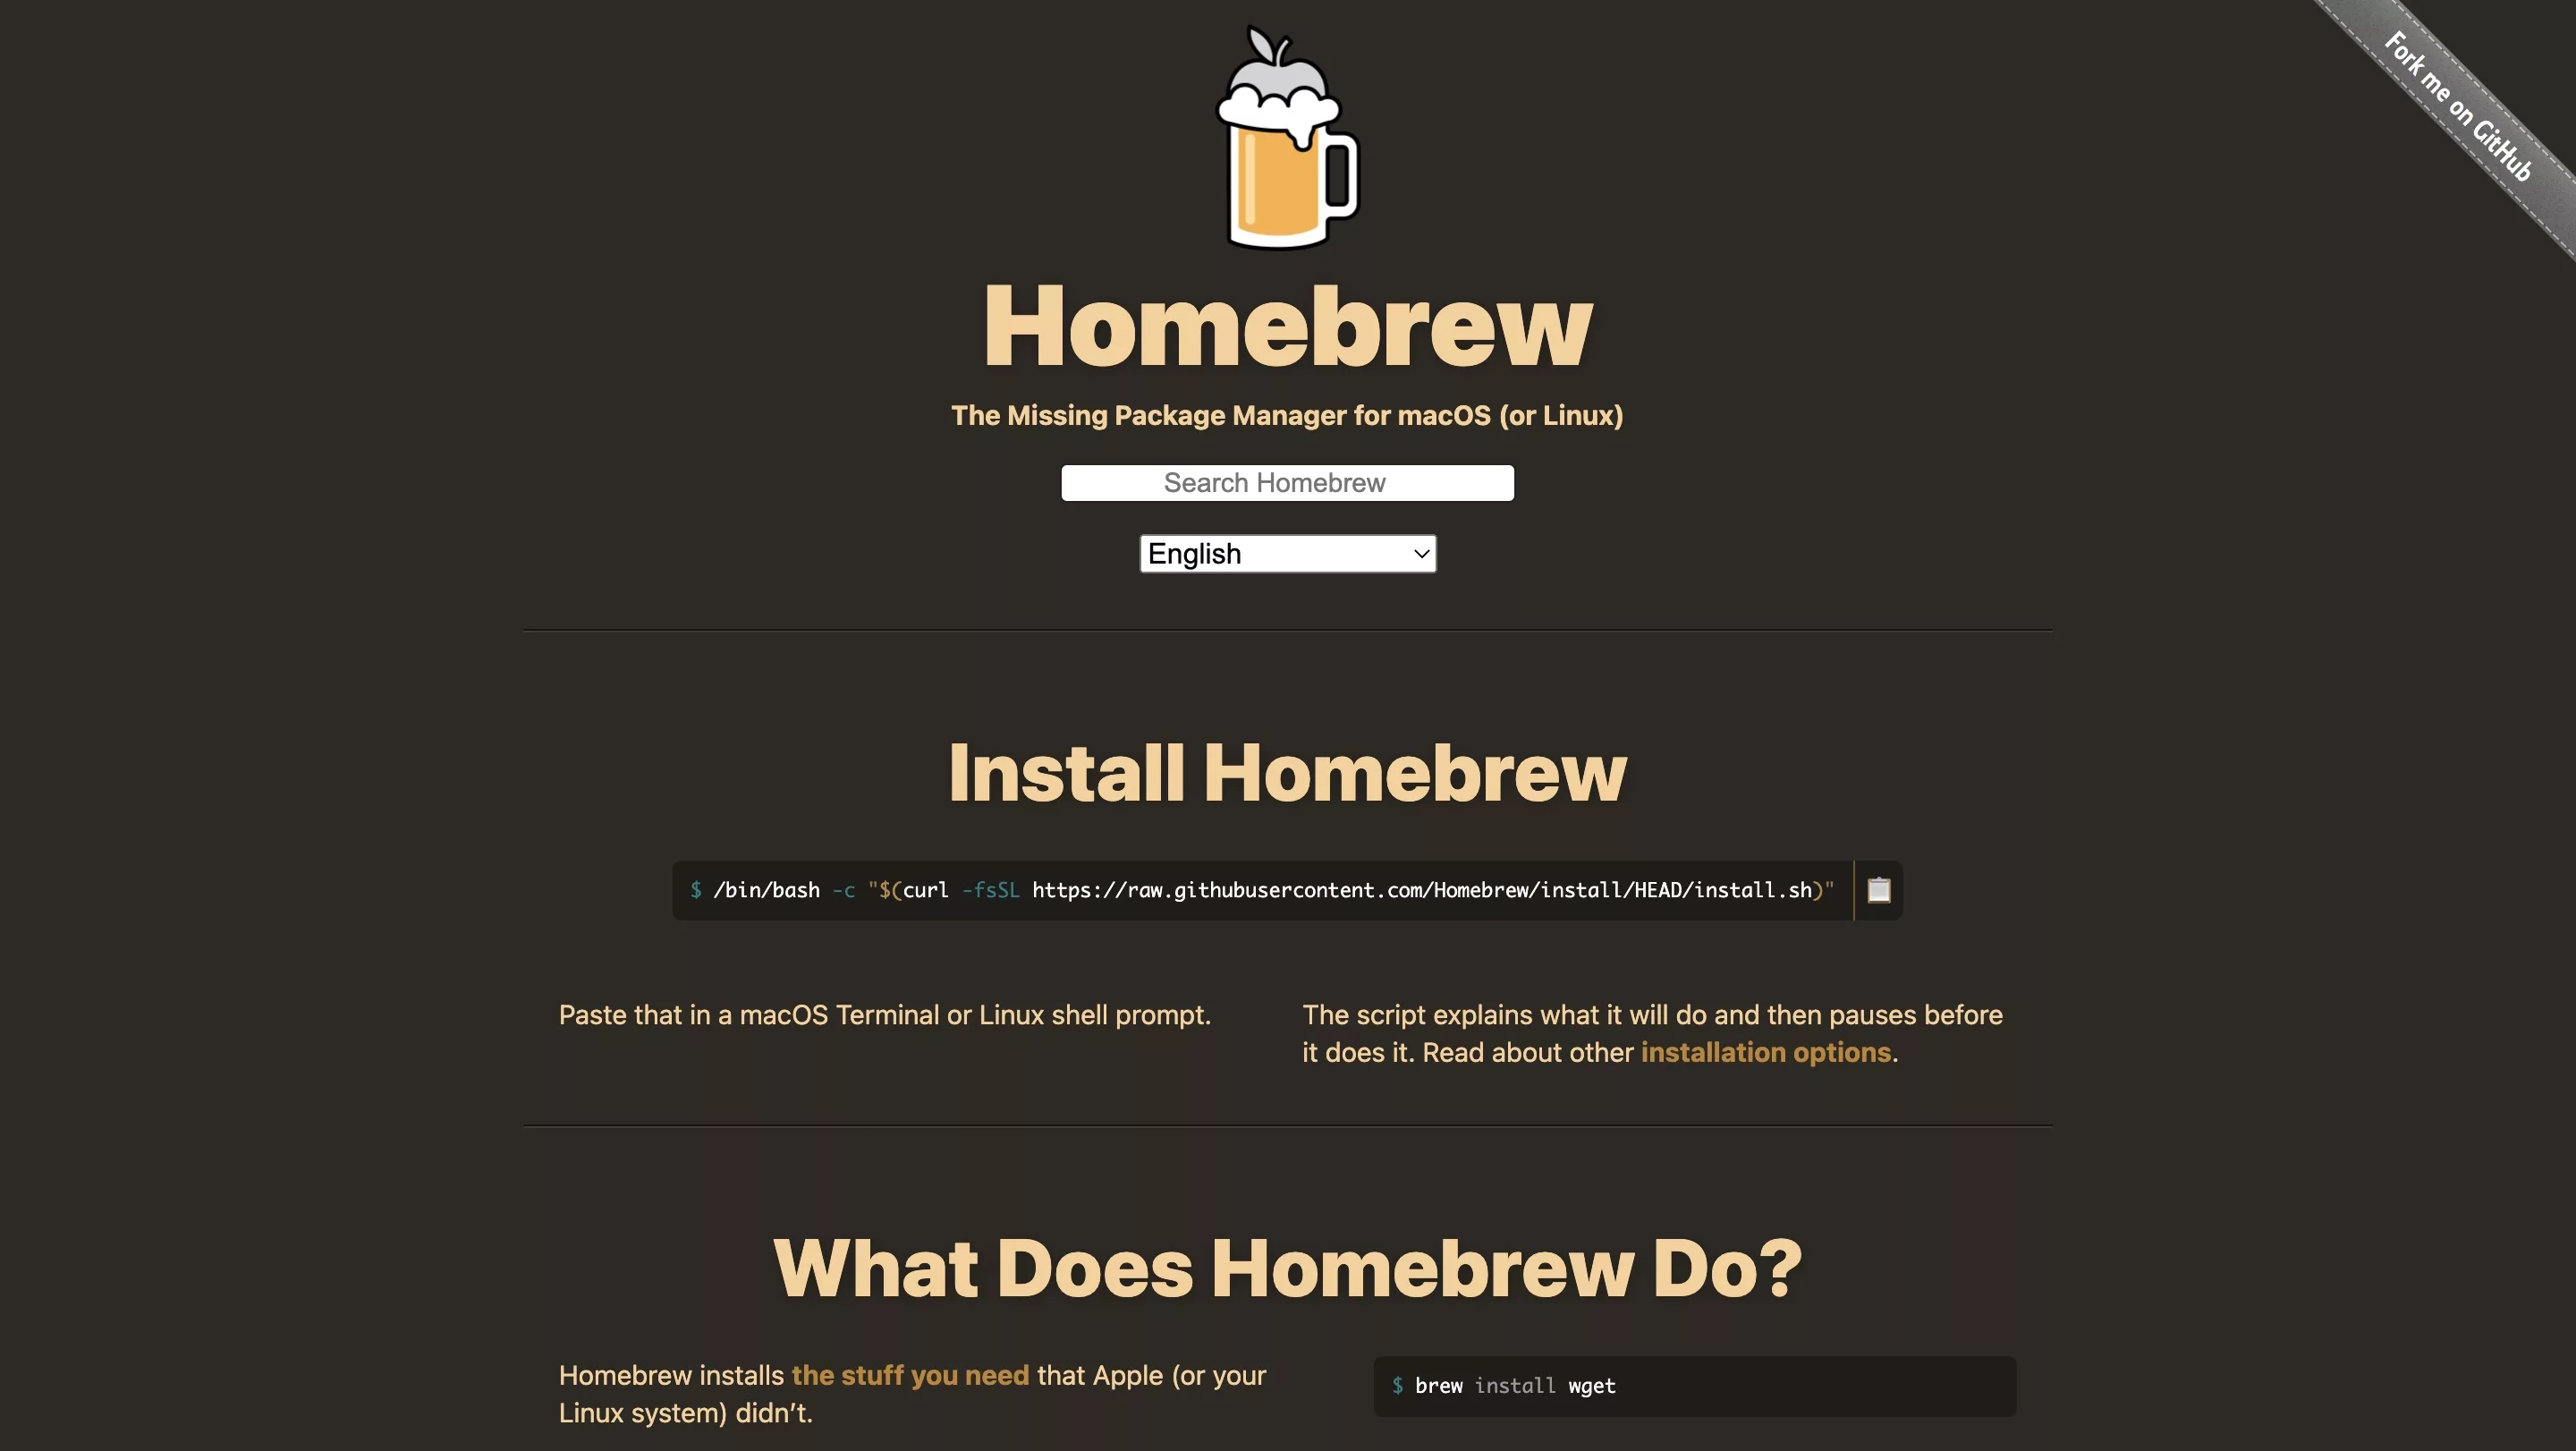
We will use Homebrew to install DDEV. Make sure that the Homebrew package manager is installed on your system, using the link below.
Step Two: Install & Open Docker
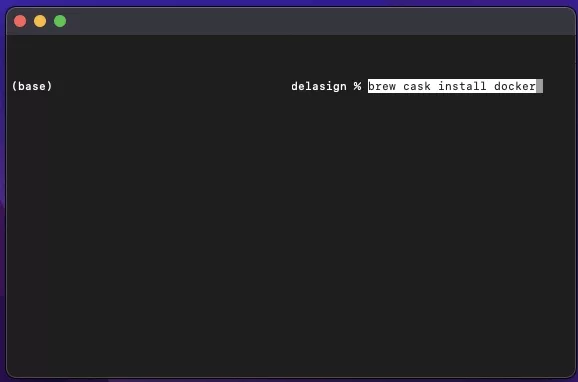
DDEV works with Docker, which must be both installed and open for the DDEV installation to work.
Install Docker Desktop
brew cask install dockerOpen Docker App
open /Applications/Docker.app/Step Three: Install DDEV
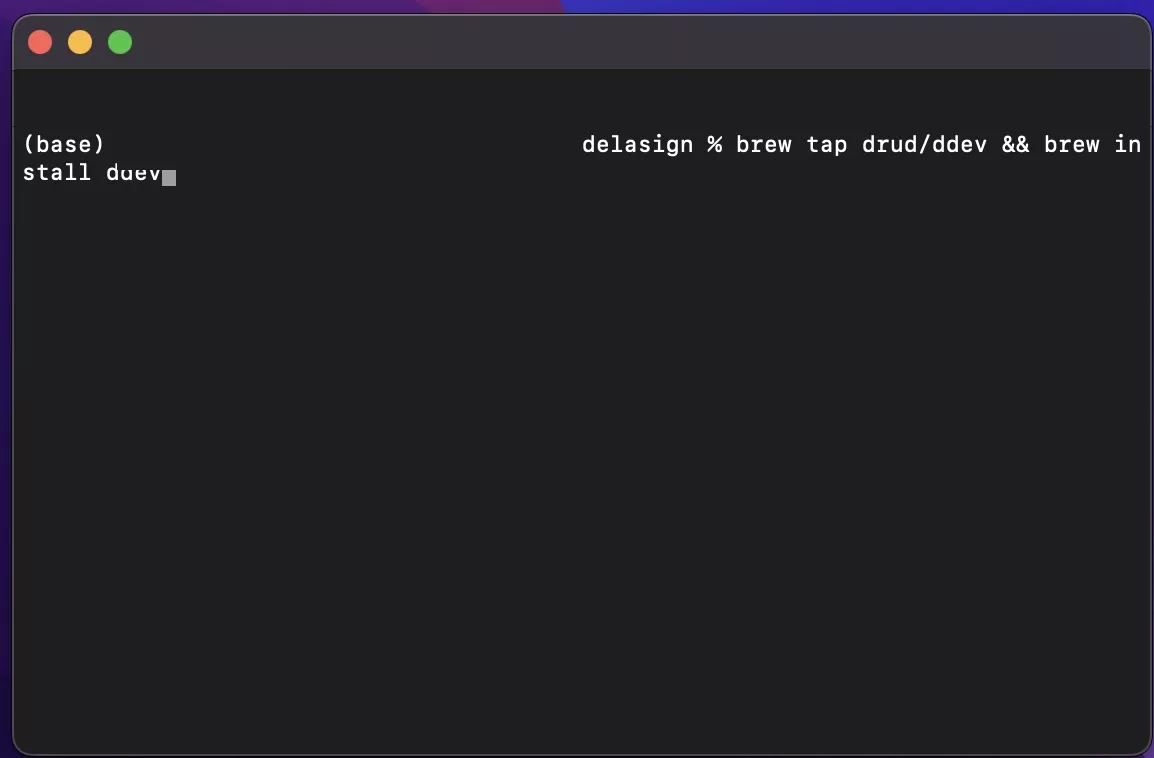
DDEV is a Docker-based PHP development environment that streamlines the creation and management of resources required by a Craft project. This tutorial uses Homebrew to install DDEV but other methods are available through the documentation provided in the button below.
To install DDEV using Homebrew, open Terminal and run the commands listed below.
brew install drud/ddev/ddevbrew upgrade ddevOnce complete, run the following command:
mkcert -installStep Four: Set the current directory for your project
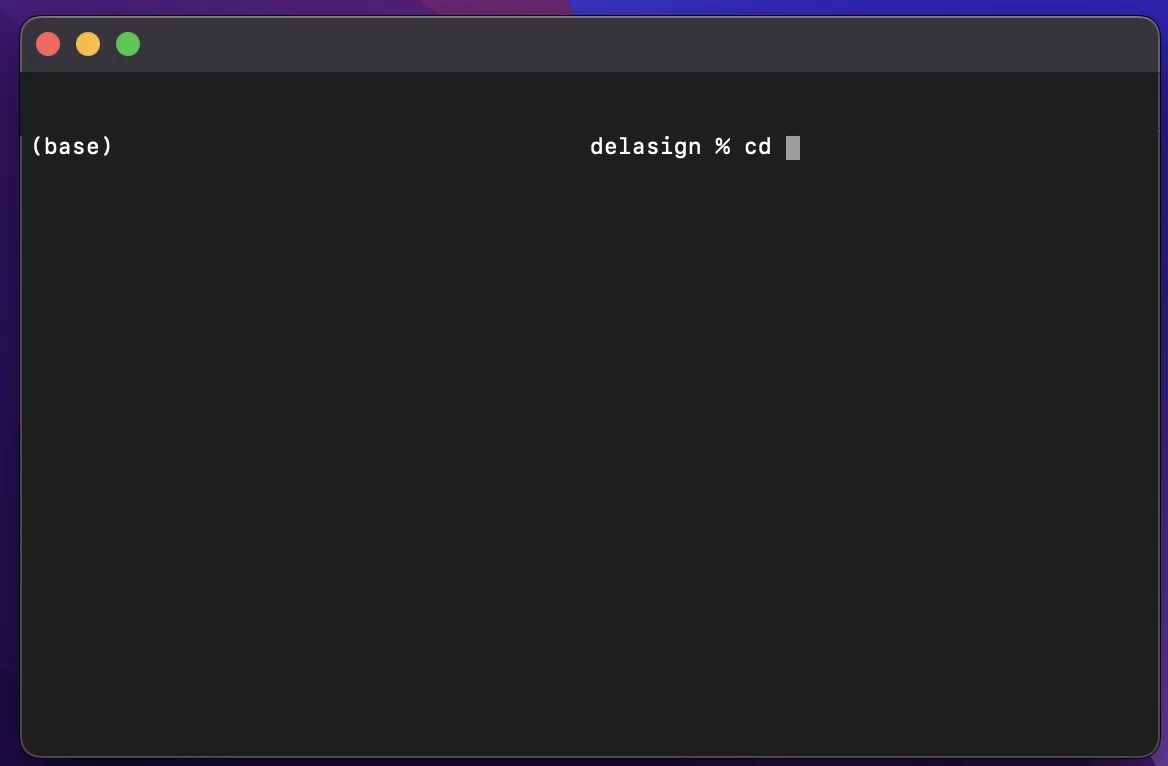
In Terminal, set the current directory to that which you wish to create your project.
Step Five: Create DDEV Configuration Files
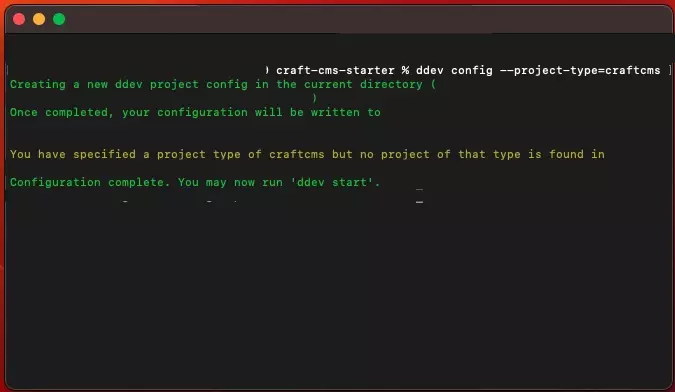
In Terminal, run the following line:
ddev config --project-type=craftcmsIf asked for the document root, make sure you enter web.
If it does not come up, as can occur, open the config.yaml found at .ddev/config.yaml and change line 3 to state docroot:web. If you do not do this you will get a 403 forbidden when launching the project.
Step Six: Create the project
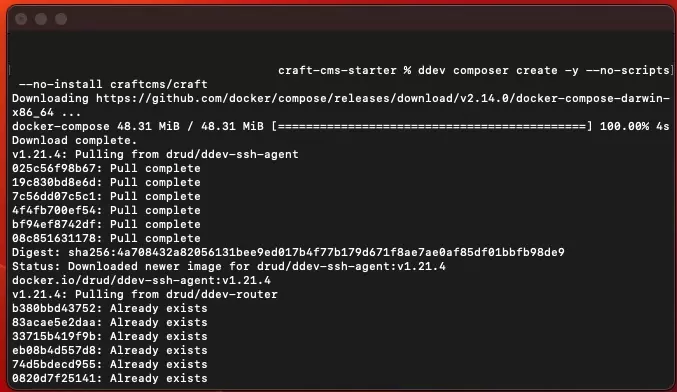
We recommend creating a new Craft CMS project from the official starter project by running the following line in Terminal.
ddev composer create -y --no-scripts --no-install craftcms/craftStep Seven: Boot up development environment
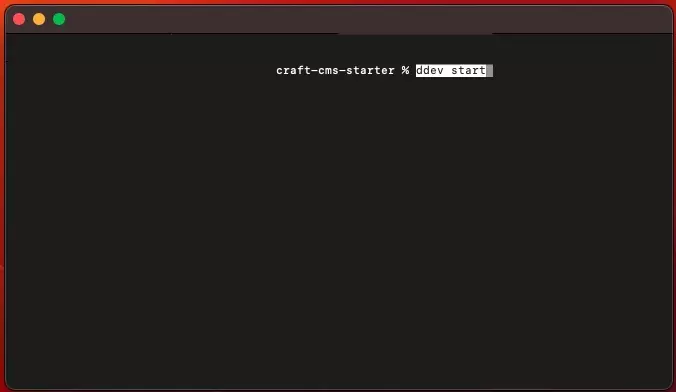
In Terminal, run the following line:
ddev startStep Eight: Upgrade dependencies
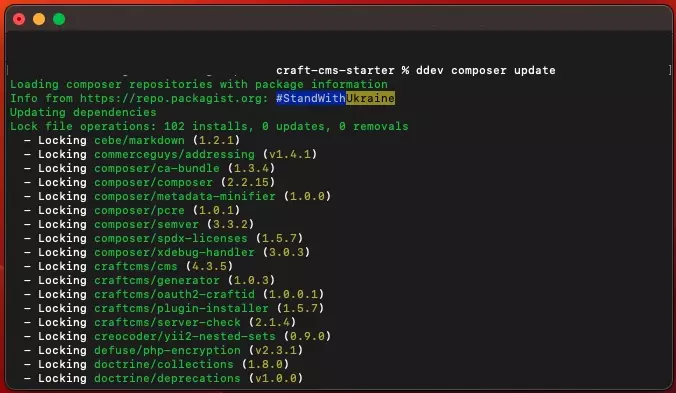
In Terminal, run the following line to install the latest dependencies:
ddev composer updateStep Nine: Install Craft
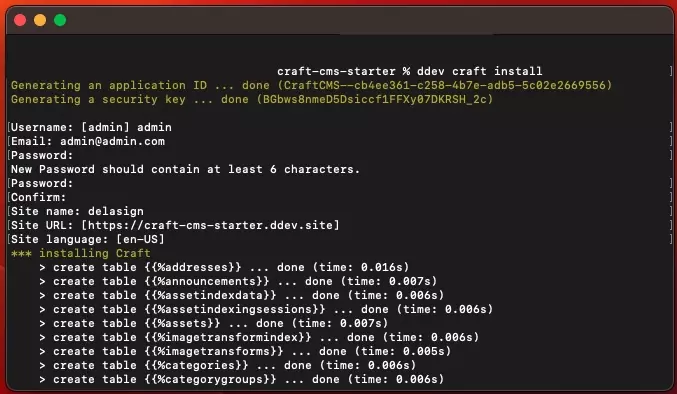
In Terminal, run the following line to install Craft. For more information read the guide provided in the link below.
ddev craft installStep Ten: Launch the project & Complete the setup
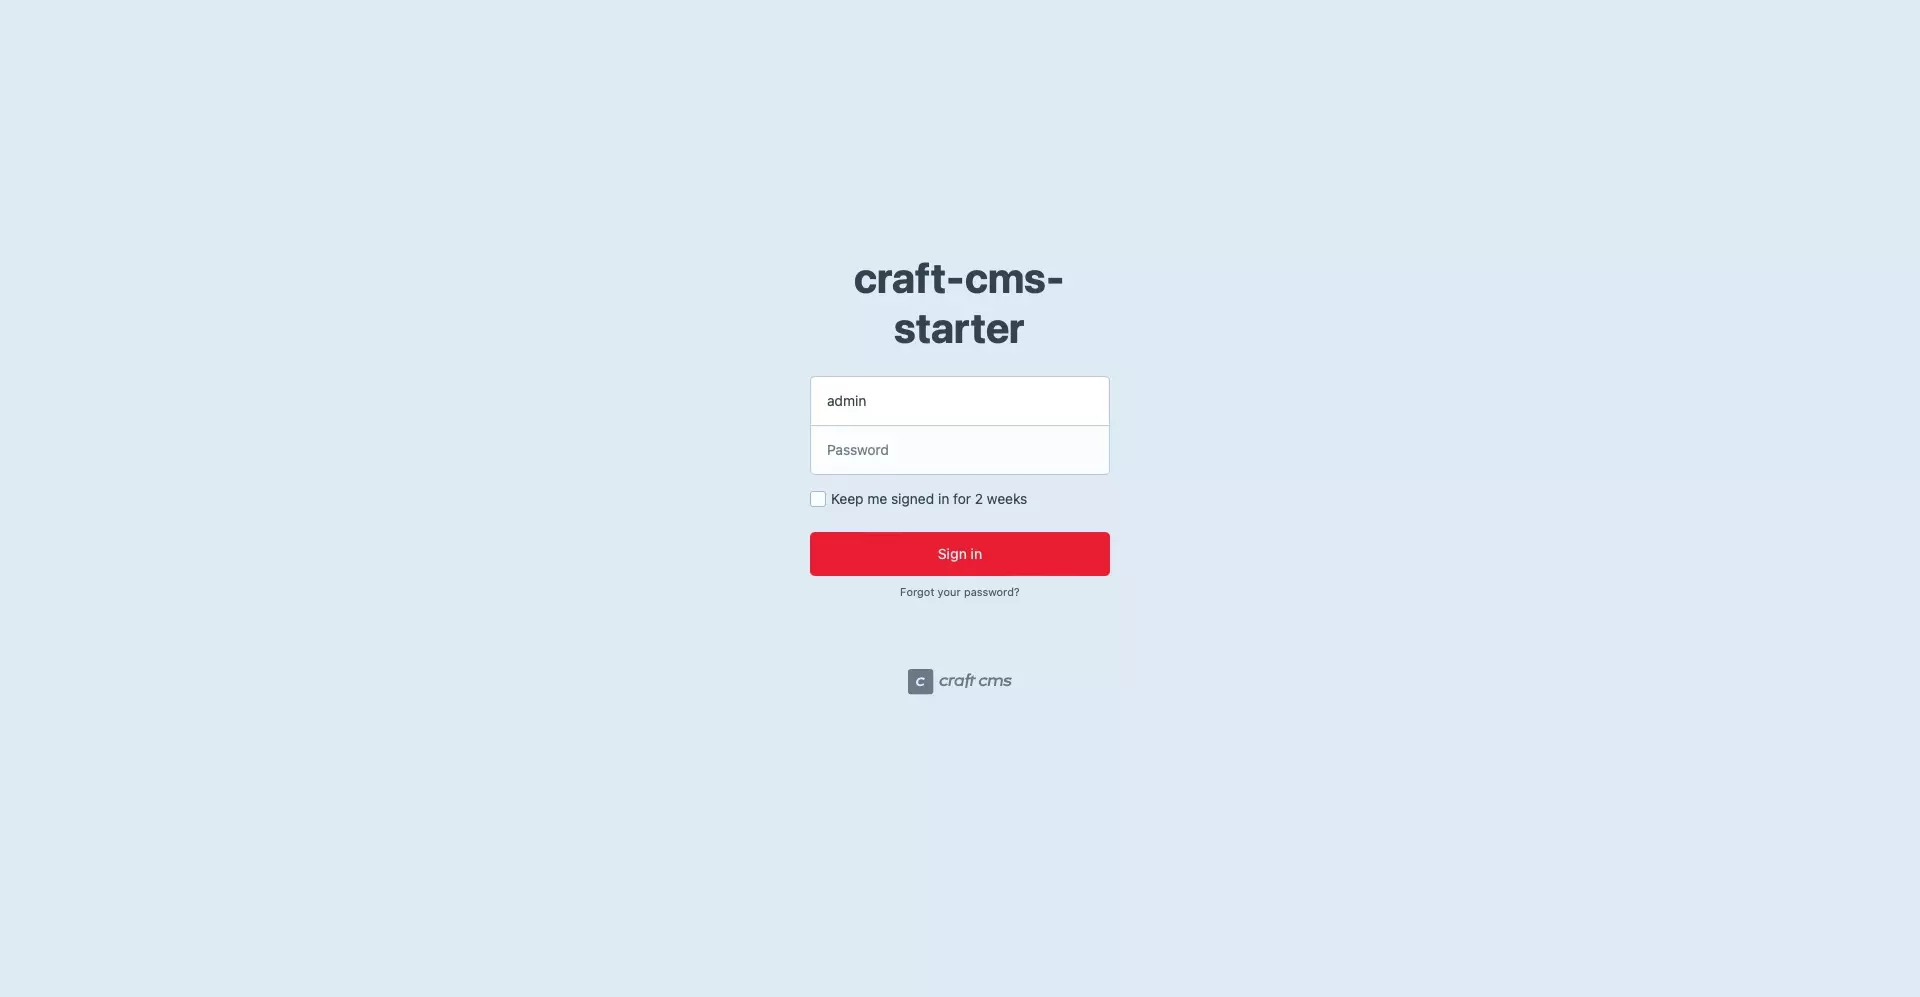
In Terminal run the line found below, this will launch the website where the project is held.
ddev launchAny Questions?
We are actively looking for feedback on how to improve this resource. Please send us a note to inquiries@delasign.com with any thoughts or feedback you may have.