How to publish a Figma design file

Oscar de la Hera Gomez
A flower that represents Figma with the text "Publish Design File" beneath it.

A step by step guide on publishing a Figma design file to the Figma Community.

The following tutorial walks you through how to publish an existing Figma design file to the Figma Community.

Step One: Share

A screenshot of a Figma with a highlight on the Share button on the top right.

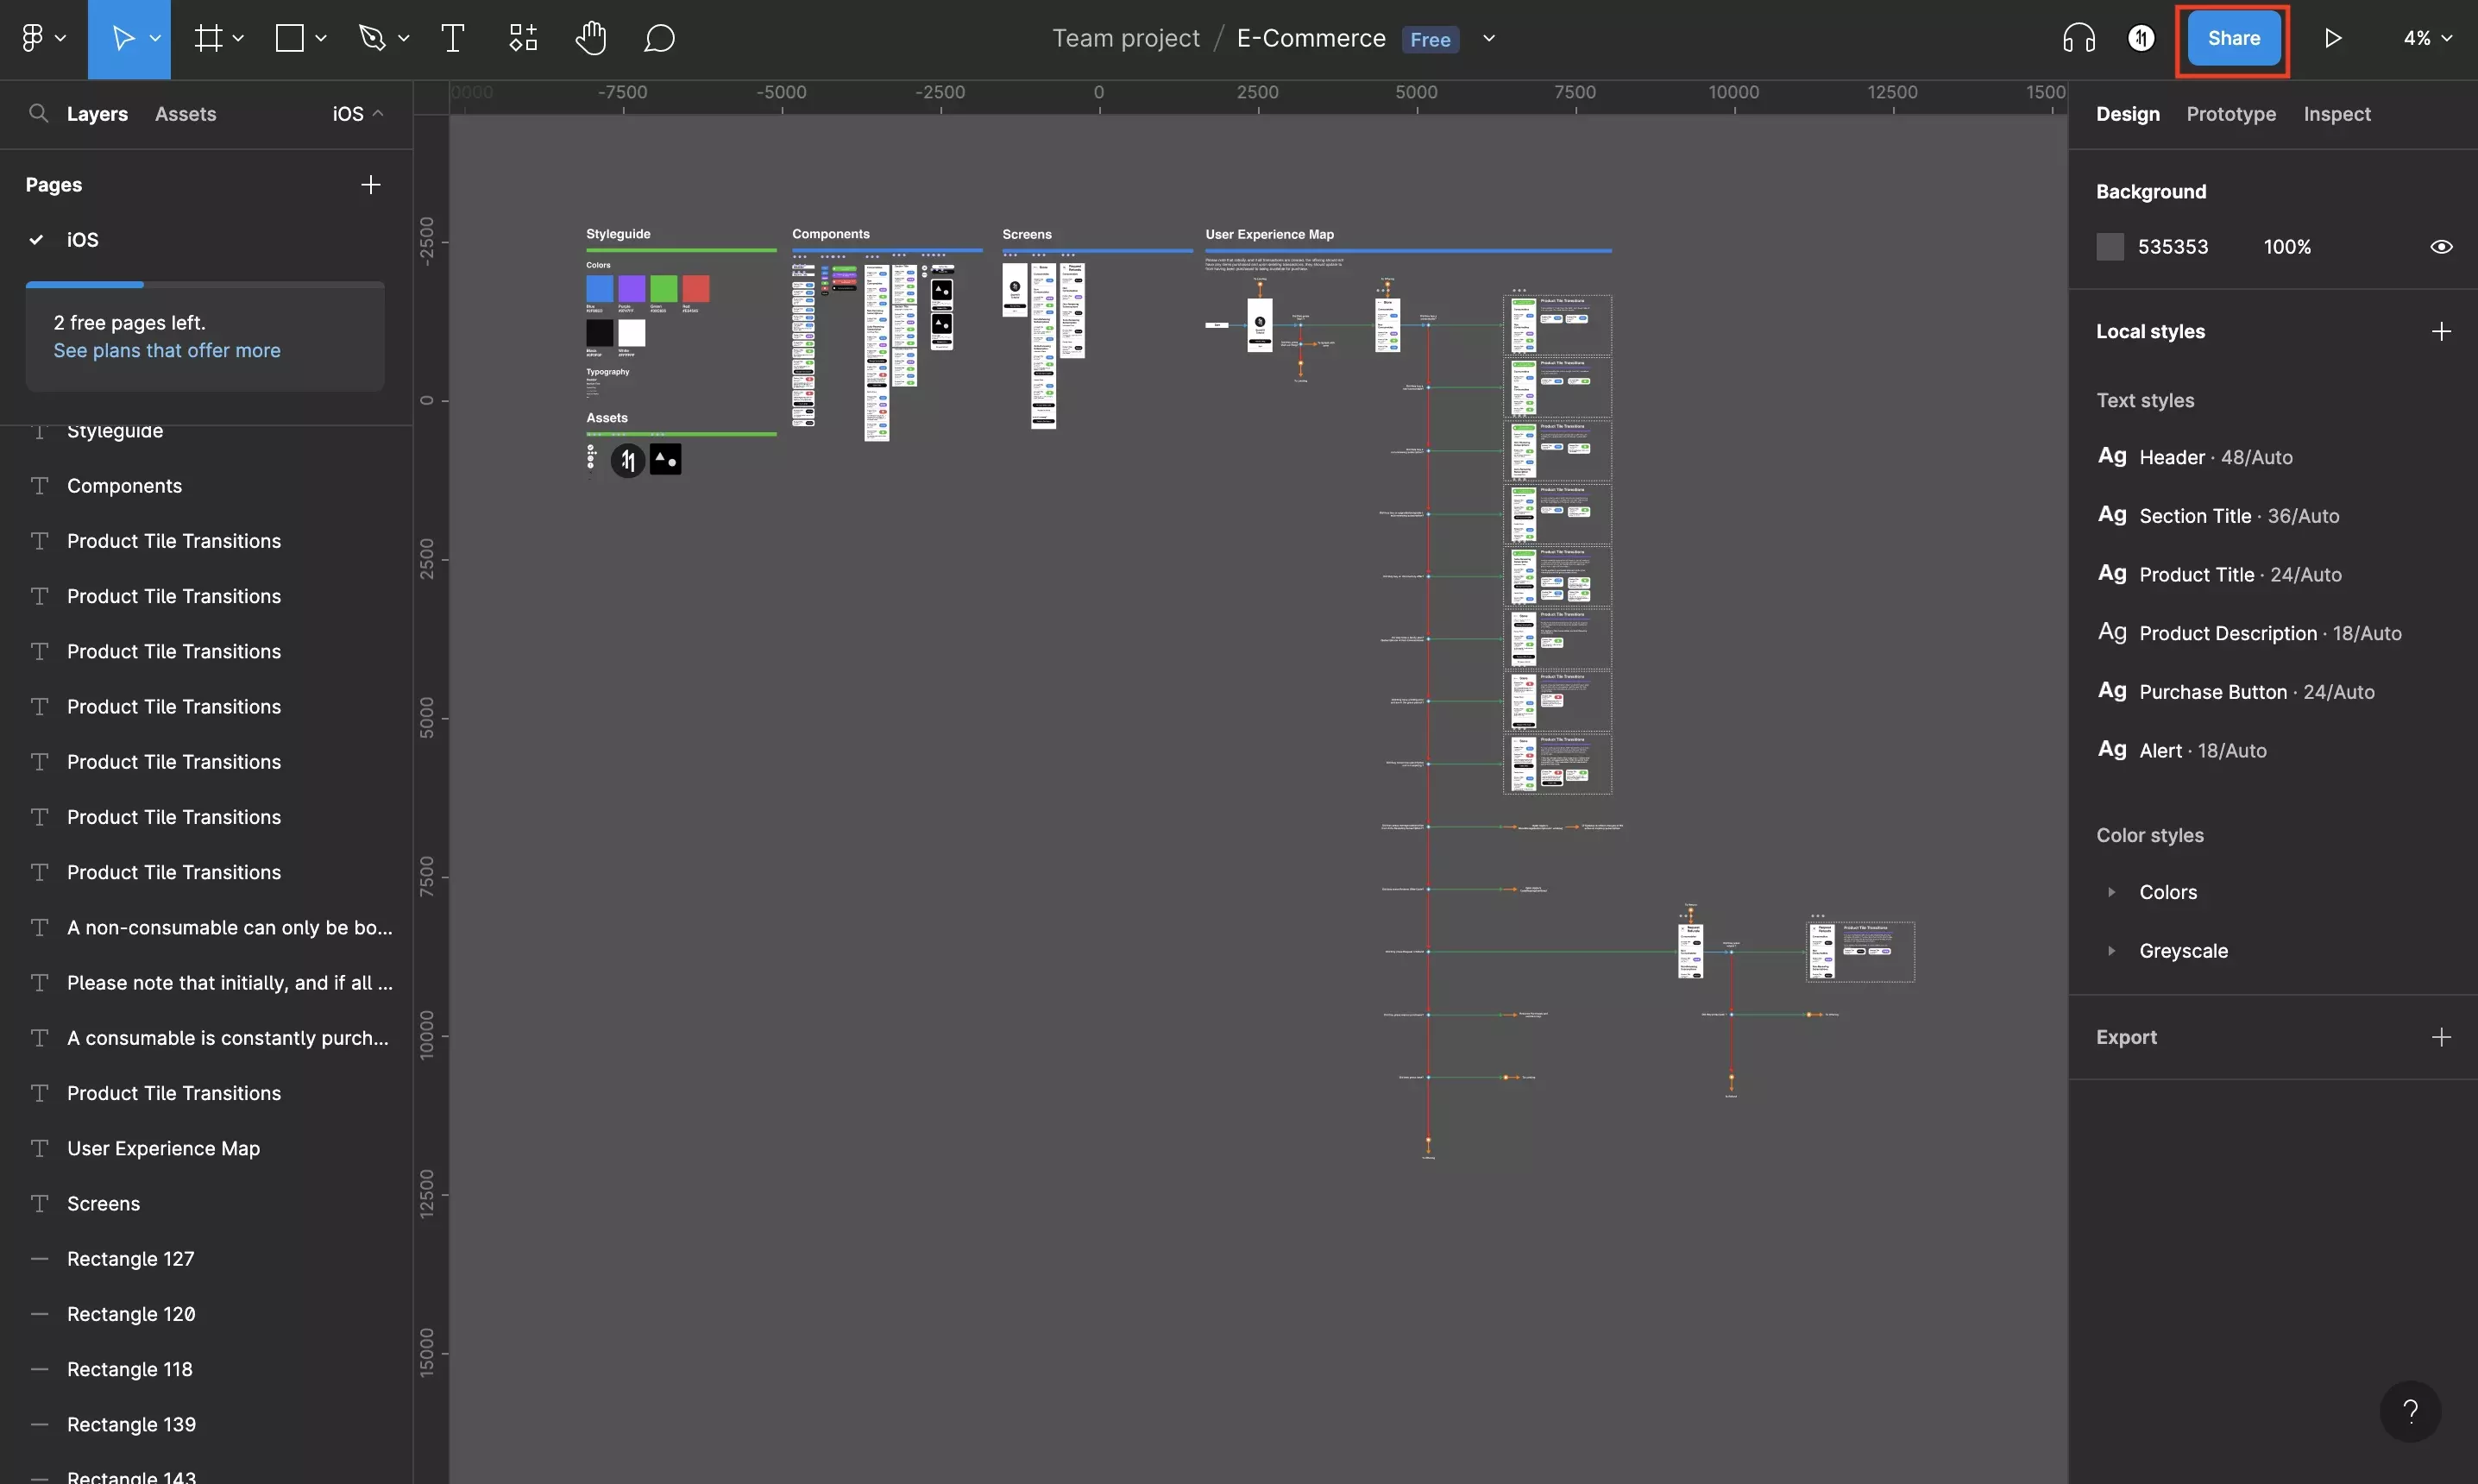
Open your design file in Figma and click Share on the top right.

Step Two: Select Publish tab

A screenshot of the Figma Share modal with a highlight on the Publish tab on the top center right.

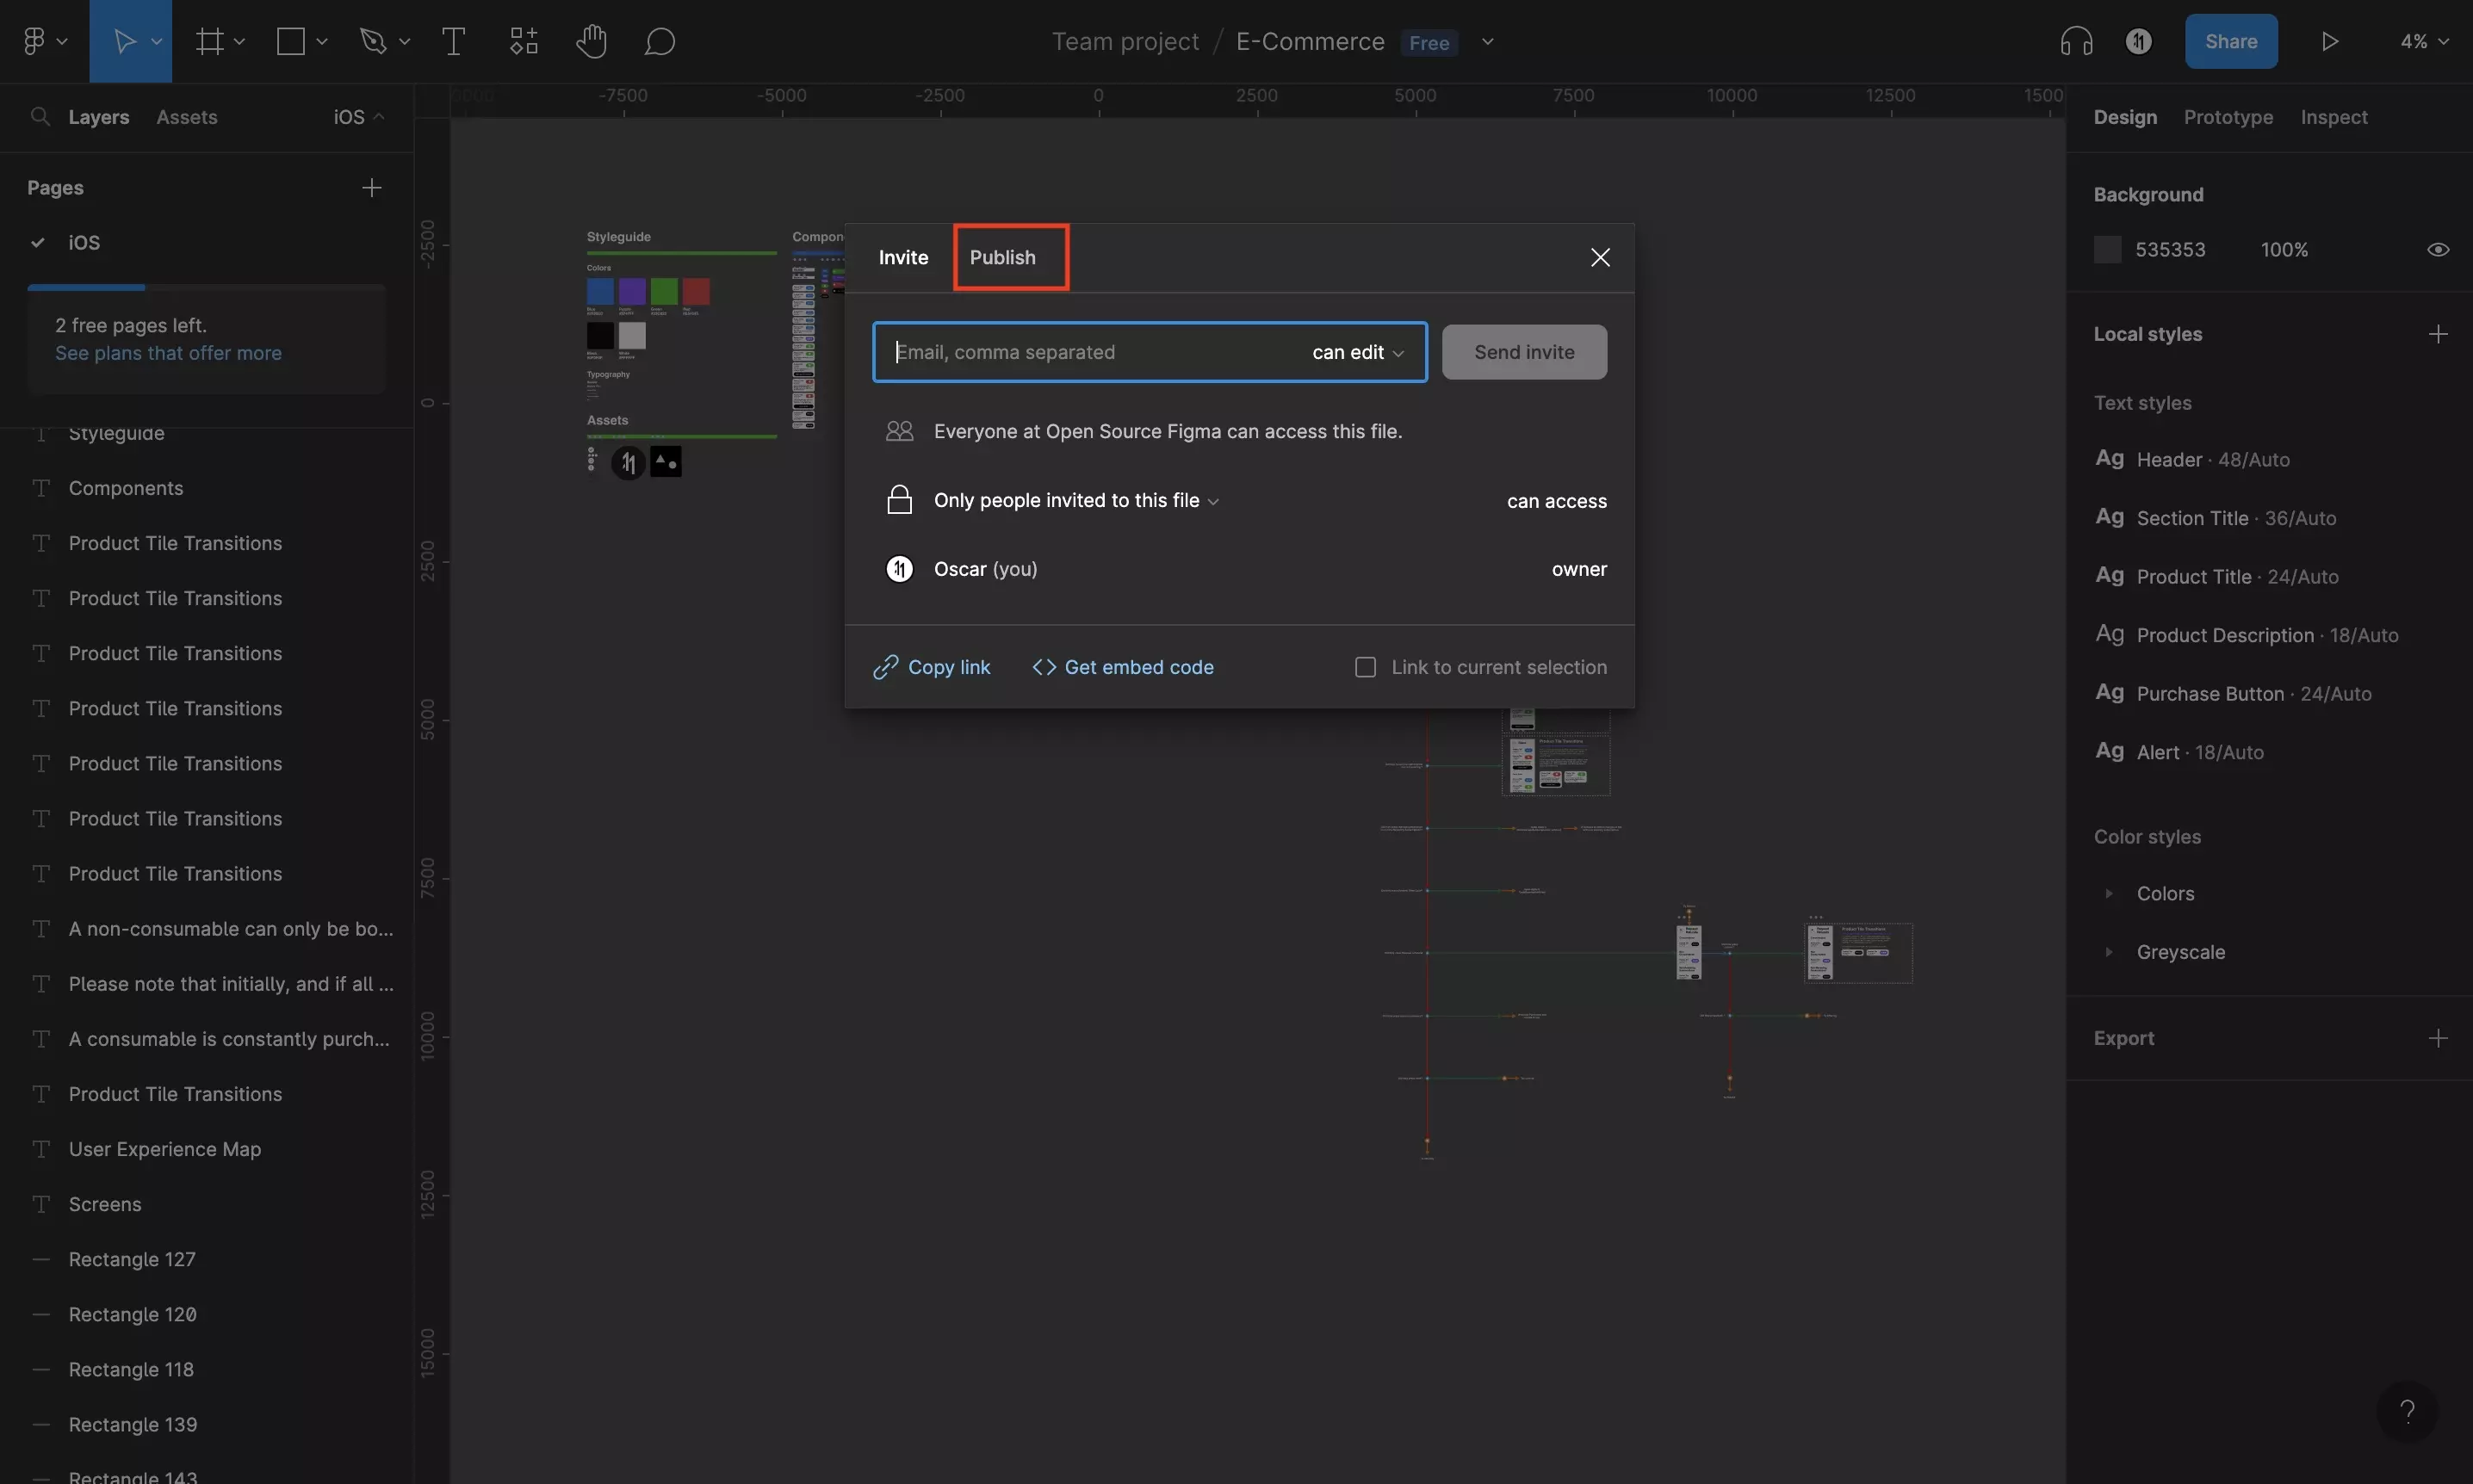
Click the Publish tab.

Step Three: Publish

A screenshot of Figma of the Share Modal, with the Publish tab selected. Highlighted on the bottom right is the Publish button.

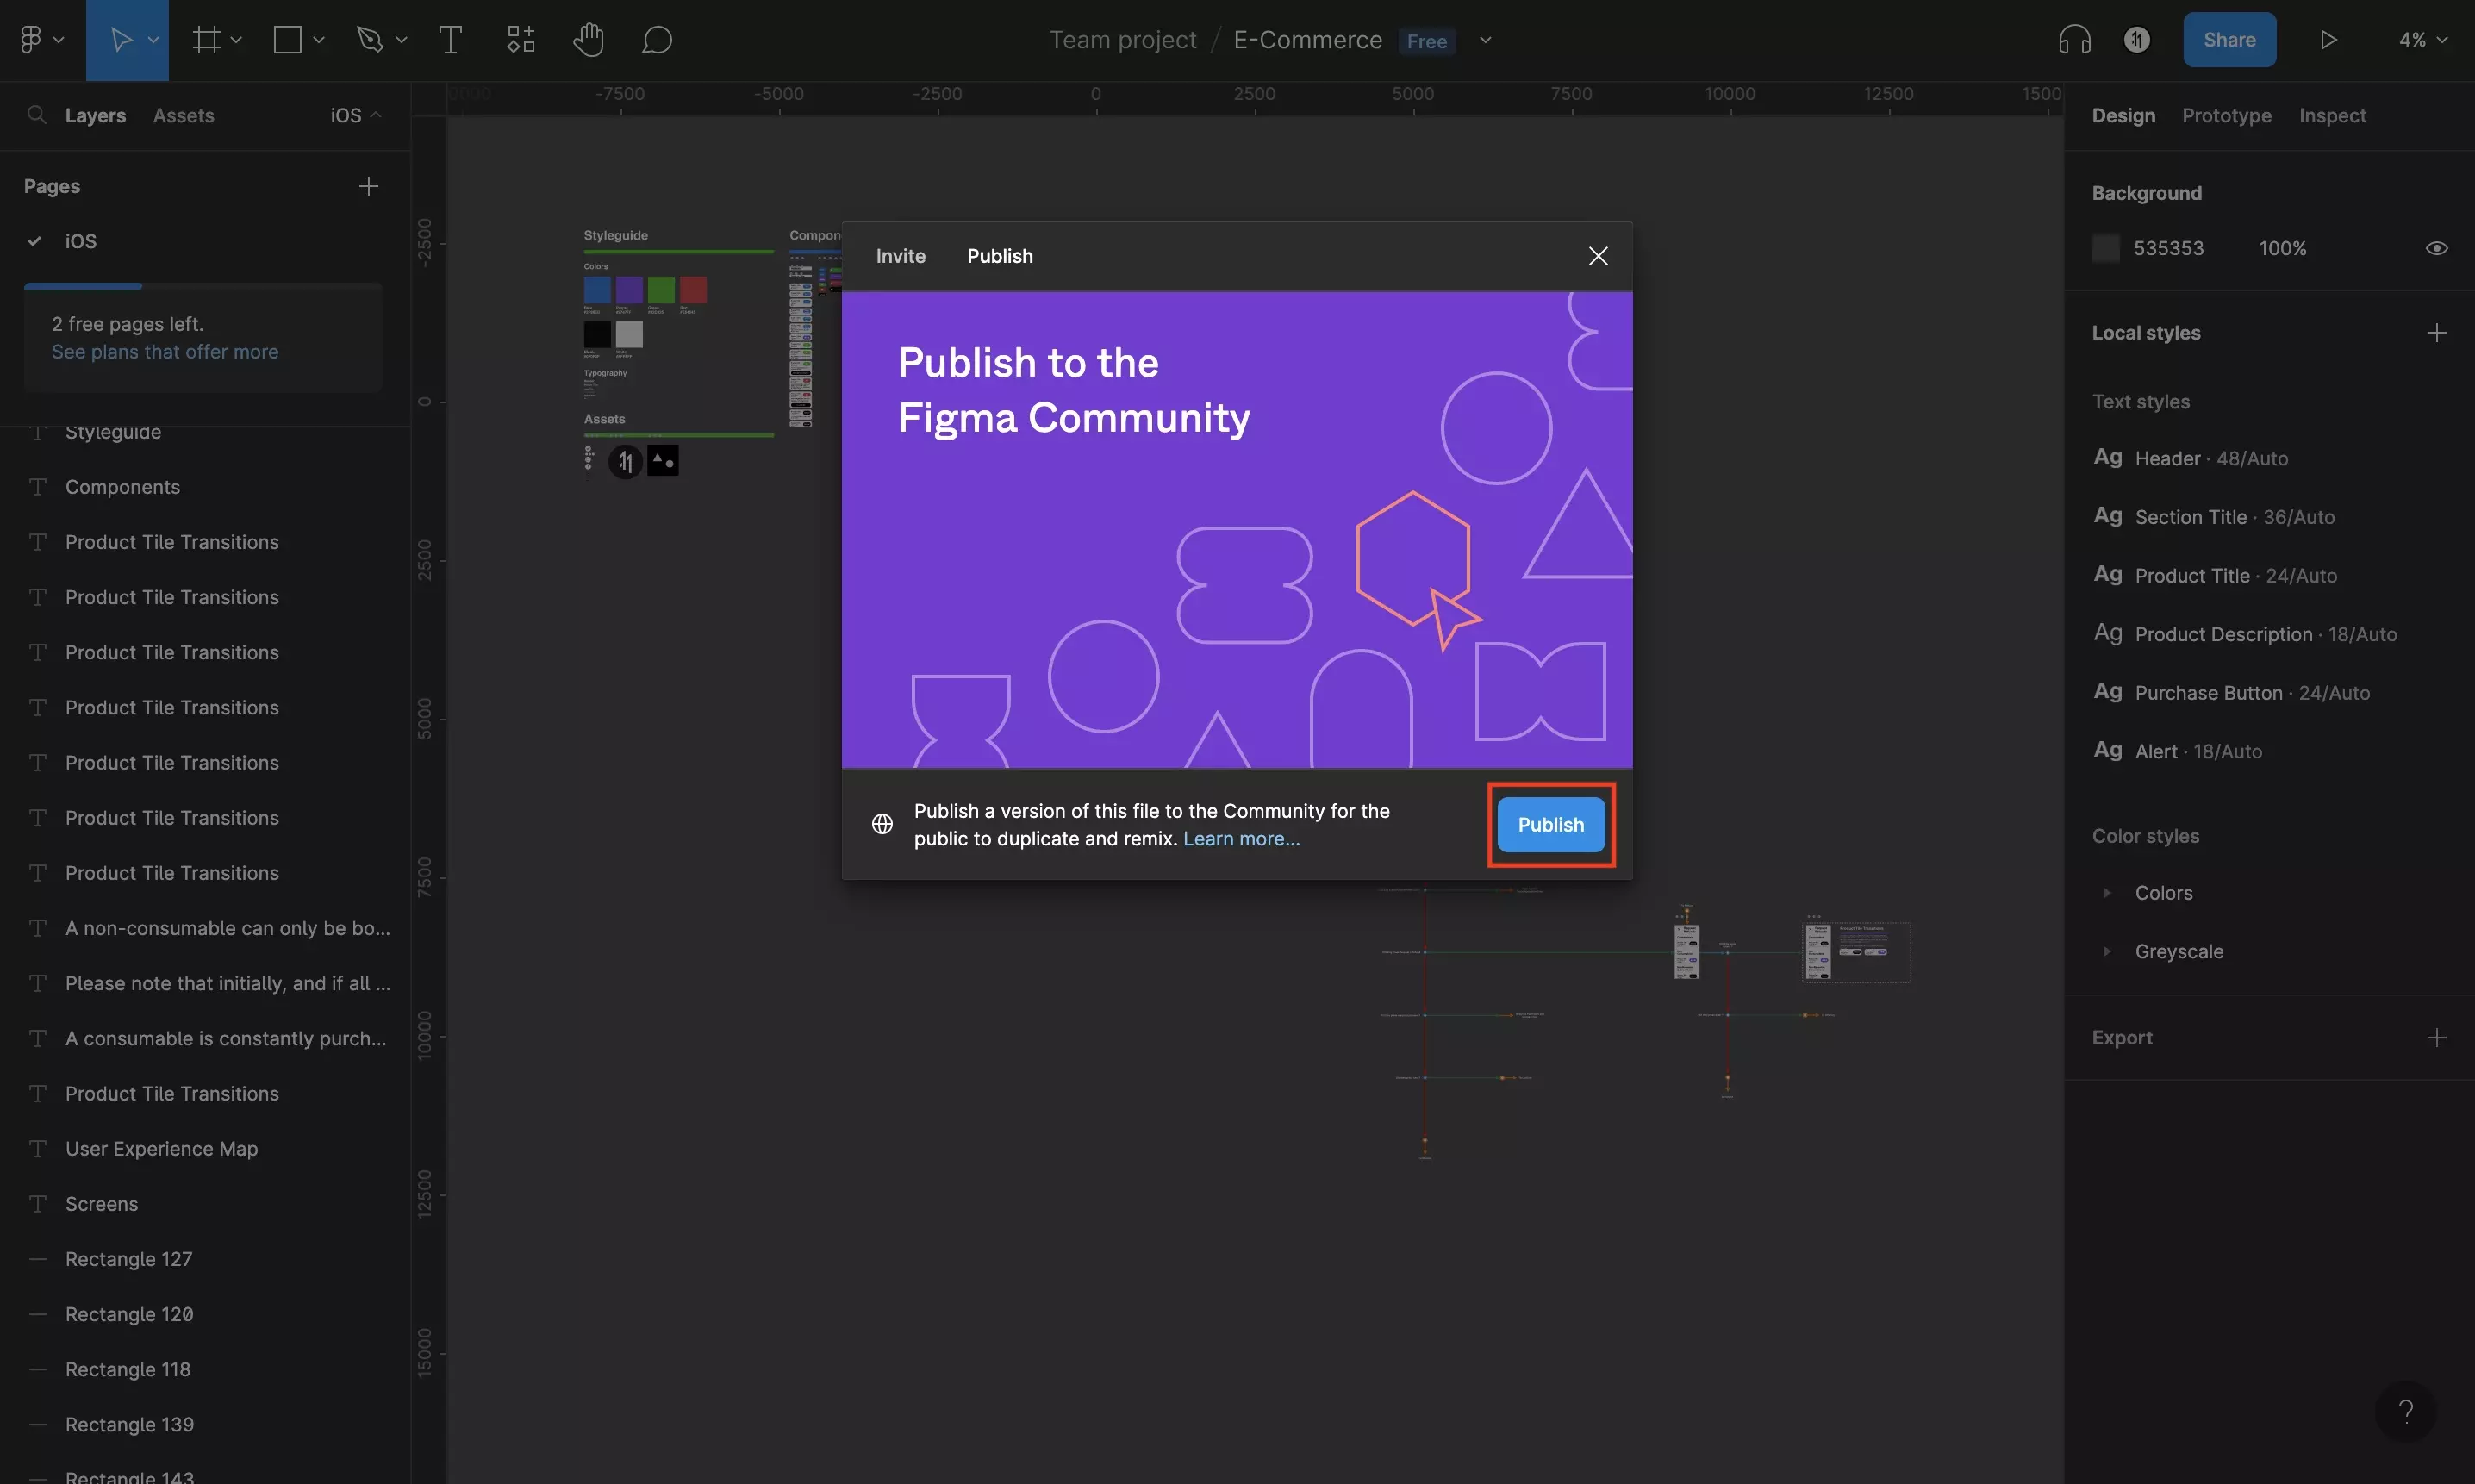
Click the Publish button.

Step Four: Upload Thumbnail

A screenshot of the Figma Publish Design File modal. Highlighted is the Upload custom thumbnail text which must be clicked to upload the hero image for your design file.

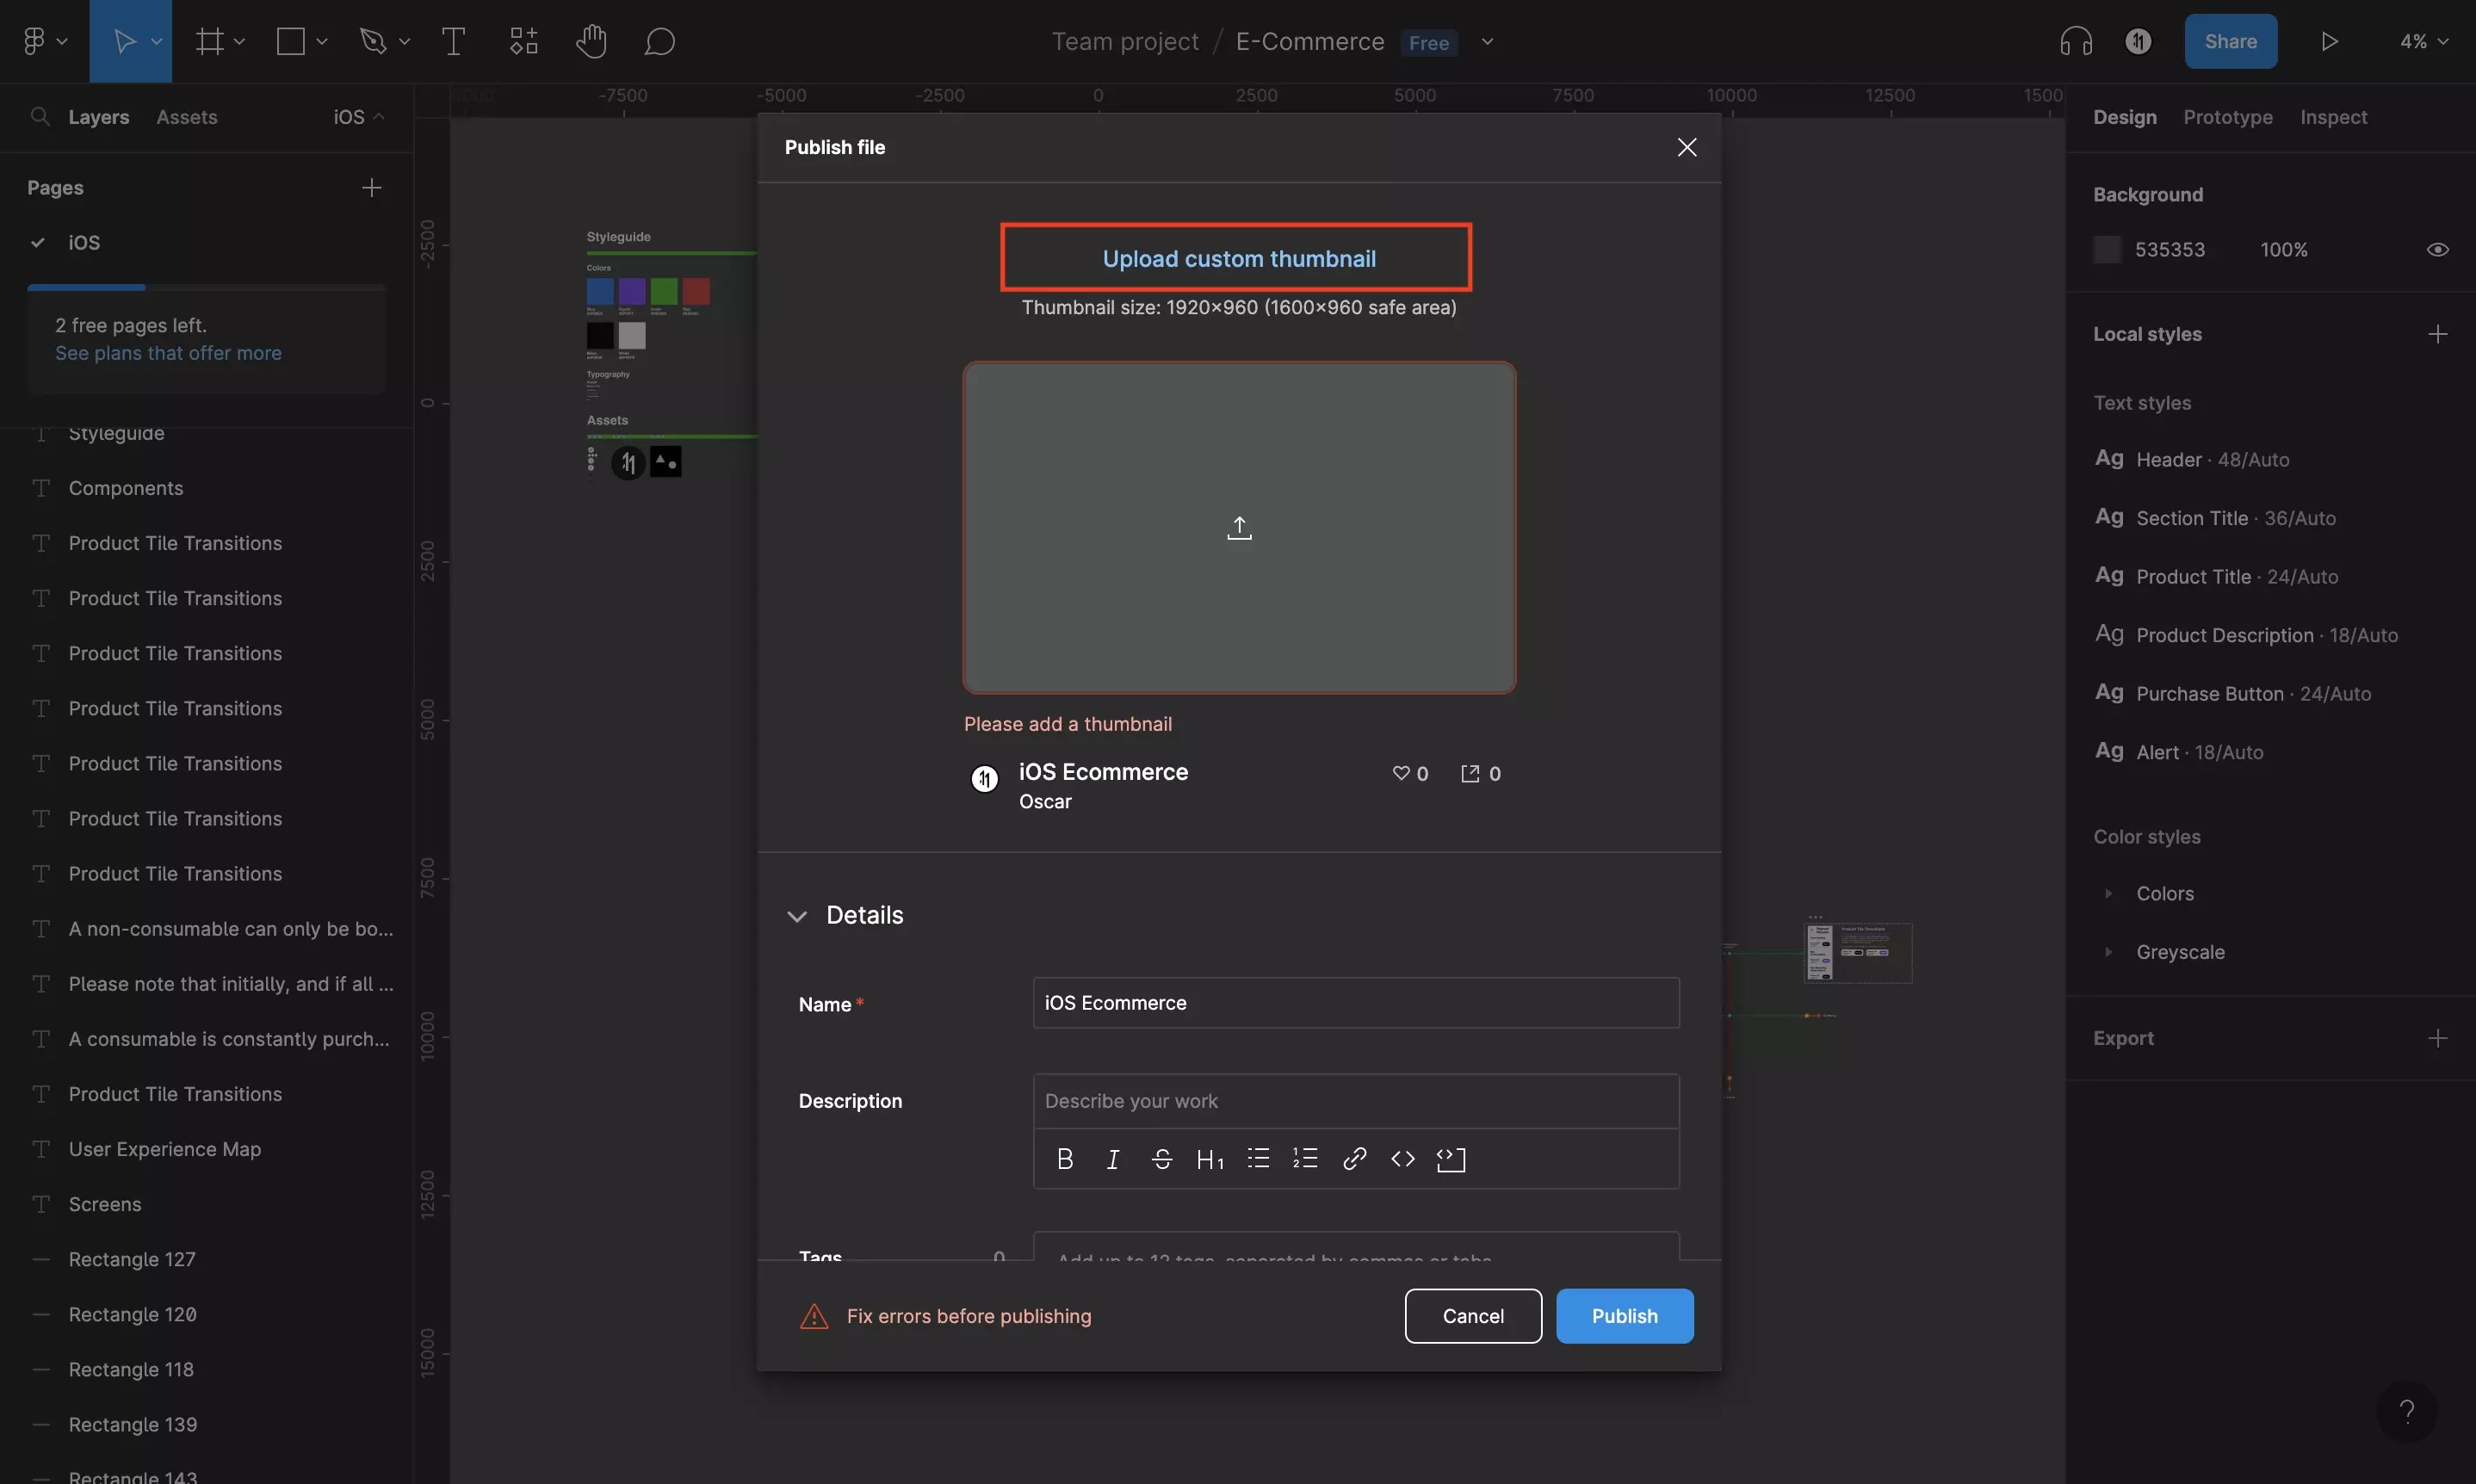
Click Upload custom thumbnail and upload the image you wish to set as the hero, using the file browser that appears.

Please note that this is the image that appears as it loads an interactive version of your Figma file.

Step Five: Complete Details

A screenshot of the Figma Publish Design File modal. Highlighted is the Details and Advanced areas where you must fill in the details described below.

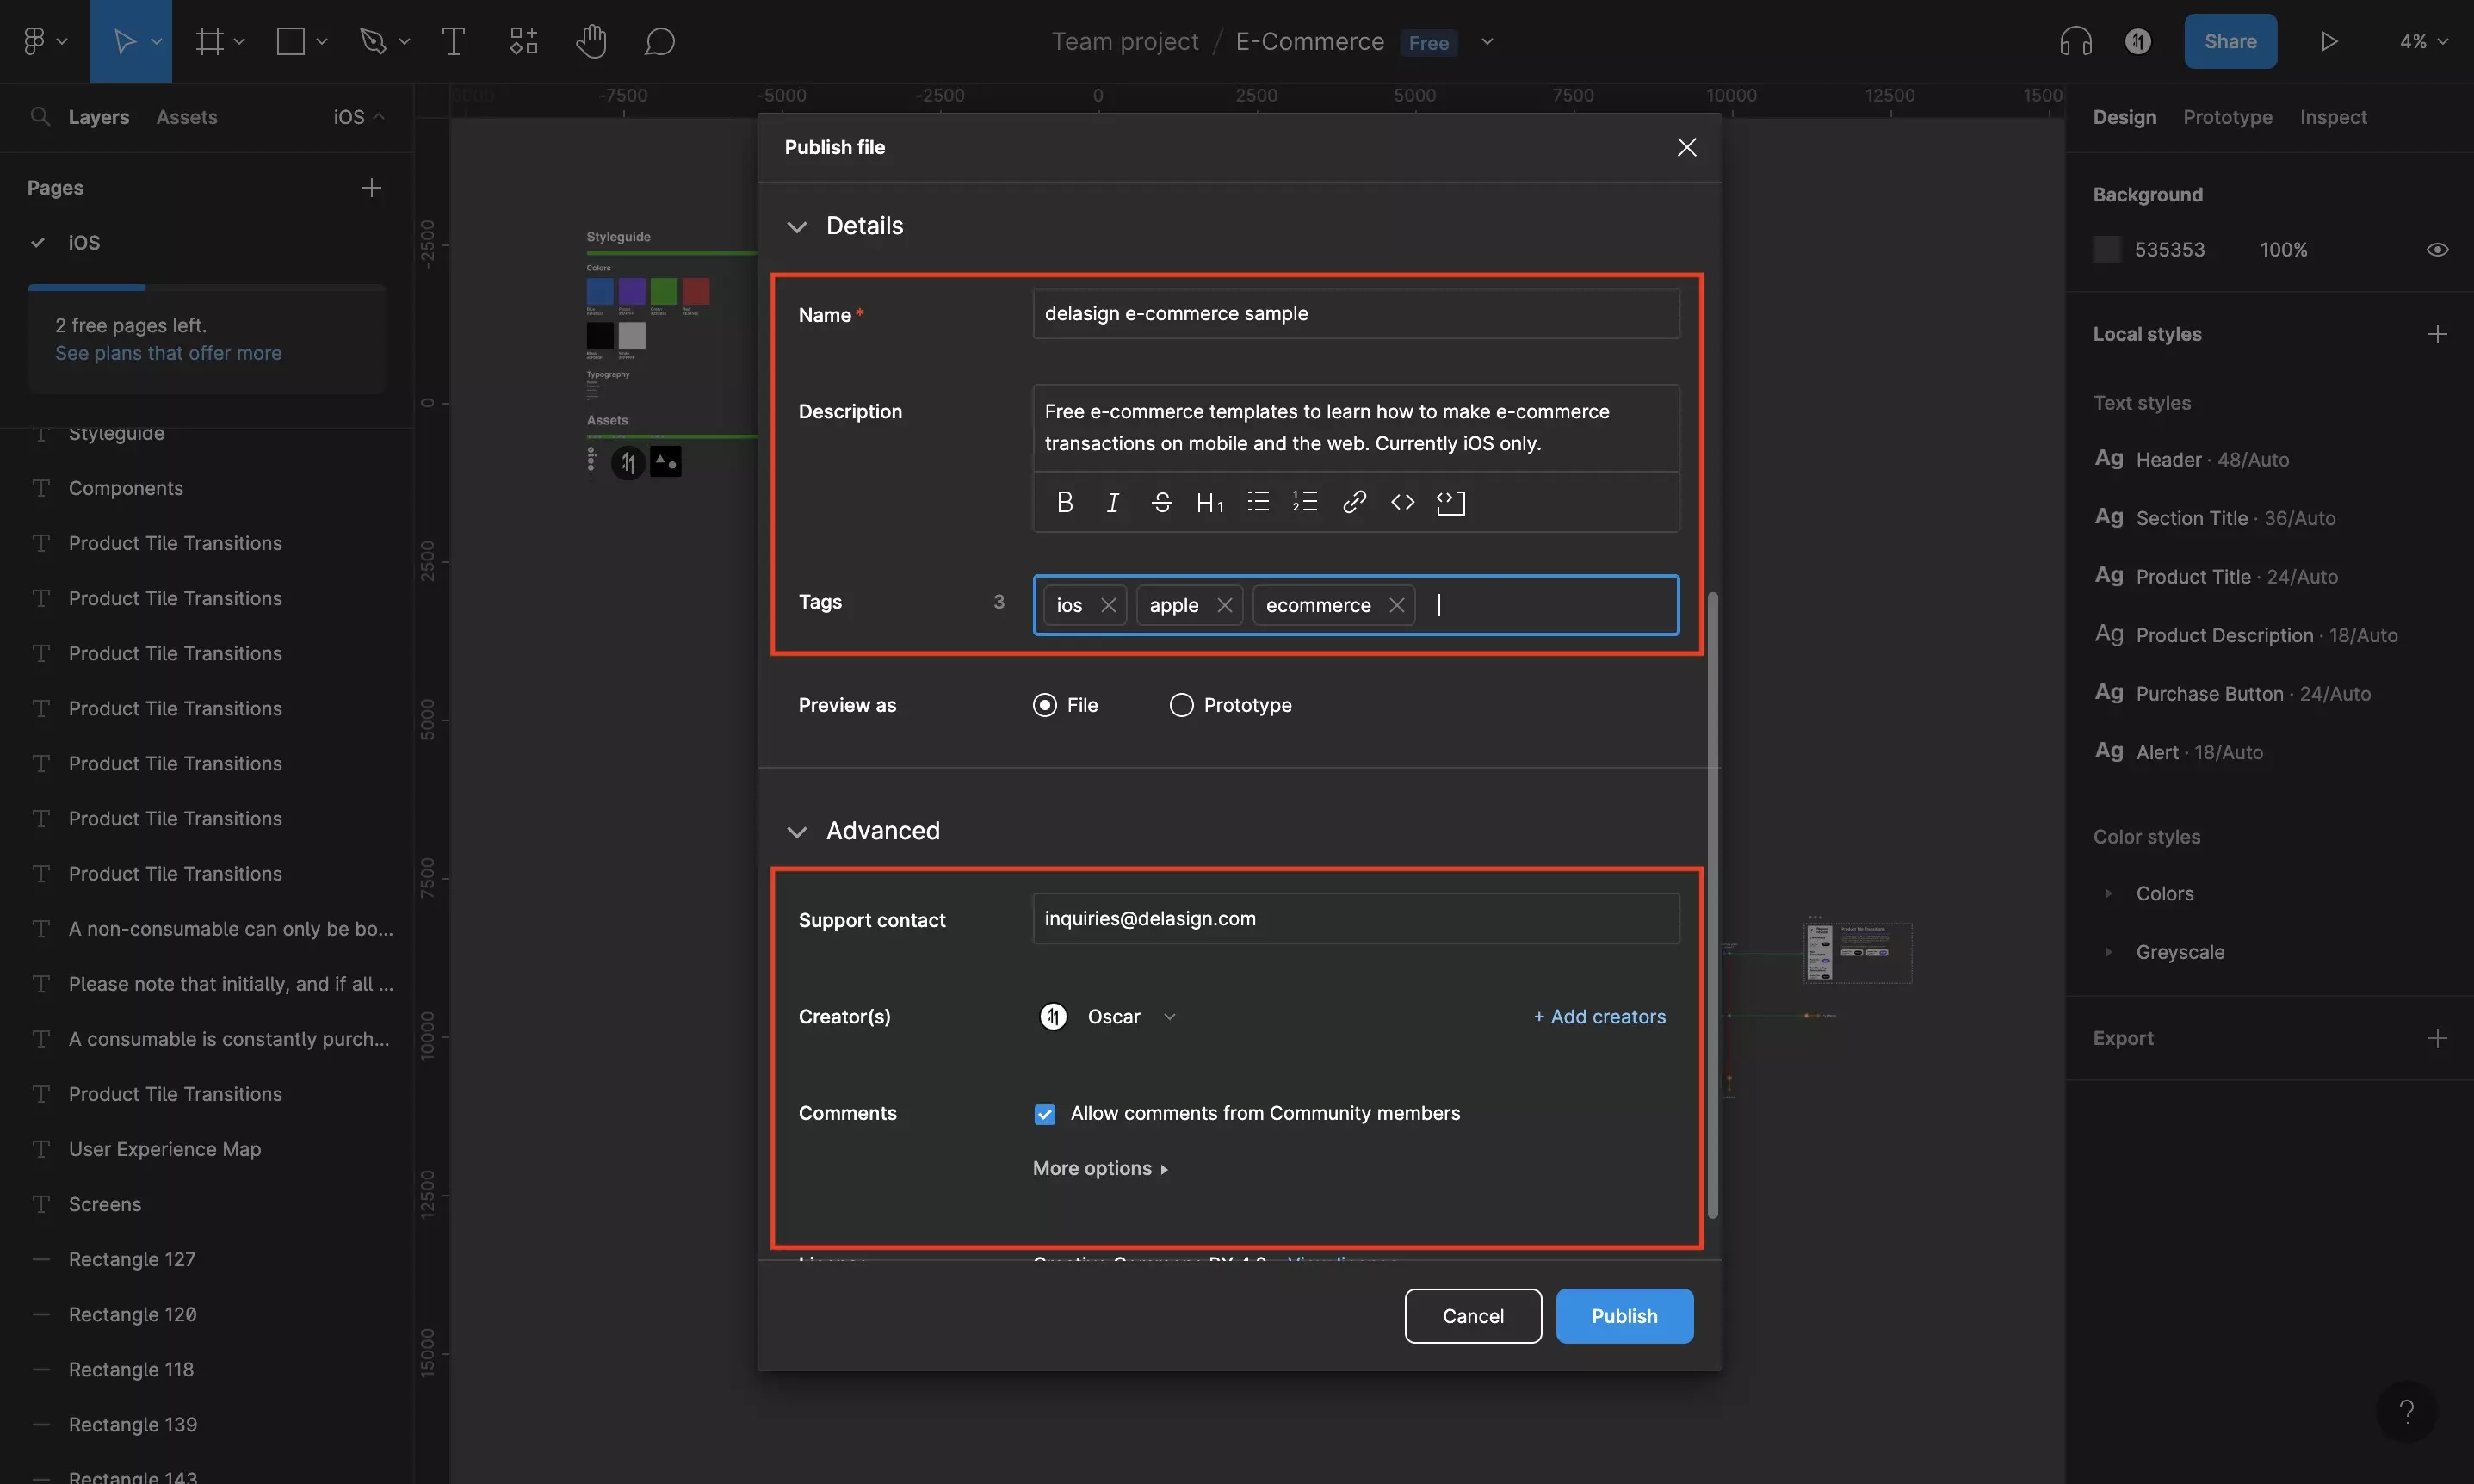
Under Details, the Name, Description and Tags.

Select whether you want to preview it as a File or a Prototype.

Then under Advanced, enter the Support Contact, Creators and whether you want to allow comments.

Step Six: Publish

A screenshot of the Figma Publish Design File modal. Highlighted is the Publish button on the bottom right.

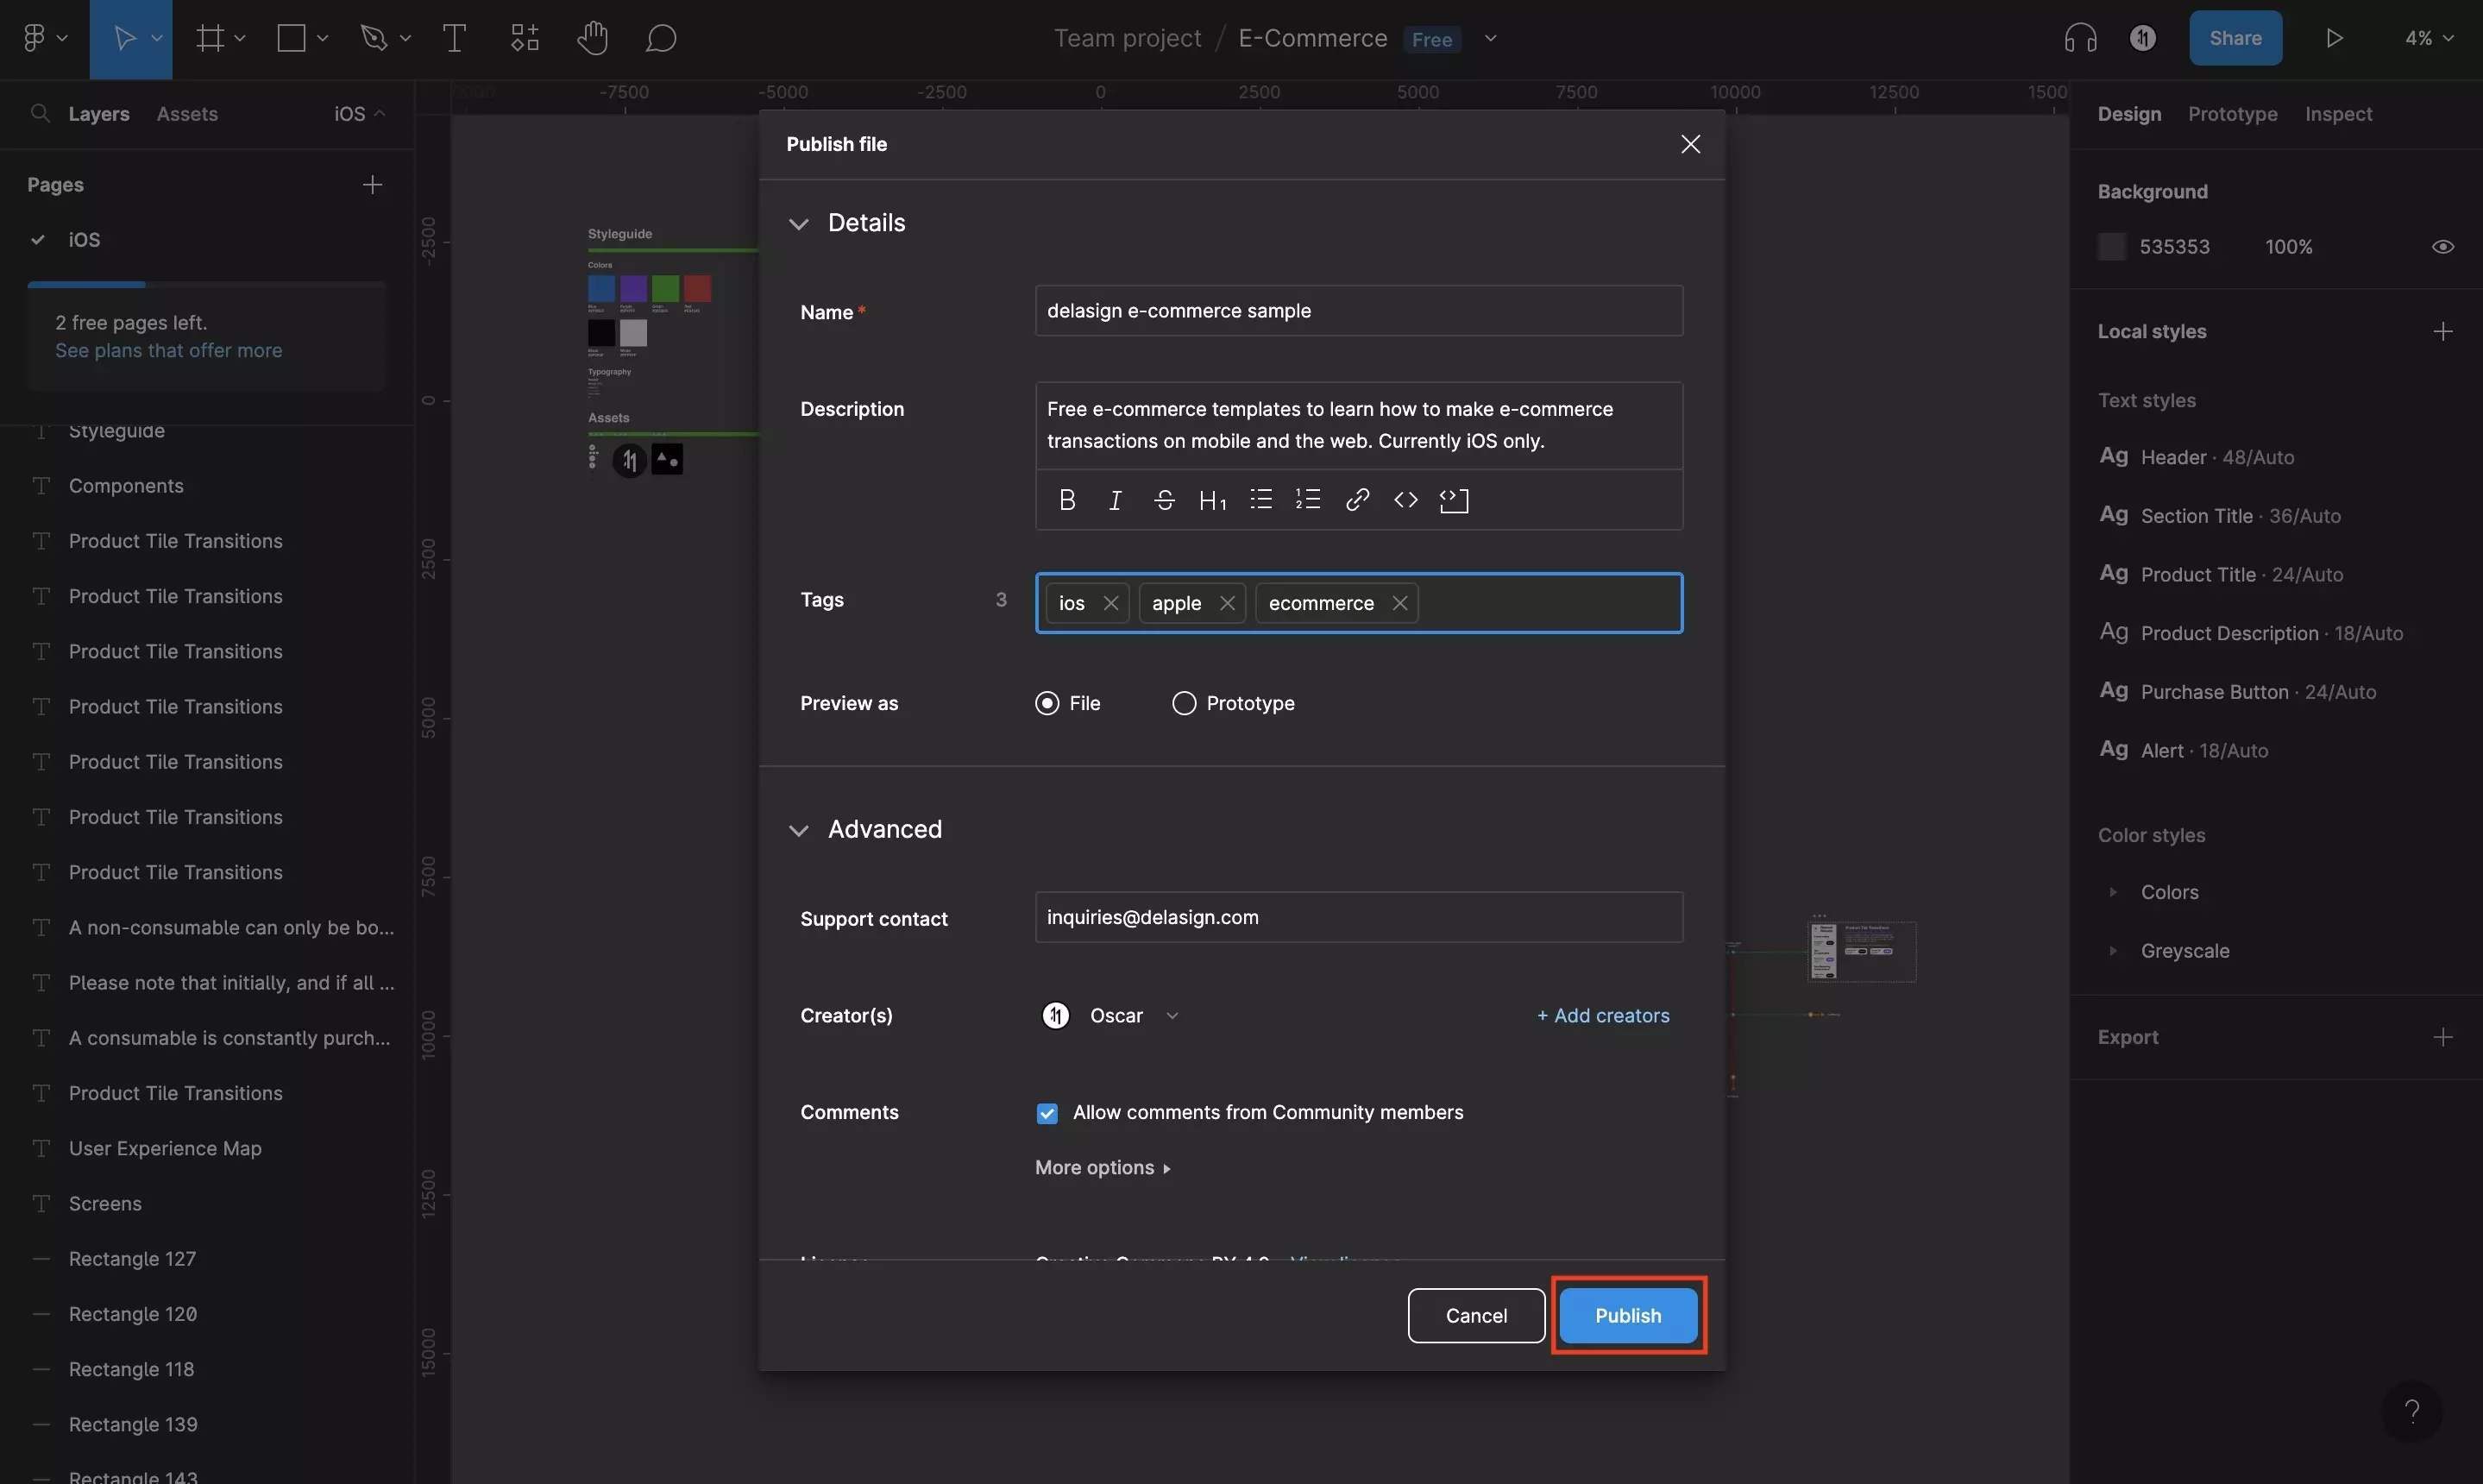
When all the details look good, click Publish.

Step Seven: Create new Profile

A screenshot of the modal that appears if you have not created a Figma profile. Highlighted on the bottom right is the Create a new profile button.

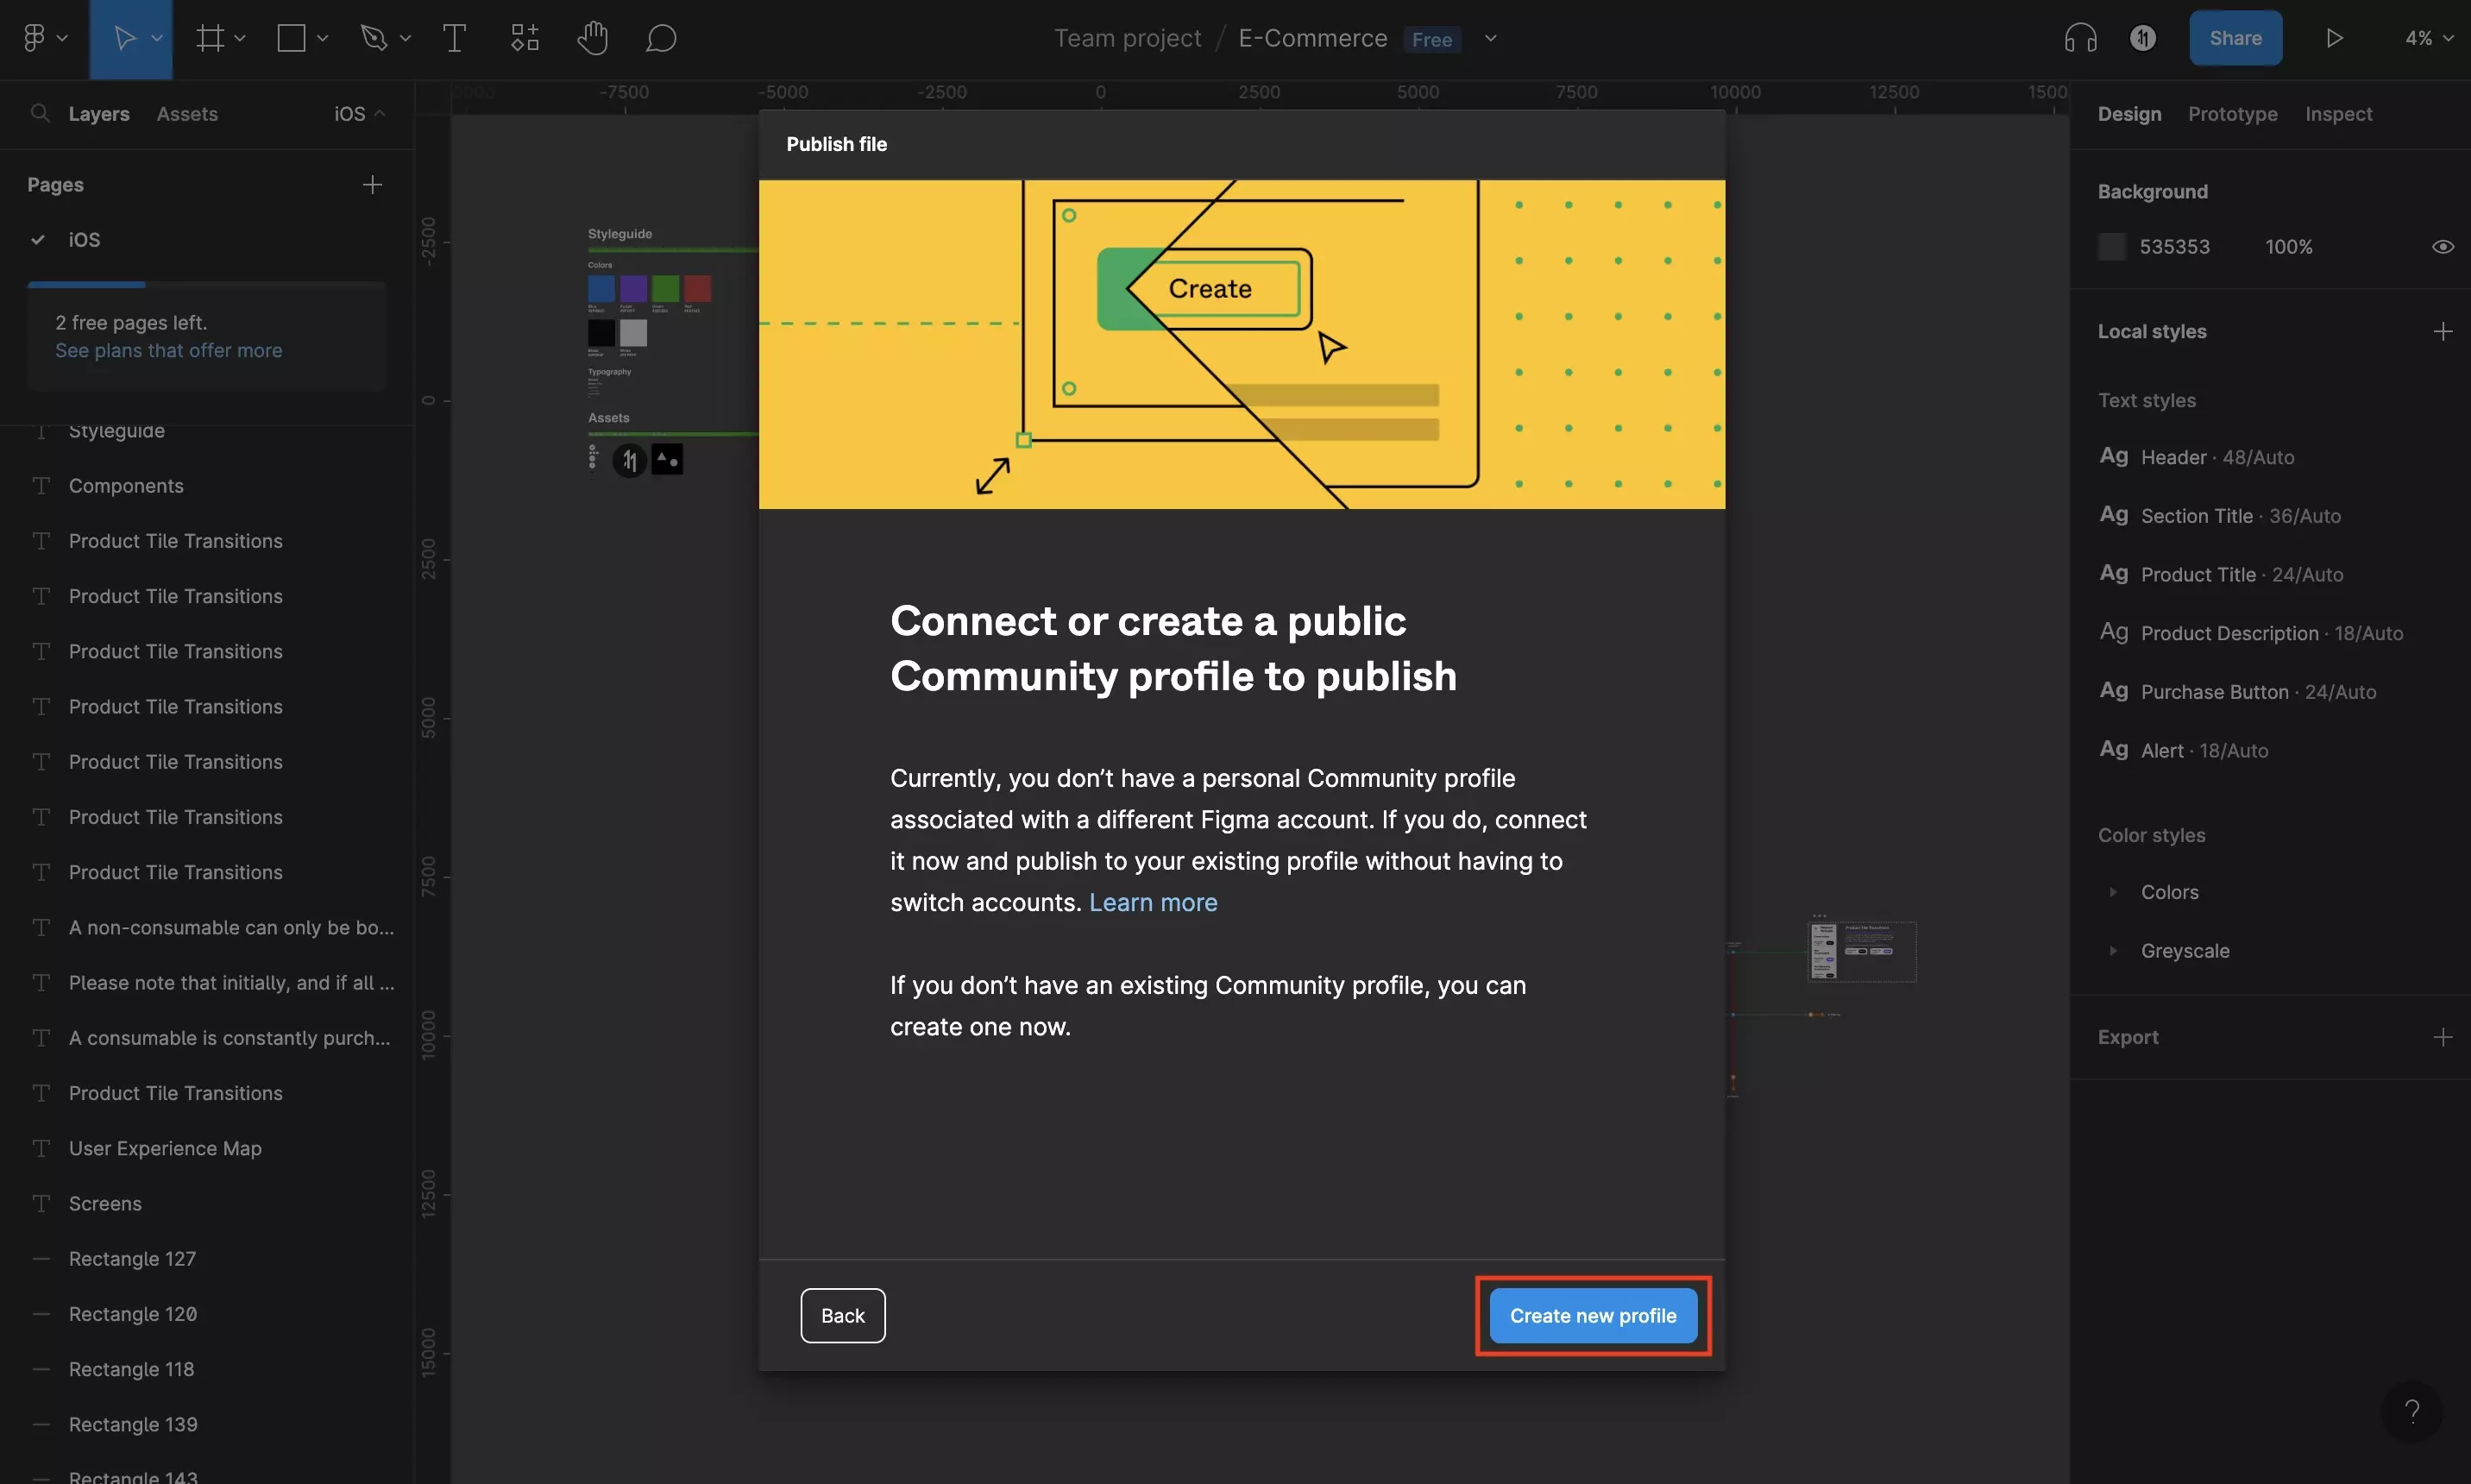
To be able to publish to the Figma Community, you need a profile.

Click Create new profile.

Step Eight: Enter Handle & Save

A screenshot of the modal that appears in Figma that allows you to set your handle. The term Handle is a term that is used describe a way for people to find your profile. Enter the handle you wish to use, and if it's free the Save button on the bottom right will become enabled. Click Save, after you have a valid handle to continue.

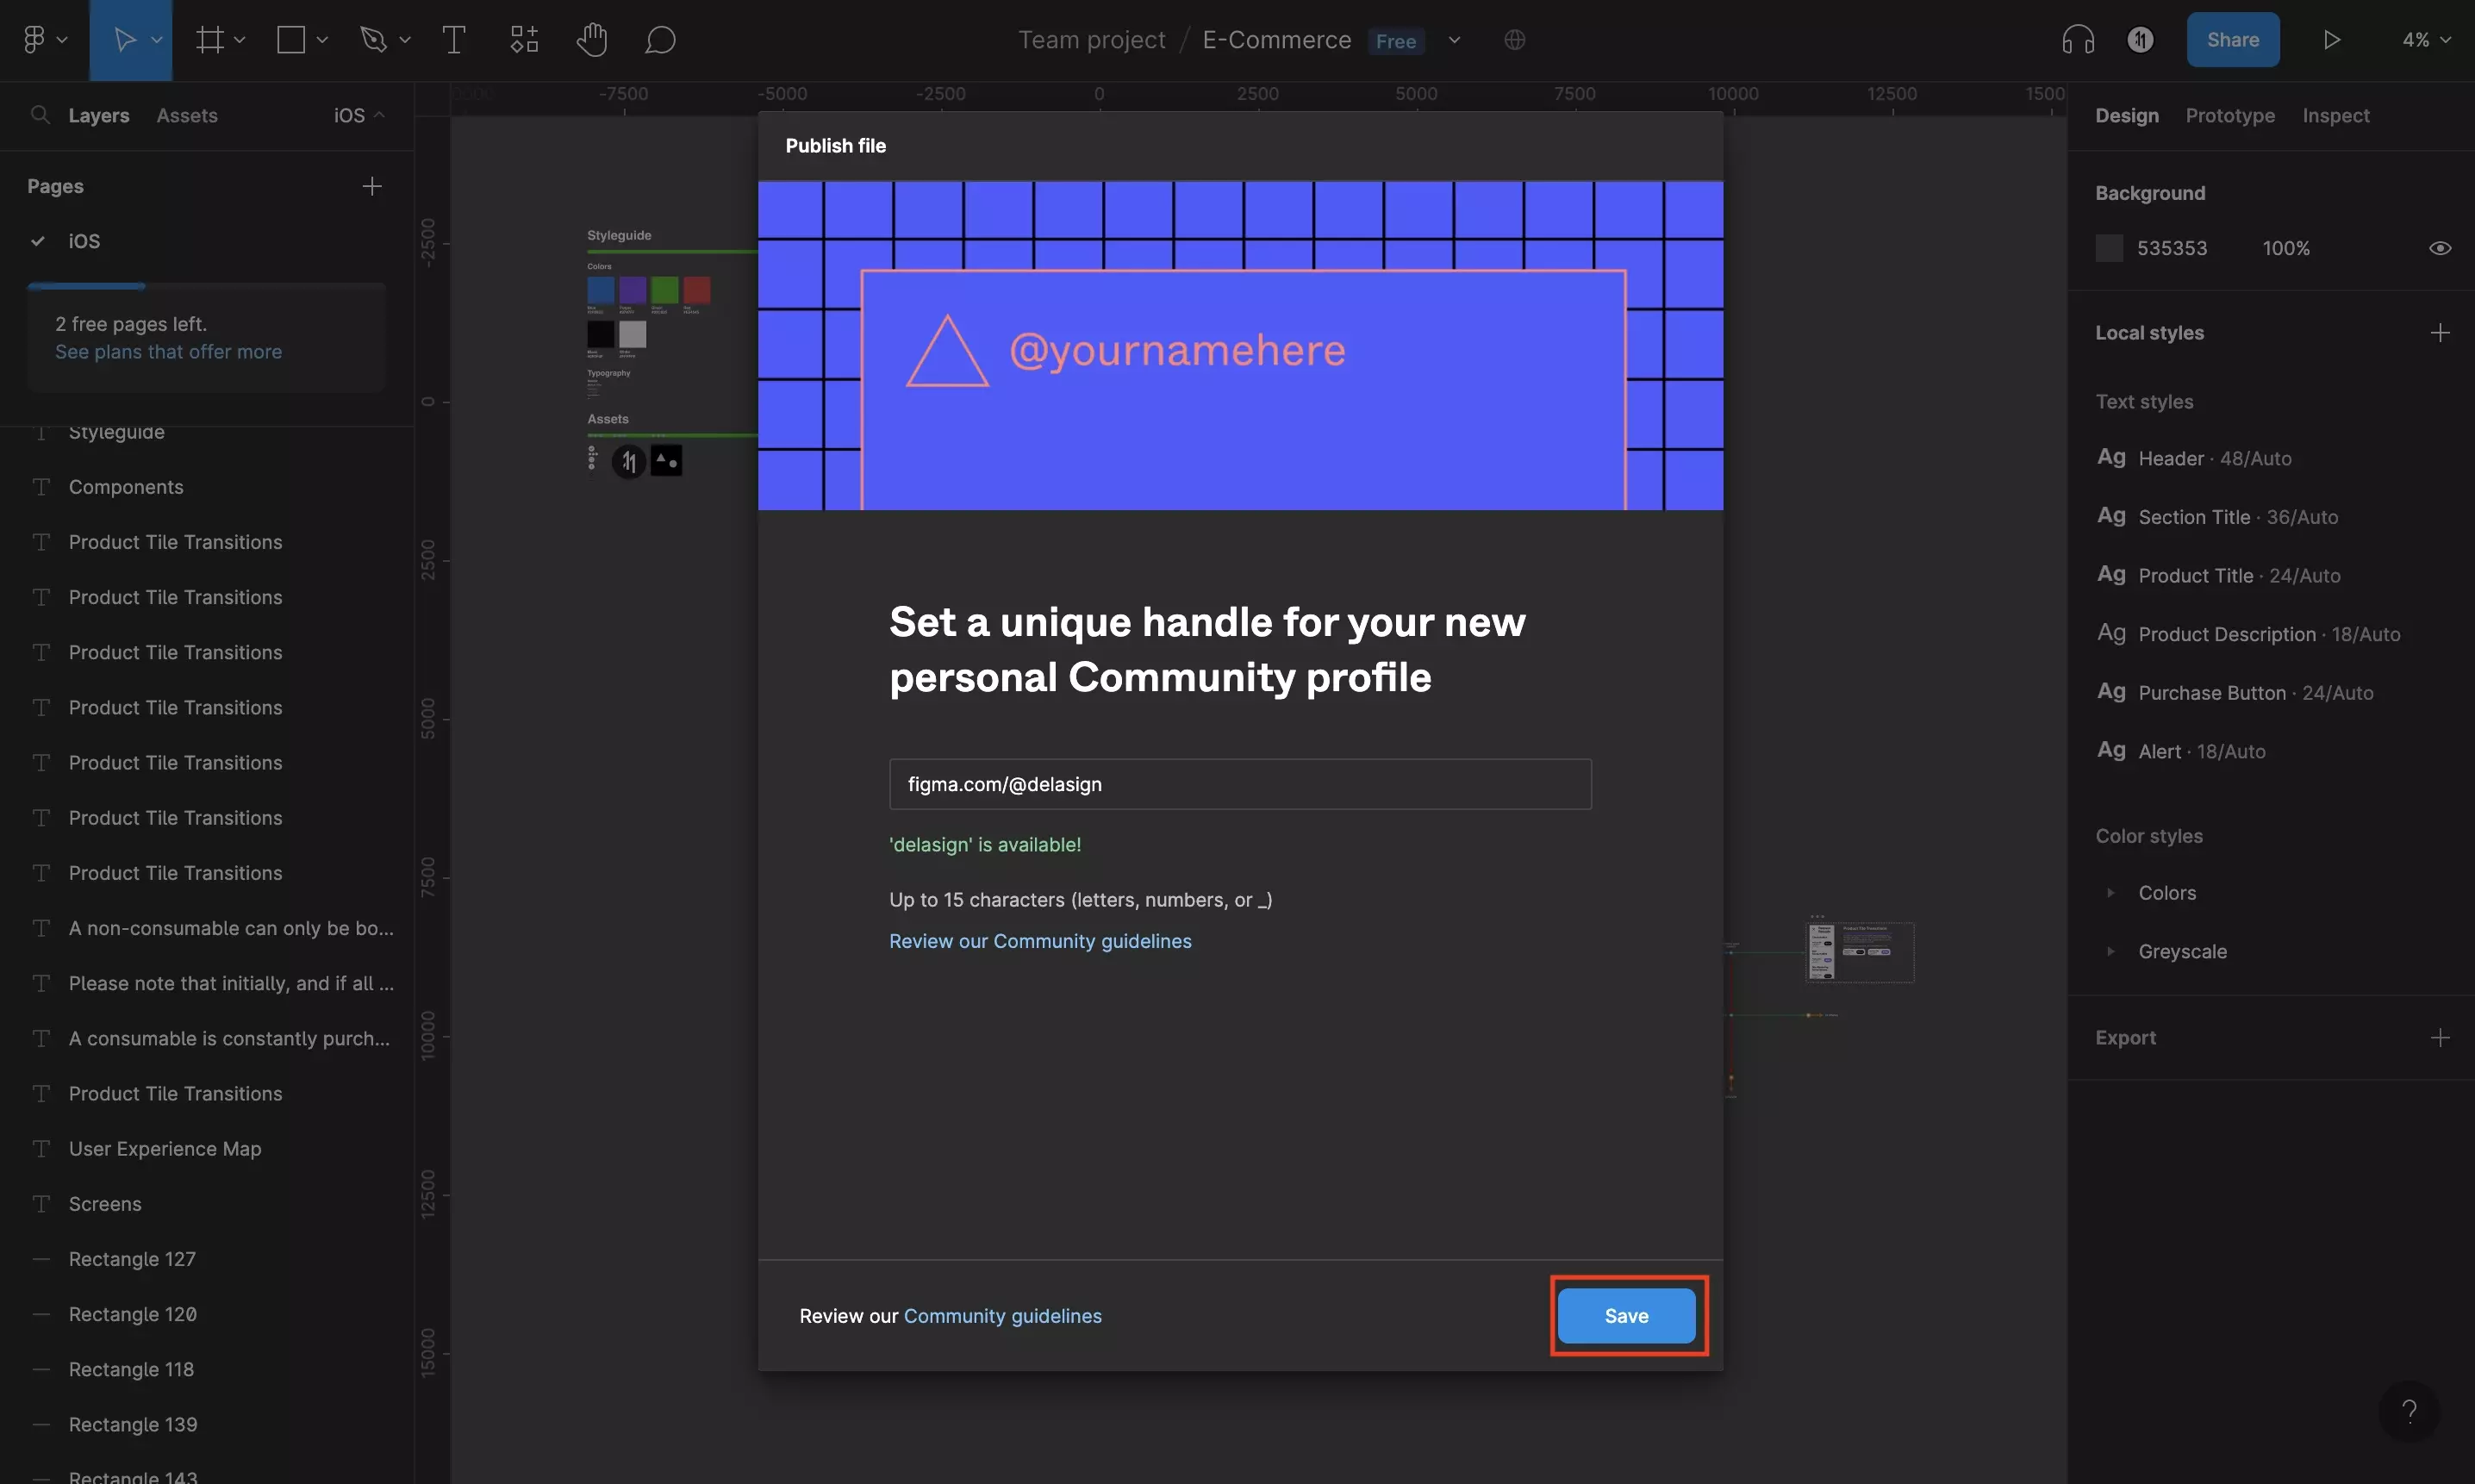
Enter the handle that you wish to use. If it's available, click Save.

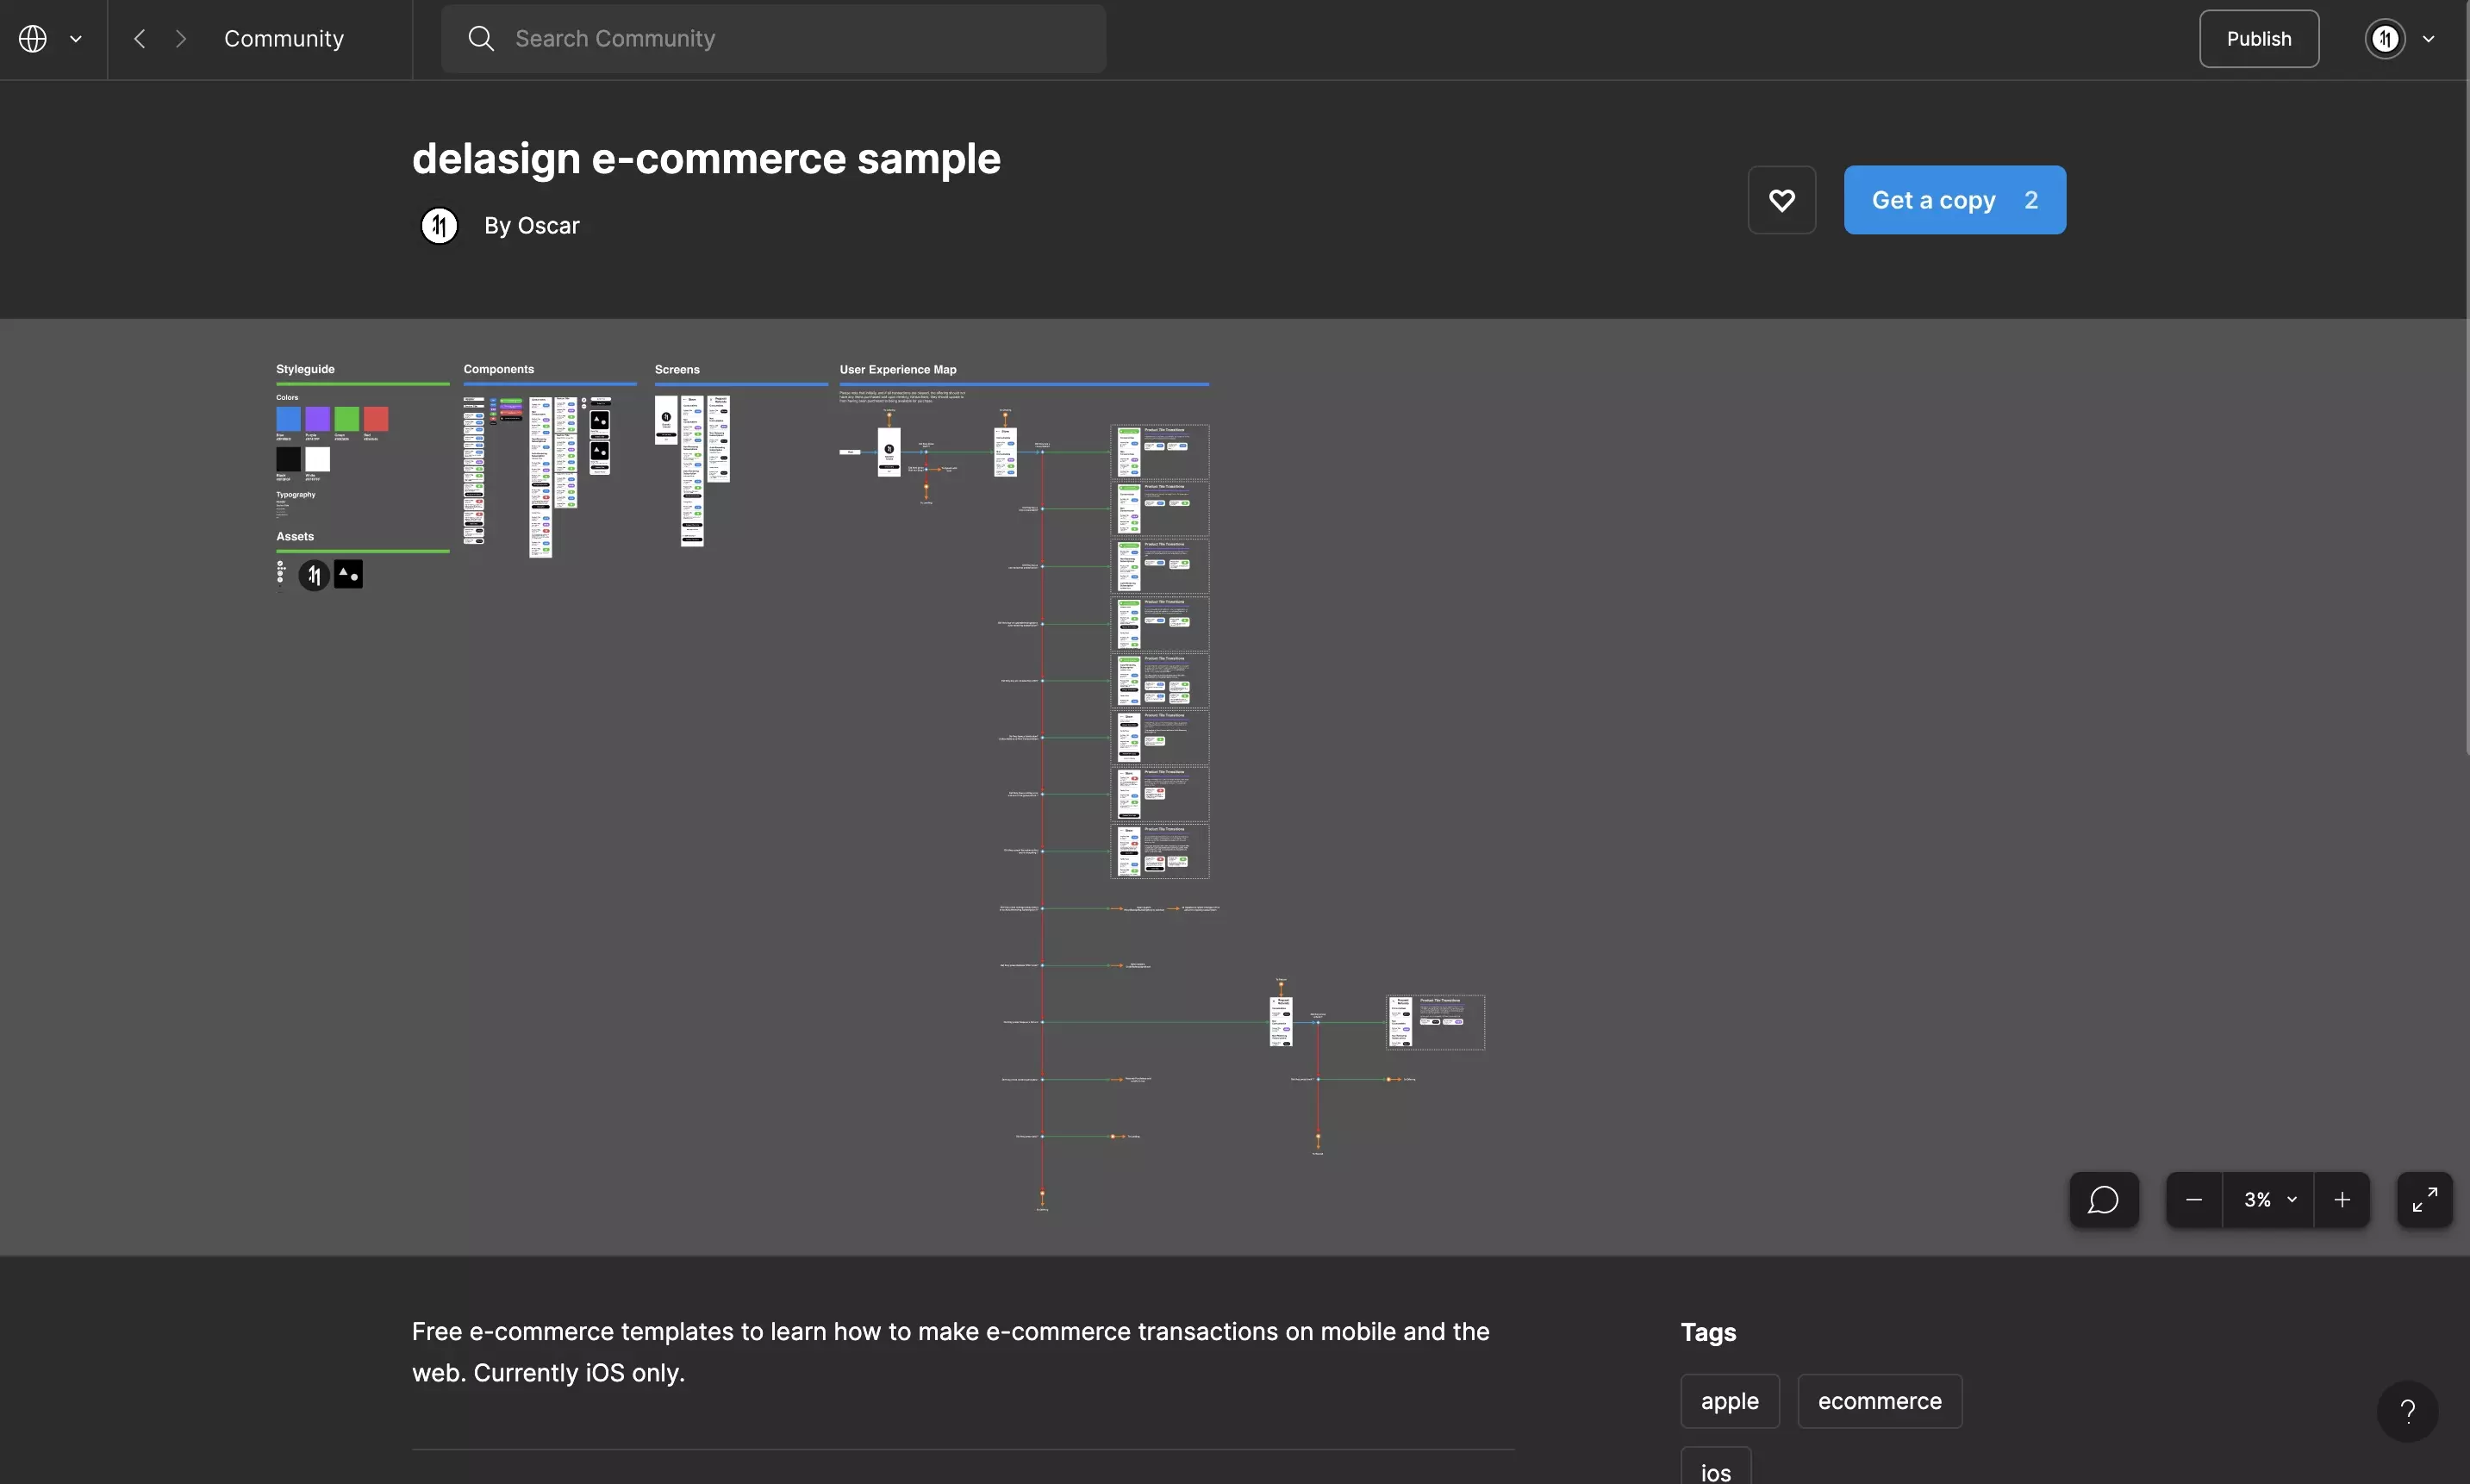
Step Nine: View Page

A screenshot of the Modal that appears in Figma once you have successfully published a design file. Click View Page on the bottom right to be taken to the published design file page within the Figma Community.

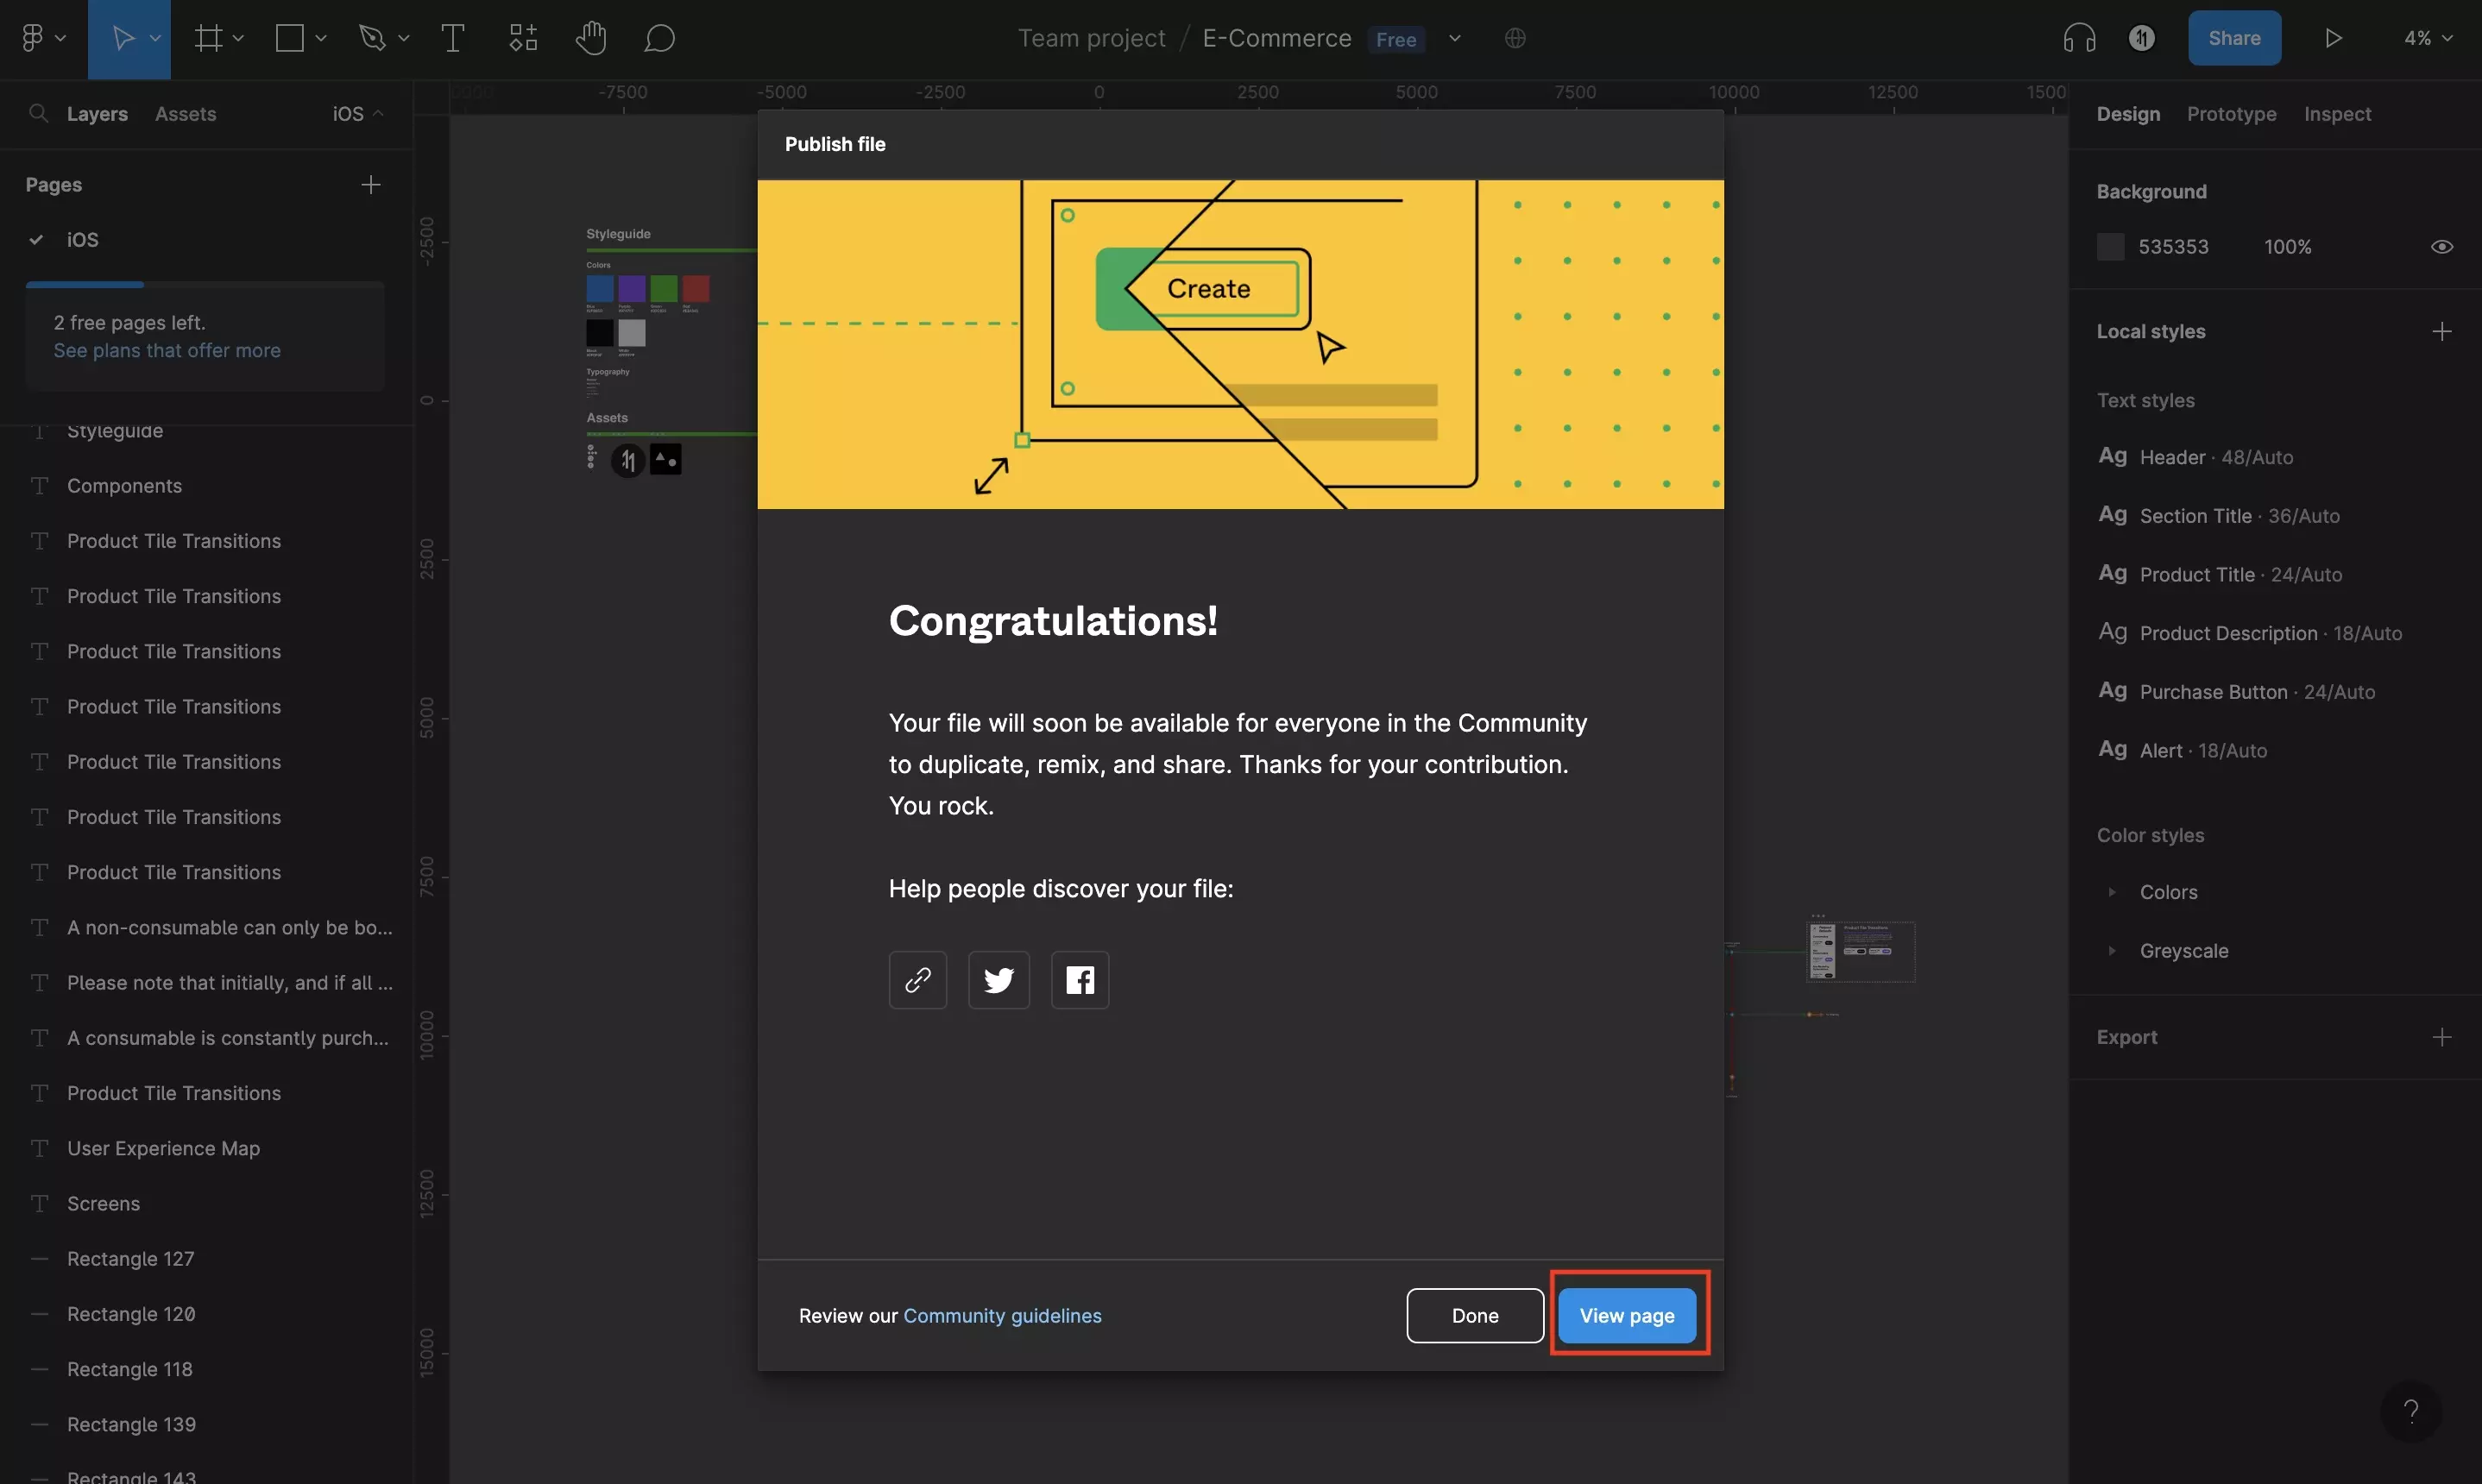
Congratulations, you have published your first Figma design file.

Click View Page to be taken to the page that holds your published file, it will look similar to the one below.

Please note that Get a Copy indicates the number of people that have downloaded it to their library, deeming it useful.

A screenshot of the page of the Design File that we published in the Figma Community.

Any Questions?

We are actively looking for feedback on how to improve this resource. Please send us a note to inquiries@delasign.com with any thoughts or feedback you may have.
delasign logo

Book a Free Consultation.

An icon of an email.

Click here to email us.

Fill in the details below to book a free consultation or to let us know about something else. Whatever it is, we are here to help.

How can we help you ?

Contact Details