How to integrate a Meta Pixel into a React or Gatsby website

Oscar de la Hera Gomez
Three flowers that represents ReactJS, Meta and GatsbyJS side by side. Beneath them sits the text "Integrate Meta Pixel."

A step by step walkthrough on adding a Meta Pixel to a GatsbyJS or ReactJS website.

Step One: Install Dependencies

React Helmet

In your React or Gatsby project, make sure that you have added the react-helmet library.

yarn add react-helmet

Step Two: Create the pixel

A screenshot of the Create Pixel modal that appears after selecting Web and pressing Connect. We have highlighted where you must name your pixel as well as the "Create Pixel" button that appears on the bottom right.

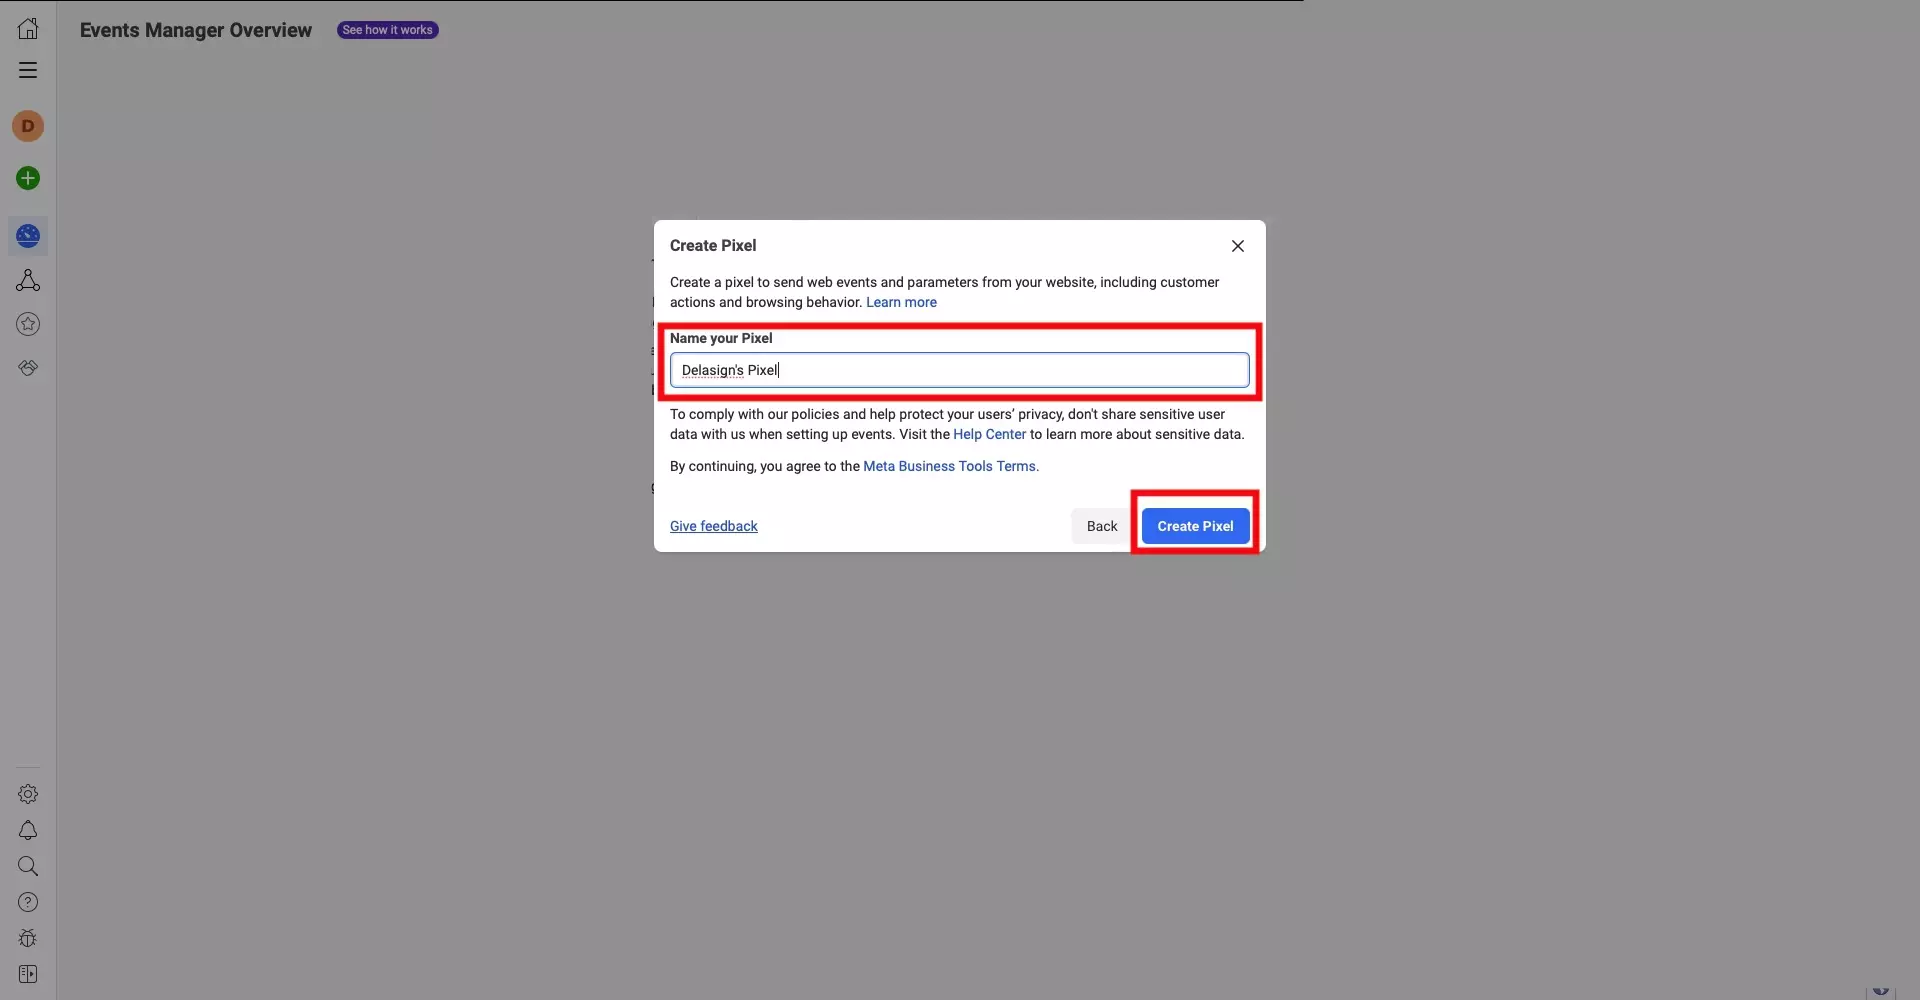
In order to integrate a Meta Pixel into a website, you must first create it.

If you have not done so, please consult the tutorial linked below.

Step Three: Access the pixel

A screenshot of the Facebook Business Events Manager, with a highlight on the "Data Sources" tab on the left menu side bar. Press this button and continue to the next step.

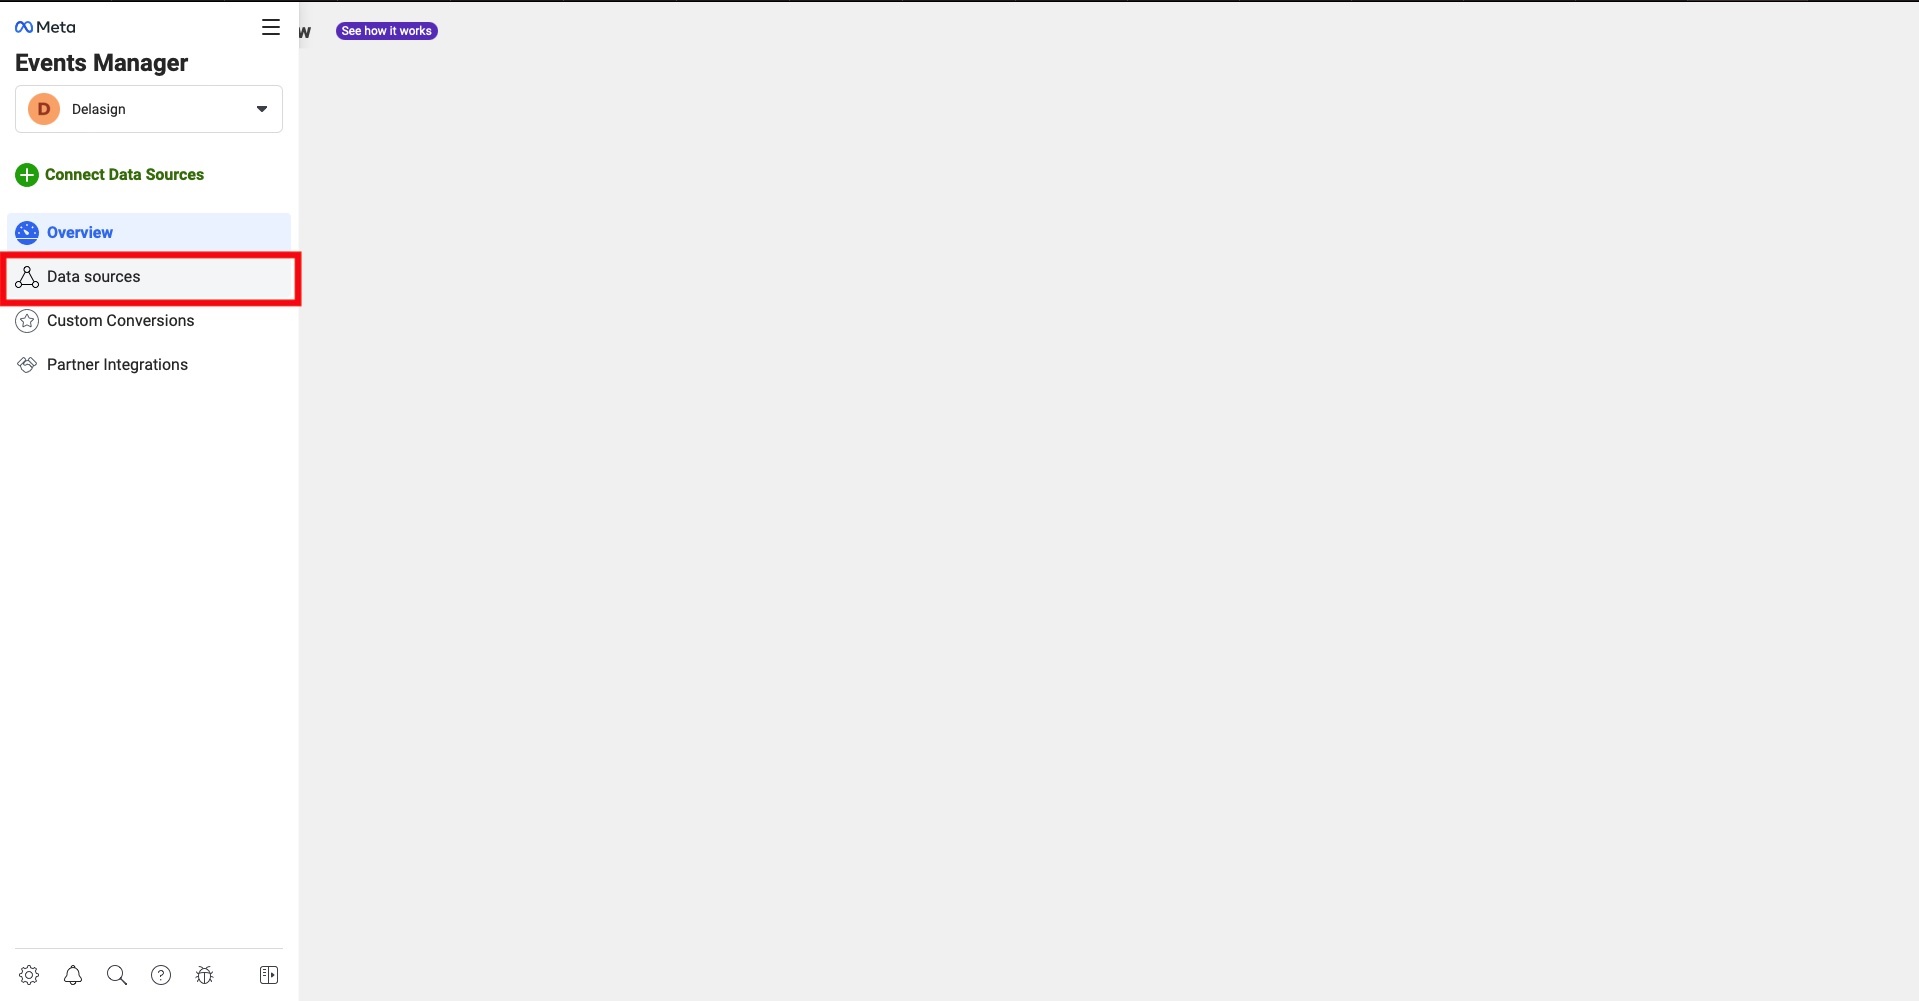
In the Facebook Events Manager or Facebook Business Events Manager, select Data sources.

Step Four: Continue Pixel Setup

A screenshot of the Data Sources screen of the Facebook Business Events Manager. Highlighted is our selected "Delasign Pixel" as well as the "Continue Pixel Setup" button in the center of the screen.

Select the pixel you wish to integrate under Data sources on the left side of the screen and then press the Continue Pixel Setup button.

Step Five: Select Meta Pixel & Connect

A screenshot of the modal that appears when you select "Continue Pixel Setup". Highlighted on this modal is the "Meta Pixel" tile and the "Connect" button on the bottom right.

In the modal that appears, select Meta Pixel and press the Connect button.

Step Six: Install Code Manually

A screenshot of the modal that appears after you press connect. Highlighted is the "Install Code Manually" button, which is on the center left of the modal. Press it and continue to the next step.

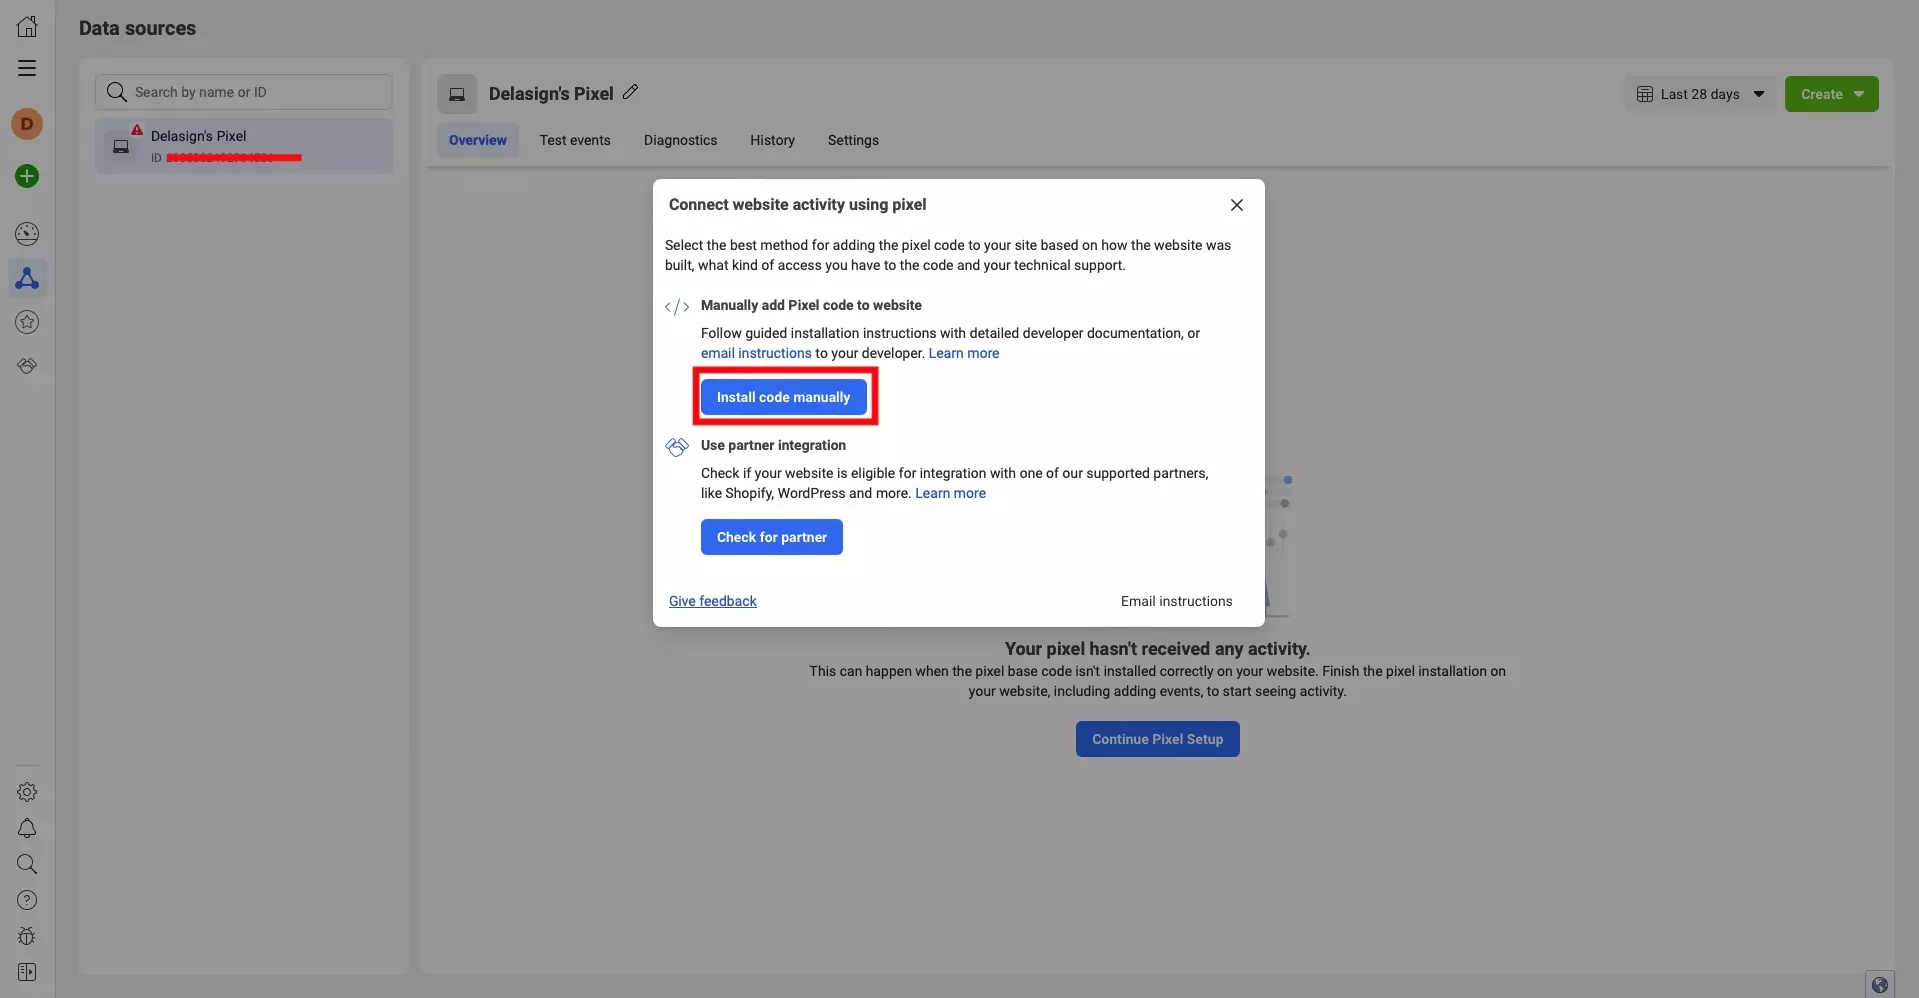
Press the Install code manually button.

This will take you to the Events Manager Onboarding flow.

Step Seven: Copy Code

A screenshot of the Events Manager Onboarding flow, on the "Install Base Code" step. Highlighted is the "Copy Code" button on the center left of the screen. Press it and continue to the next step.

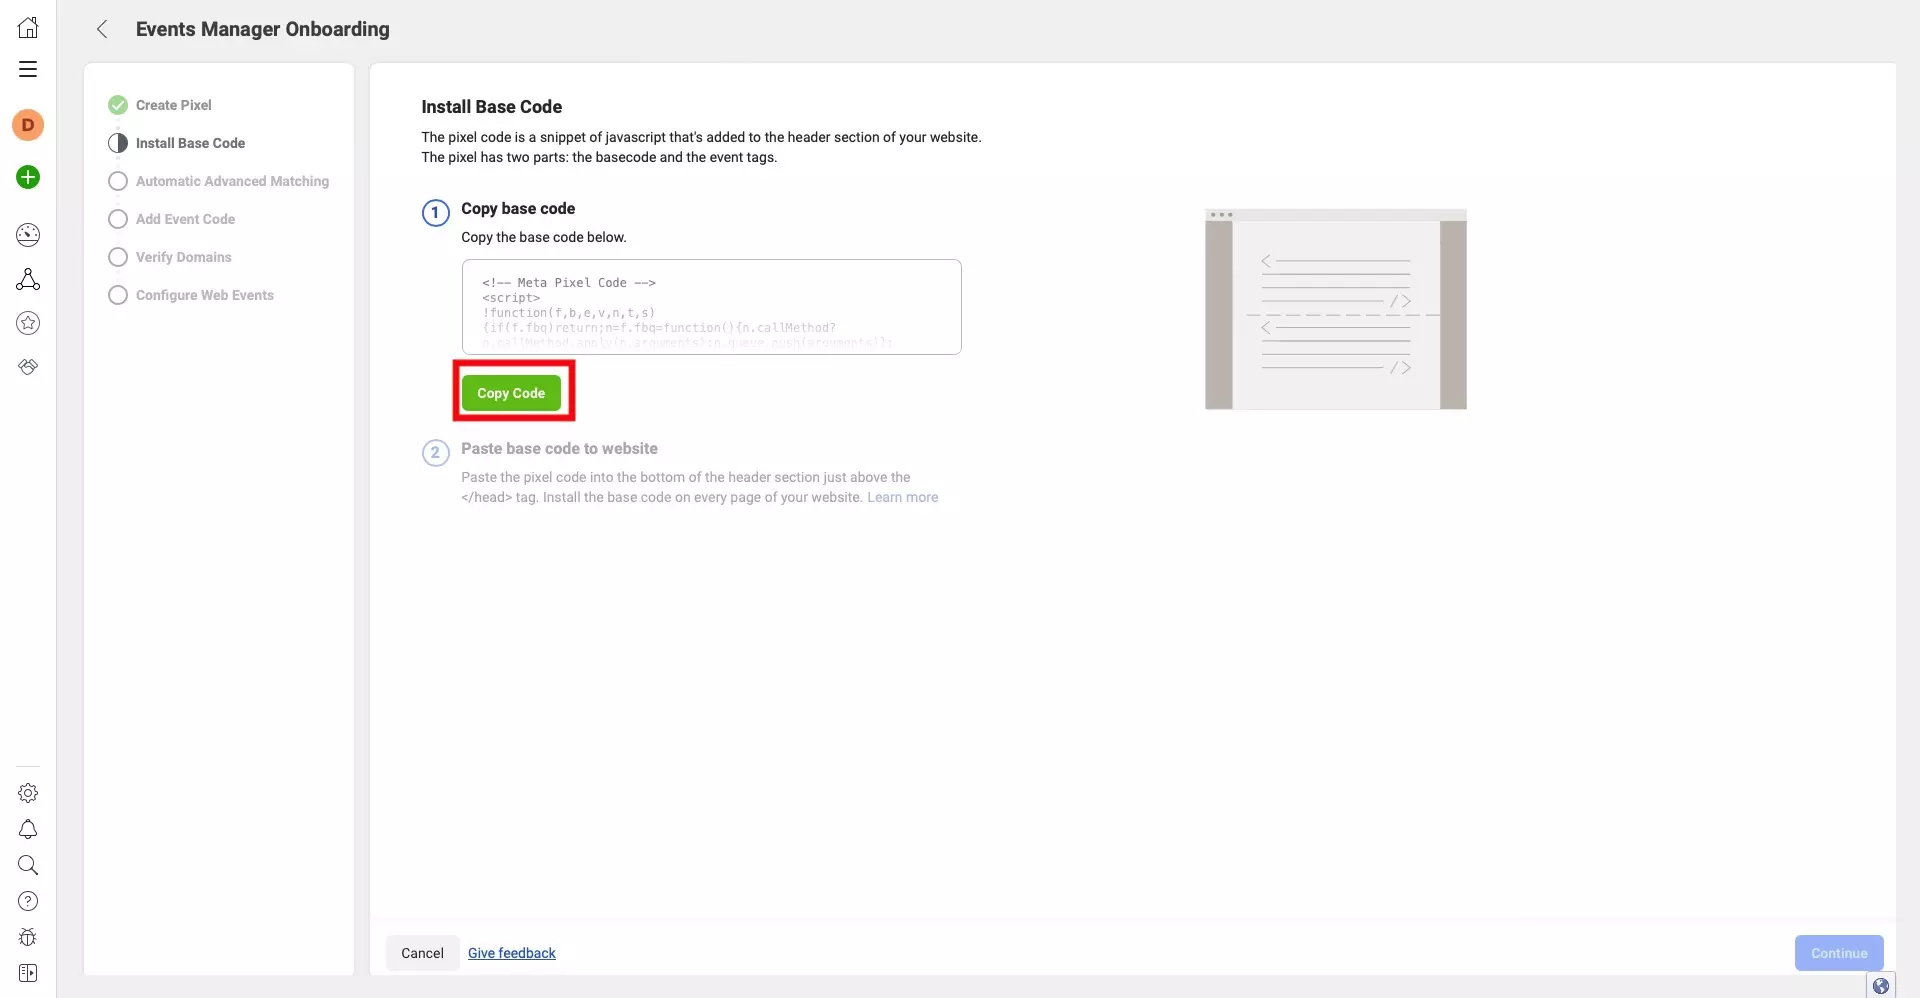
Press the Copy Code button.

Step Eight: Create functionality

A screenshot of VSCode showing the code required to integrate the Facebook Pixel into a react or gatsbyjs website.

If you do not have one already, create a utils folder in your project src folder.

Within the utils folder, create a meta folder.

Within the meta folder, create a file called metaPixel.tsx (or .js if javascript) and integrate the code below.

Please note you must replace YOUR_FUNCTION with the function in the code you copied in the last step and you must replace YOUR_IMAGE with the image in the code that you copied in the last step.

Please note that you cannot nest react-helmet components, and in the event that you are adding it to an existing component that uses react-helmet, create a function similar to the one below and integrate it into your helmet.

If you would like to learn more about our folder structure, please consult the post below.

Step Nine: Integrate into your website

A screenshot of our Home template for Gatsby with a highlight on the imported Meta Pixel file, and where we added it to our page.

In your project, in your page, template or app, integrate the meta pixel by importing the react component that you created in the last step and integrating it into your page using code similar to:

<MetaPixel />

In the event you are integrating it through a function, add the following code to the react-helmet component:

{renderMetaPixel()}

Step Ten: Verify

A screenshot of delasign.com running on localhost, with a highlight on the inspected code, showing that the Meta Pixel code appears.

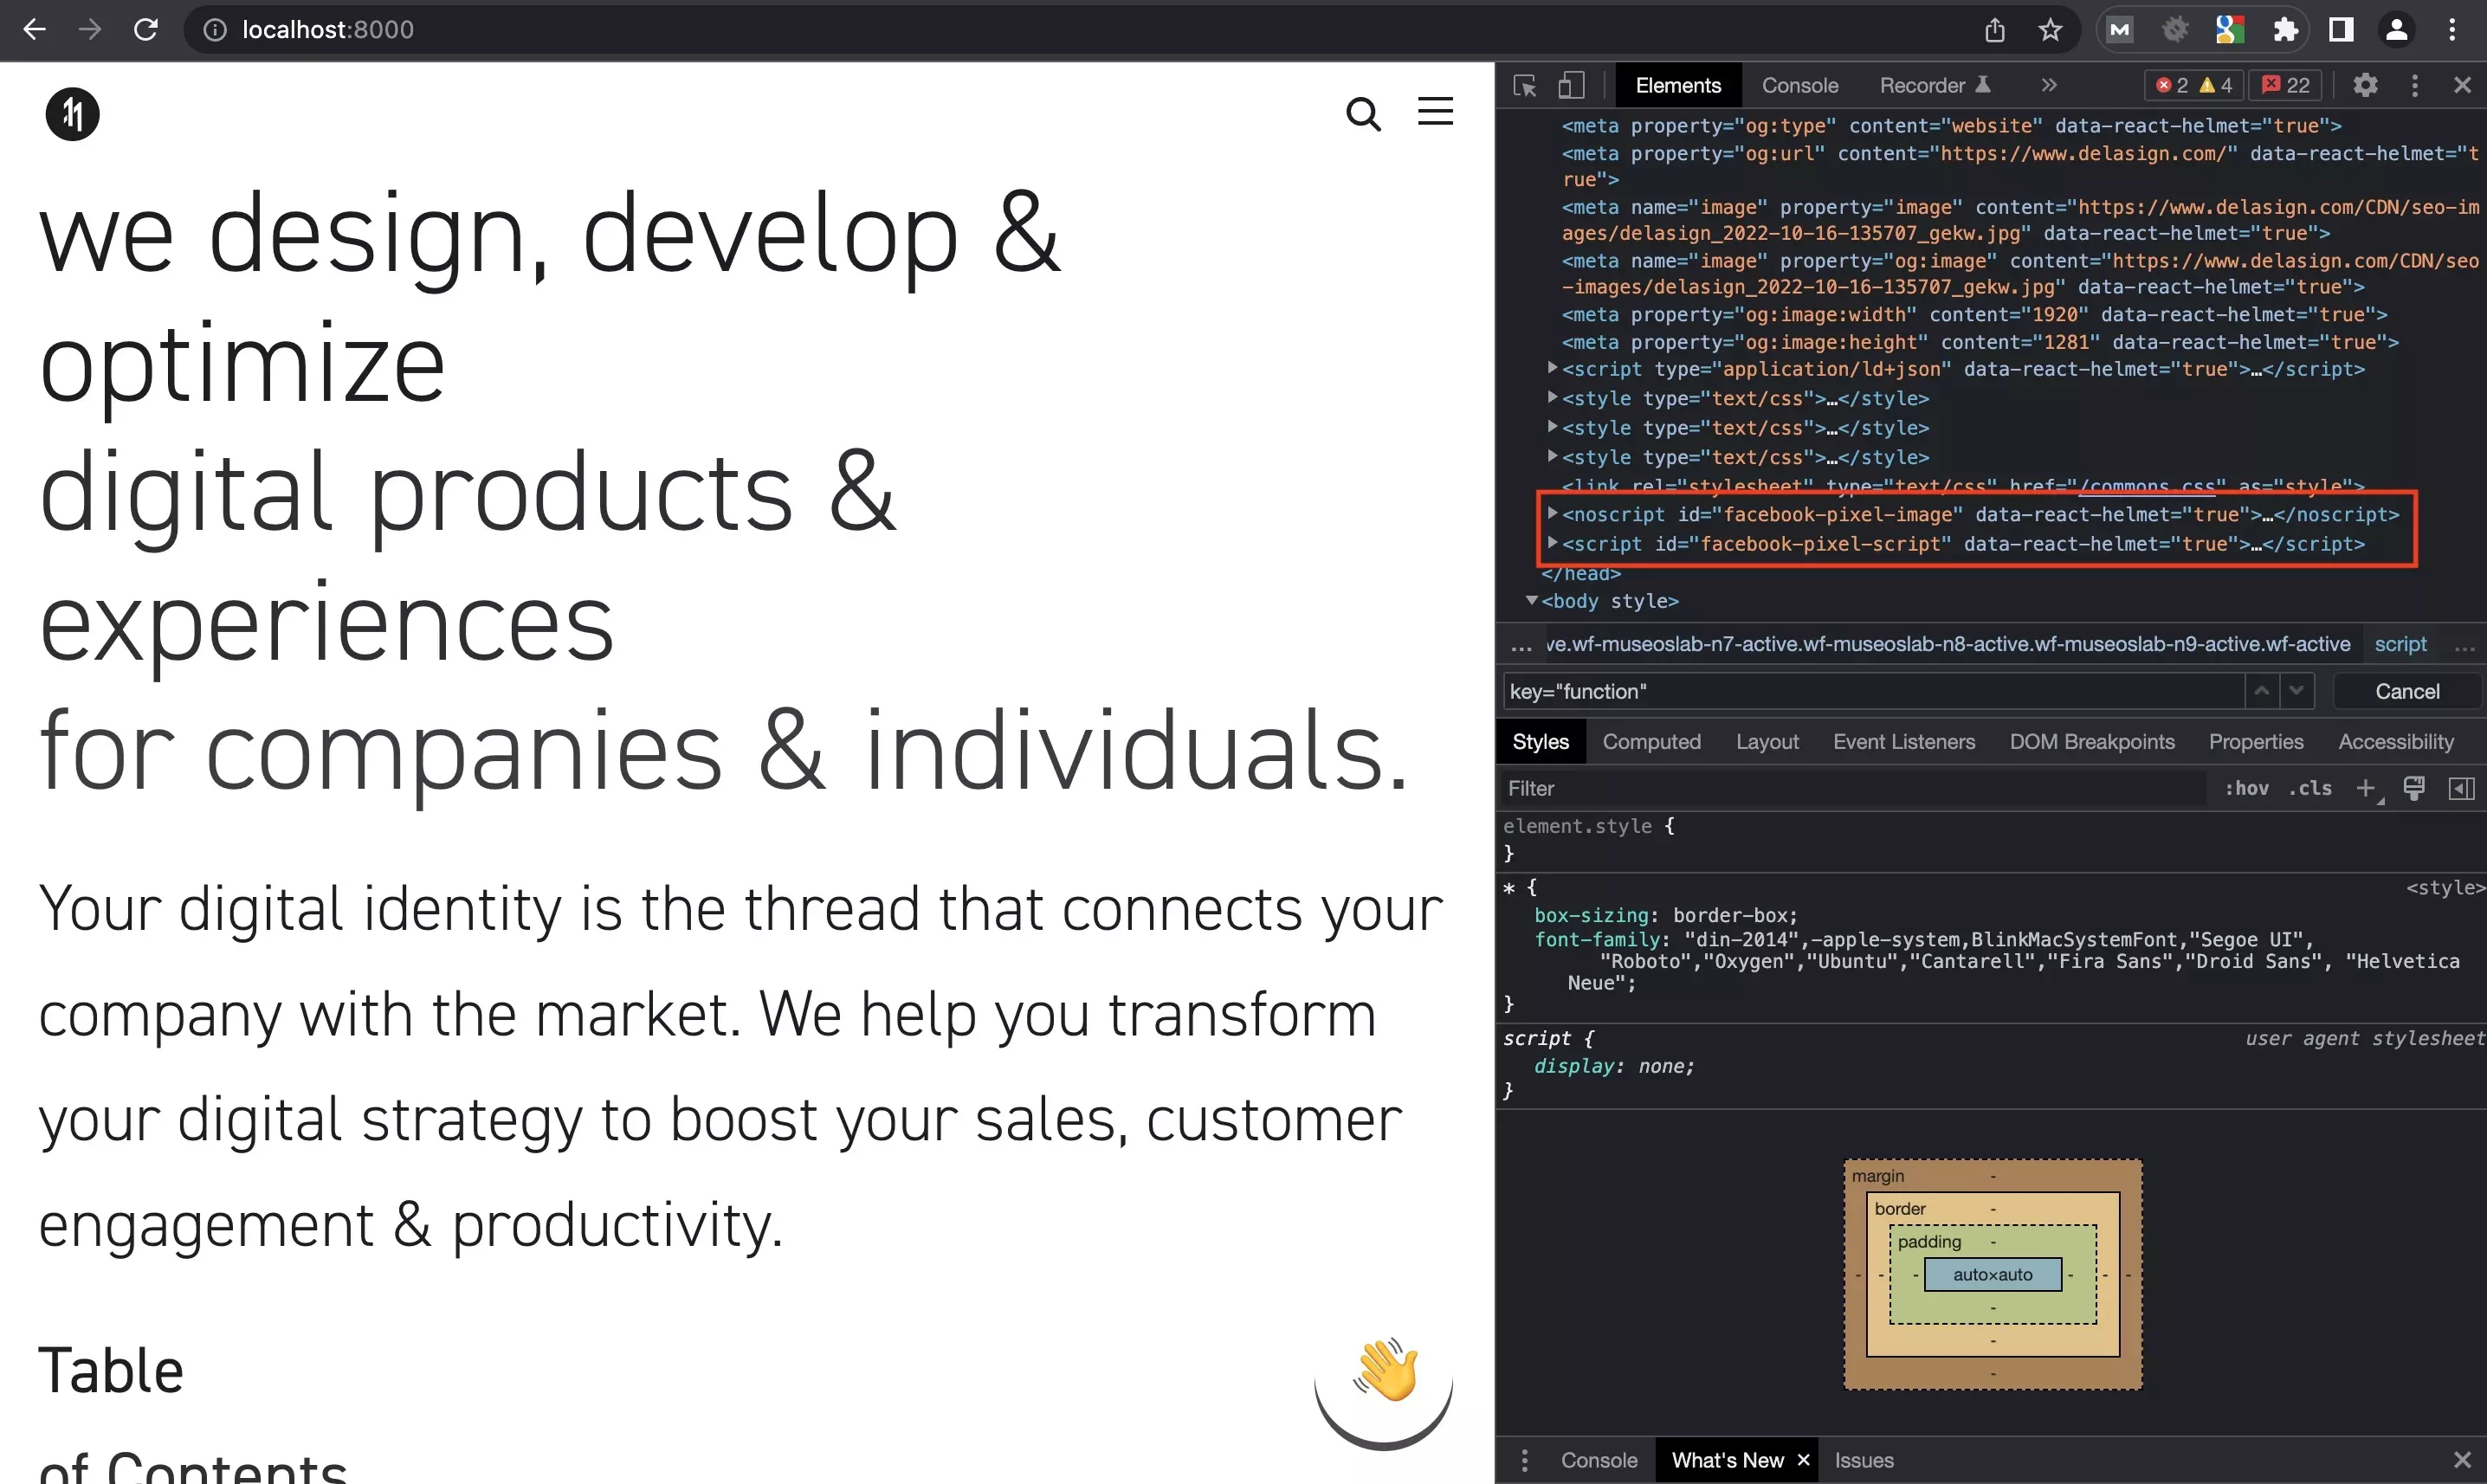
Confirm that the pixel scripts appear on your localhost.

Step Eleven: Deploy & Confirm

A screenshot of the delasign.com live site, with a highlight on the inspected code, demonstrating that the changes have registered.

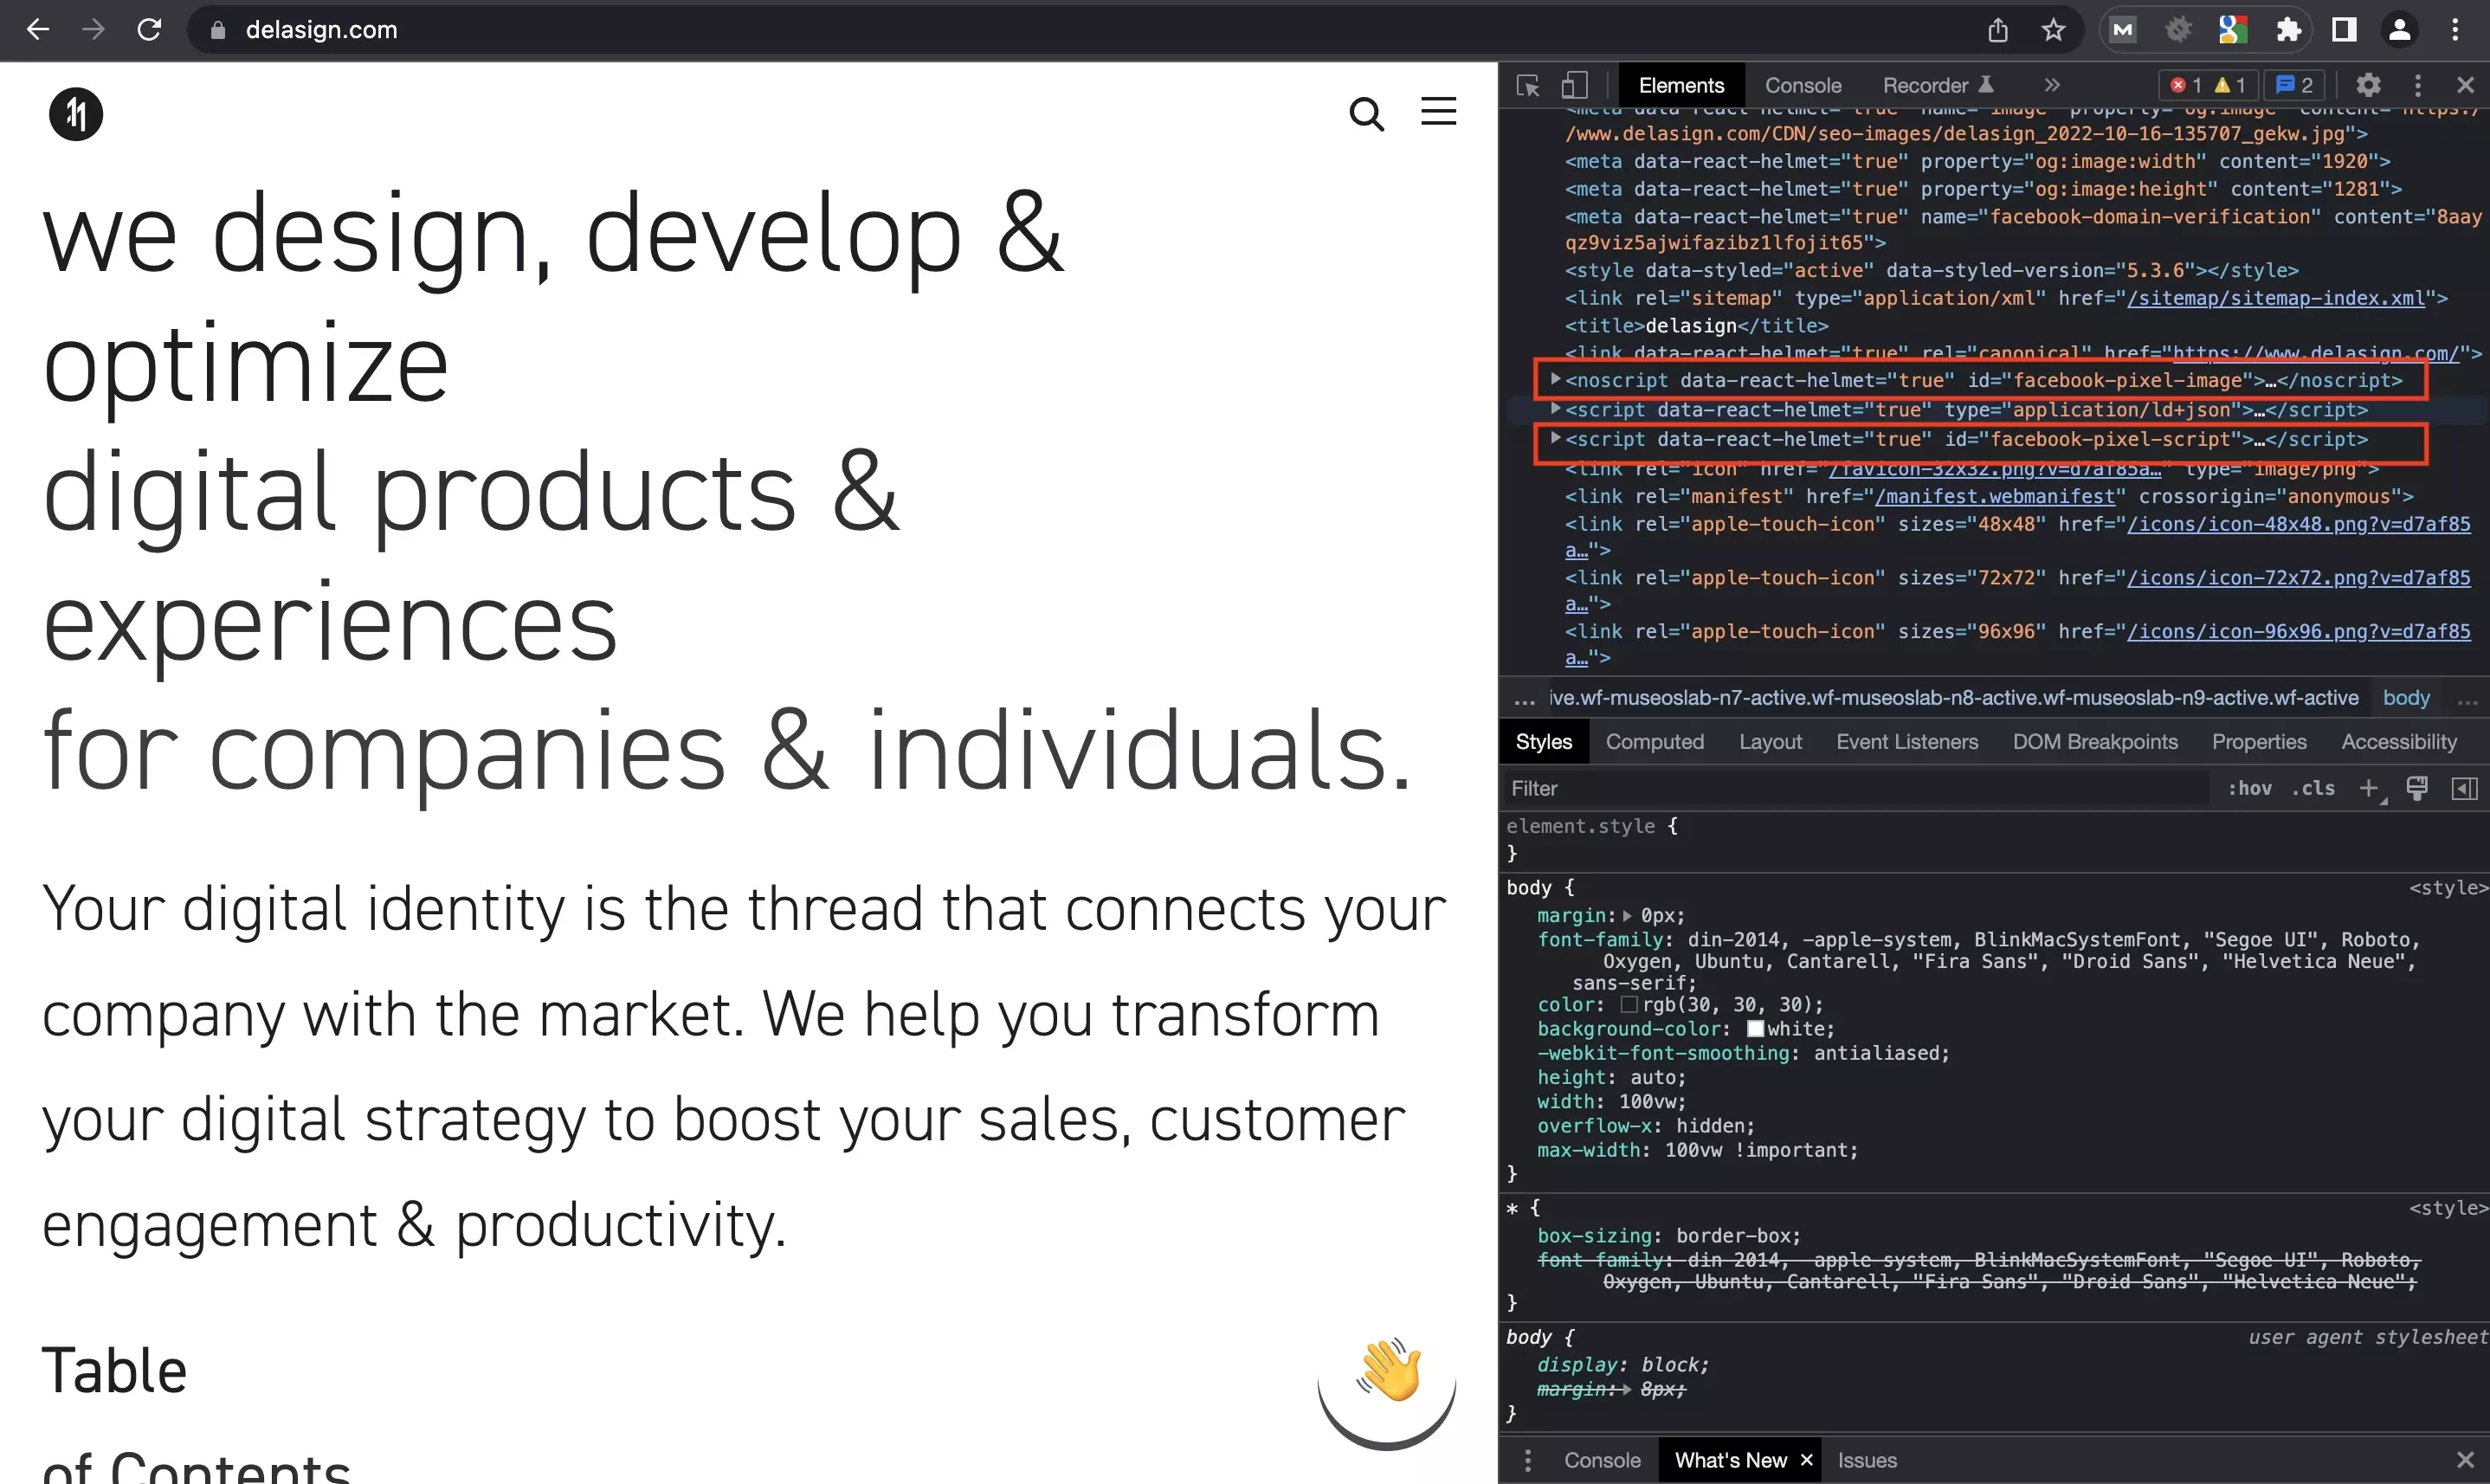
Deploy your pixel to your LIVE website and confirm that the changes registered.

Step Twelve: Continue Onboarding

A screenshot of the Facebook Events Manager Onboarding flow on the "Install Base Code" step, with a highlight on the "Continue" button on the bottom right.

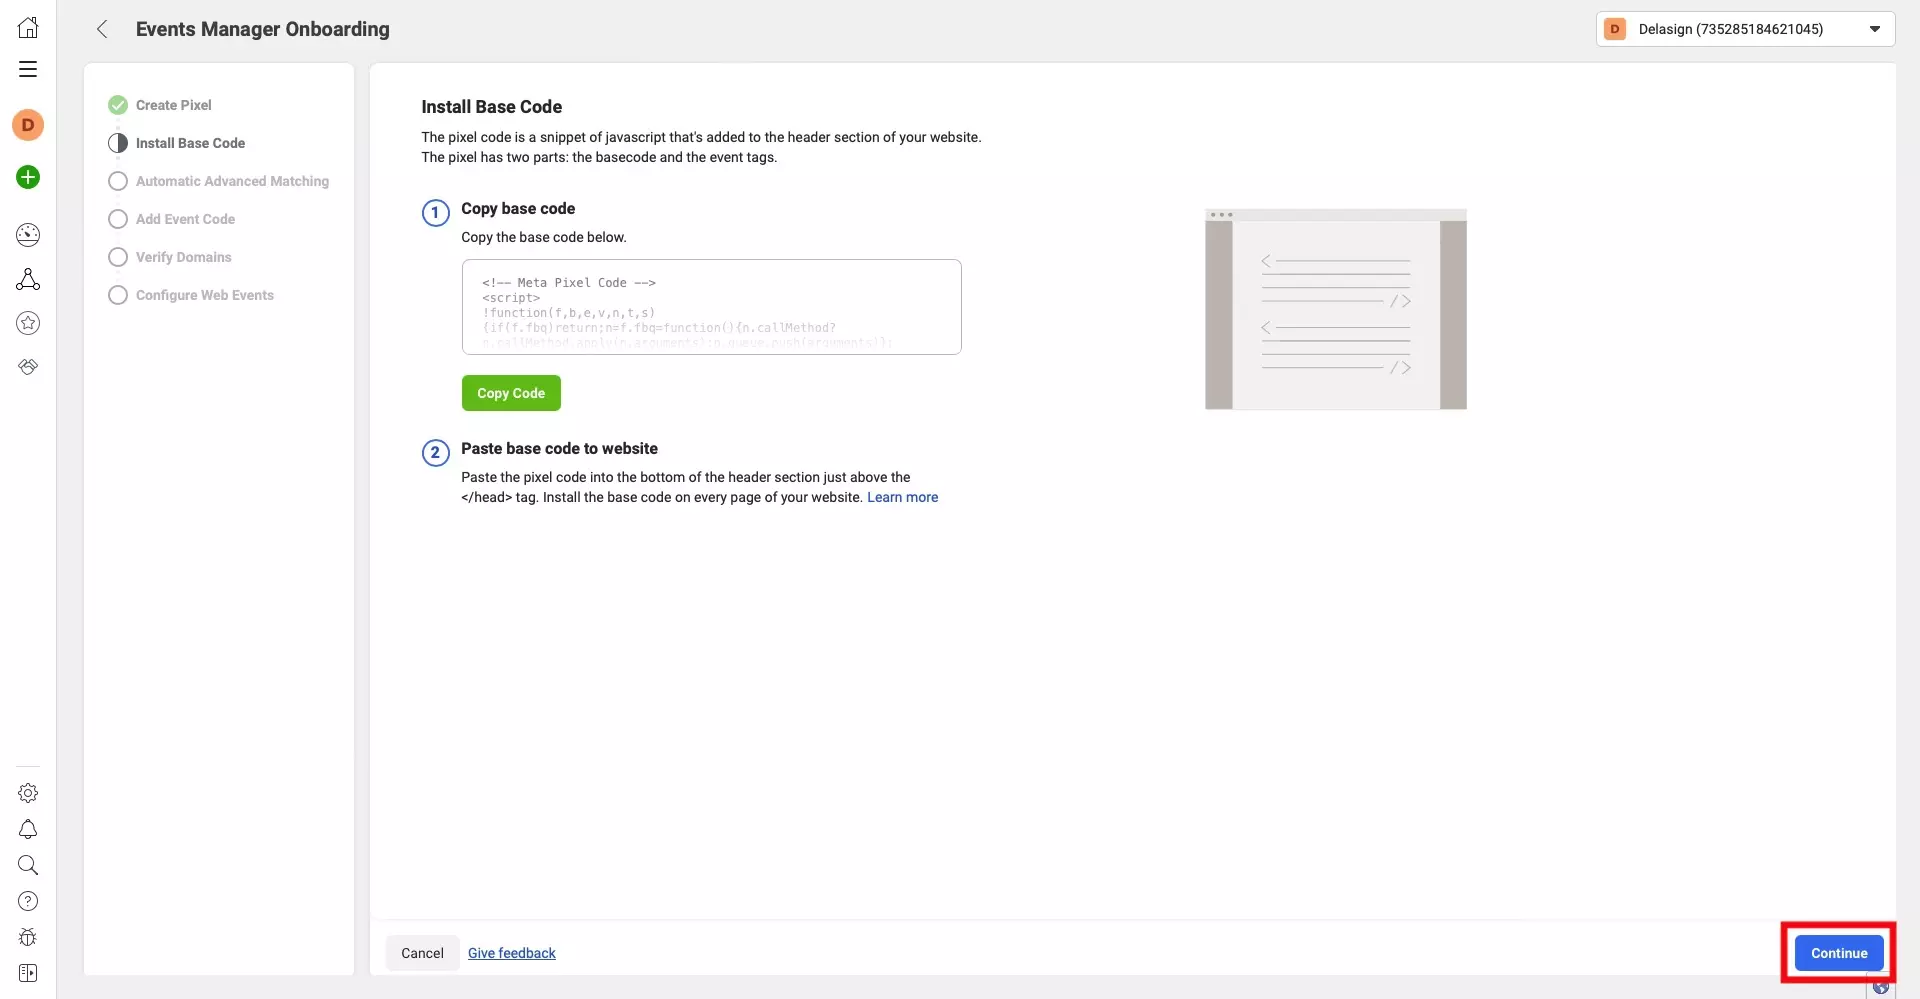
Return to the Facebook Events Manager onboarding, and press Continue on the bottom right.

Step Thirteen: Automatic Advanced Matching

A screenshot of the Facebook Events Manager Onboarding flow, on the Automatic Advanced Matching step. Highlighted is where you can turn on Automatic Advanced Matching, this is found center left on the screen. We have also highlighted the Continue button on the bottom right.

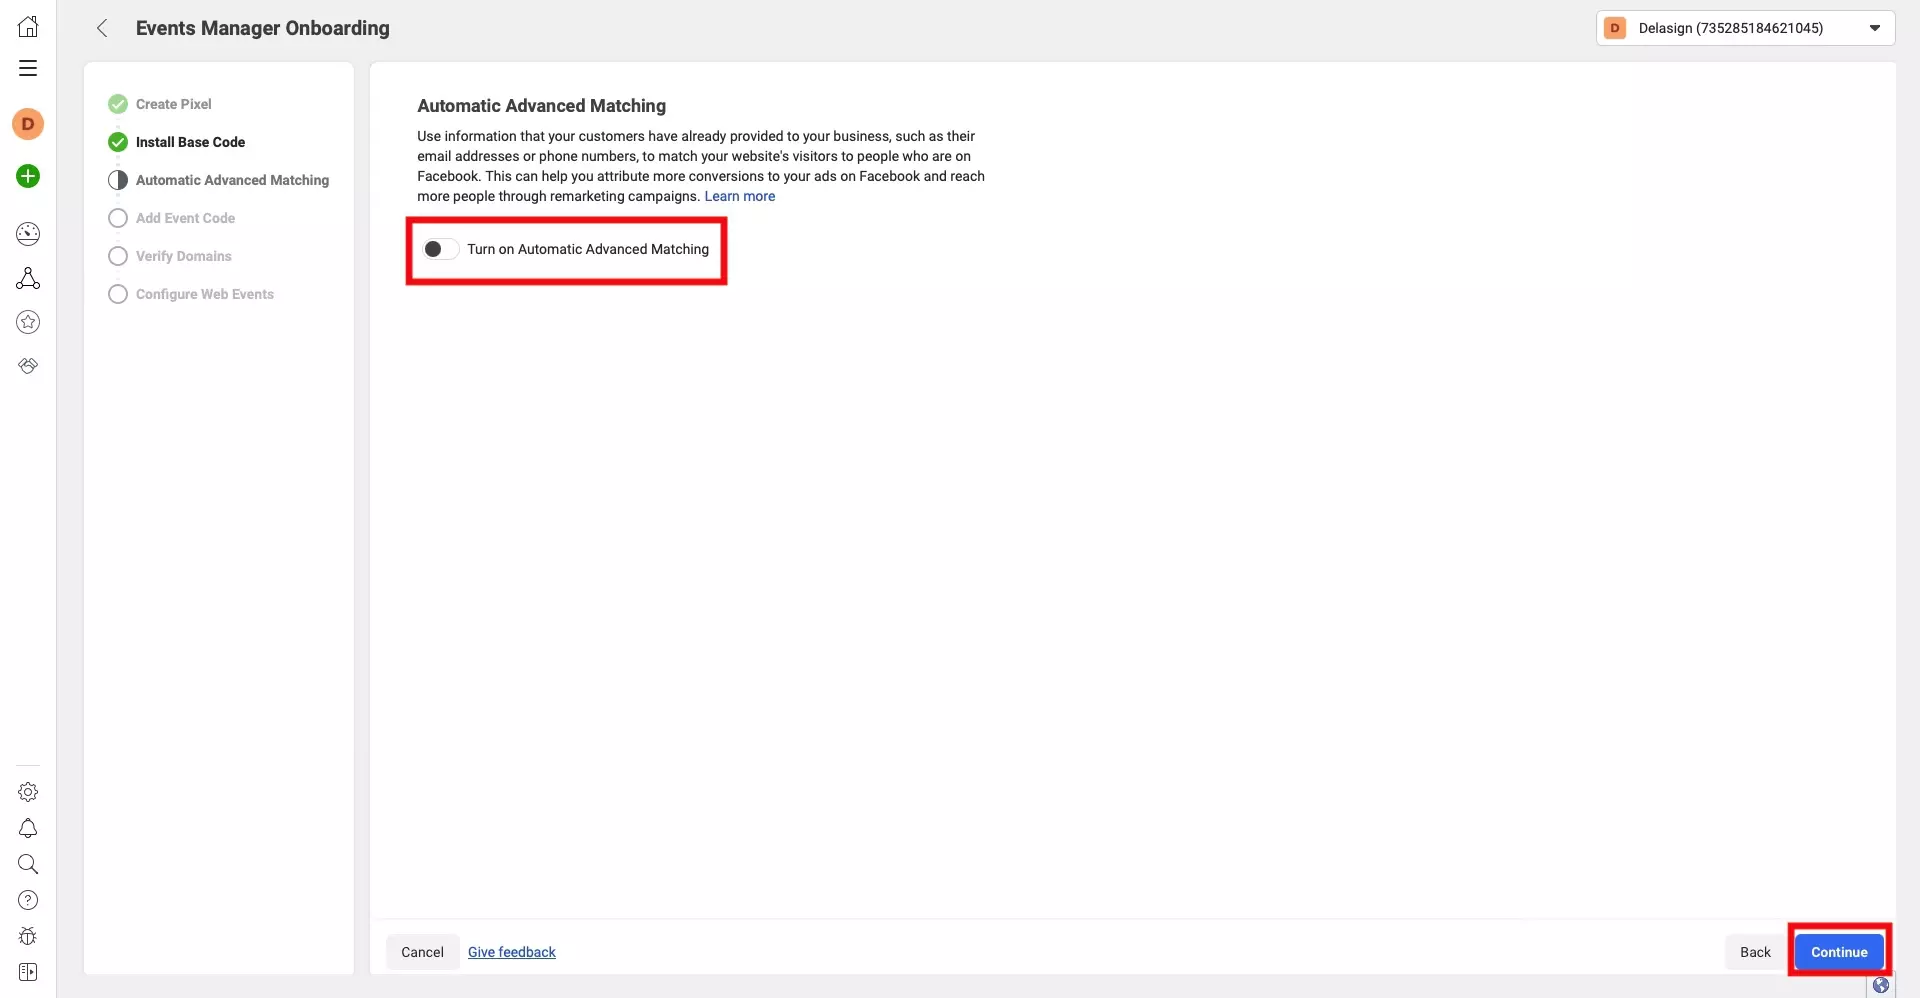
On the page that appears, select if you want to Turn on Automatic Advanced Matching and press Continue on the bottom right.

Step Fourteen: Event Setup (Optional)

A screenshot of the Facebook Events Manager Onboarding Flow, on the "Add Event Code" step. To optionally add event code, press the button on the center left of the screen - this is not covered in this tutorial. Once you're ready press the "Continue" button on the bottom right of the screen.

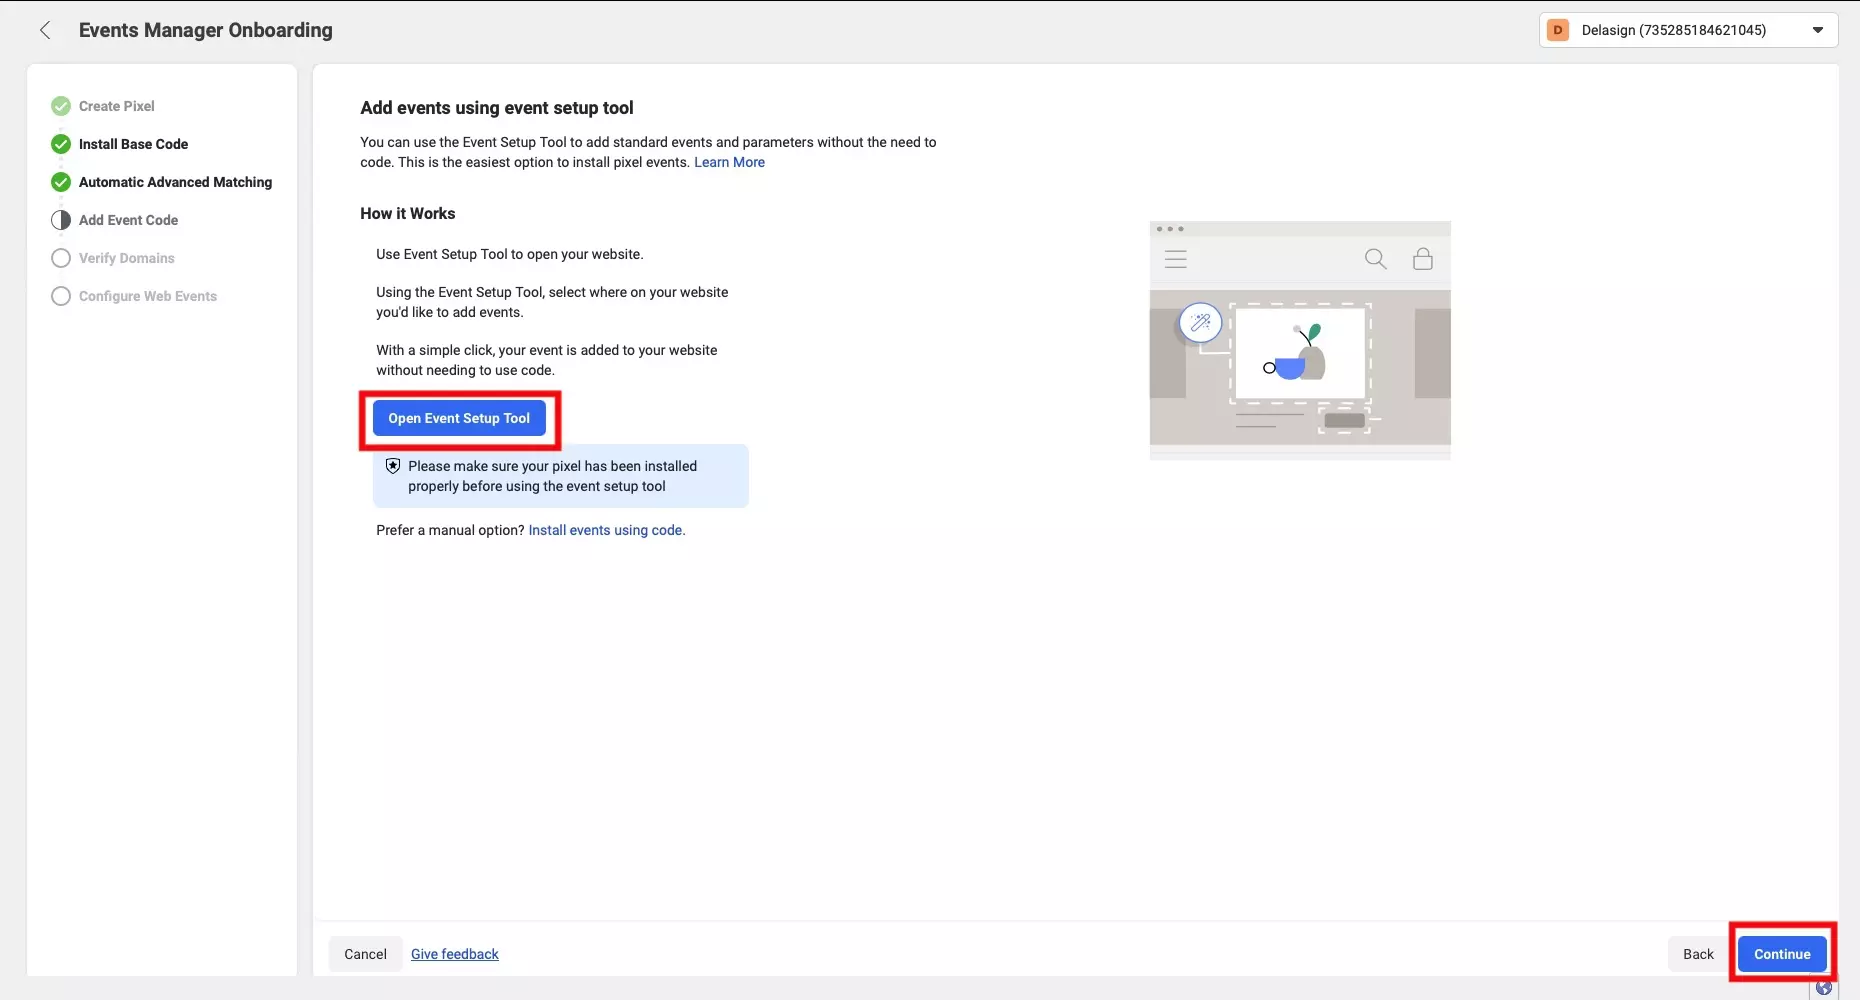
Facebook offers you to setup events using their tool. This is optional and not covered by this tutorial.

Press Continue on the bottom right, when ready.

Step Fifteen: Verify Domain

A screenshot of the Facebook Events Onboarding Manager on the "Verify Domains Step." Highlighted is the "Verify Domain" button on the top left of the screen and the "Continue" button on the bottom right.

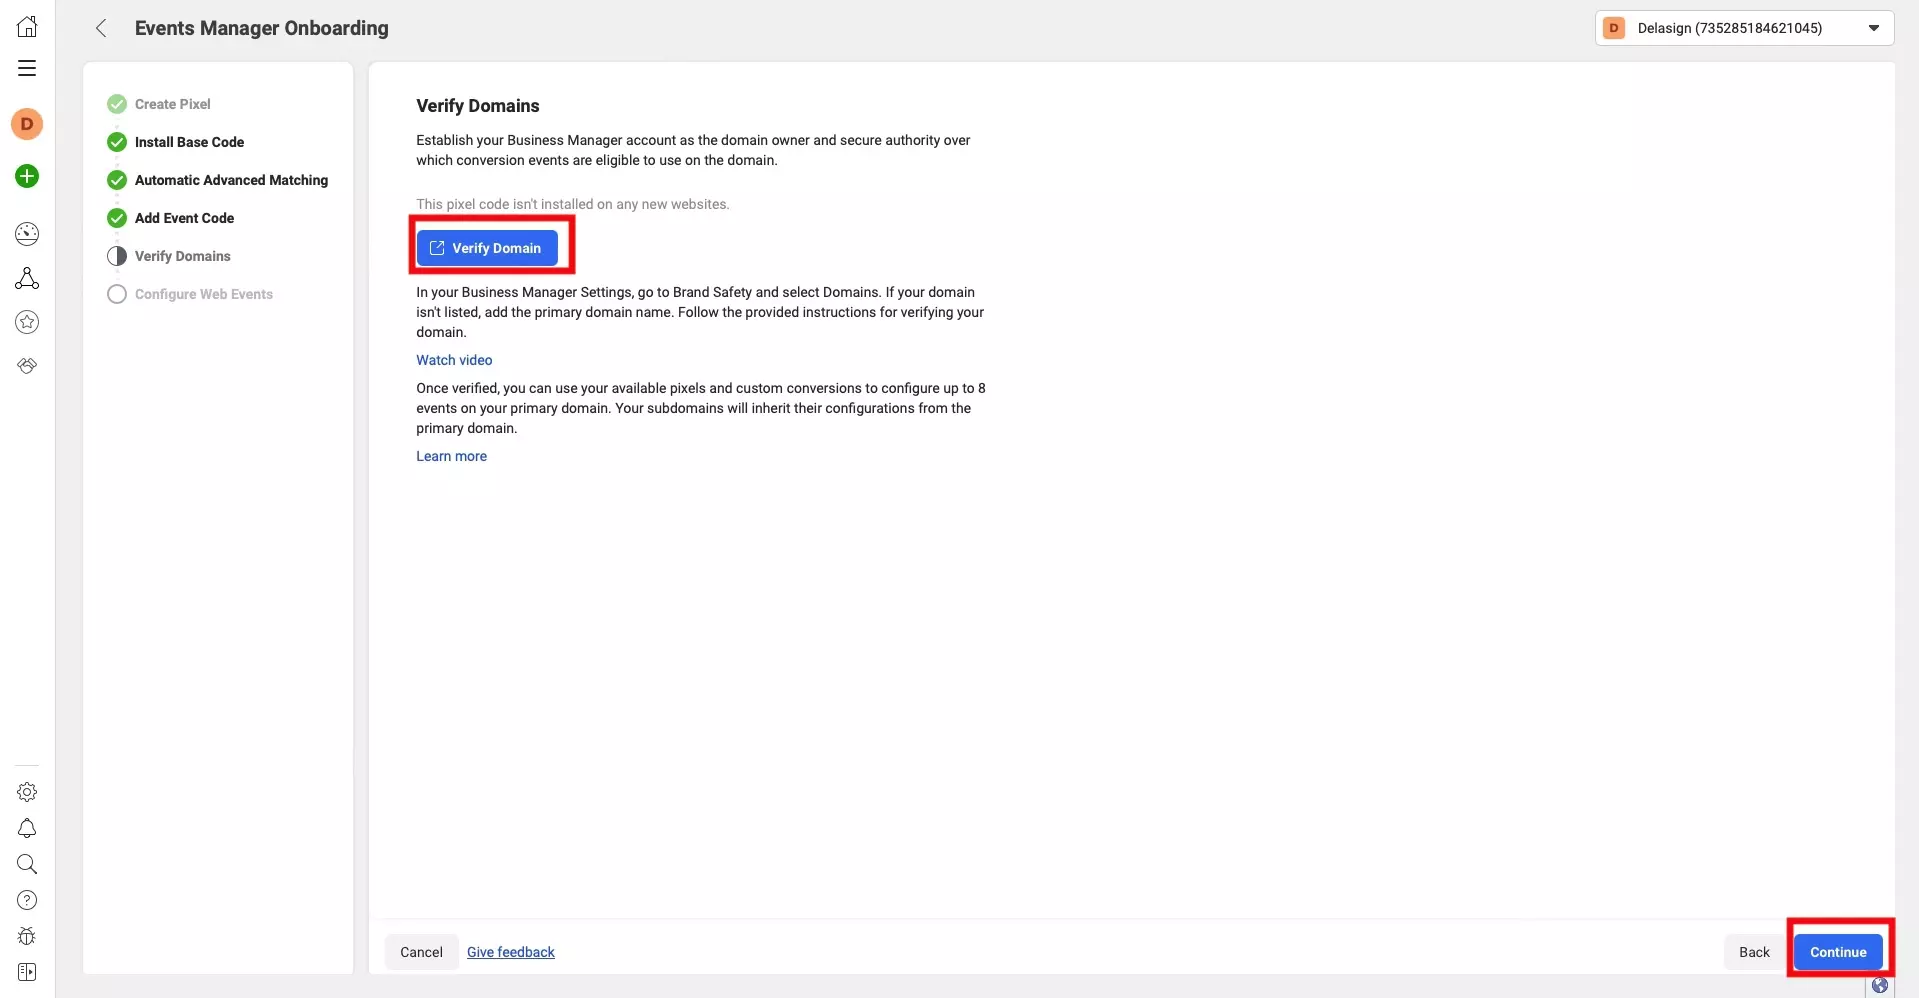
If you have not created a domain on Facebook for the pixel that you wish to implement, press the Verify Domain button and complete the flow in the tutorial below.

Once you have previously added a domain or successfully added the domain for your pixel, press Continue.

Step Sixteen: Configure Web Events (Optional)

A screenshot of the Facebook Events Onboarding Manger on the "Configure Web Events" step. Highlighted are the two buttons that allow you to configure the web events. These are found on the top left and the bottom right.

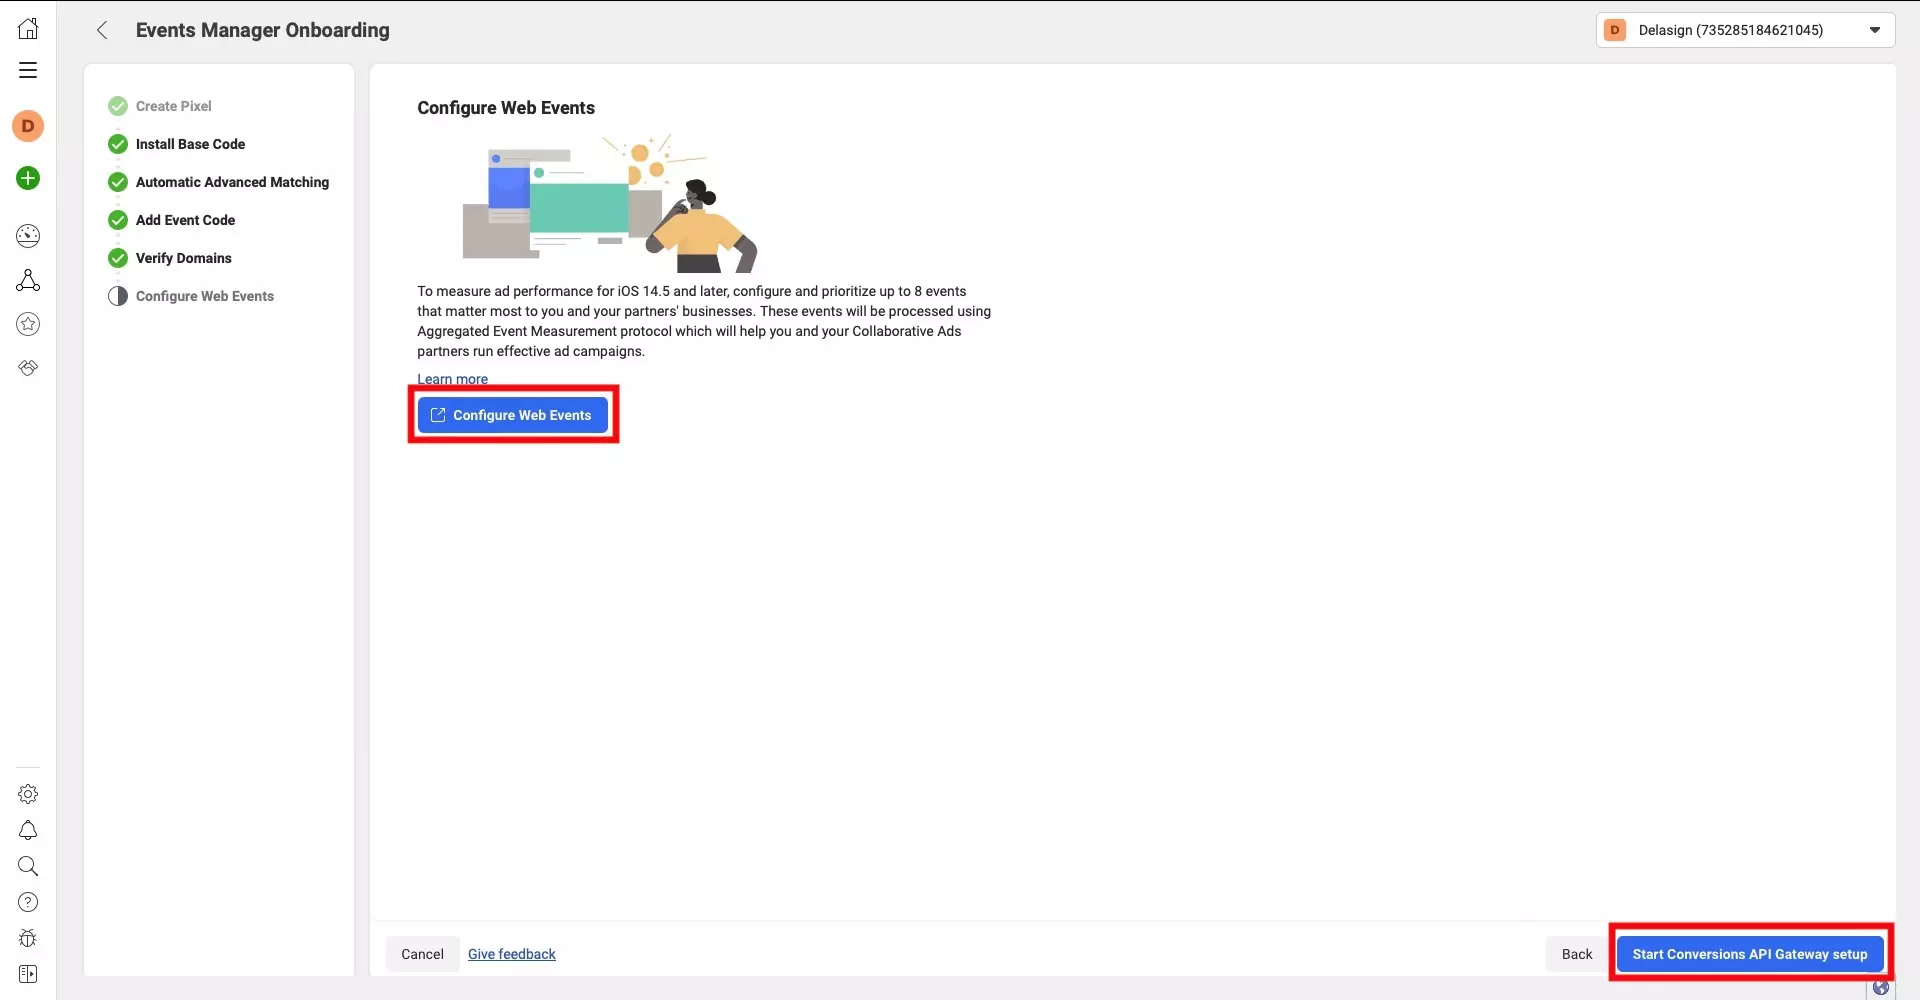
This step is optional and can be skipped by either exiting the Events Manager Onboarding flow or by pressing the Start Conversion API Gateway Setup button, closing the modal that appears and then pressing the Pixel Overview button.

A screenshot of the Facebook Events Manager Onboarding flow in the "Configure Web Events" step. Highlighted is the Go To Pixel Overview button that appears after you close the modal.

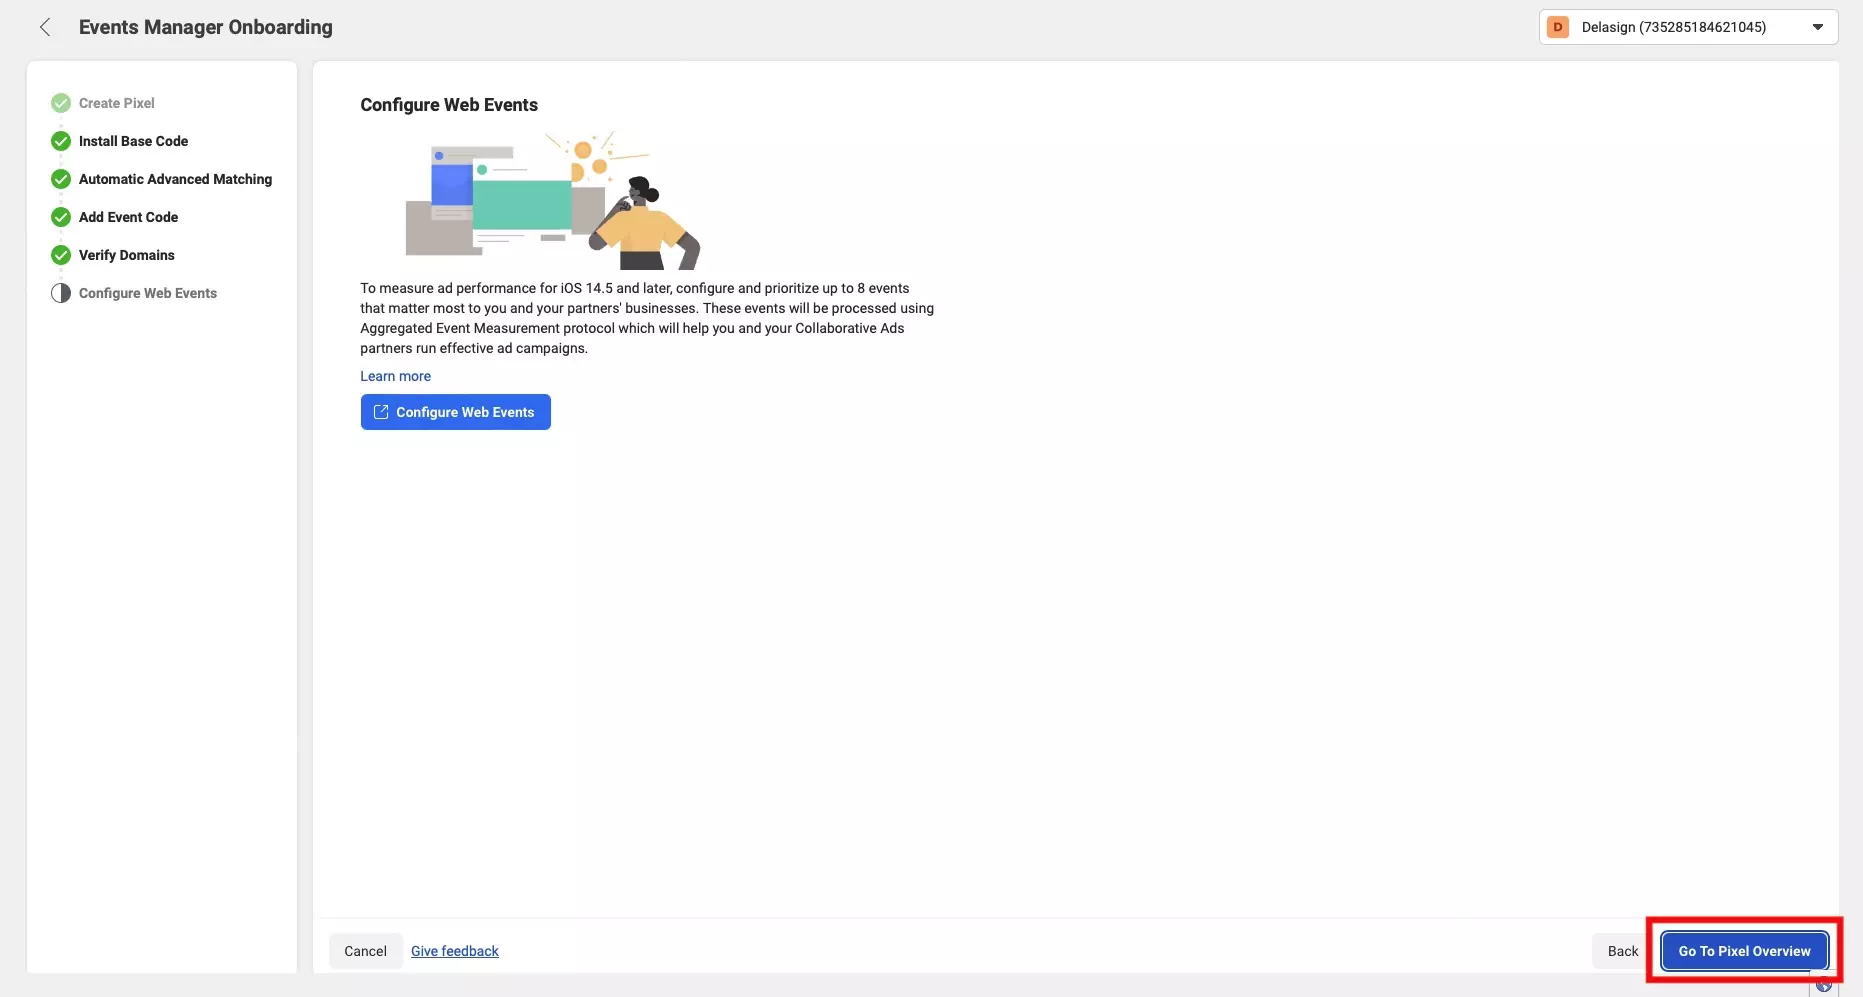
Step Seventeen: Complete

A screenshot of the Pixel that we setup selected in the Data Sources screen of the Facebook Events Manager. On it you can see that it no longer requires setup and that metrics are coming through. This is the sign that you have successfully setup the pixel and integrated it into your website.

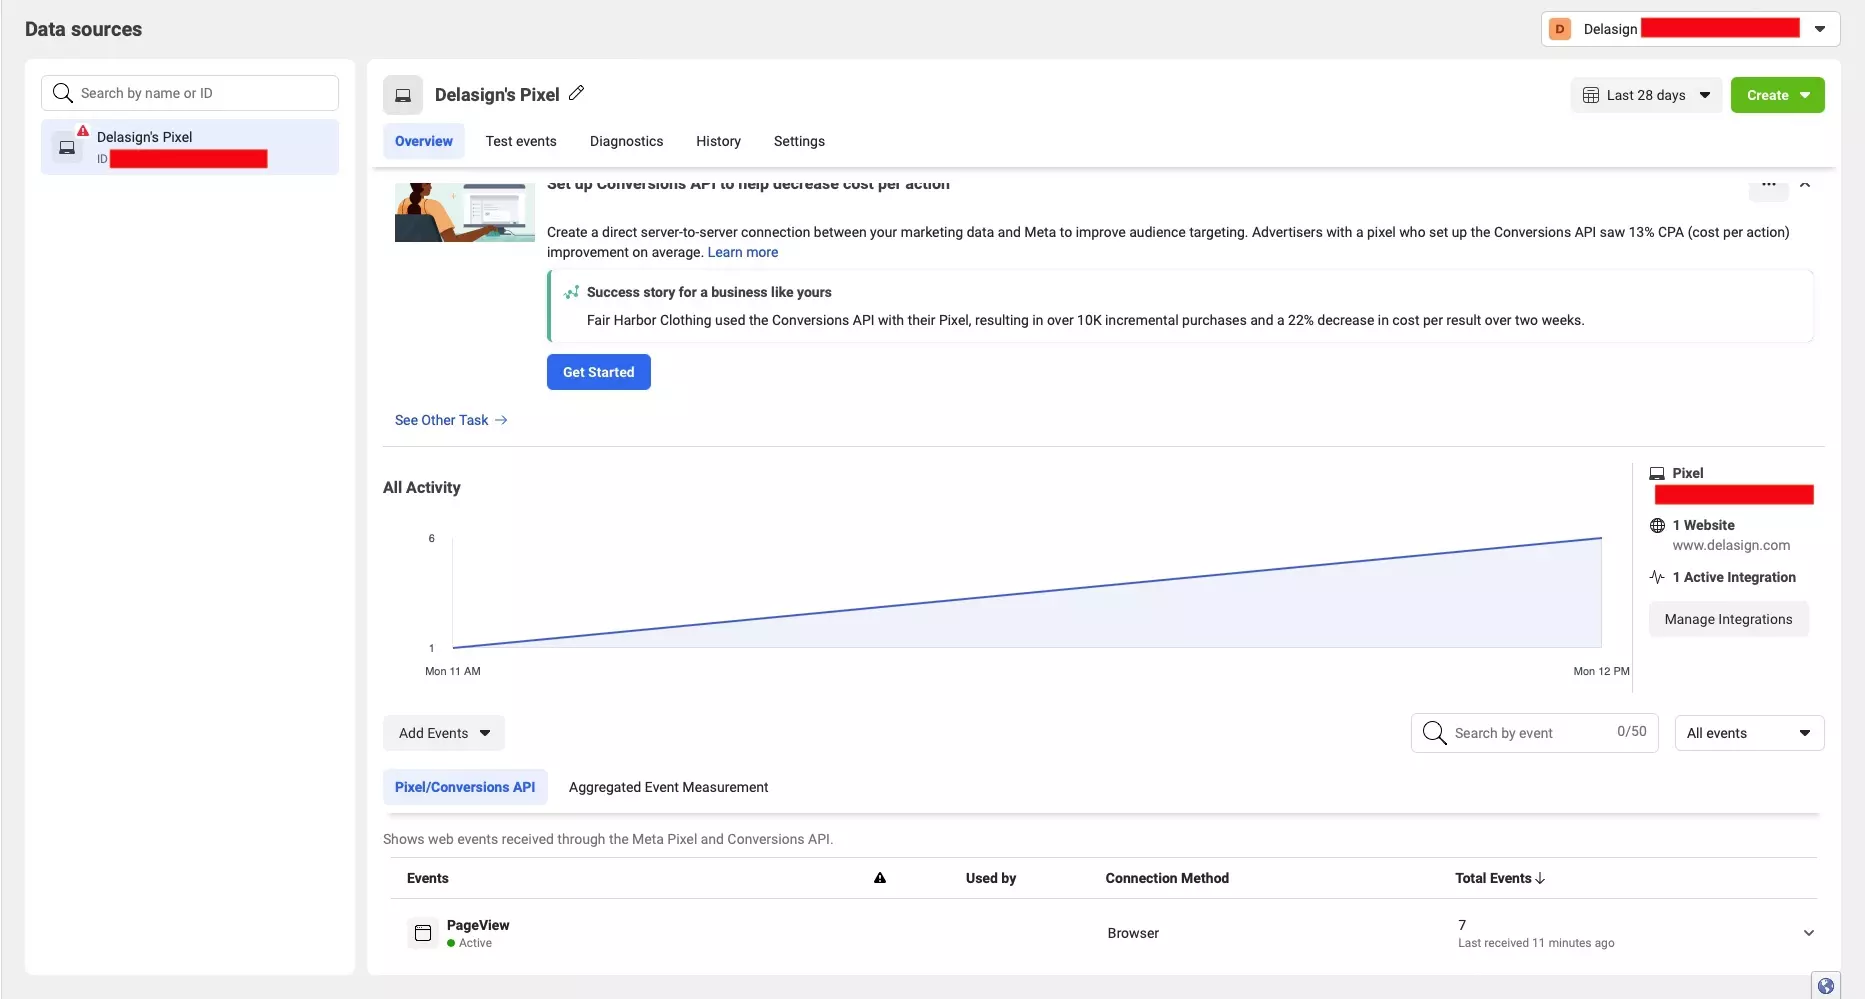
Once you have successfully integrated your Meta Pixel in your ReactJS or GatsbyJS website, you should see a screen for your Meta Pixel similar to the one above.

Any Questions?

We are actively looking for feedback on how to improve this resource. Please send us a note to inquiries@delasign.com with any thoughts or feedback you may have.
delasign logo

Book a Free Consultation.

An icon of an email.

Click here to email us.

Fill in the details below to book a free consultation or to let us know about something else. Whatever it is, we are here to help.

How can we help you ?

Contact Details