How to add a label to a view in Swift
A step by step tutorial on creating a label and adding it to a UIView in Swift (iOS). Github repository included.

A step by step tutorial on creating a label and adding it to a UIView in Swift (iOS). Github repository included.
The following article walks you through how to create a label and apply content from our LanguageCoordinator. This builds on our existing SwiftLint starter project and the LanguageCoordinator walkthroughs.
Step One: Create your ViewController UI extension
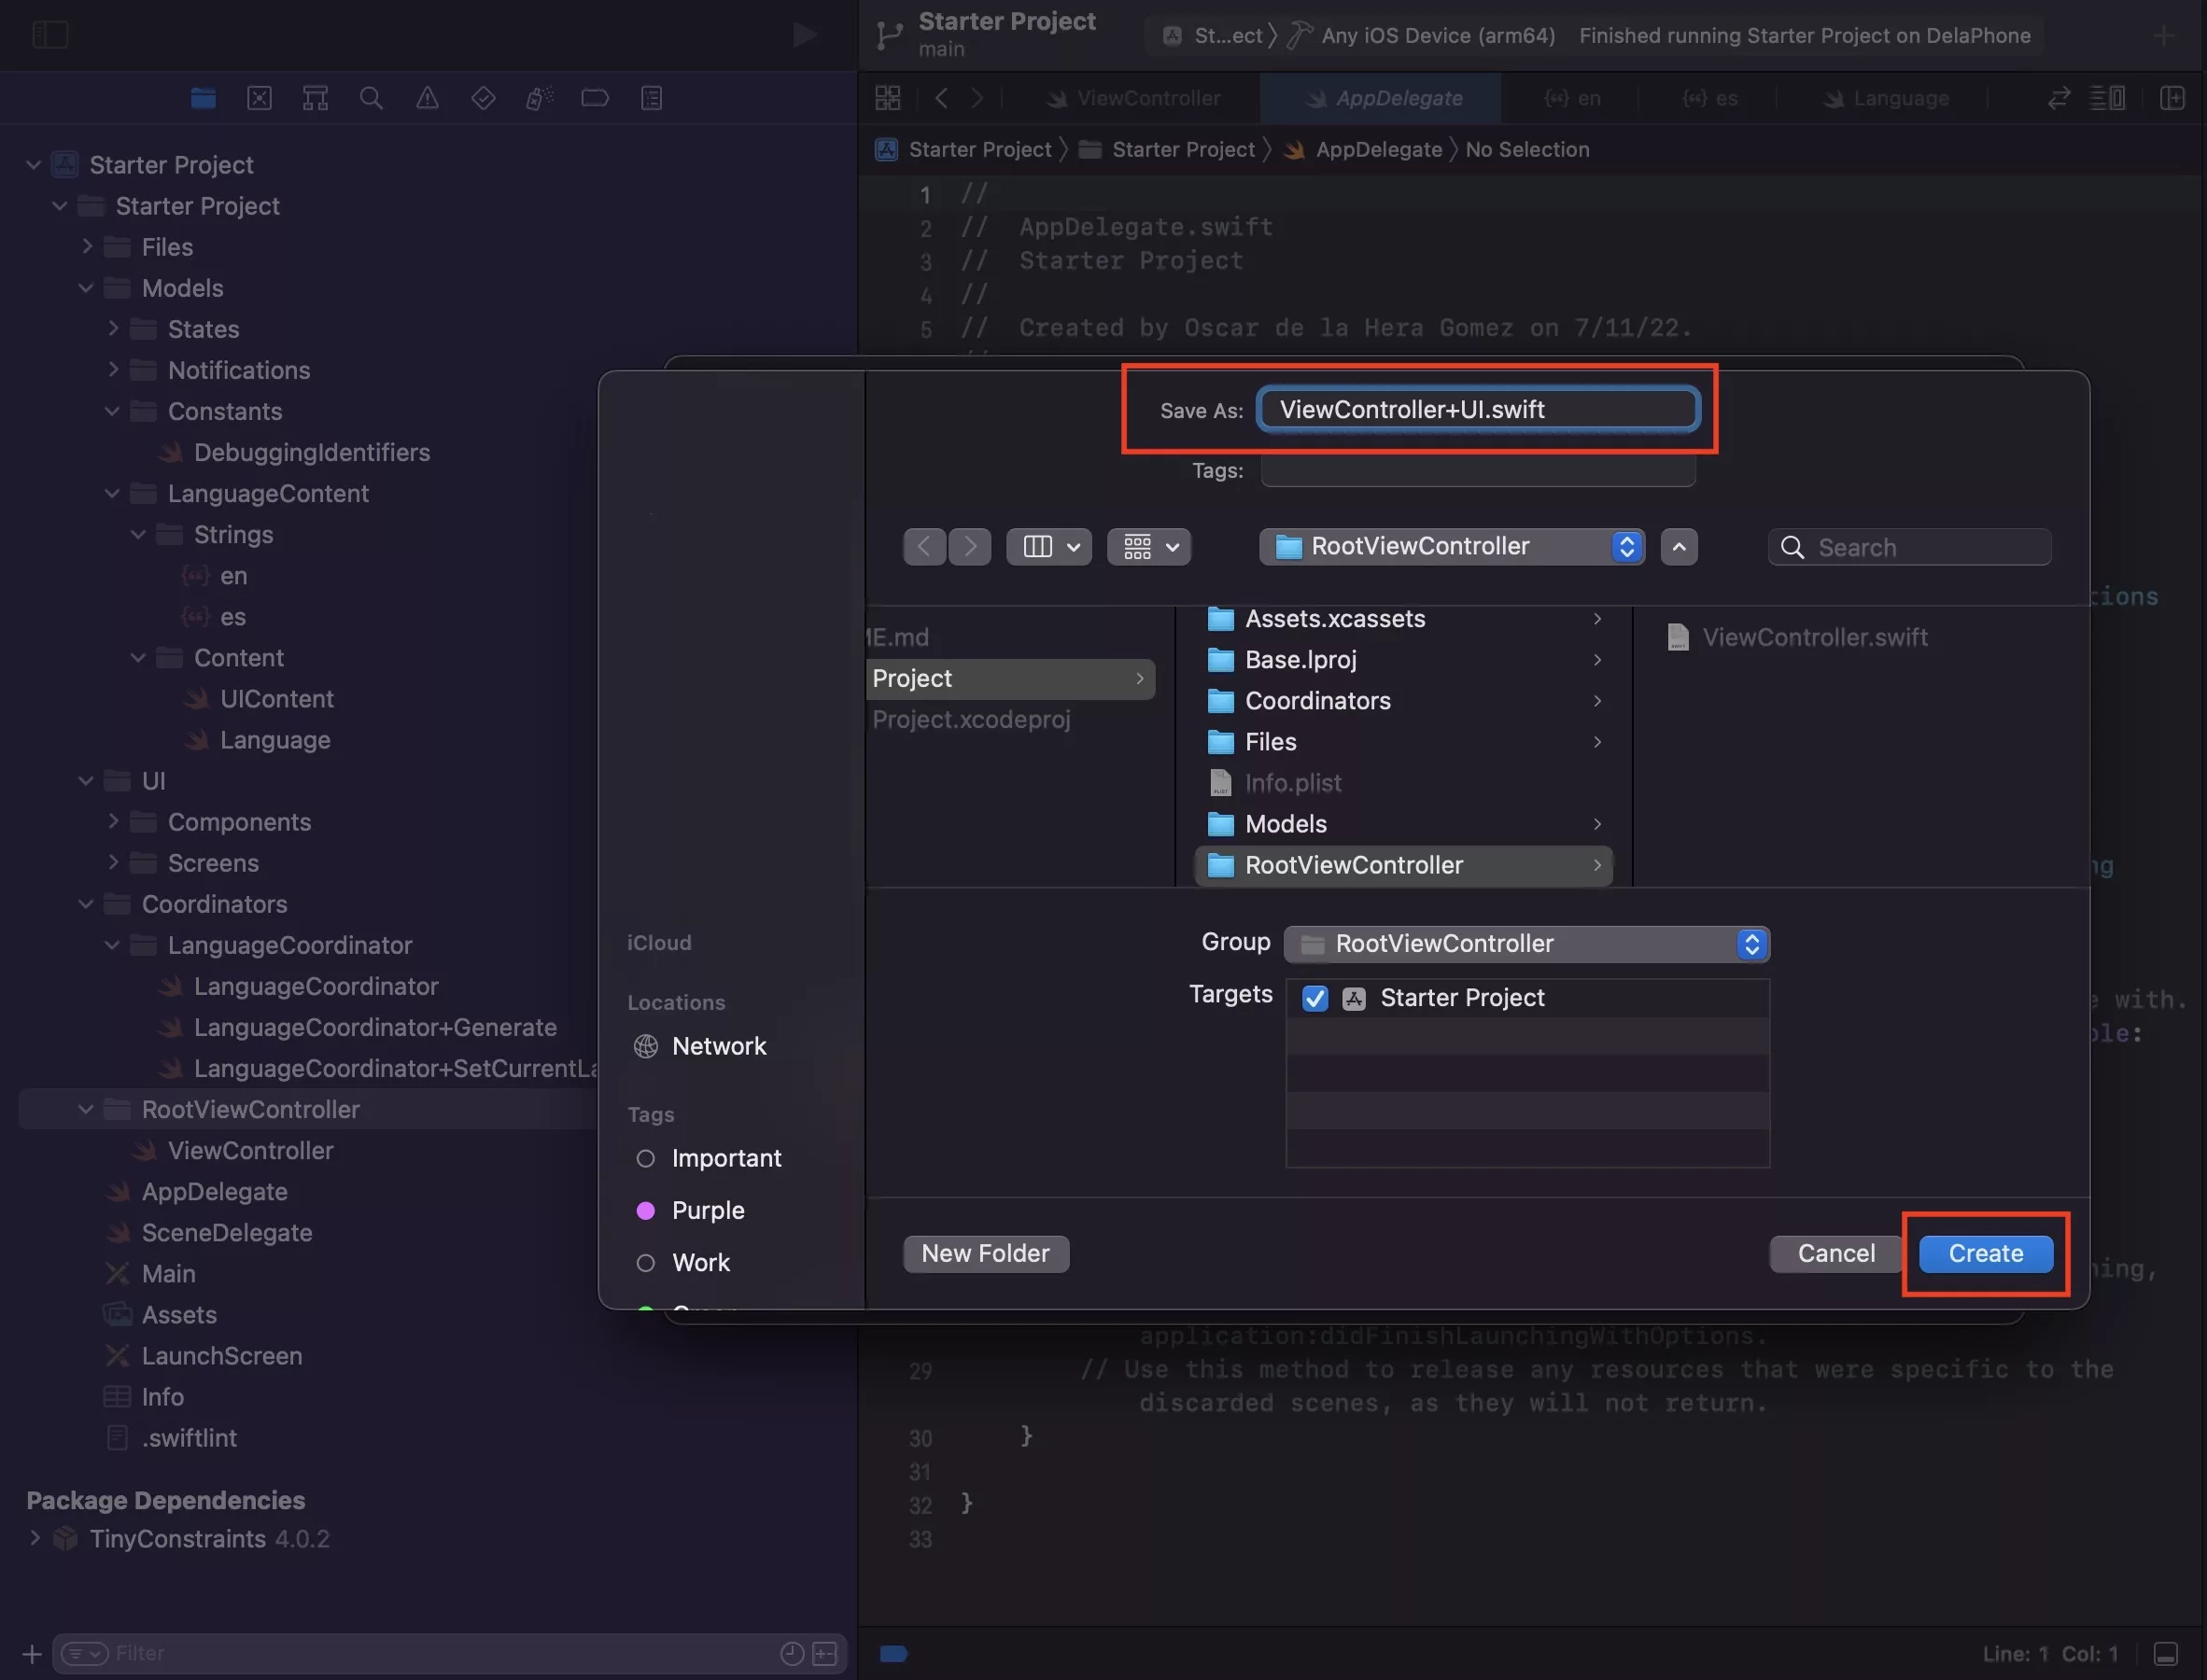
Select the RootViewController folder and press Command + N.
This will select the Swift, iOS file type. Press Next.
After that enter the name of your file - ViewController+UI - and press Create.
Step Two: Create your extension and setup UI function
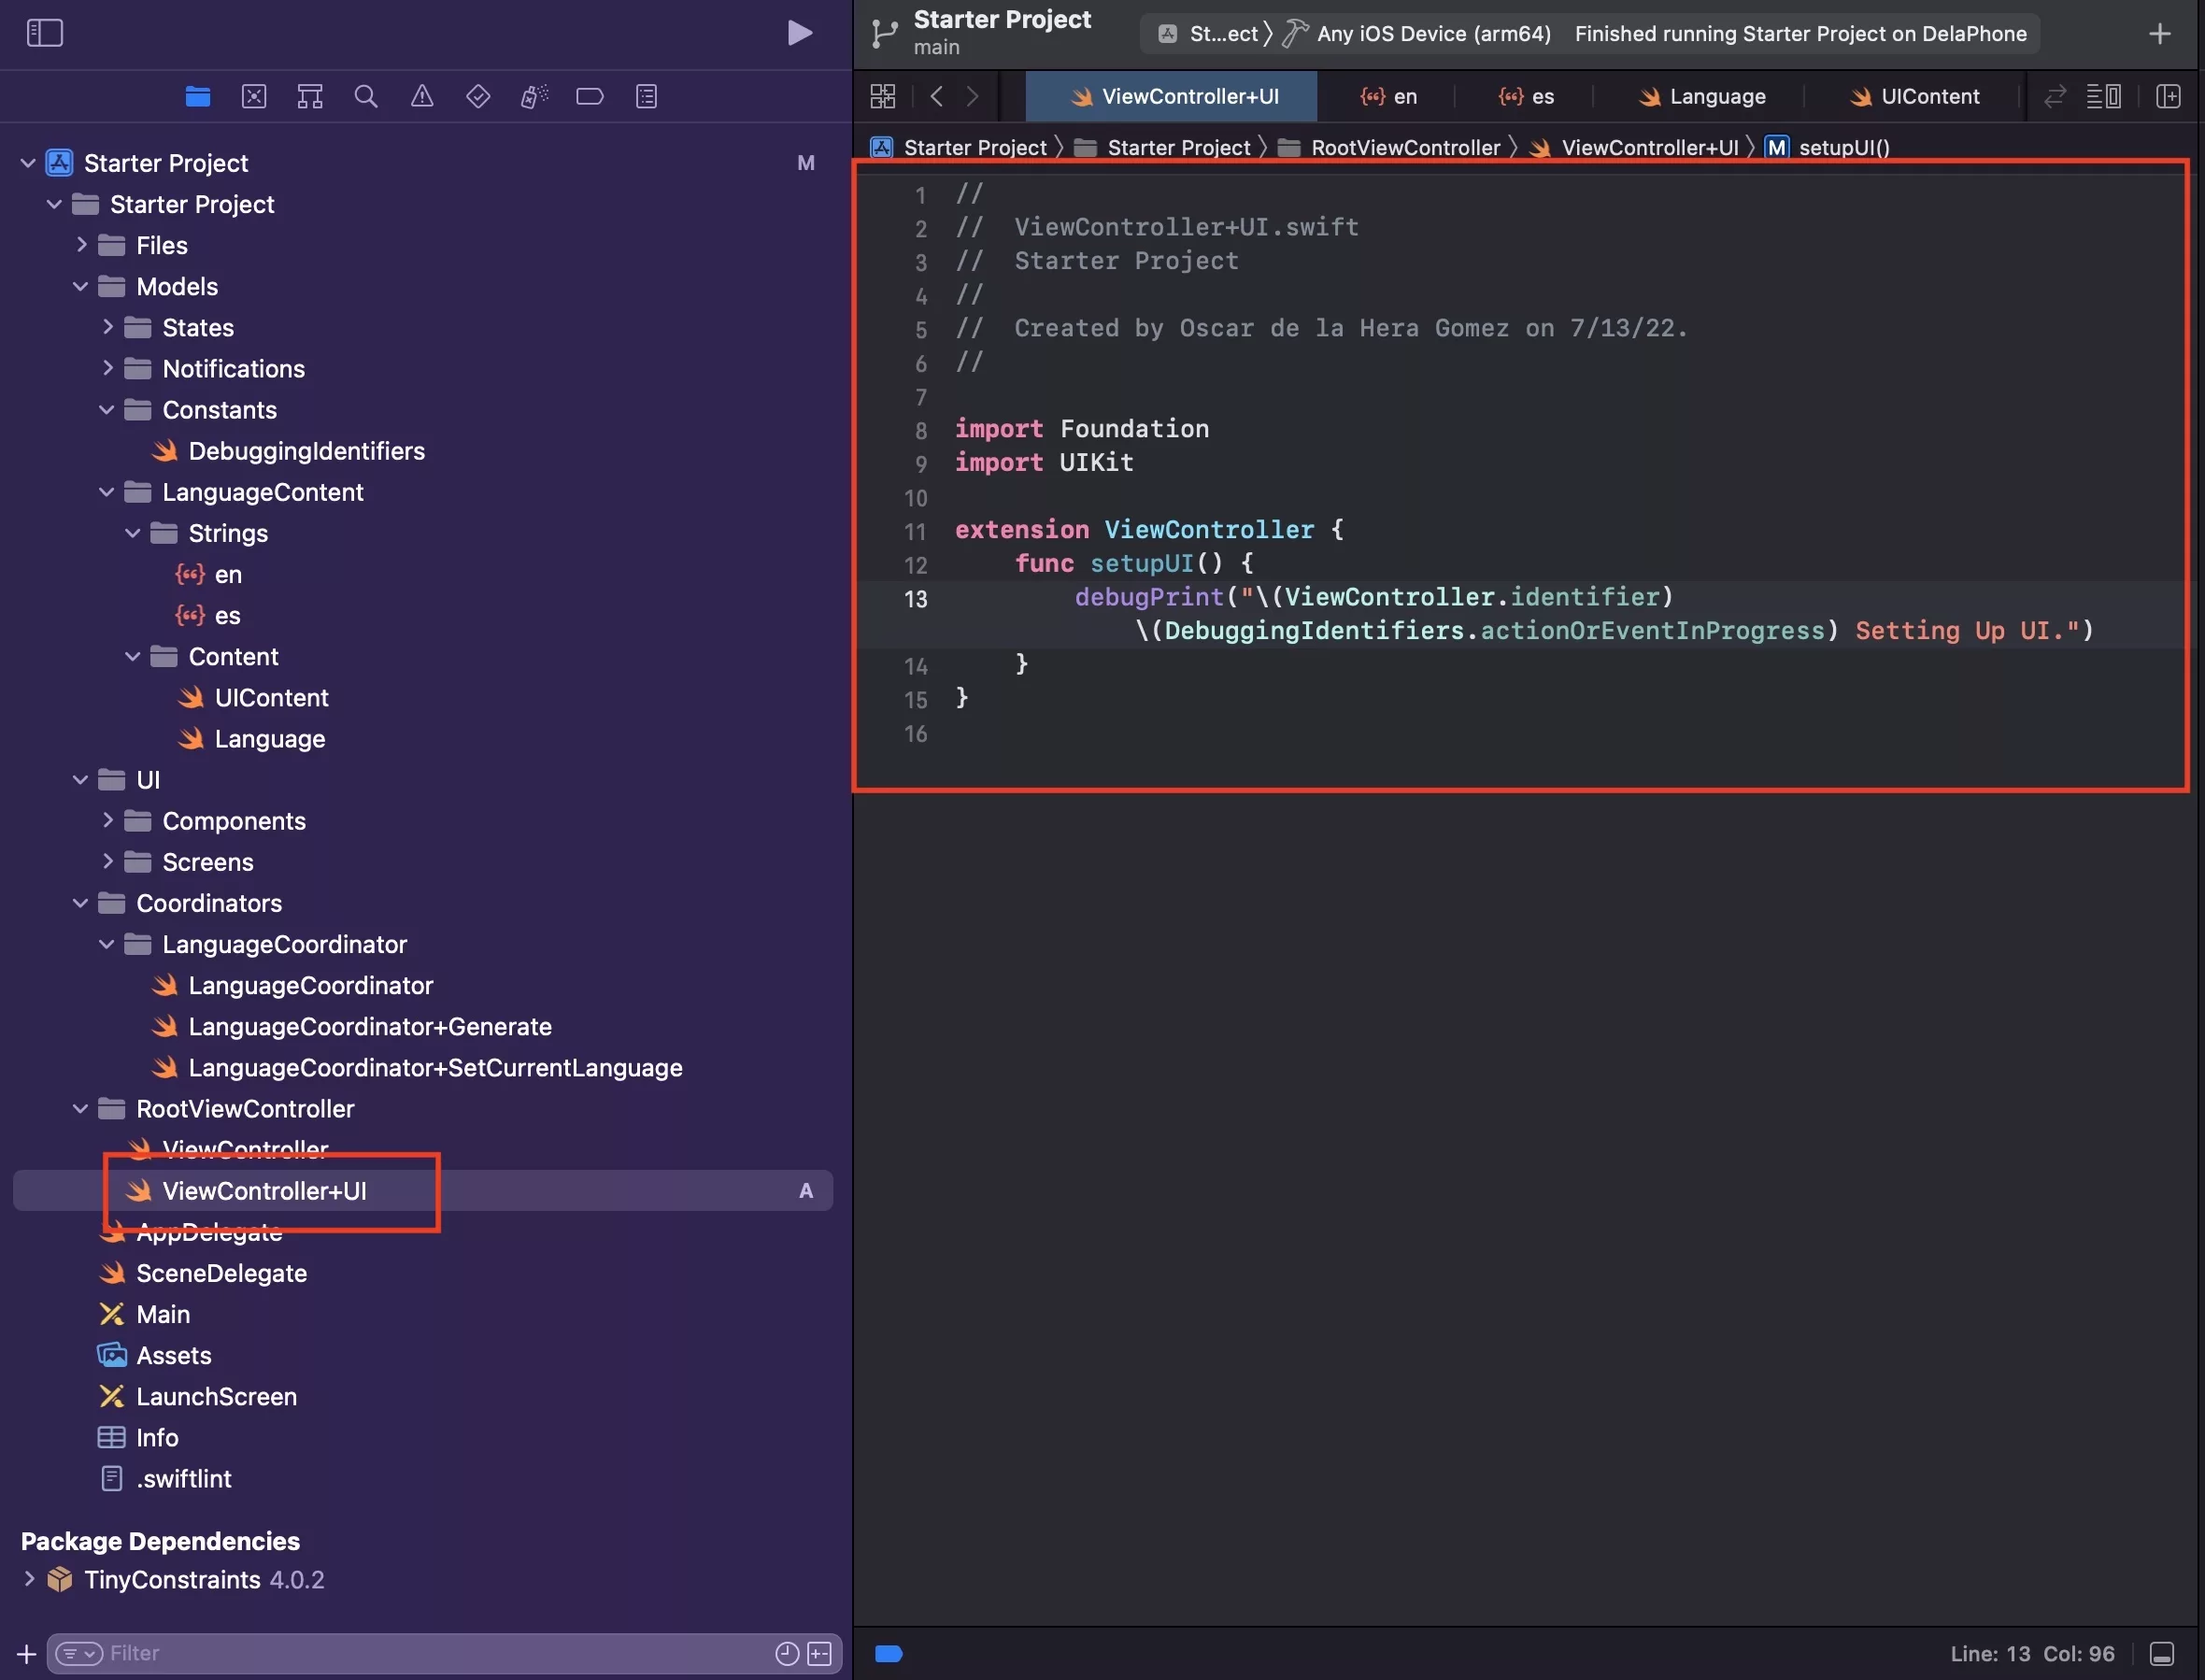
Copy the code below into your ViewController+UI.swift file.
Step Three: Call your setupUI function
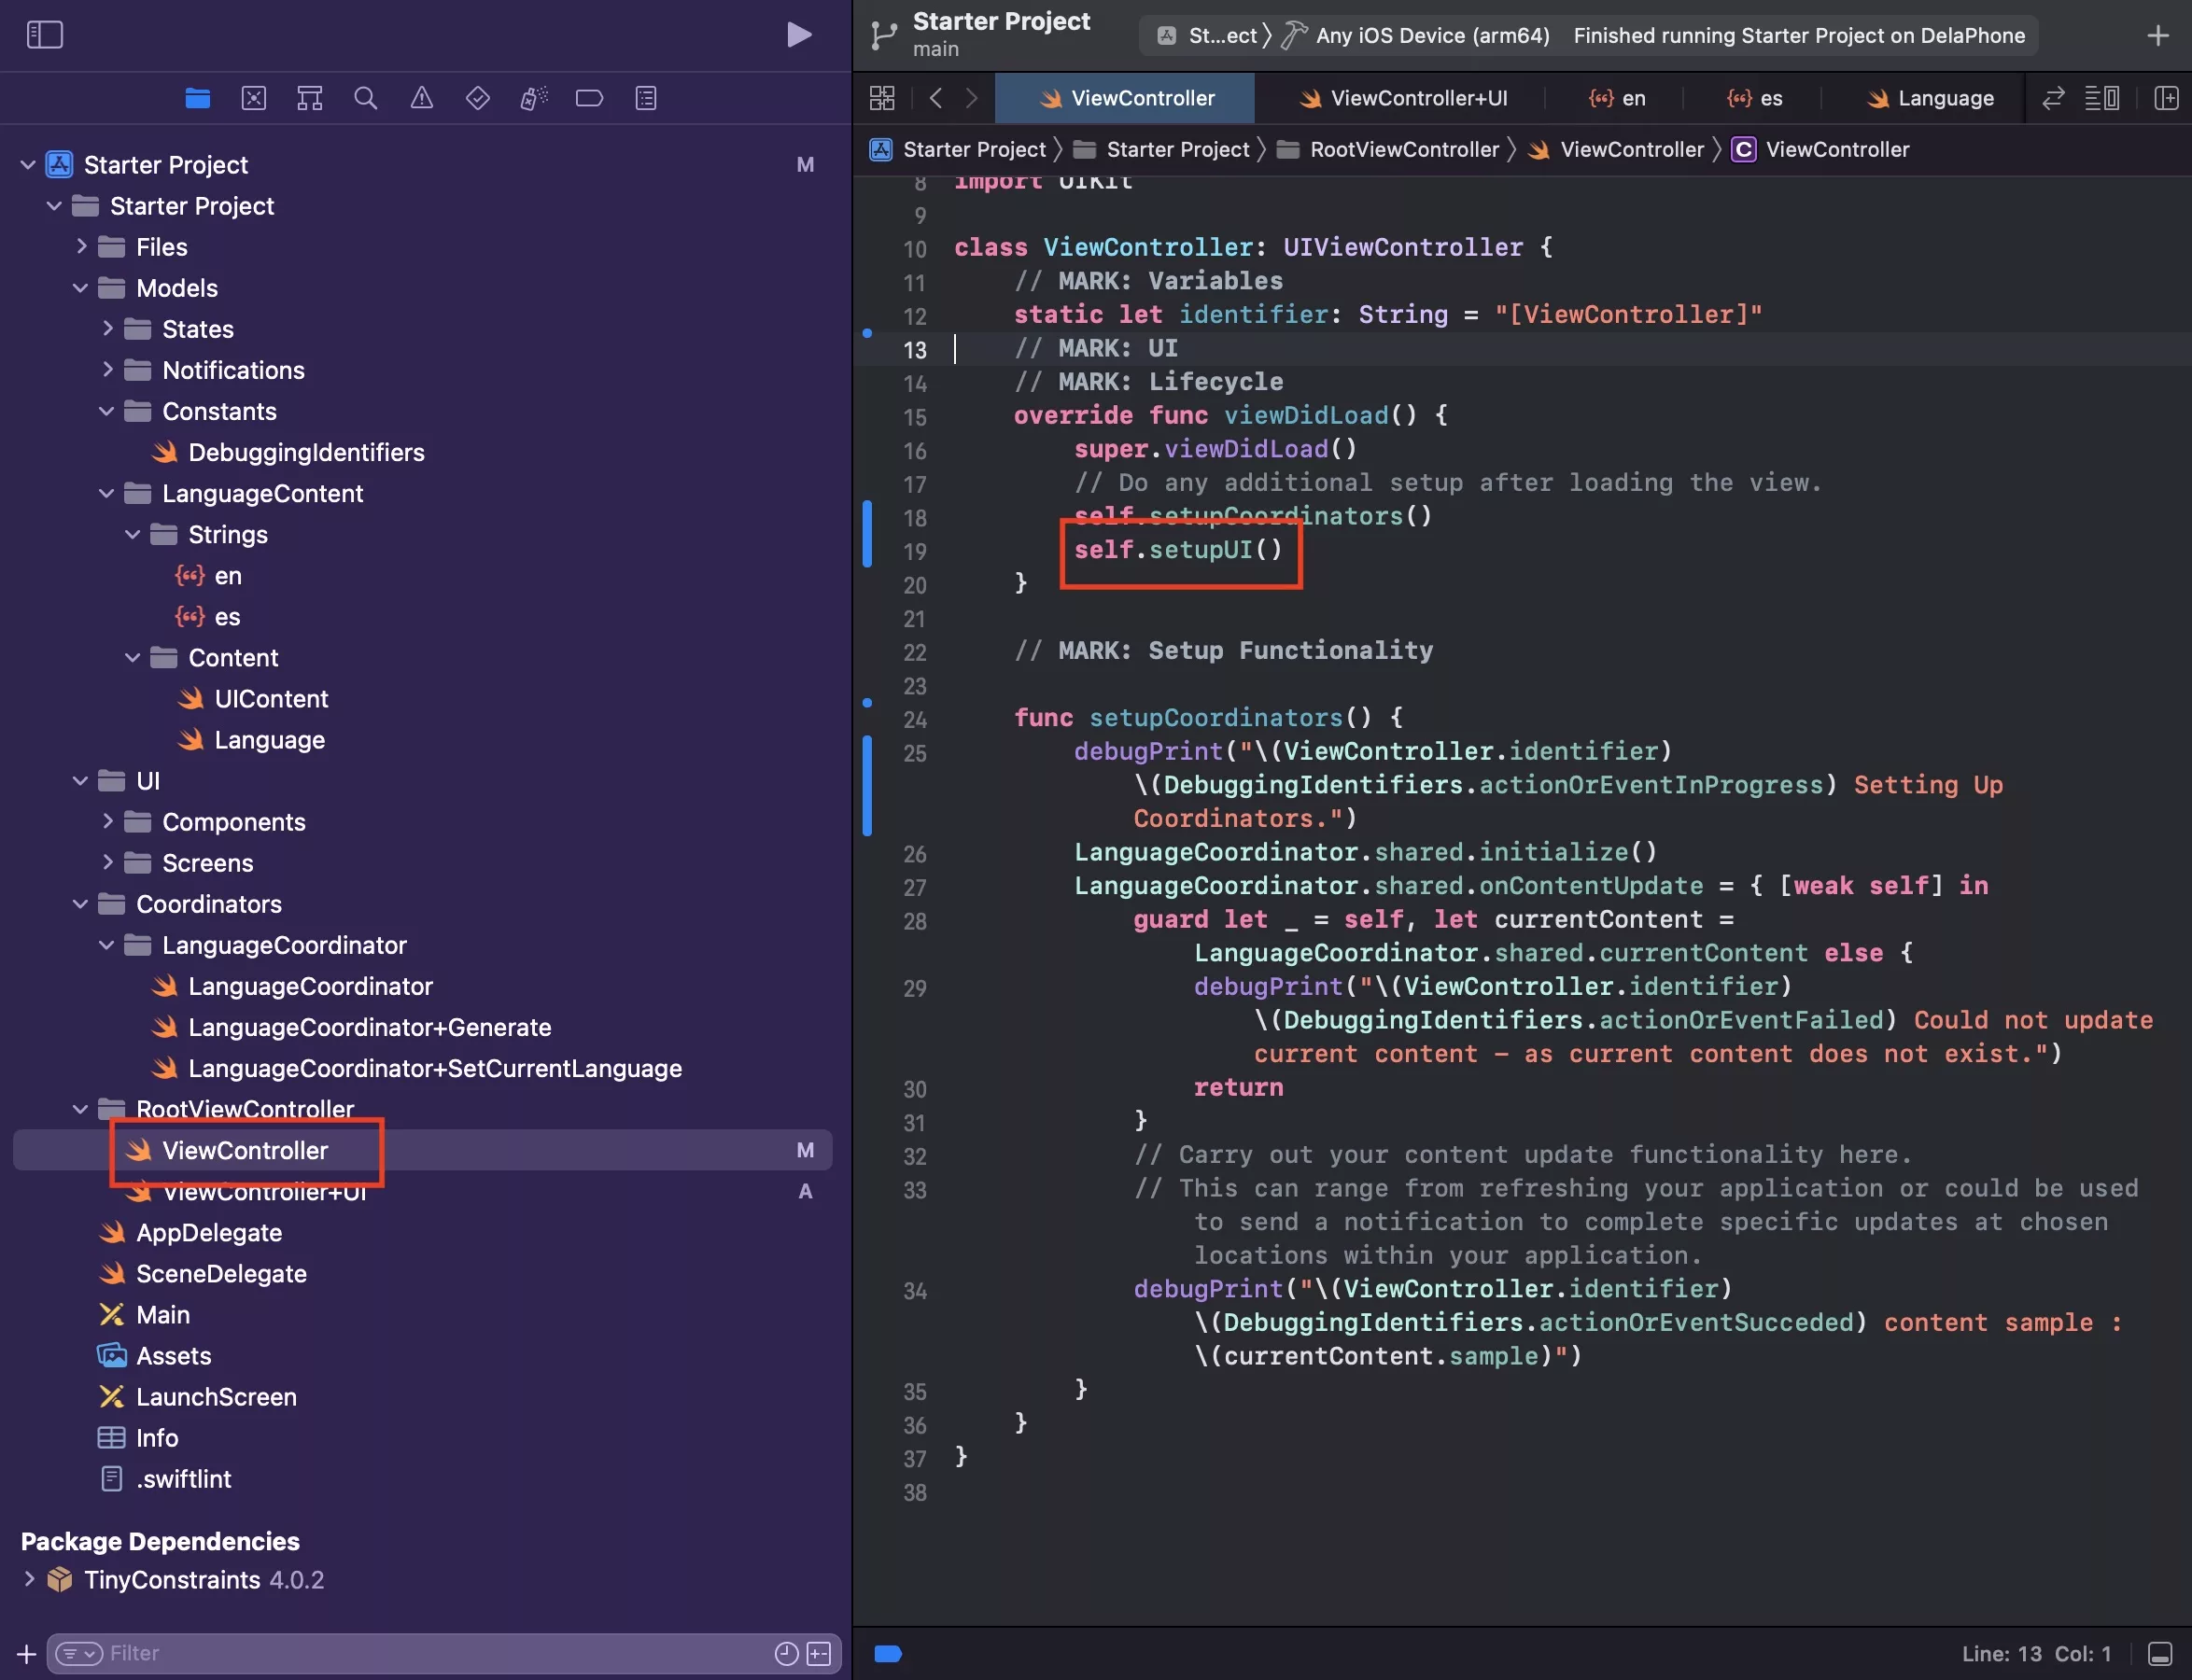
In your ViewController.swift file, call self.setupUI() from ViewDidLoad.
Step Four: Create your label
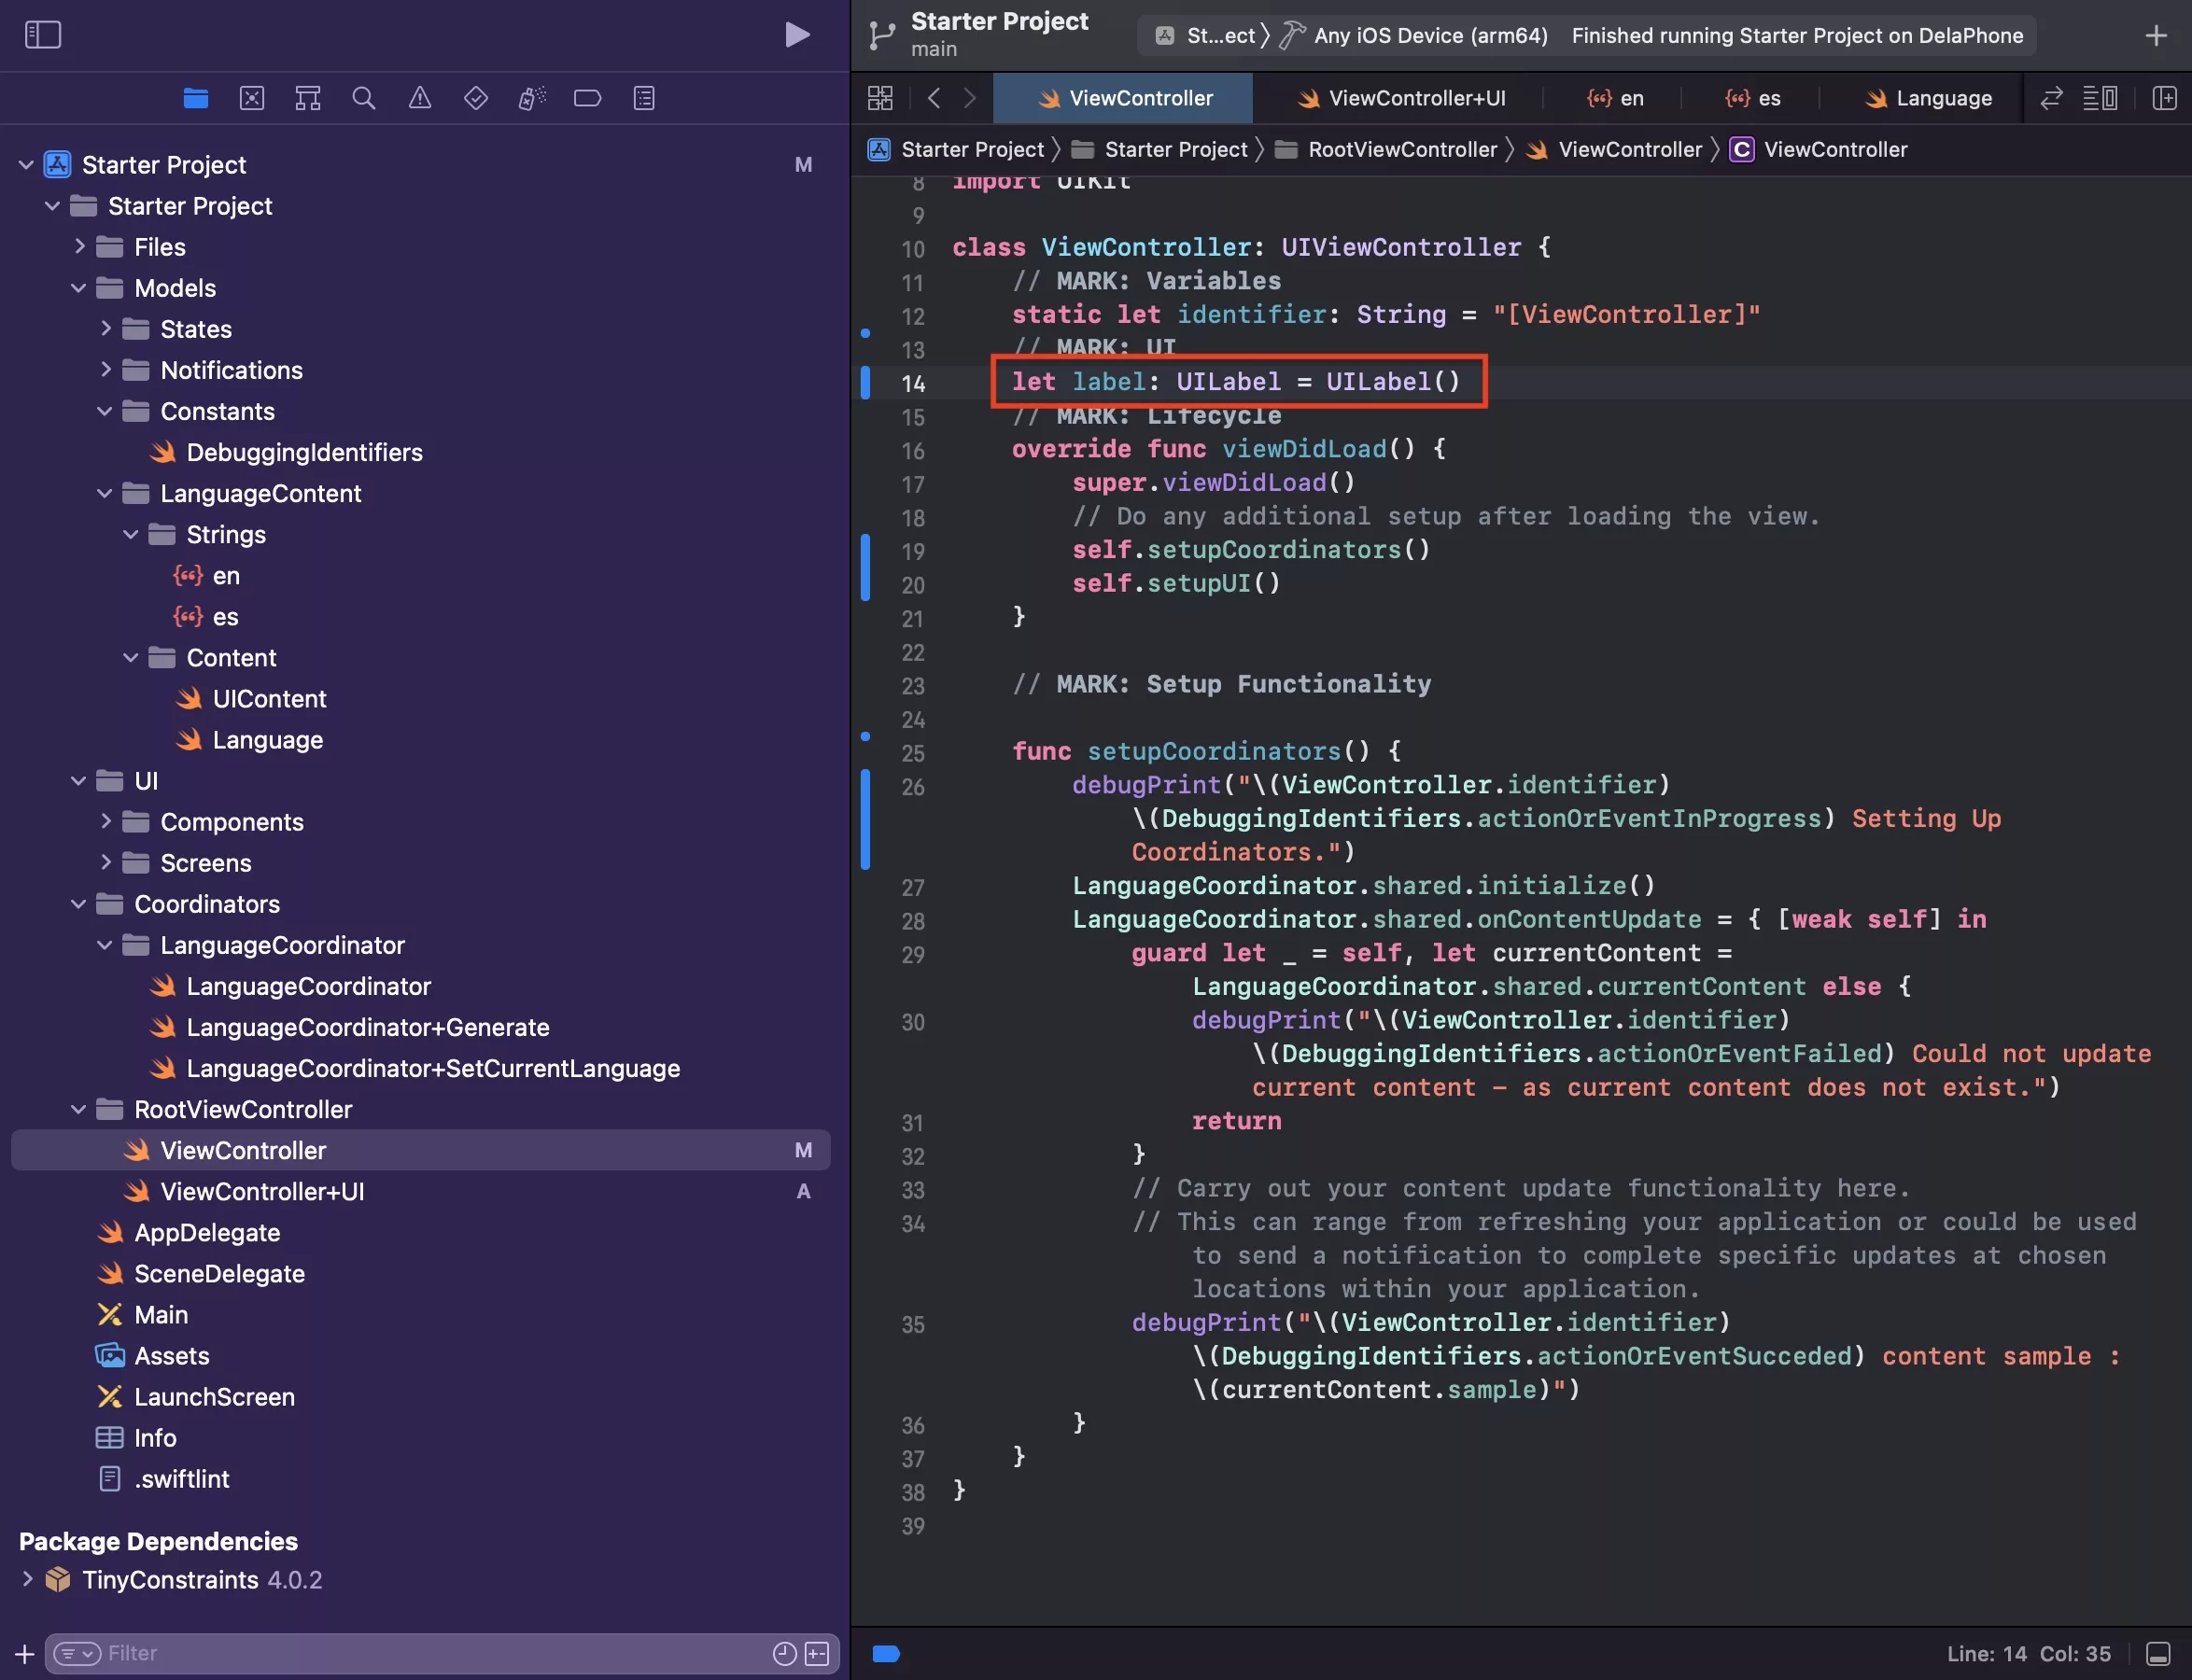
Under // MARK: UI create your label as shown above.
Step Five: Add your Label to your view controller
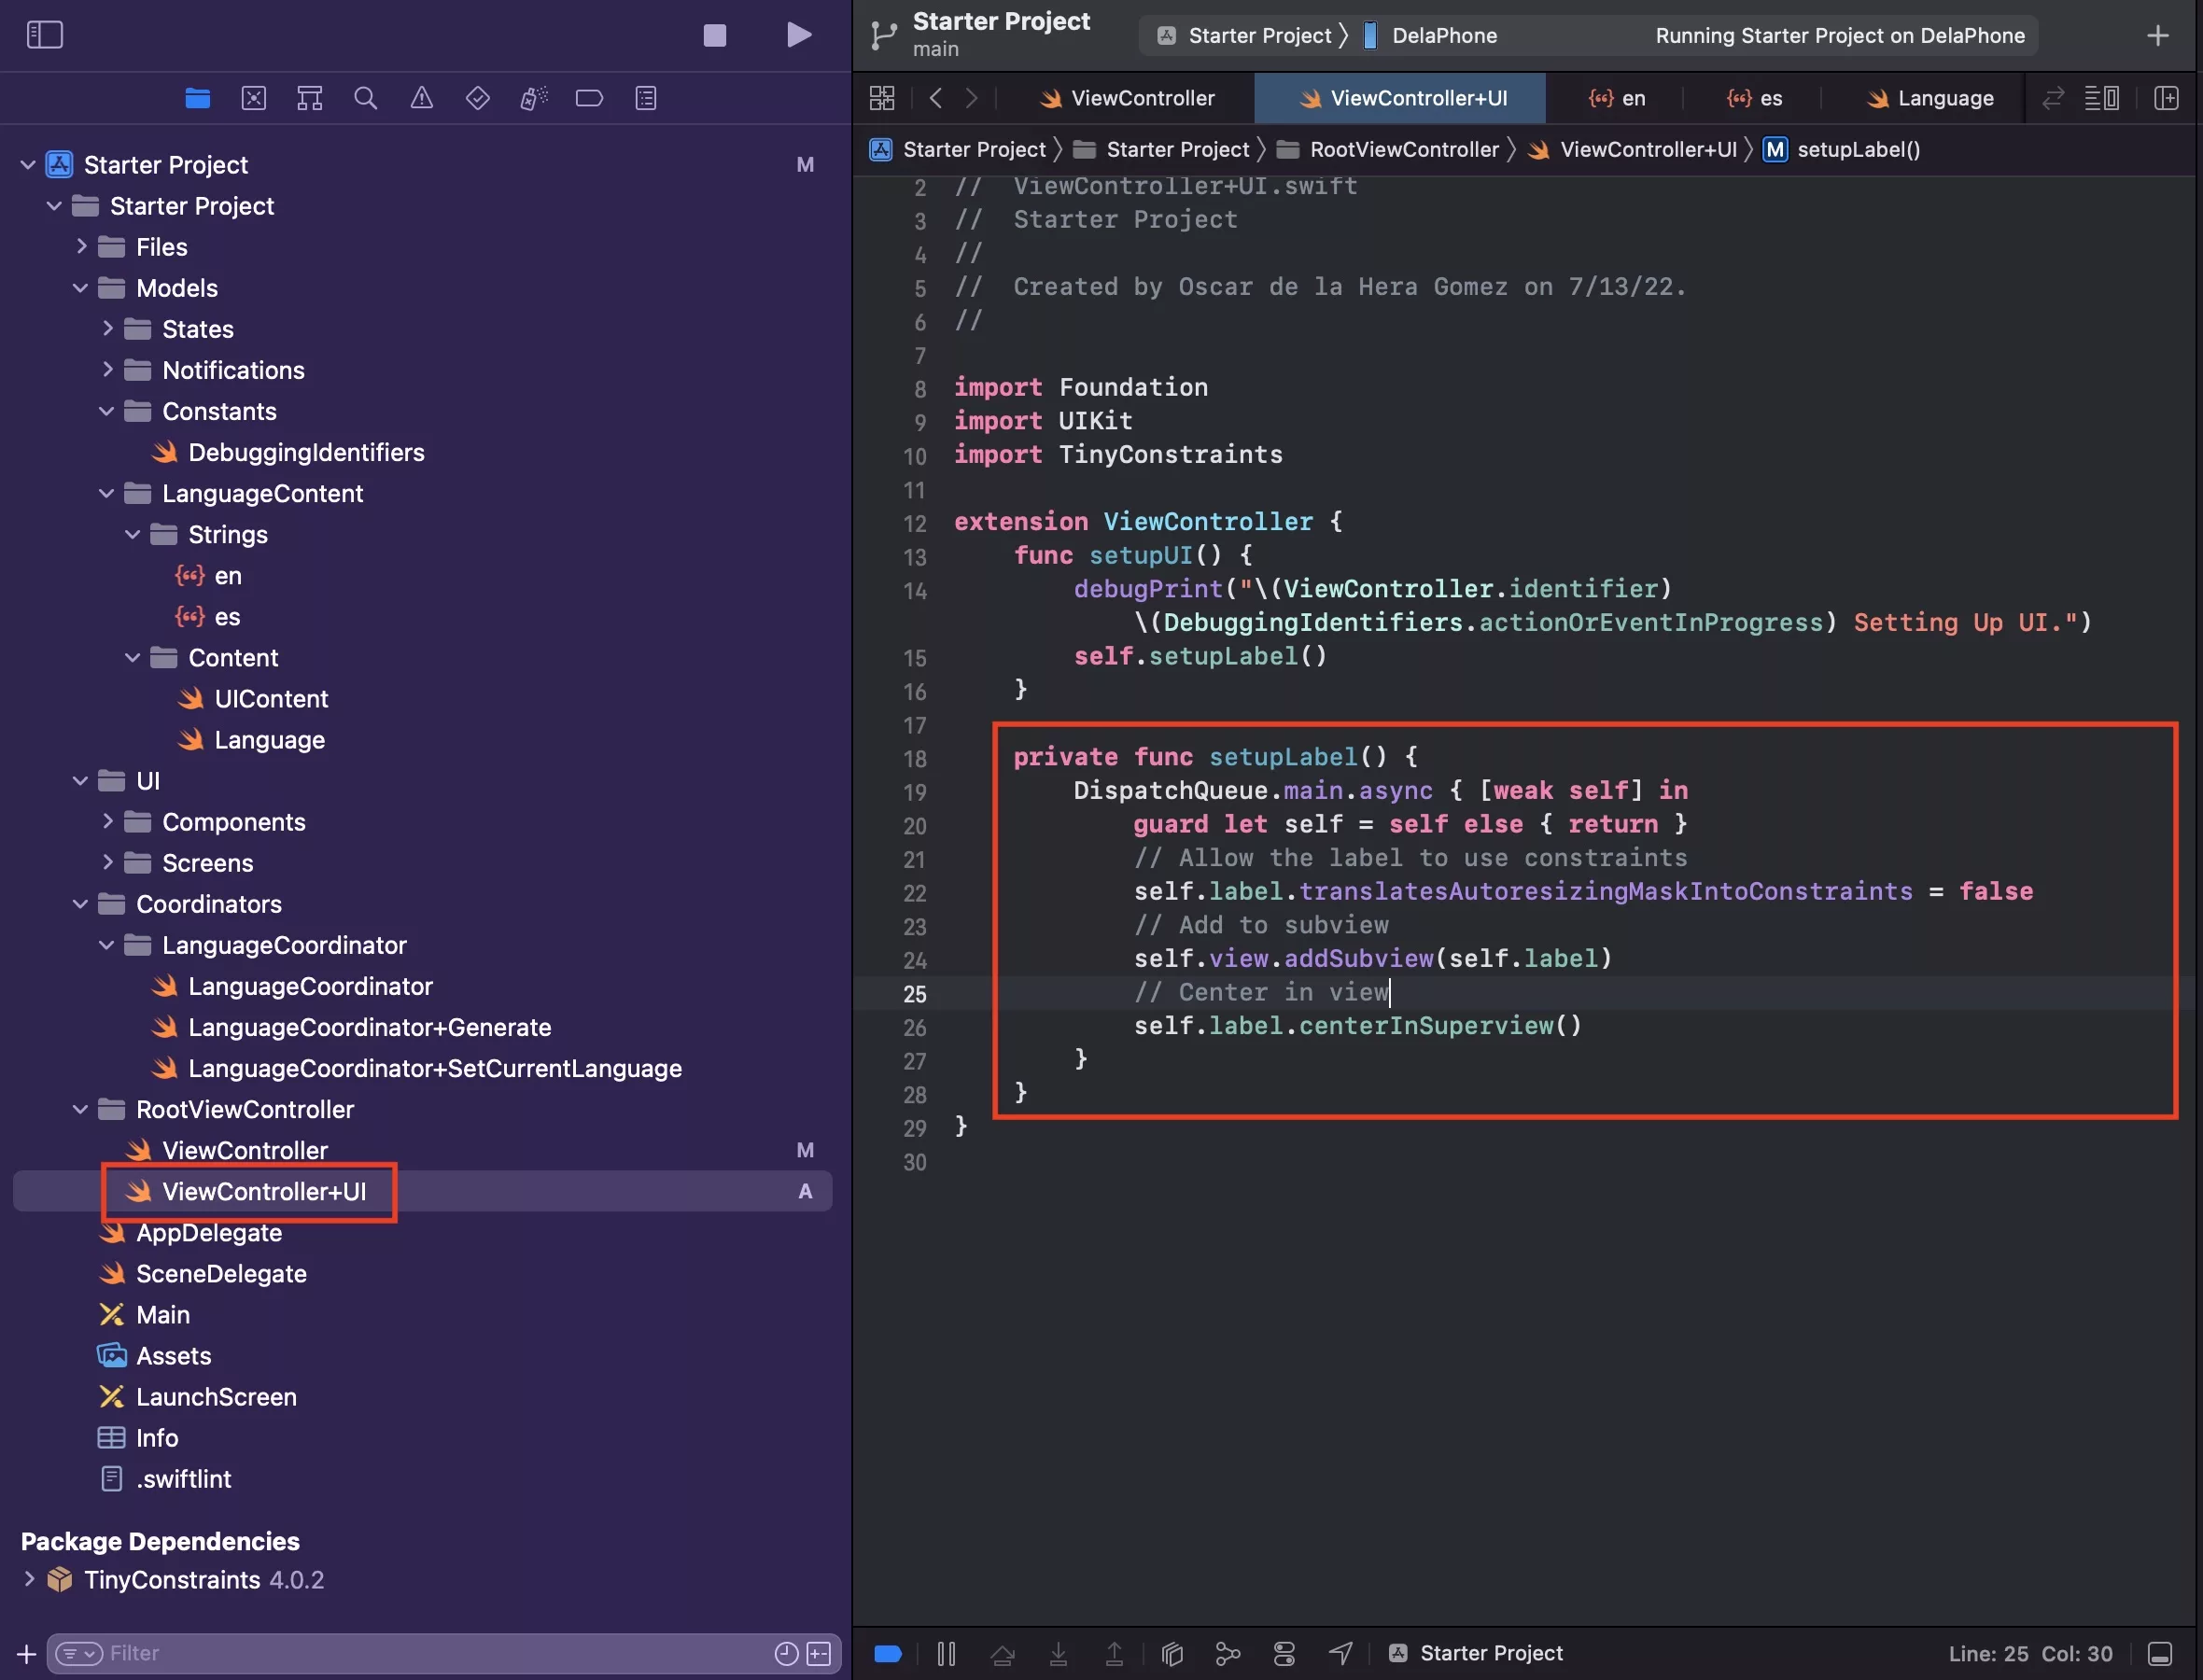
In ViewController+UI.swift create a private function called setupLabel and add the label to the view.
In the example code below, we use TinyConstraints to simplify how we layout UI - in this case a label - in our applications.
Step Six: Set your label text
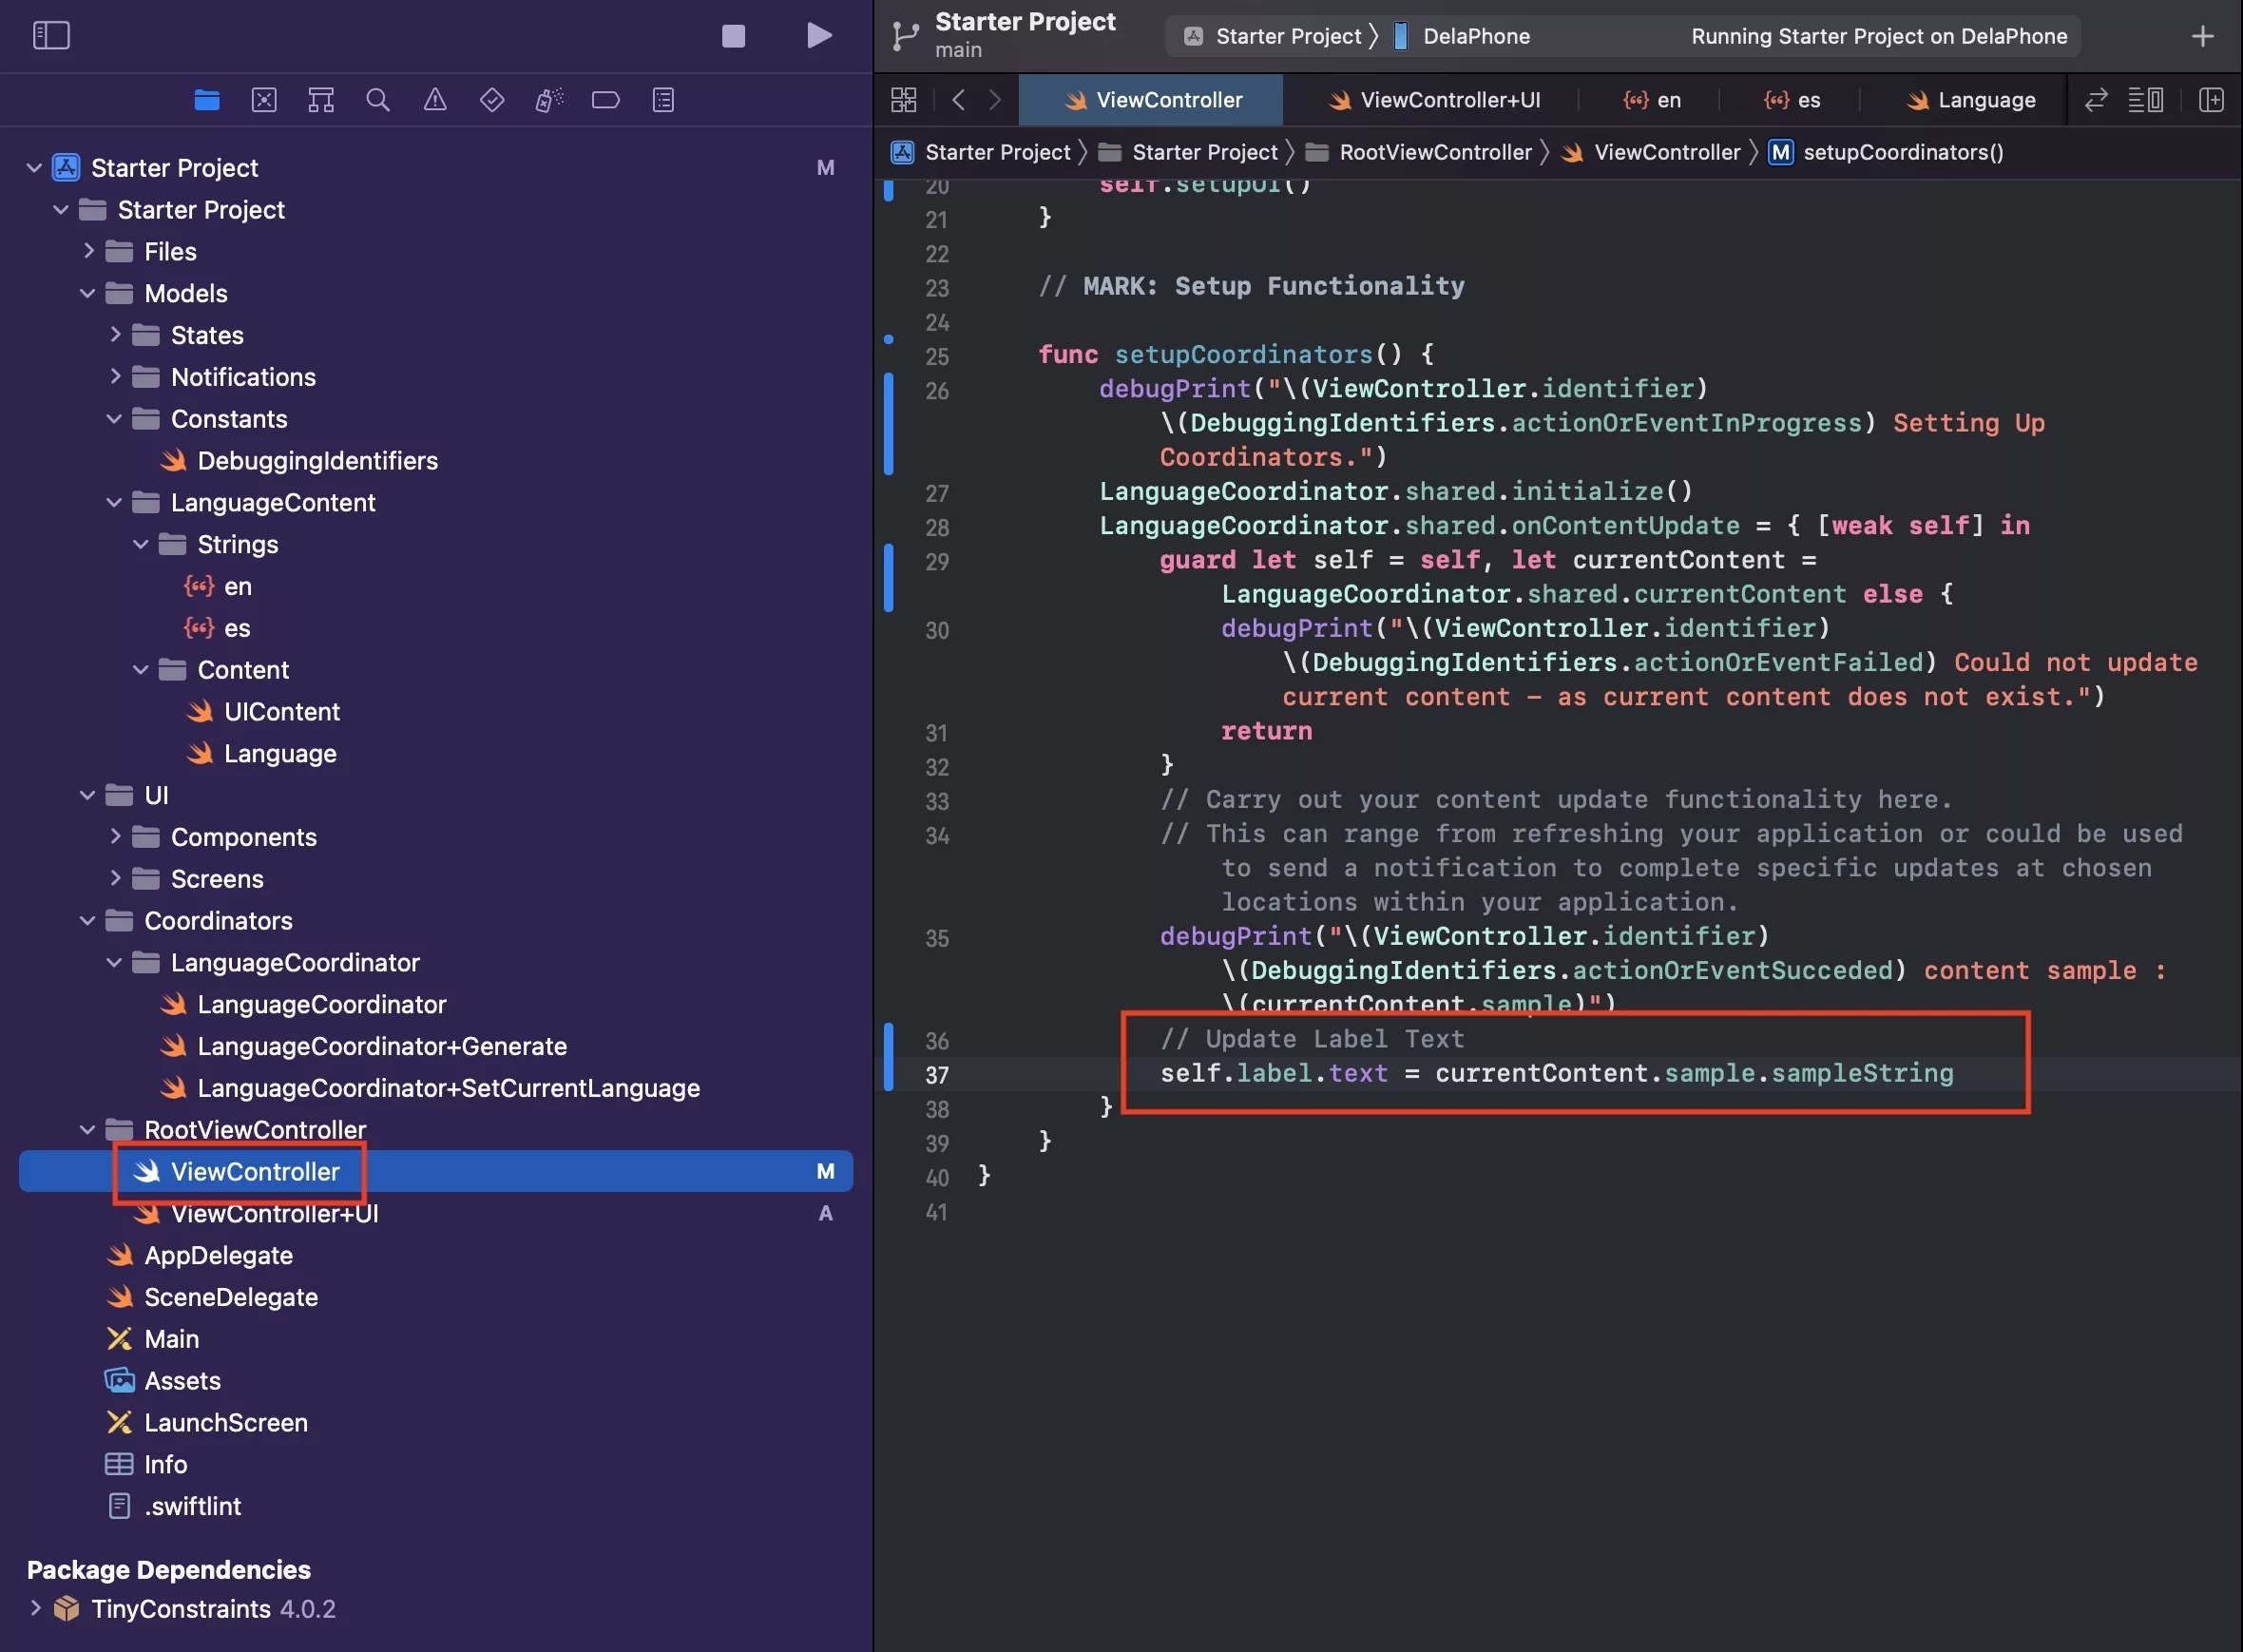
In ViewController.swift update the label text within the LanguageCoordinator.onContentUpdate callback.
Step Seven: Verify
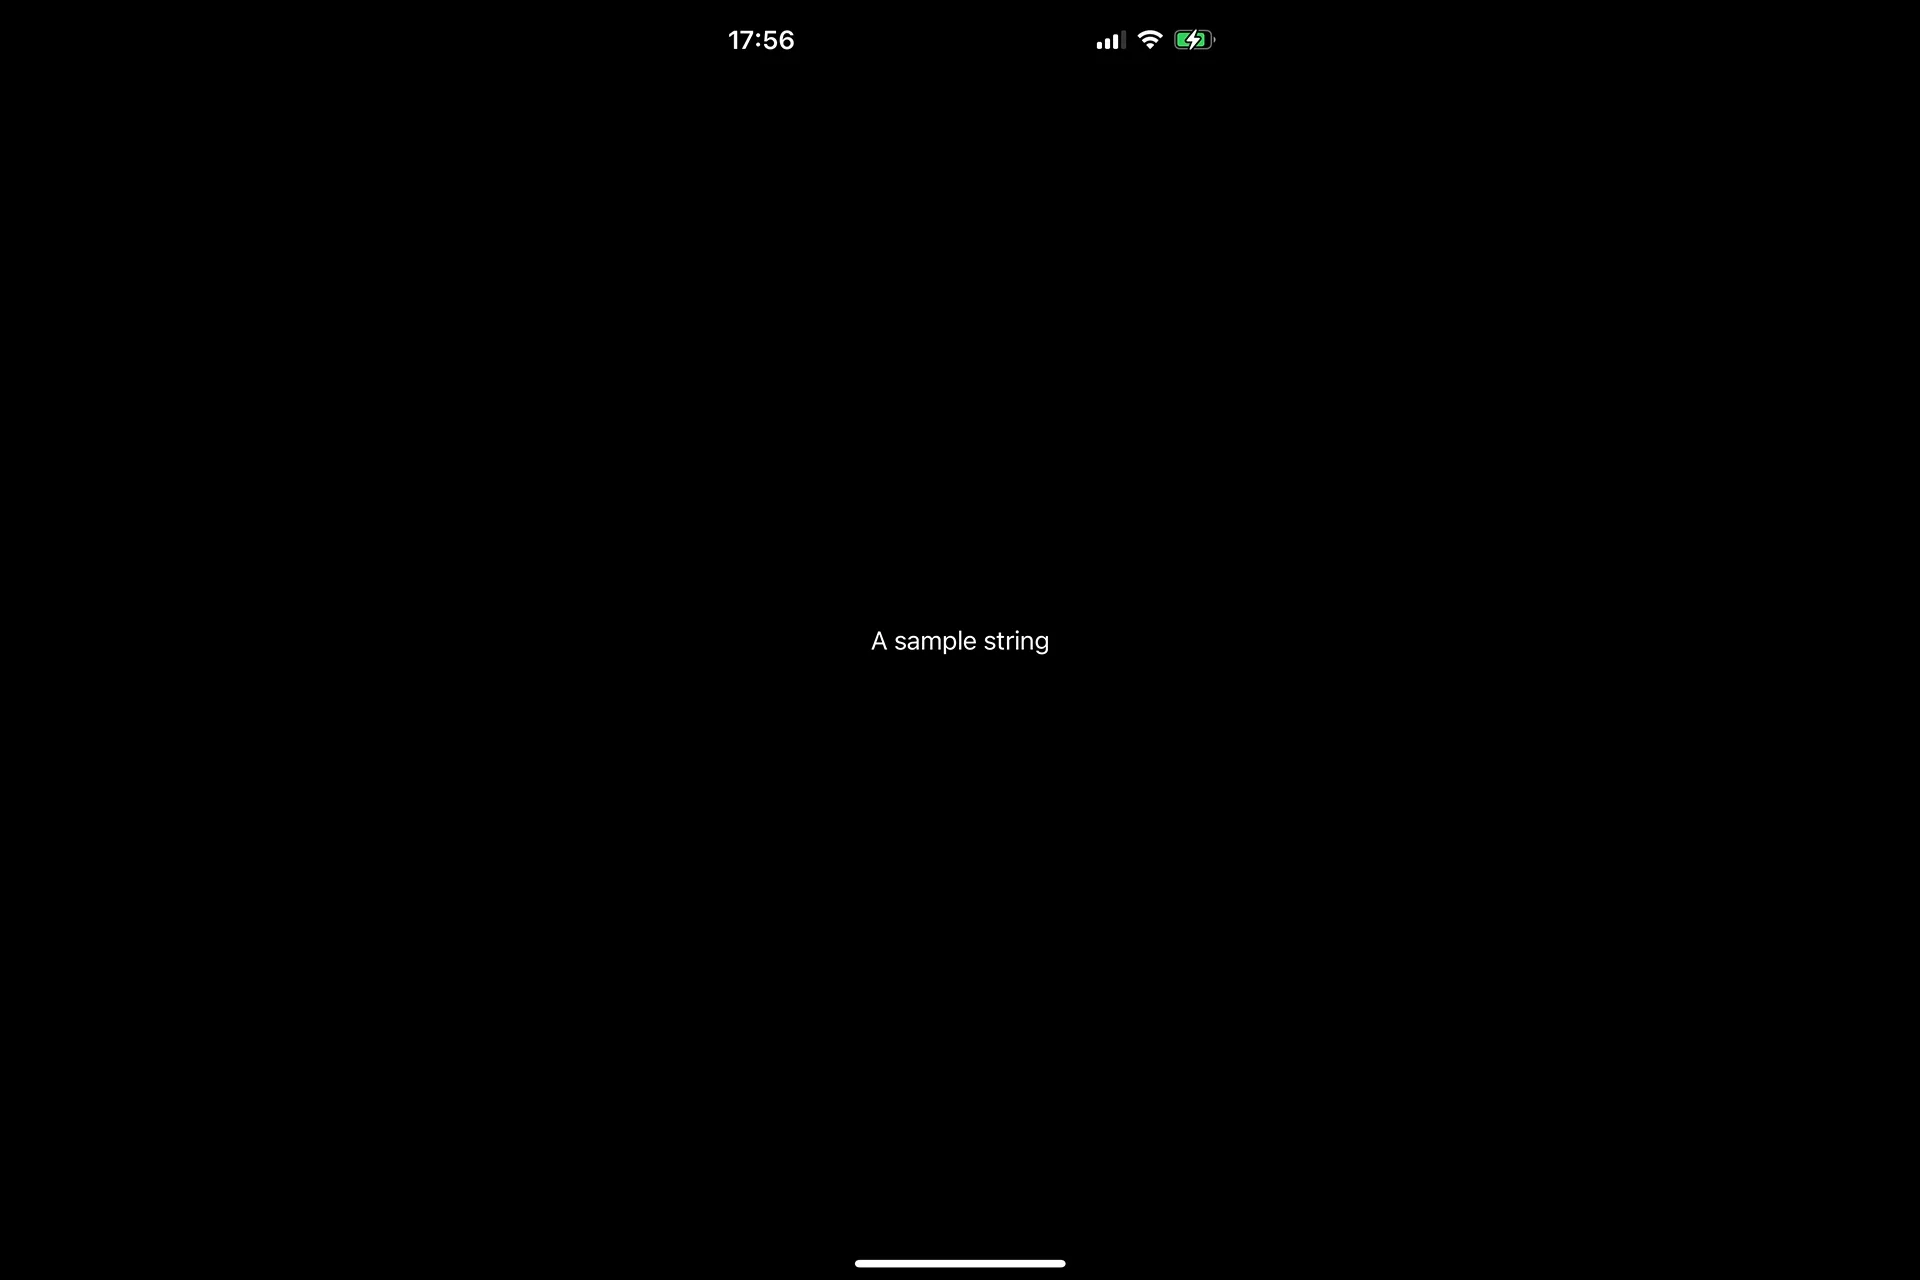
Run your app and verify the text shows up.
Any Questions
We are actively looking for feedback on how to improve this resource. Please send us a note to inquiries@delasign.com with any thoughts or feedback you may have.