How to setup StoreKit in XCode
A step by step guide on setting up StoreKit Configuration File to work locally or sync with App Store Connect in XCode.

A step by step guide on setting up StoreKit Configuration File to work locally or sync with App Store Connect in XCode.
The following tutorial uses our Open Source Swift starter project to demonstrate how to setup a local StoreKit file as well as one sync'd to App Store Connect.
We recommend that you clone our Open Source Swift Starter Project, checking out the main branch and carrying out the steps below. The changes can be found on the tutorial/storekit/setup branch.
git clone git@github.com:delasign/swift-starter-project.gitStep One: Create the folder
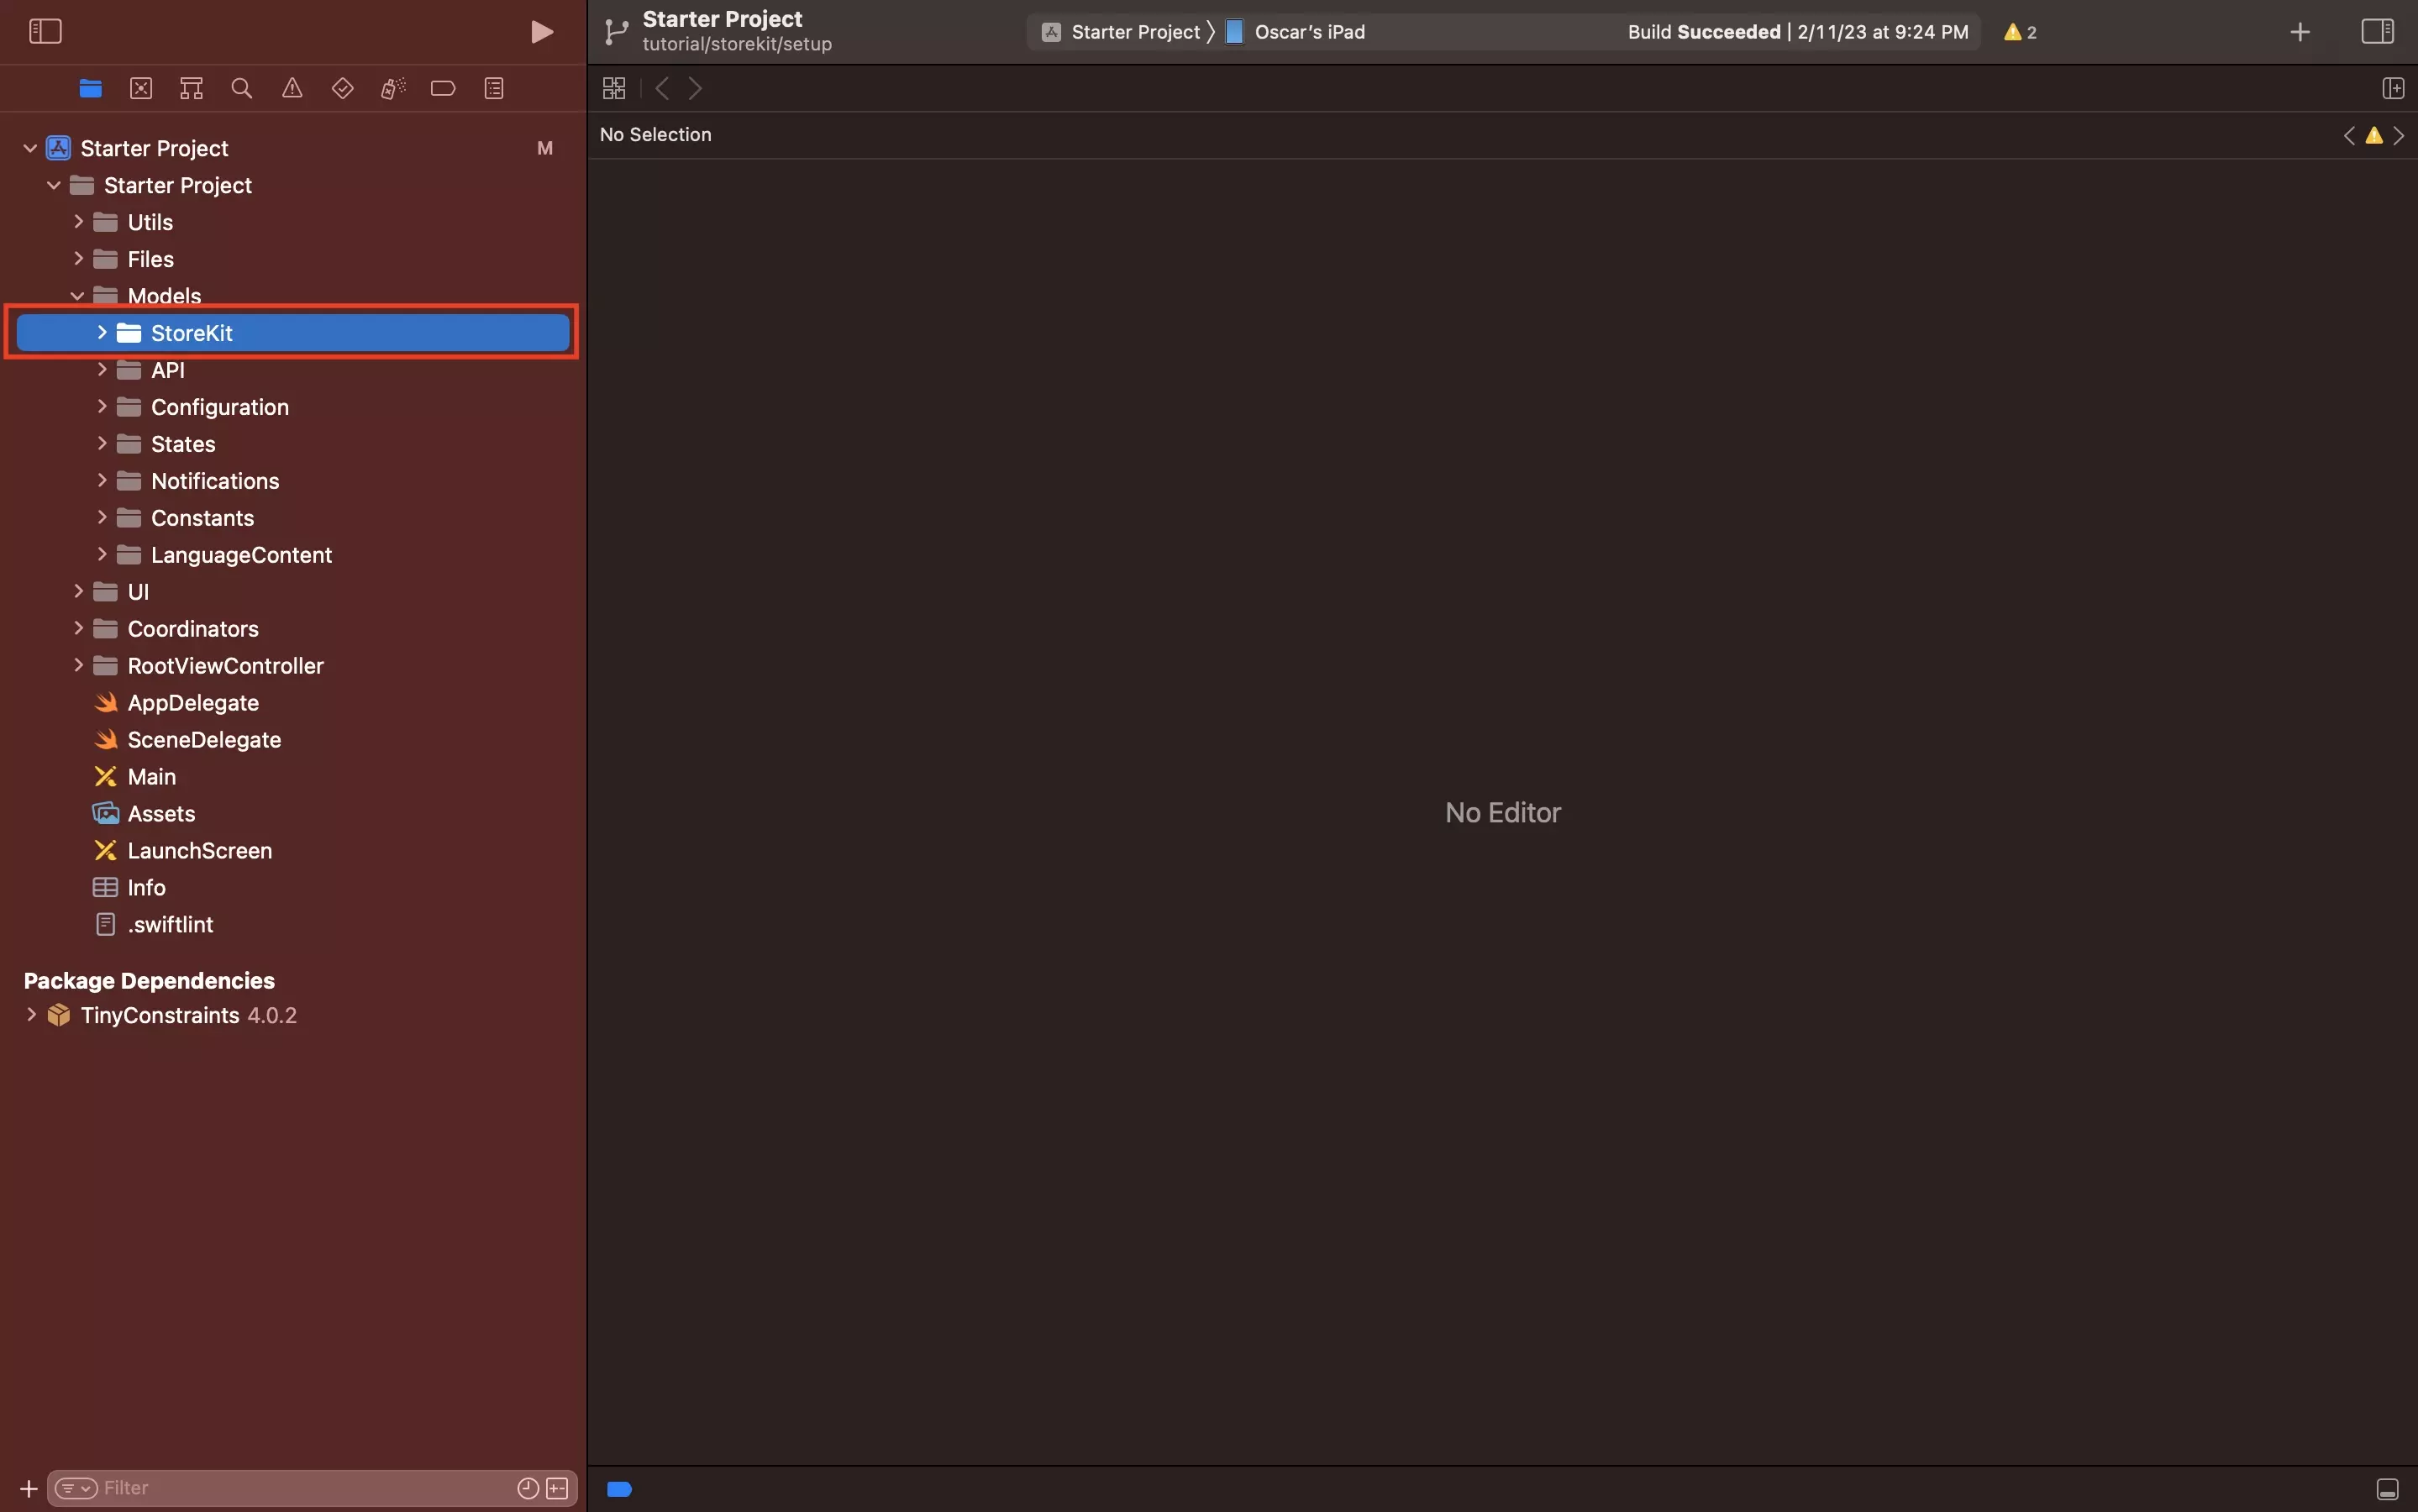
Under Models, create a new folder called StoreKit. This will hold all the relevant files for StoreKit, which will be added in later tutorials.
Step Two: Create the StoreKit file
In the StoreKit folder that you created in Step One, do the following:
A | Create a new StoreKit Configuration File
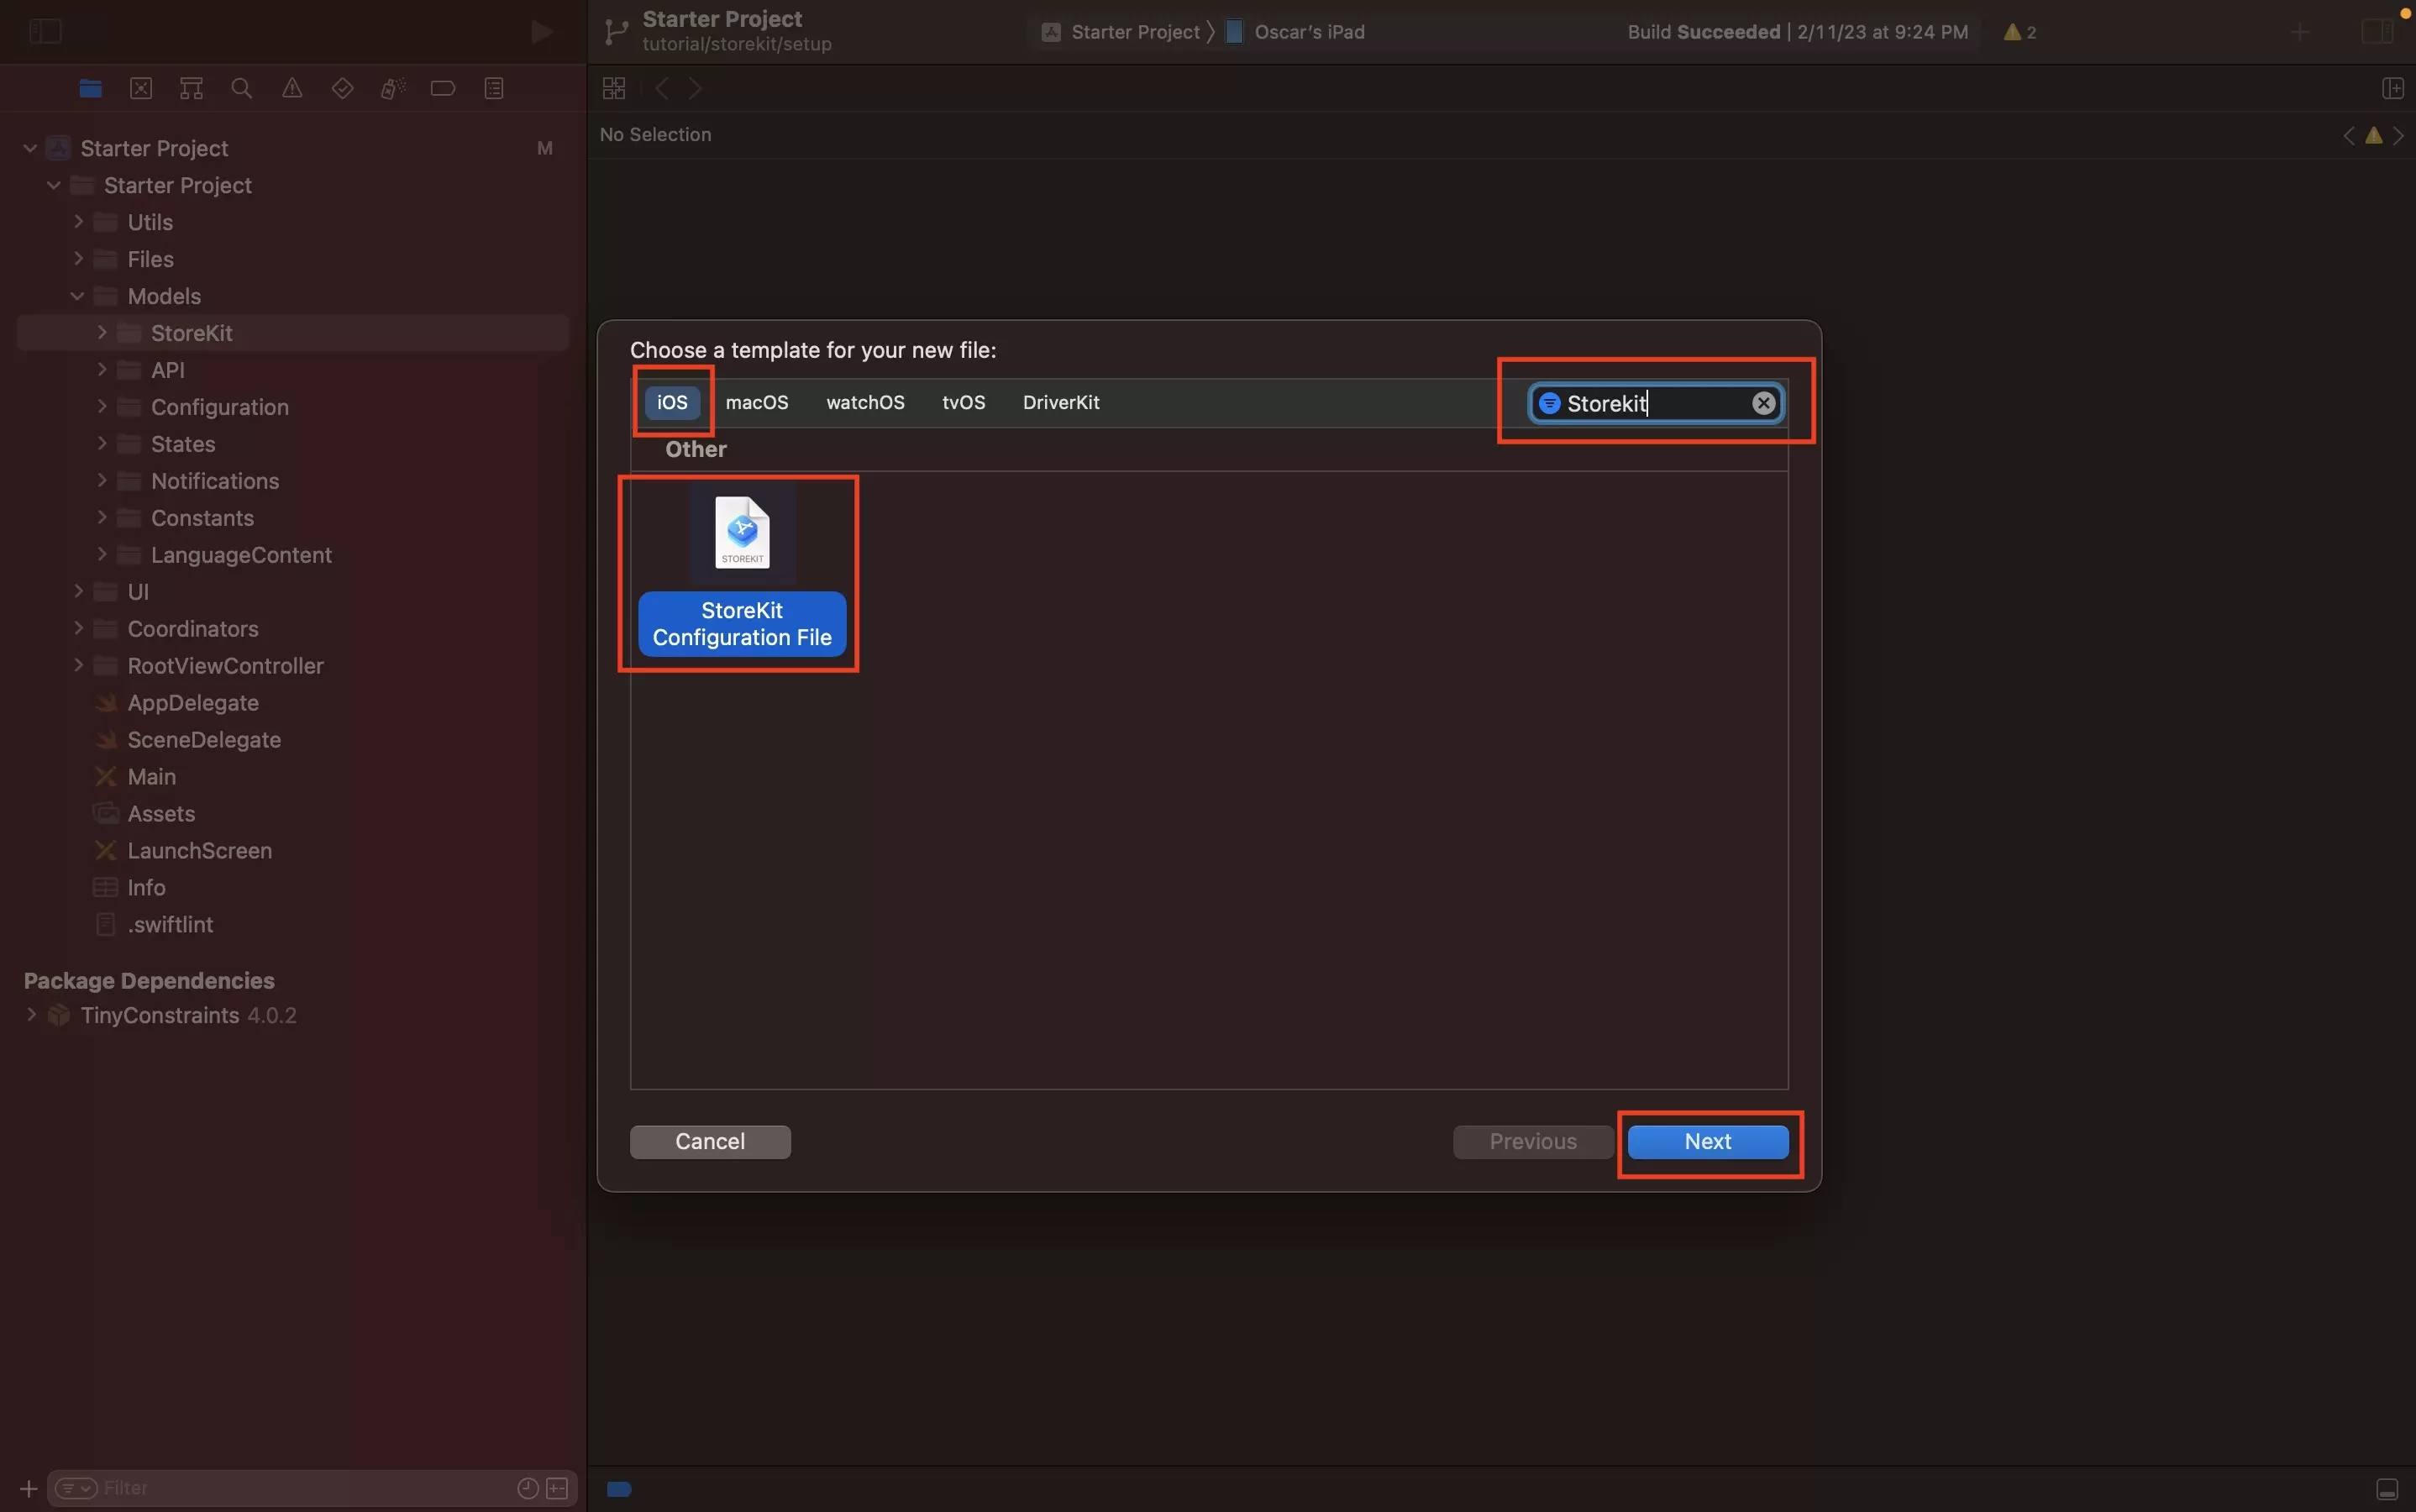
Press Command + N and in the modal that appears, search for StoreKit.
Select StoreKit Configuration File and click Next.
B | Configure
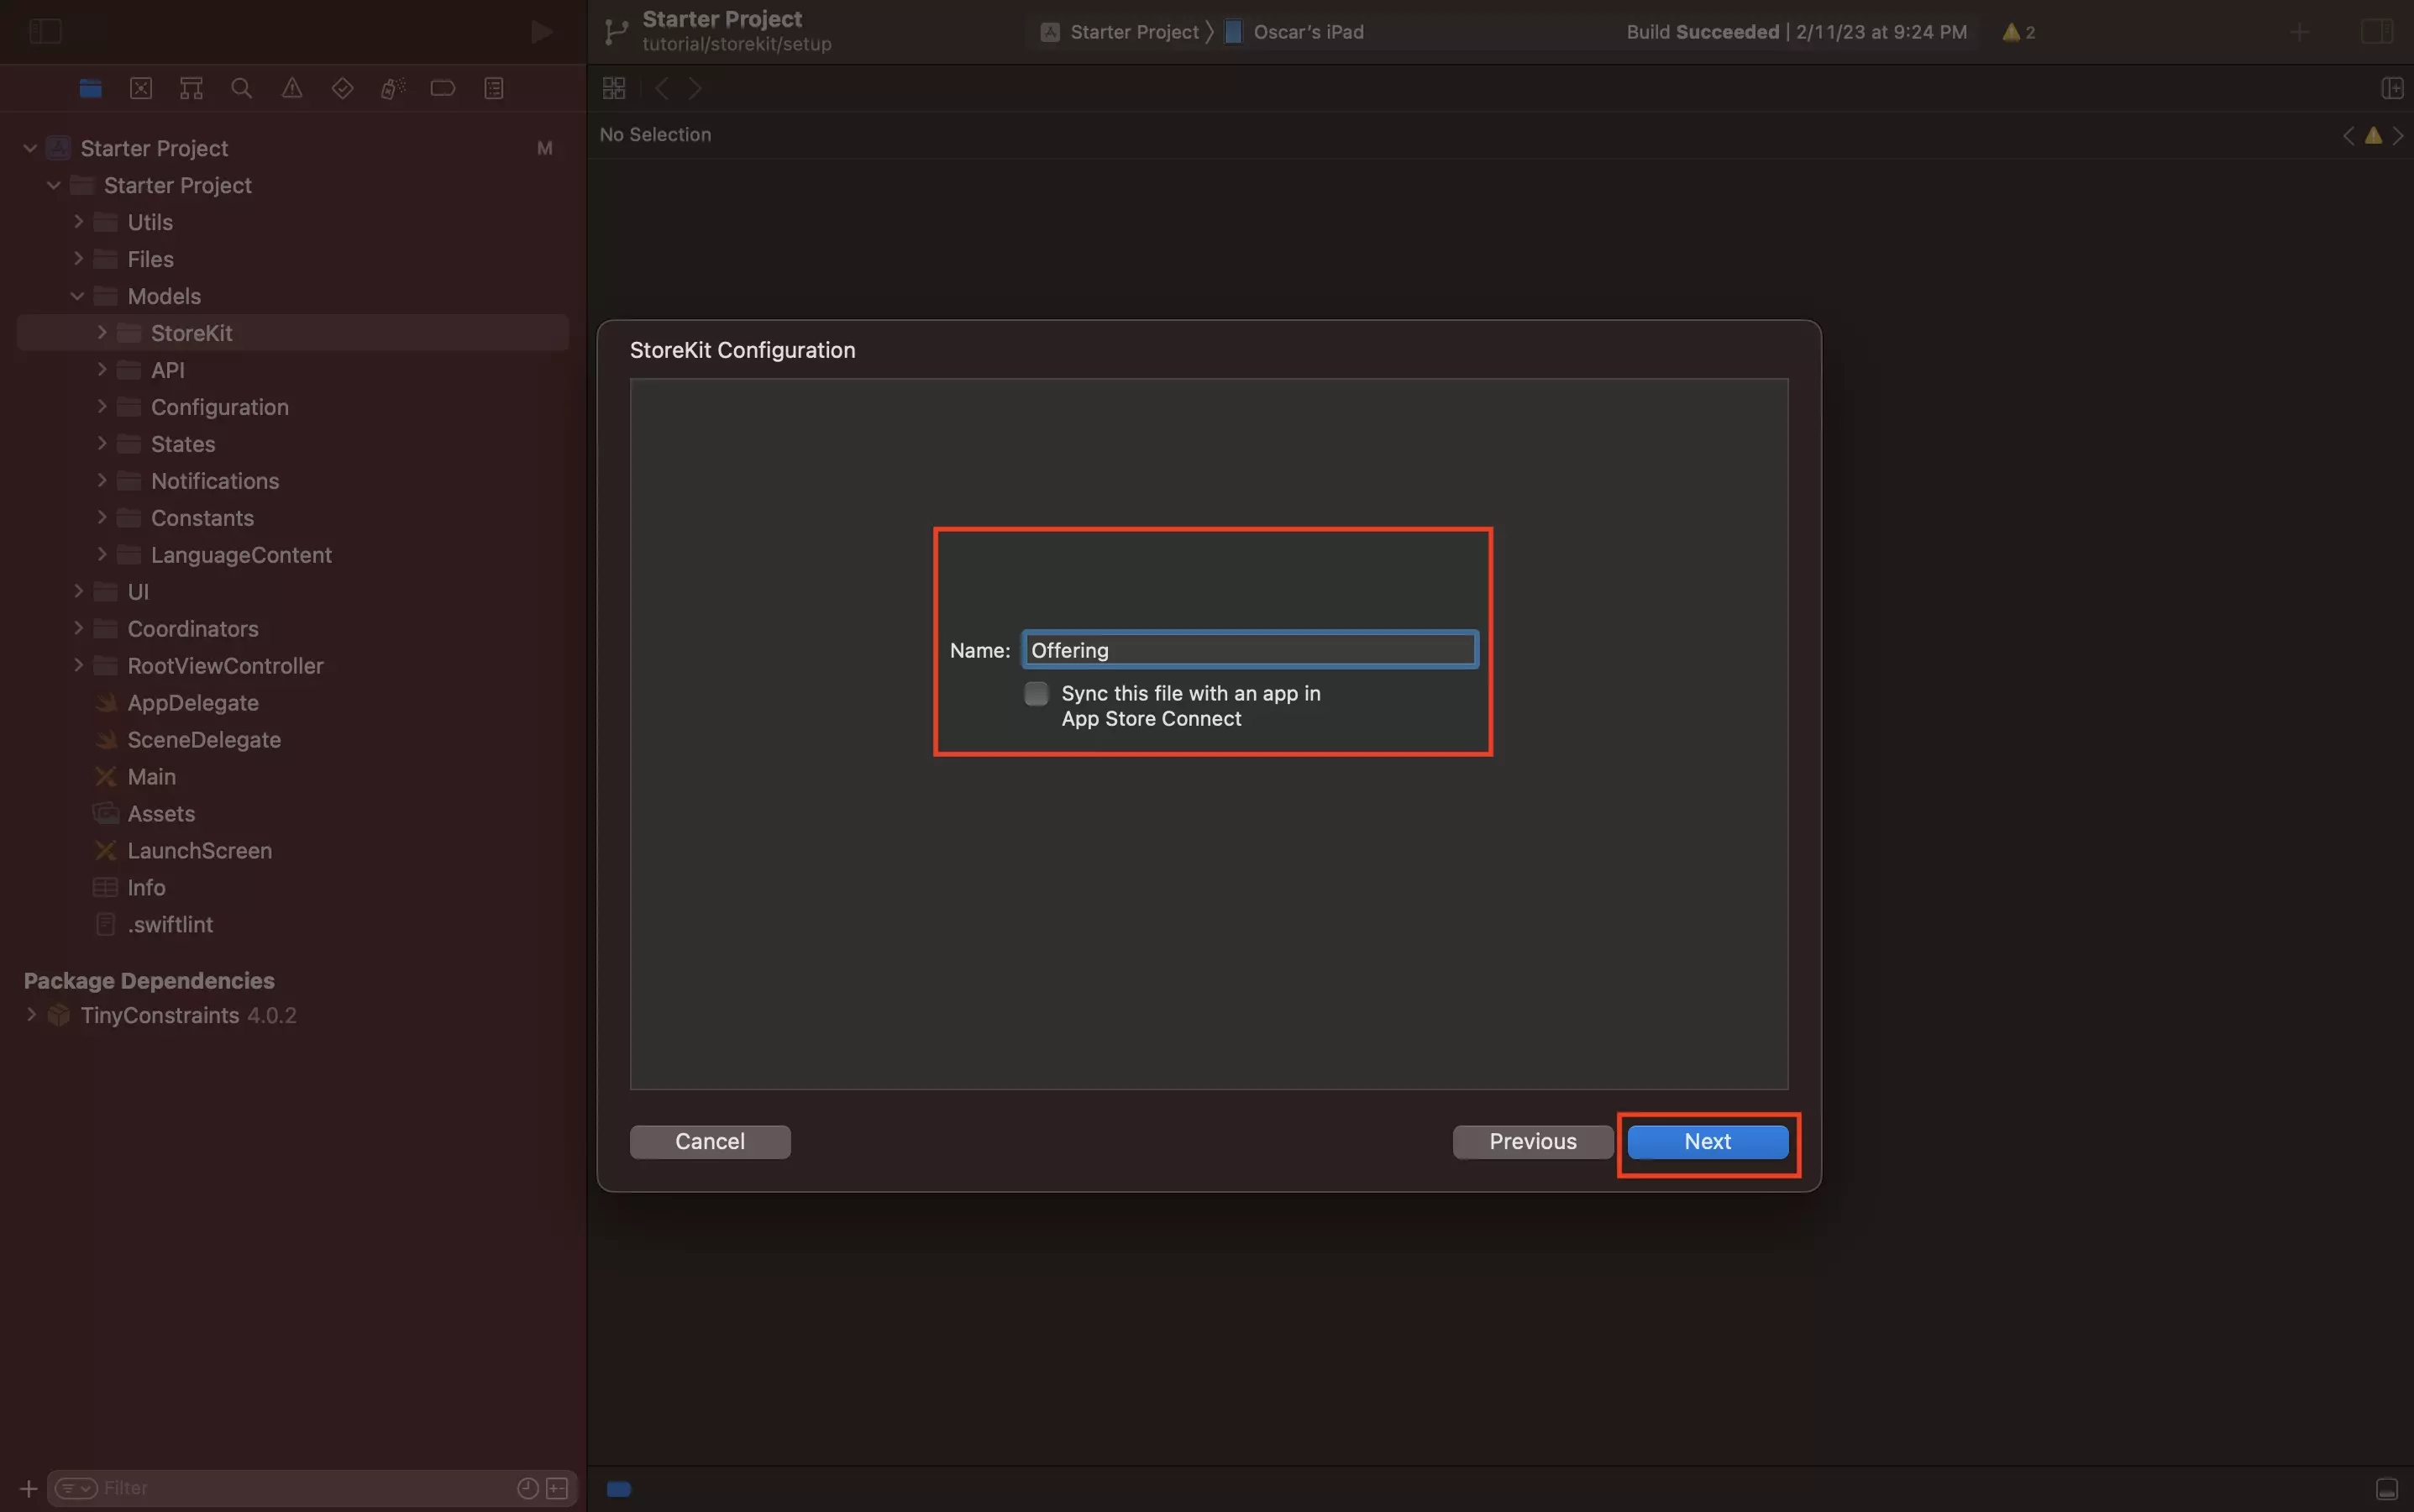
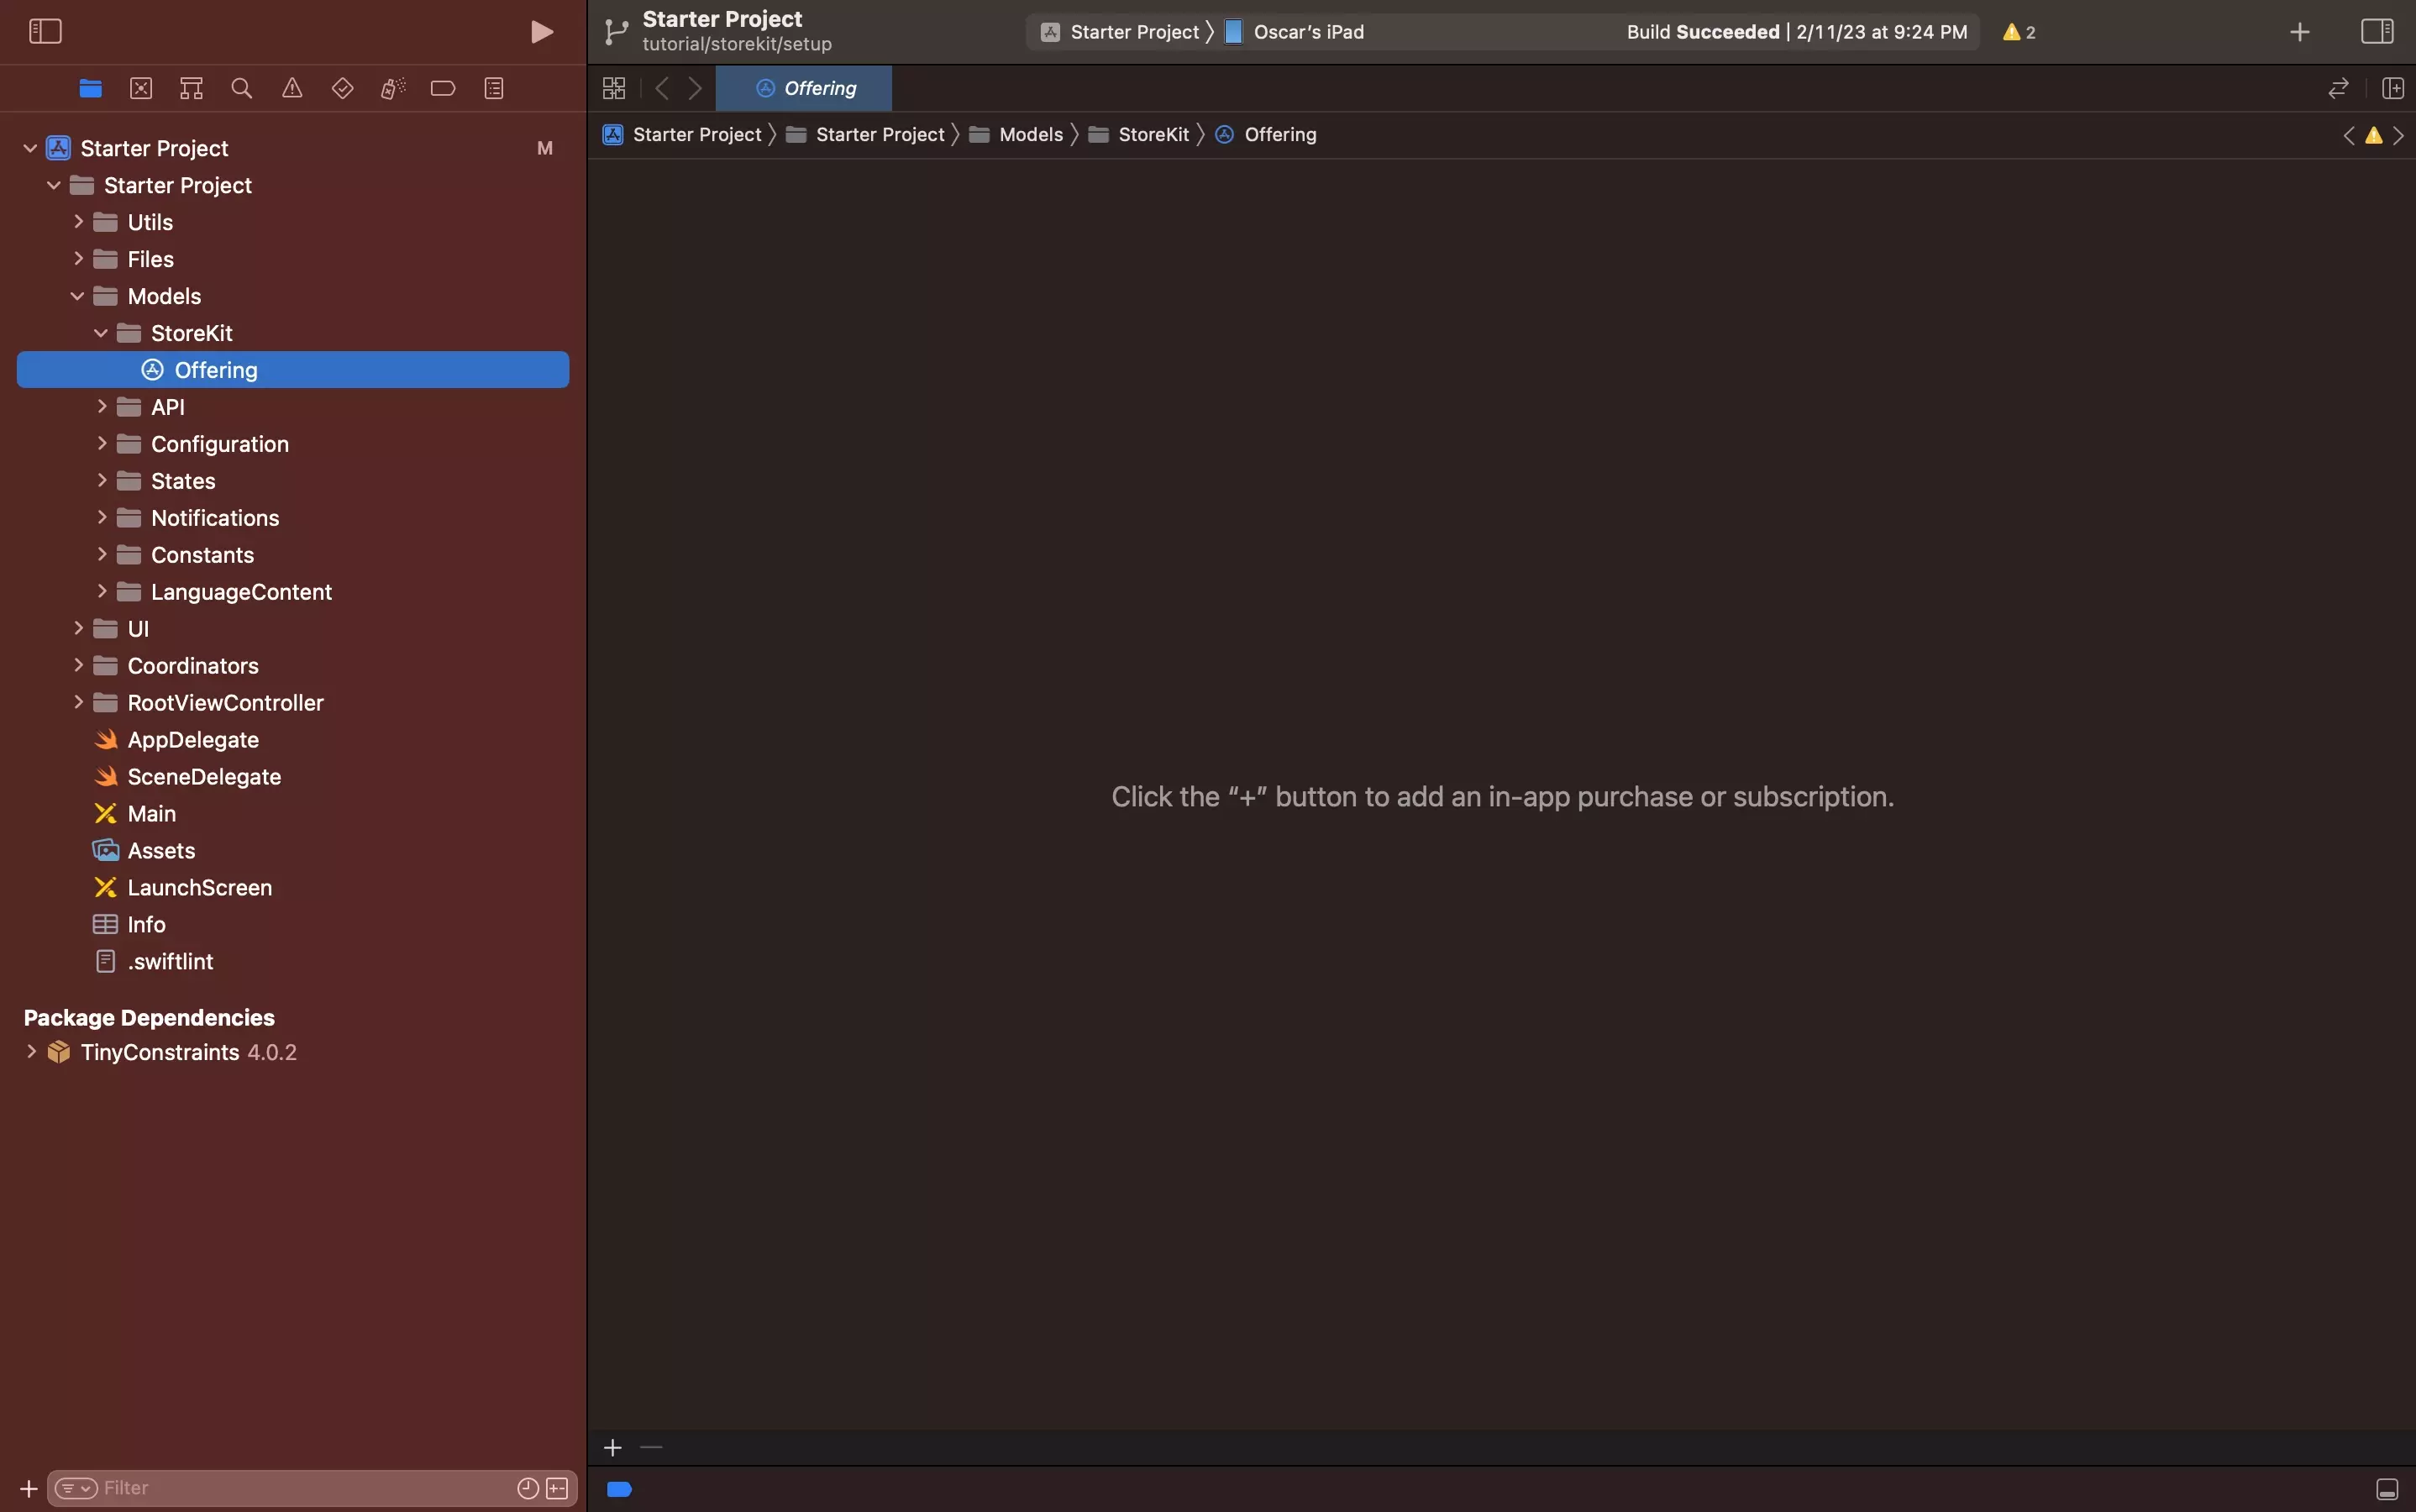
Give your Storekit Configuration File a name (i.e. Offering).
As demonstrated below, if you check off Sync this file with an app in App Store Connect, you will have to pick a Team and an App to sync to.
Please note that Synced files are read-only.
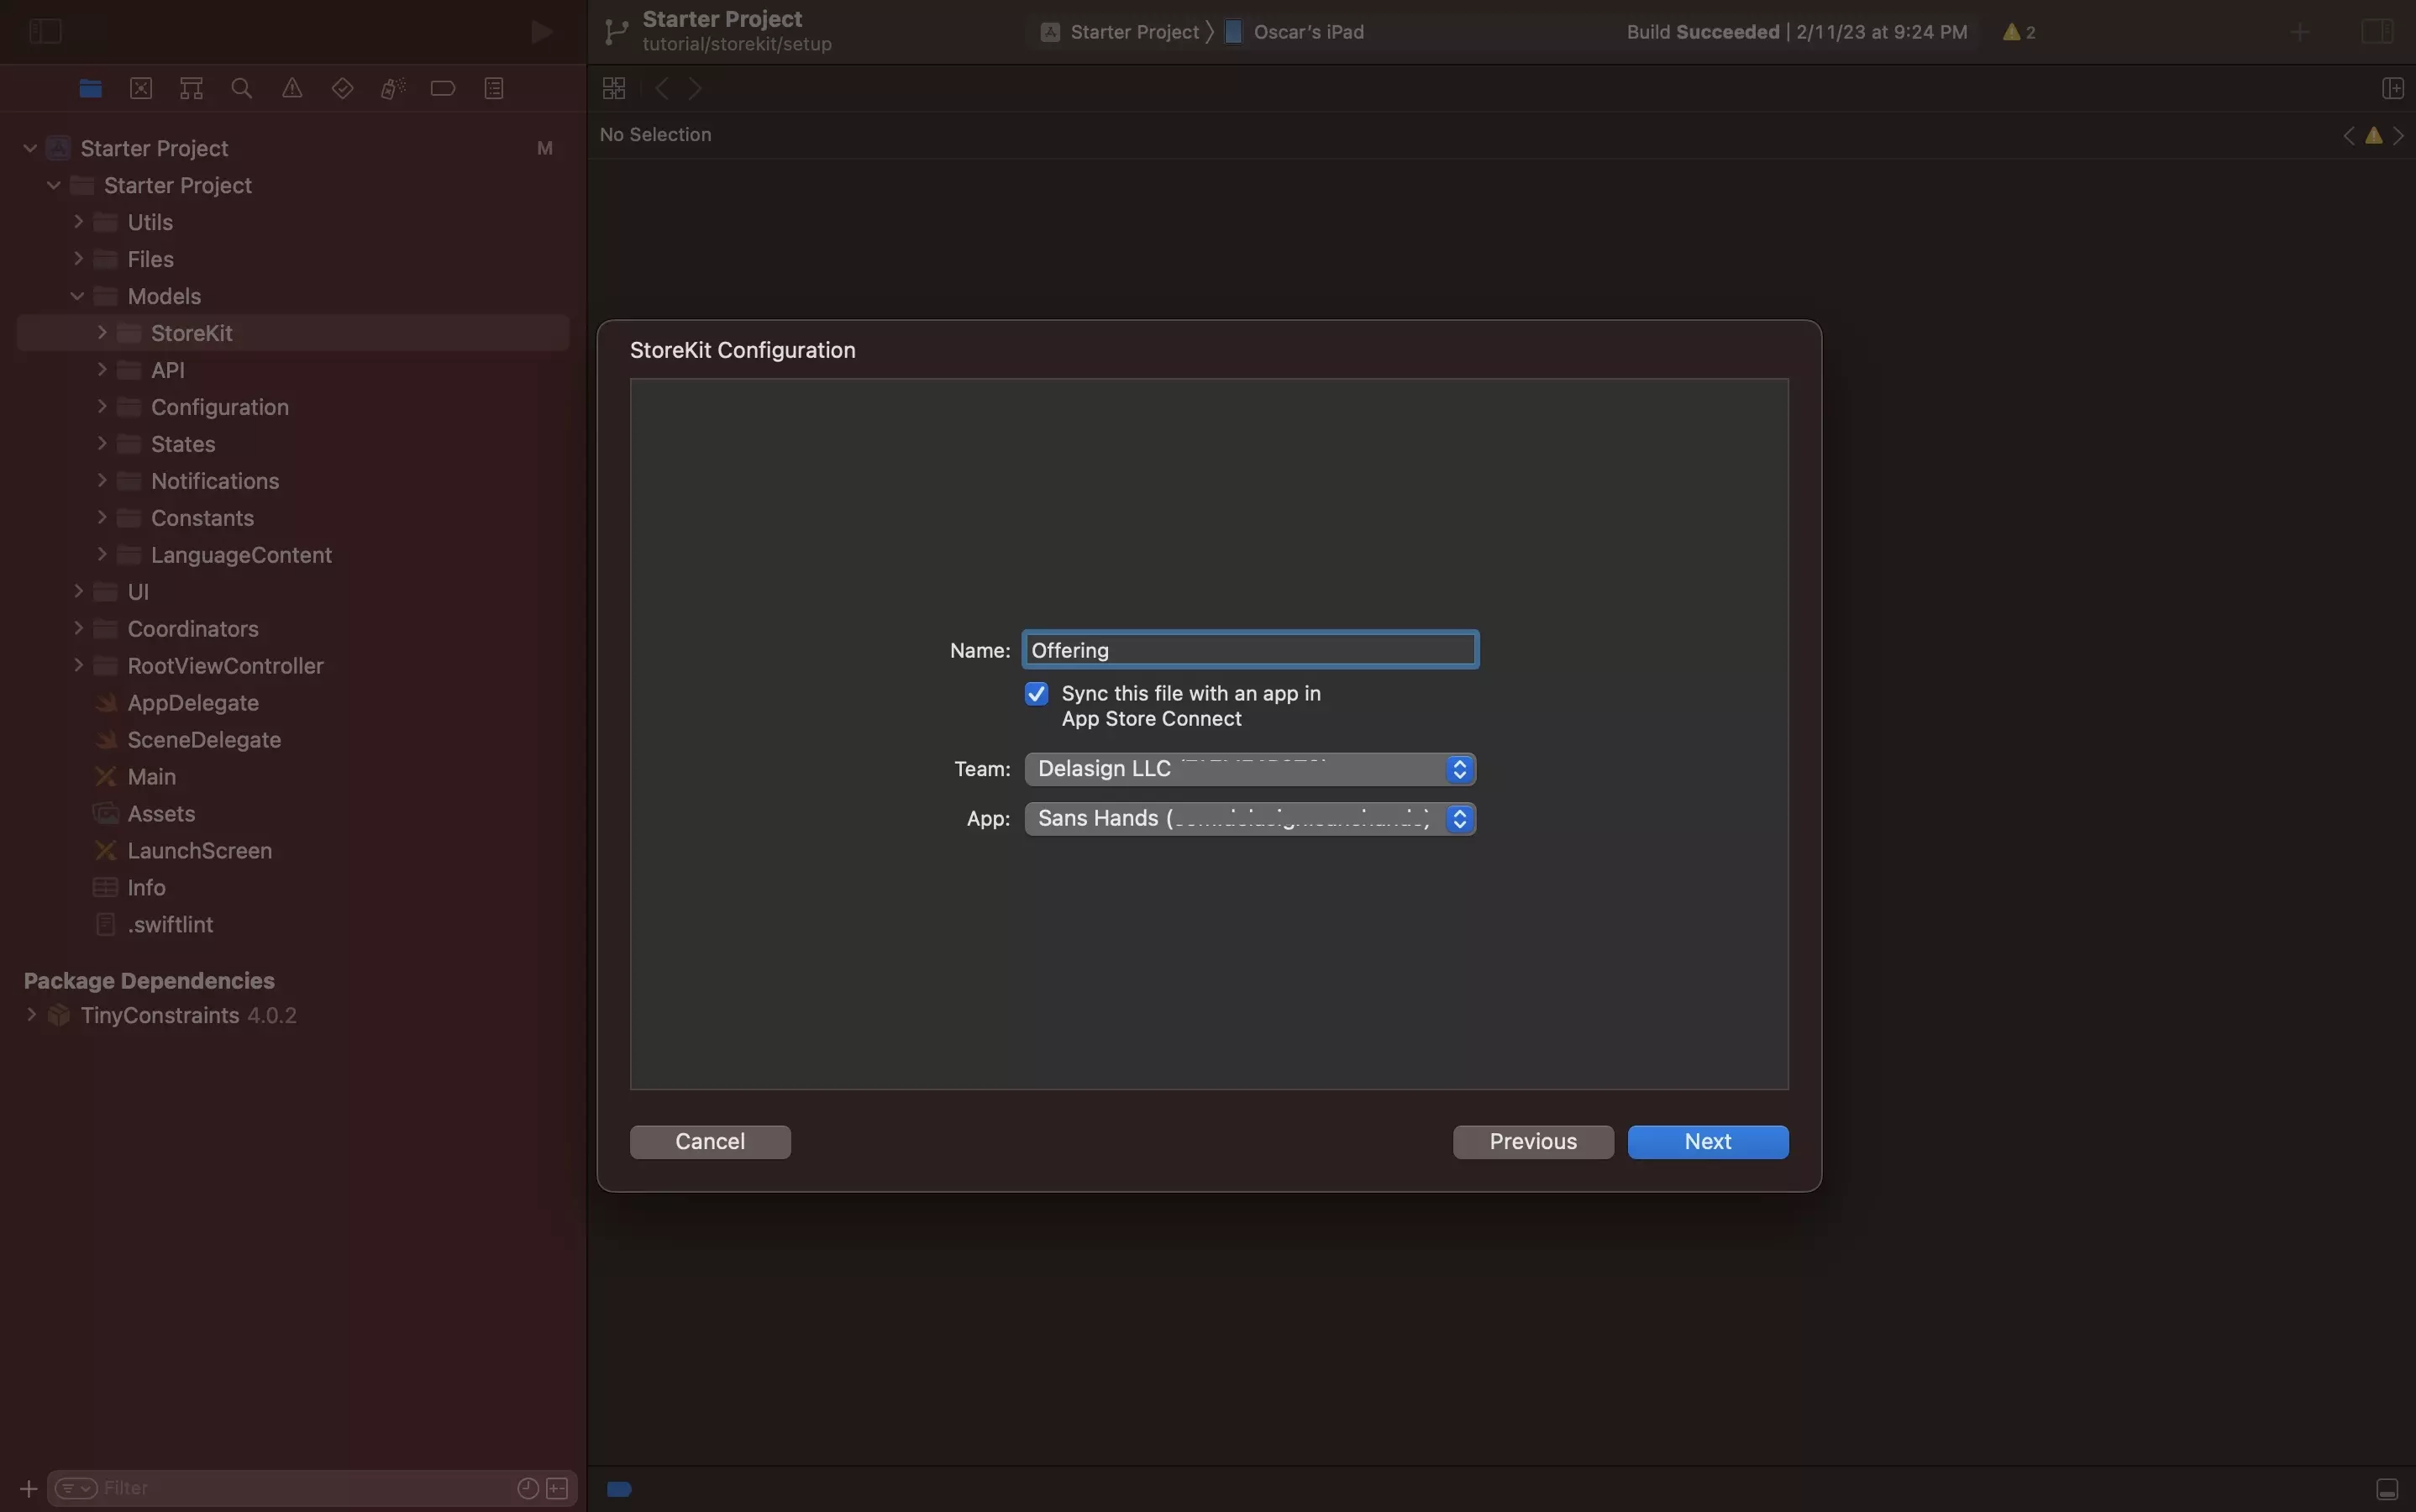
Once you've set the details, click Next.
C | Create
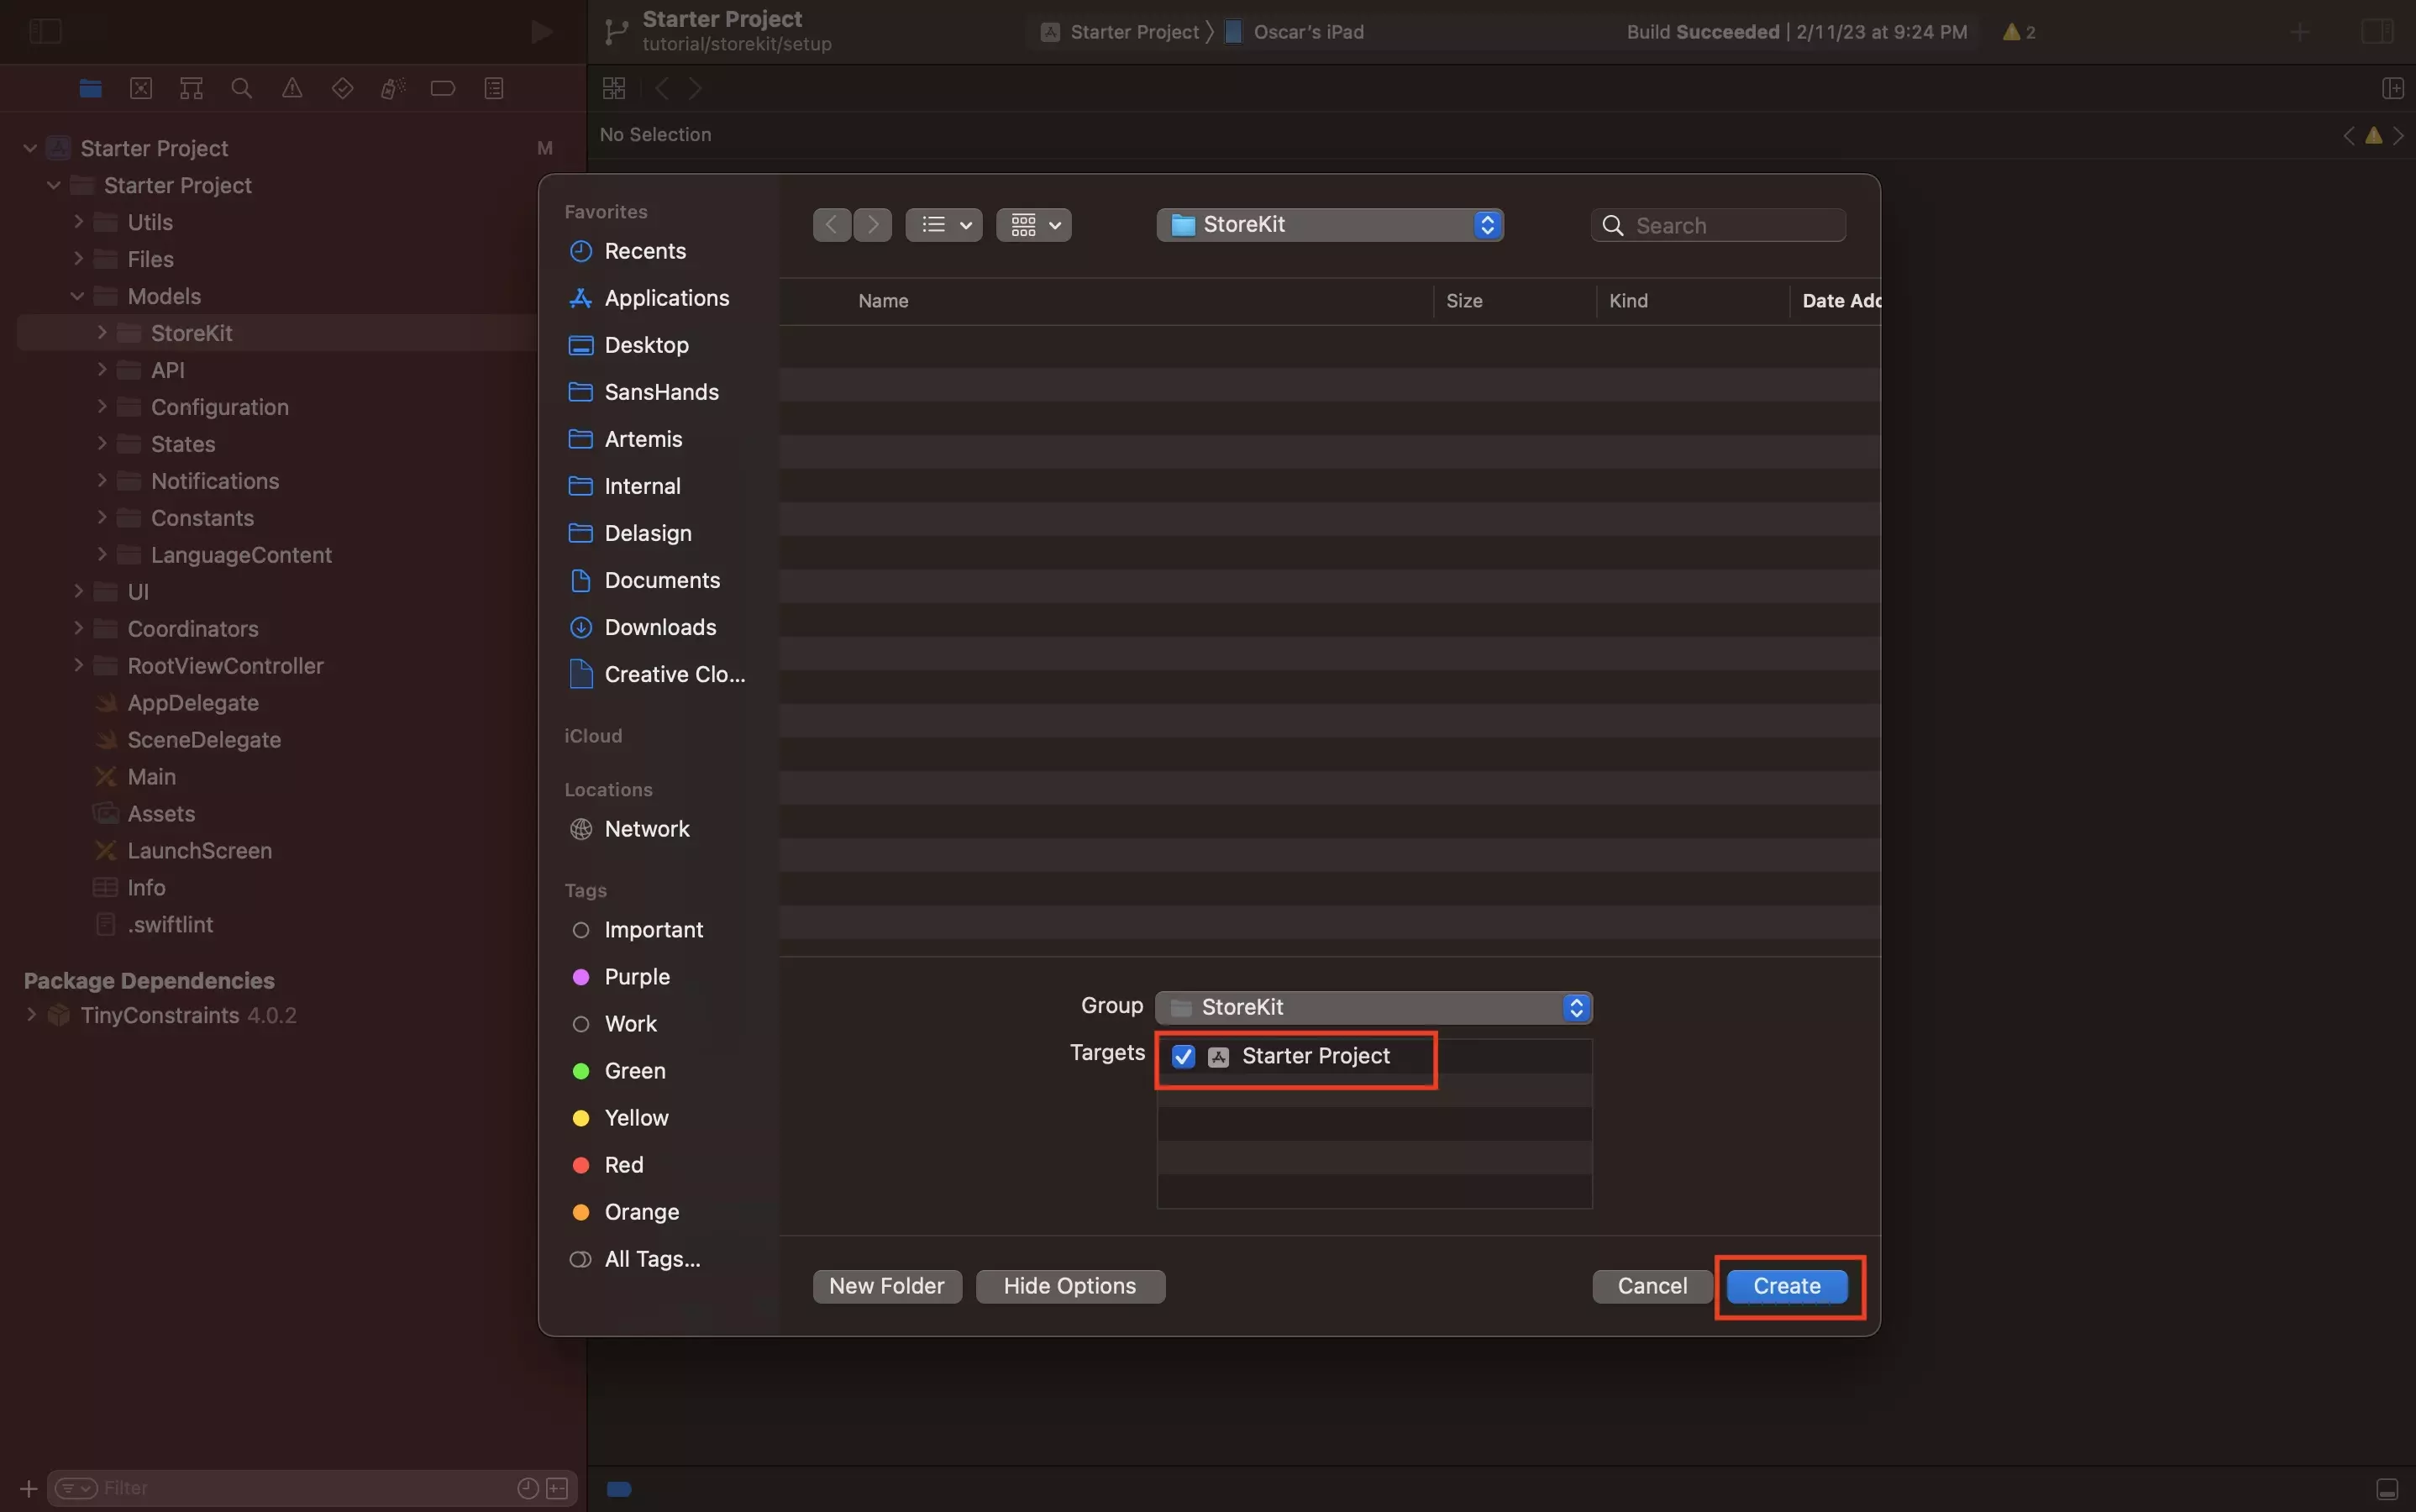
If you're not already in the folder that you wish to create the file in, navigate to that folder.
Then click Create.
We have provided samples of what a synced and local StoreKit file look like.
A sample local StoreKit configuration file.
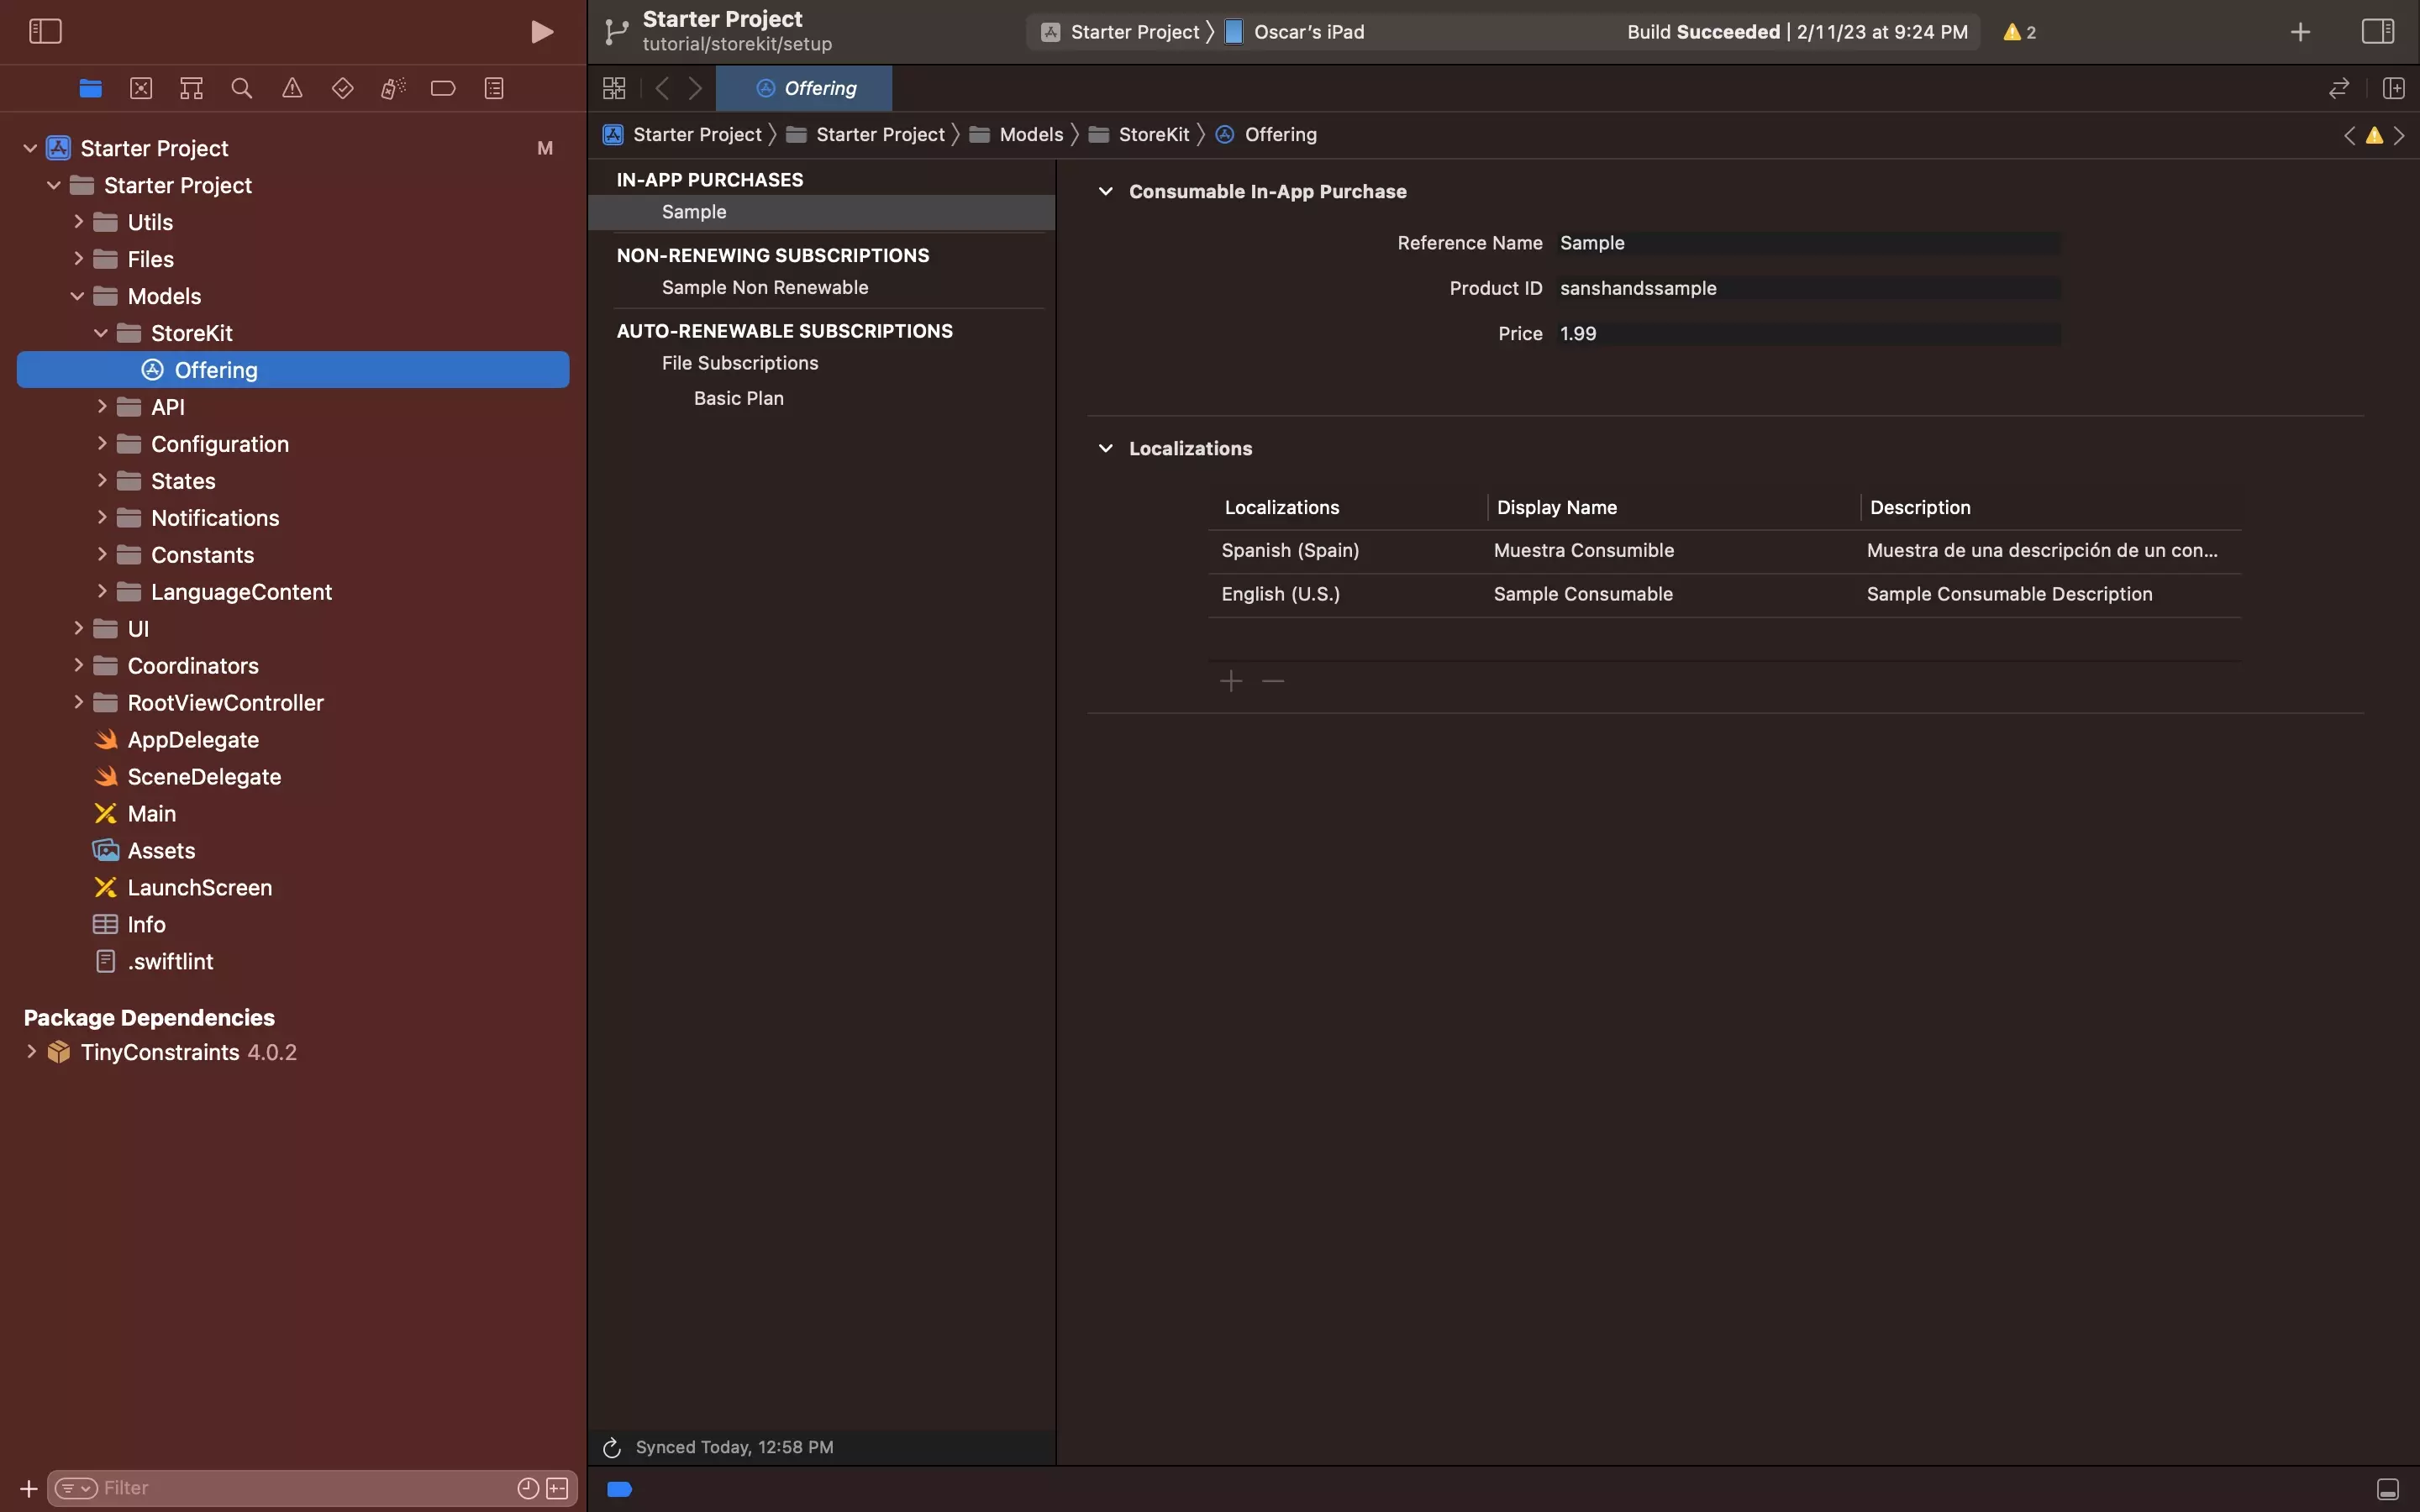
A sample StoreKit configuration file that has been synced to App Store Connect.
Next Steps | Create the Offering
The next steps involves creating any Consumable or Non-Consumable In-App Purchases and/or Auto-Renewing or Non-Renewing Subscriptions as well as any introductory or promotional offers, or offer codes.
Looking to learn more about developing apps with StoreKit 2?
Read our comprehensive development guide linked below to learn about all the secrets behind developing In-App Purchases and Subscriptions with StoreKit 2.