How to add a custom icon to a Craft CMS control panel section

A step by step guide on adding an SVG icon to a Craft CMS control panel section within a plugin or module that changes color on selection.
The following tutorial walks you through how to add an icon to a Craft CMS control panel section within a plugin or module that changes color on selection. It builds on top of our Open Source Craft CMS starter project which can be found at the repository below.
We recommend that you download or clone our Open Source starter project, check out the main branch and complete the steps below. The changes can be found on the tutorial/cp-section-icon.
git clone git@github.com:delasign/craft-cms-starter.git
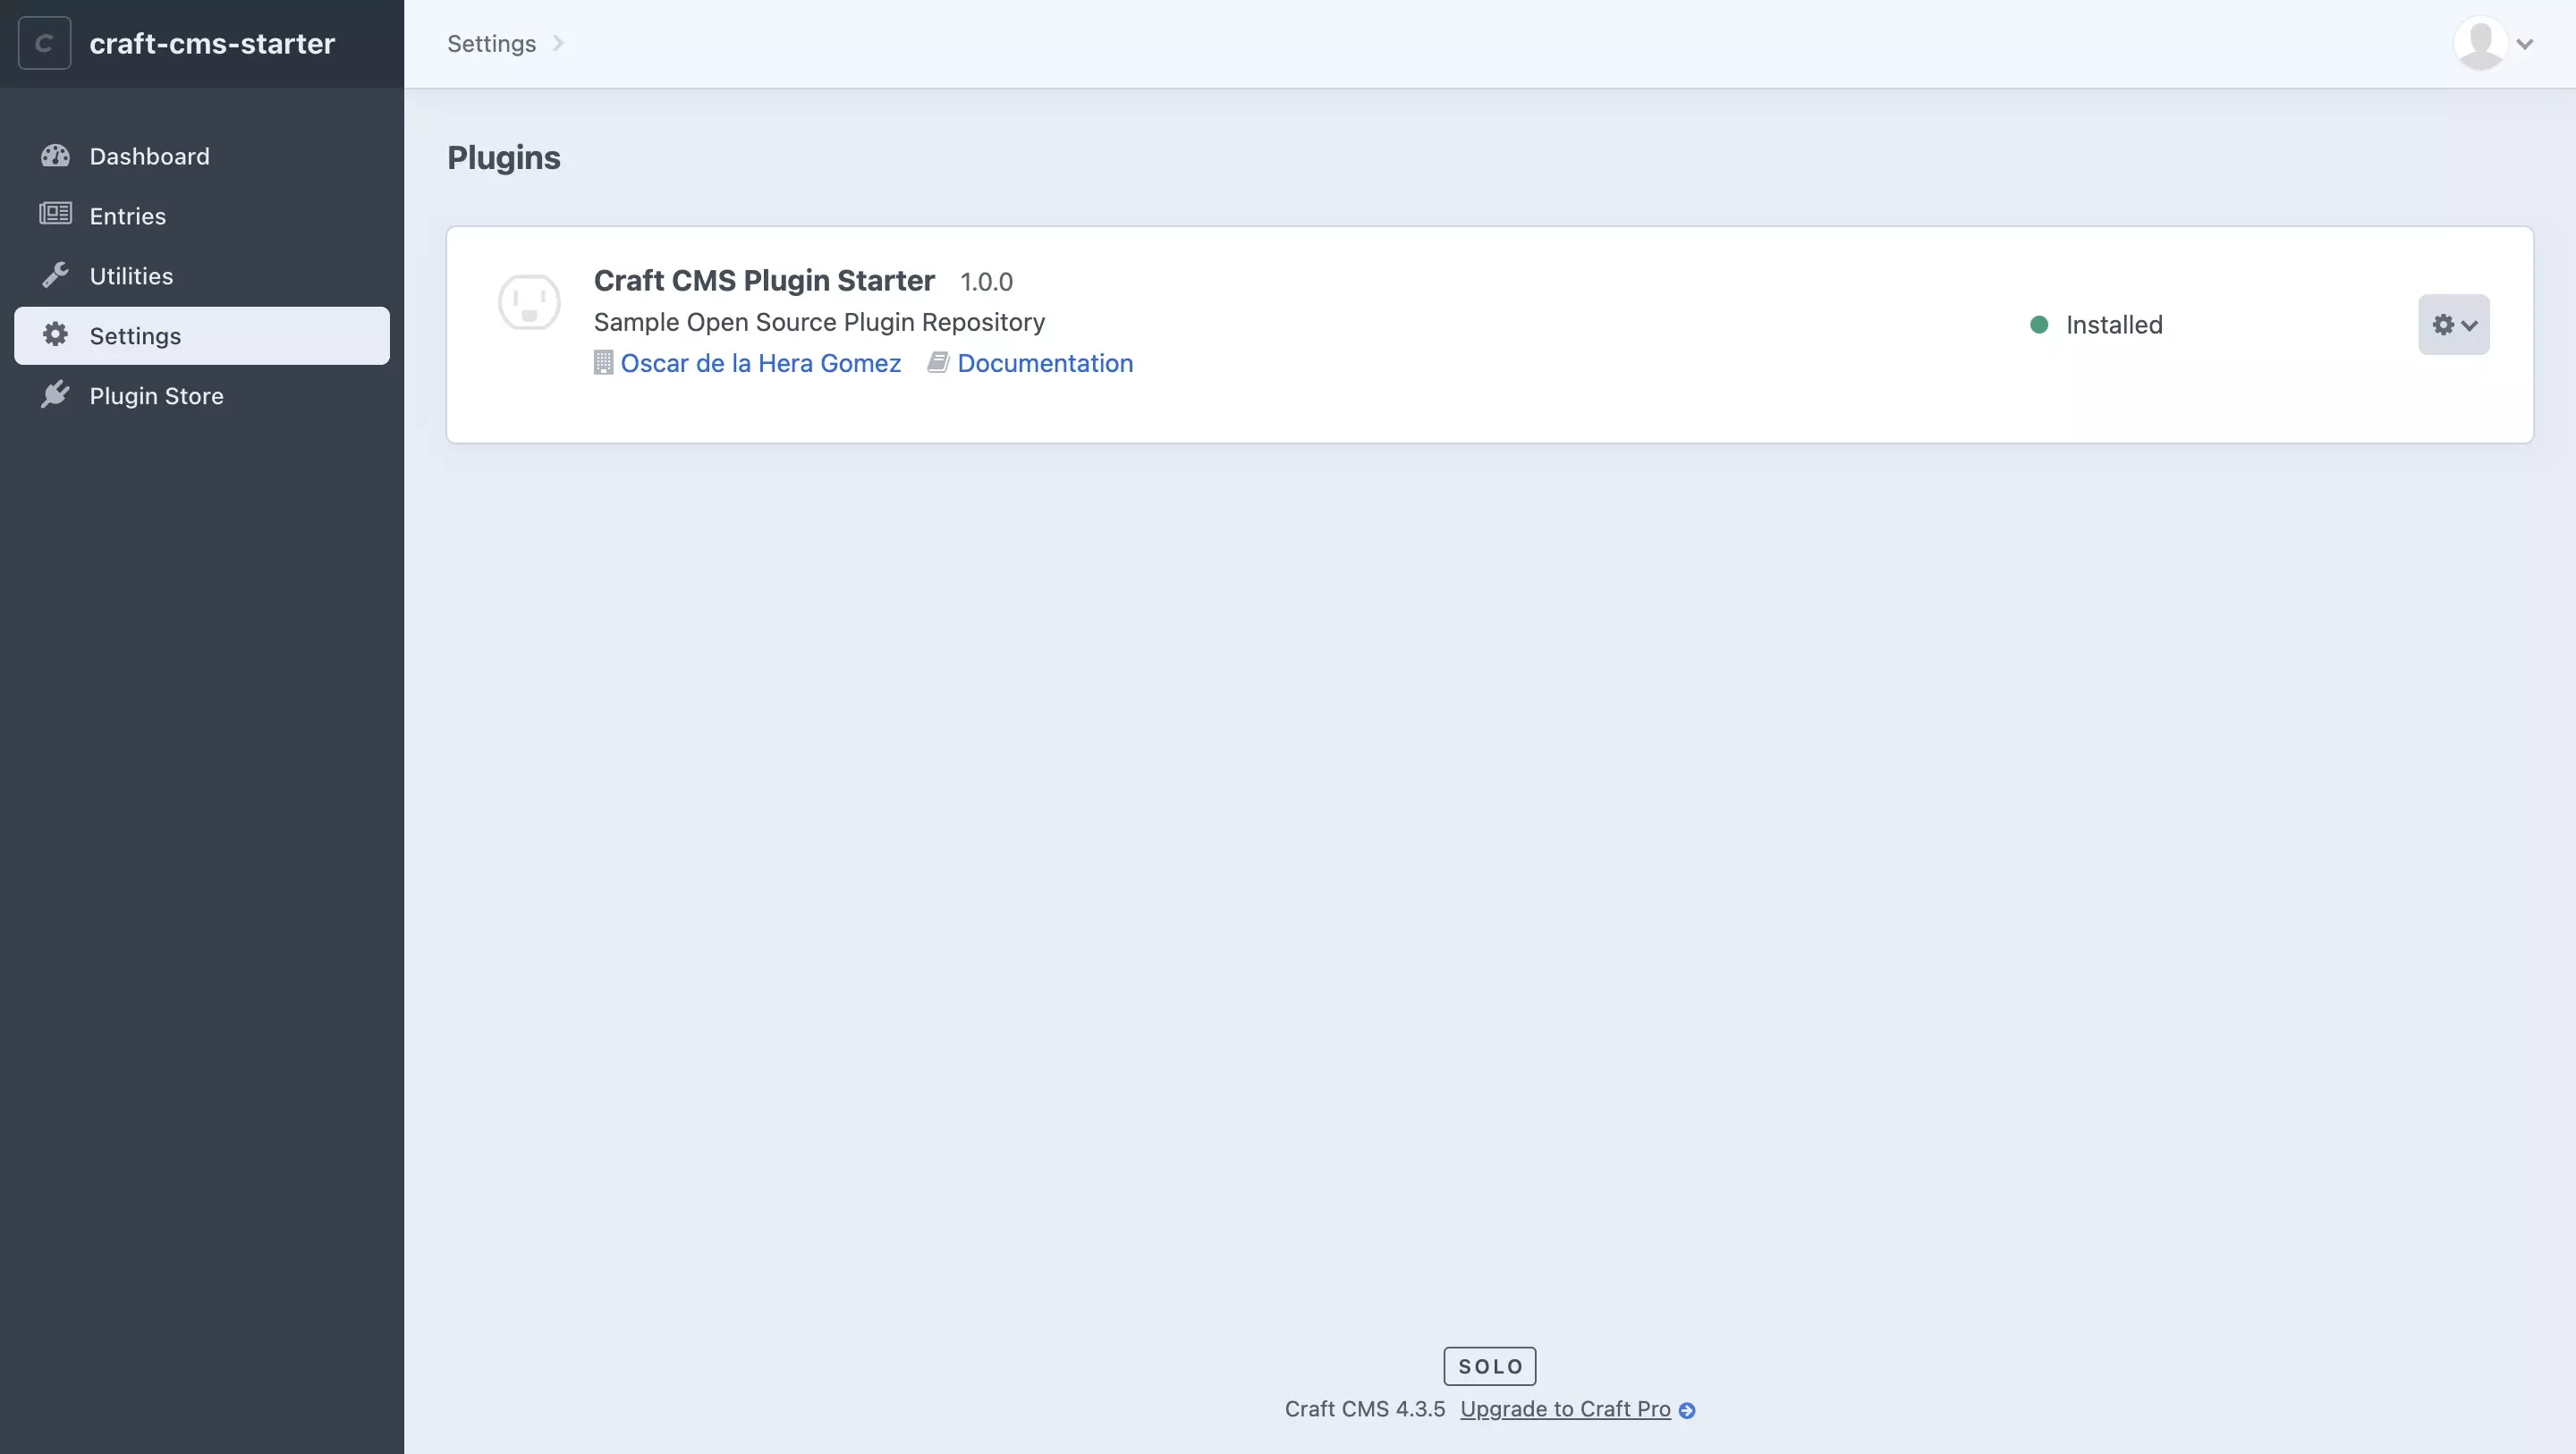
Step One: Setup the plugin

Follow the tutorial linked below to learn how to create and setup a Craft CMS plugin.
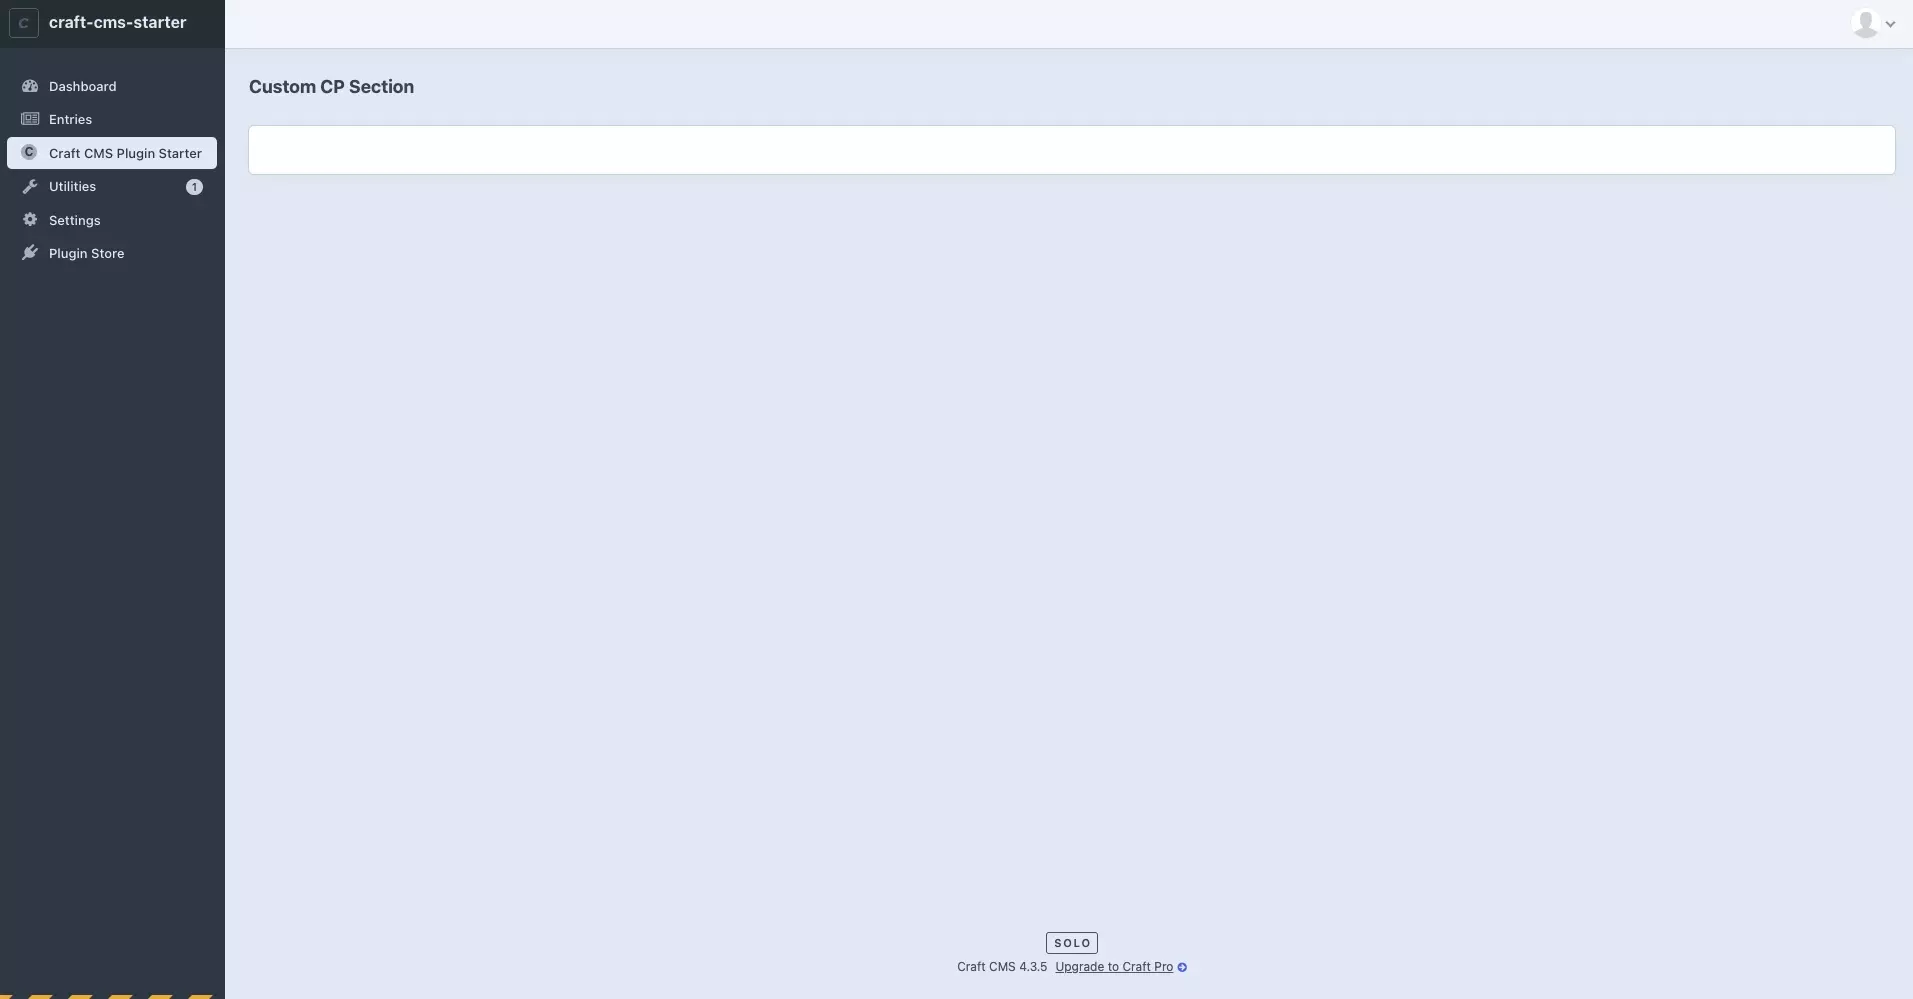
Step Two: Setup the Control panel section

Follow the tutorial linked below to learn how to setup a control panel section, and if interested, how to make custom UI.
Step Three: Add the control panel icon
There are two ways to add a control panel icon and depends on whether you are have enabled $hasCpSection or if you registered a nav item.
A | $hasCpSection
Place your icon as an .svg titled icon-mask.svg in your plugins src folder.
Make sure that the svg path has style="enable-background:new;" to ensure that icon functions as you would expect with the Craft CMS control panel.
B | Registered Navigation Item
Place your icon as a .svg in your desired location. We recommend placing it in the src/resources folder.
Once you are done, point the 'icon' parameter of the RegisterCpNavItemsEvent function to the location of your icon.
Make sure that the svg path has style="enable-background:new;" to ensure that icon functions as you would expect with the Craft CMS control panel.
Any Questions ?
We are actively looking for feedback on how to improve this resource. Please send us a note to inquiries@delasign.com with any thoughts or feedback you may have.
