How to add a profile picture to Users in Craft CMS
A step by step guide on enabling and adding profile picture for Users in Craft CMS.

A step by step guide on enabling and adding profile picture for Users in Craft CMS.
SubscribeDownload Open Source Craft CMS projectStep One: Create a Filesystem
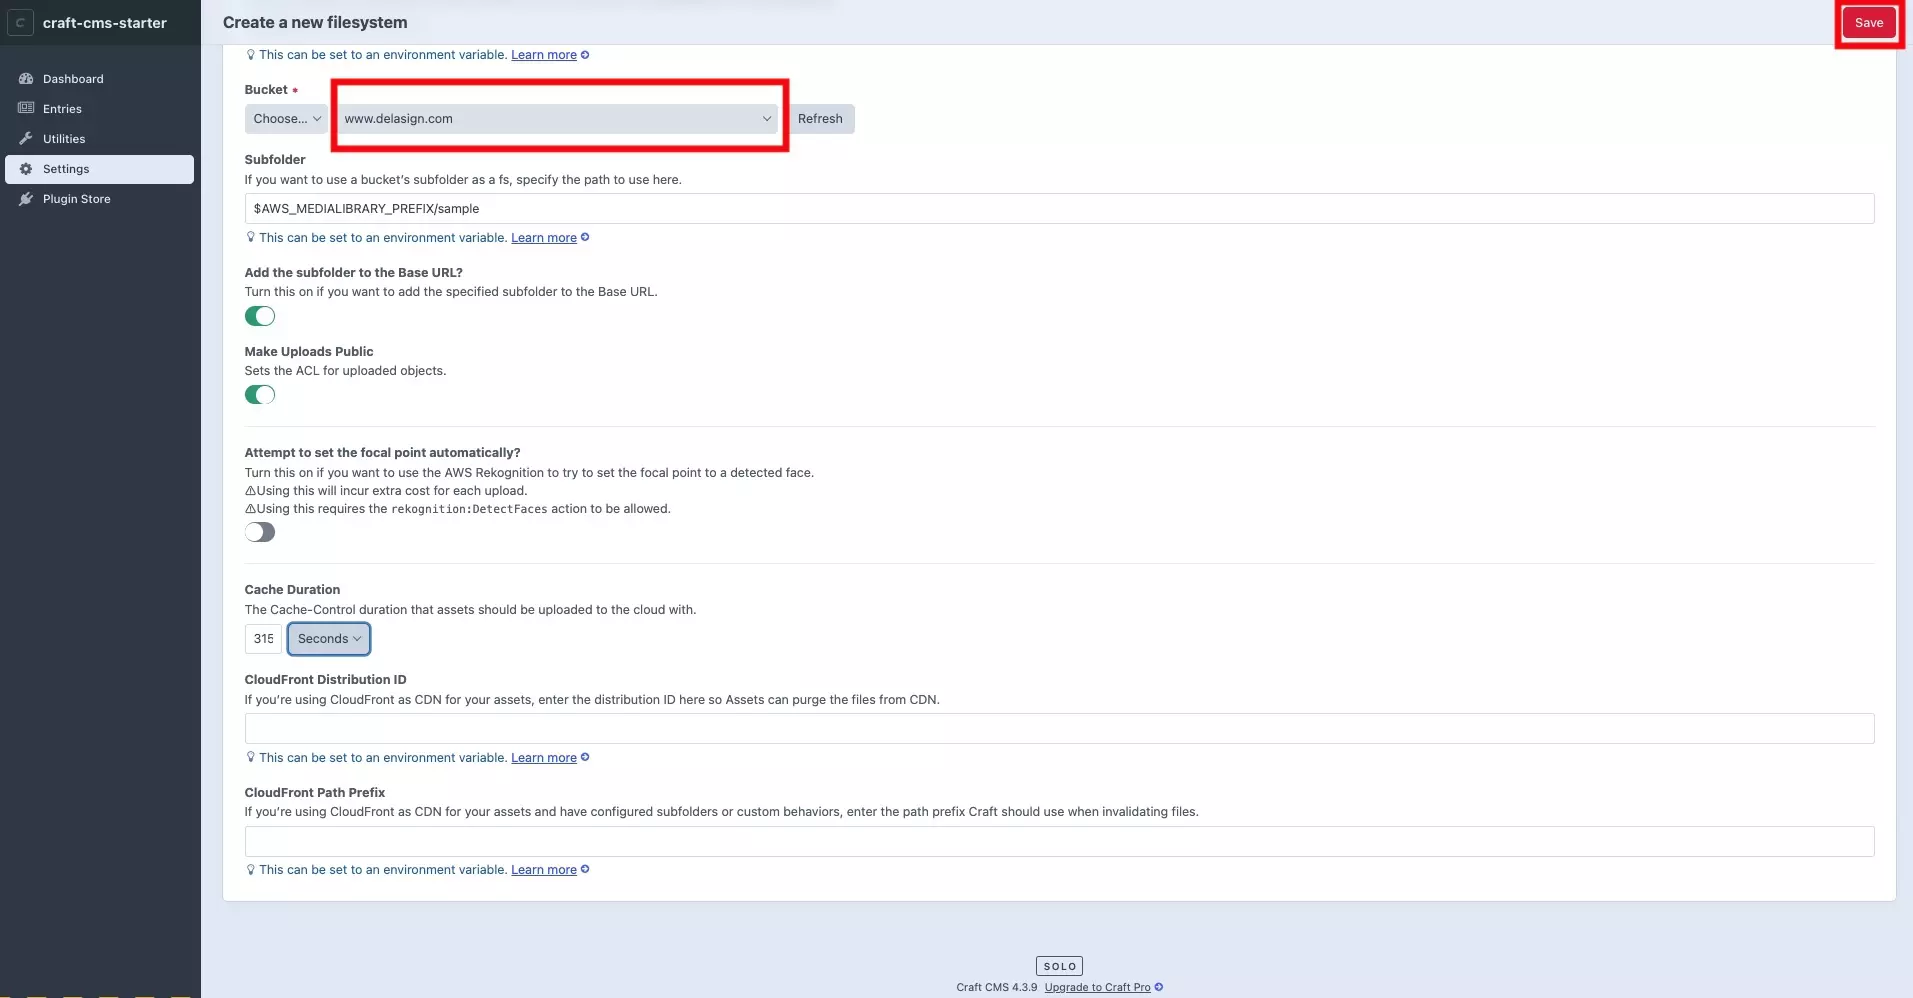
In order to be able to save and access assets, you need to create a file system.
Step Two: Add an asset volume
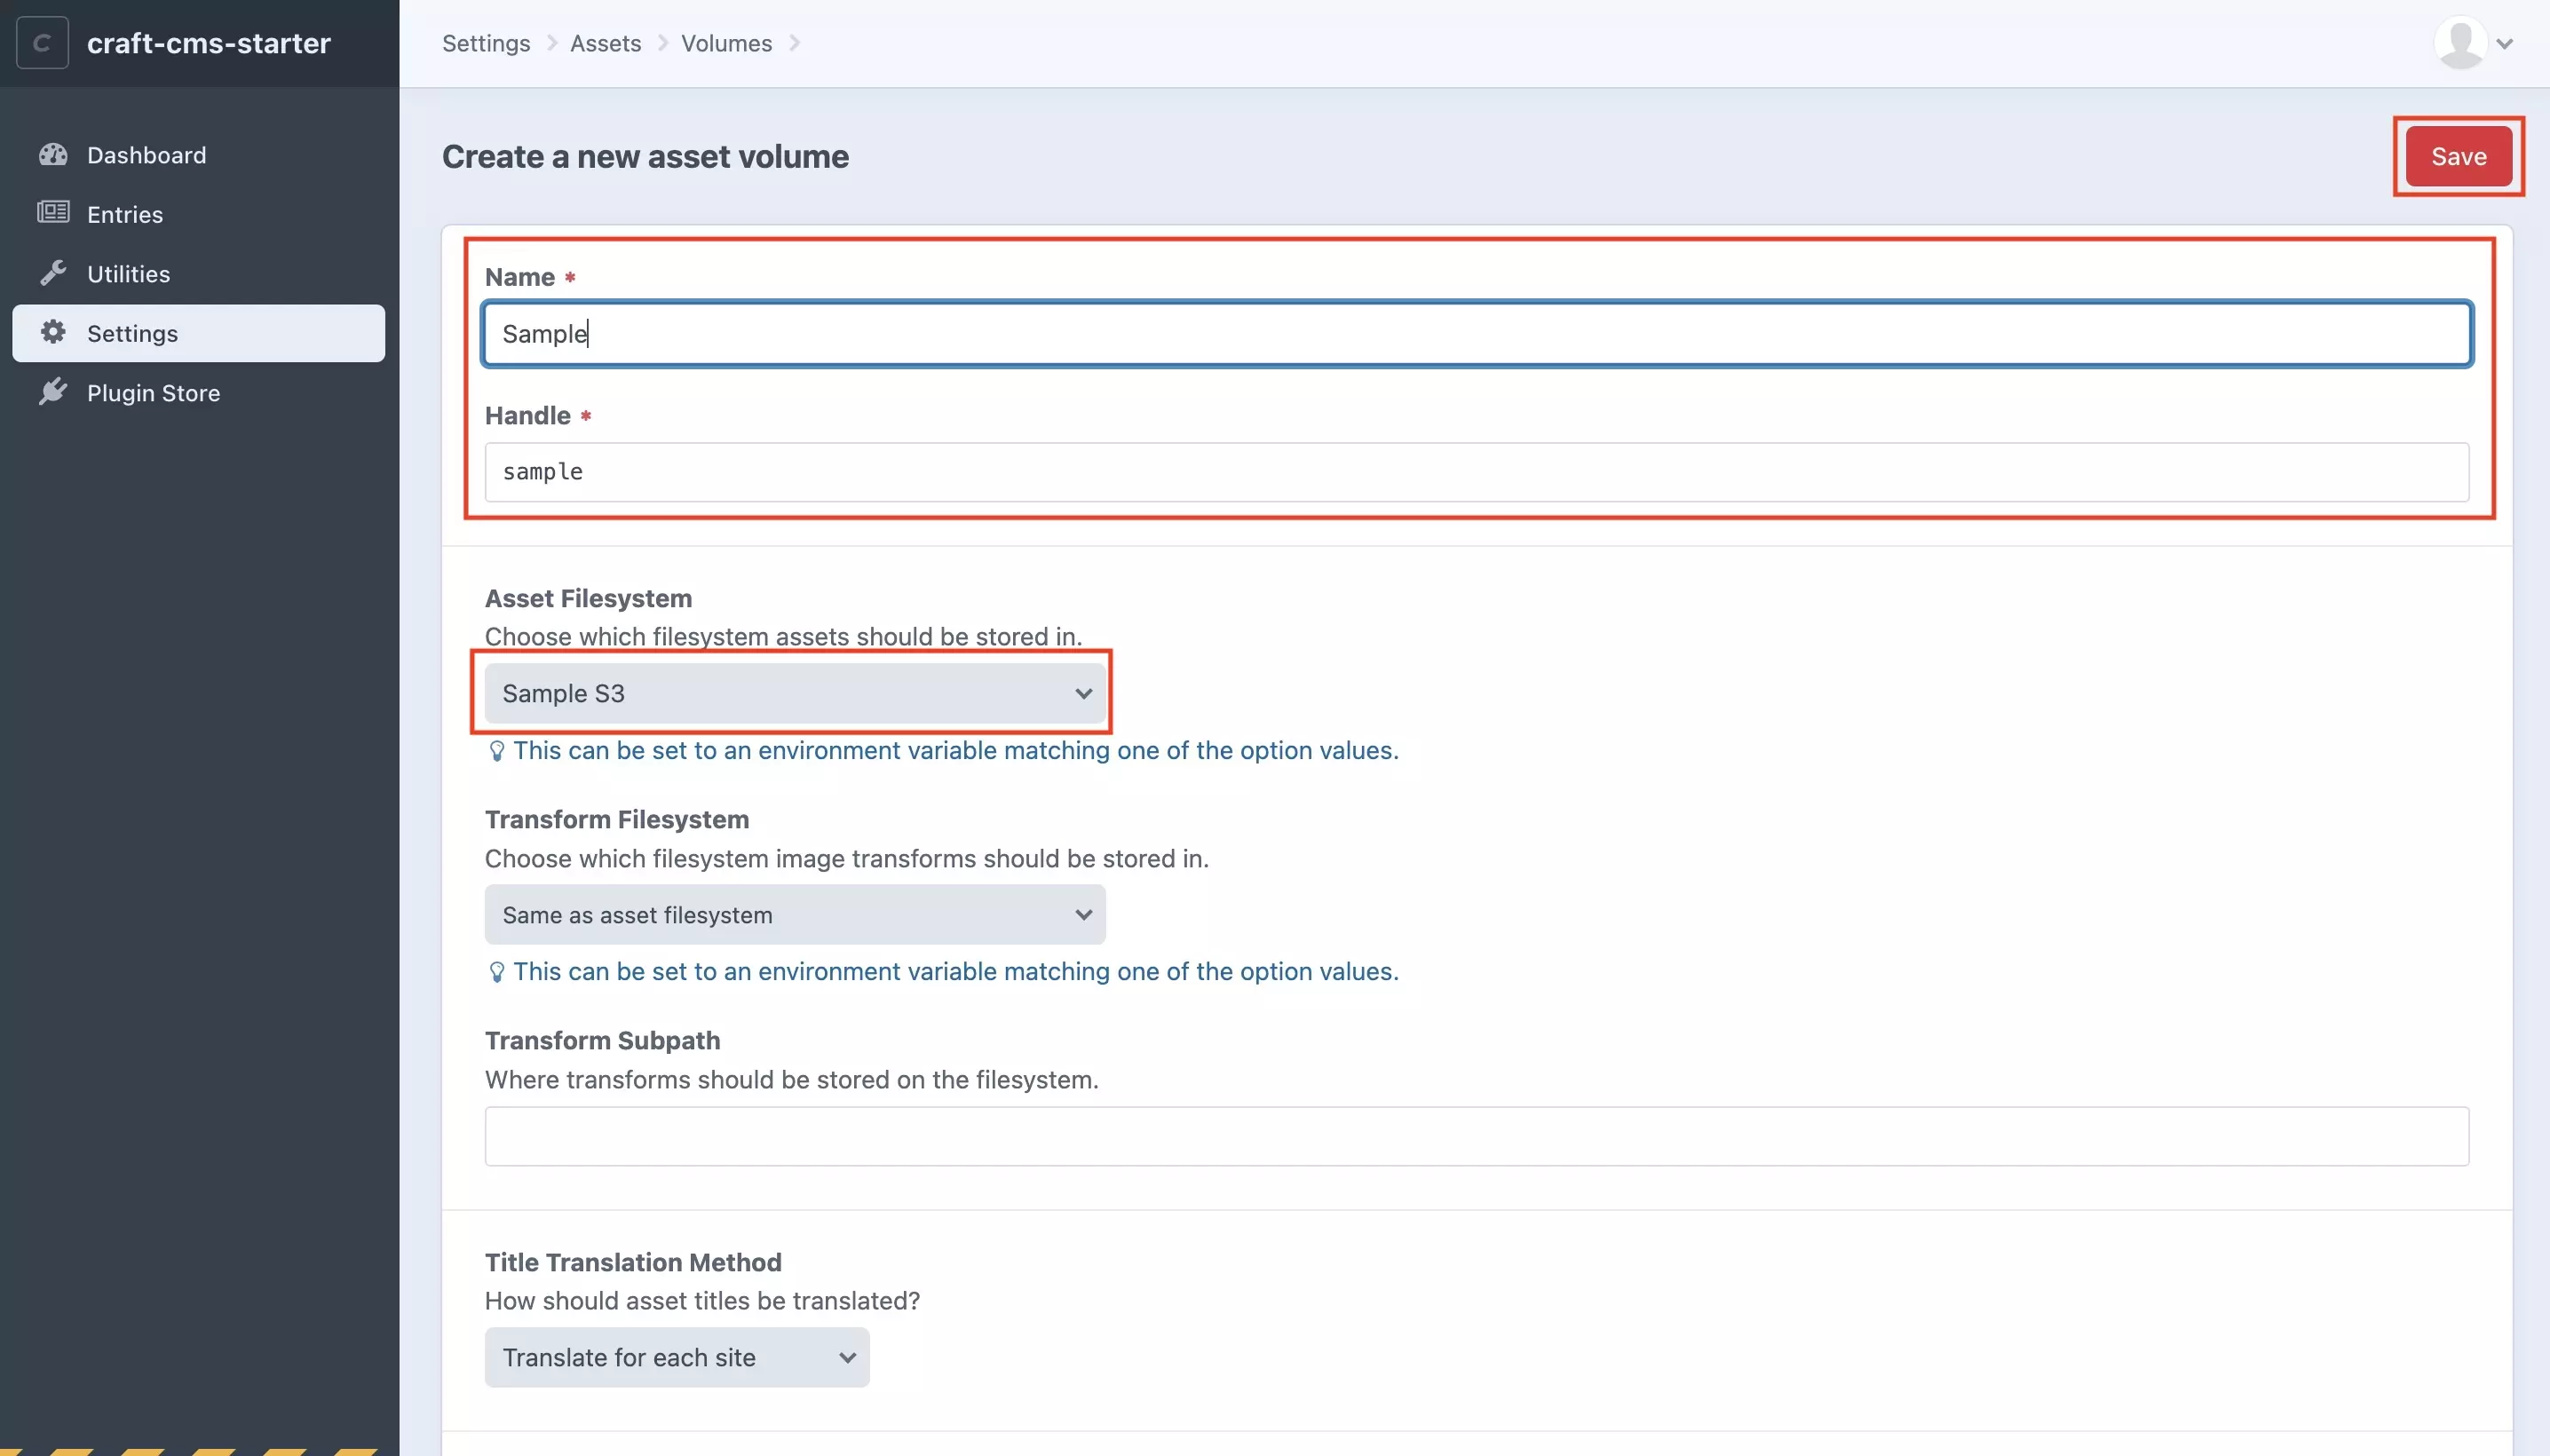
In order to be able to upload photos, you need to create a Craft CMS asset volume.
Step Three: Select Settings

In the left menu side bar, select Settings.
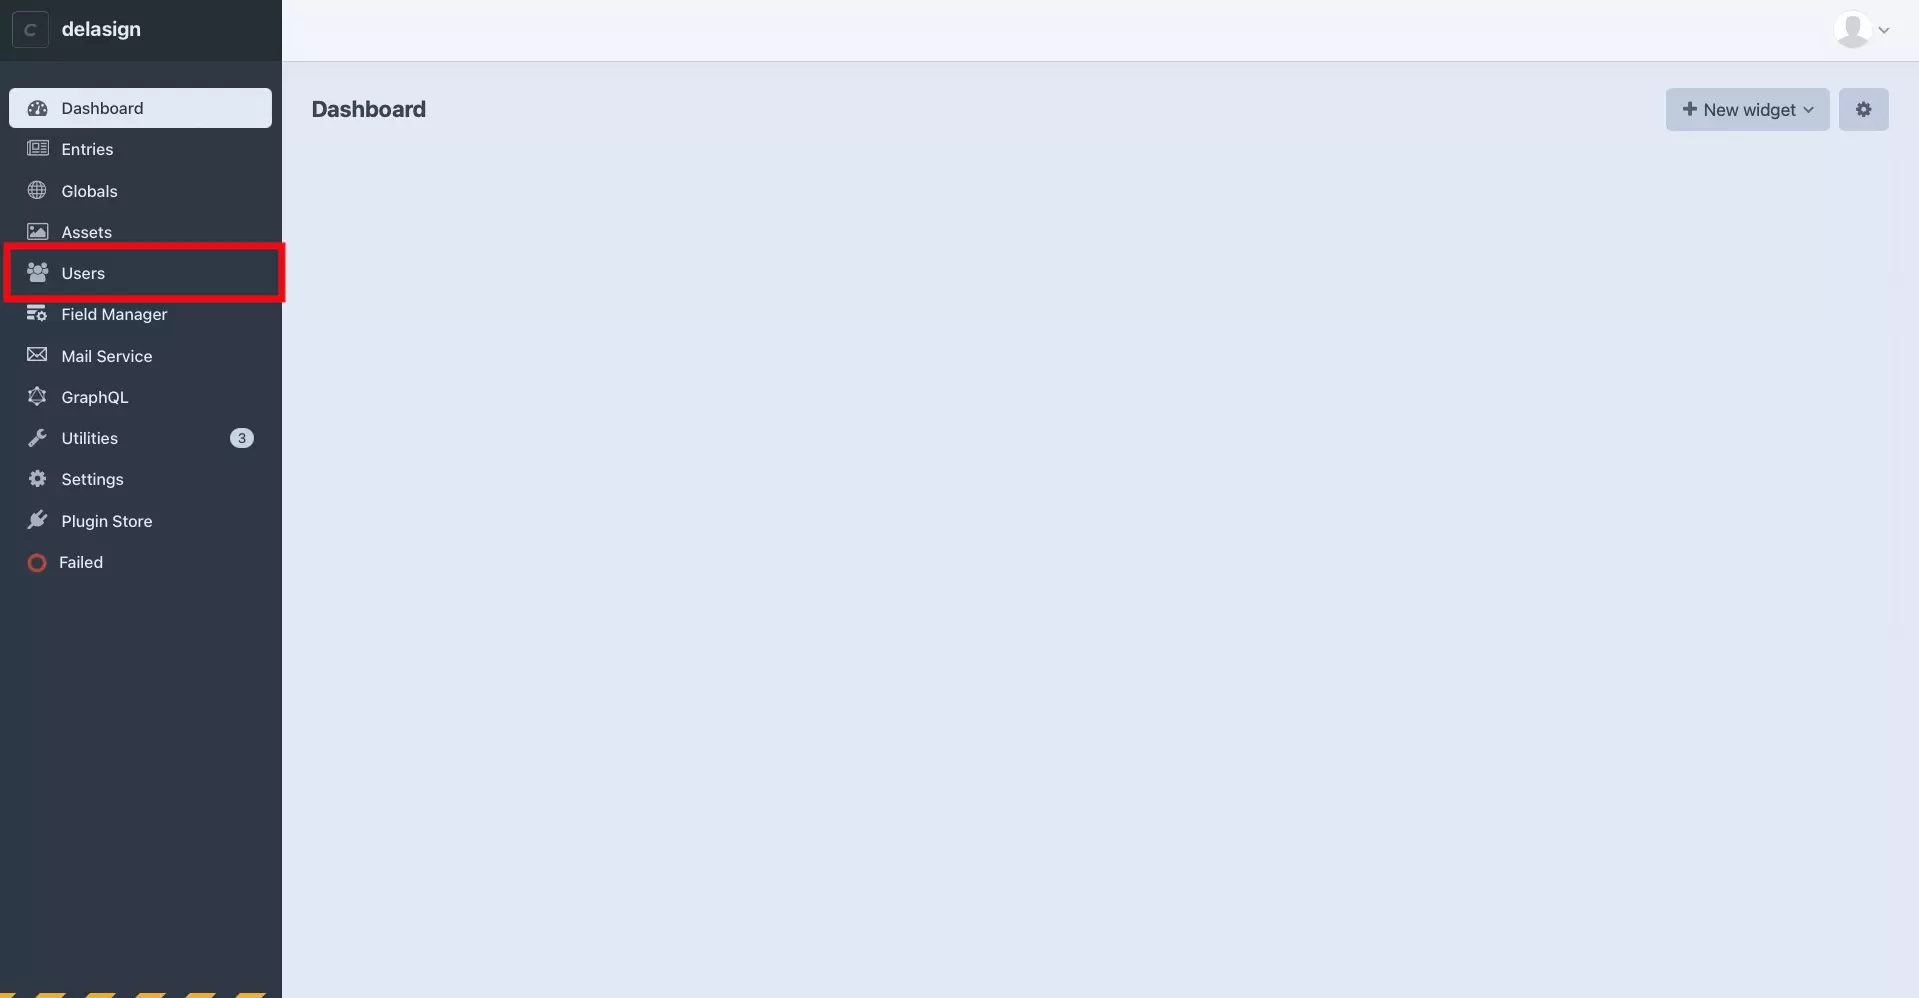
Step Four: Select Users

In the Settings page, select Users.
Step Five: Select Settings
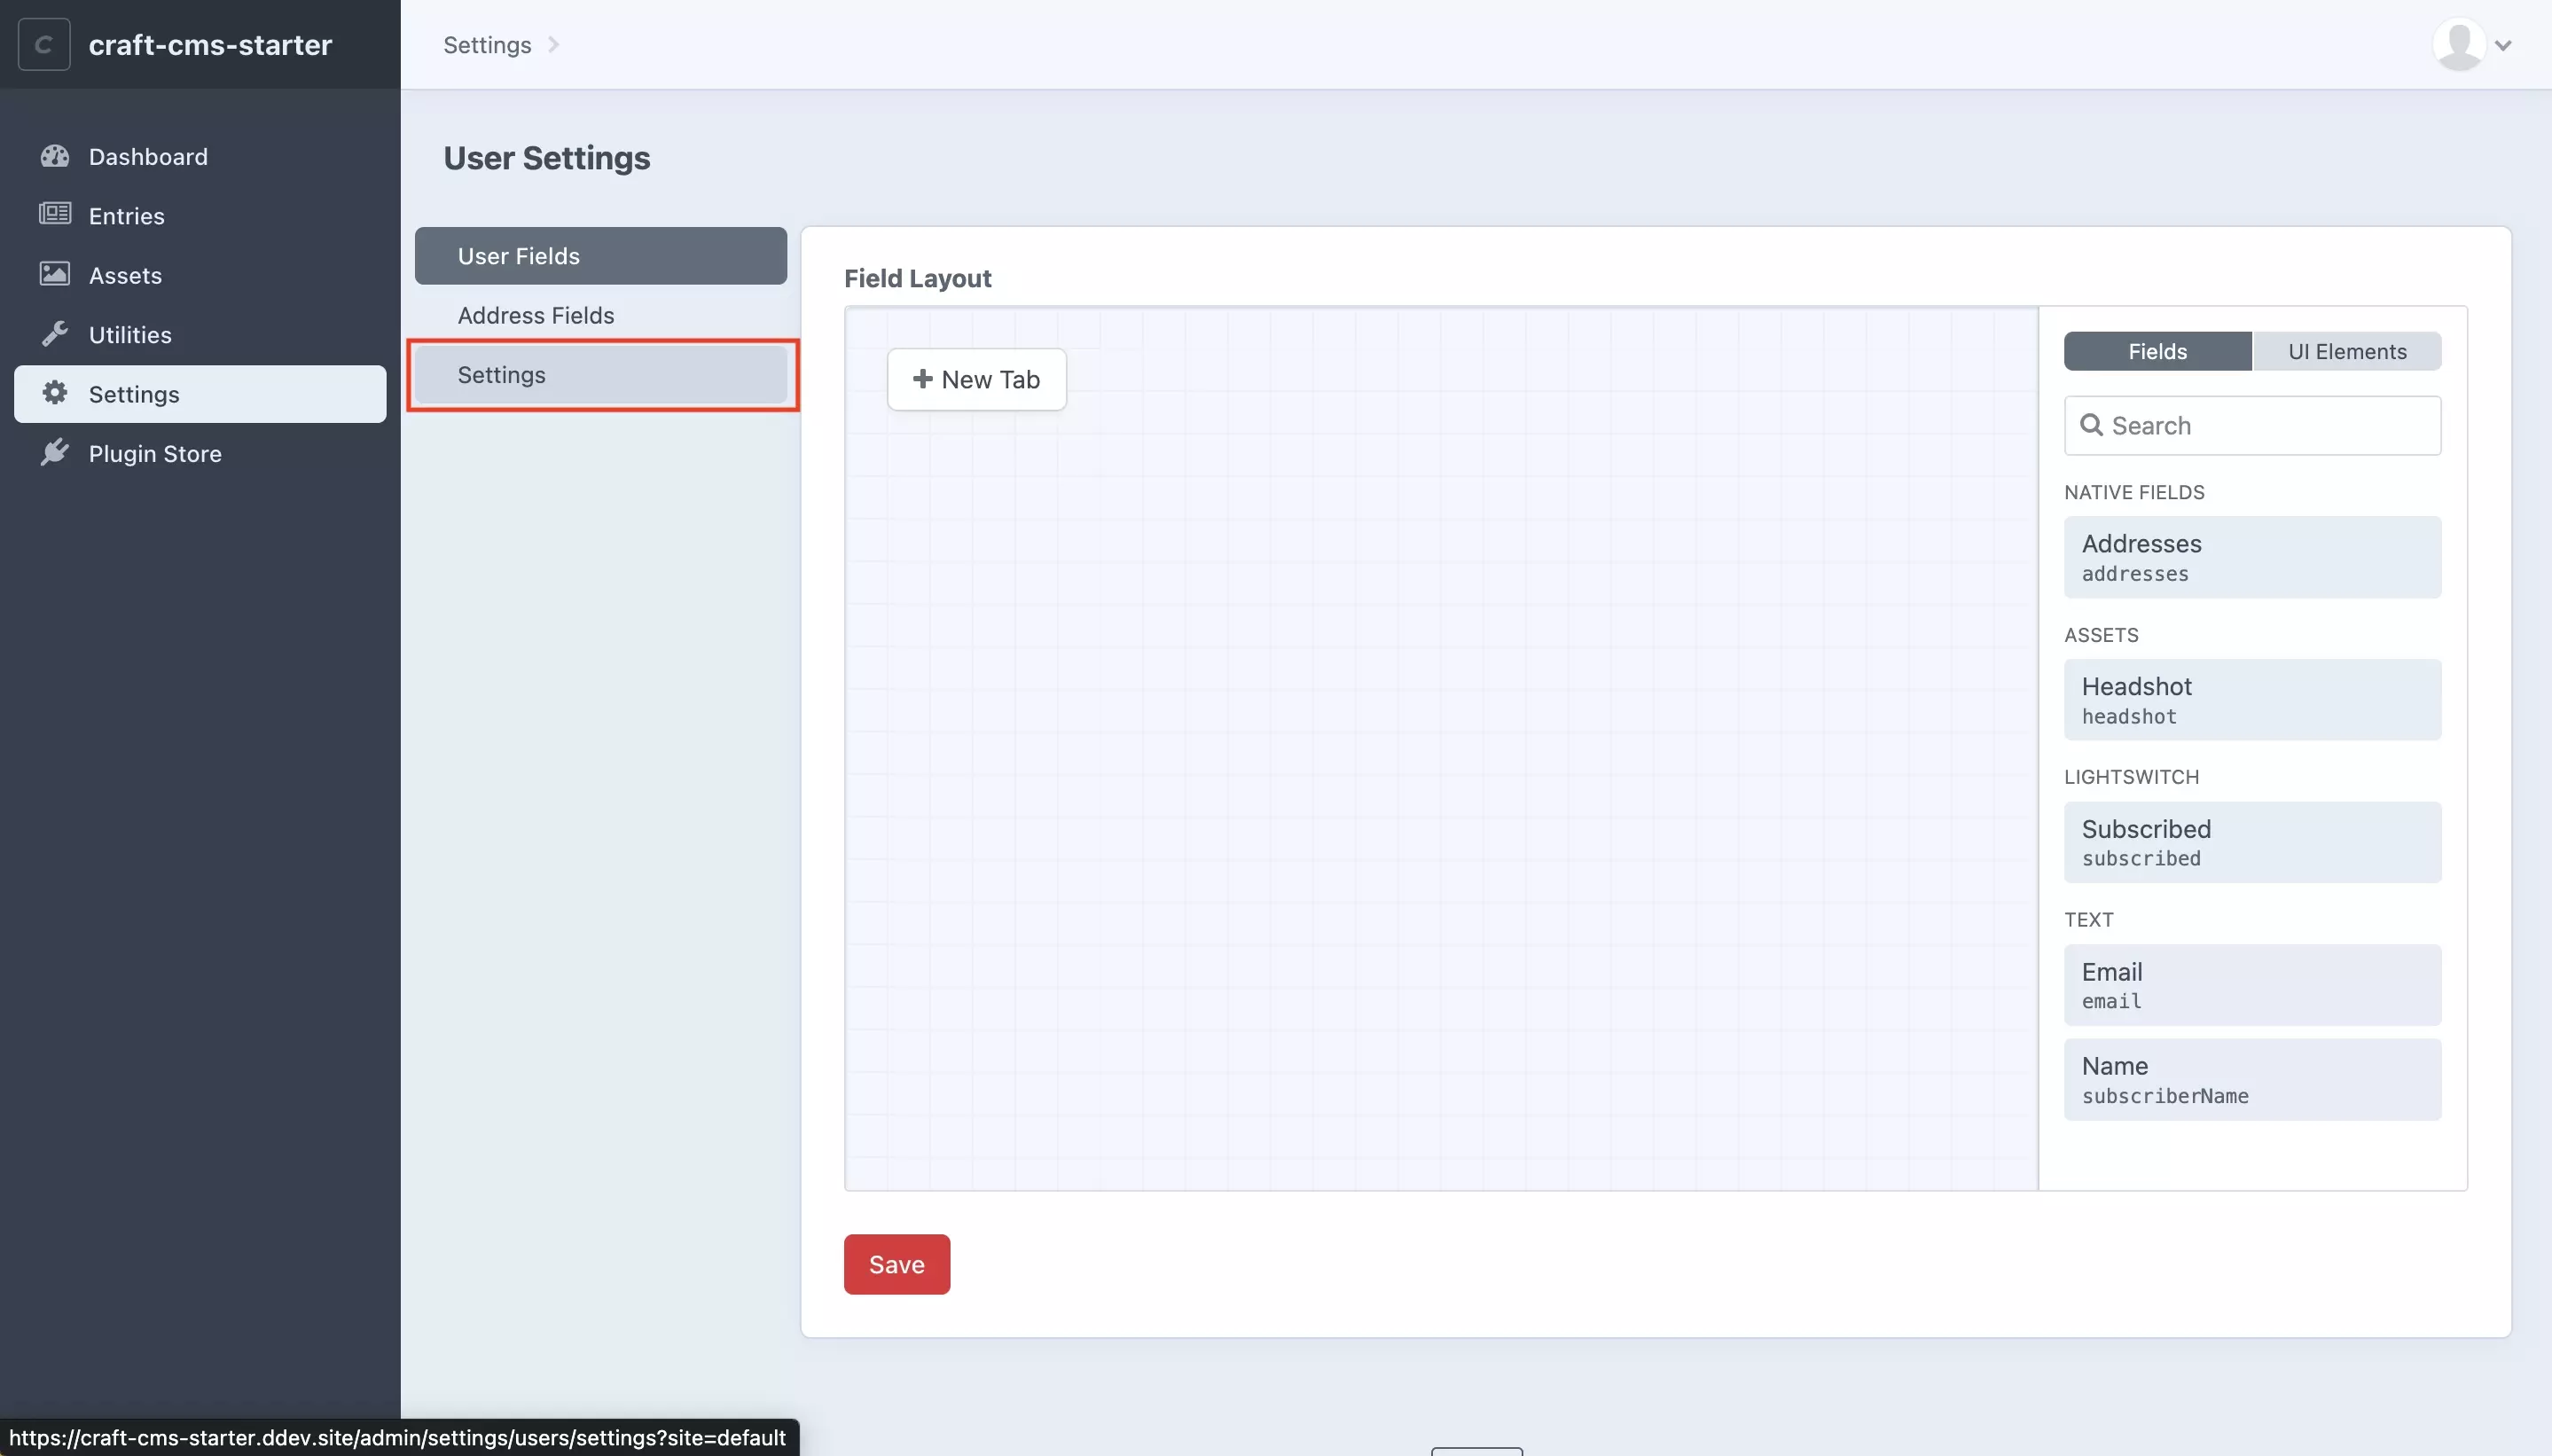
In the User Settings page, select Settings.
Step Six: Select Asset Volume
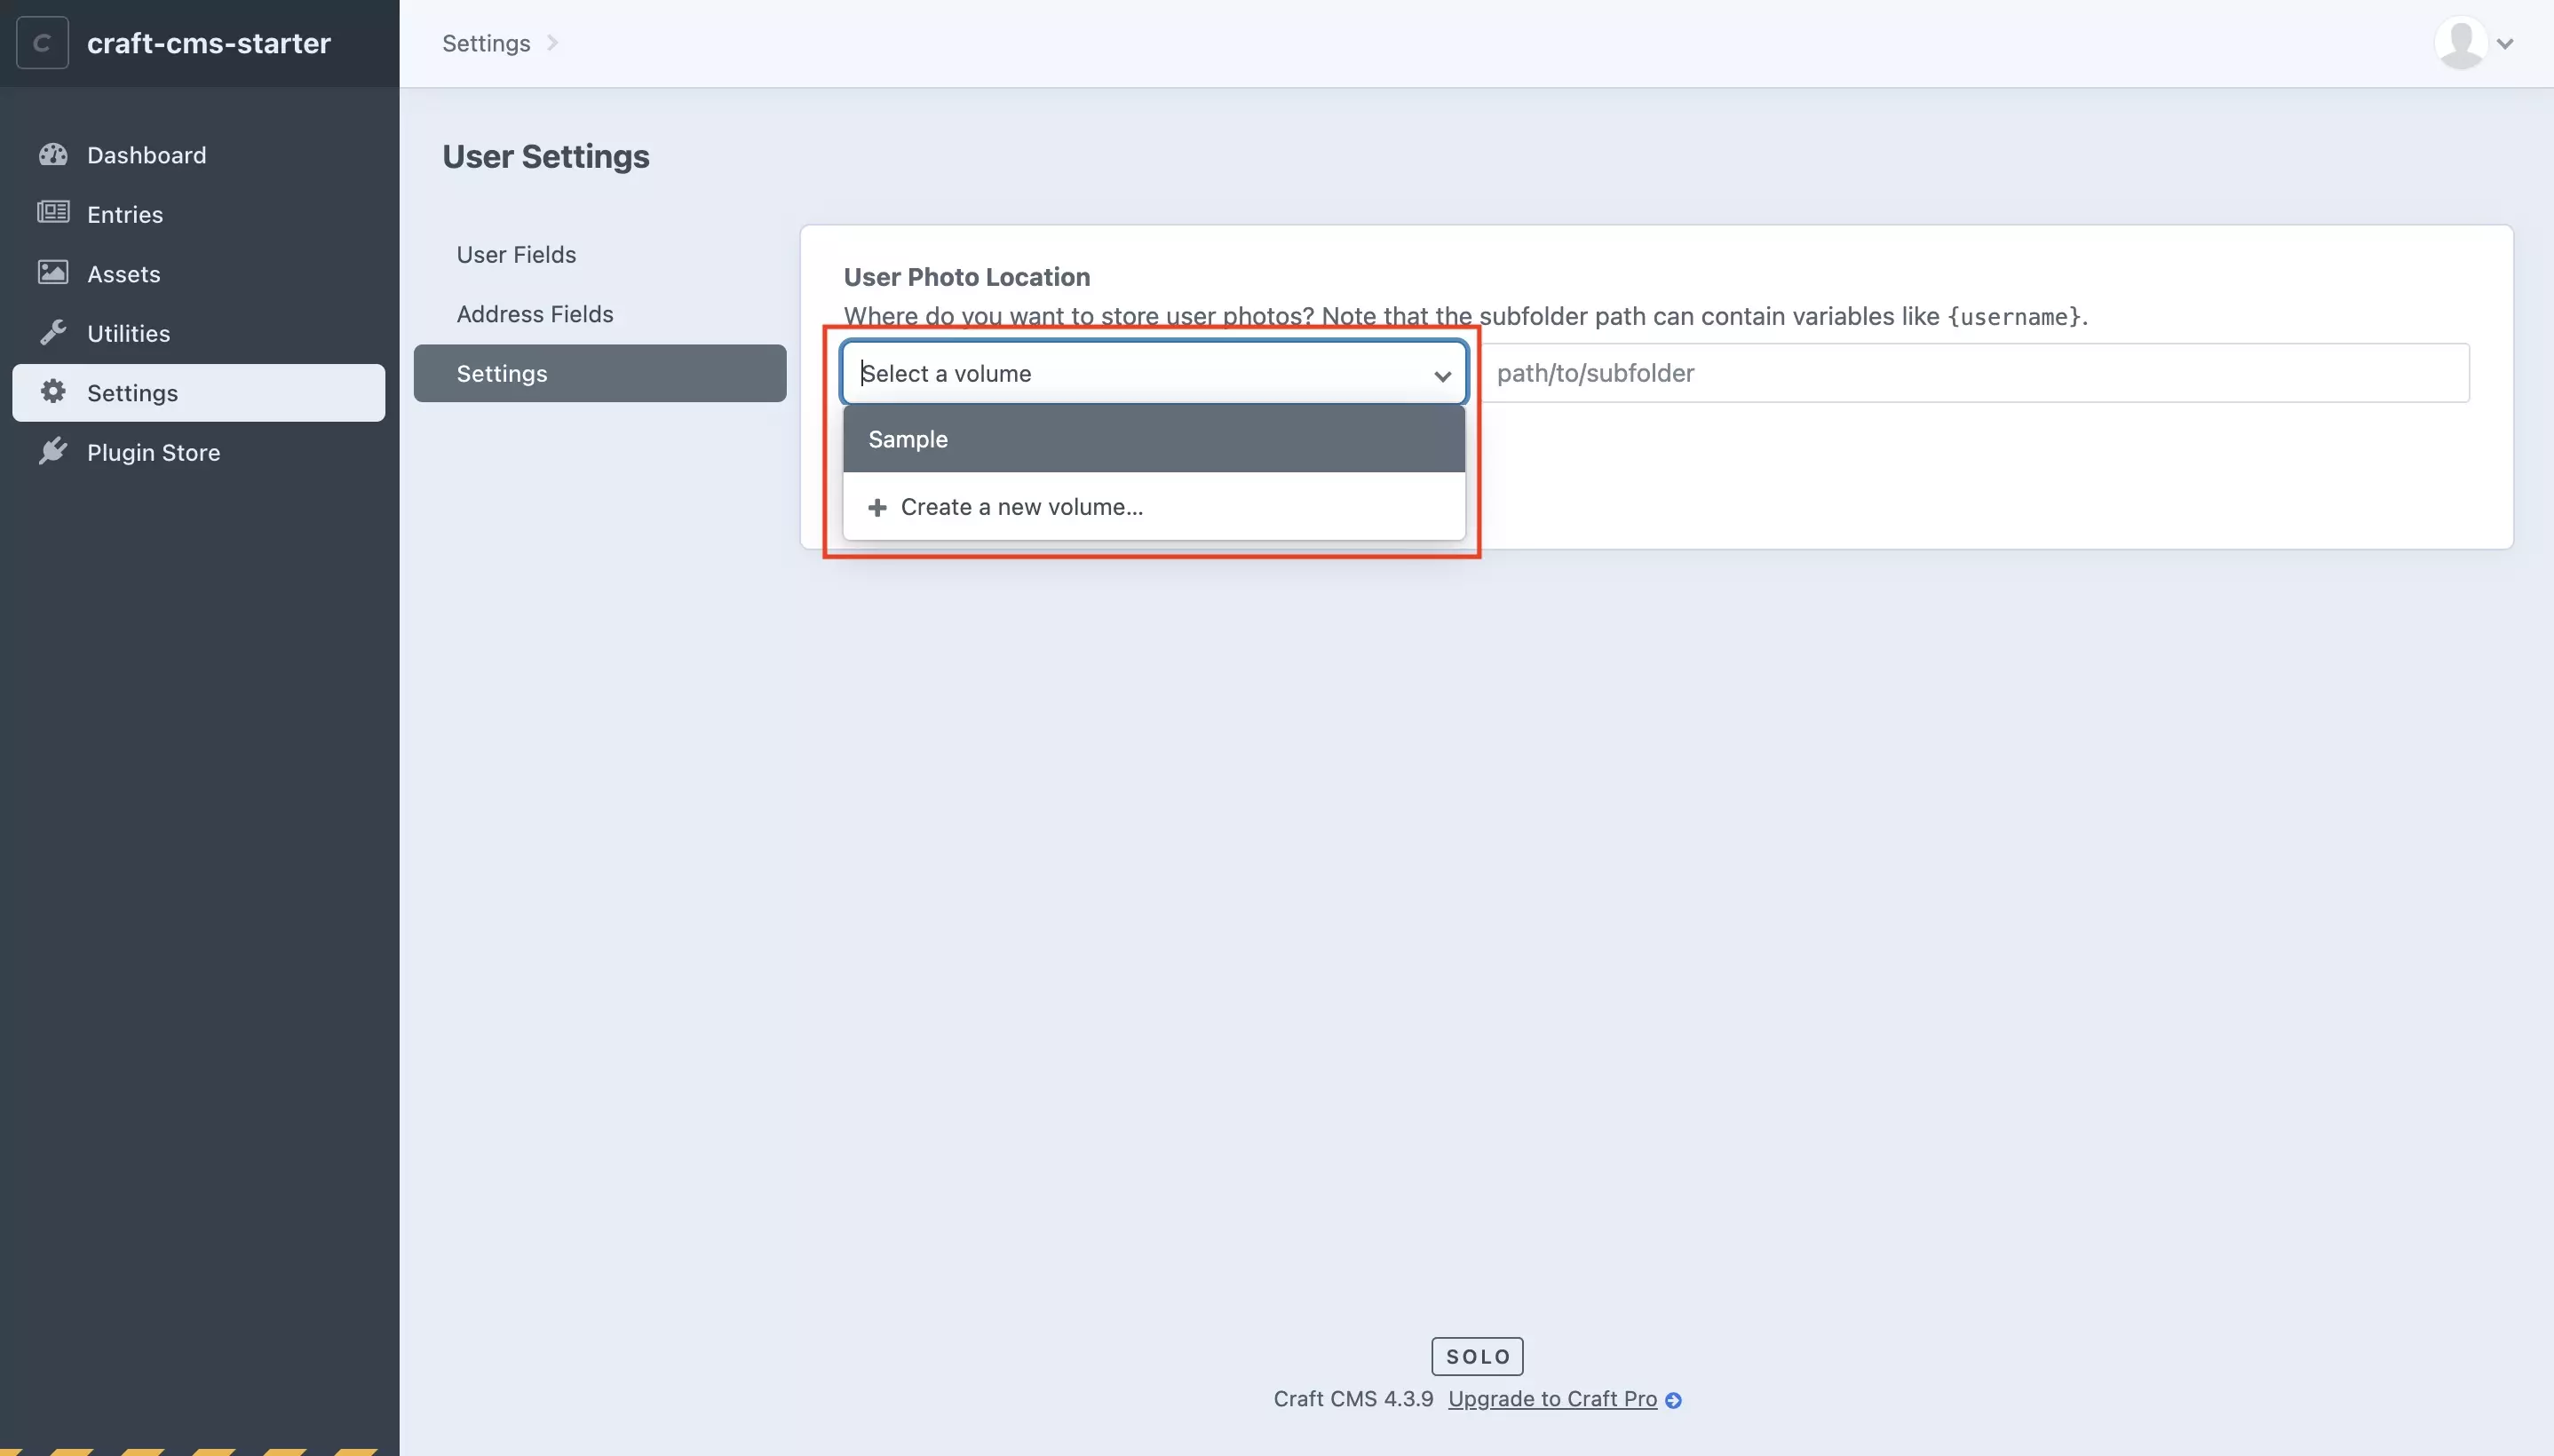
In the User Settings page, under Settings, select a volume using the Select a volume dropdown.
Optionally, you may add a folder subpath, if it helps.
Step Seven: Save
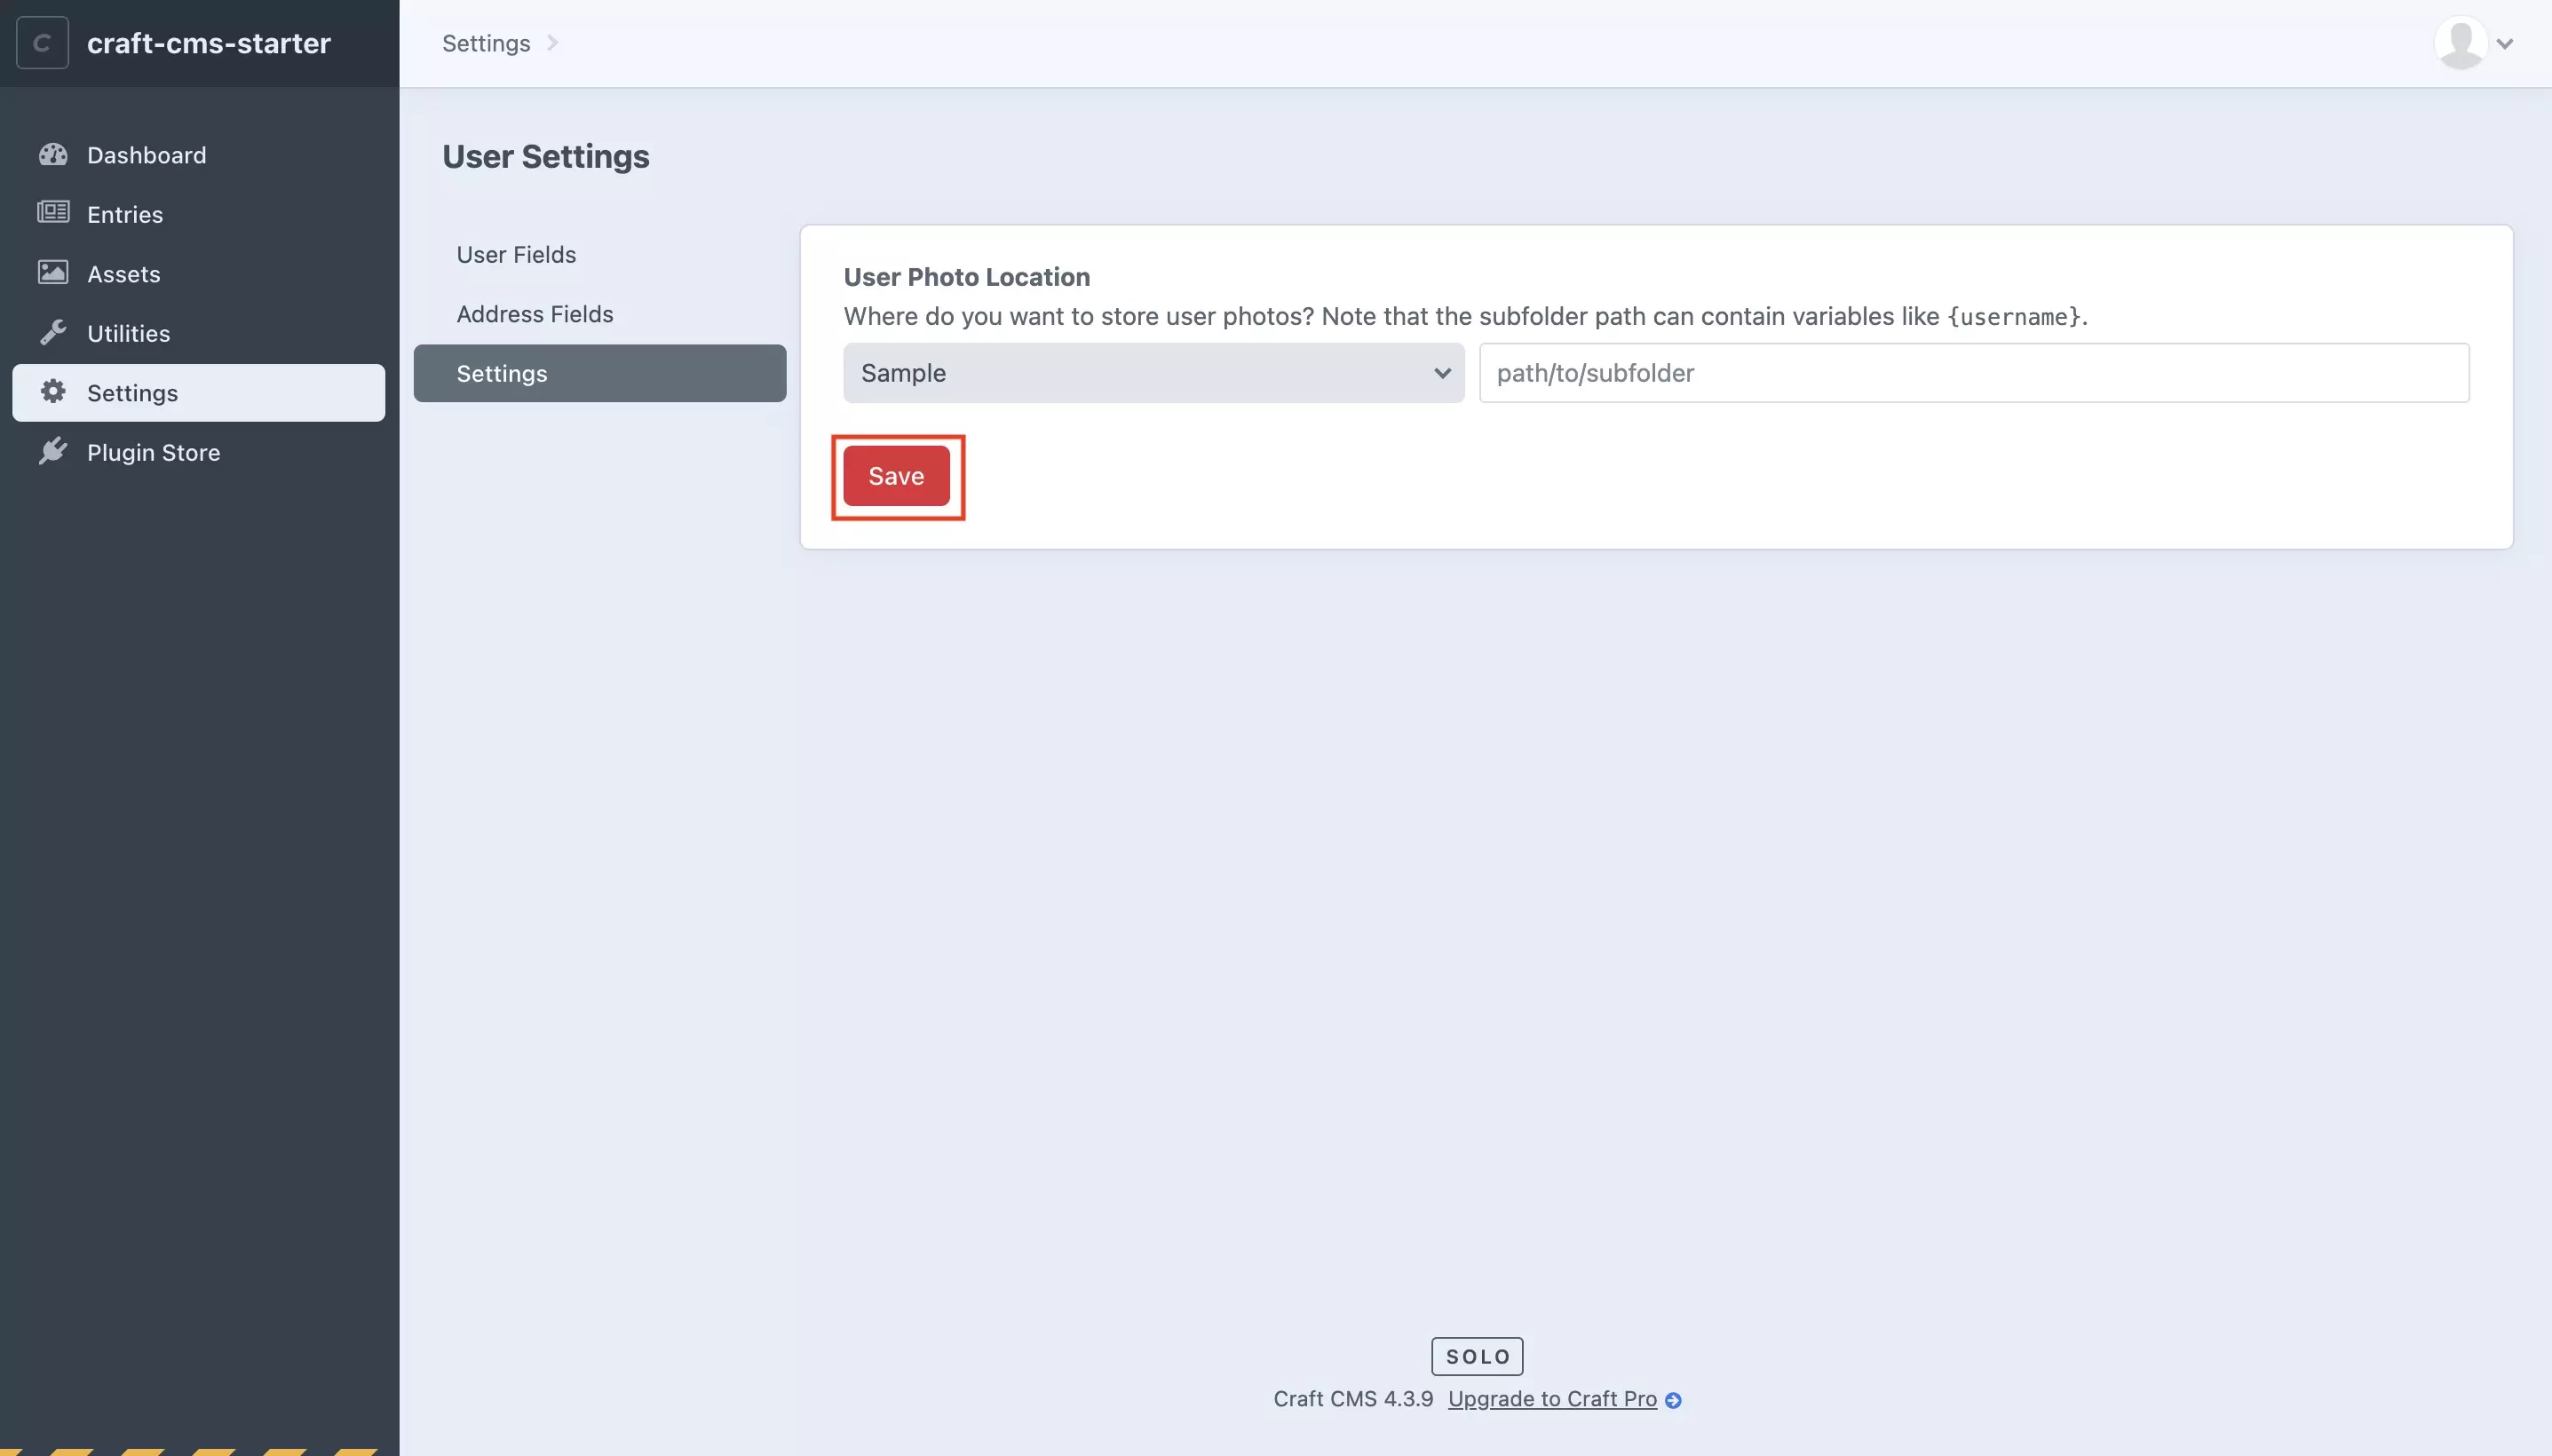
Press Save.
Step Eight: Access User
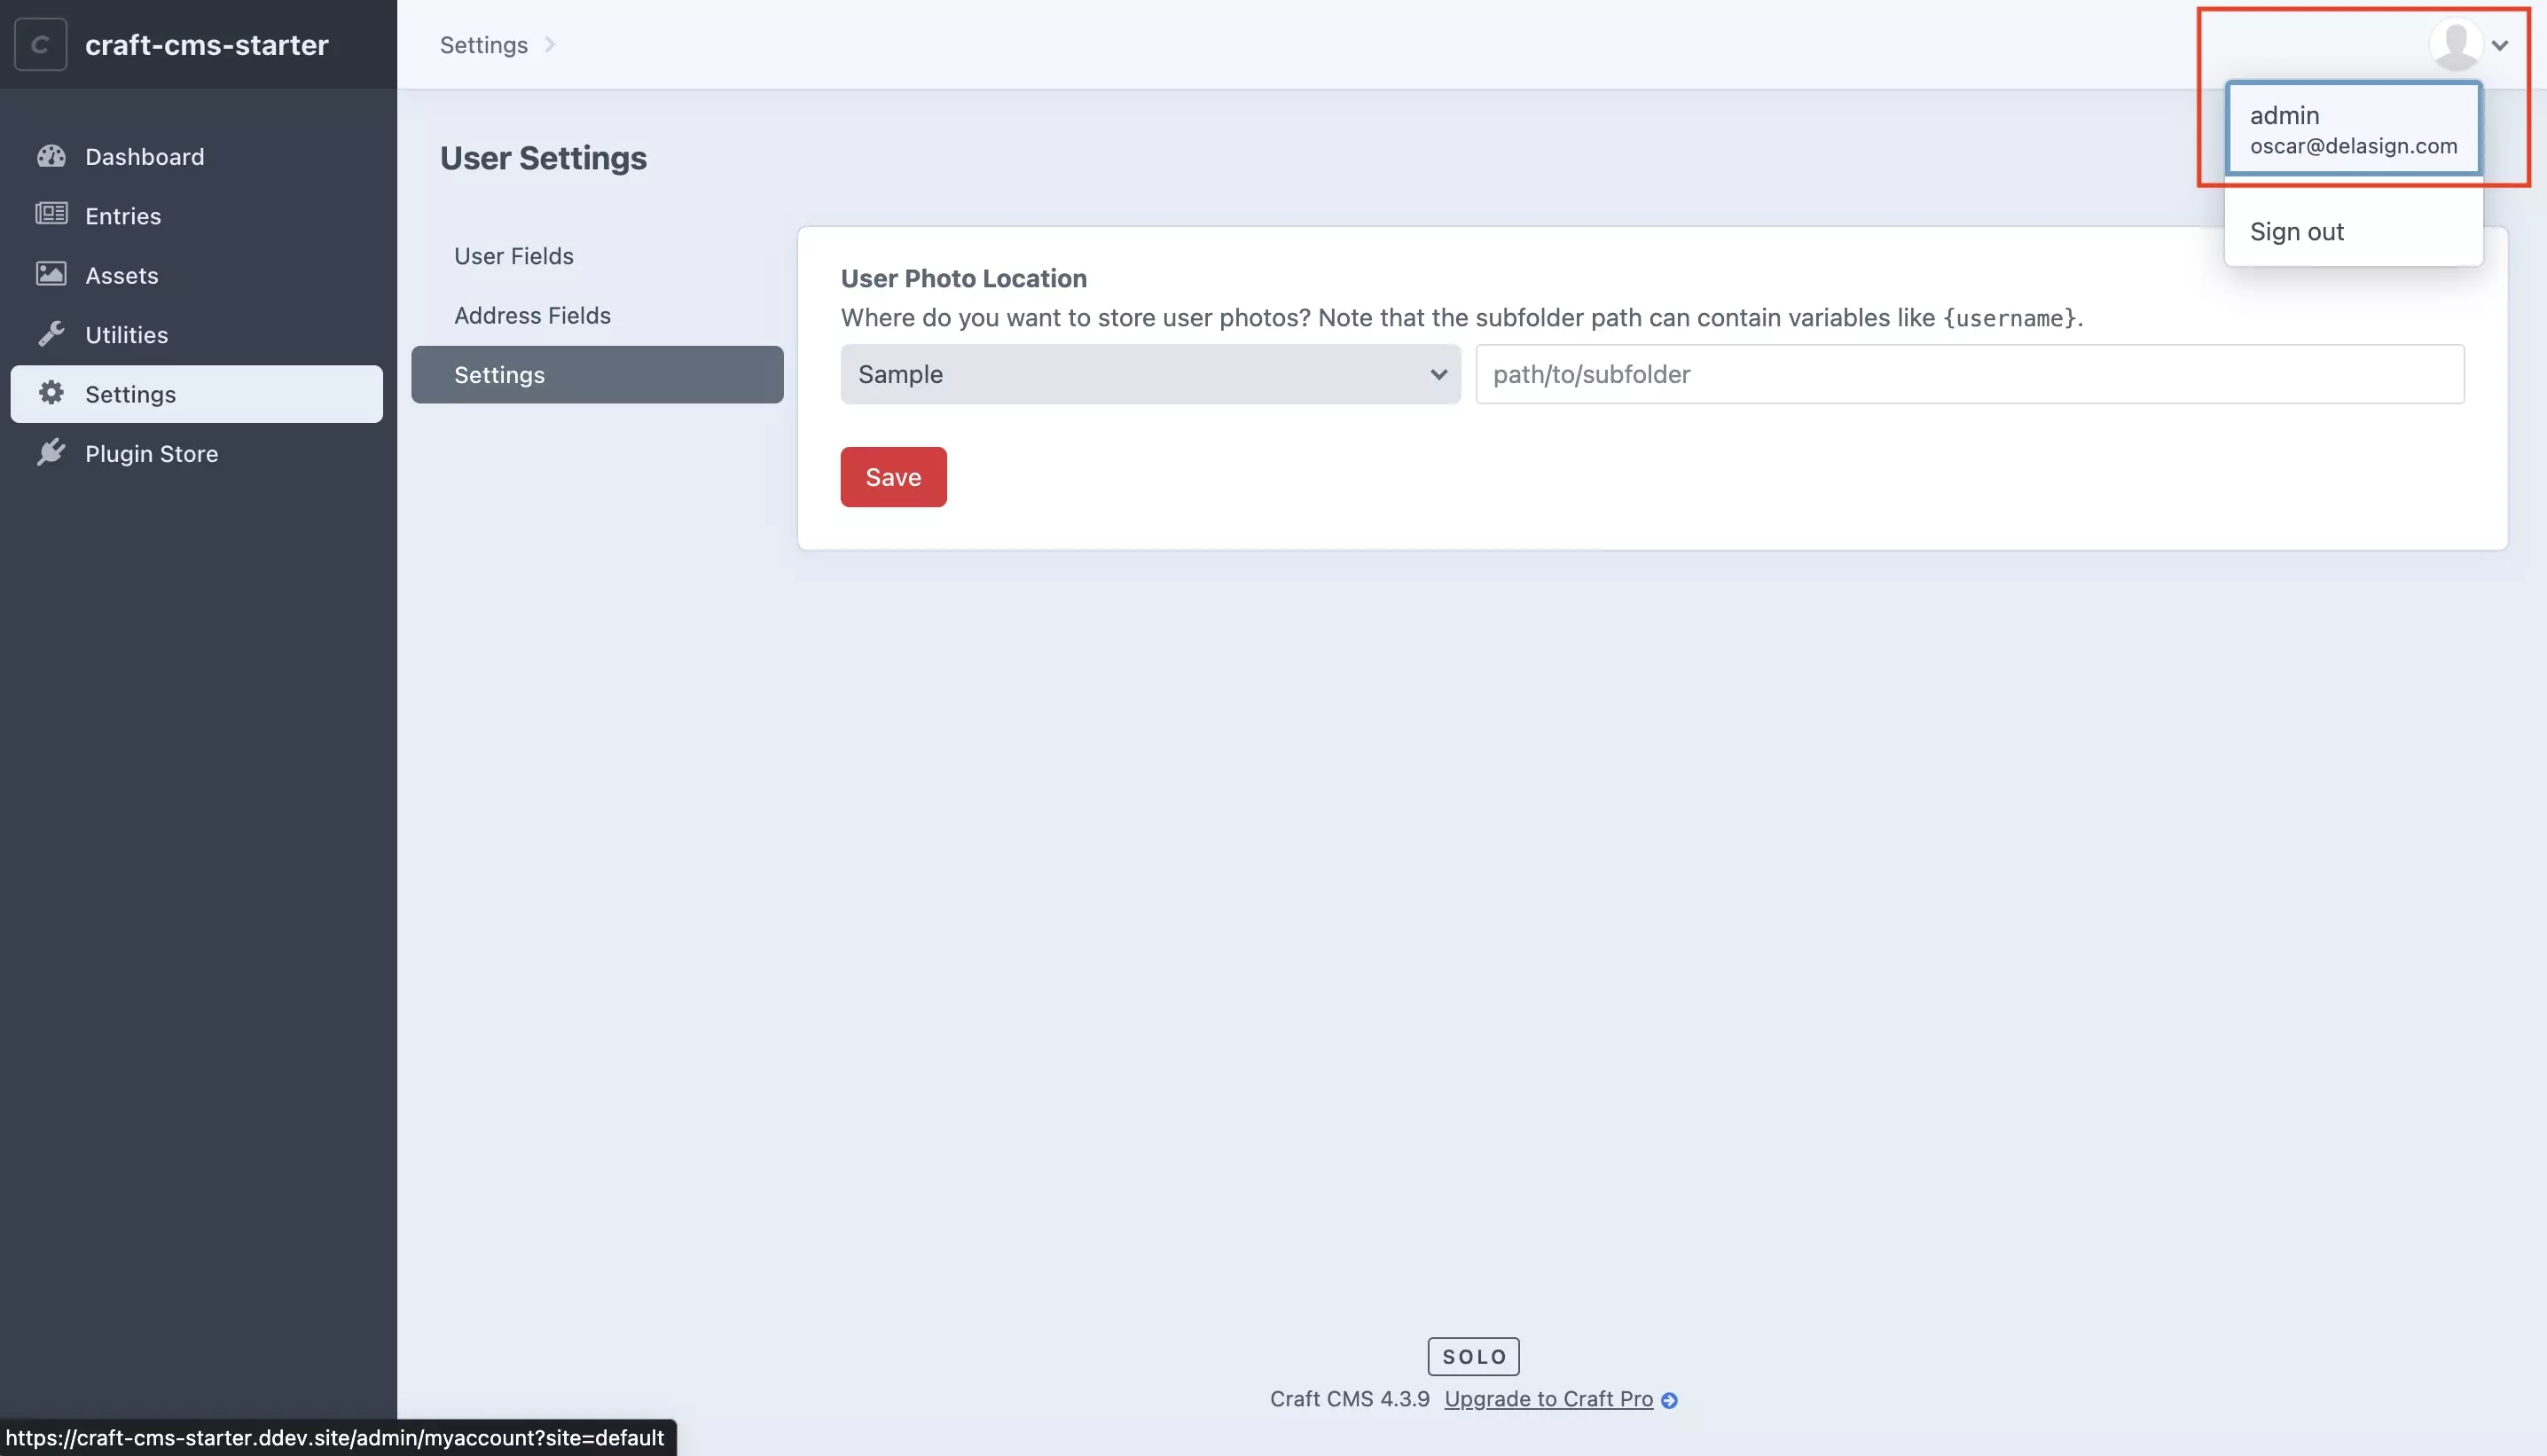
Access the user you wish to add a photo to either by:
- Selecting the headshot on the top right and selecting user.
- Pressing the User tab on the left (This is only available on Craft CMS Pro).
Step Nine: Upload the Photo
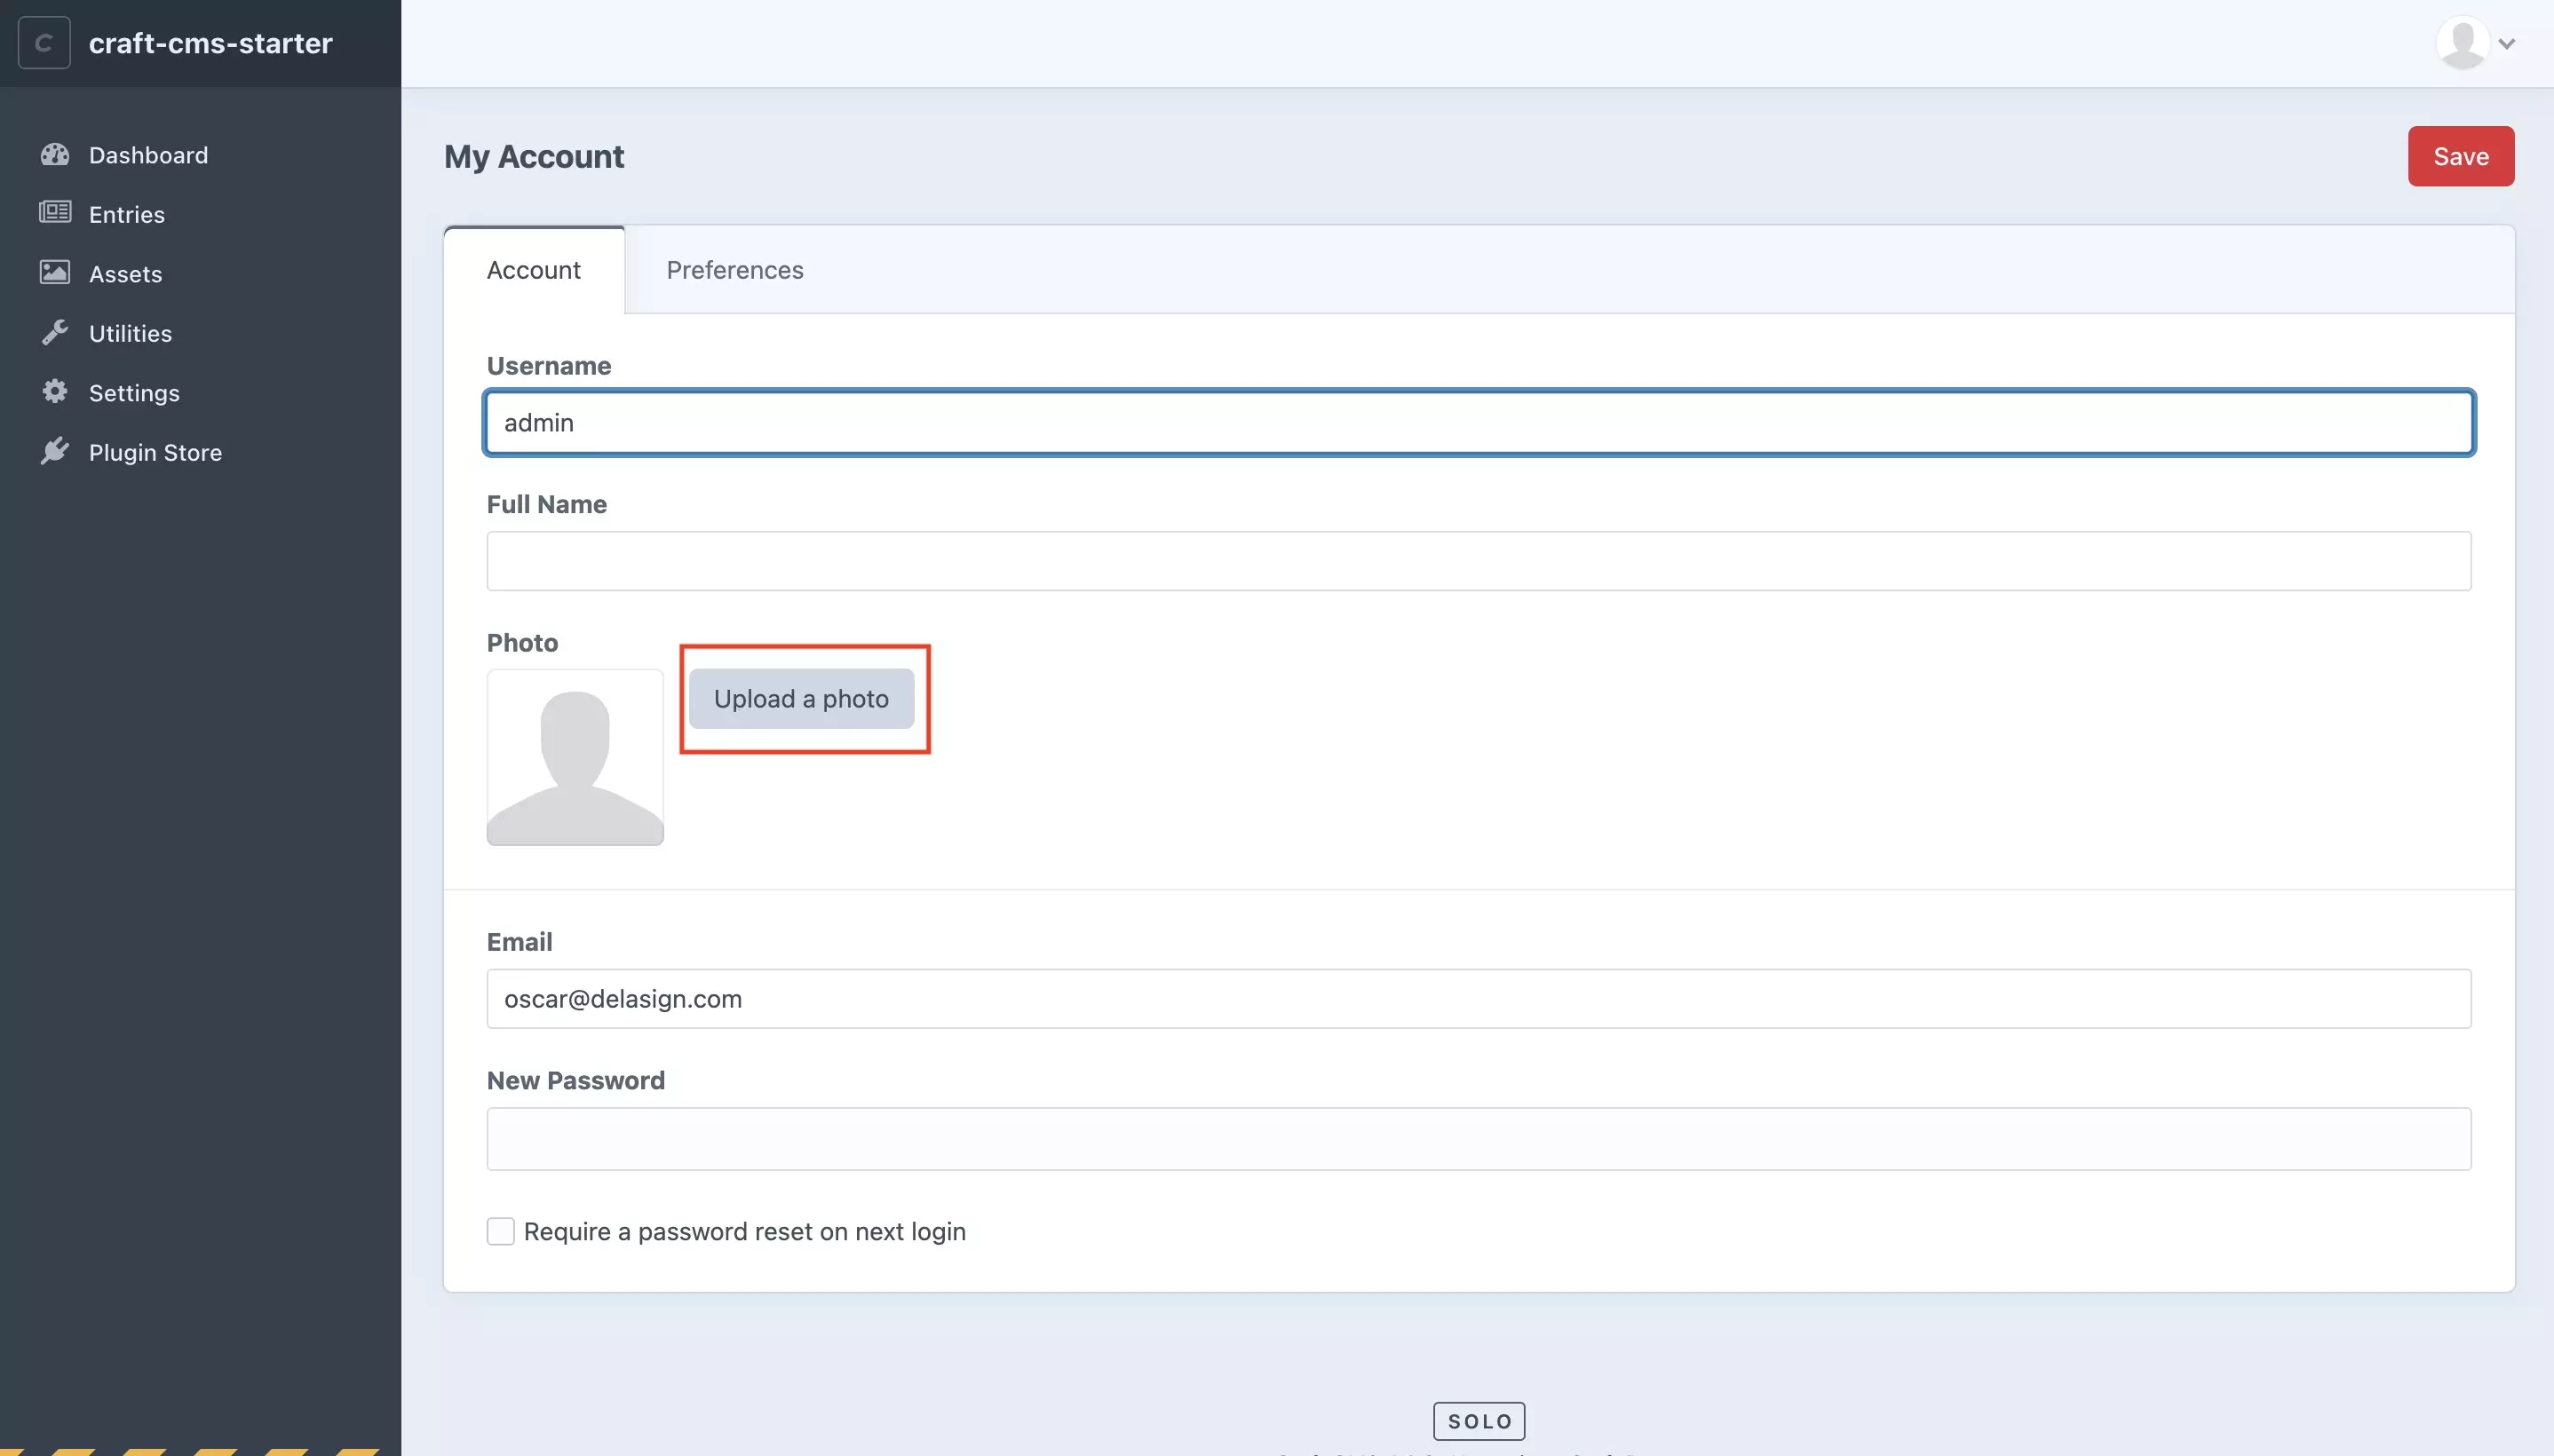
Under the user you will now see a Photo section.
Press the Upload a Photo button, find the photo you wish to set as the profile picture and upload the photo.
Step Ten: Complete
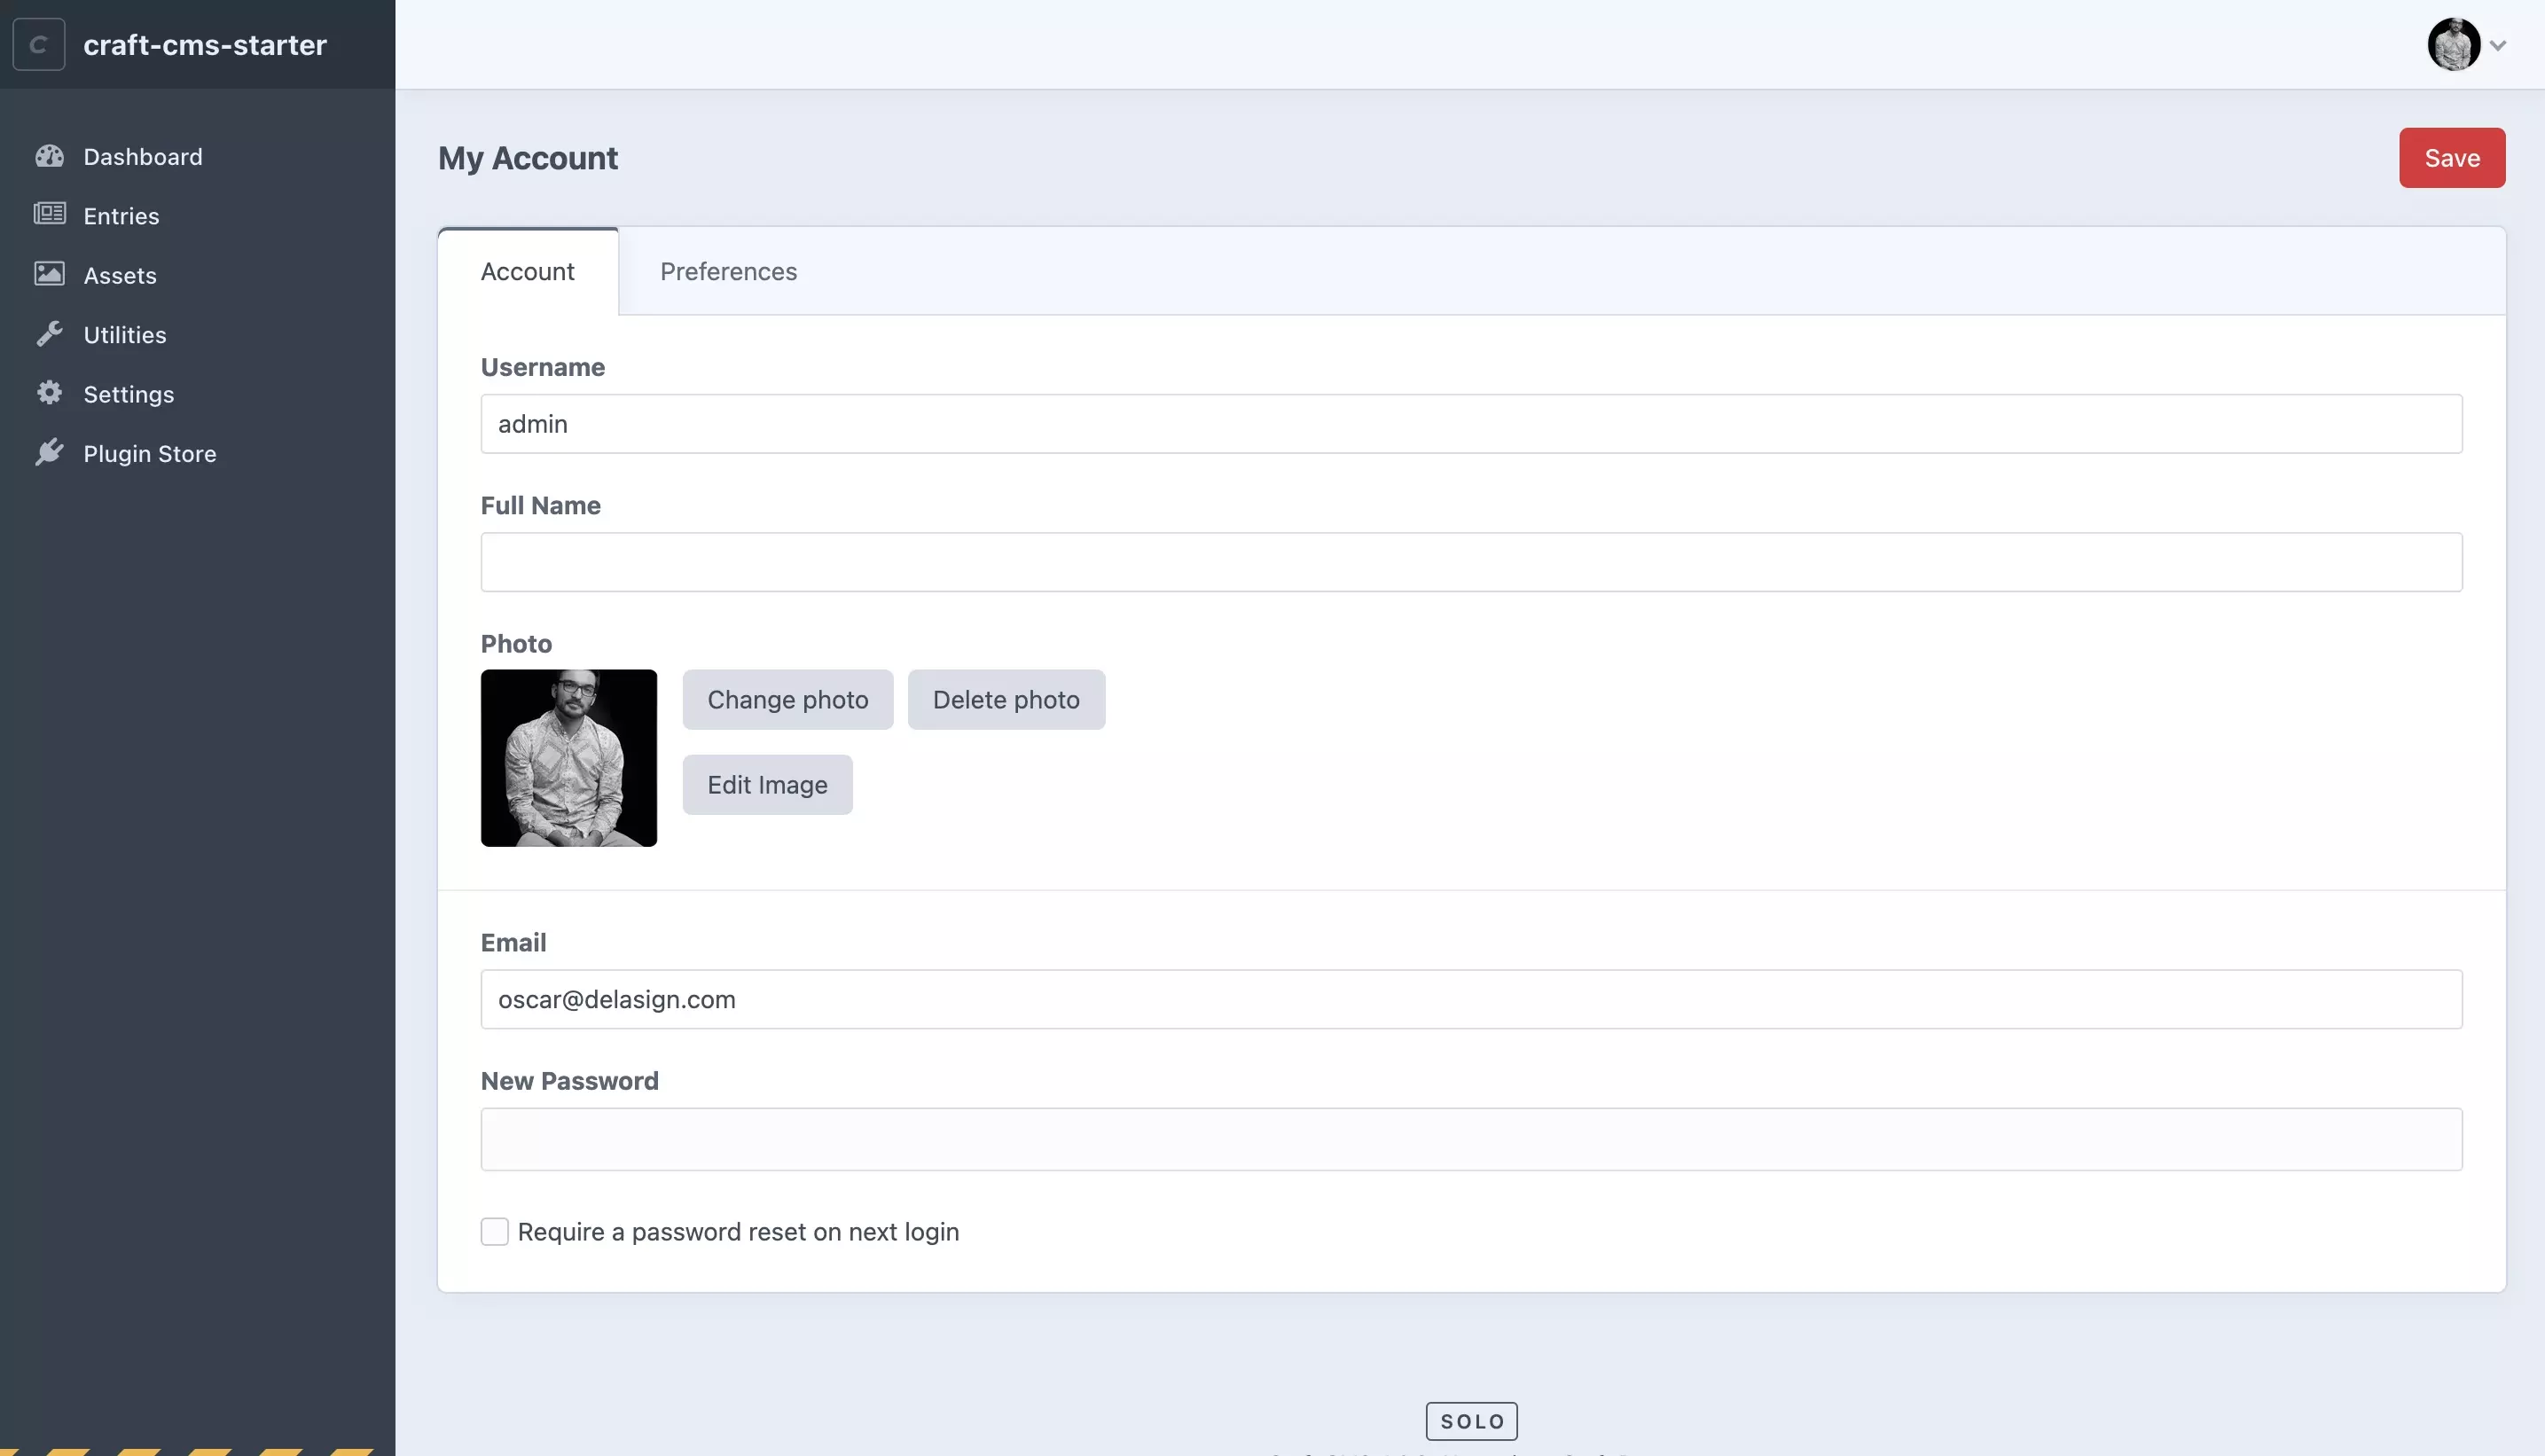
After uploading the photo, the picture should show up in the top right as well as under Photo, in the user profile in their account.