How to create a sprint in JIRA

Oscar de la Hera Gomez
A flower that represents JIRA with the text "Create Sprint" beneath it.

A step by step walkthrough on creating sprints in JIRA.

The following tutorial assumes that you have a JIRA project up and running that uses sprints and have tickets (issues) in the backlog ready to be added to a sprint. If you need to create or upgrade a JIRA project to use sprints, please consult the links below.

Step One: Select Backlog

A JIRA project page with Sprints enabled includes a button called "Backlog" on the left menu side bar. Press it and move to the next step.

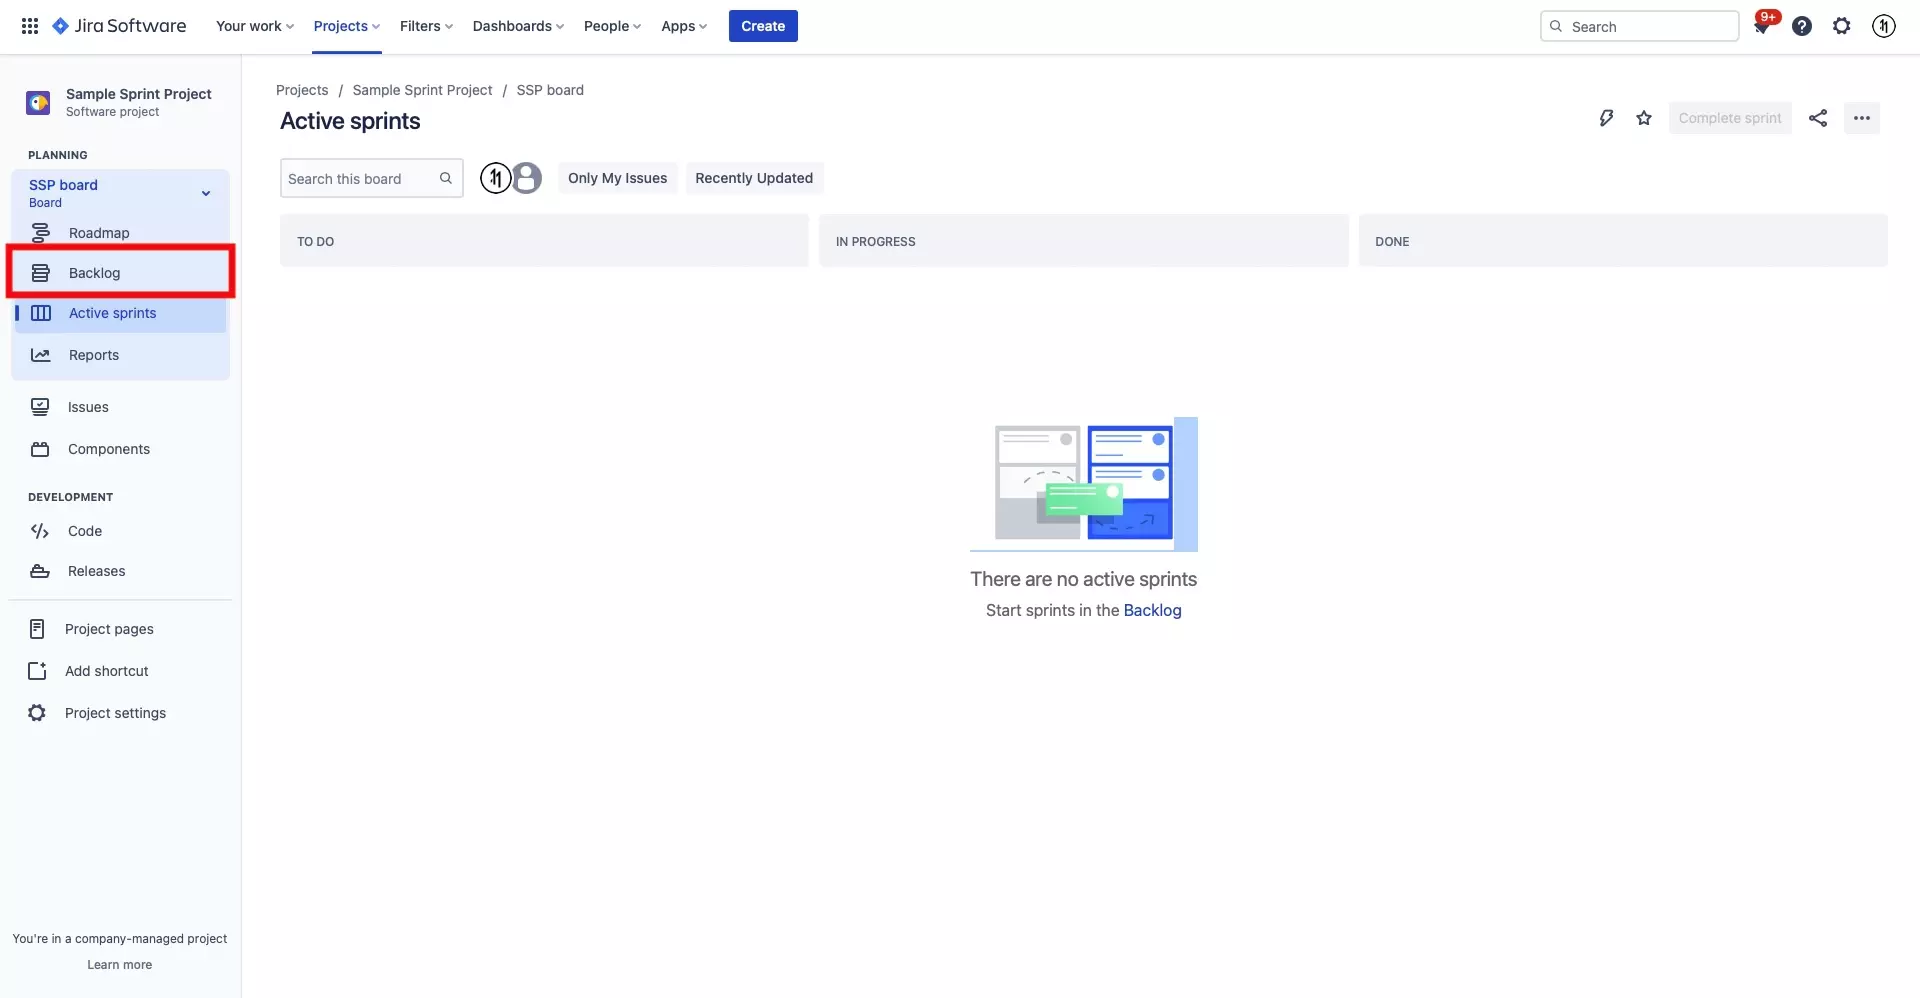
In your JIRA project, on the left menu side bar under Planning, select Backlog.

Step Two: Press Create Sprint

On the Backlog page, there is a button called "Create sprint" on the top right. Press it and move to the next step.

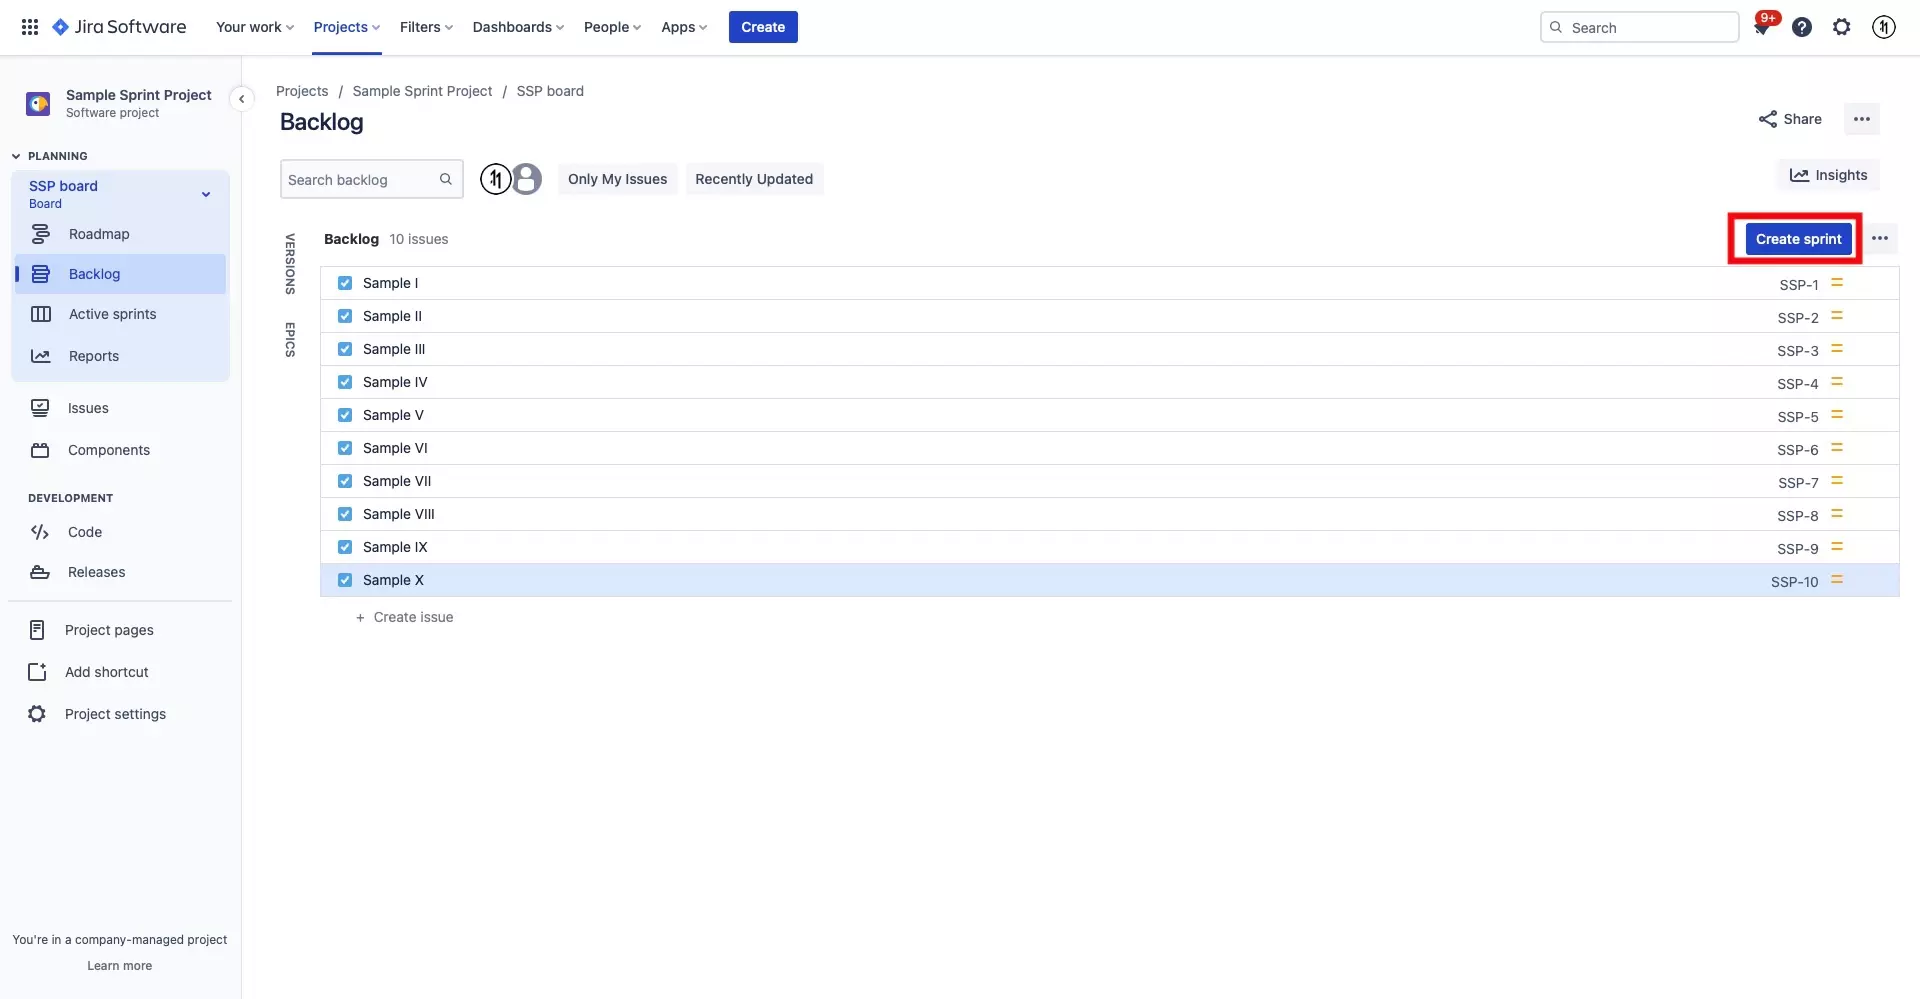
On the top right of the Backlog screen, select the Create sprint button.

Step Three: Move tickets into Sprint

Once you have started a new sprint, all the tickets will appear under backlog. There will be a section above it which includes your JIRA board's key as well as a sprint title. If you drag and drop tickets into this section, you will add them to the board.

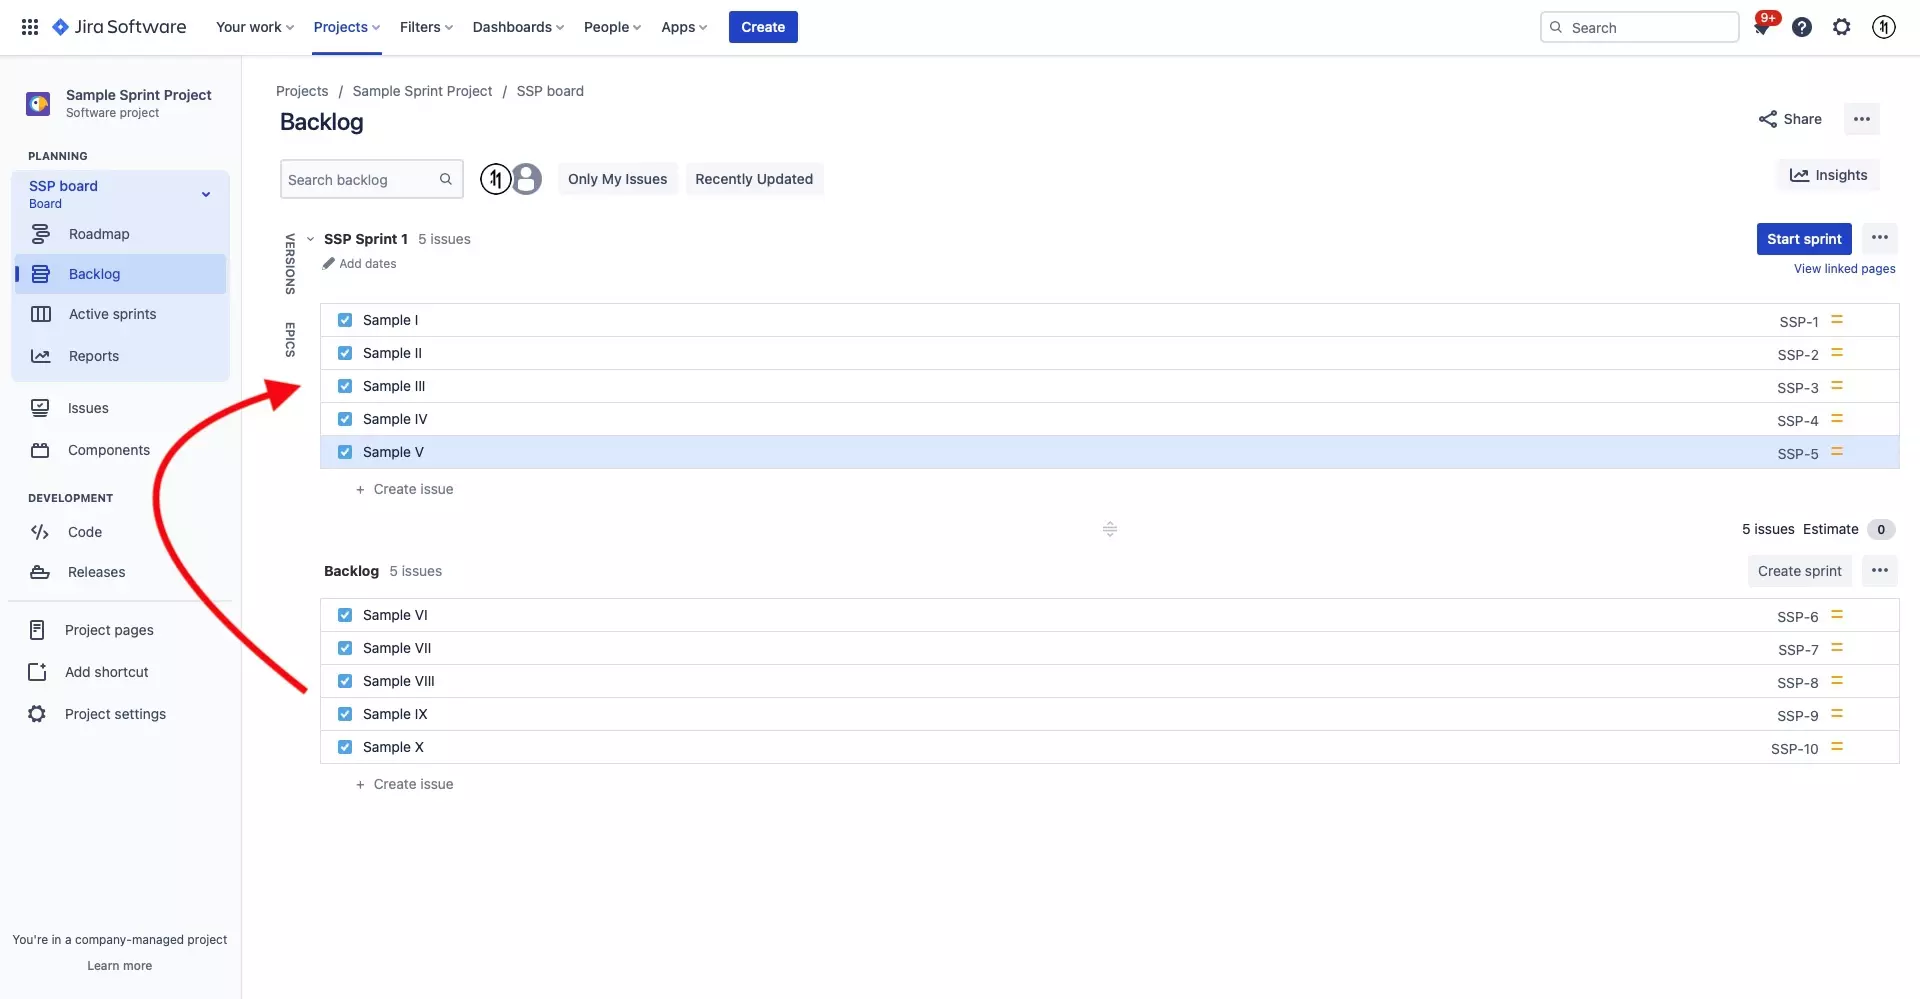
Drag and drop the tickets that you wish to be in the sprint into the Sprint section above the Backlog section.

Step Five: Press Start sprint

On the top right of the backlog screen, there is a button called "Start sprint" press this button and continue to the next step.

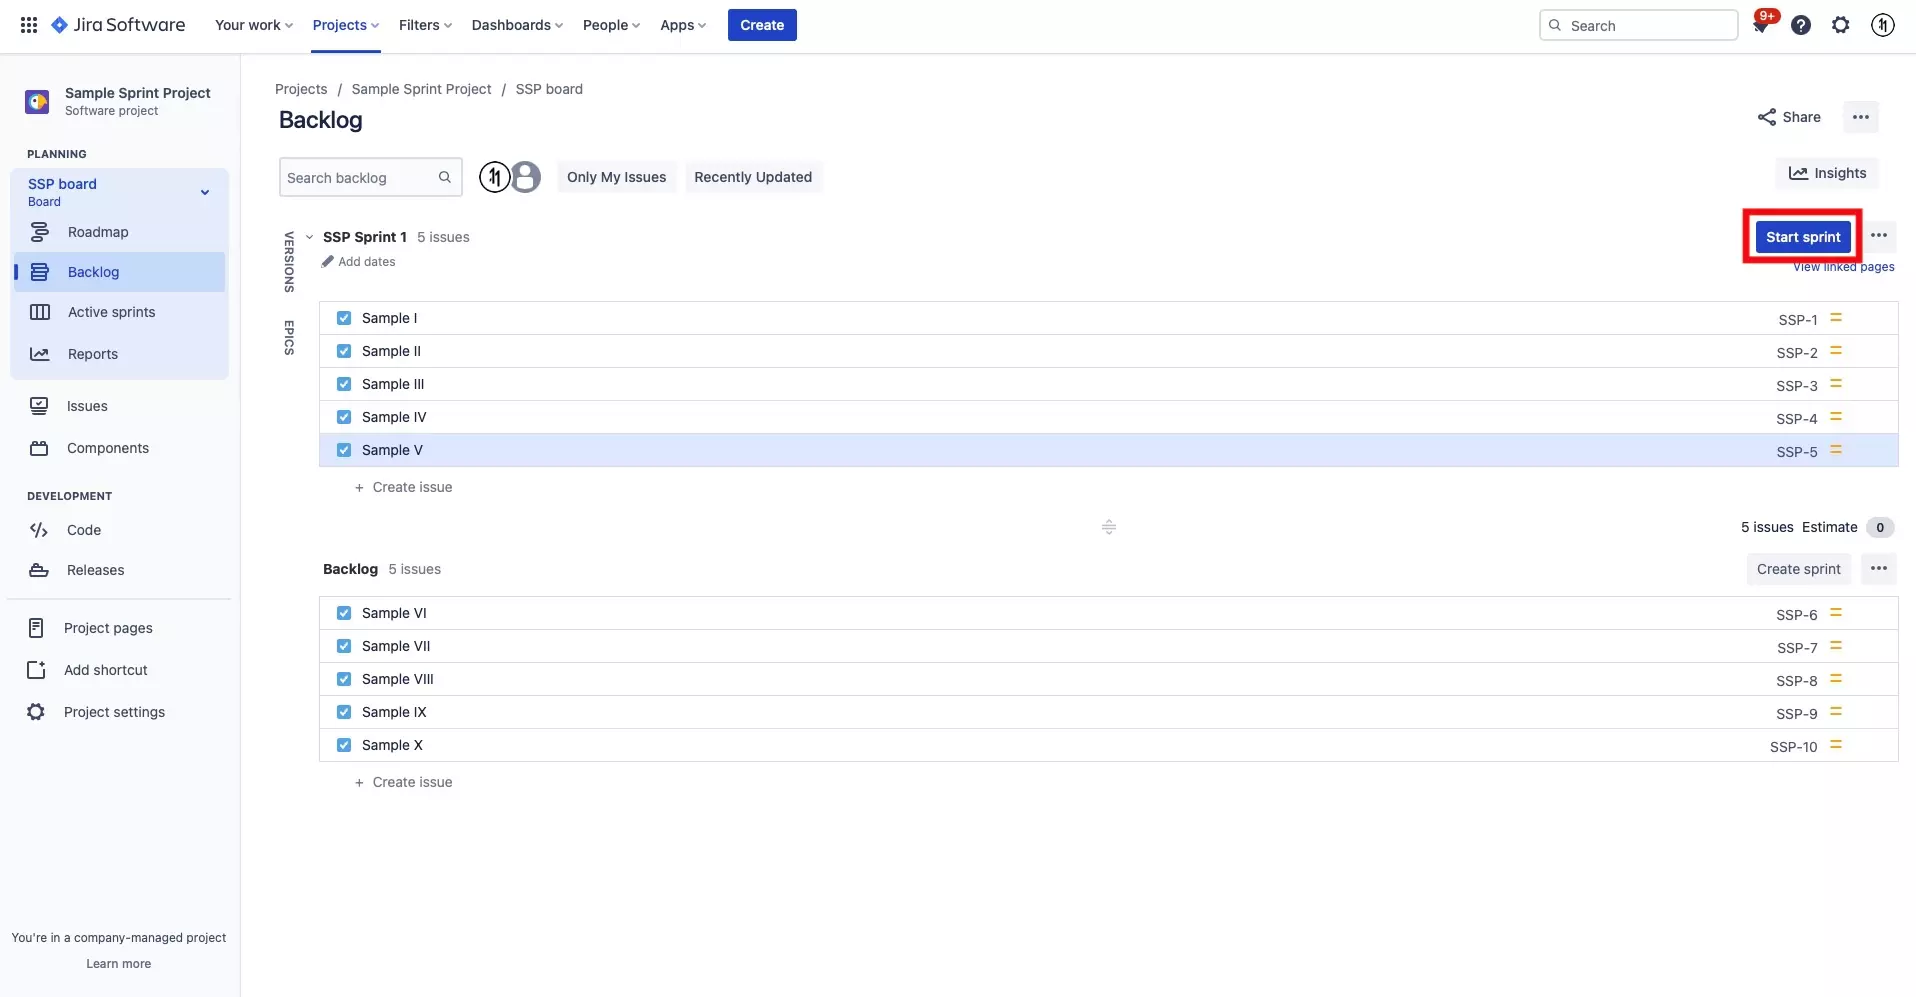
Once you have moved all the tickets that you wish to form part of the sprint into the sprint section, select the Start sprint button on the top right.

Step Six: Complete Sprint Details

After pressing the "Start sprint" button, a modal will appear allowing you to change the details of the sprint. Fill in this details to your liking.

In the Start sprint modal that appears, alter the details to match your desired name, duration, start date, end date and goals.

Step Seven: Press Start

Press the "Start" button found on the bottom right of the modal to complete the sprint creation process.

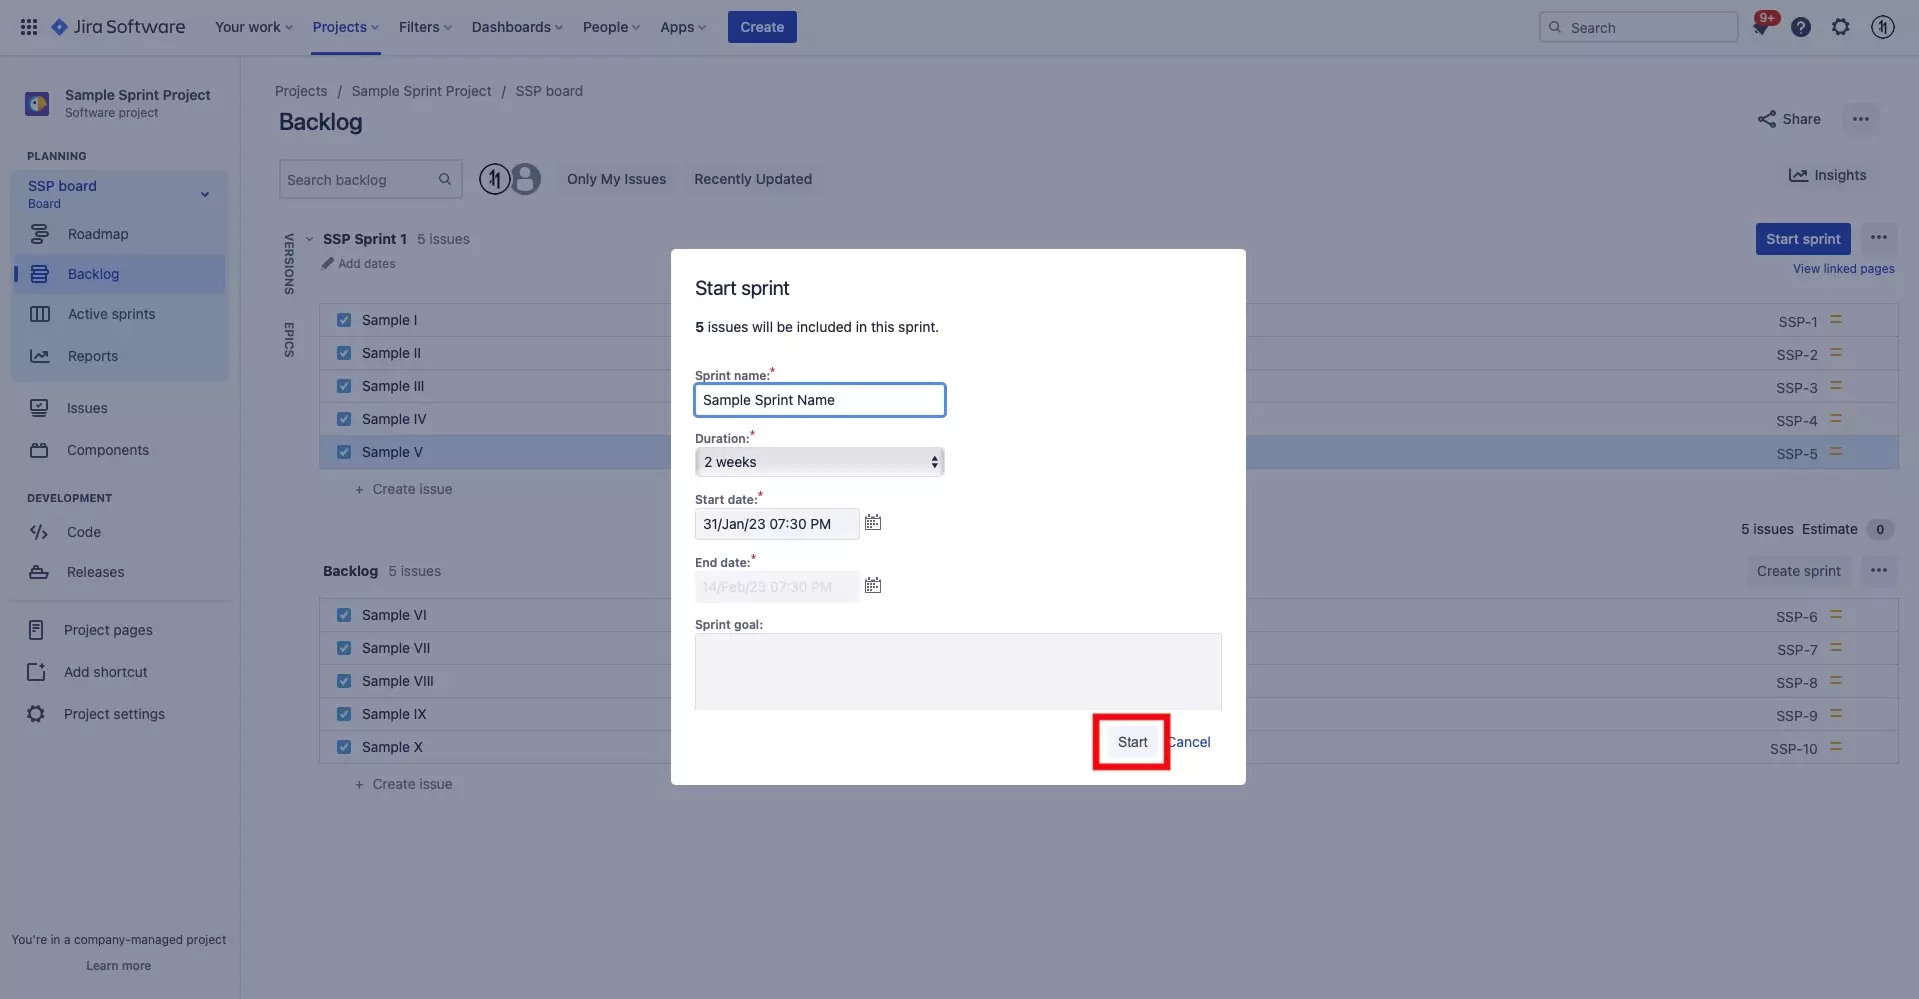
Once the details look right, press Start at the bottom right of the Start sprint modal to start the sprint.

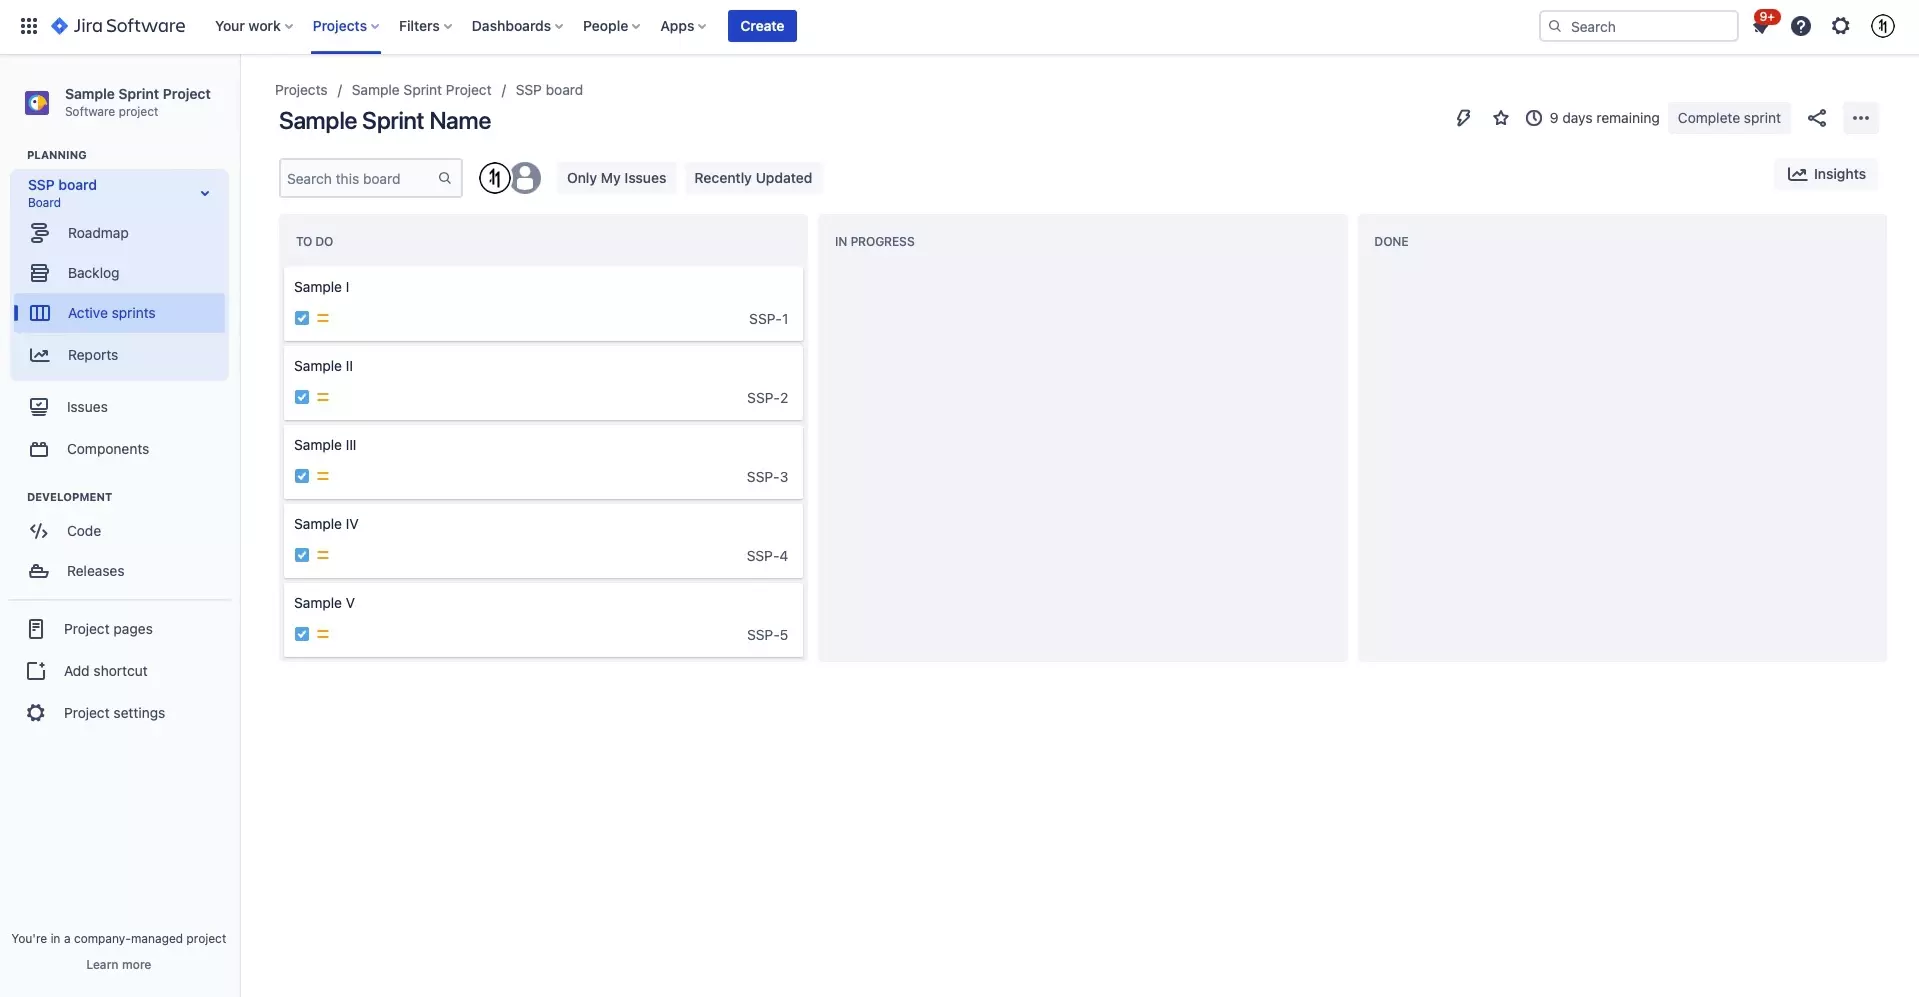
You will be taken to Active sprints section of your board, which should now show the tickets that you moved into the sprint along with the details that you filled in for your Sprint in Step Six.

A screenshot of JIRA project on the Active sprints screen, showing that we have successfully started a sprint.

Any Questions?

We are actively looking for feedback on how to improve this resource. Please send us a note to inquiries@delasign.com with any thoughts or feedback you may have.
delasign logo

Book a Free Consultation.

An icon of an email.

Click here to email us.

Fill in the details below to book a free consultation or to let us know about something else. Whatever it is, we are here to help.

How can we help you ?

Contact Details