How to build a RESTful API in Craft CMS
A step by step tutorial for making and testing RESTful API endpoints in Craft CMS 4.

A step by step tutorial for making and testing RESTful API endpoints in Craft CMS 4.
The following tutorial uses our Open Source Craft CMS starter project to offer a step by step walkthrough on building three API's in Craft CMS 4. These API's consist of:
- A POST API that will create a subscriber entry based on an email and a name.
- A PUT API that will modify a subscriber entry if a user chooses to unsubscribe.
- A GET API that will return all the subscribers.
If you wish to consult how to execute the above API's, as well as how to create an API Key for these API's or delete a Craft CMS Entry through an API, please consult the tutorials below.
To download our Open Source Craft CMS starter project, learn how we created the open source project or to read the resources that we used to create this tutorial, use the links listed below.
We recommend downloading our Open Source project, checking out the main branch, completing the setup listed in the tutorial linked below and carrying out the steps outlined below. All relevant changes can be found on the tutorial/api branch.
git clone git@github.com:delasign/craft-cms-starter.gitStep One: Create a module for your API
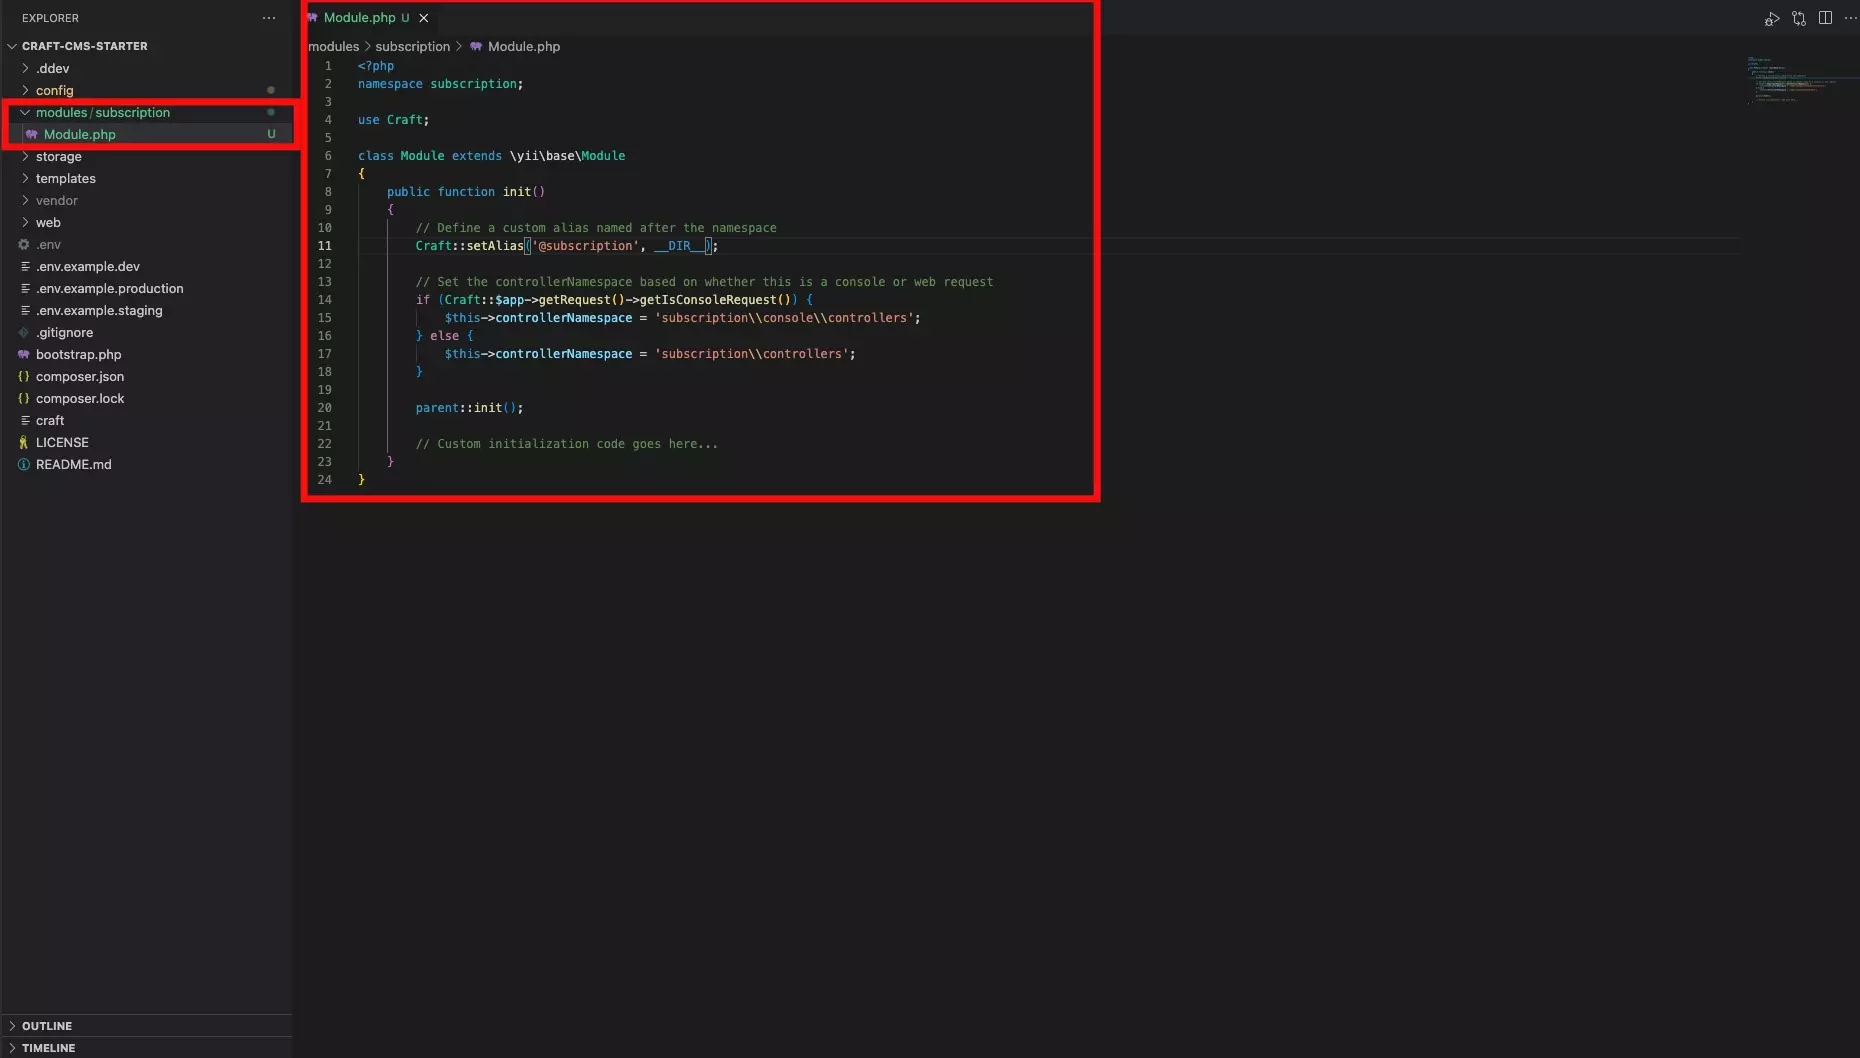
We recommend following our step by step walkthrough on creating and setting up a module to work with a Craft CMS project. The tutorial, which is linked below, walks you through how to create a subscription module, which we will use for this tutorial.
If you are to call your module something else, please rename it to something that makes sense for the API that you are trying to create.
Step Two: Create your Controllers
We recommend creating a controller for each API that you wish to create, however it is possible for you to route your APIs to different actions of a single controller.
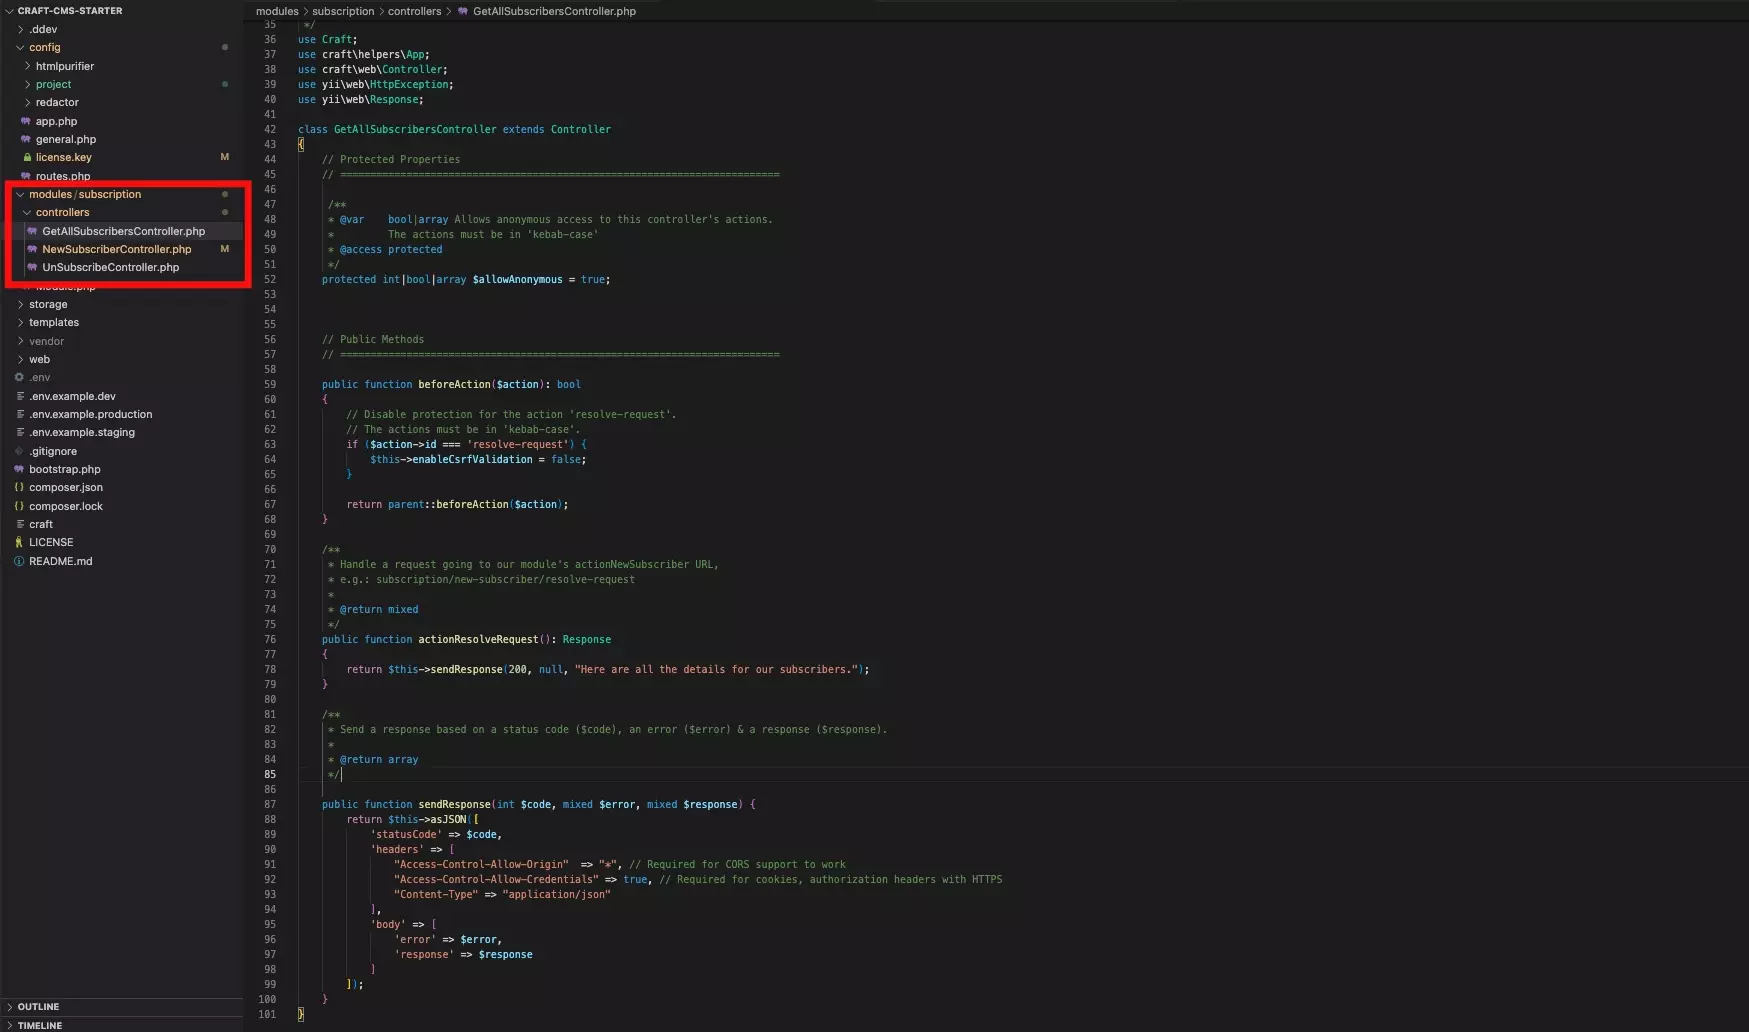
Begin by creating a folder called controllers in your module folder (i.e. subscription).
Once you have created the folder, create a php file for each Controller that you wish to create and make sure that it ends in Controller (i.e. A controller for GetAllSubscribers should be GetAllSubscribersController).
In each Controller paste the code below and replace YourController with your filename.
Additionally, I have listed all the important lessons that I learned for Controllers as part of this process below. These include:
- Make sure that you have changed moduleNameSpace to match the namespace of your module (line 11).
- Be aware that line 60 must match the name of your function in lowercase kebab-case to make sure the API Request does not return a 400 bad request.
- Be aware all Controllers must end with Controller but is accessed by a lowercase kebab-case prefix that does not include Controller (i.e. YourController becomes your).
- Be aware all API action functions must start with an action prefix but are gathered by their lowercase kebab-case equivalent that does not include action (i.e. actionResolveRequest becomes resolve-request).
Step Three: Define the URL Rules

URL Rules are the term to informing Craft of what API endpoint relates to what controller and action and are defined in the config/routes/php. For example:
// Route blog/archive/YYYY to a controller action
'blog/archive/<year:\d{4}>' => 'module/controller/action'<br />Navigate to your config/routes.php and define your URL Rules. You can use the sample code below to see how we created ours.
Please note that our module is called subscription; the three controllers that we created were called GetAllSubscribersController (get-all-subscribers), NewSubscriberController (new-subscriber) & UnSubscribeController (un-subscribe) and all the actions were functions called actionResolveRequest (resolve-request).
Step Four: Add the rules to your Module
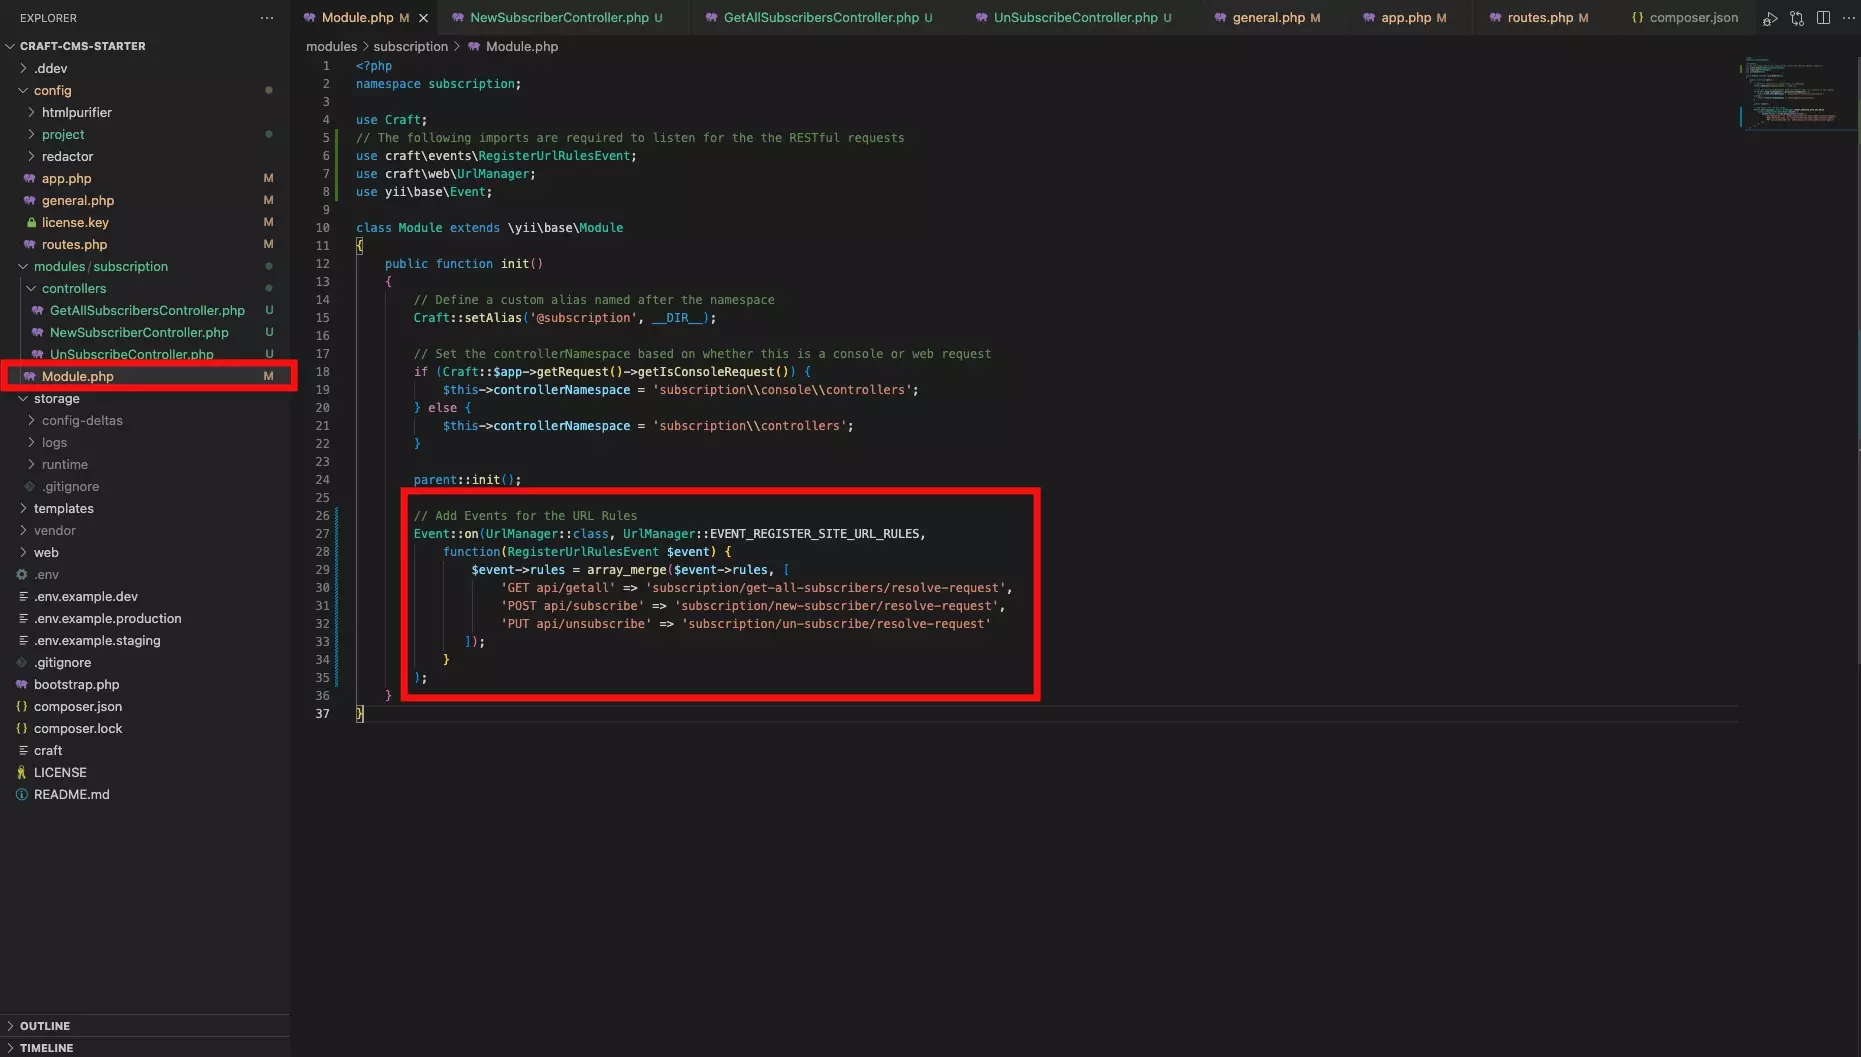
In Module.php, below the parent::init(); add the events for the URL Rules that you created in the previous step. Sample code is provided below.
Step Five: Reload Modules
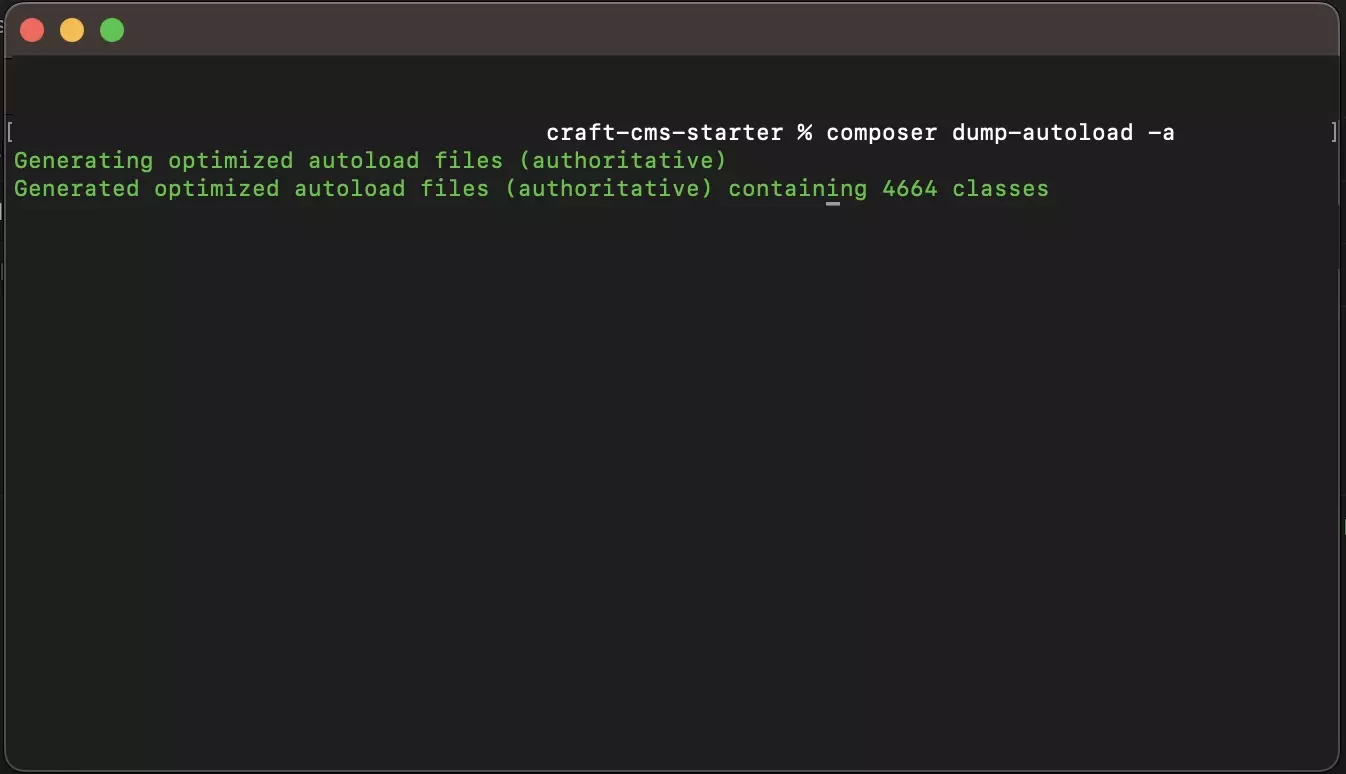
To make Craft CMS register the new API, run the following line in Terminal with the current directory set to that of your Craft CMS project:
composer dump-autoload -aStep Six: Test
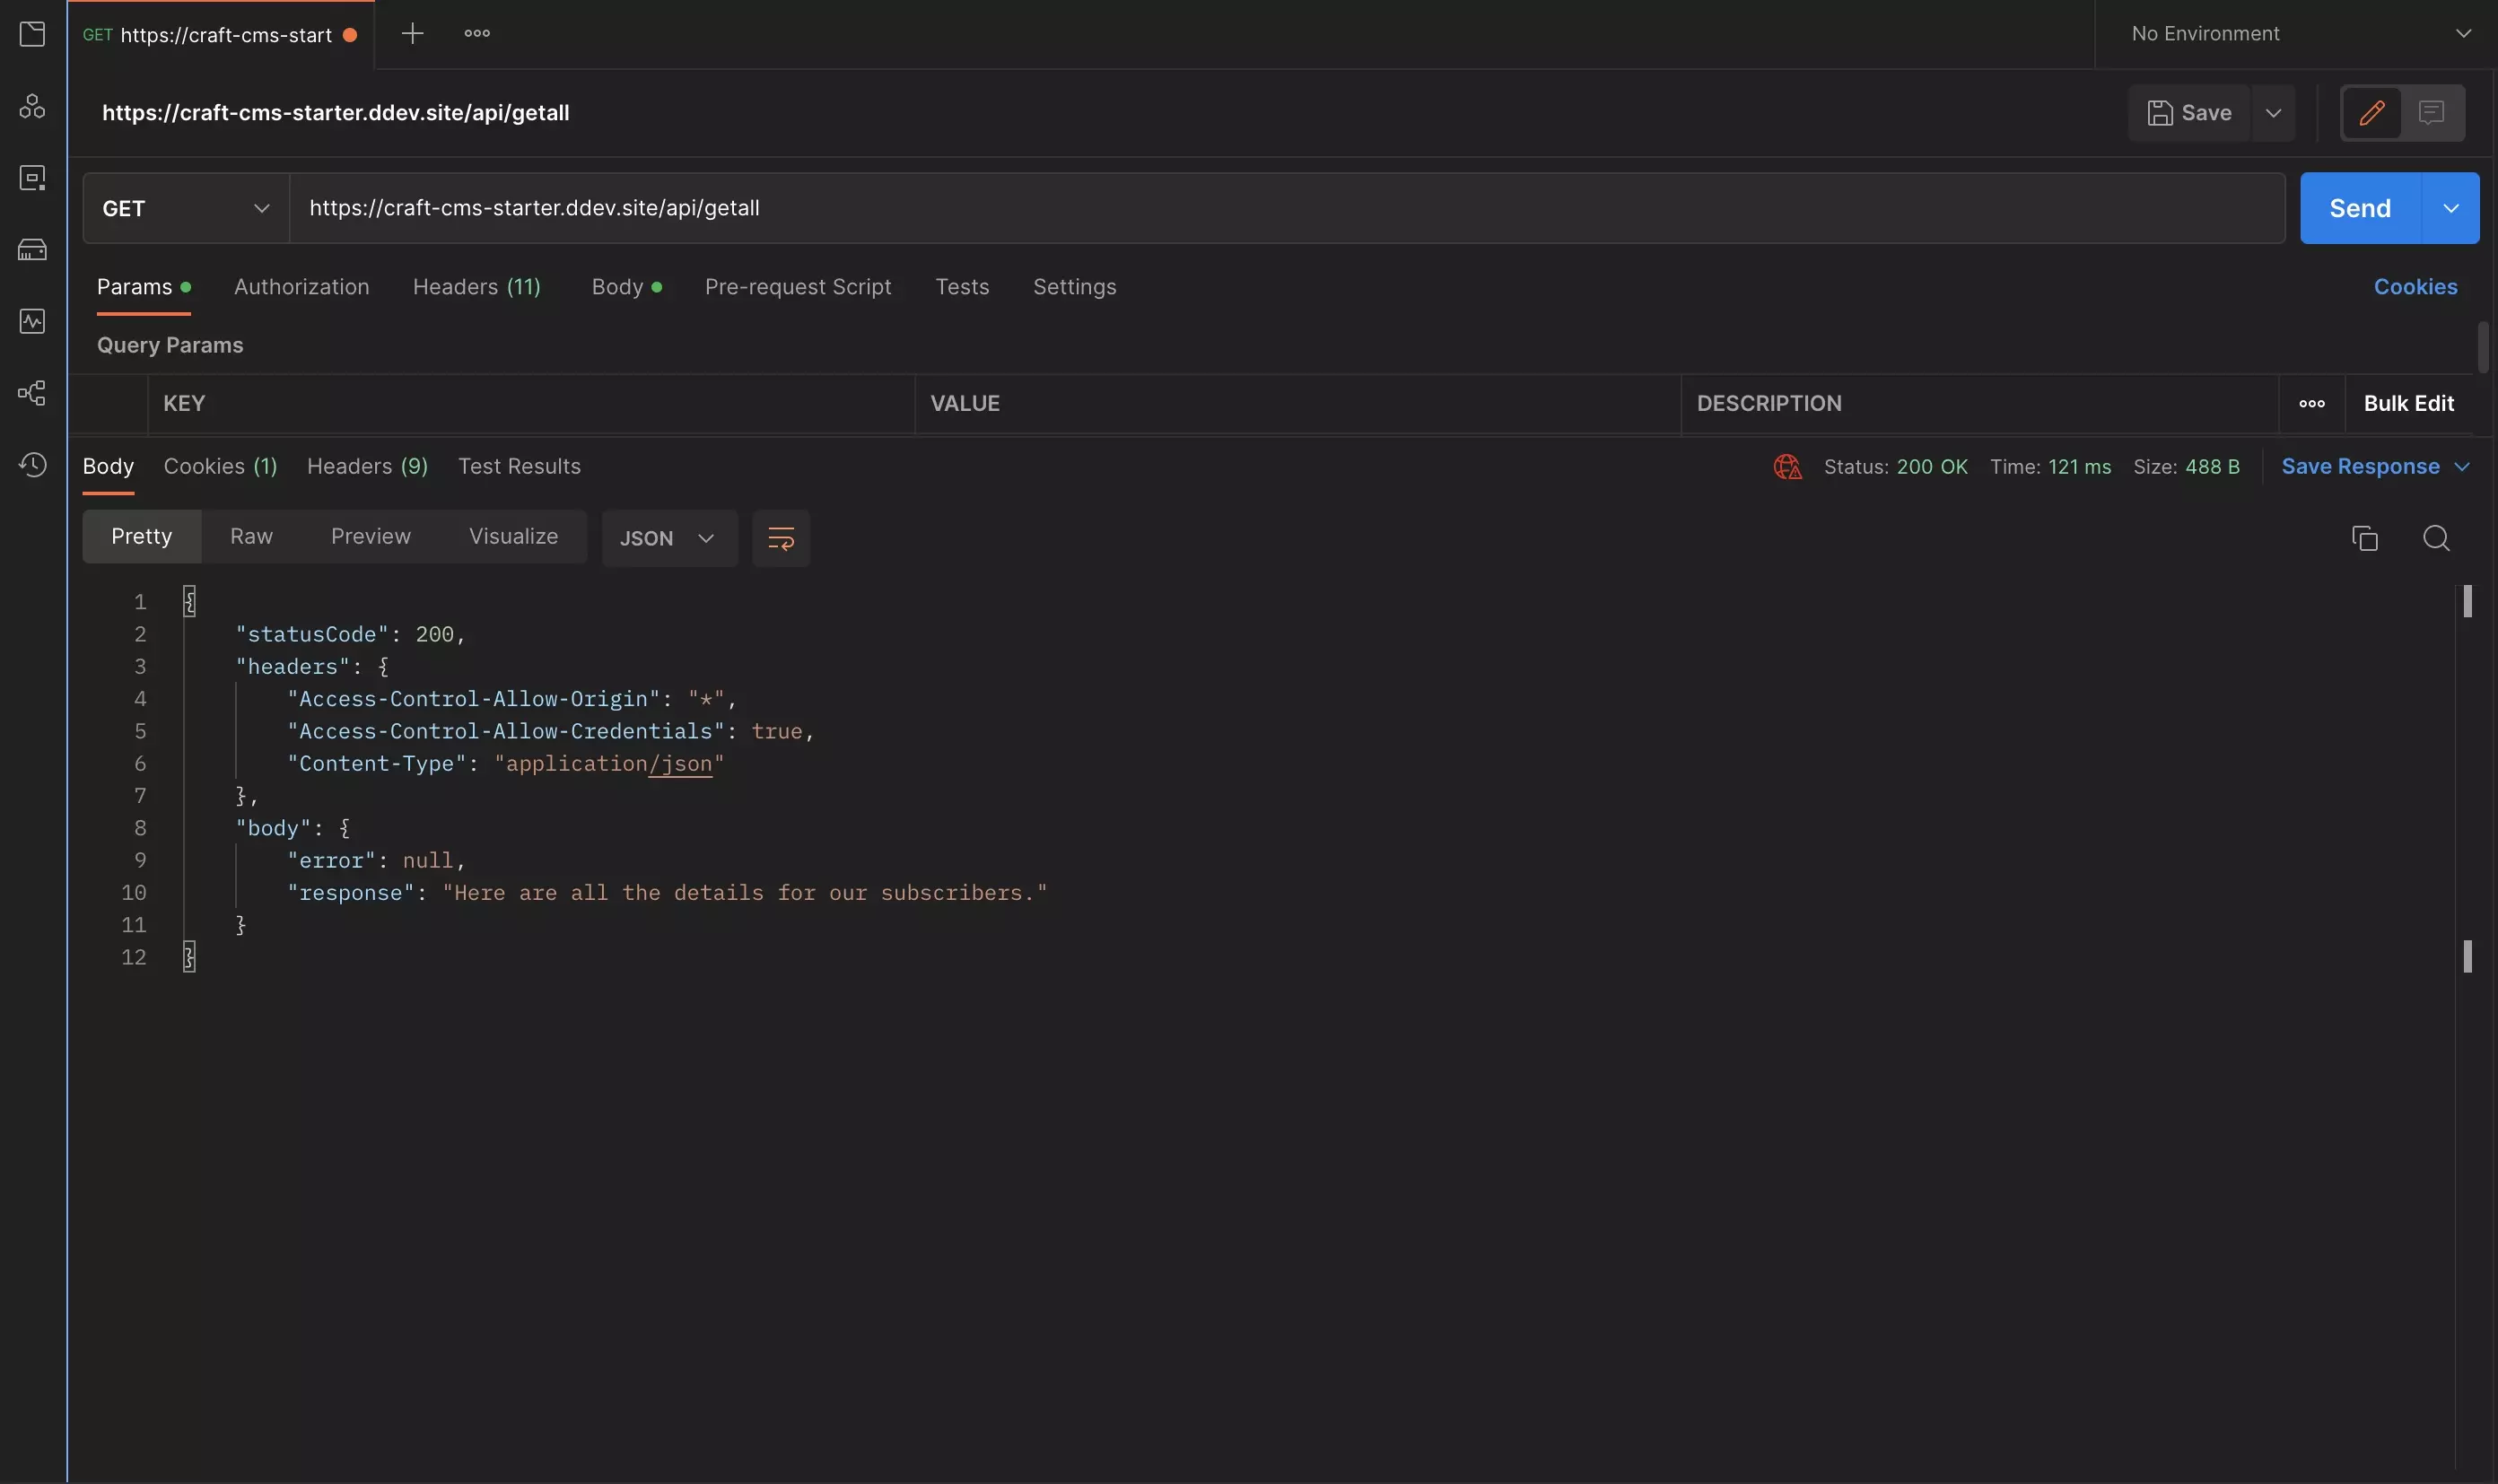
Open up Postman and test the URL that you have created.
If anything goes wrong, run the following line to double check that Craft is registering the latest version of your module.
composer dump-autoload -aAny Questions?
We are actively looking for feedback on how to improve this resource. Please send us a note to inquiries@delasign.com with any thoughts or feedback you may have.