How to create an asset field in Craft CMS

Oscar de la Hera Gomez
A flower that represents Craft CMS with the text "Asset Field" beneath it.

A step by step guide on creating an asset field in Craft CMS.

Step One: Create a Filesystem

A screenshot of the Create a new Filesystem Craft CMS page with a highlight on the selected bucket, which is left of the Refresh Button in the former step. We have also highlighted the save button on the top right. Once you have picked the right bucket, press the Save button and move on to the next step.

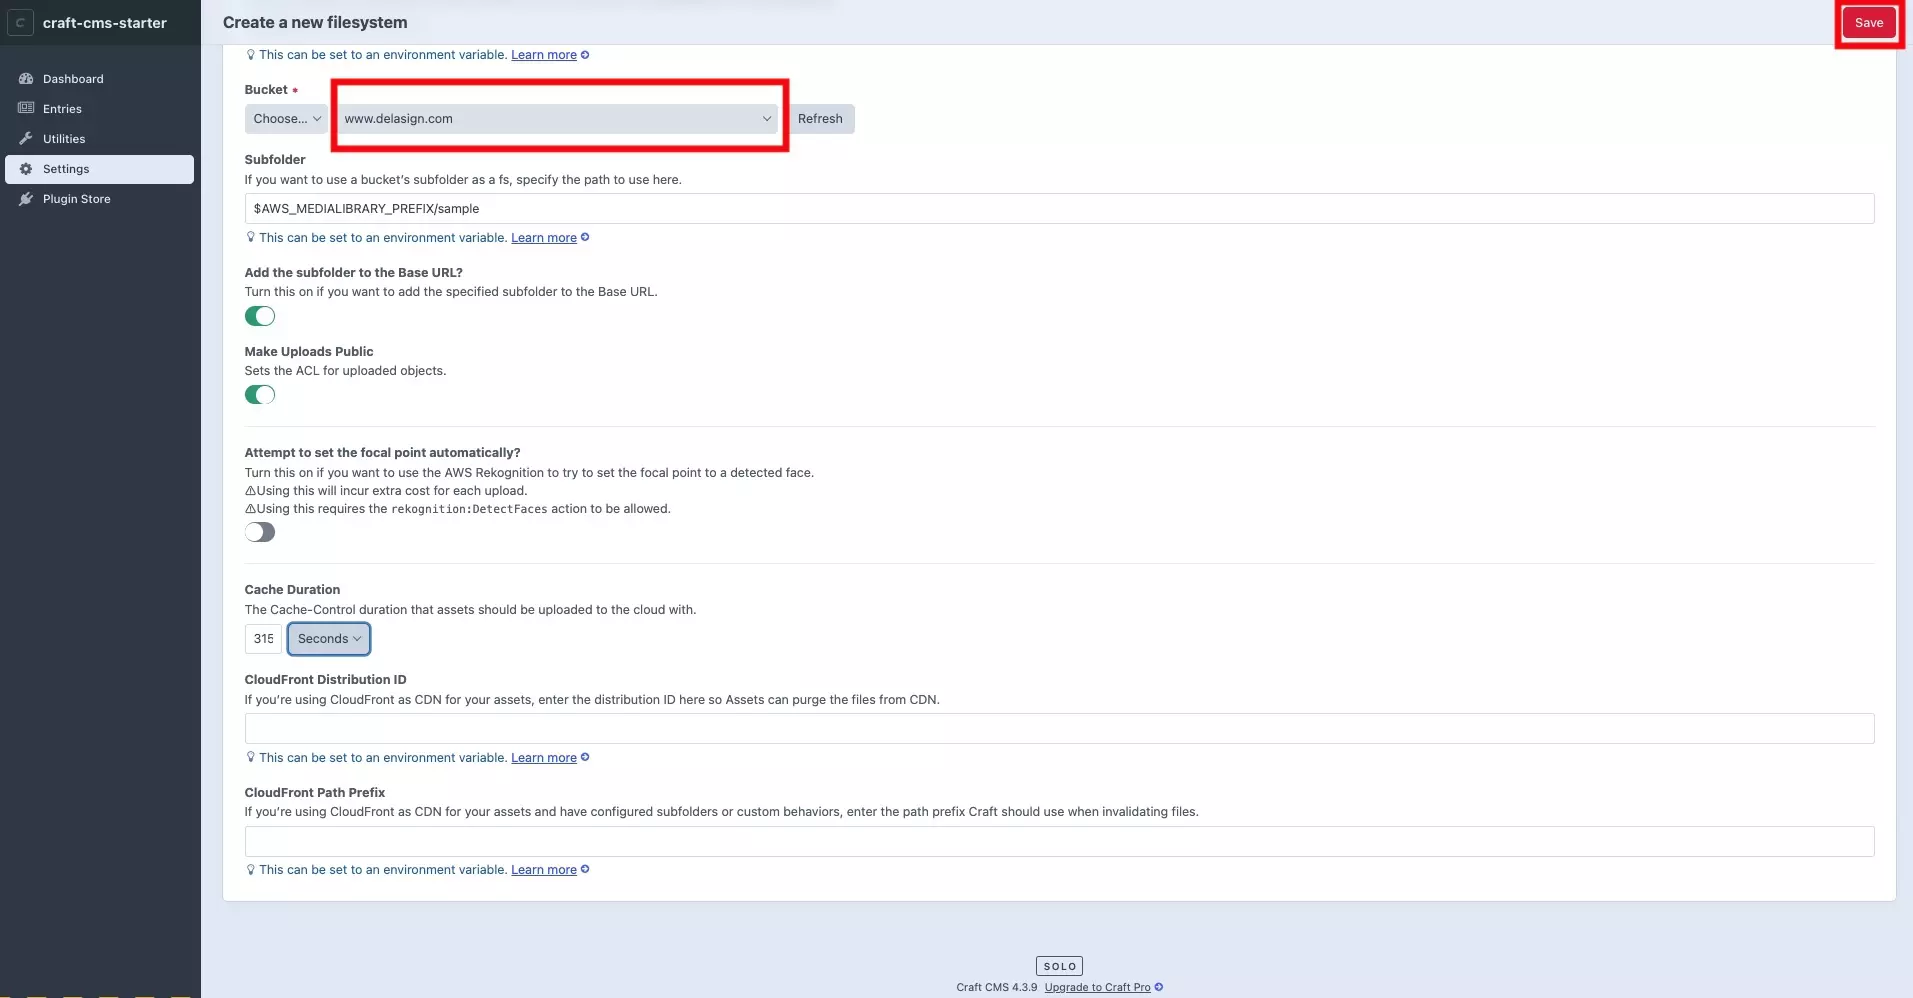
In order to create an asset field you must first create a file system to save assets to.

Step Two: Create an asset volume

A screenshot of the Create a new Asset Volume Craft CMS page, highlighted are the details that you need to add including the name, handle and asset file system. This last one must match a formerly created asset system, or the one that you created earlier. We have also highlighted the Save button on the top right. Press this when reading to complete creating the asset volume.

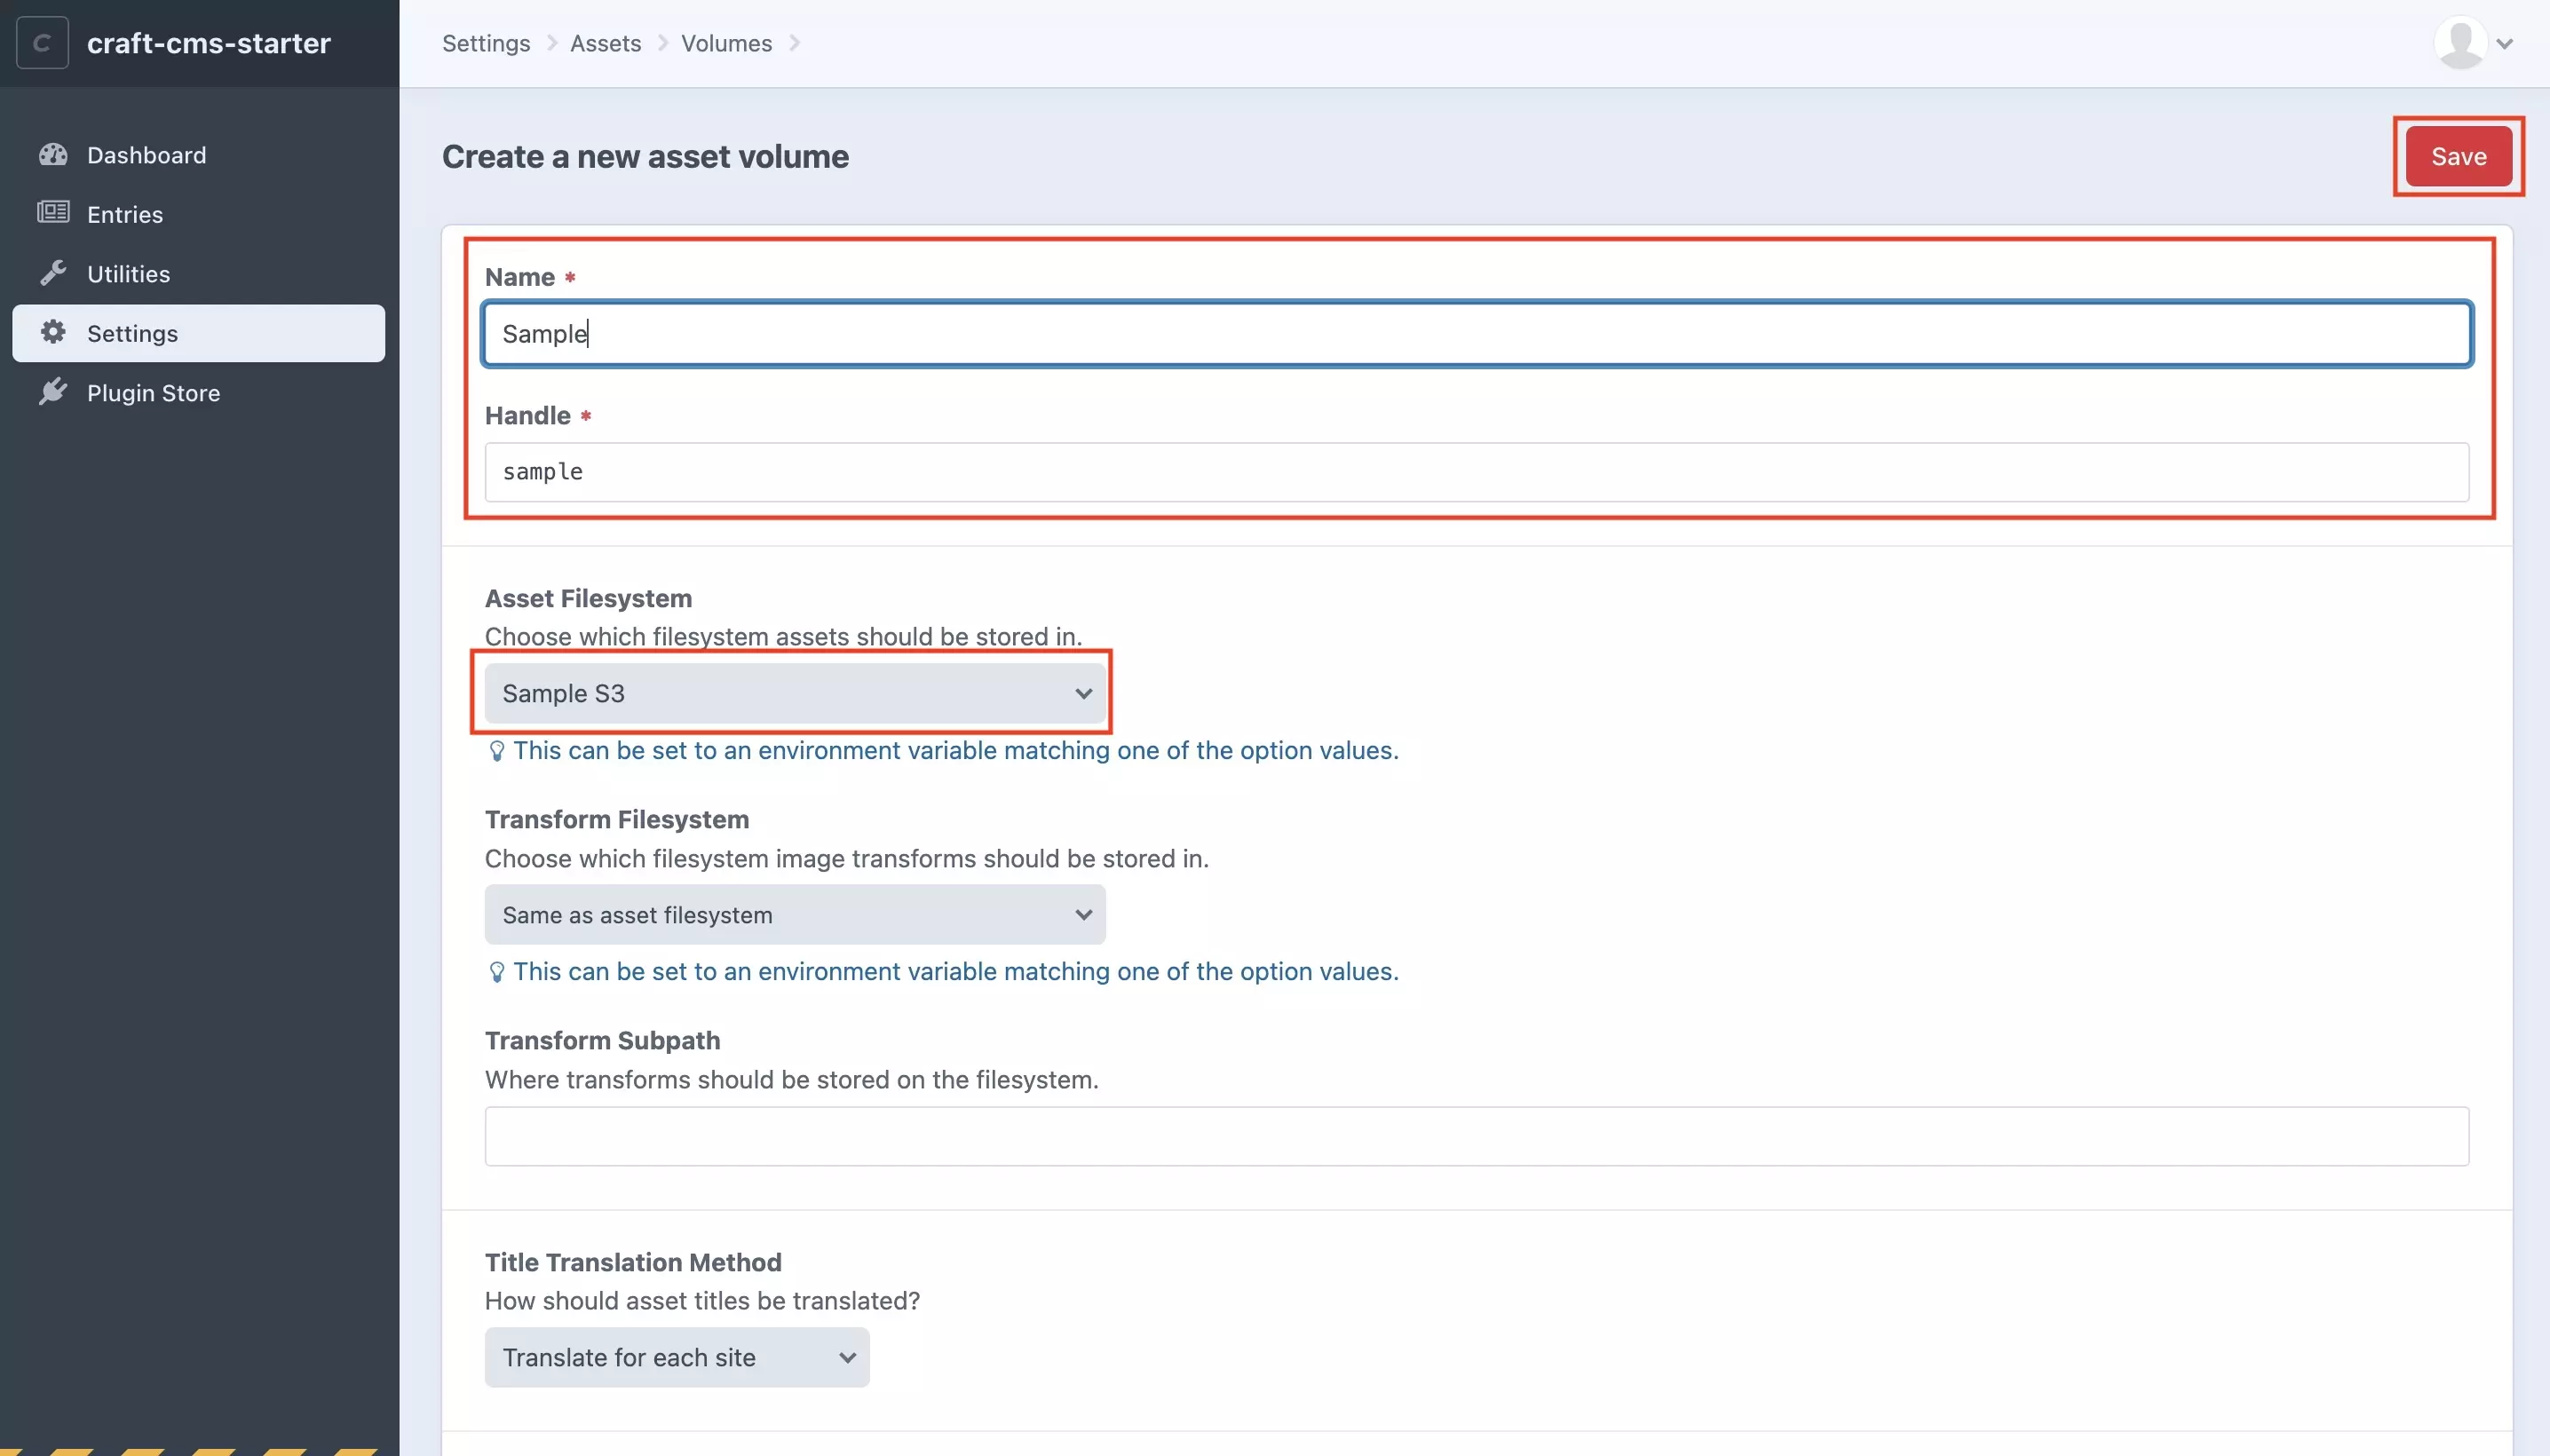
Once you have a file system, you must create an asset volume to link assets to.

Step Three: Select Settings

A screenshot of Craft CMS with a highlight on the Settings tab on the left menu side bar. Press it and move on to the next step.

On the left menu side bar, select Settings.

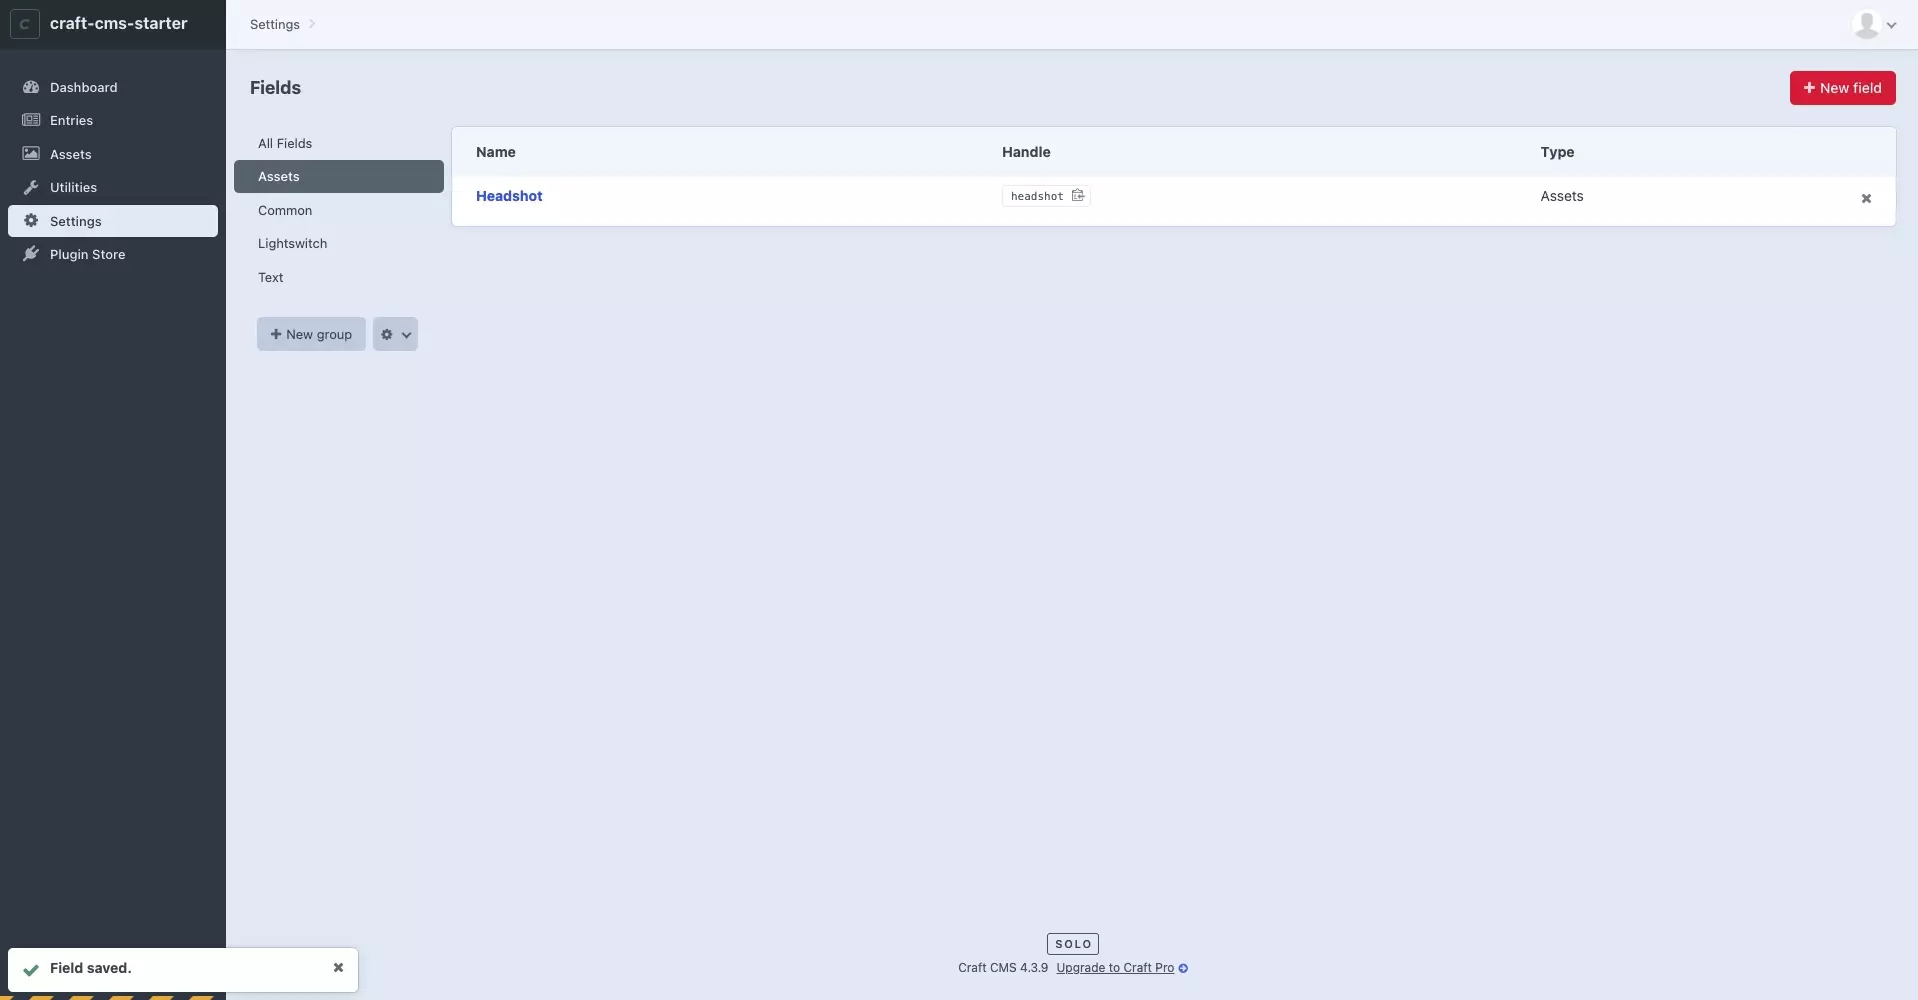
Step Four: Select Fields

A screenshot of the Craft CMS Settings page with a highlight on the Fields tile under Content. Press the Fields tile and move onto the next step.

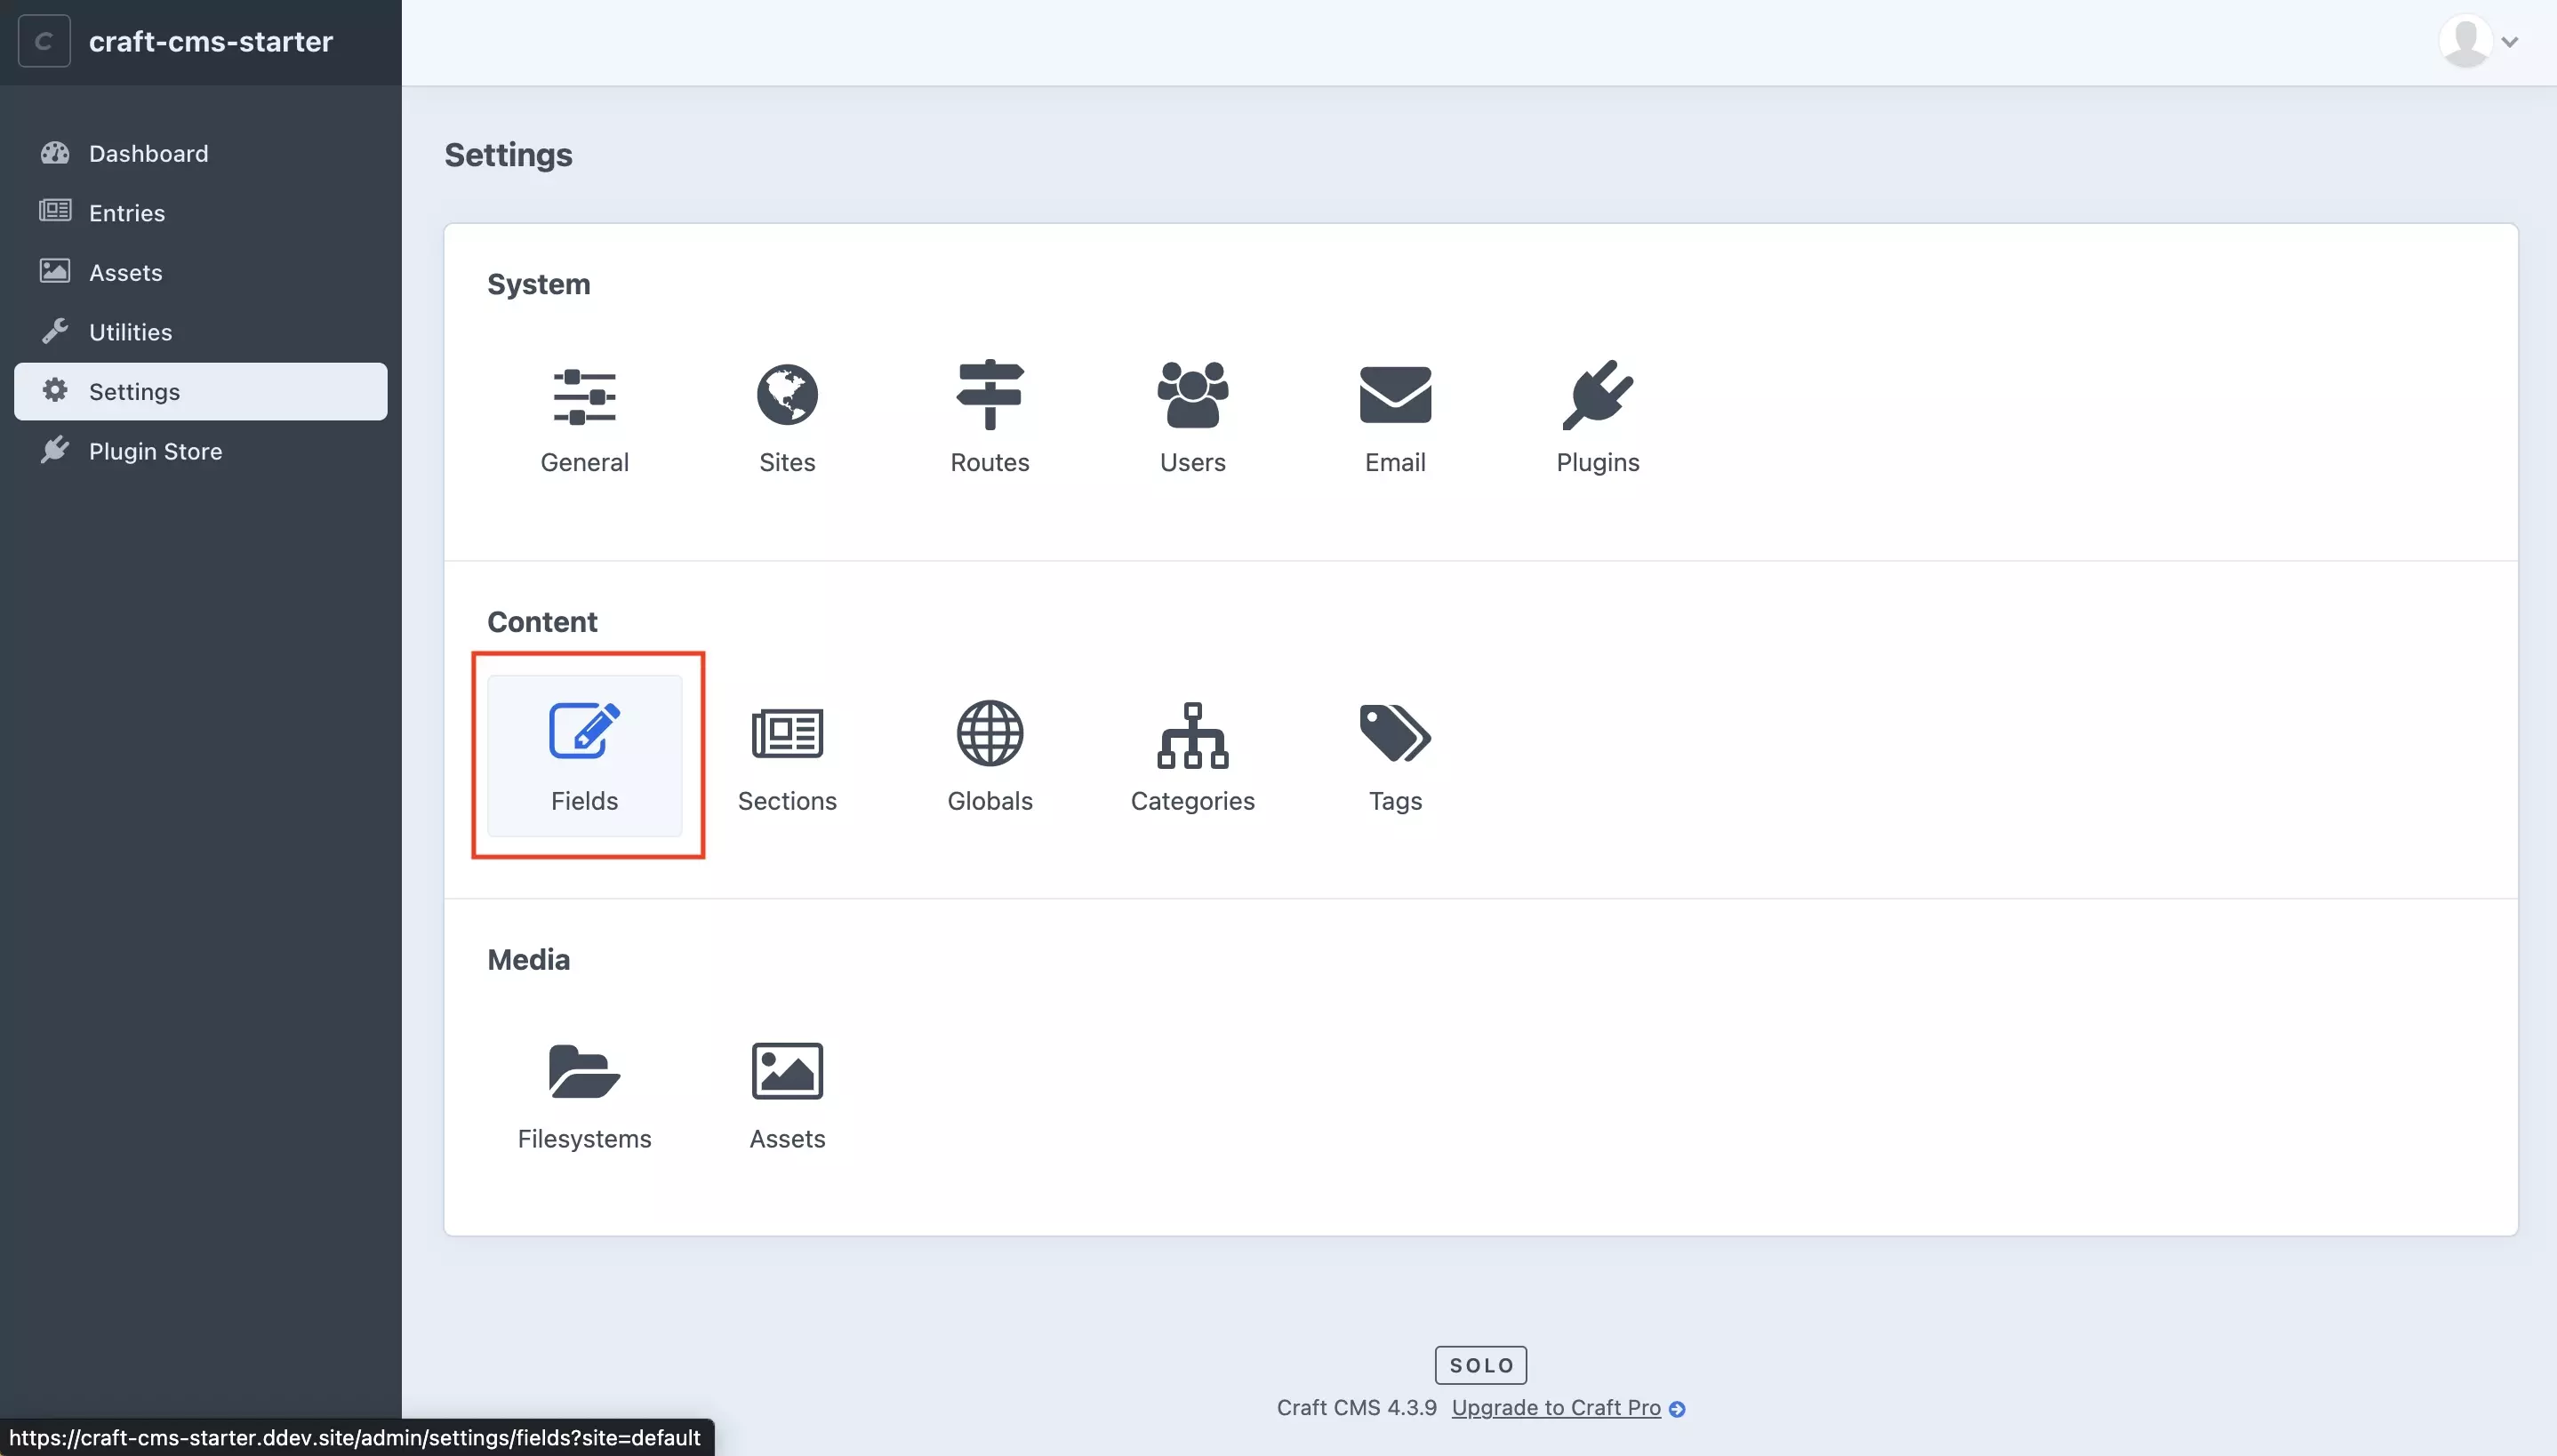
In the Settings page, select Fields.

Step Five: Create the Asset Group

A screenshot of the Craft CMS Fields page with the Asset group selected.

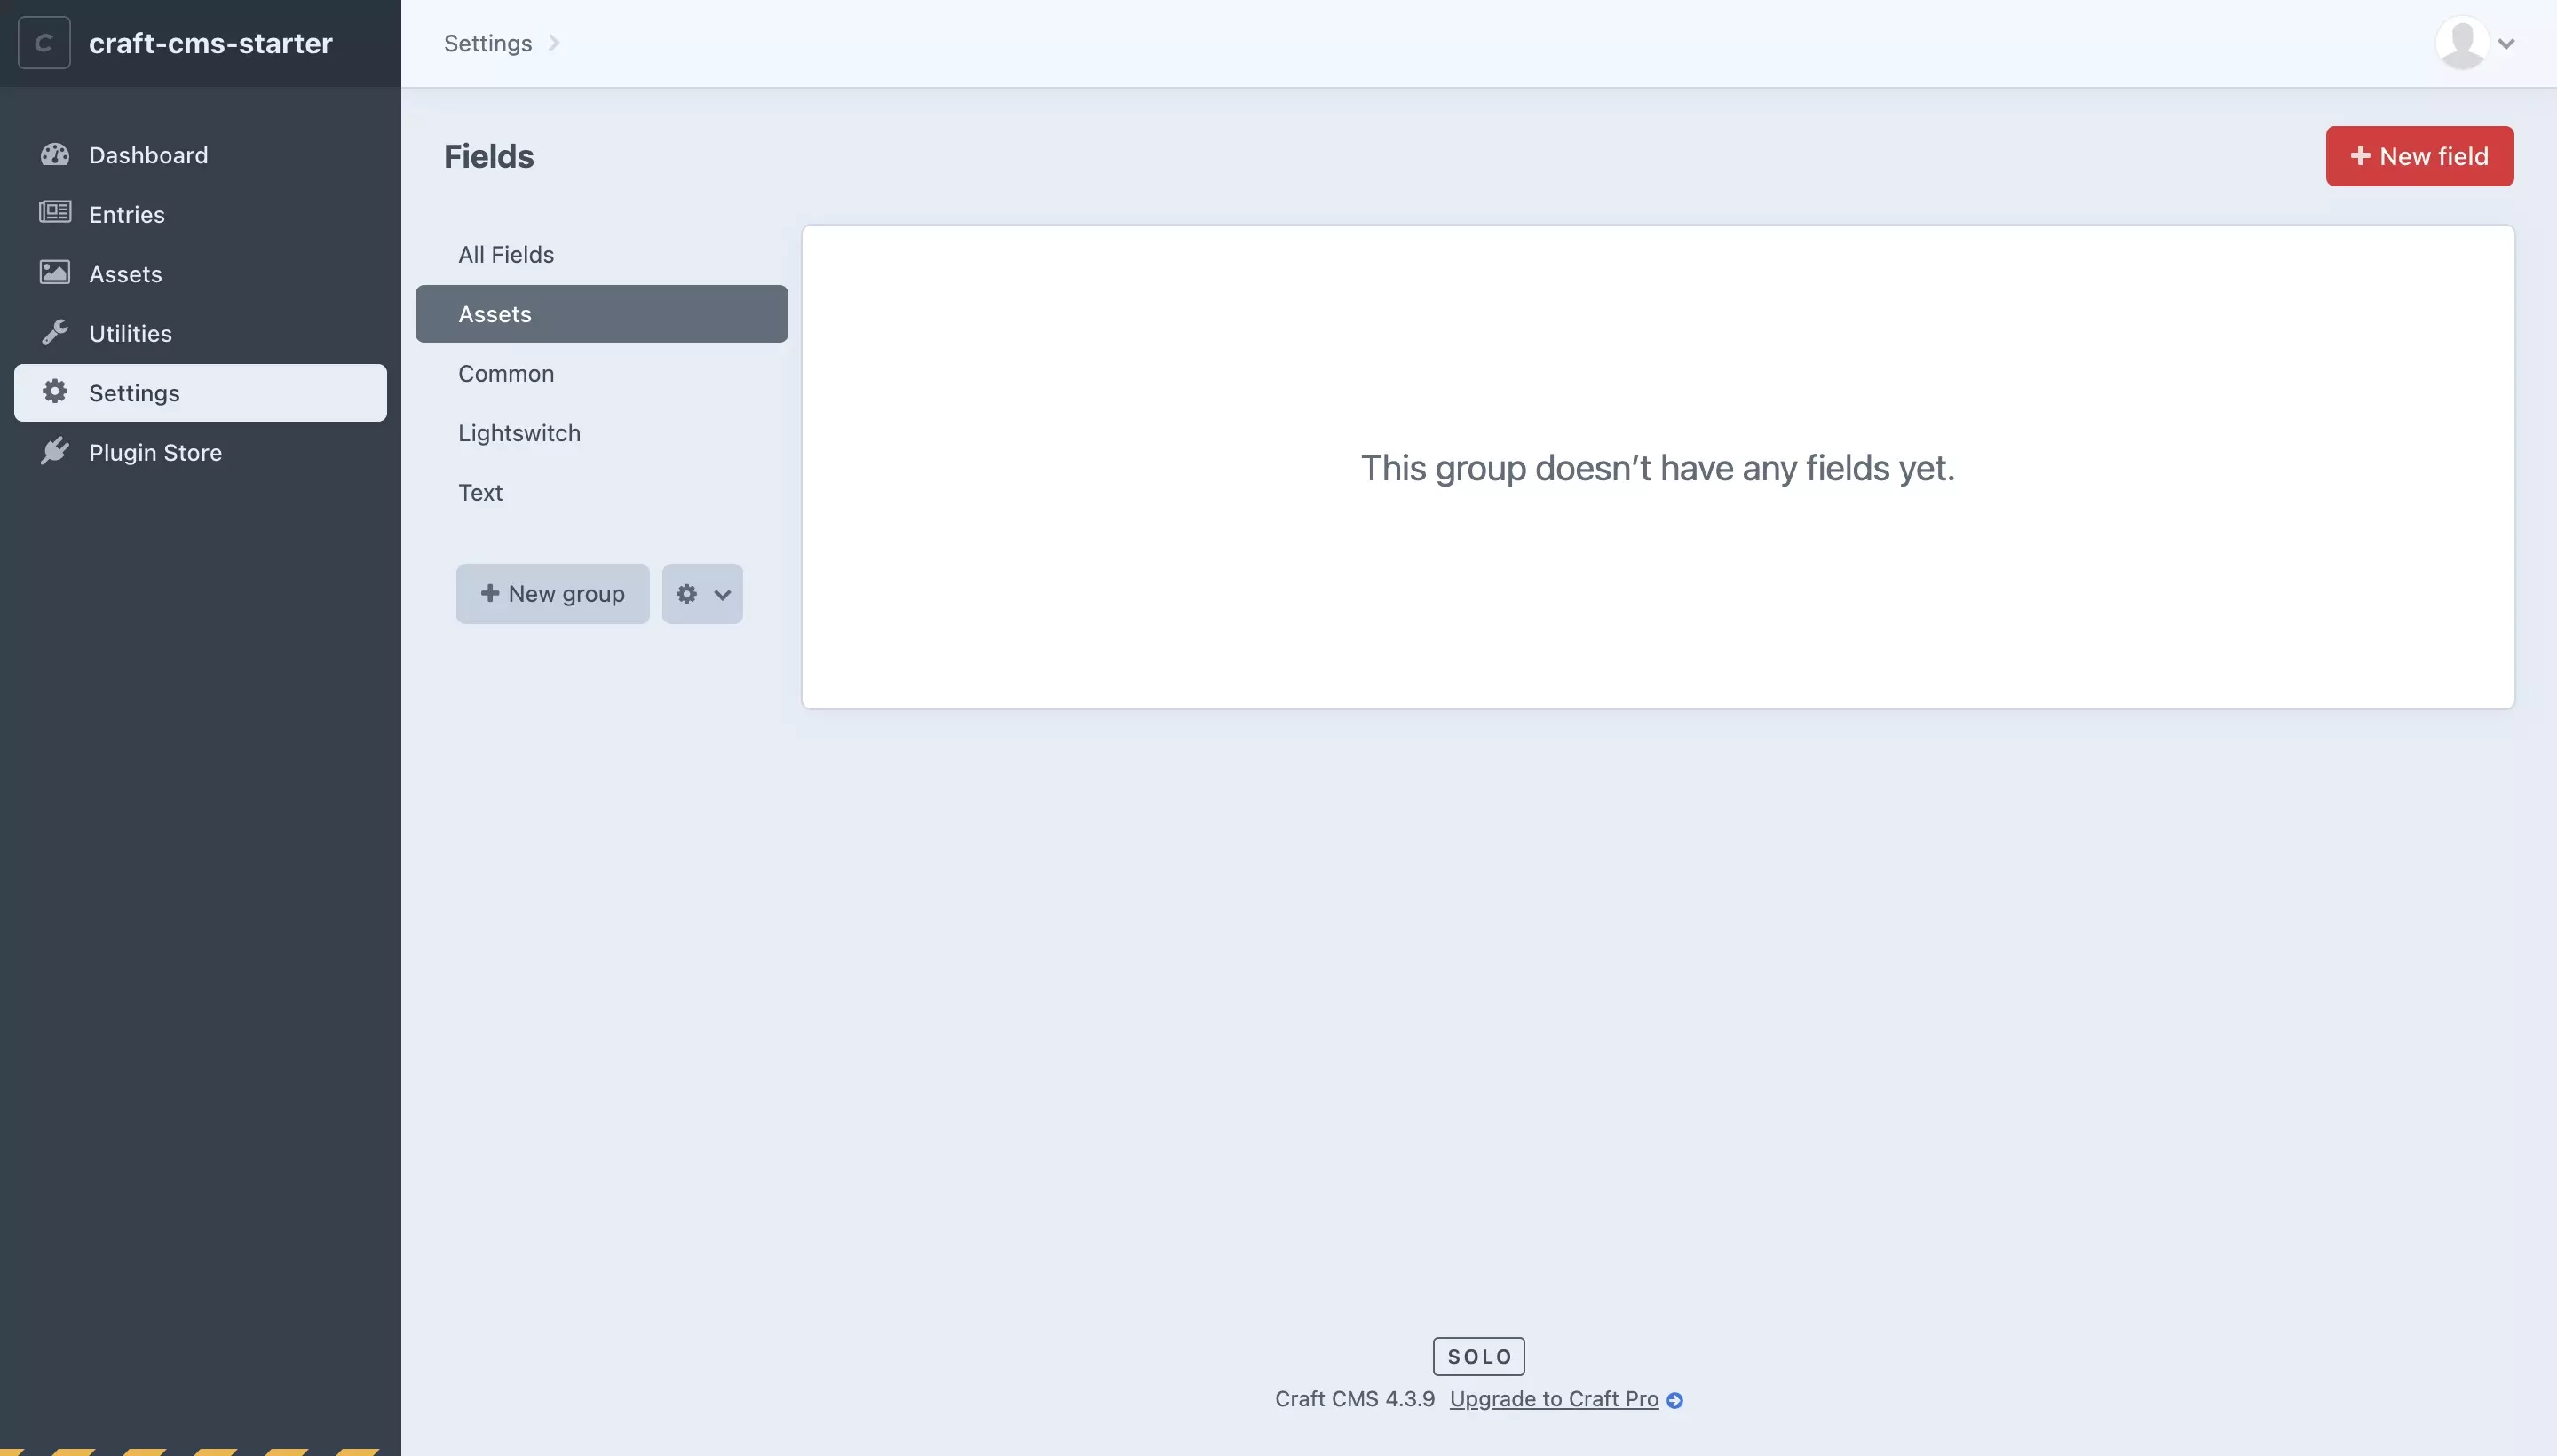
If you haven't already, create an Asset group to hold your Asset fields. If you have, select it.

A | Select + New Group

A screenshot of the Craft CMS fields page, with a highlight on the New Group button. Press it and move onto the next part of this step.

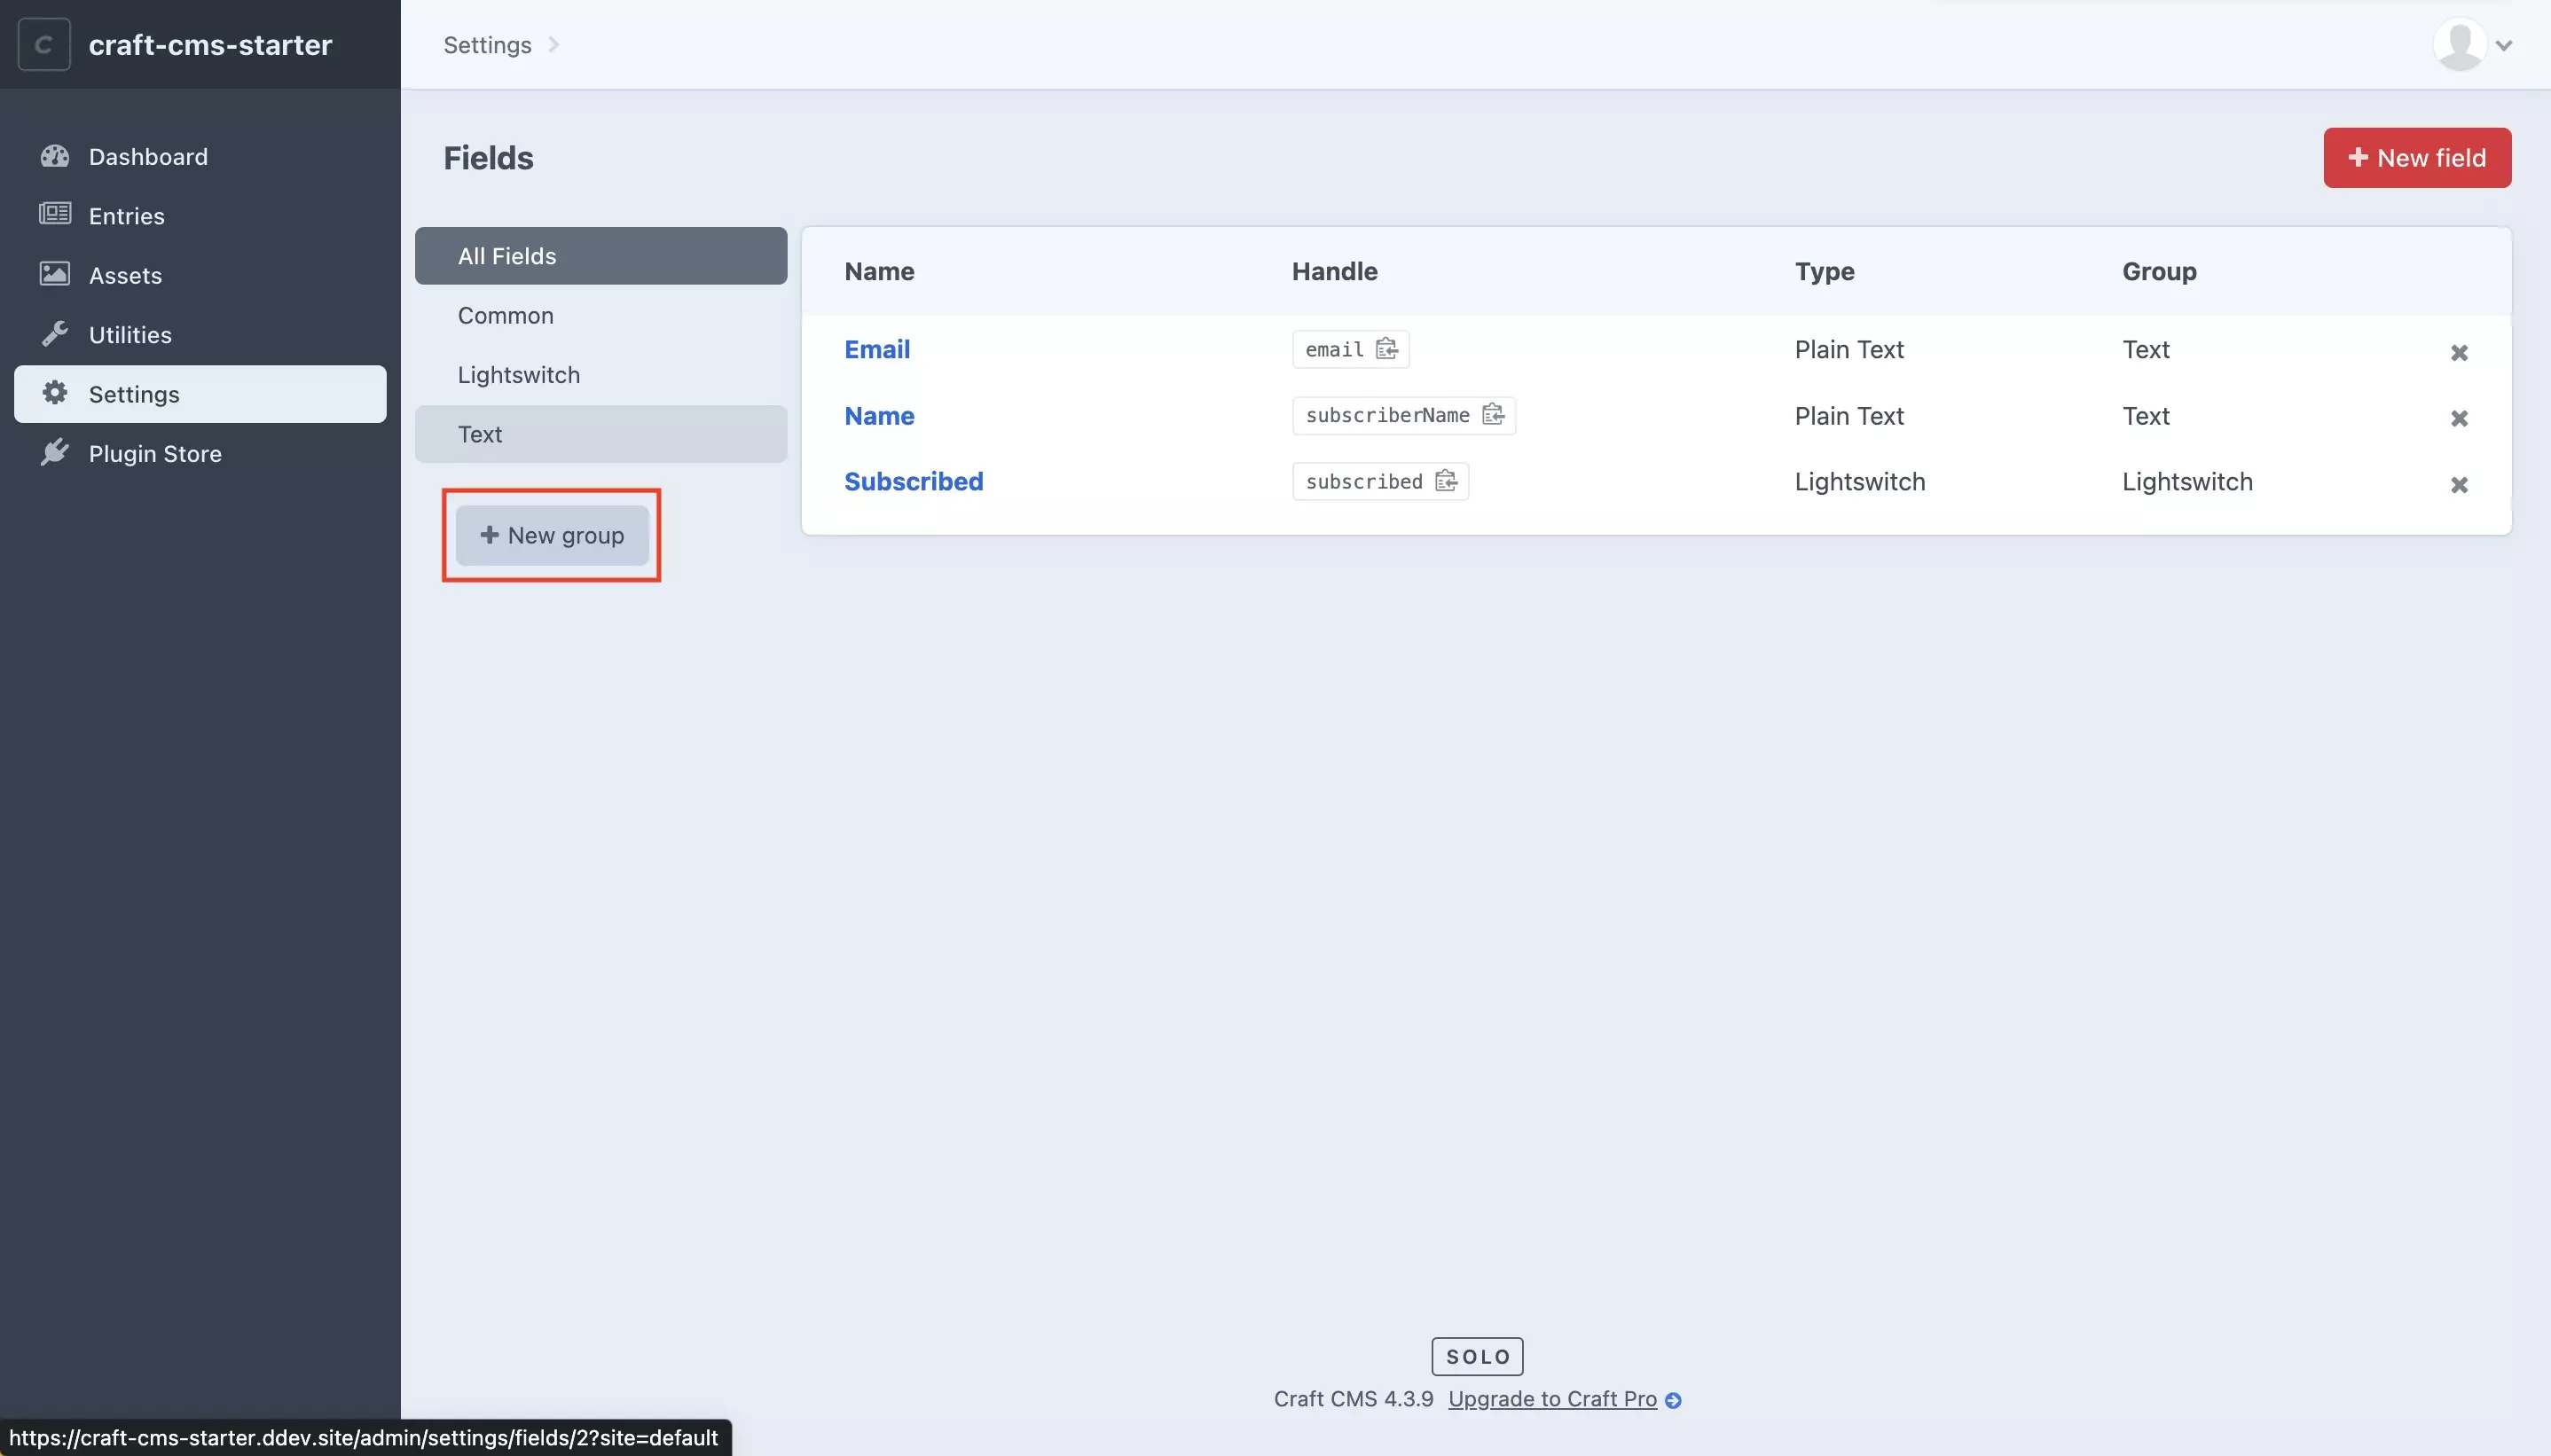
Press the + New Group Button

B | Name and Create

A screenshot of Craft CMS Fields page with the alert that appears when you press New Group prompting you to name and create the group. Put the group name (Assets) in the alert text input and press OK. Once you're done move onto the next step.

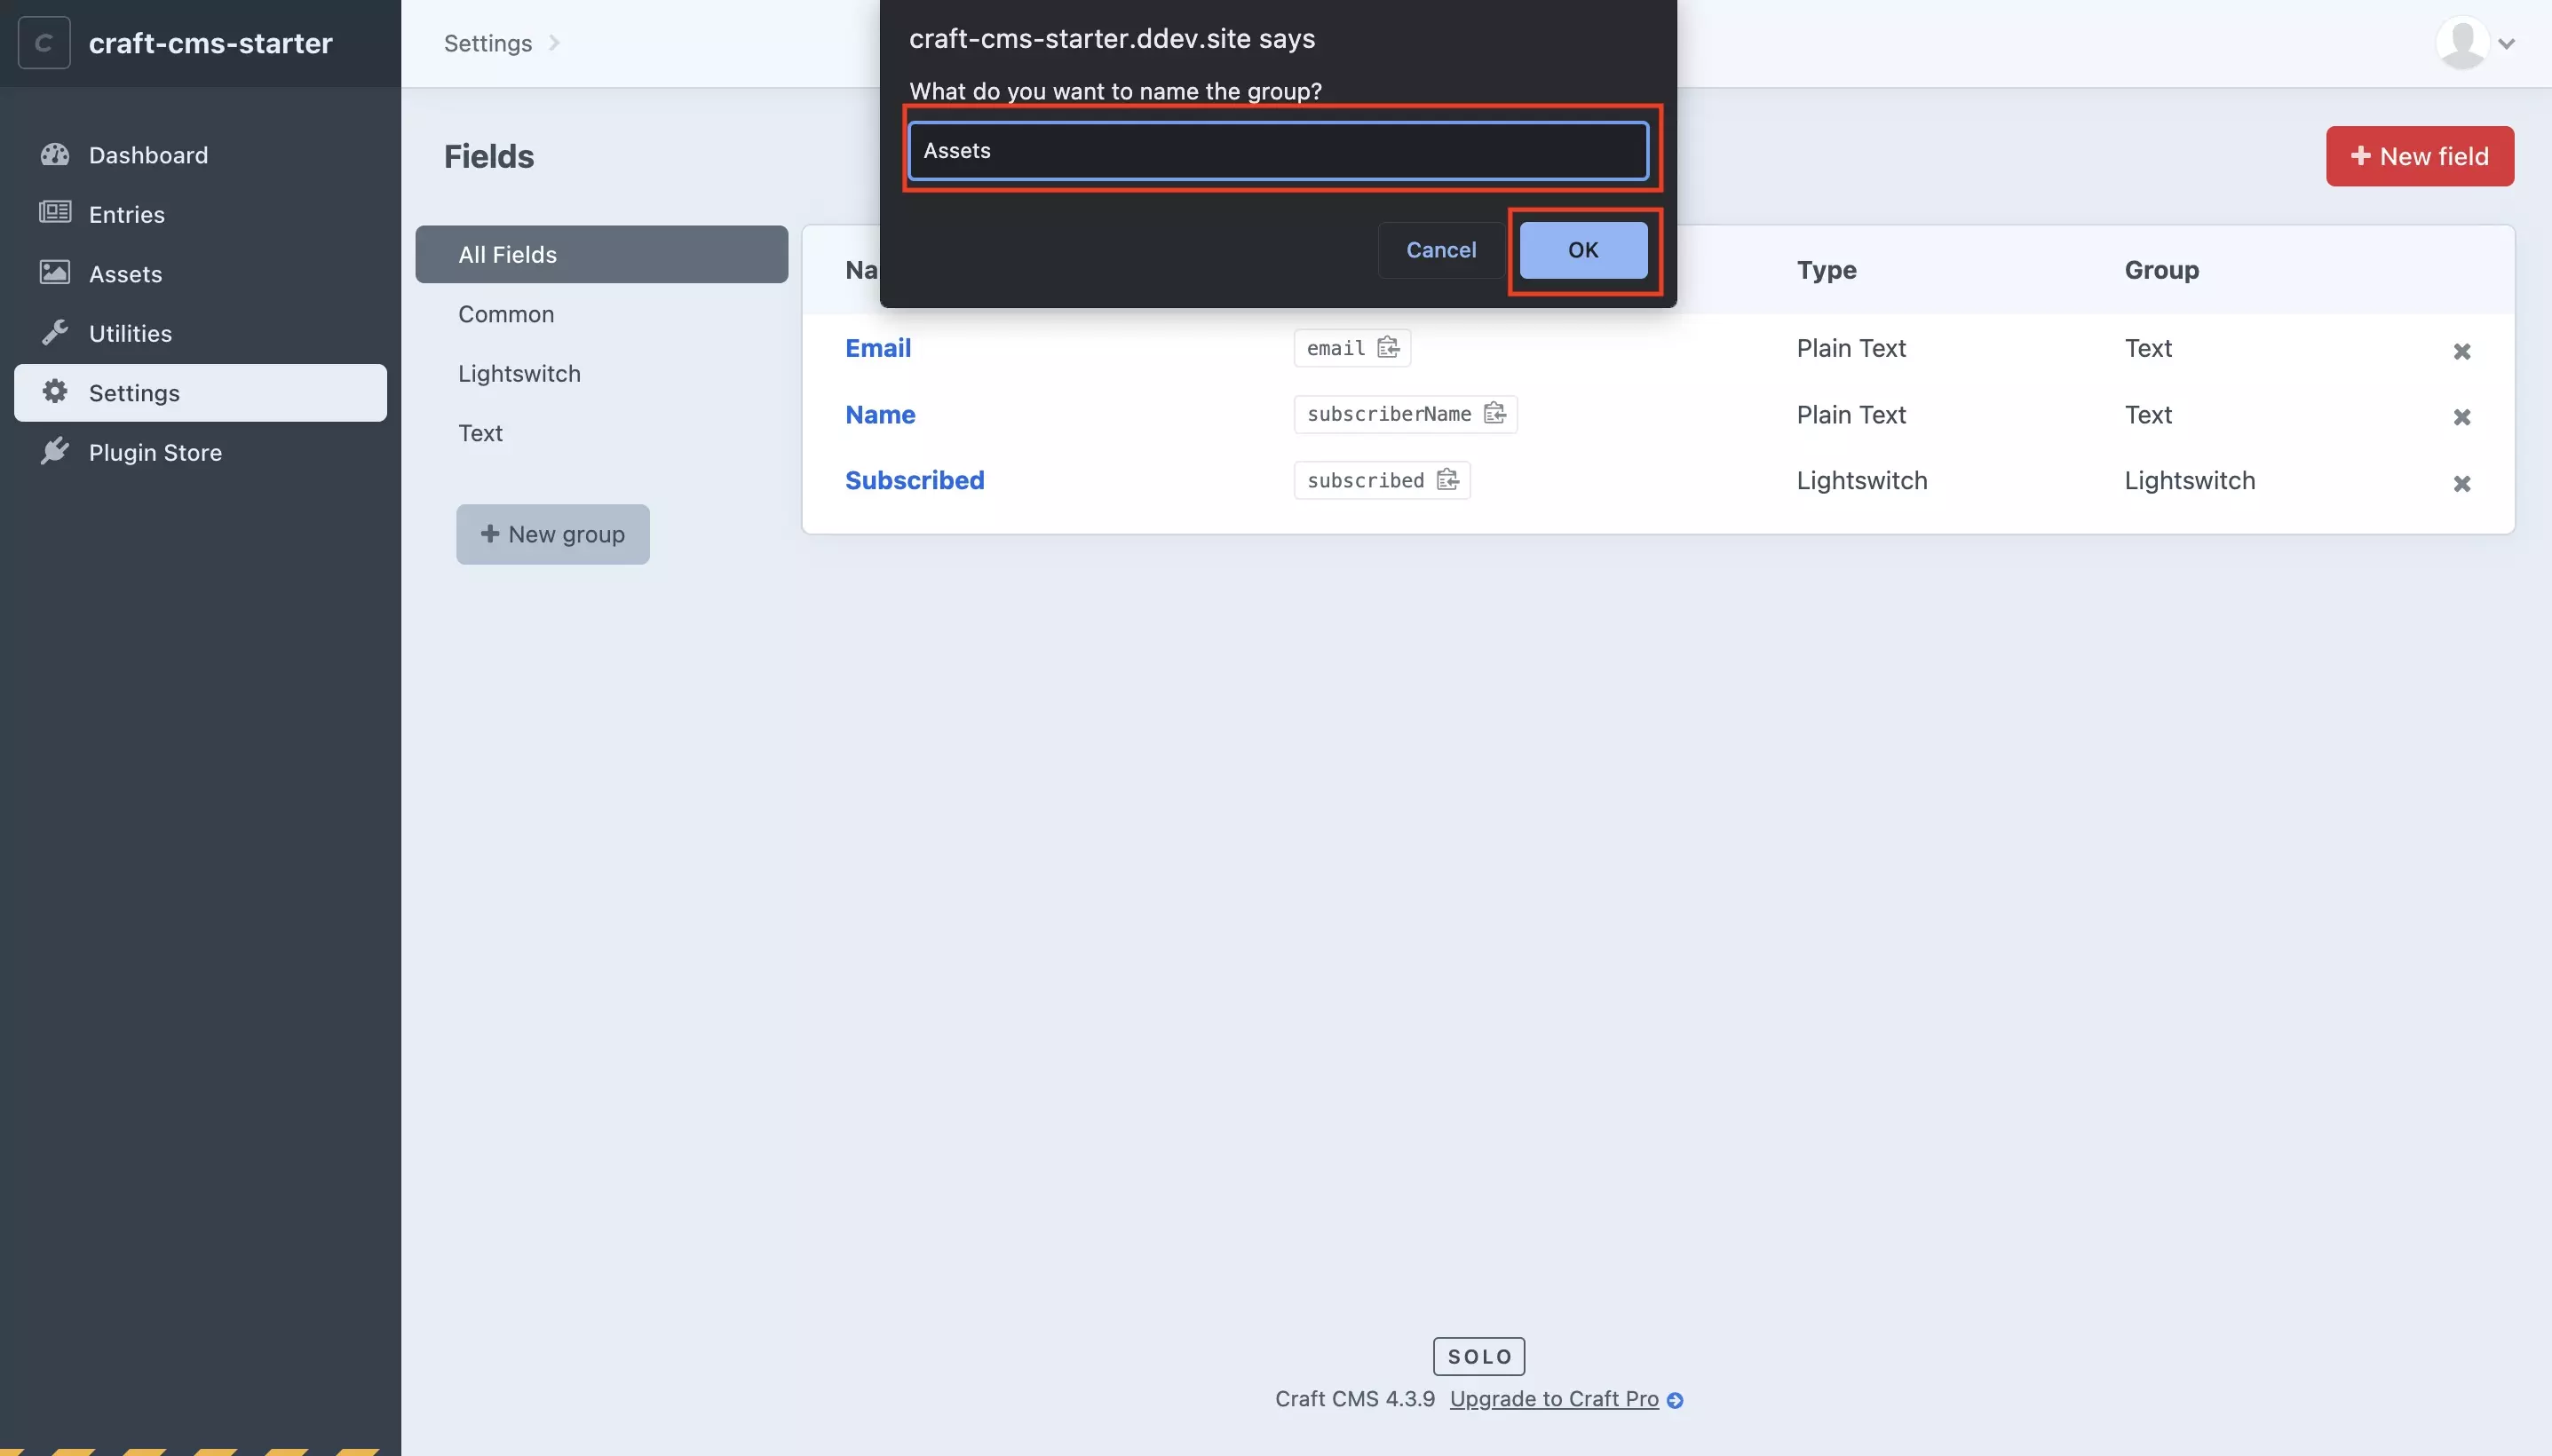
In the alert that appears, name your group and press OK.

Step Six: + New field

A screenshot of the Craft CMS Field page with the Assets group selected. Highlighted is the + New field button on the top right. Press it and move on to the next step.

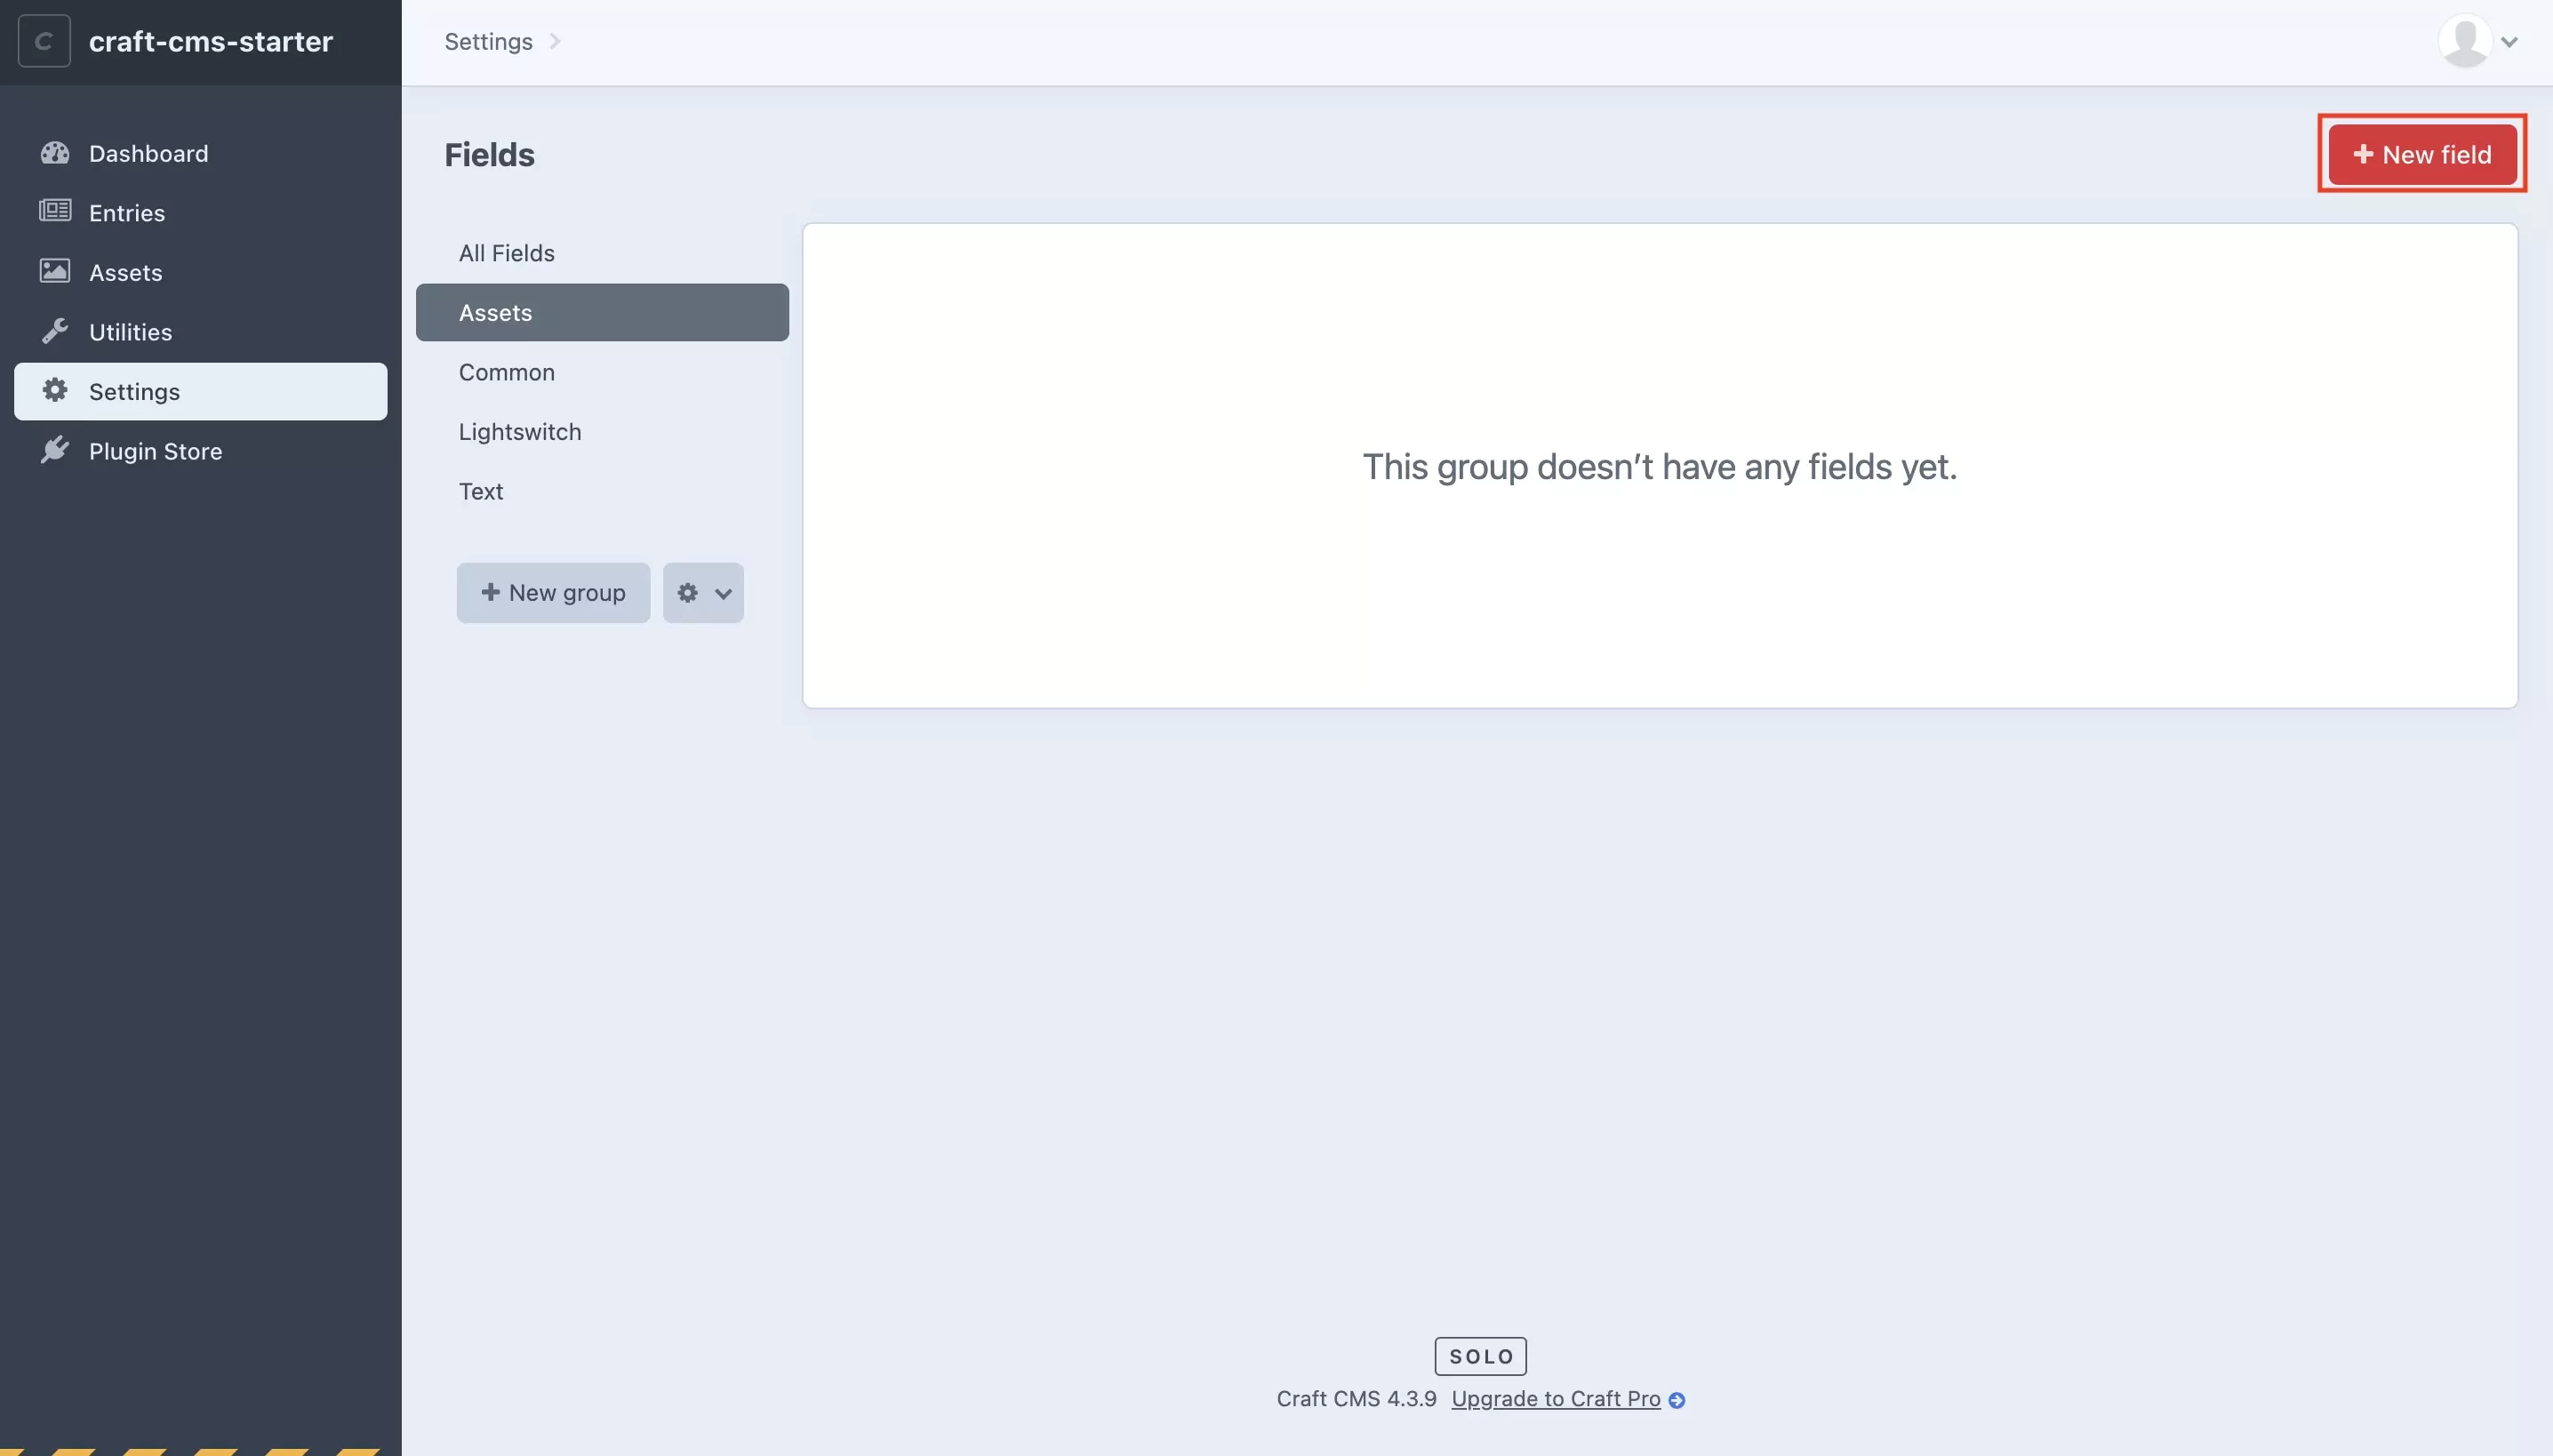
Press the + New field button.

Step Six: Fill in Details

A screenshot of the Craft CMS Create New Field page, highlighted are the name, handle, field group, field type and sources inputs. Make sure that your field group matches Assets and that you have linked the source to the place where you wish assets to be uploaded. Additional required details are the Name and handle.

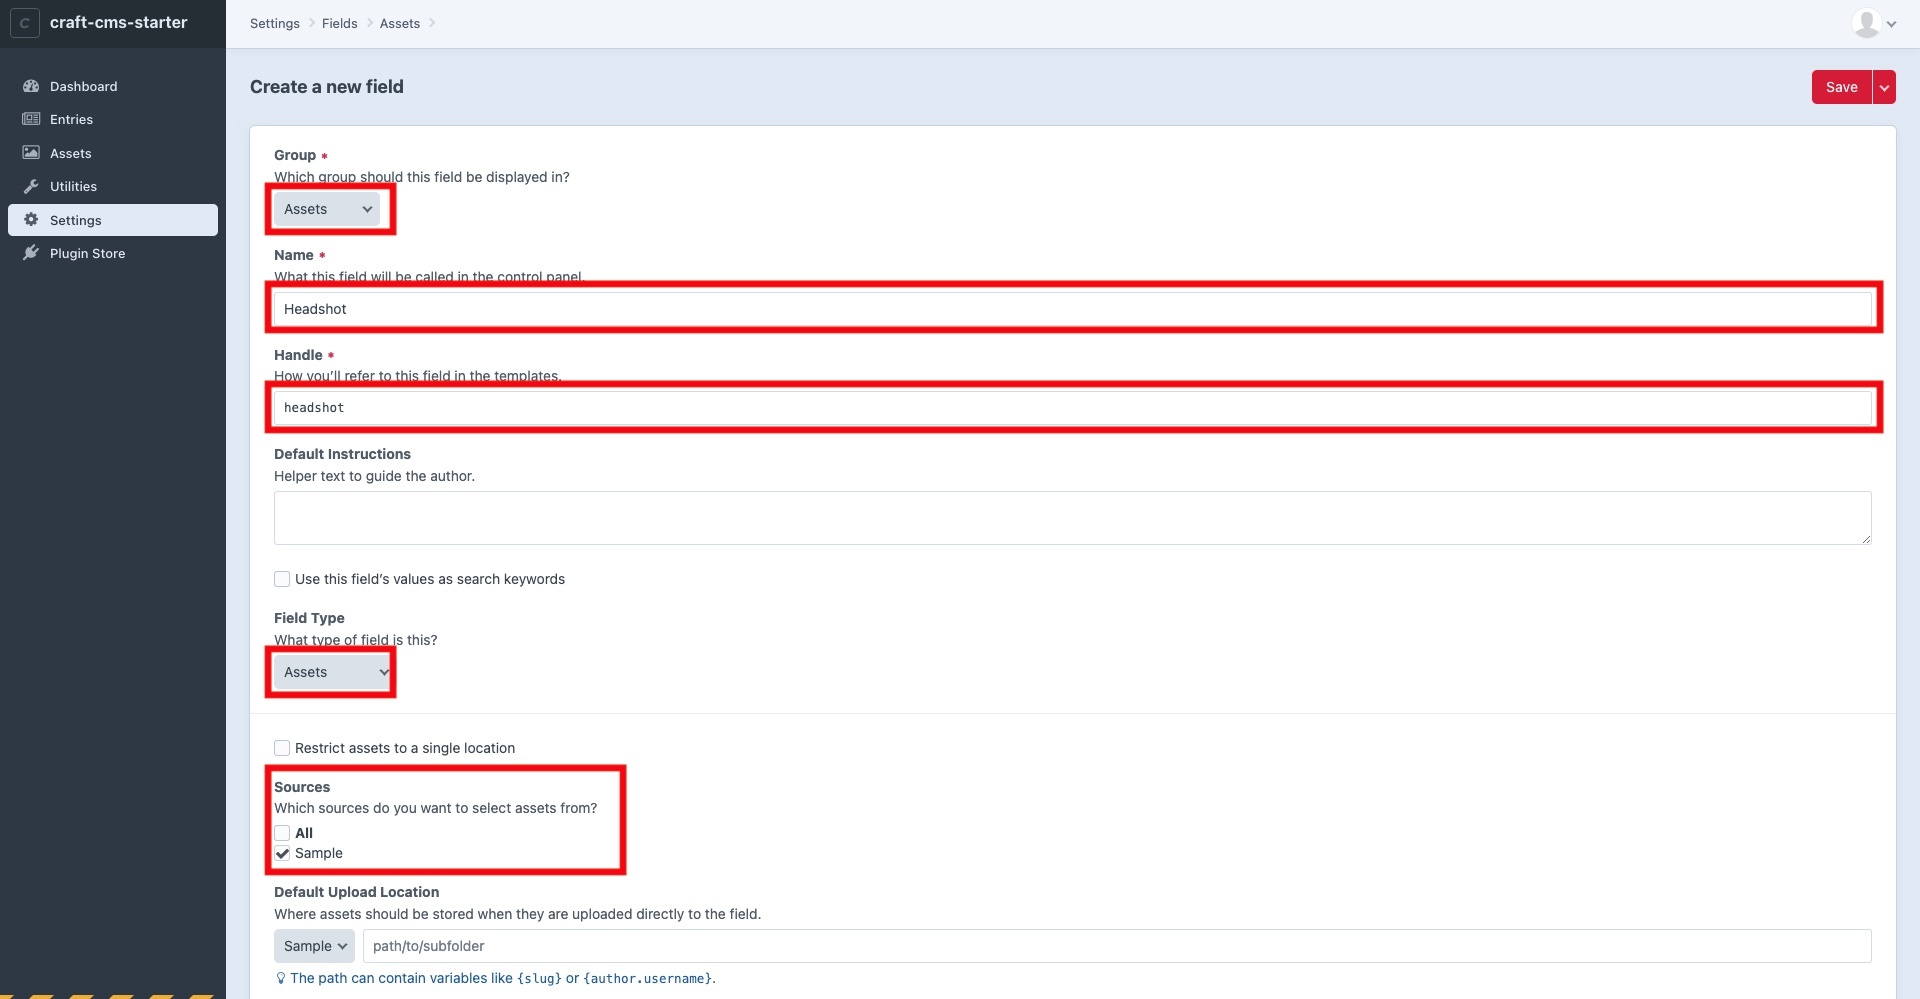
Select Assets under File Type and fill in the details.

It is important that you restrict it to specific sources (asset volumes) and make sure it matches the Default Upload Location to avoid uploads going to the wrong places.

Additionally, although not shown on the visual, make sure that you set the minimum and maximum number of relations (items that can be linked) to avoid individuals making mistakes.

Step Seven: Save

A screenshot of the Craft CMS Create a new field page with a highlight on the Save button on the top right. Press it once everything looks good to create your asset field.

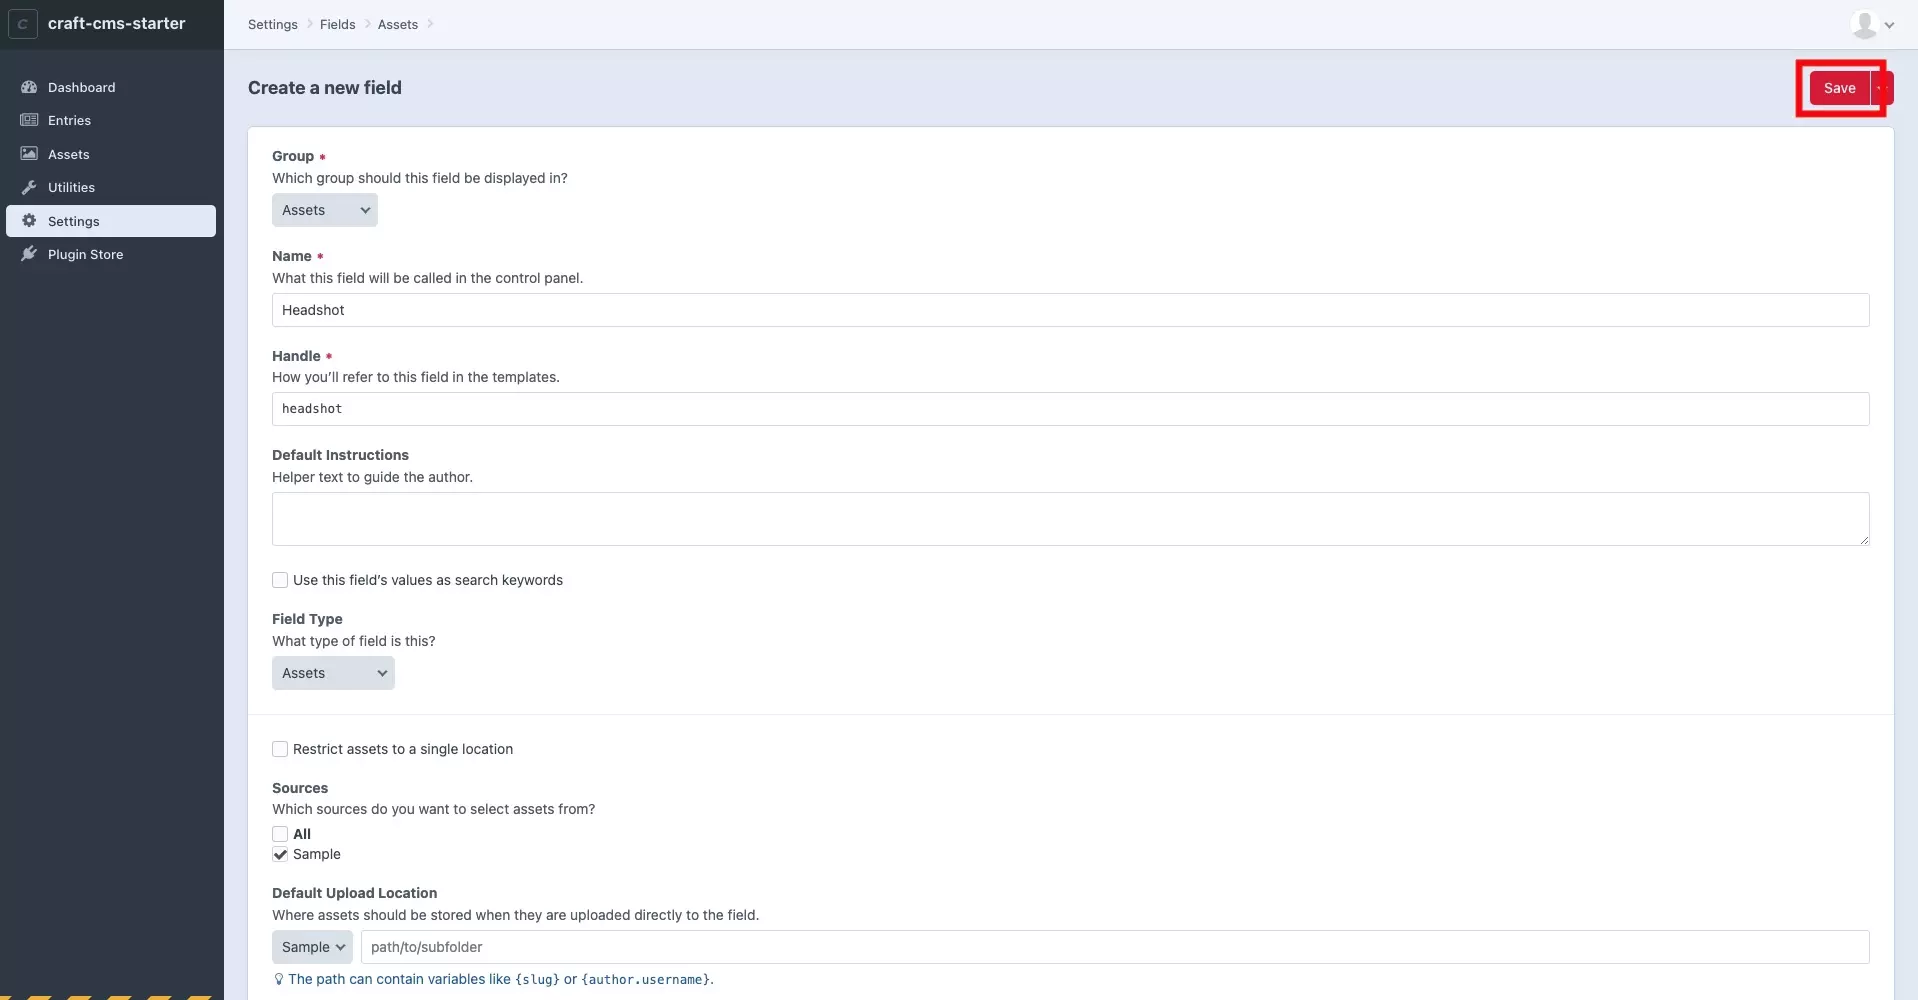
Once you're ready press Save.

Craft CMS will create the field and take you back to the Fields page.

A screenshot of the Craft CMS Fields page showing the newly created field.

Any Questions?

We are actively looking for feedback on how to improve this resource. Please send us a note to inquiries@delasign.com with any thoughts or feedback you may have.
delasign logo

Book a Free Consultation.

An icon of an email.

Click here to email us.

Fill in the details below to book a free consultation or to let us know about something else. Whatever it is, we are here to help.

How can we help you ?

Contact Details