How to create a UICollectionView with multiple sections in Swift
A step by step tutorial on creating a UICollectionView with multiple sections in Swift (iOS). Github repository included.


A step by step tutorial on creating a UICollectionView with multiple sections in Swift (iOS). Github repository included.
The following tutorial walks you through how to create a UICollectionView with multiple sections in Swift (iOS) using XCode. The project builds on our Open Source Swift project and implements a UICollectionView with three custom UICollectionViewCells.
This tutorial starts on the main branch and the changes are available on the tutorial/multi-section-collectionview branch of the repository found below.
Please note this tutorial uses the TinyConstraints Swift package, which we added using the Swift Package Manager.
What are we creating in this tutorial ?

In this tutorial we will be creating a two section UICollectionview that is illustrated in the image above.
If you are interested in a tutorial for a carousel please follow the tutorial linked below.
To learn how to do this exact tutorial using Apple's Modern UICollectionView methodology, follow the tutorial below.
Tutorial
We recommend that you clone our Open Source Swift Starter Project, checking out the main branch and carrying out the steps below. The changes can be found on the tutorial/multi-section-collectionview branch.
git clone git@github.com:delasign/swift-starter-project.gitPlease note that we are creating this multi-section UICollectionView in the CustomUIView that we setup as part of our Open Source Swift starter project; which follows our structured UIView methodology.
Step One: Create the content
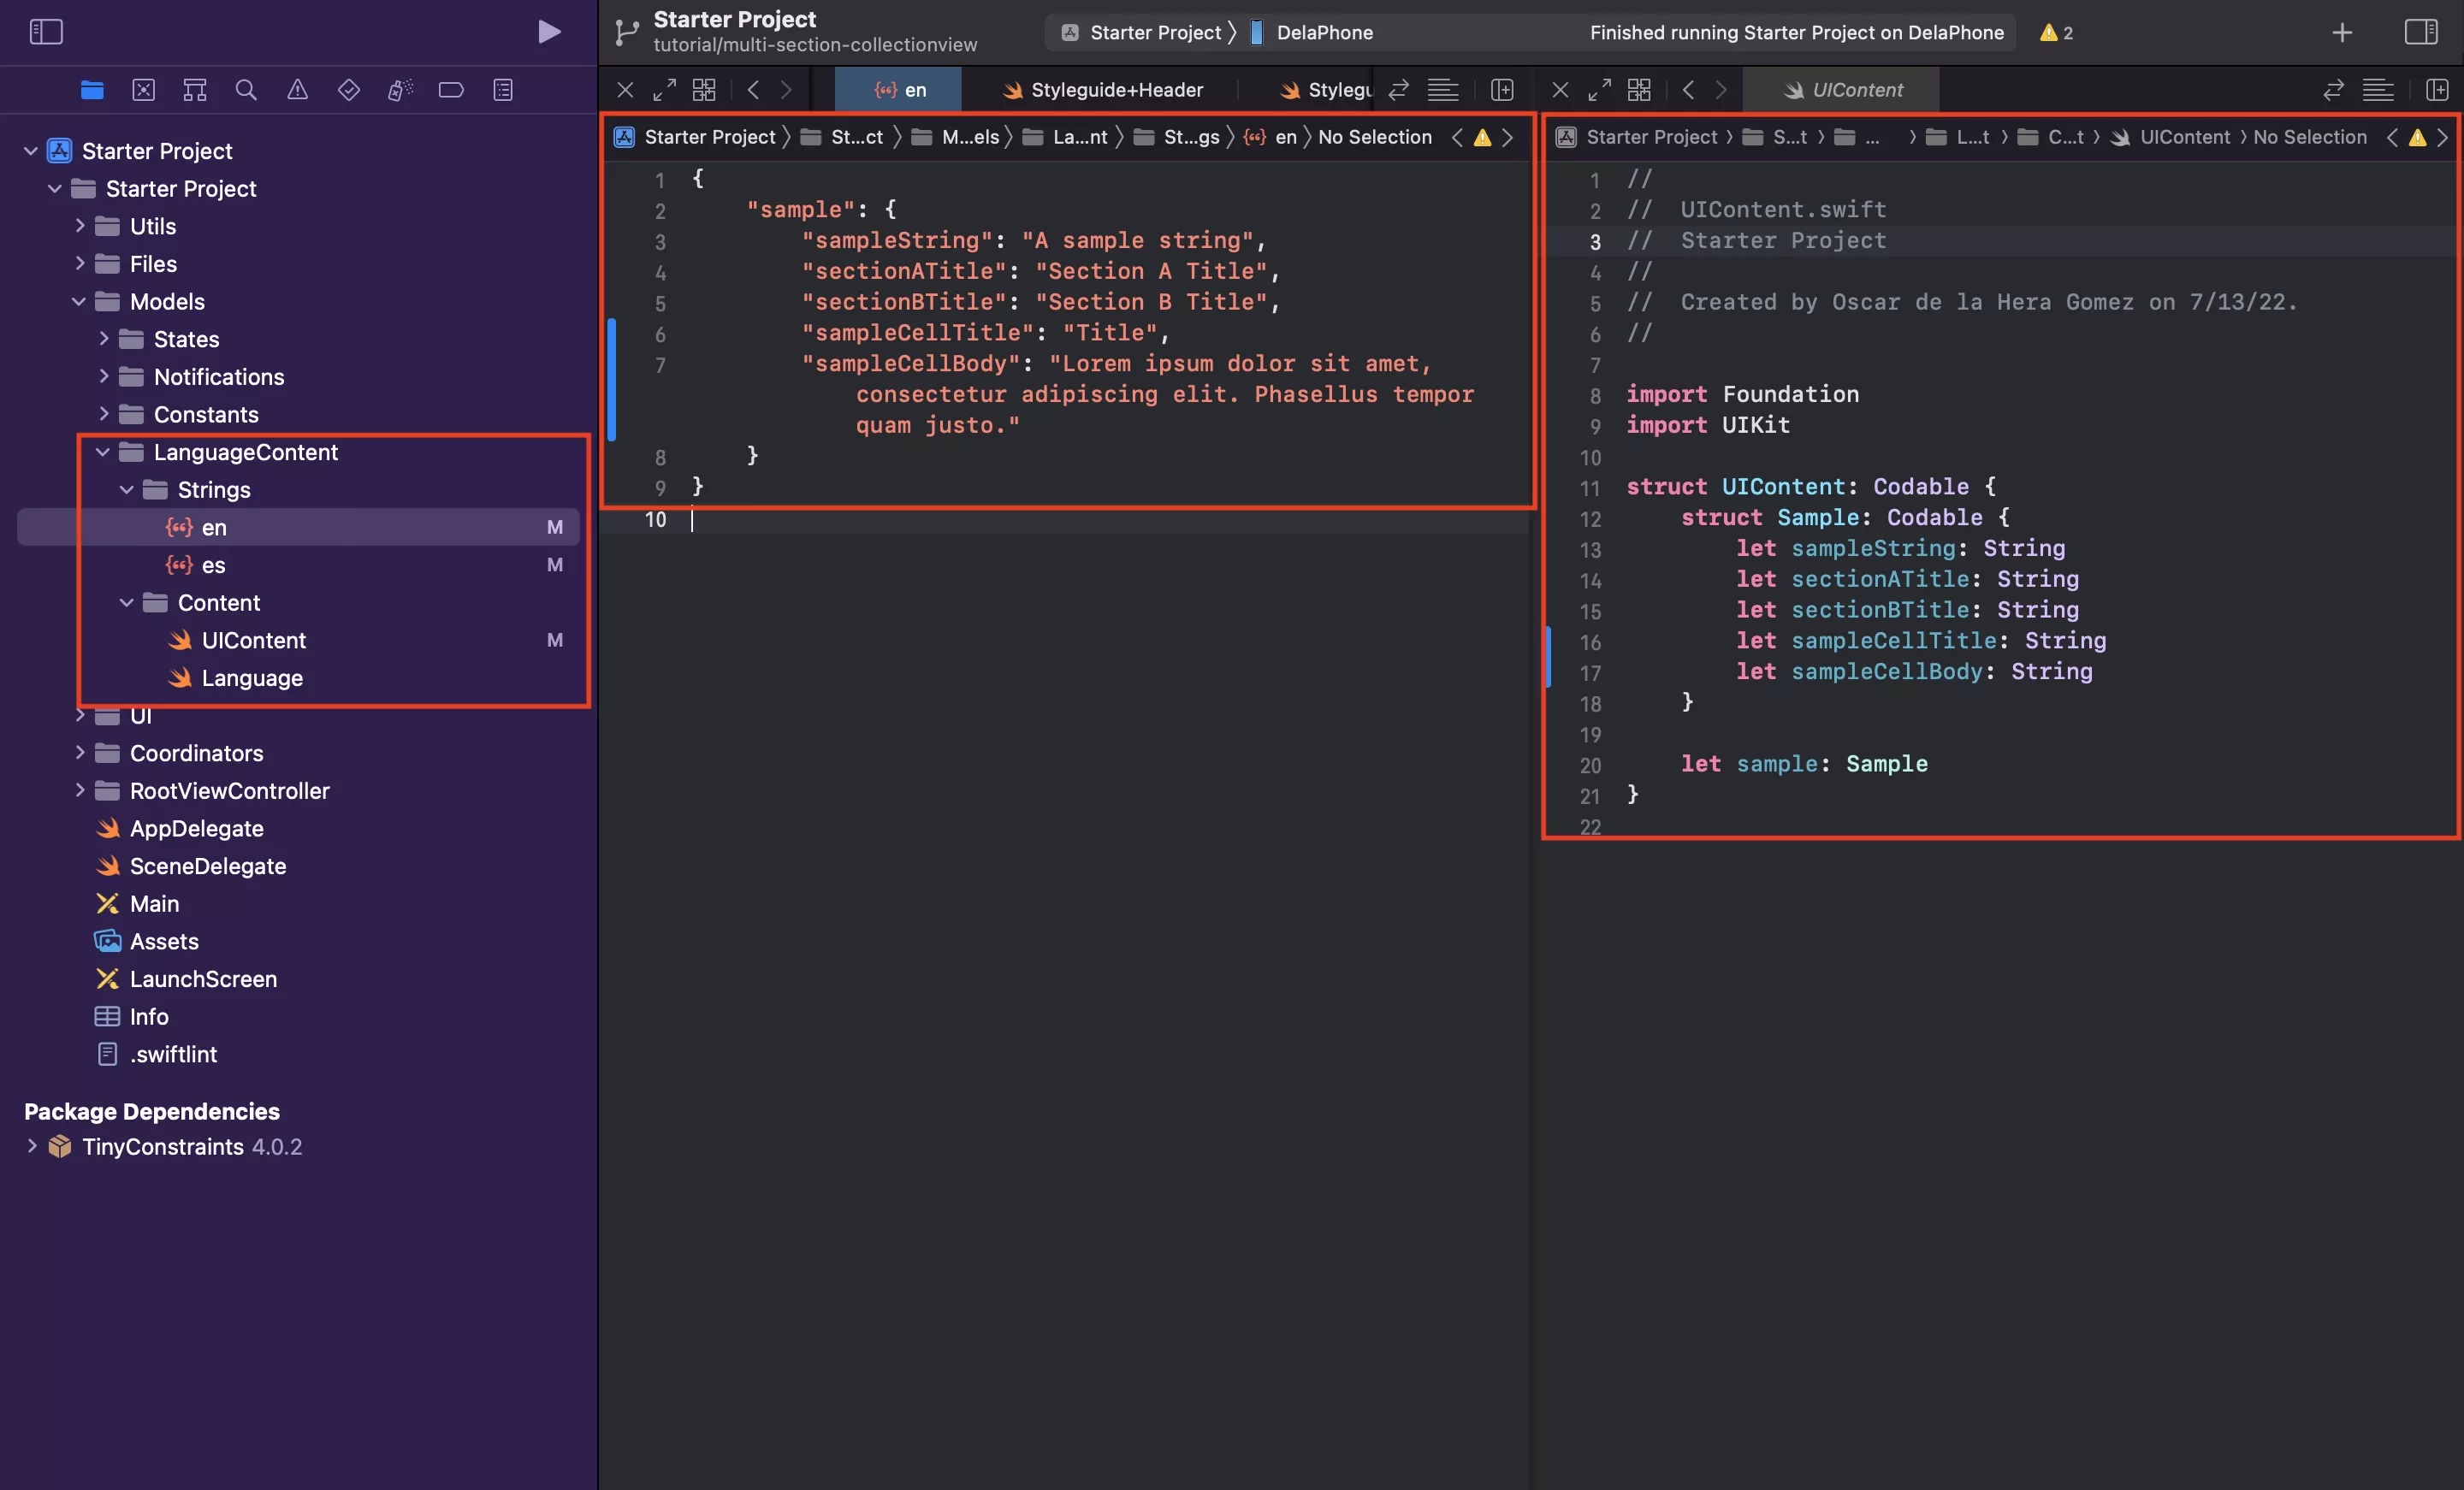
First, you must create the content required for our sample titles and body.
To do this:
- Update or create a new struct in UIContent.Swift found under Models - > LanguageContent -> Content.
- Update the English (en) and Spanish strings (es) found under Models - > LanguageContent -> Strings.
For more information, please consult the tutorial linked below.
Step Two: Create the header style
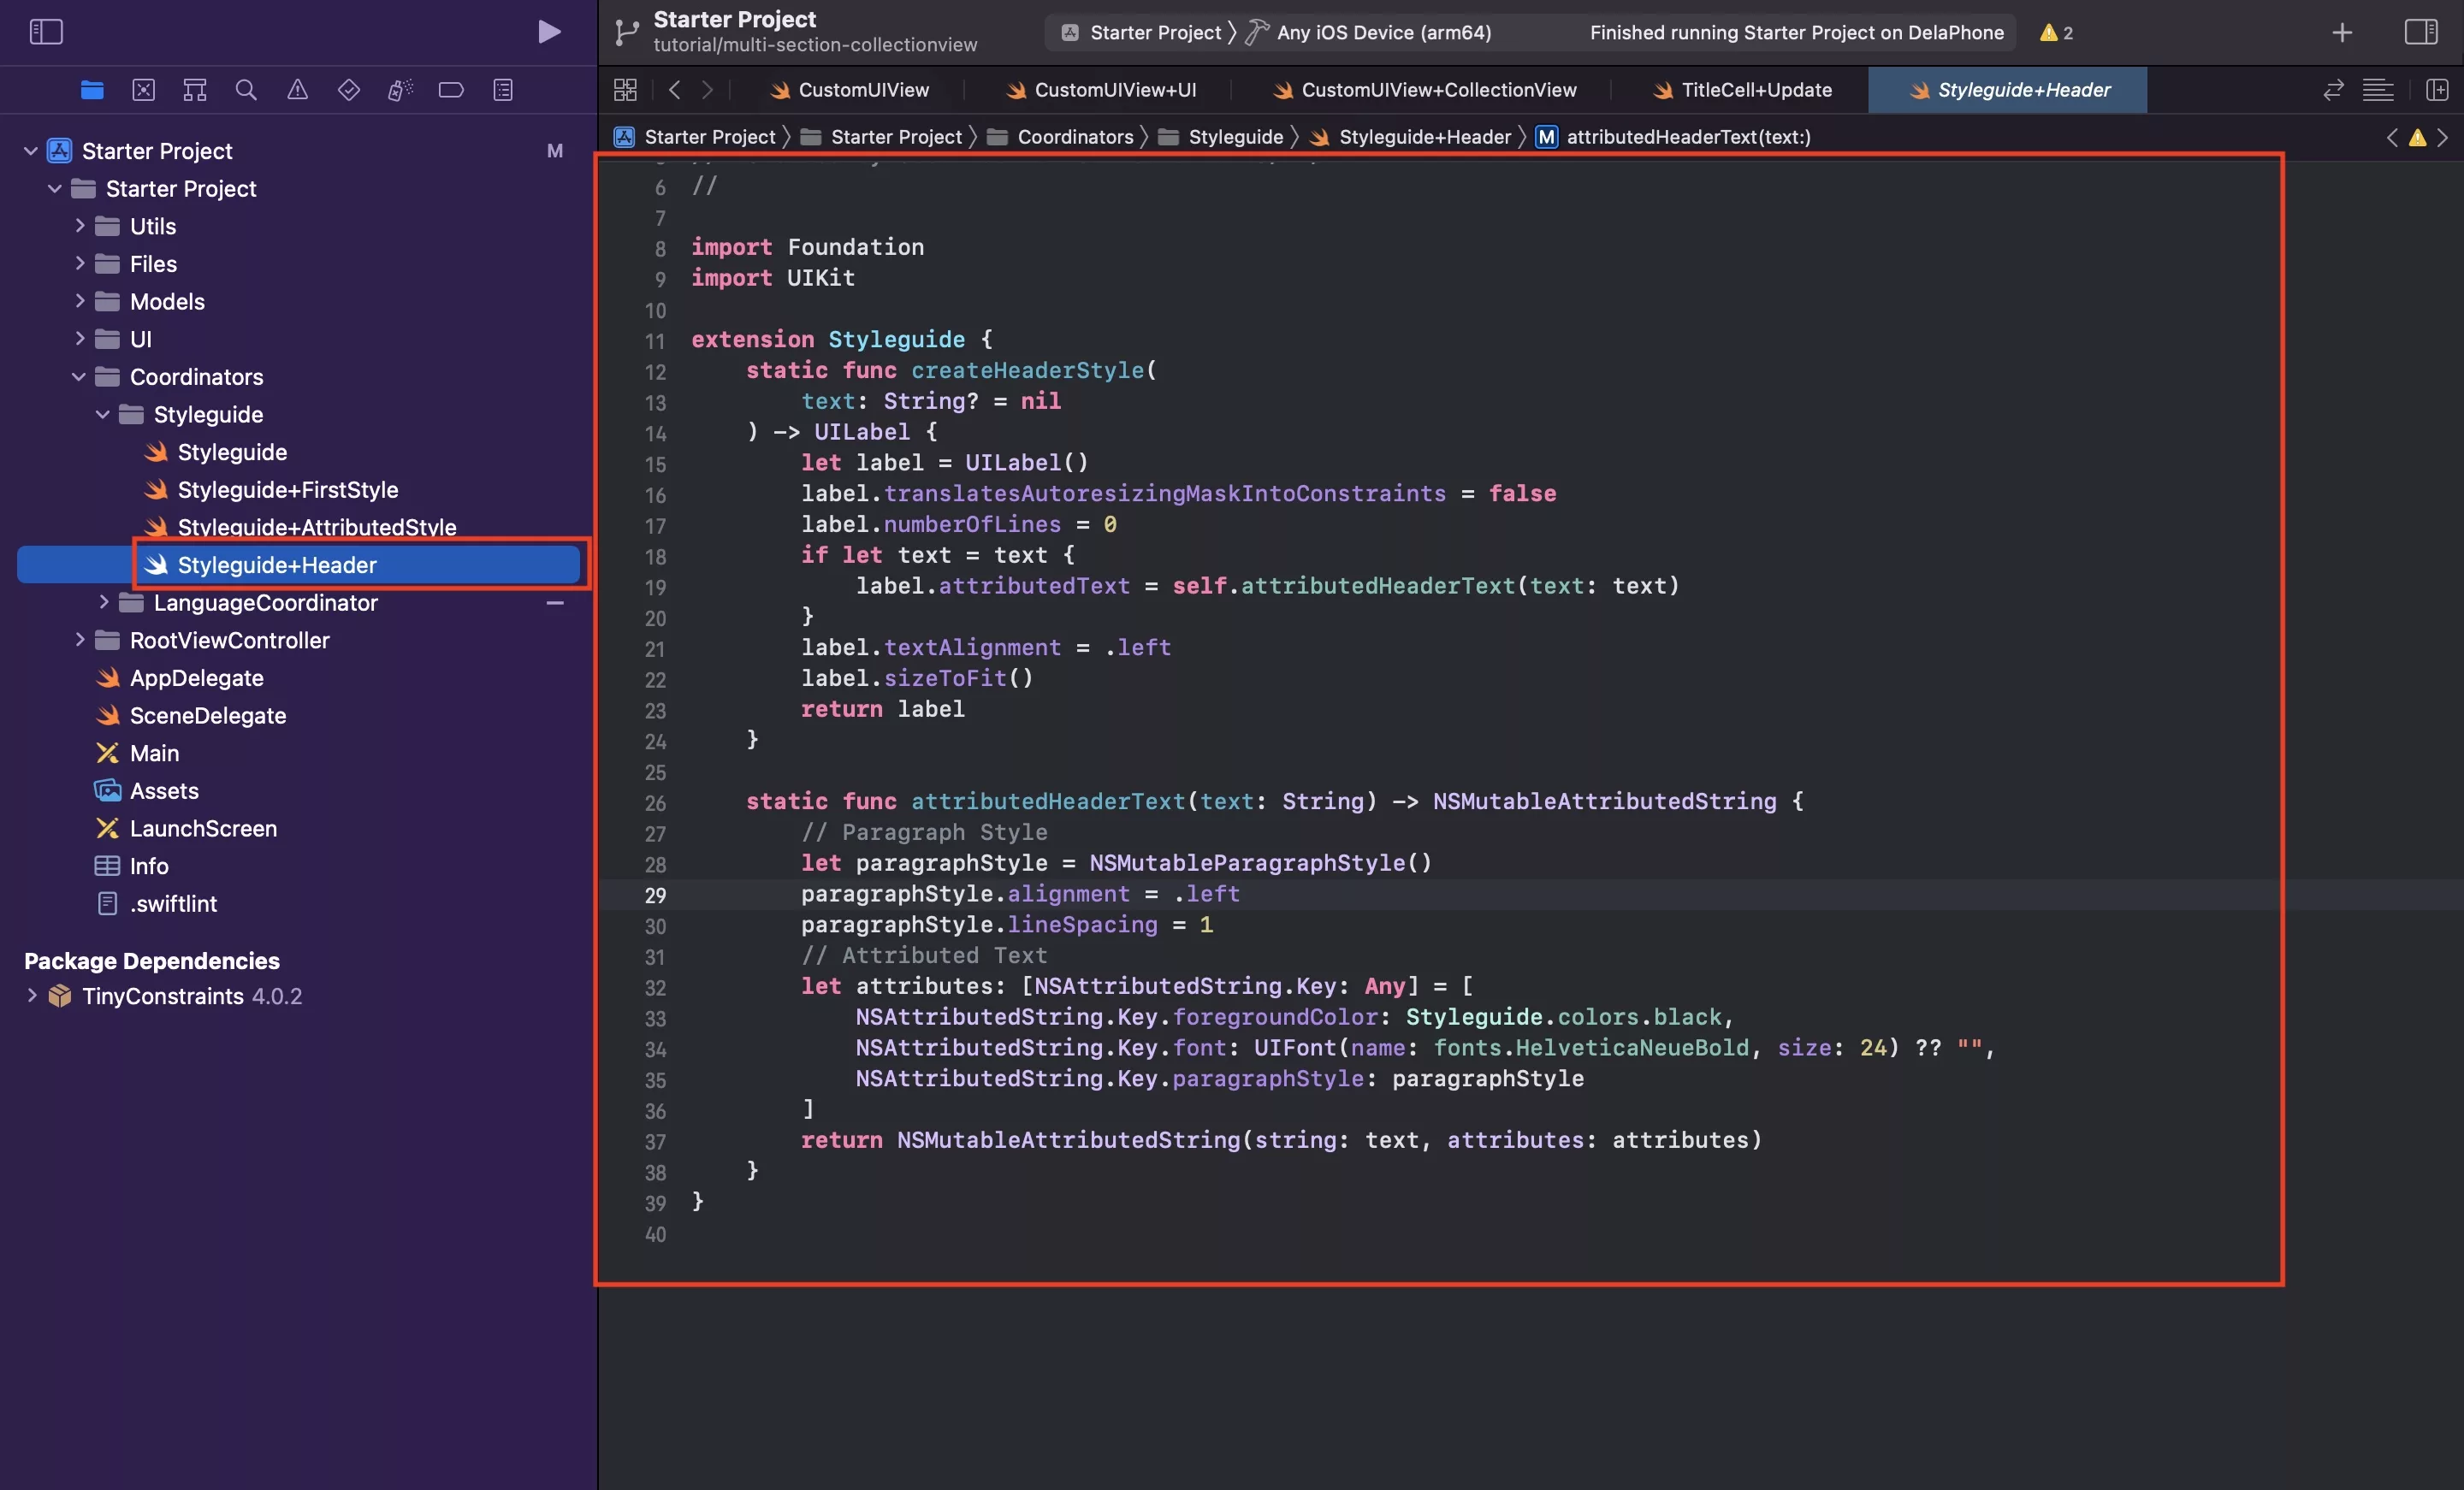
Under the Coordinators folder, within the Styleguide folder, create a new file called Styleguide+Header.swift and paste in the code found below.
For more information on Styleguide and Styles, please use the links below.
Please note that we updated the Fonts.swift file to include Helvetica Neue Bold. Update the code in Models -> Constants -> Fonts.swift to the code in the snippet below.
Step Three: Create the cell title style
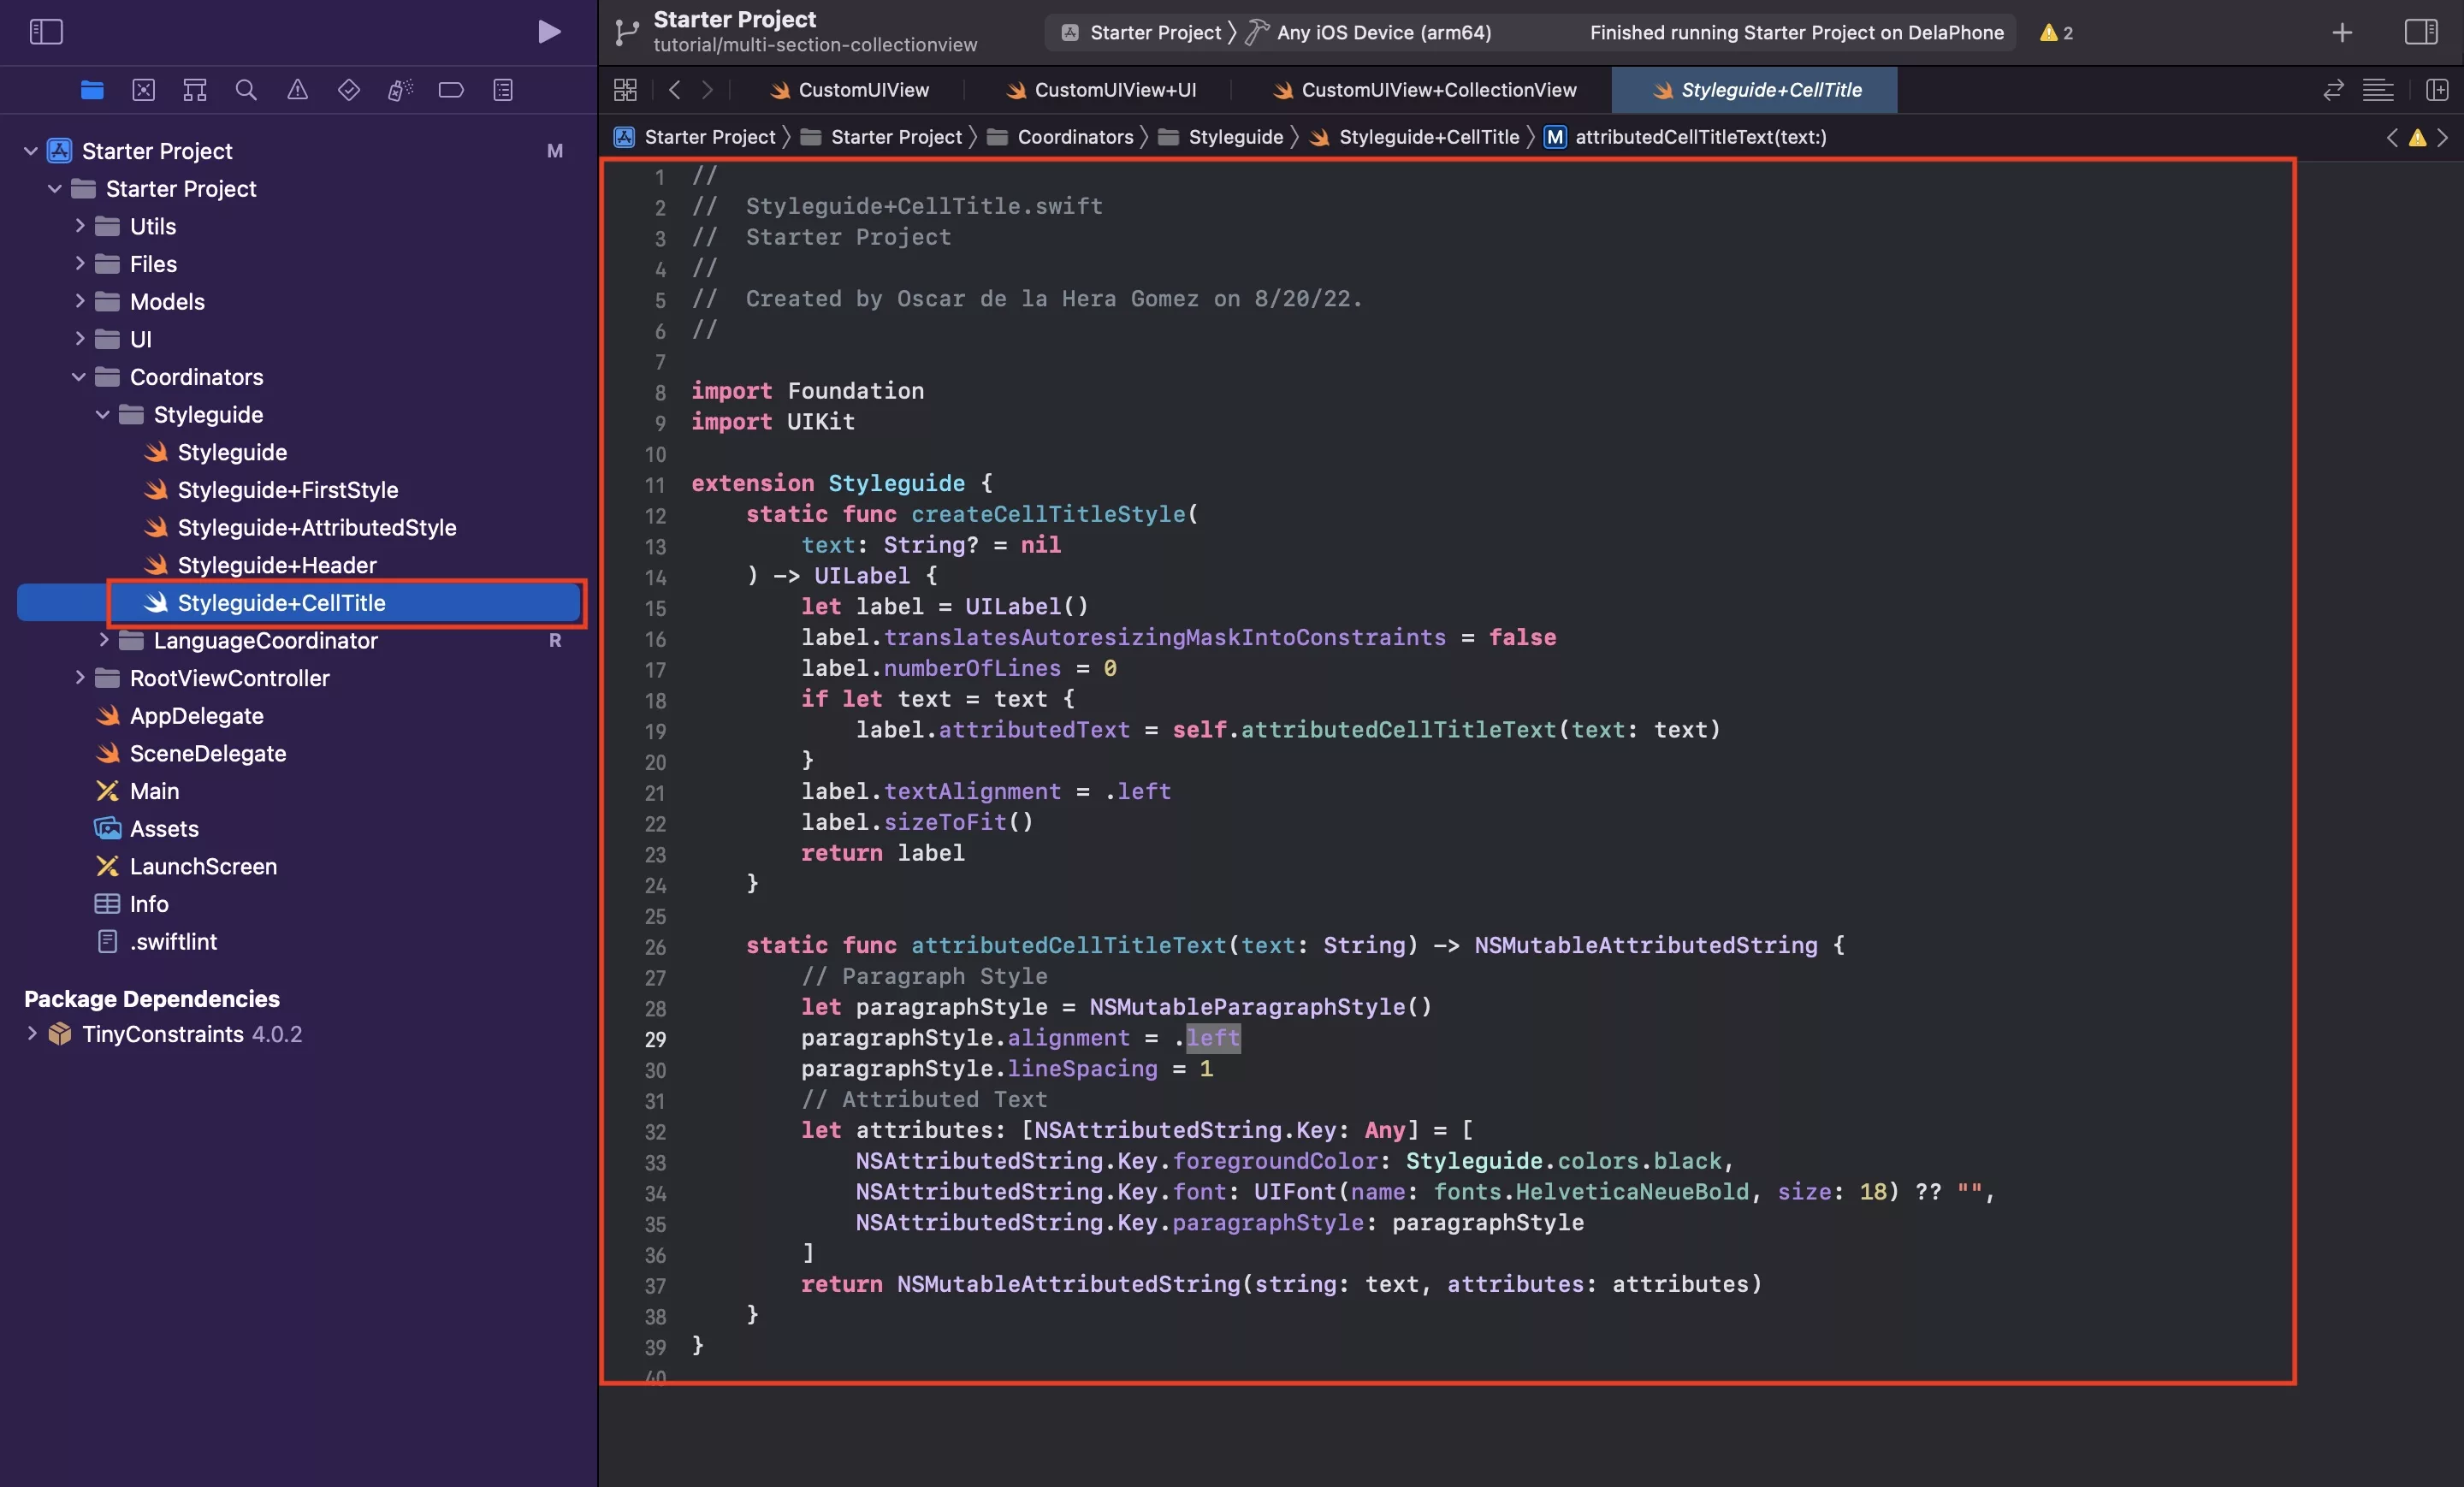
Under the Coordinators folder, within the Styleguide folder, create a new file called Styleguide+CellTitle.swift and paste in the code found below.
Step Four: Create the cell body style
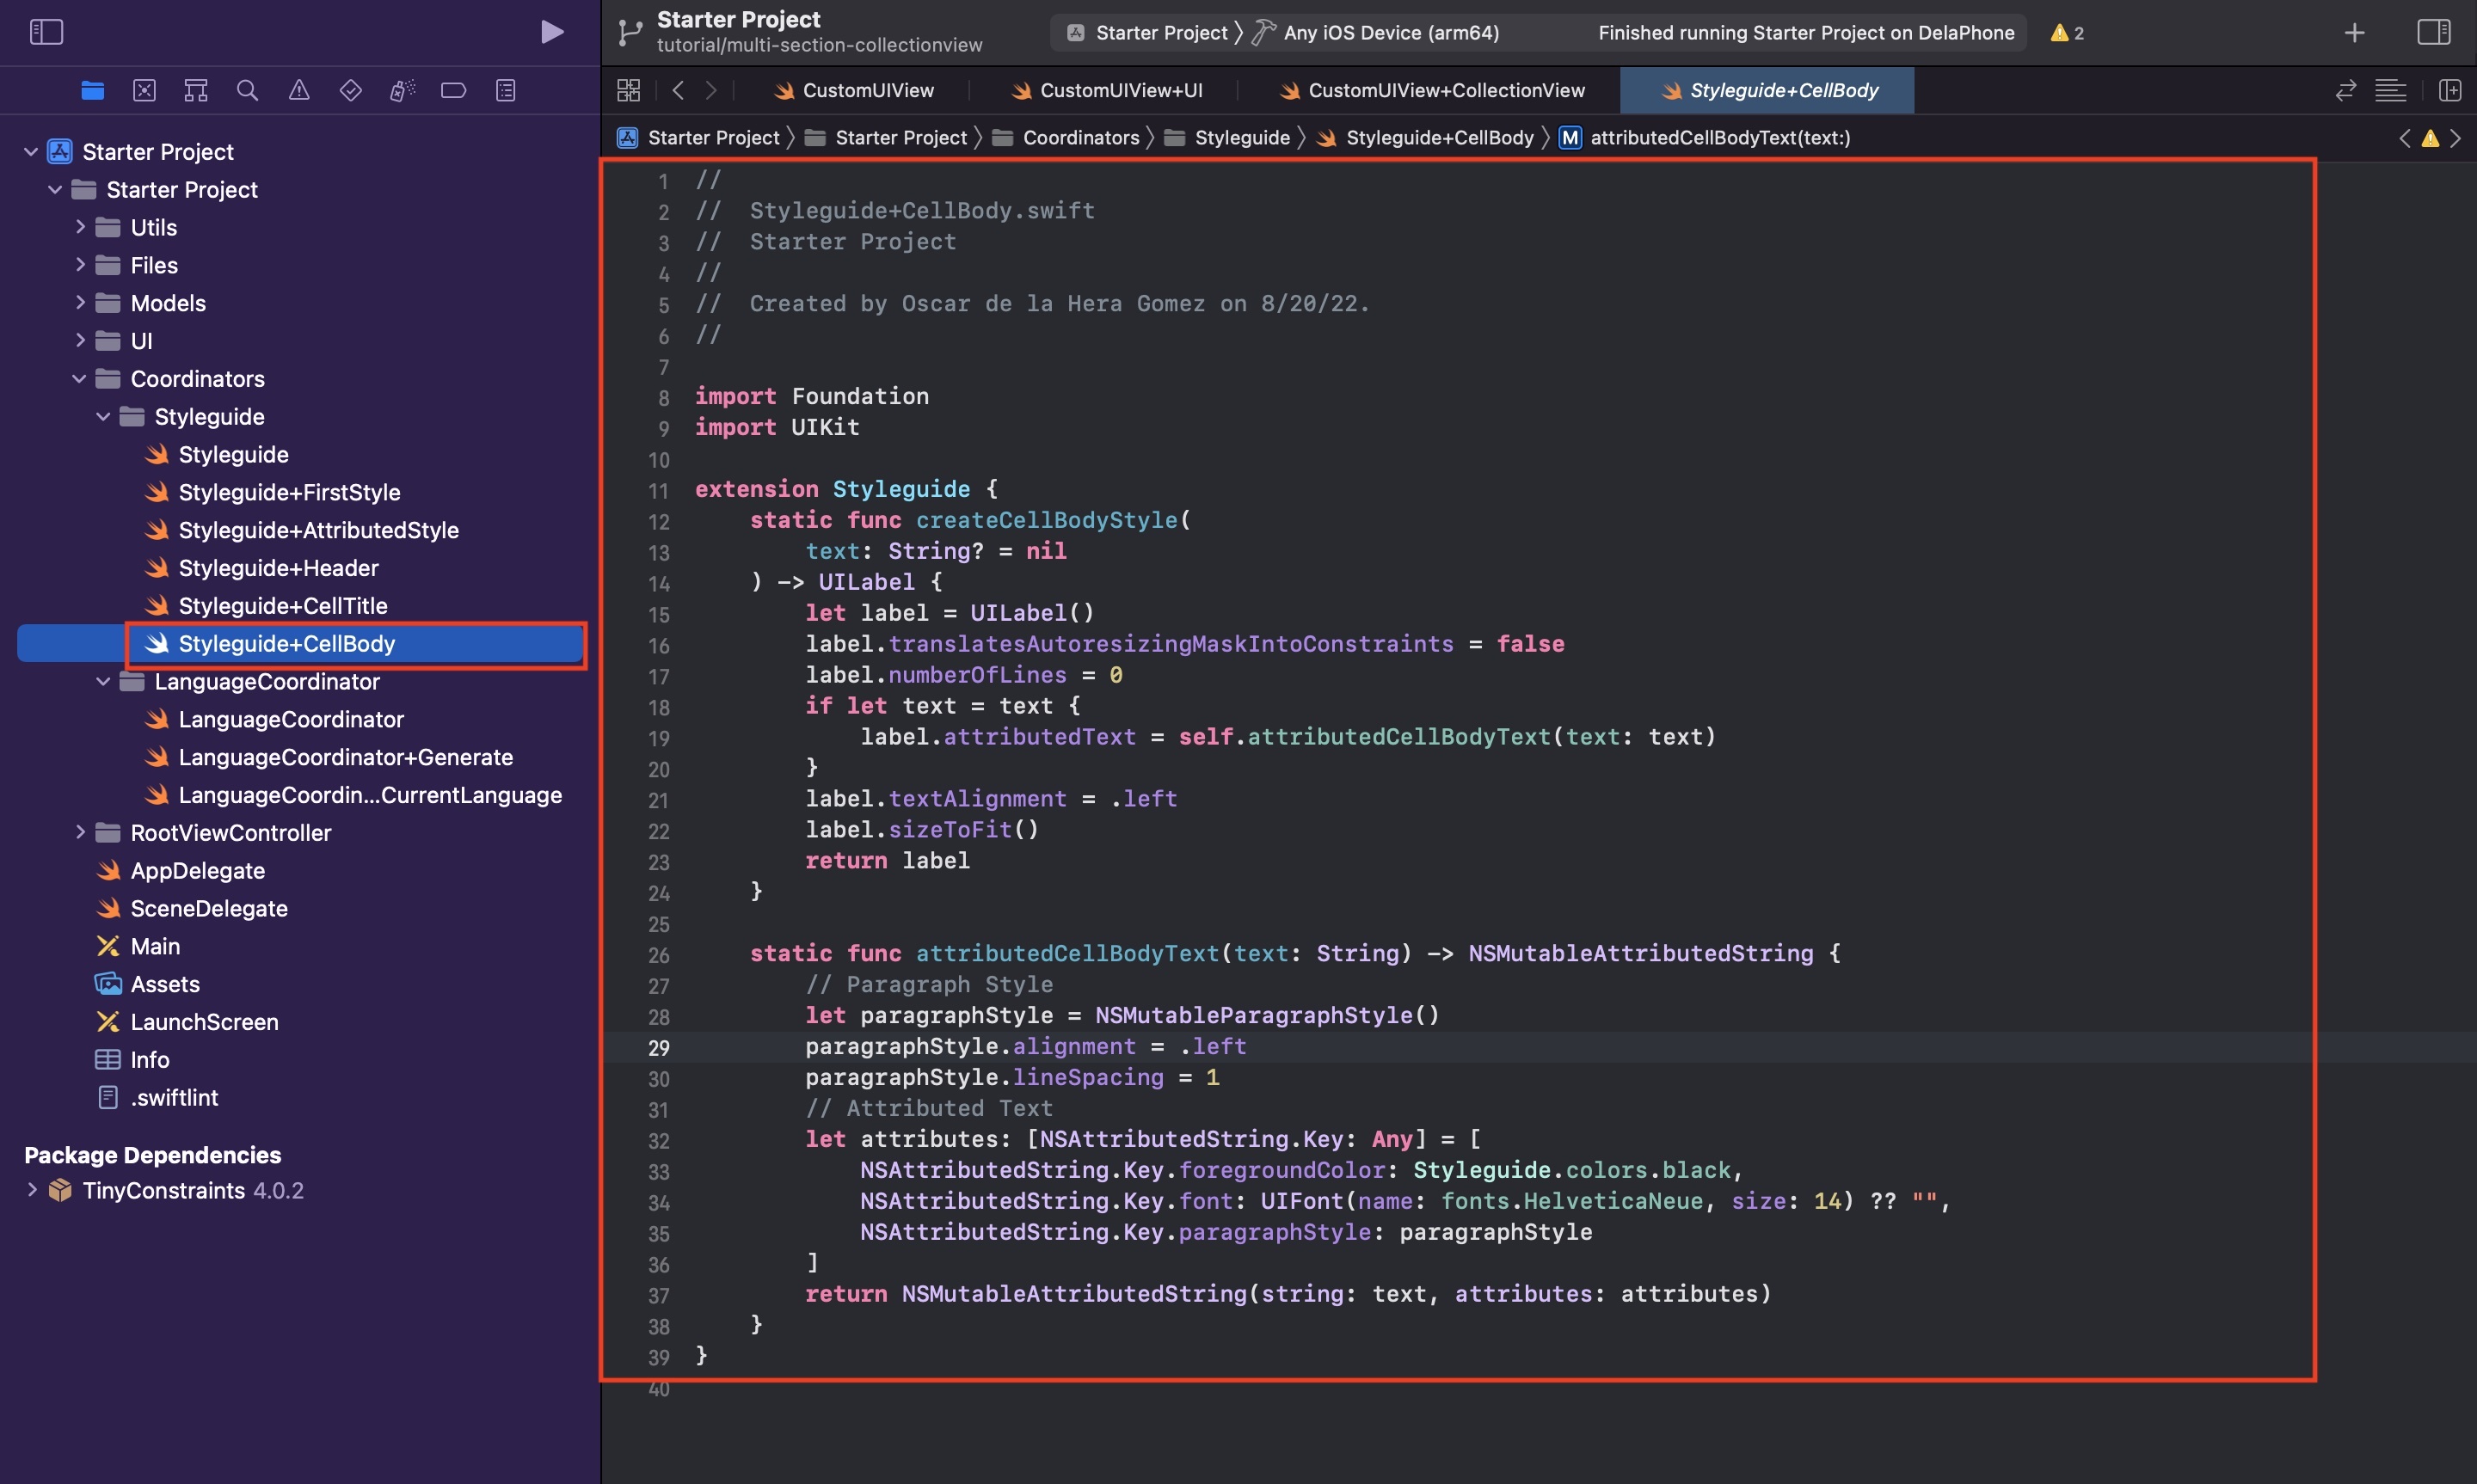
Under the Coordinators folder, within the Styleguide folder, create a new file called Styleguide+CellBody.swift and paste in the code found below.
Step Five: Create the title cell
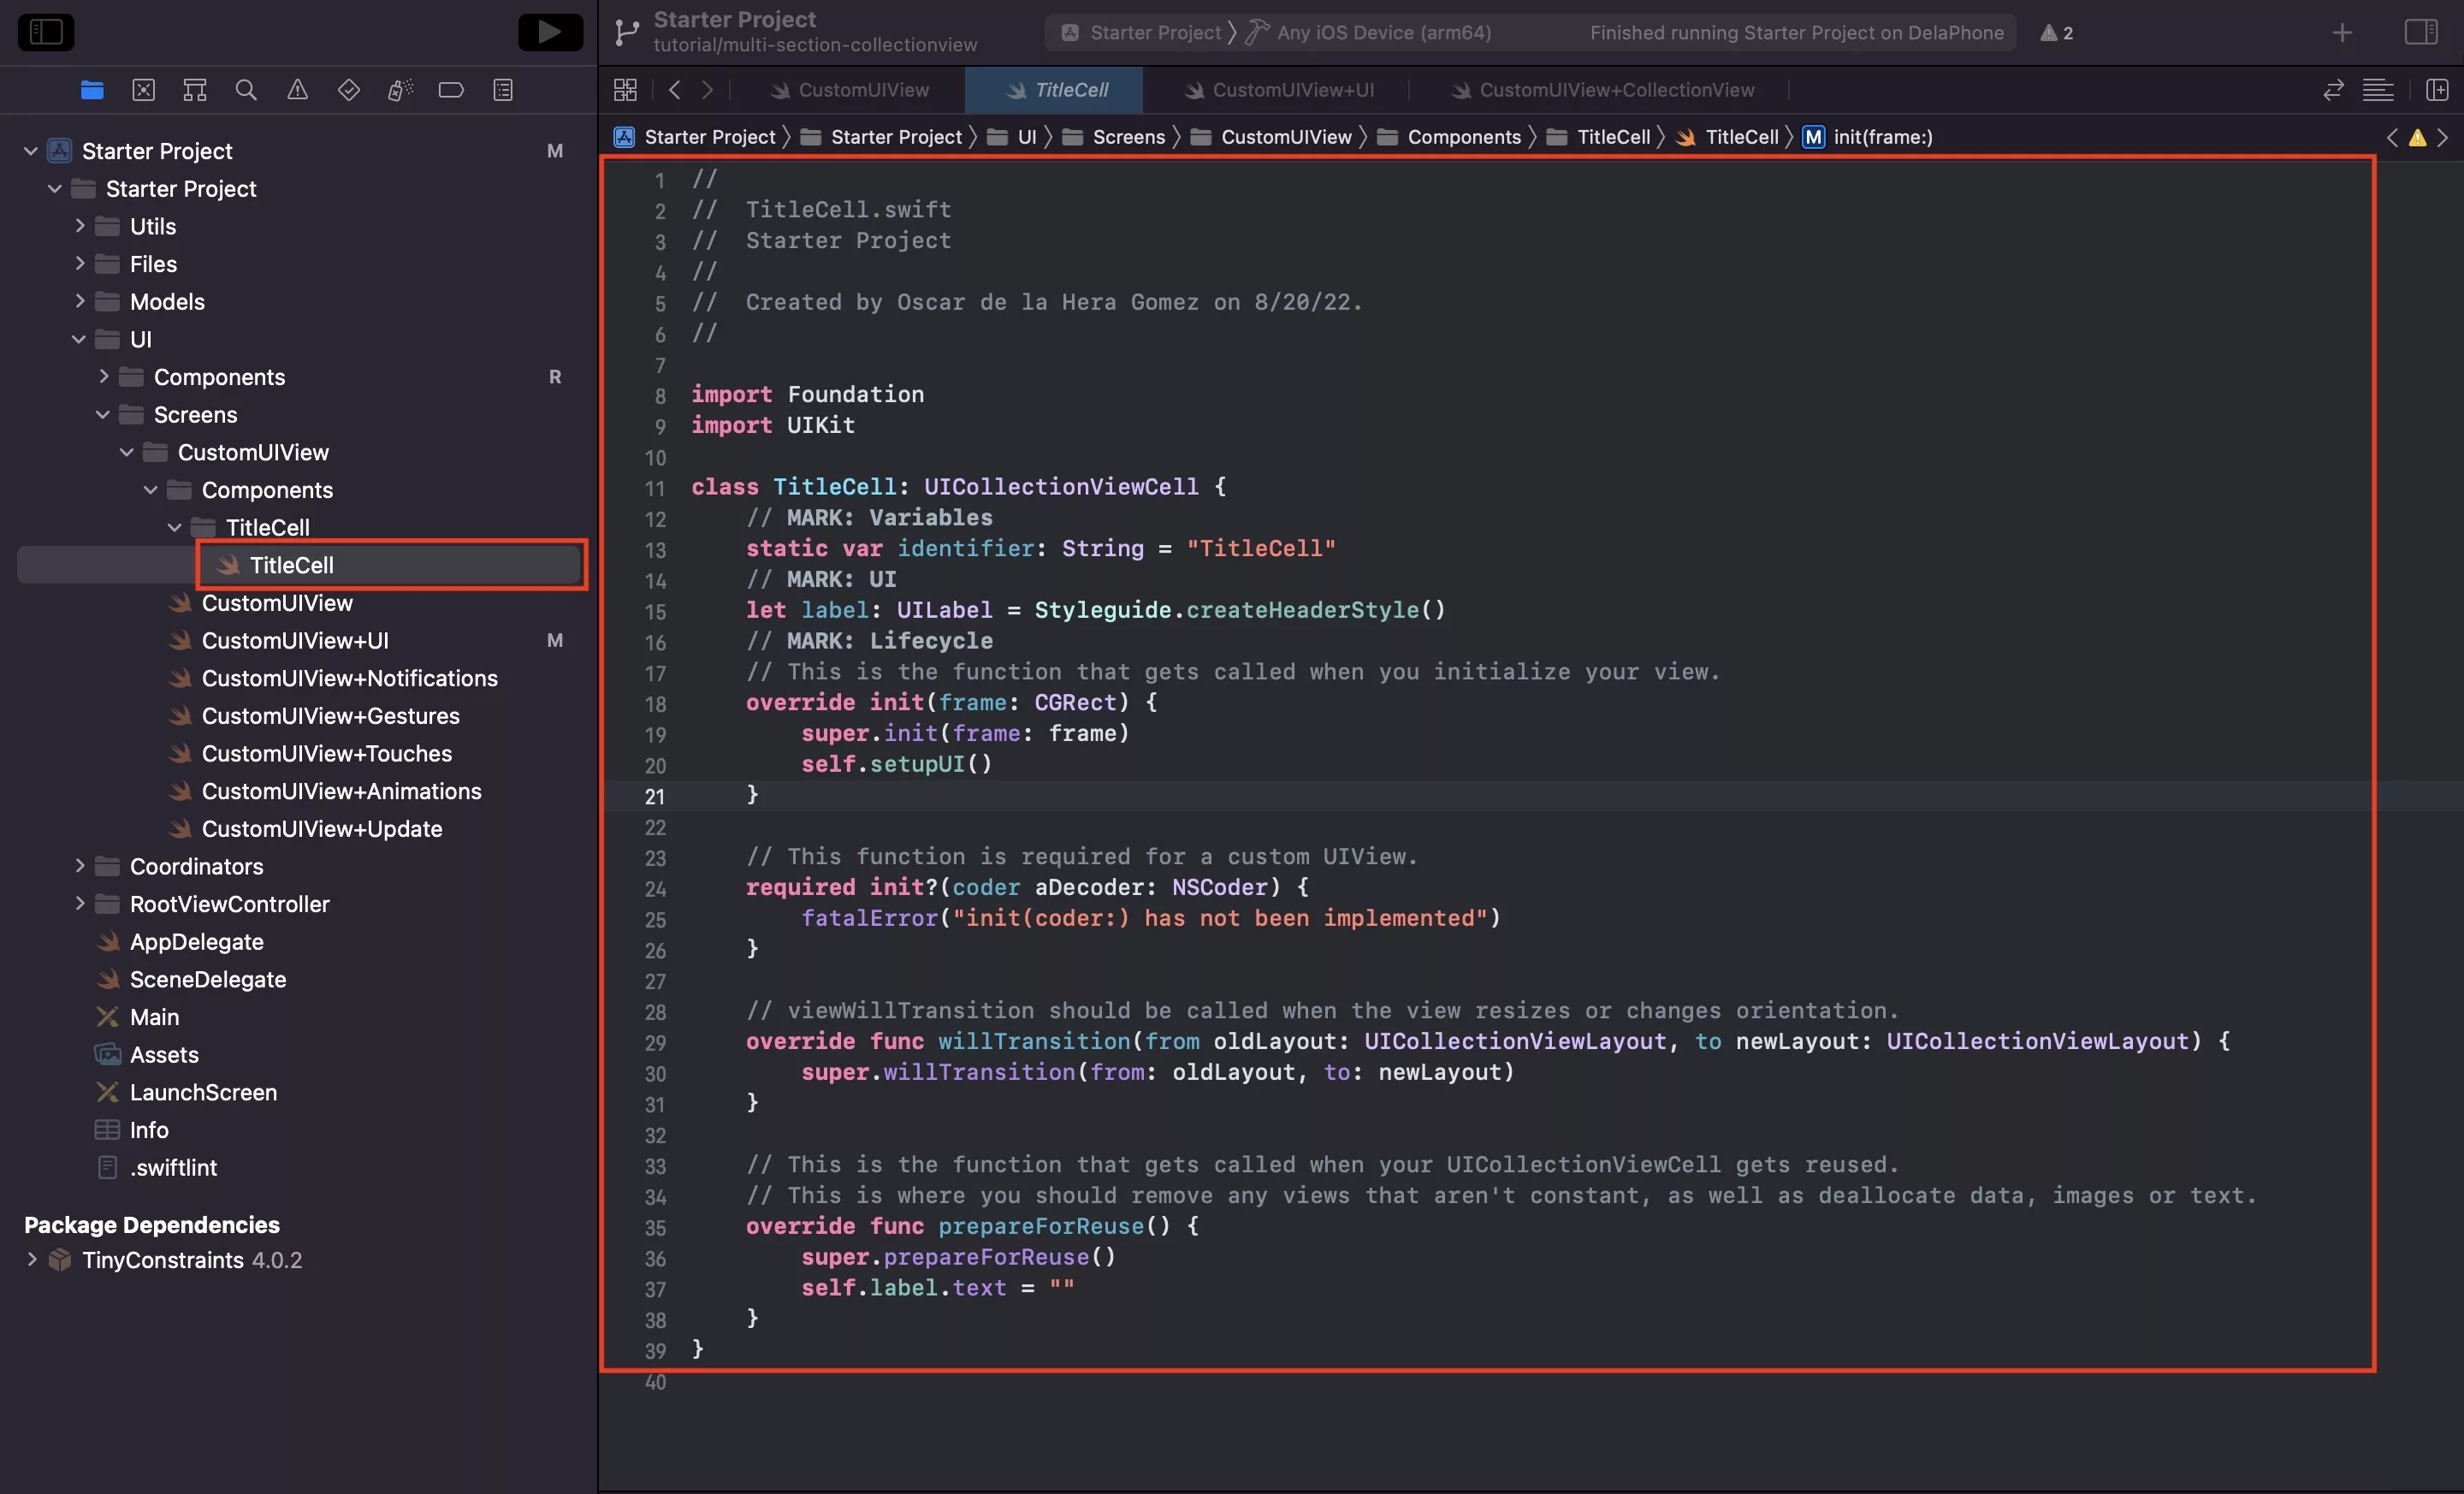
Under the CustomUIView folder, create a new folder called Components.
Within the Components folder, create another folder called TitleCell.
Within the TitleCell folder, create another file called TitleCell.swift and paste in the code found below.
Please note that the setupUI function is created in the next step.
Step Six: Create the title cell UI extension
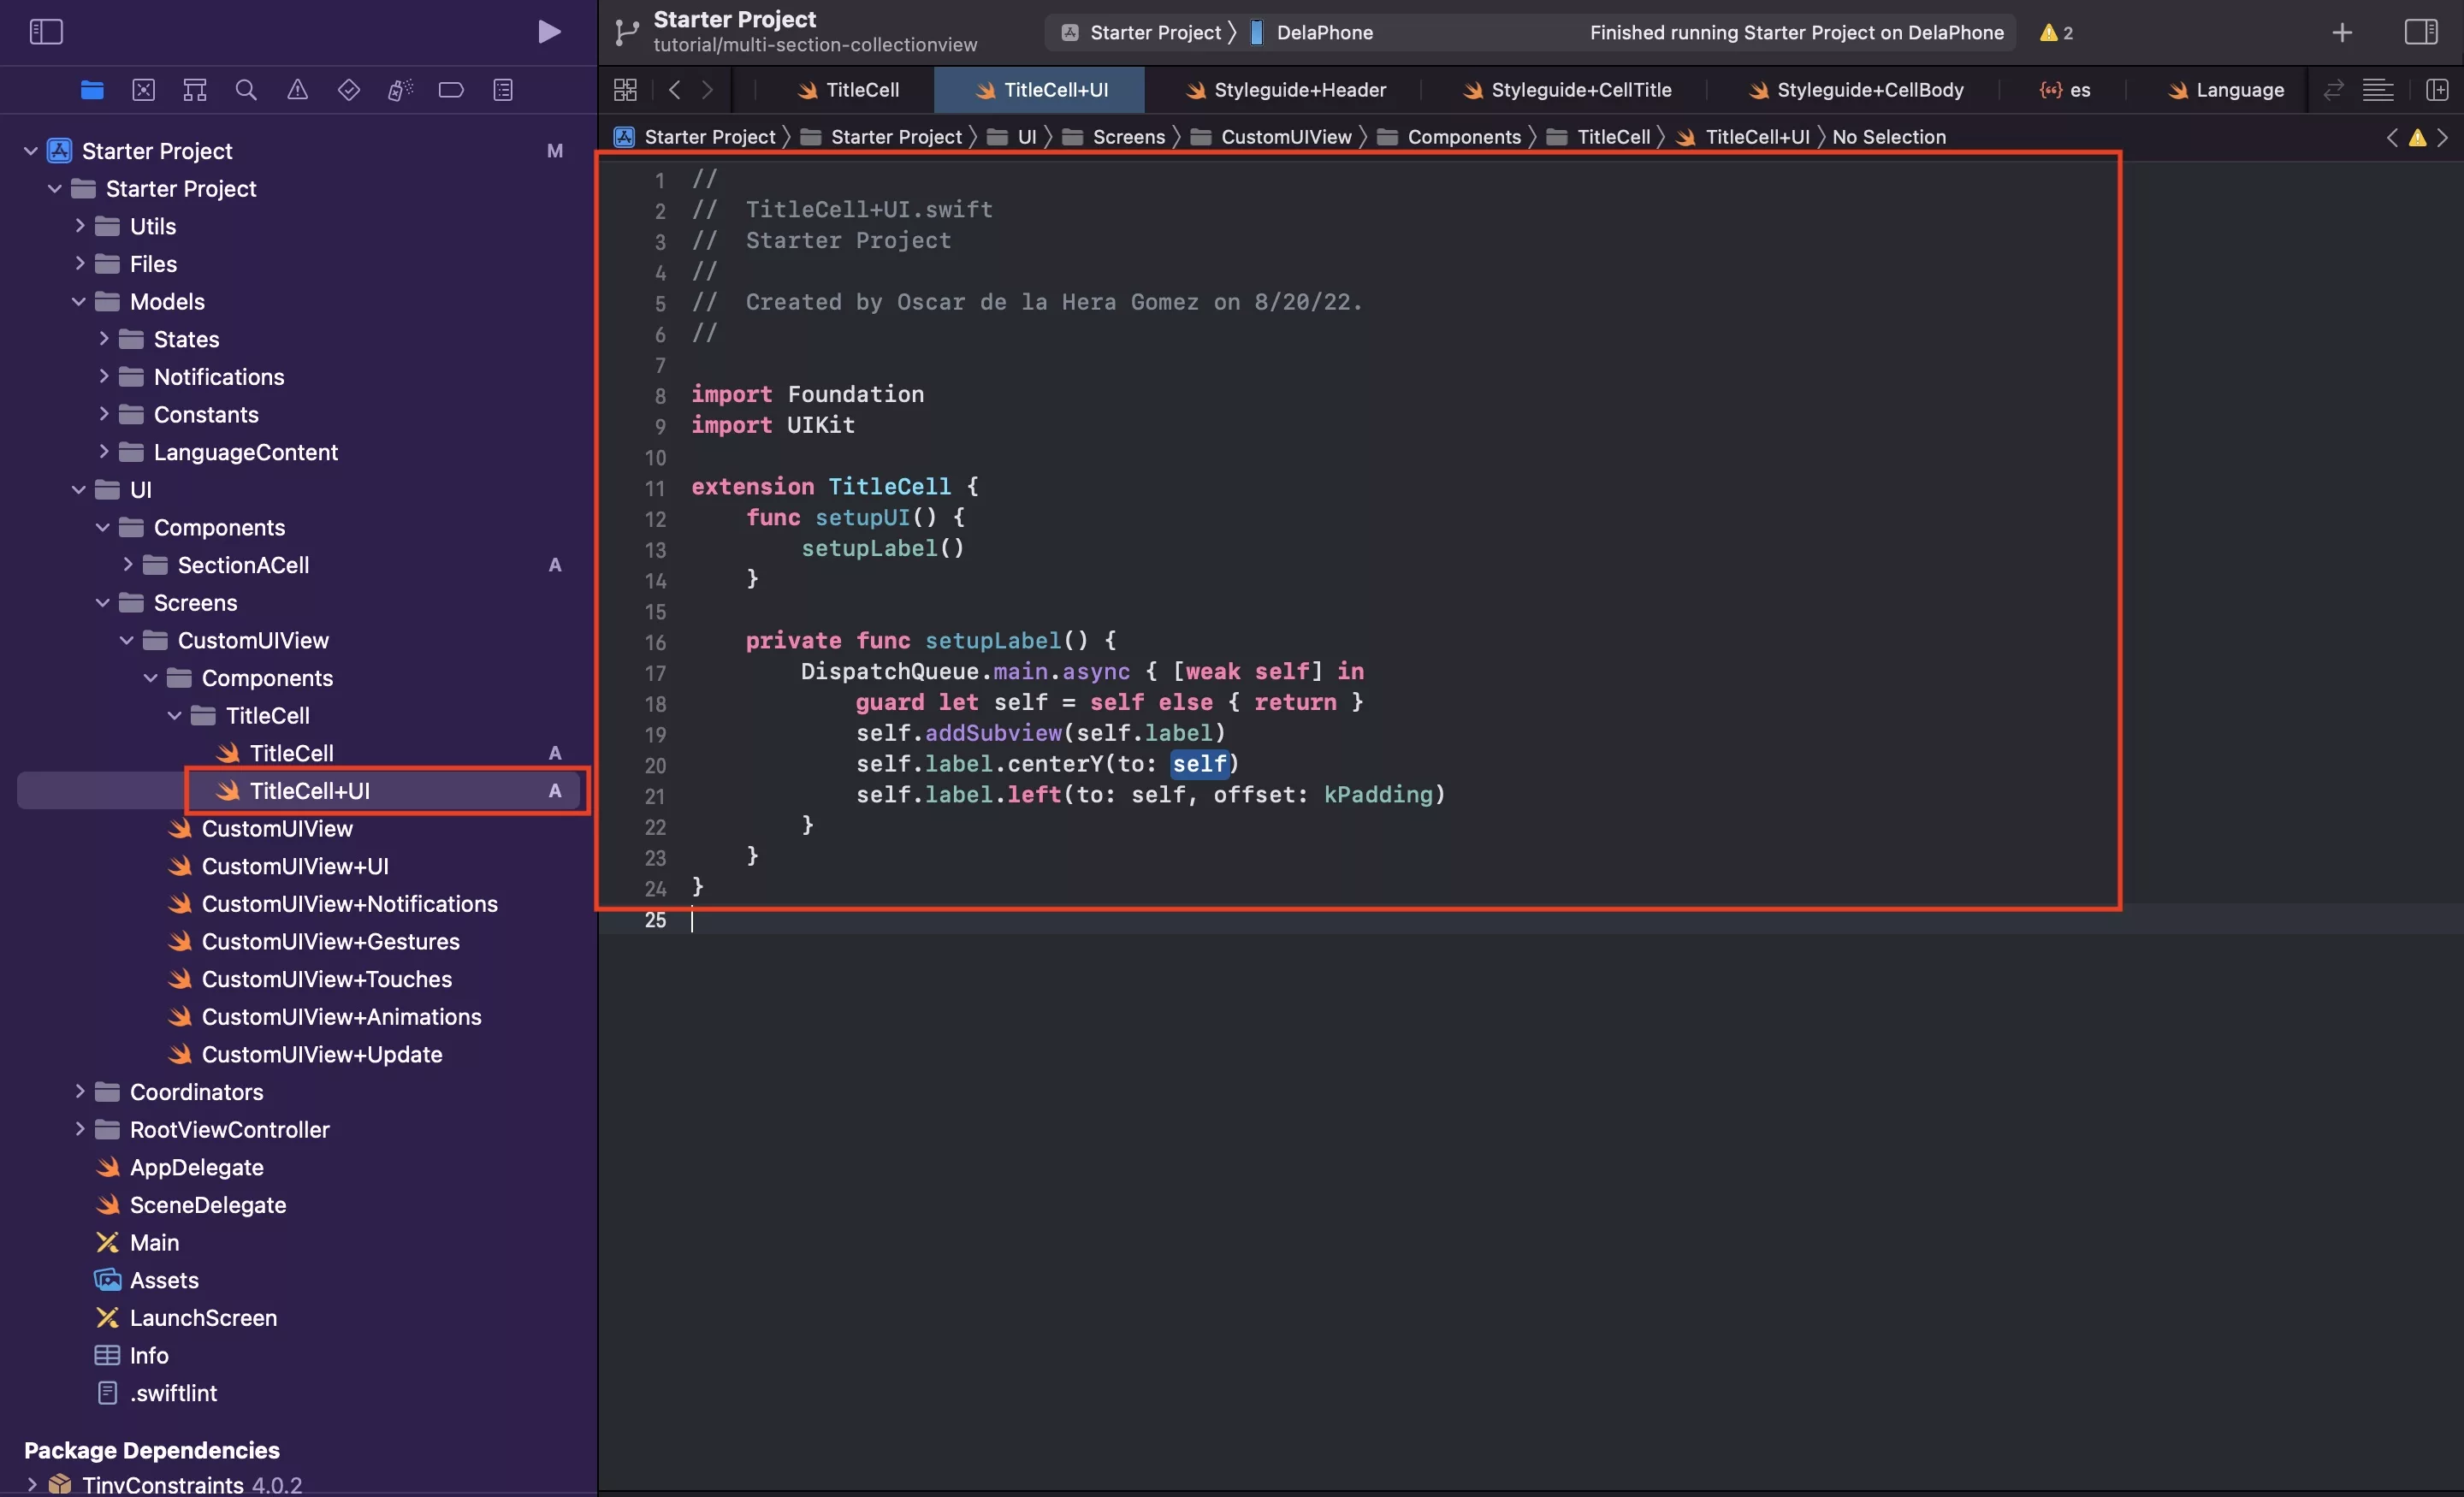
Within the TitleCell folder, create another file called TitleCell+UI.swift and paste in the code found below.
Step Seven: Create the title cell update extension
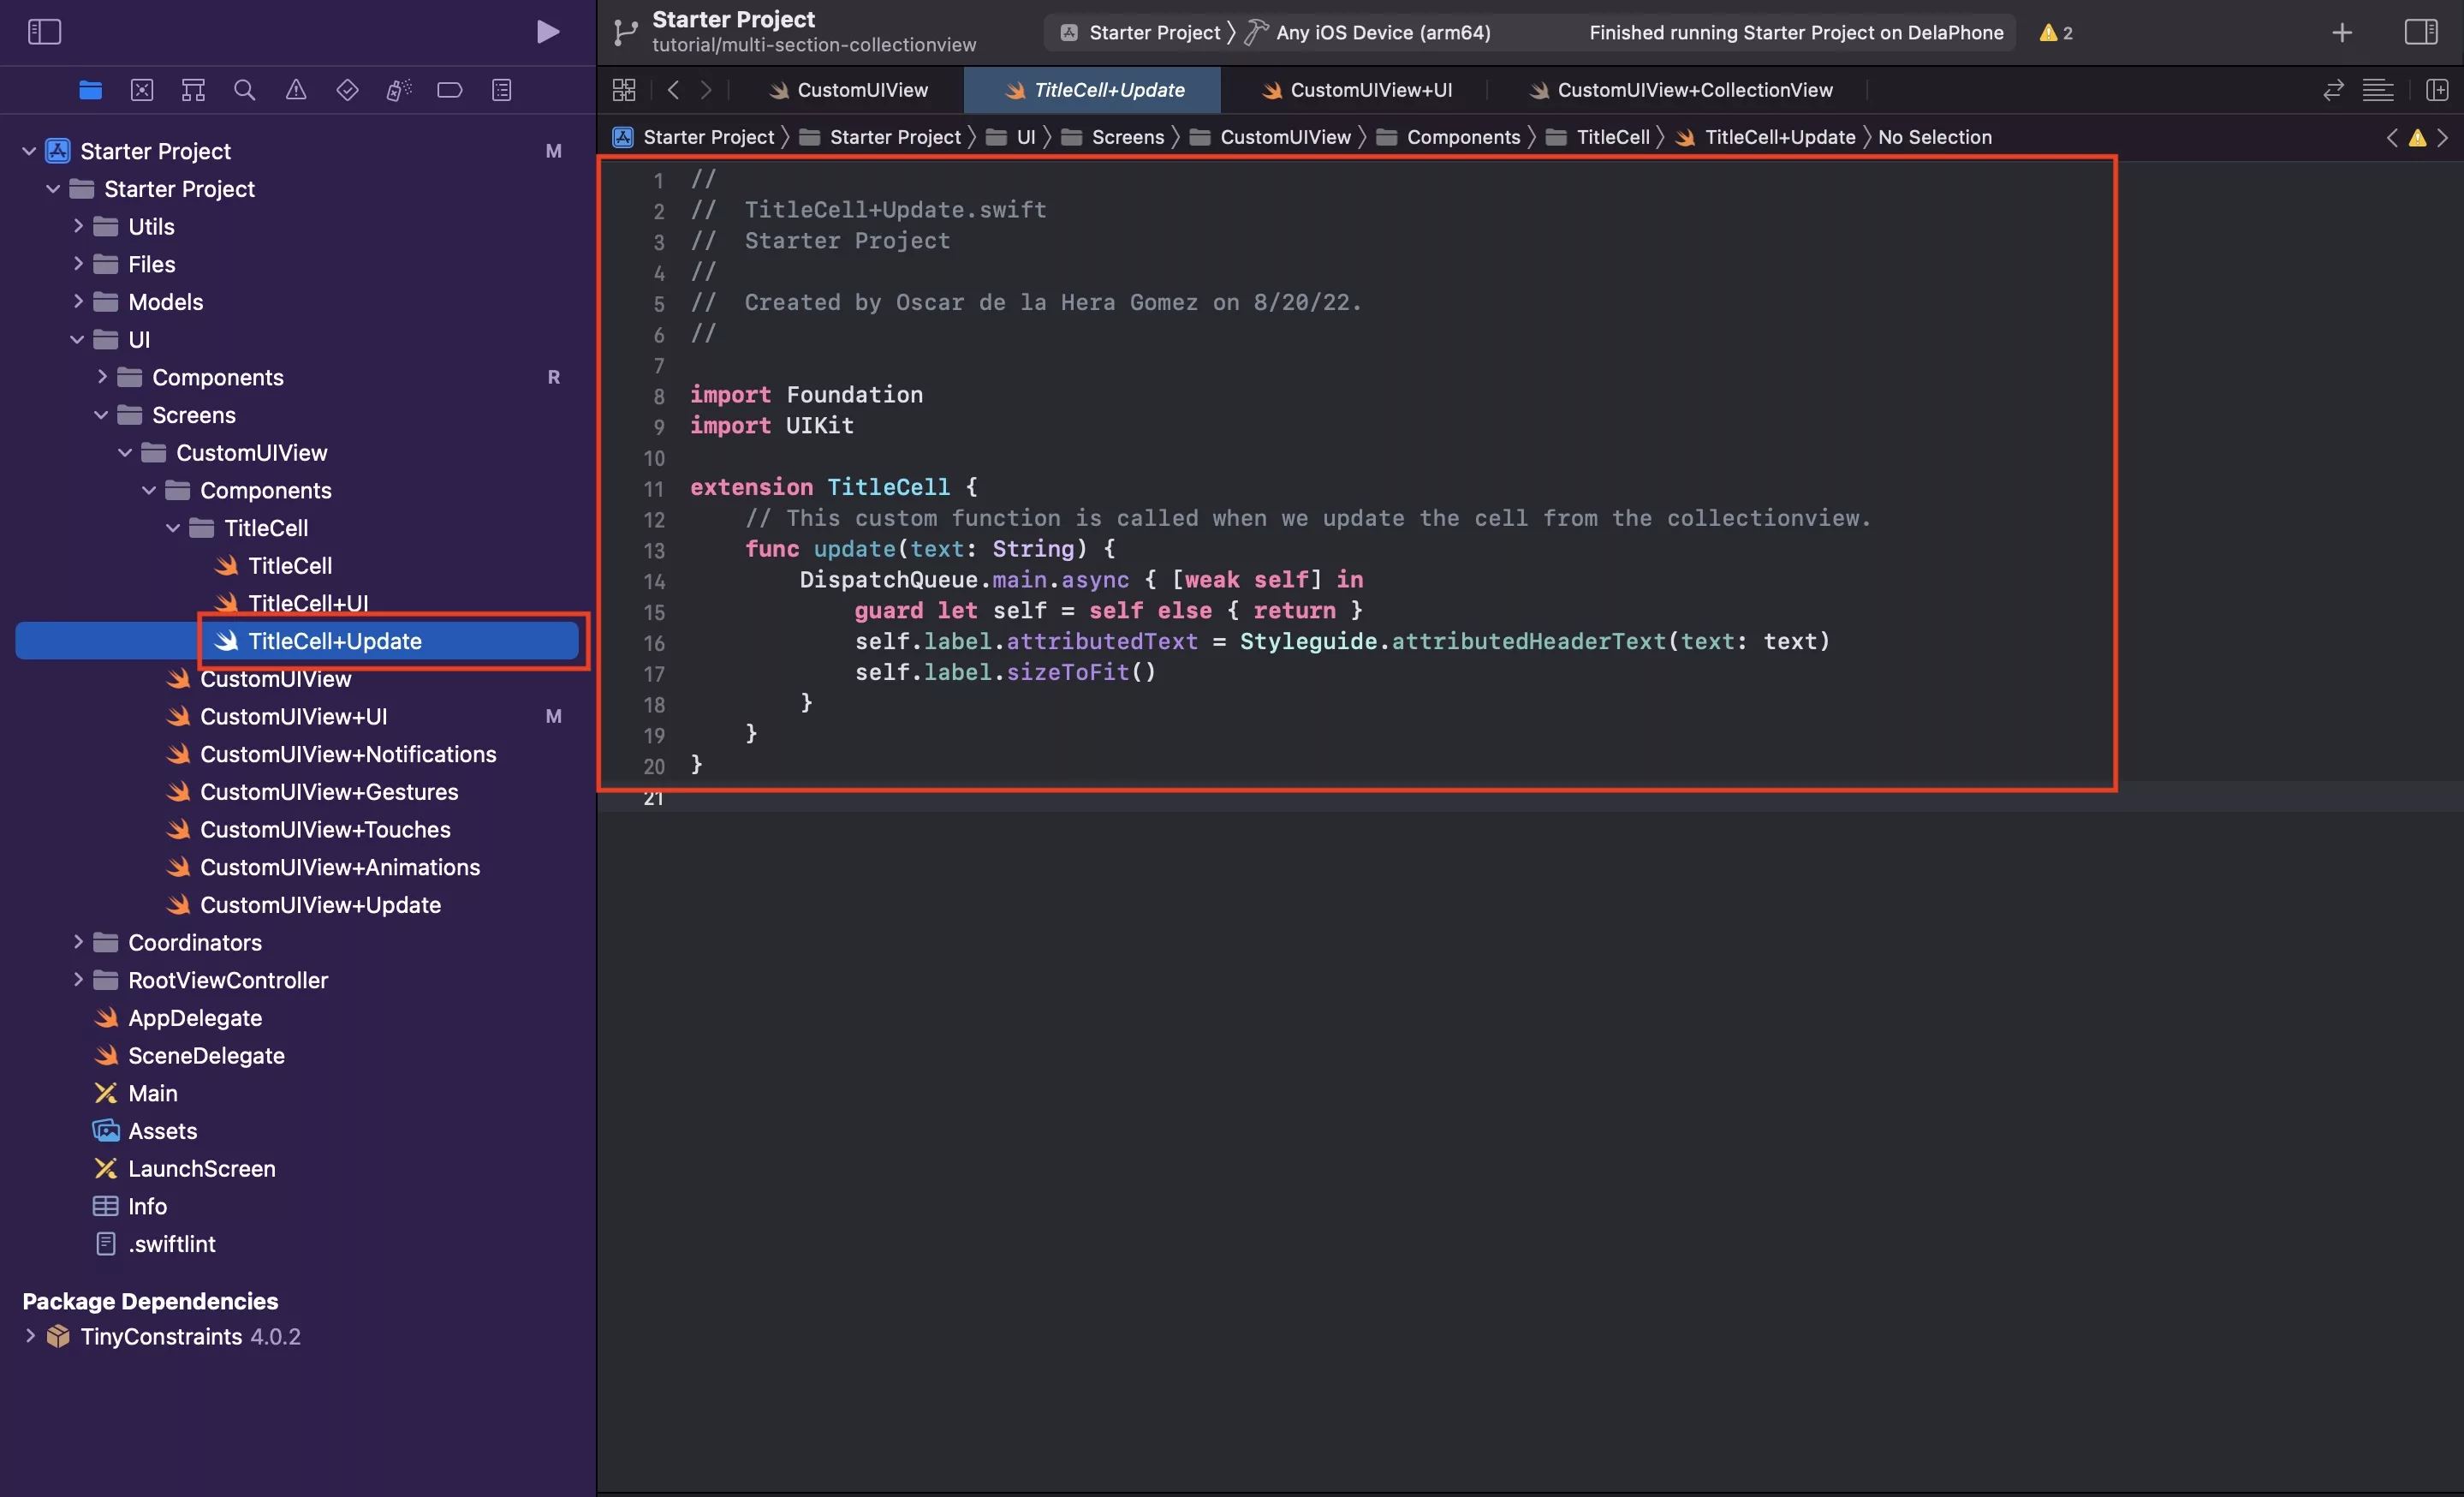
Within the TitleCell folder, create another file called TitleCell+Update.swift and paste in the code found below.
Step Eight: Create the cell for section A
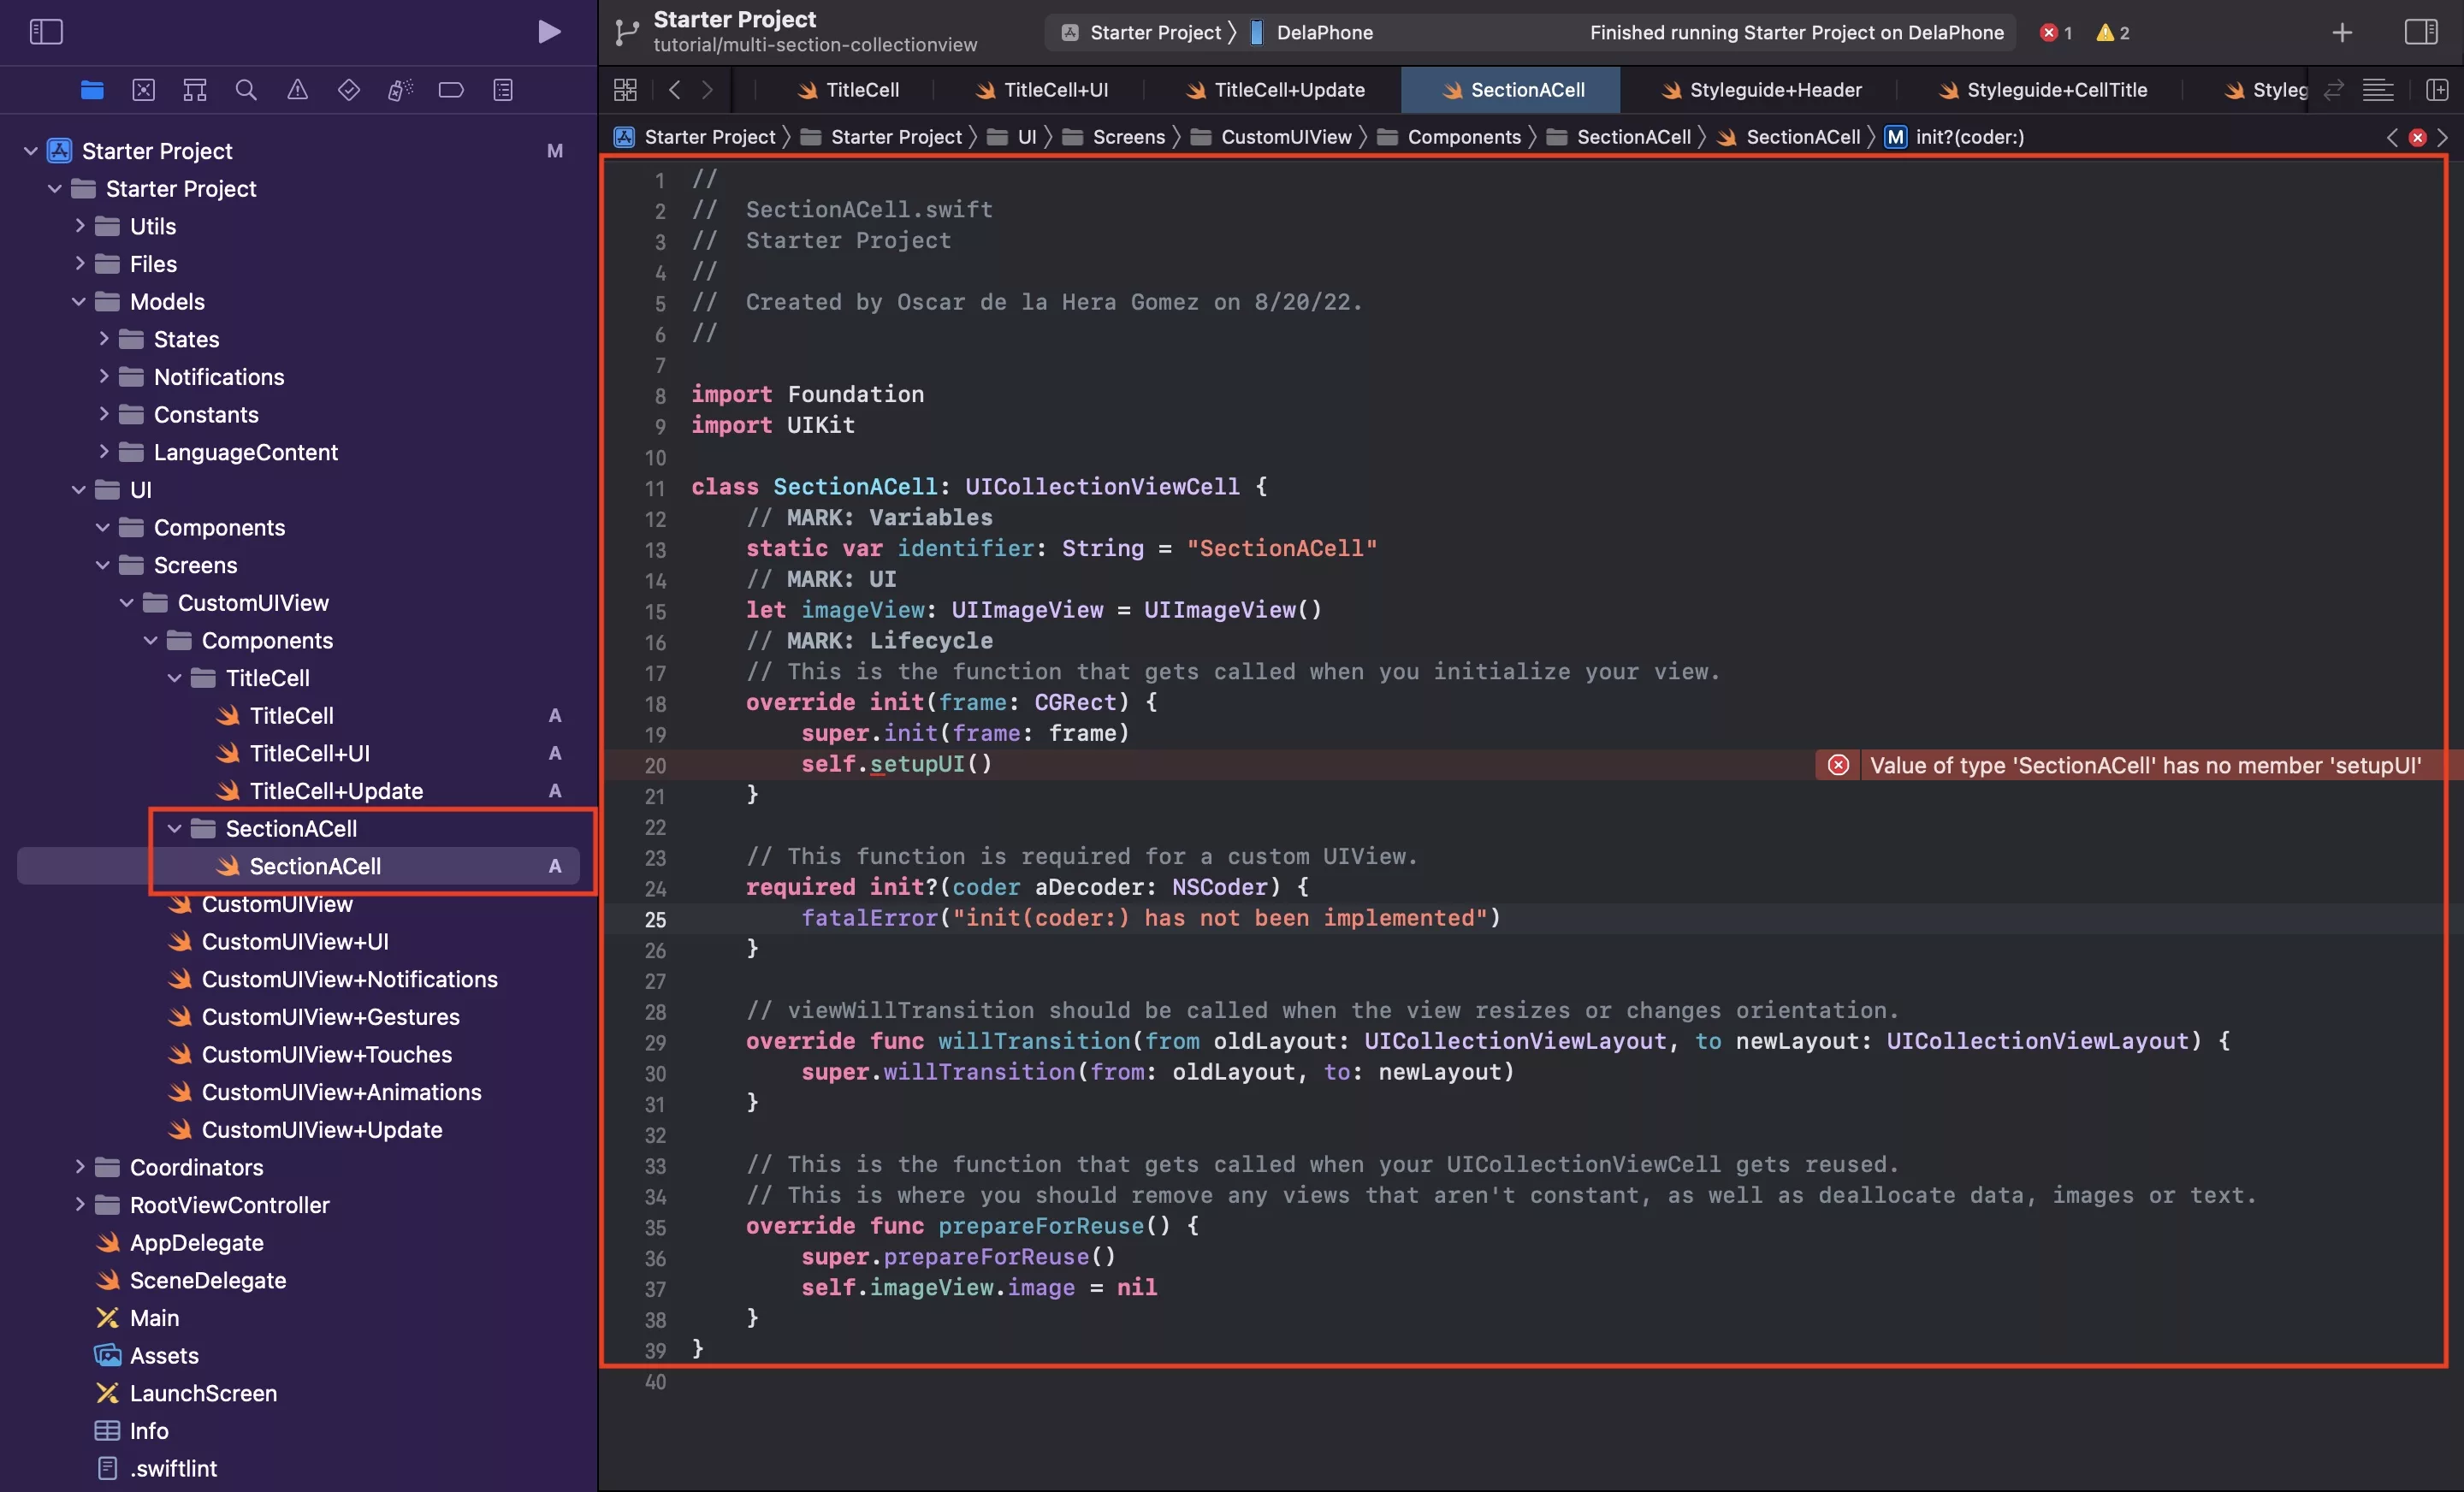
Within the previously created Components folder, create another folder called SectionACell.
Within the SectionACell folder, create another file called SectionACell.swift and paste in the code found below.
Please note that the setupUI function is created in the next step.
Step Nine: Create the section A cell UI extension
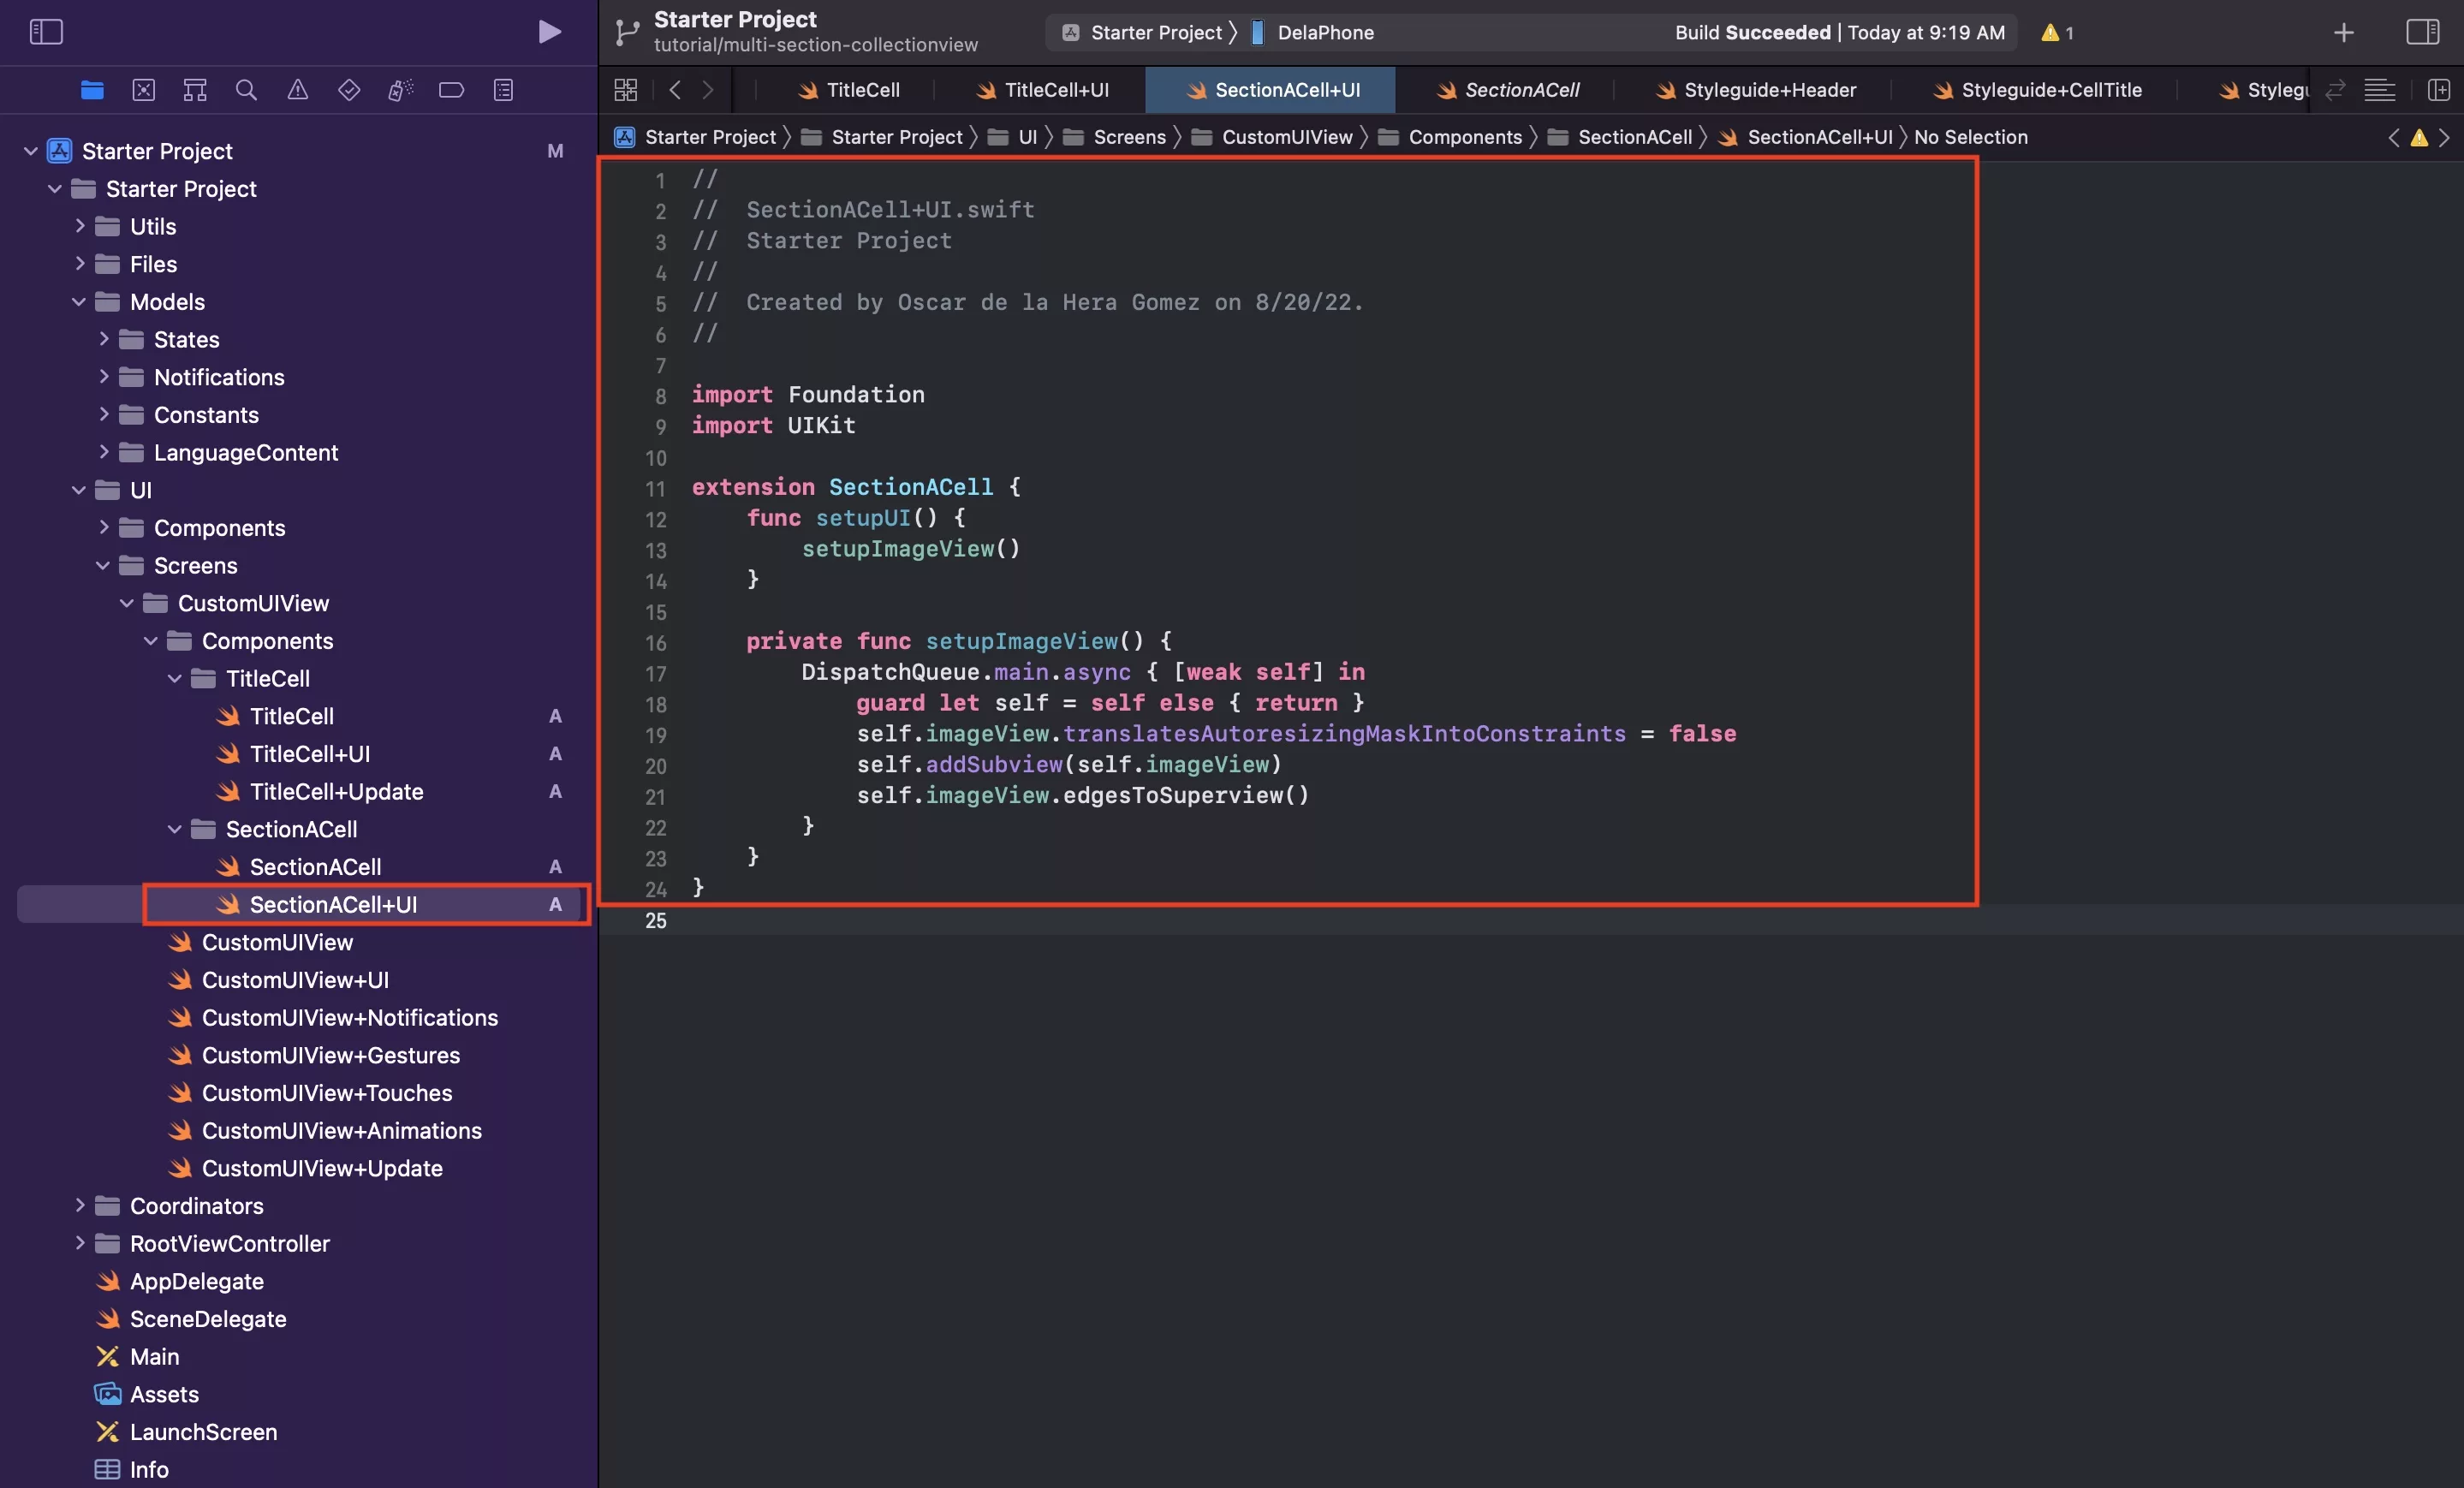
Within the SectionACell folder, create another file called SectionACell+UI.swift and paste in the code found below.
Step Ten: Create the section A cell update extension
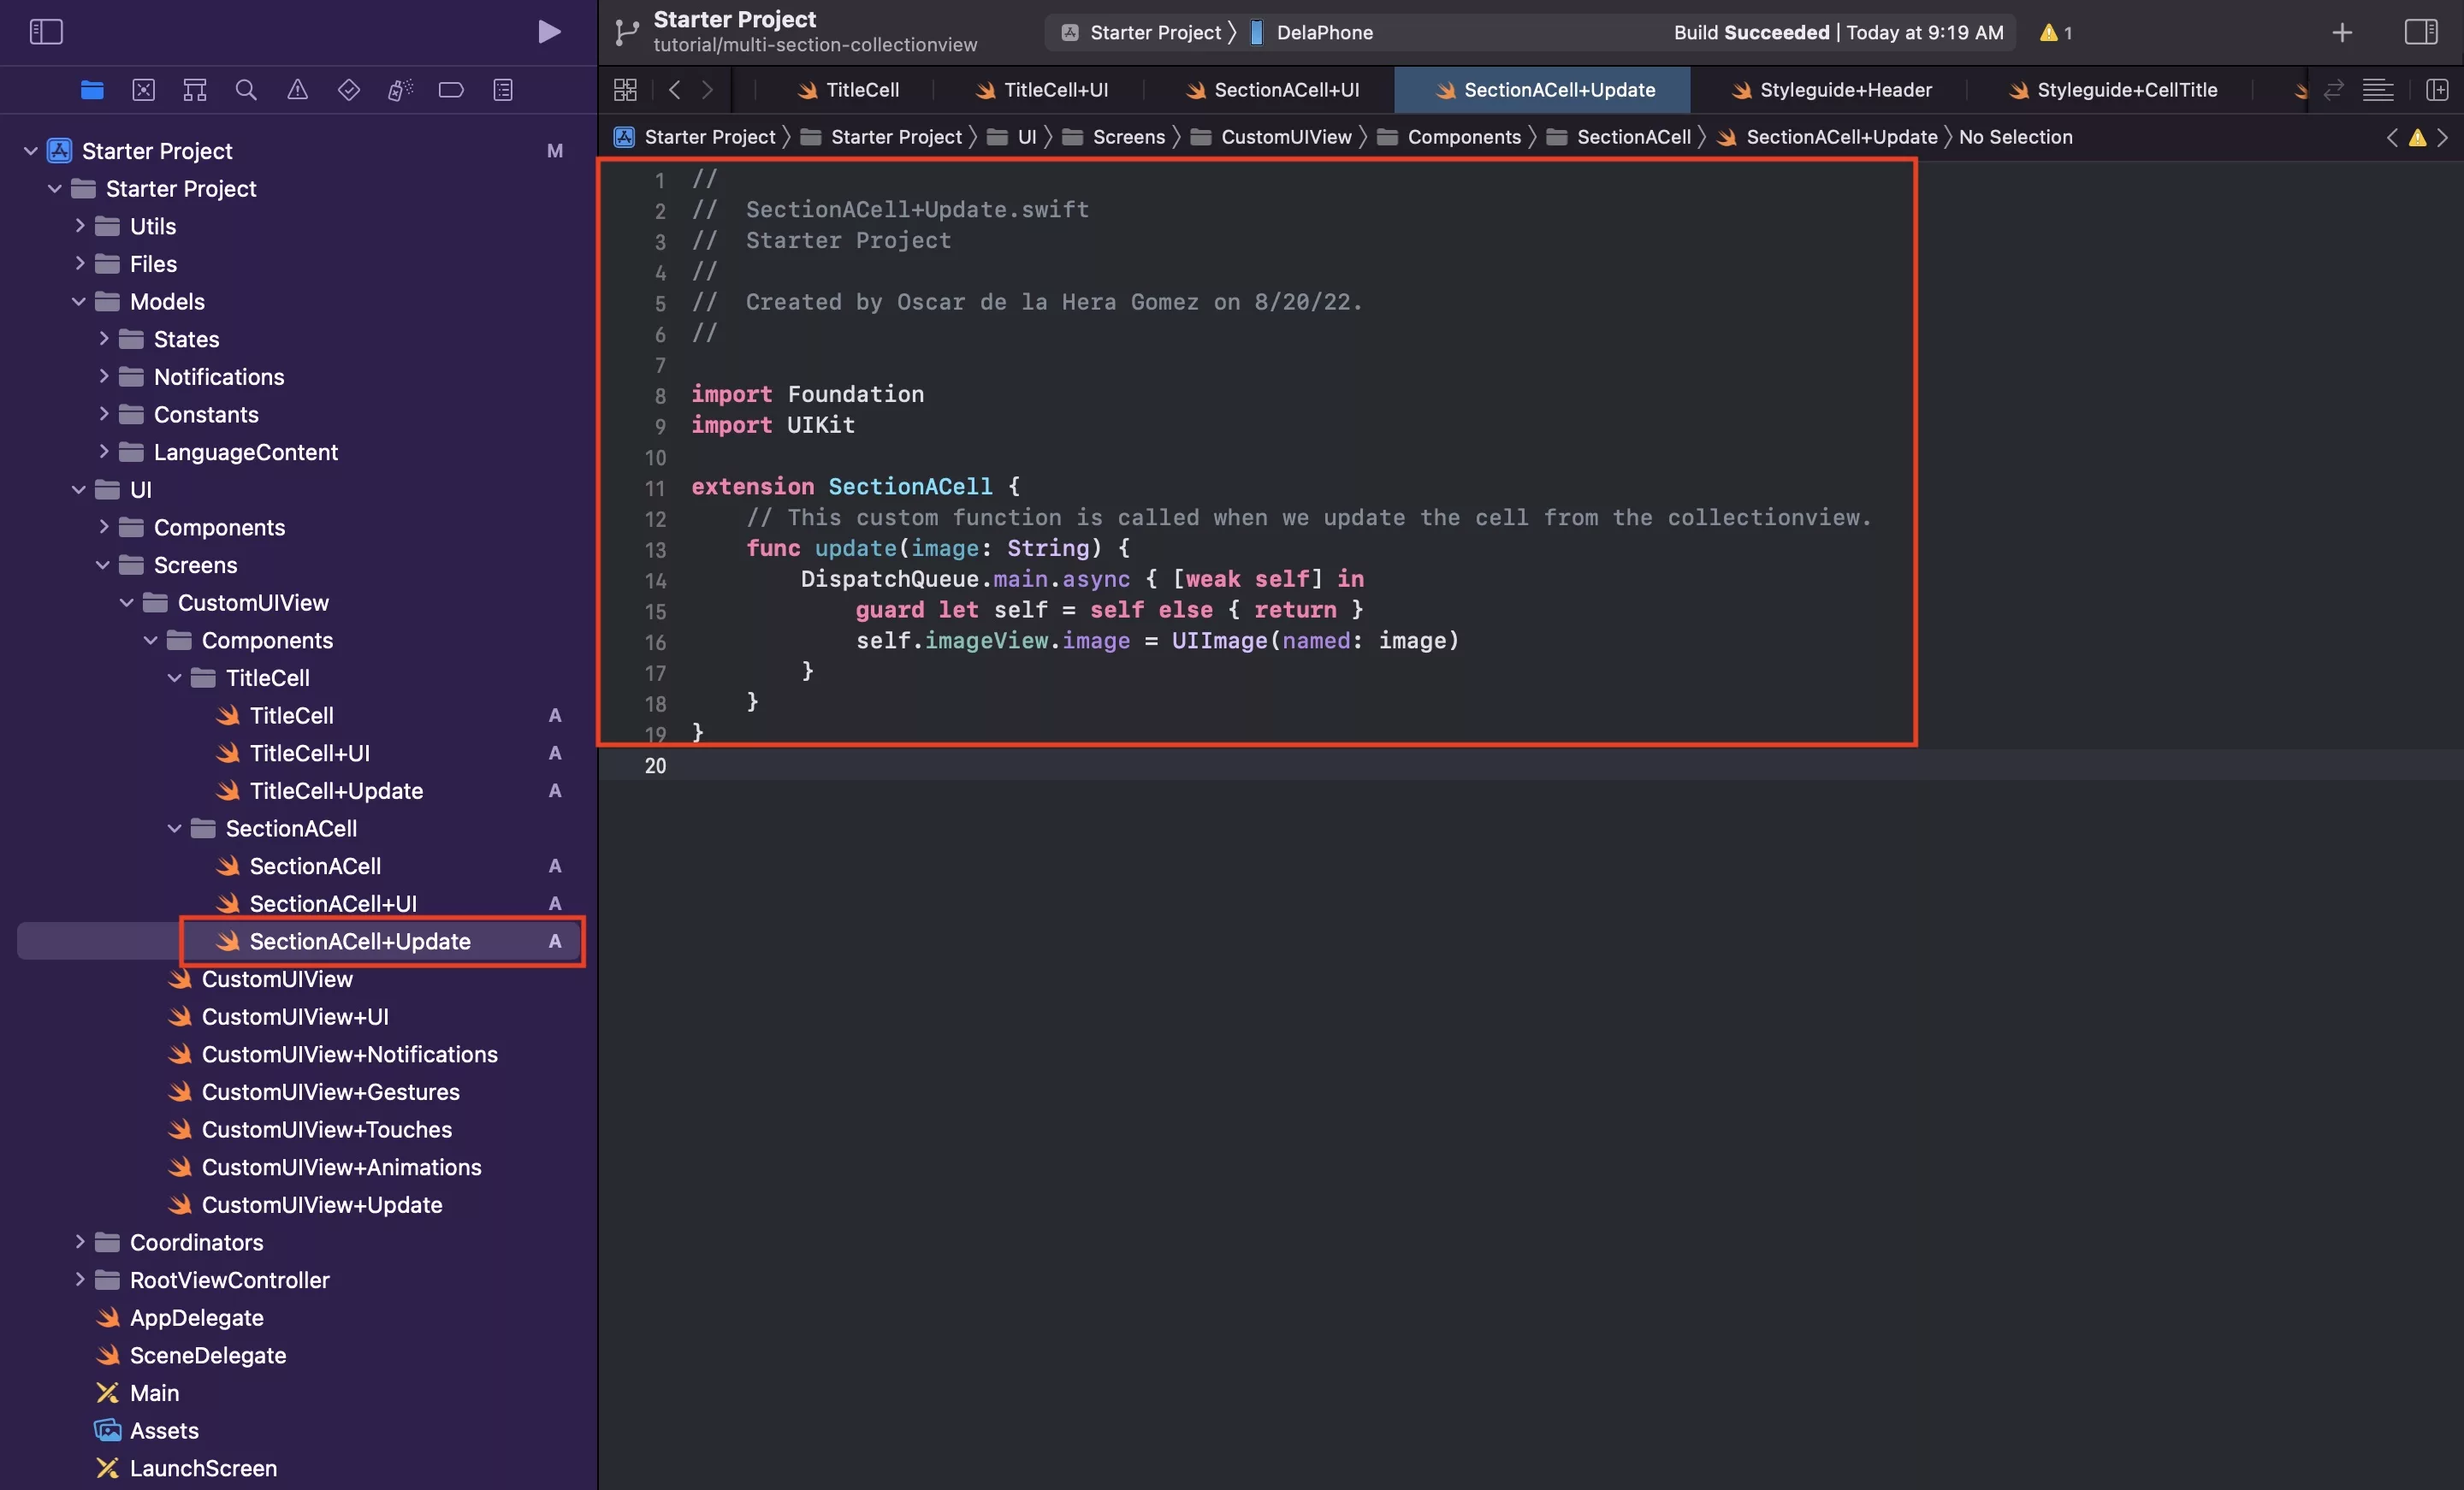
Within the SectionACell folder, create another file called SectionACell+Update.swift and paste in the code found below.
Step Eleven: Create the cell for section B
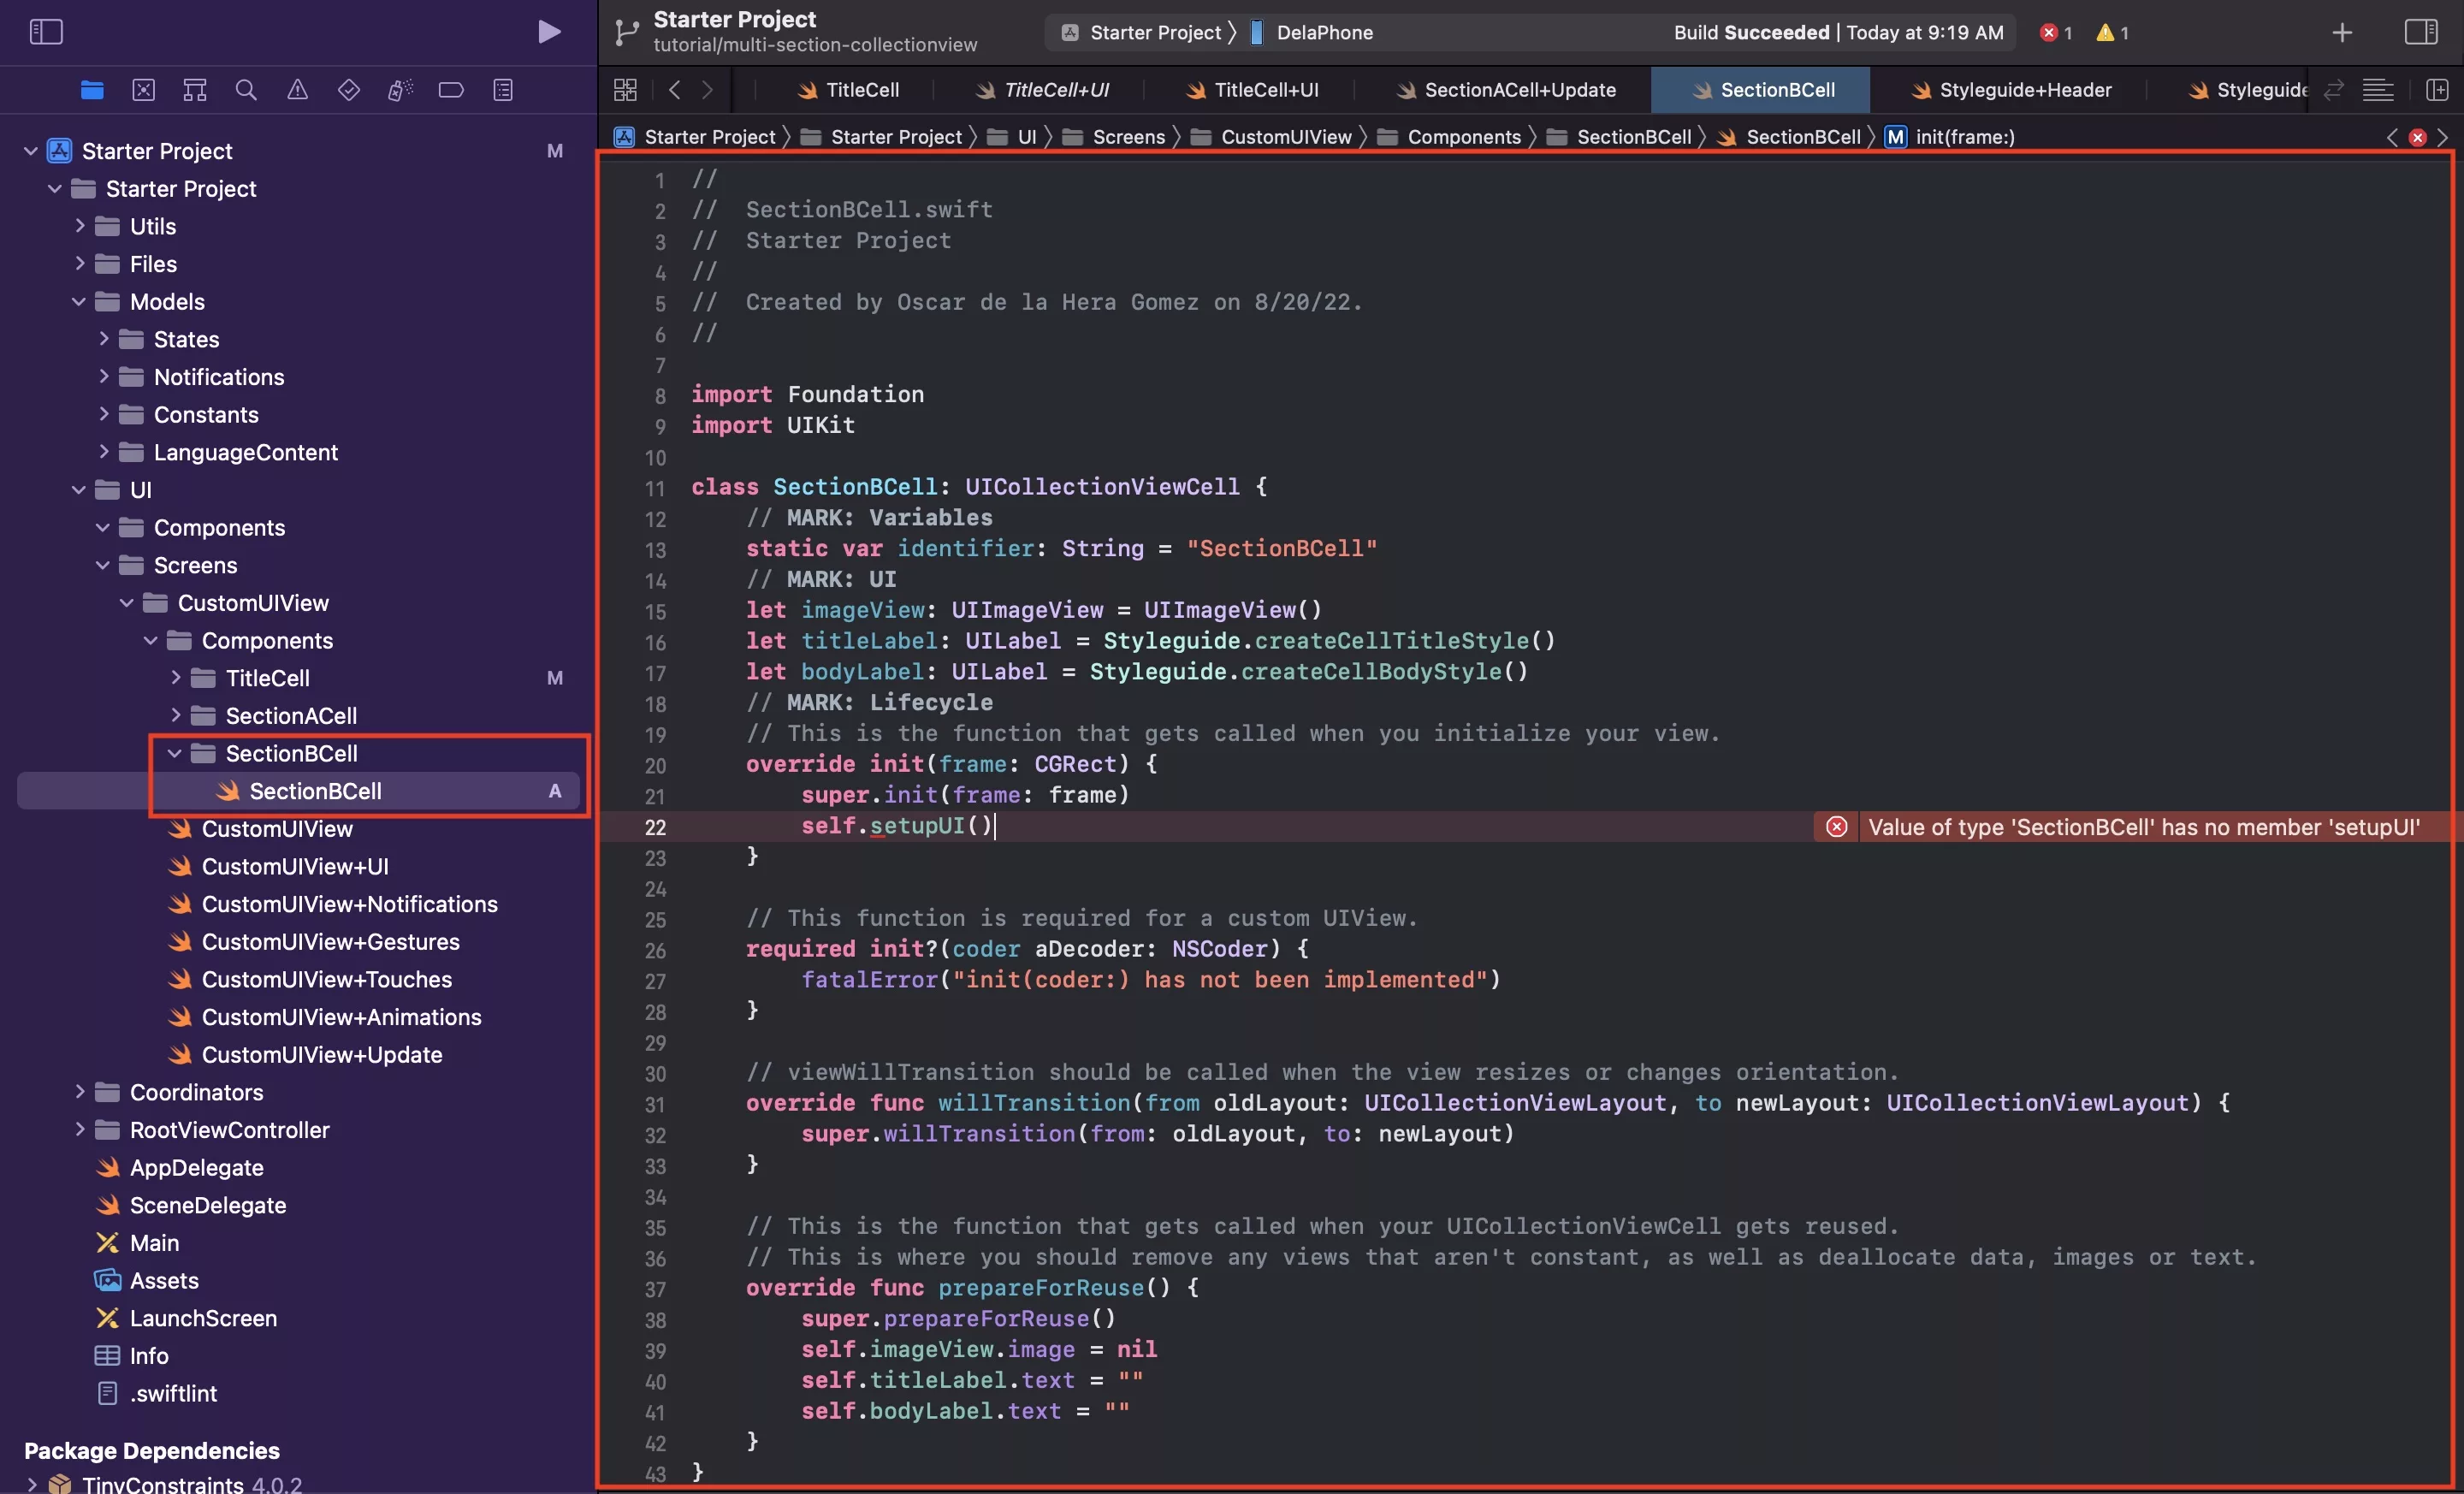
Within the previously created Components folder, create another folder called SectionBCell.
Within the SectionBCell folder, create another file called SectionBCell.swift and paste in the code found below.
Please note that the setupUI function is created in the next step.
Step Twelve: Create the section B cell UI extension
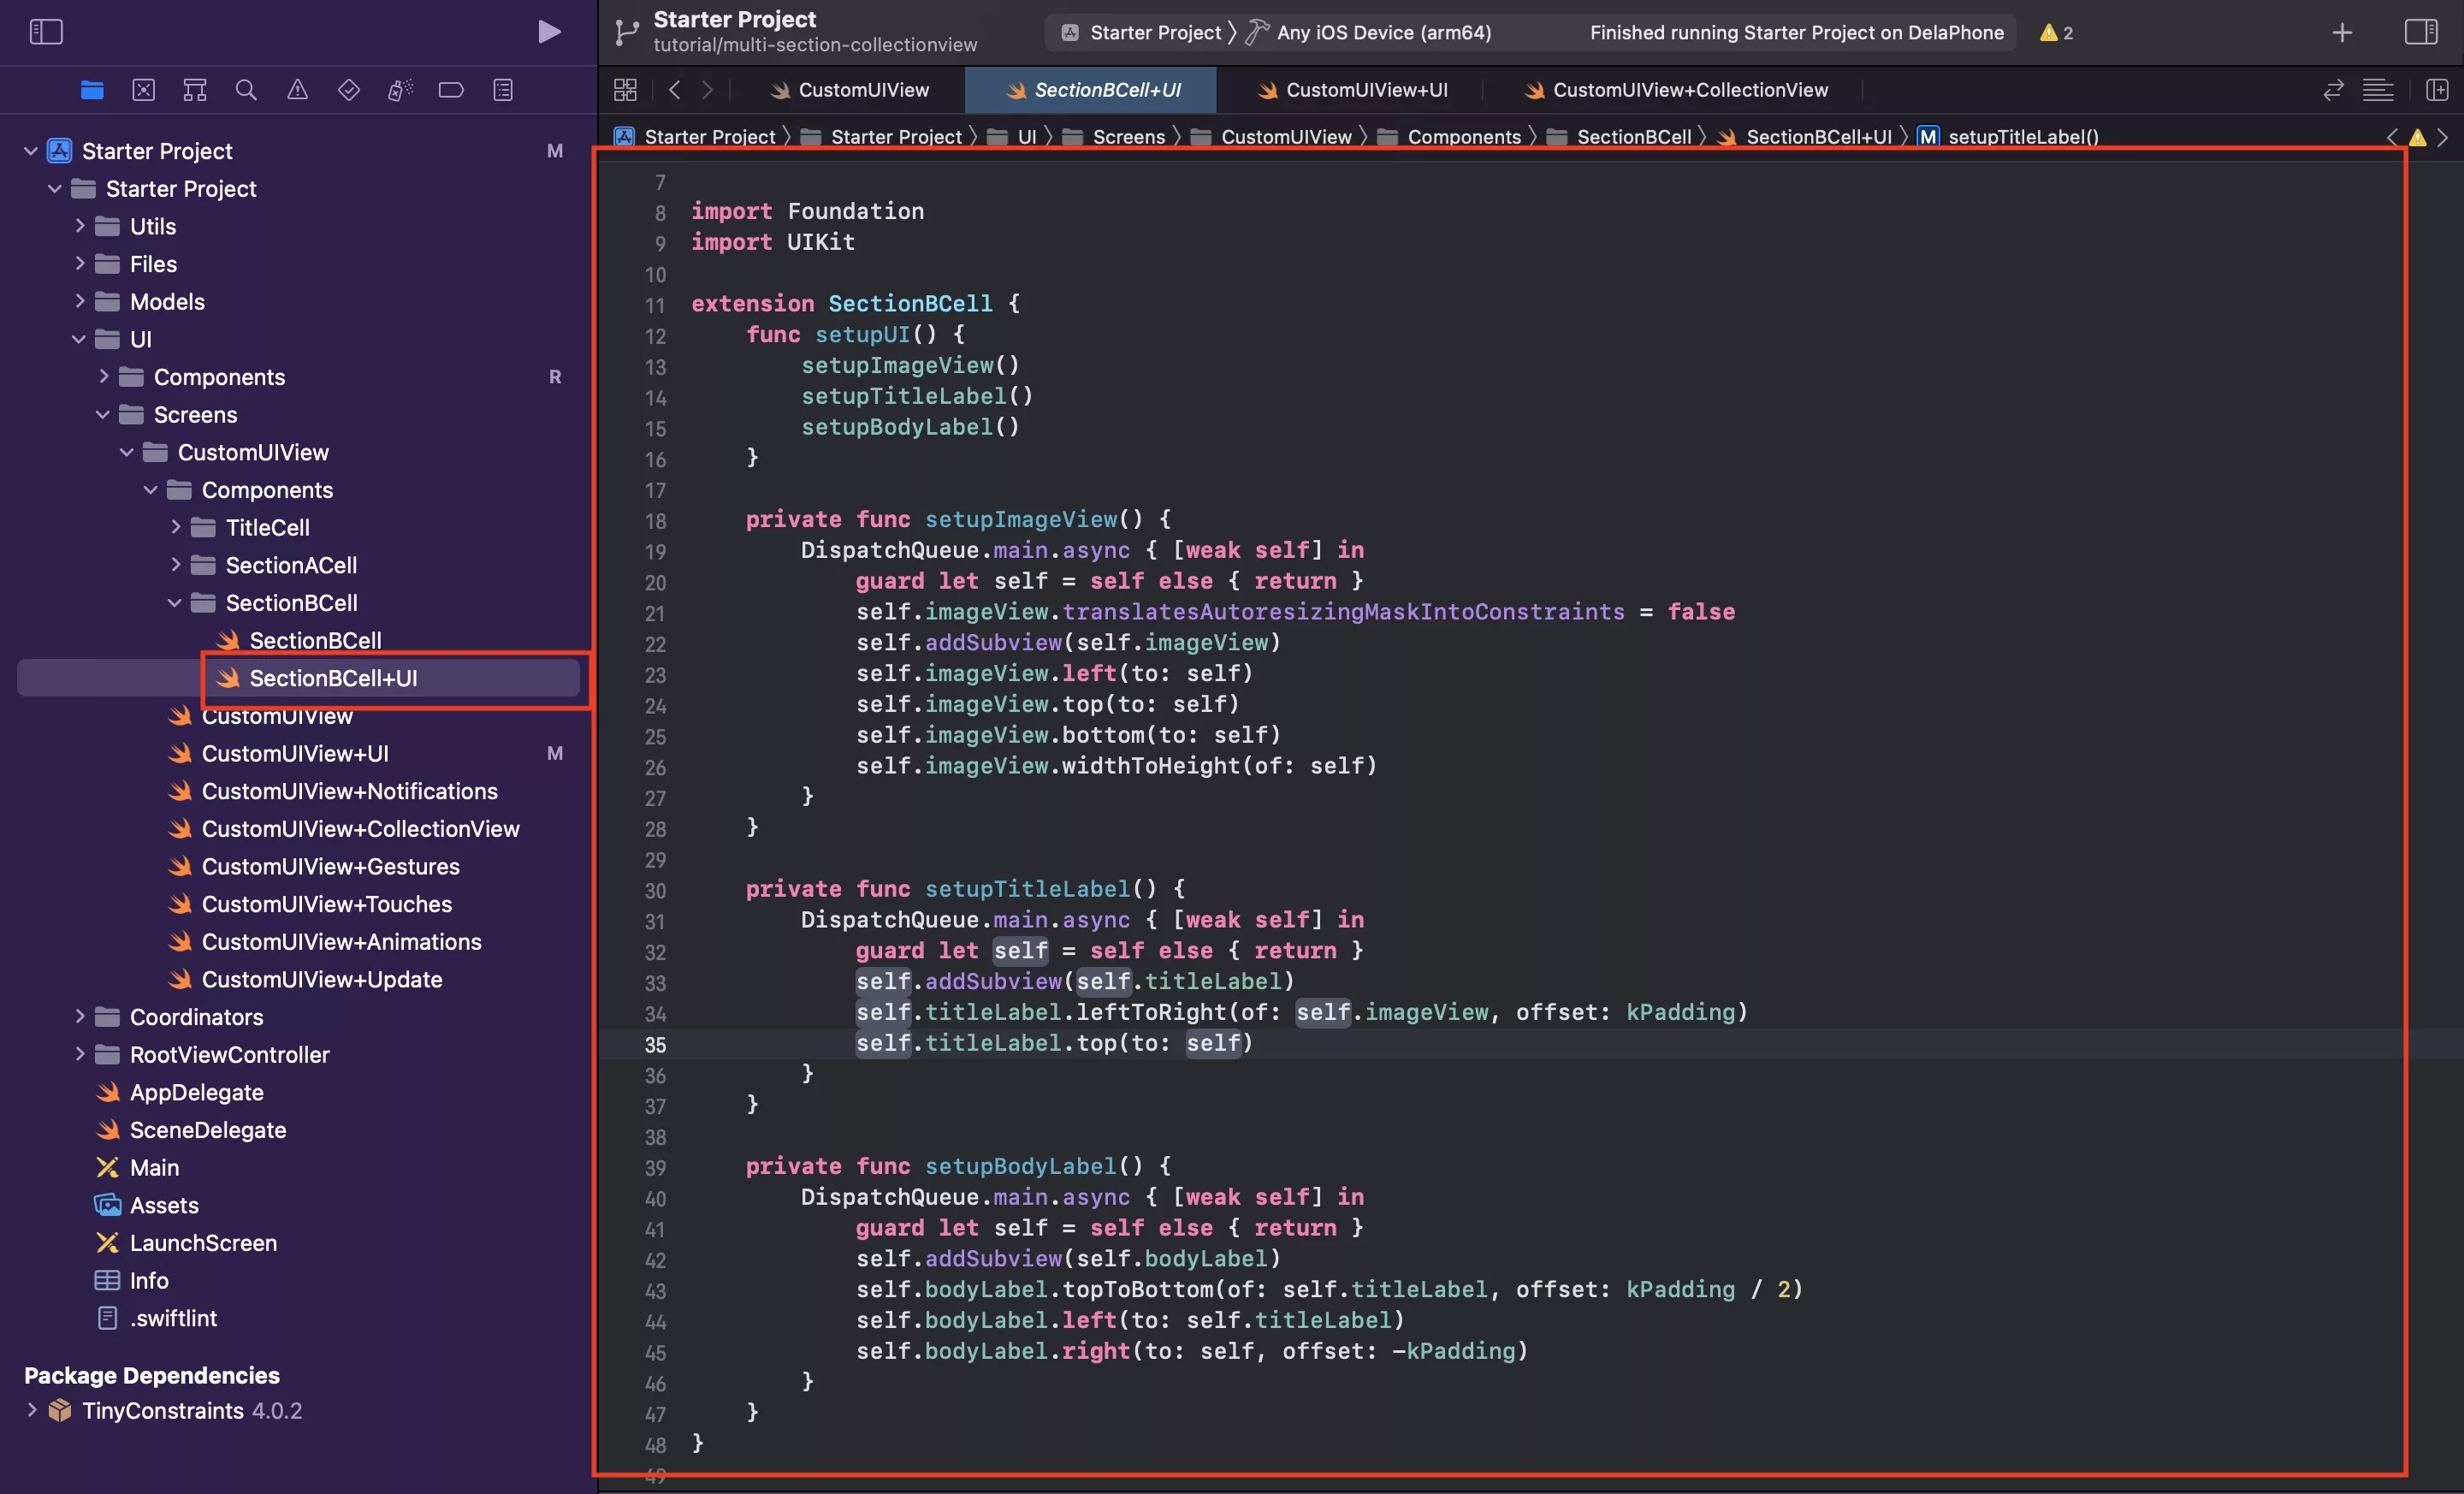
Within the SectionBCell folder, create another file called SectionBCell+UI.swift and paste in the code found below.
Step Thirteen: Create the section B cell update extension

Within the SectionBCell folder, create another file called SectionBCell+Update.swift and paste in the code found below.
Step Fourteen: Declare variables
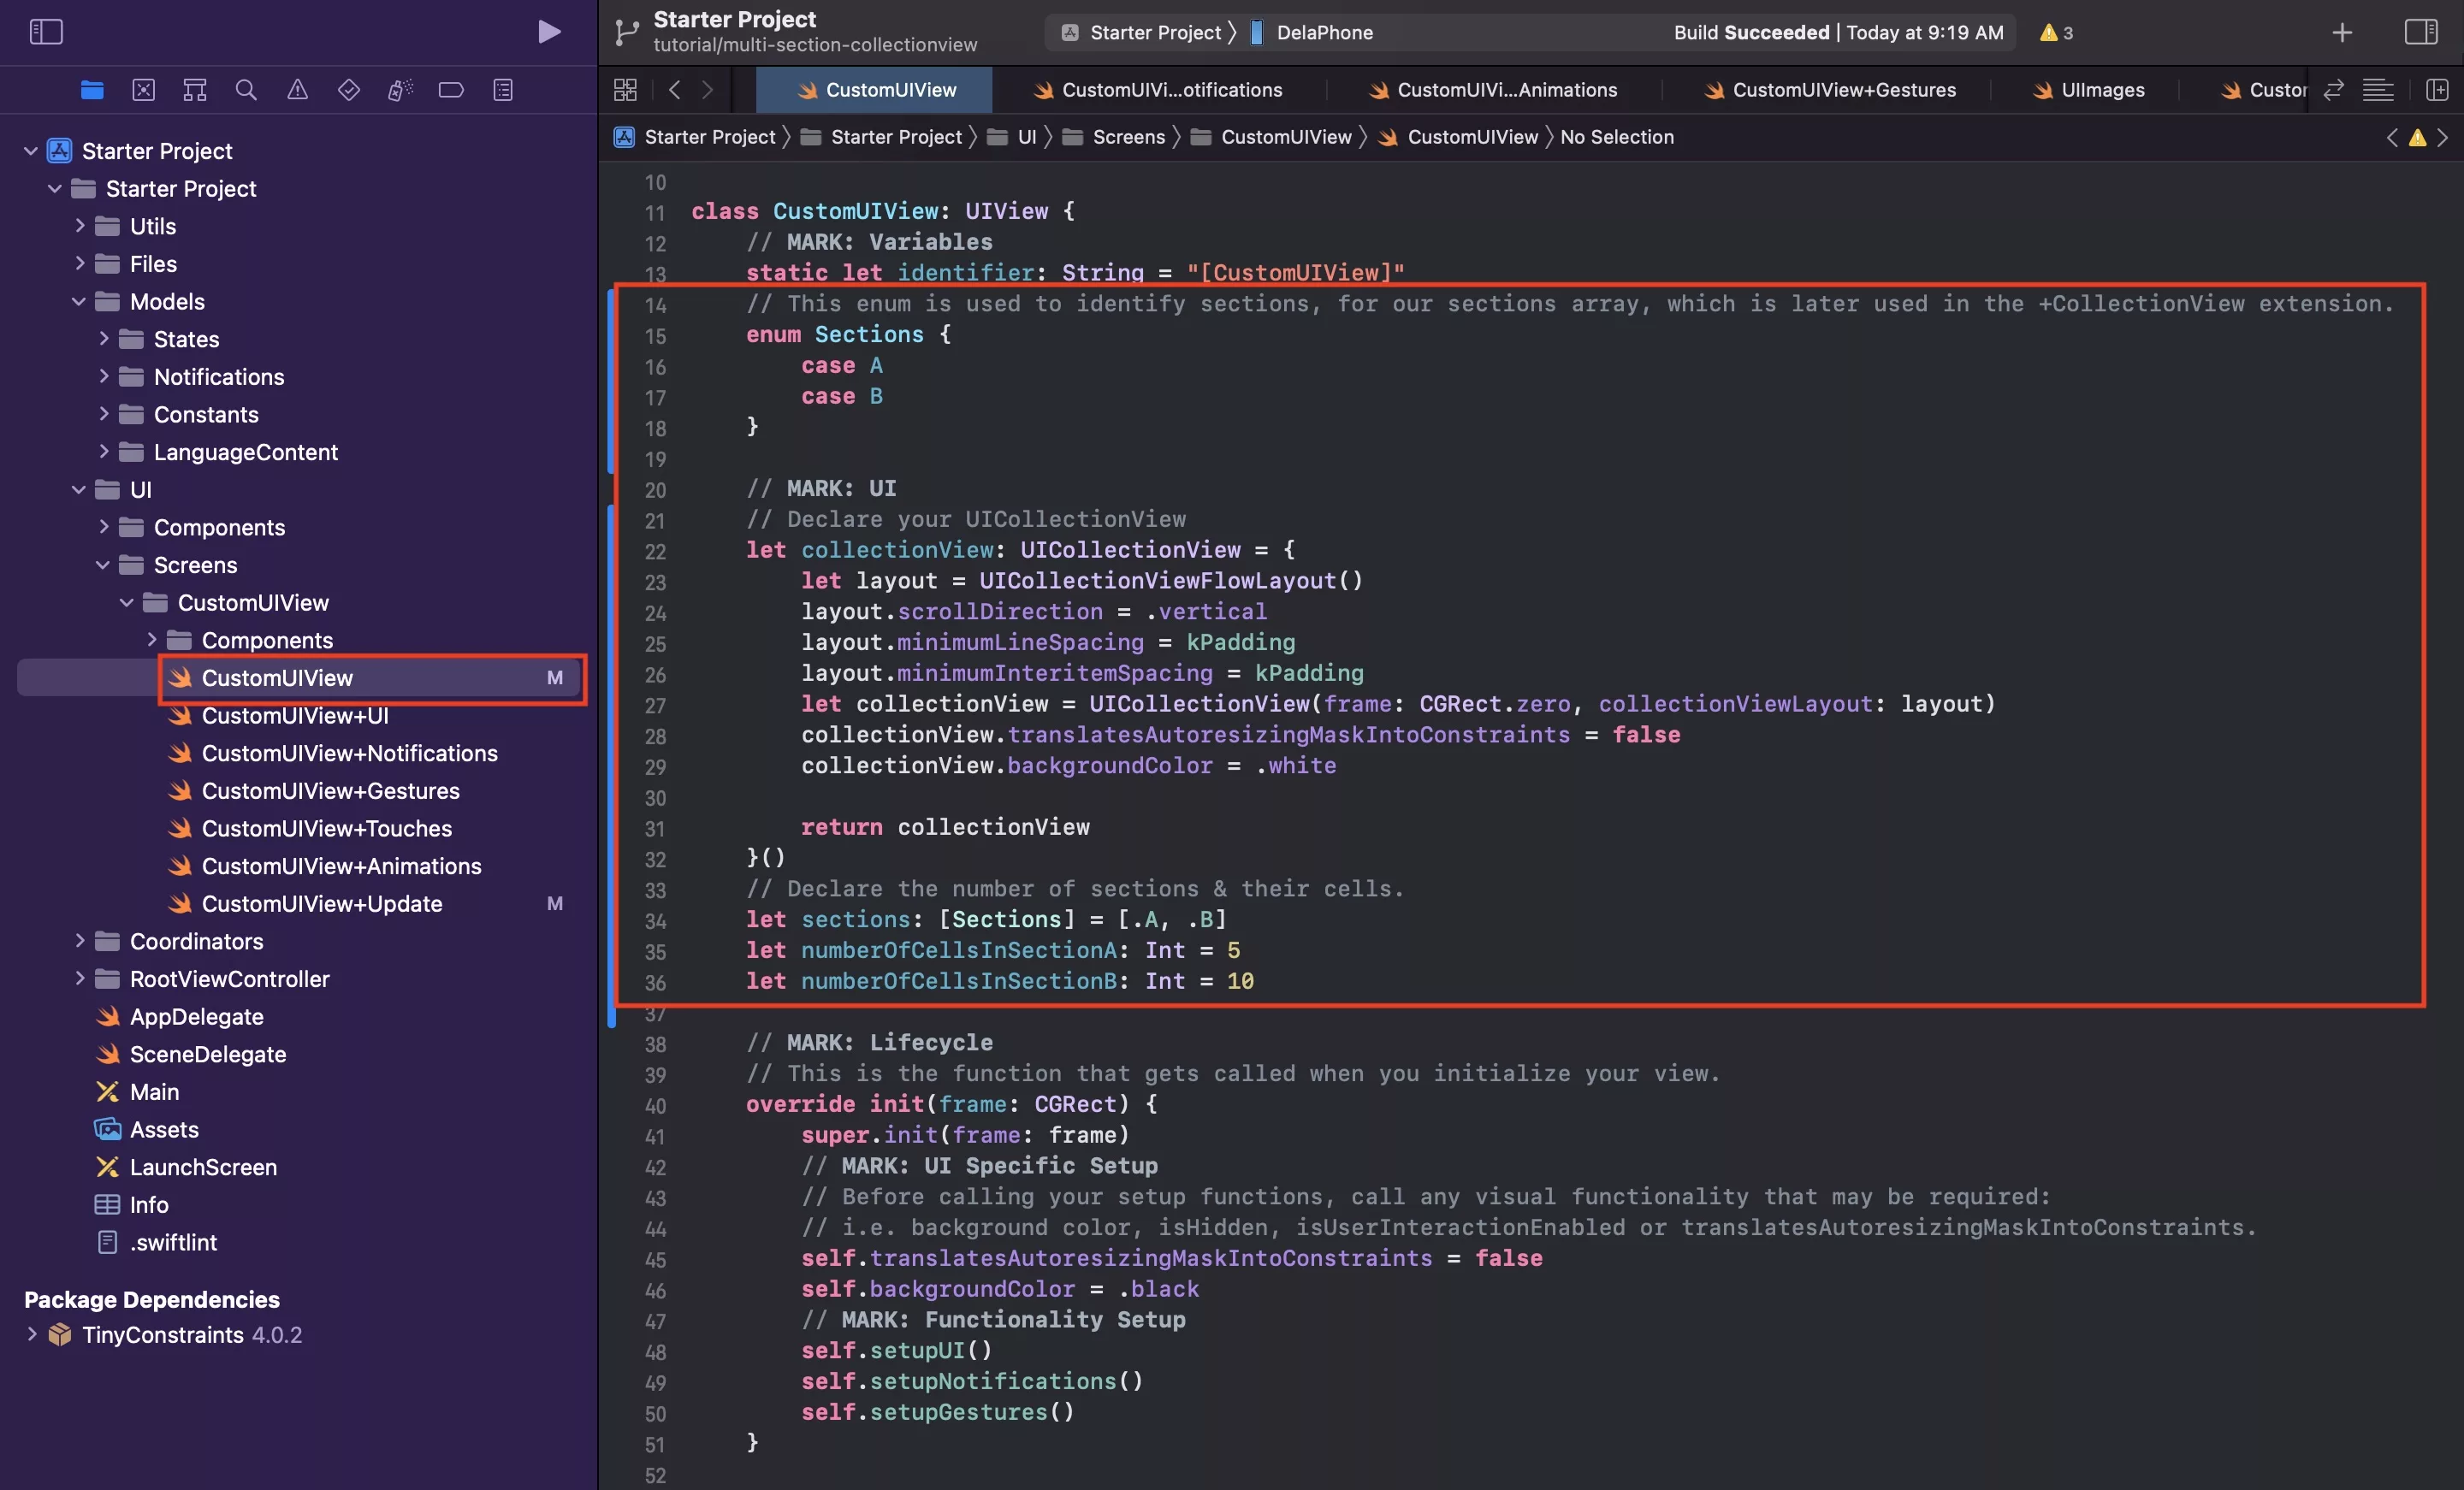
In CustomUIView.swift, declare your UICollectionView and section constants.
In the case of UICollectionViews, we like to declare and set them up functionally, as demonstrated in the snippet below.
We used an enum to identify sections, this will be useful later on in Step Sixteen, where we declare the datasource.
Please note that we have also removed the label from the UI declarations as well as all associated functionality for this tutorial.
Step Fifteen: Setup your UICollectionView
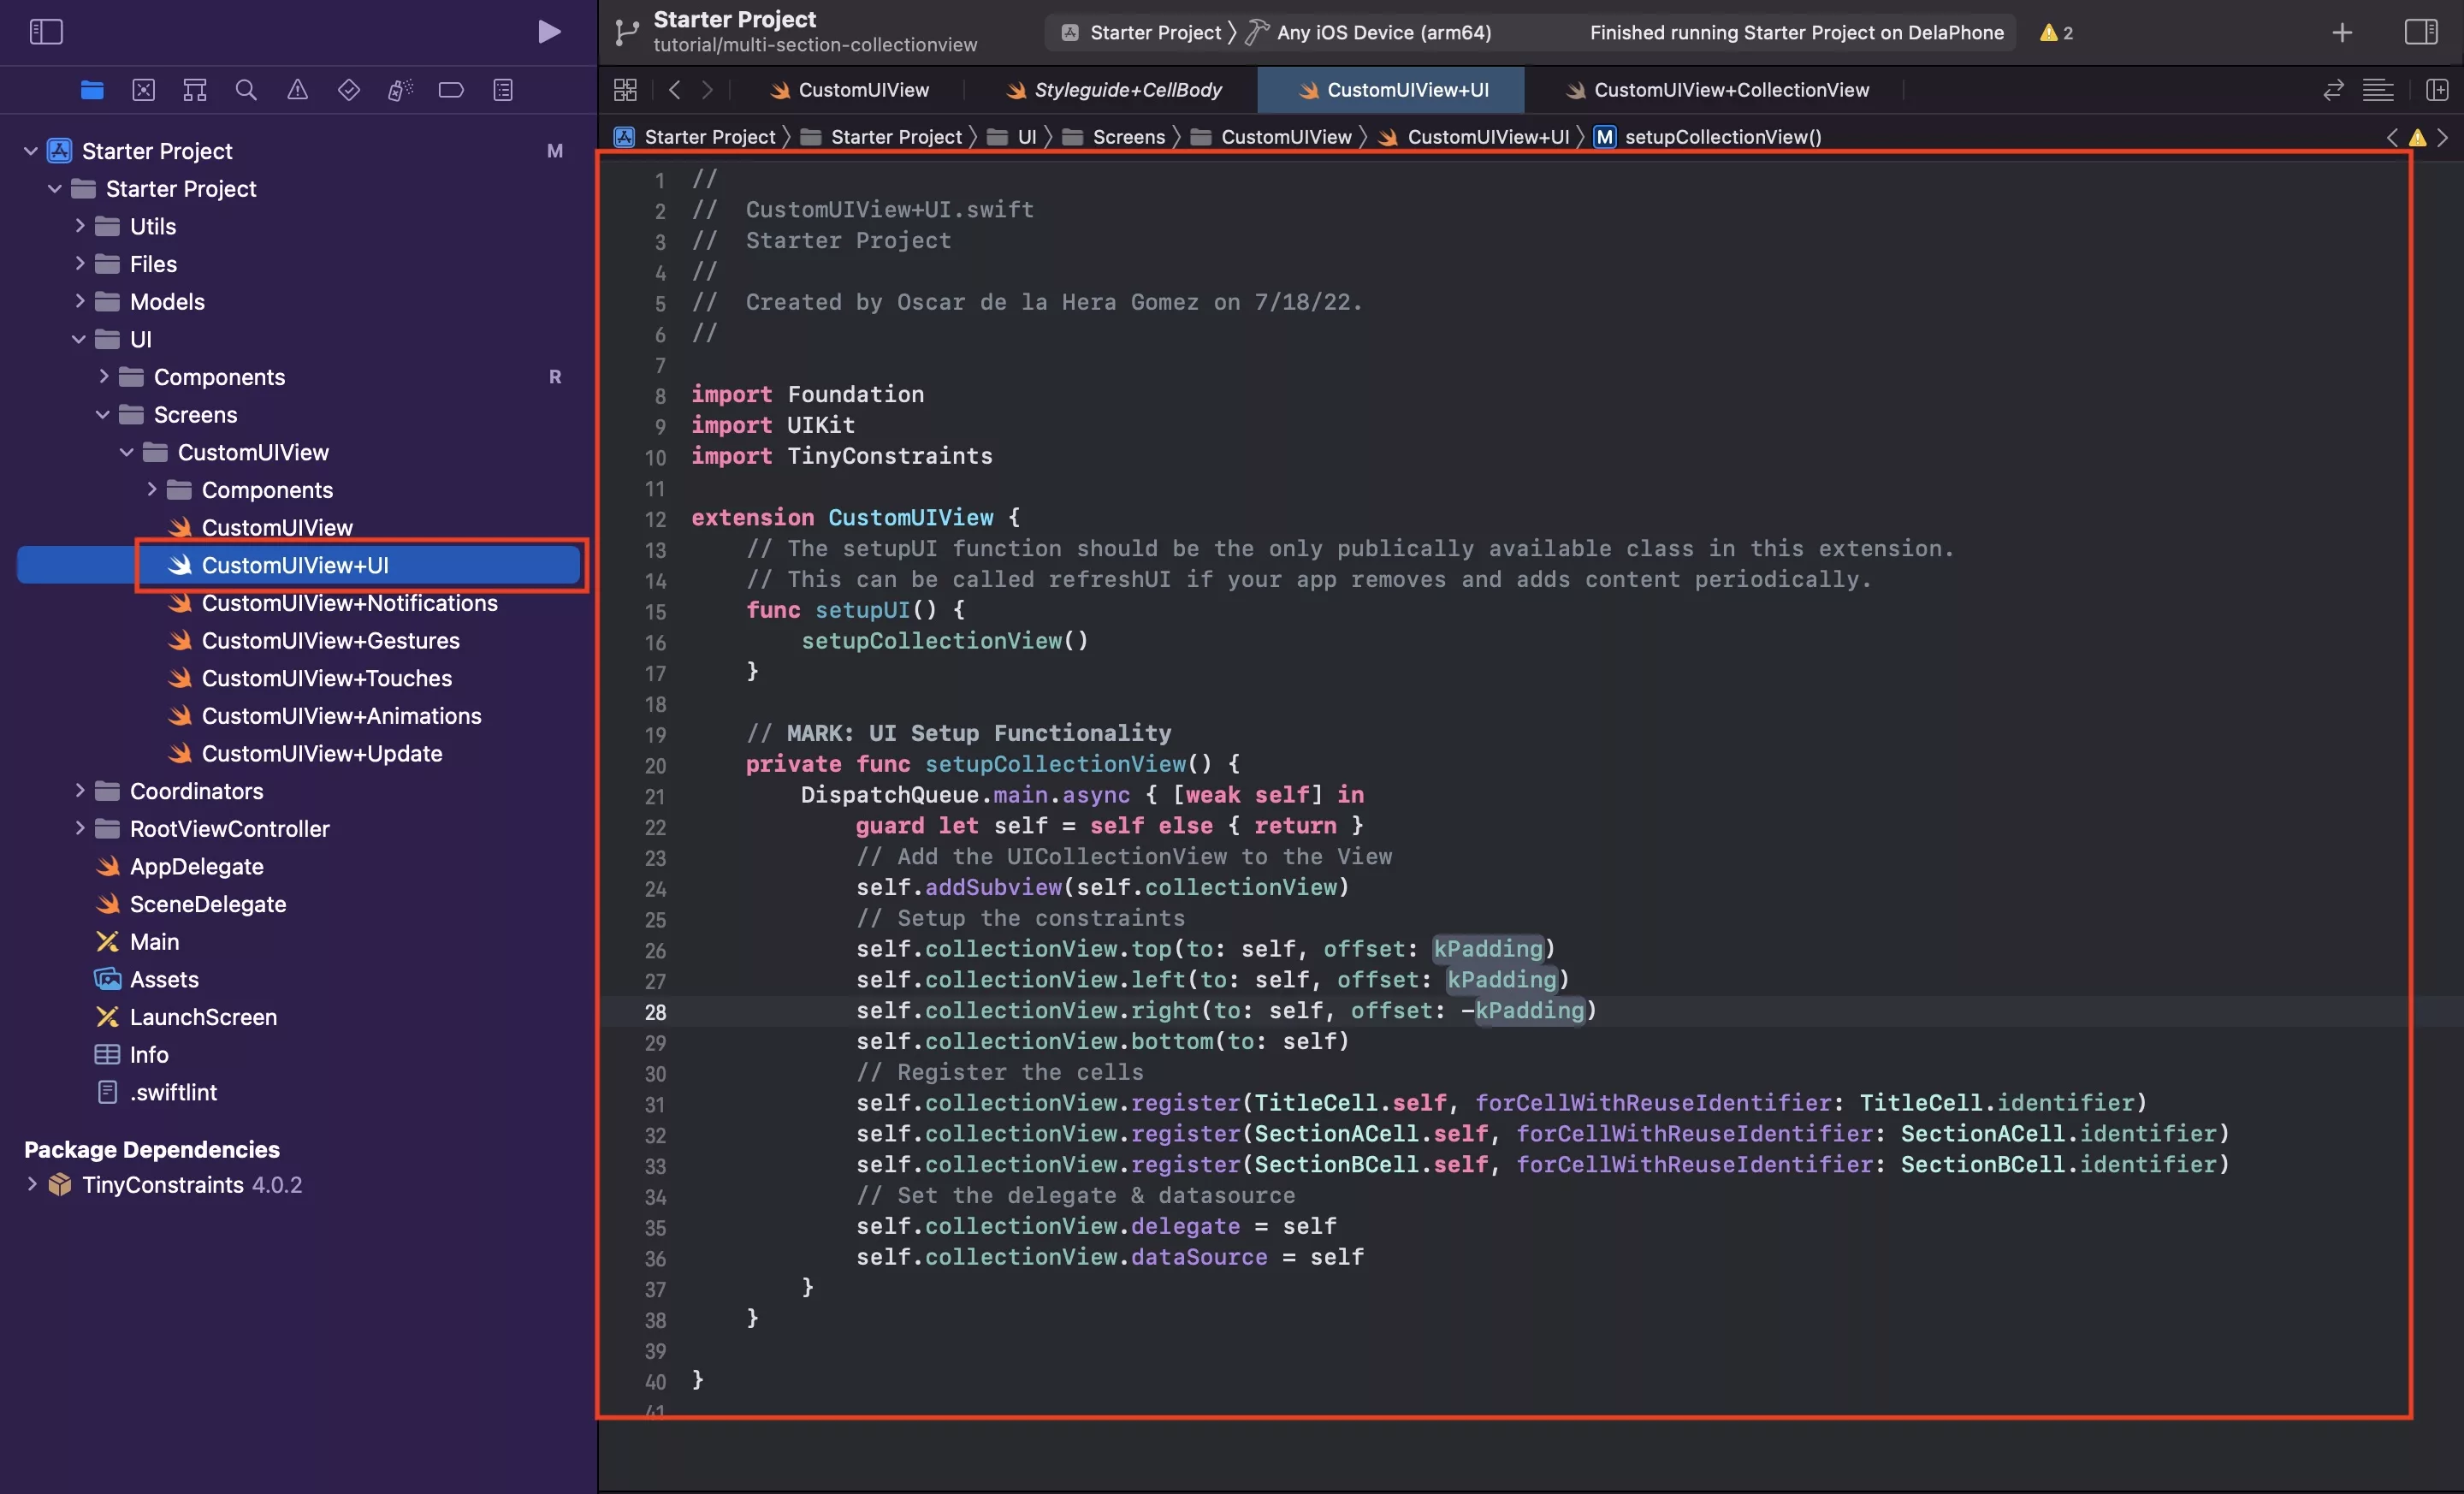
In CustomUIView+UI.swift replace the code with the snippet below.
Please note that the datasource and delegate functionality are added in the next step.
Step Sixteen: Add the delegate and datasource functionality
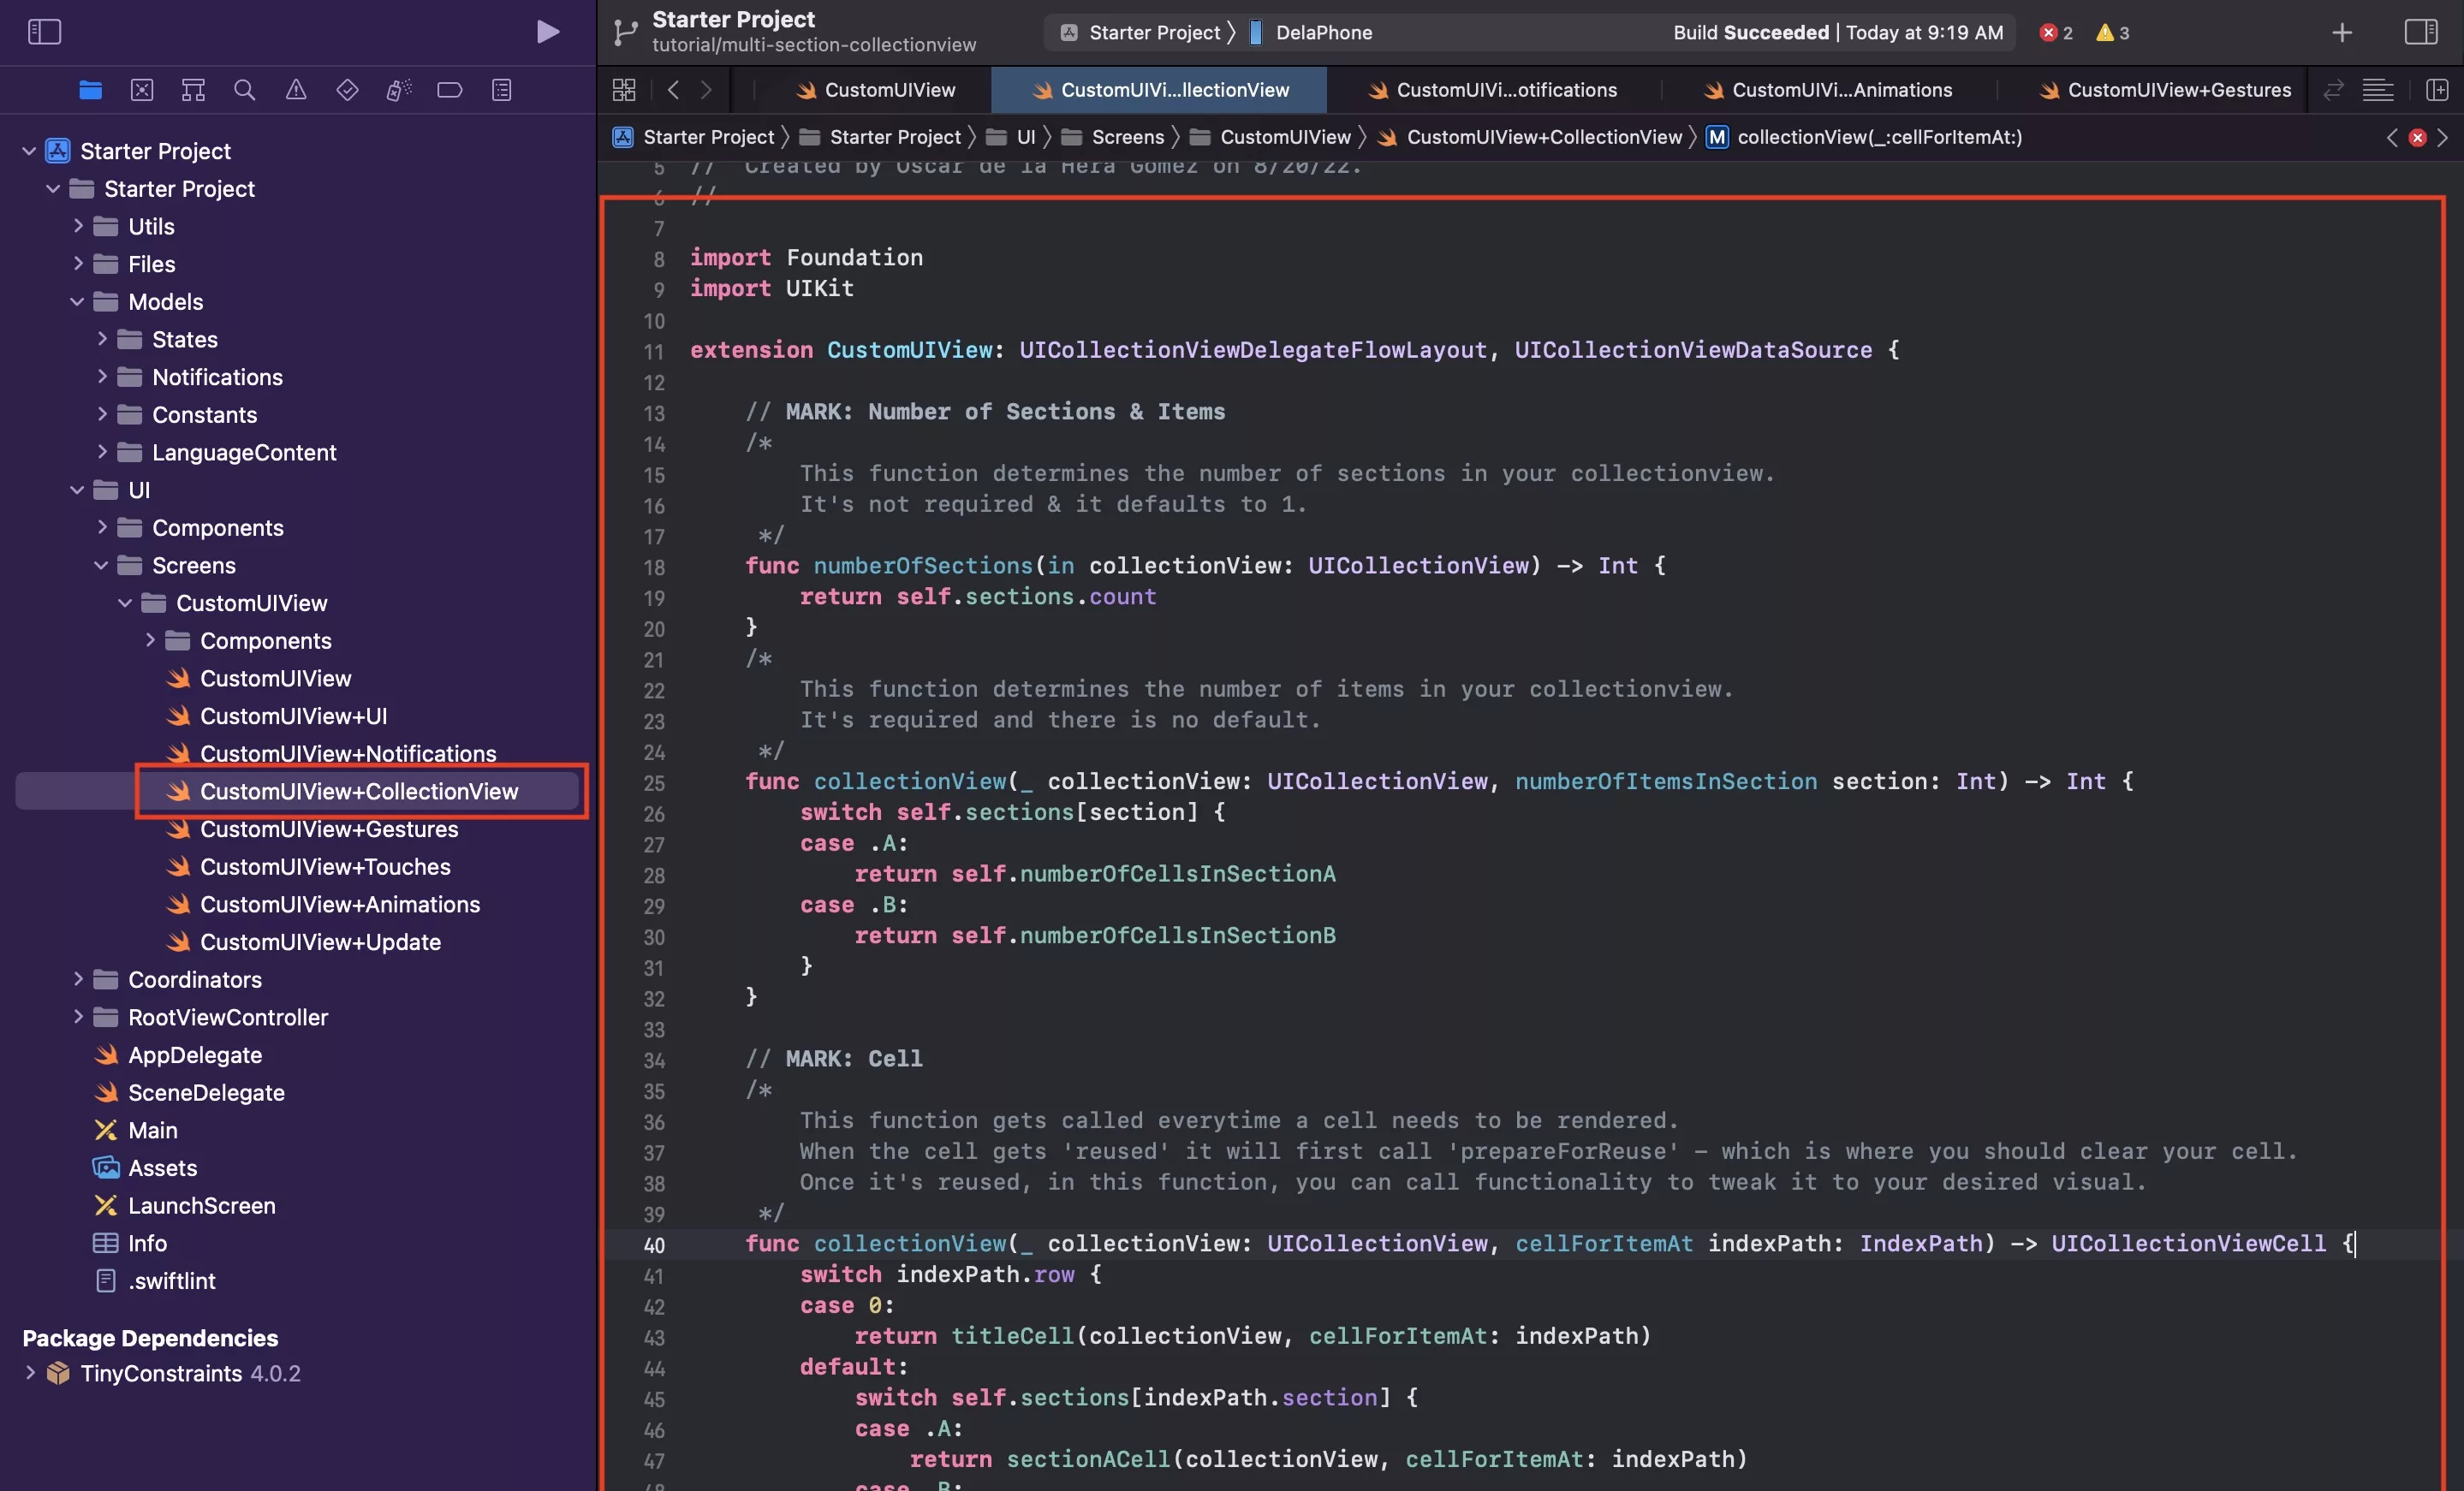
Under the CustomUIView folder, create a new file called CustomUIView+CollectionView.
Within this, paste in the code found below.
We recommend that you place it under the +Notifications extension and that you create a function for each cell type within your colllectionview and returning these cells, as show between line 34 -> 101.
Step Seventeen: Add the visual parameters functionality
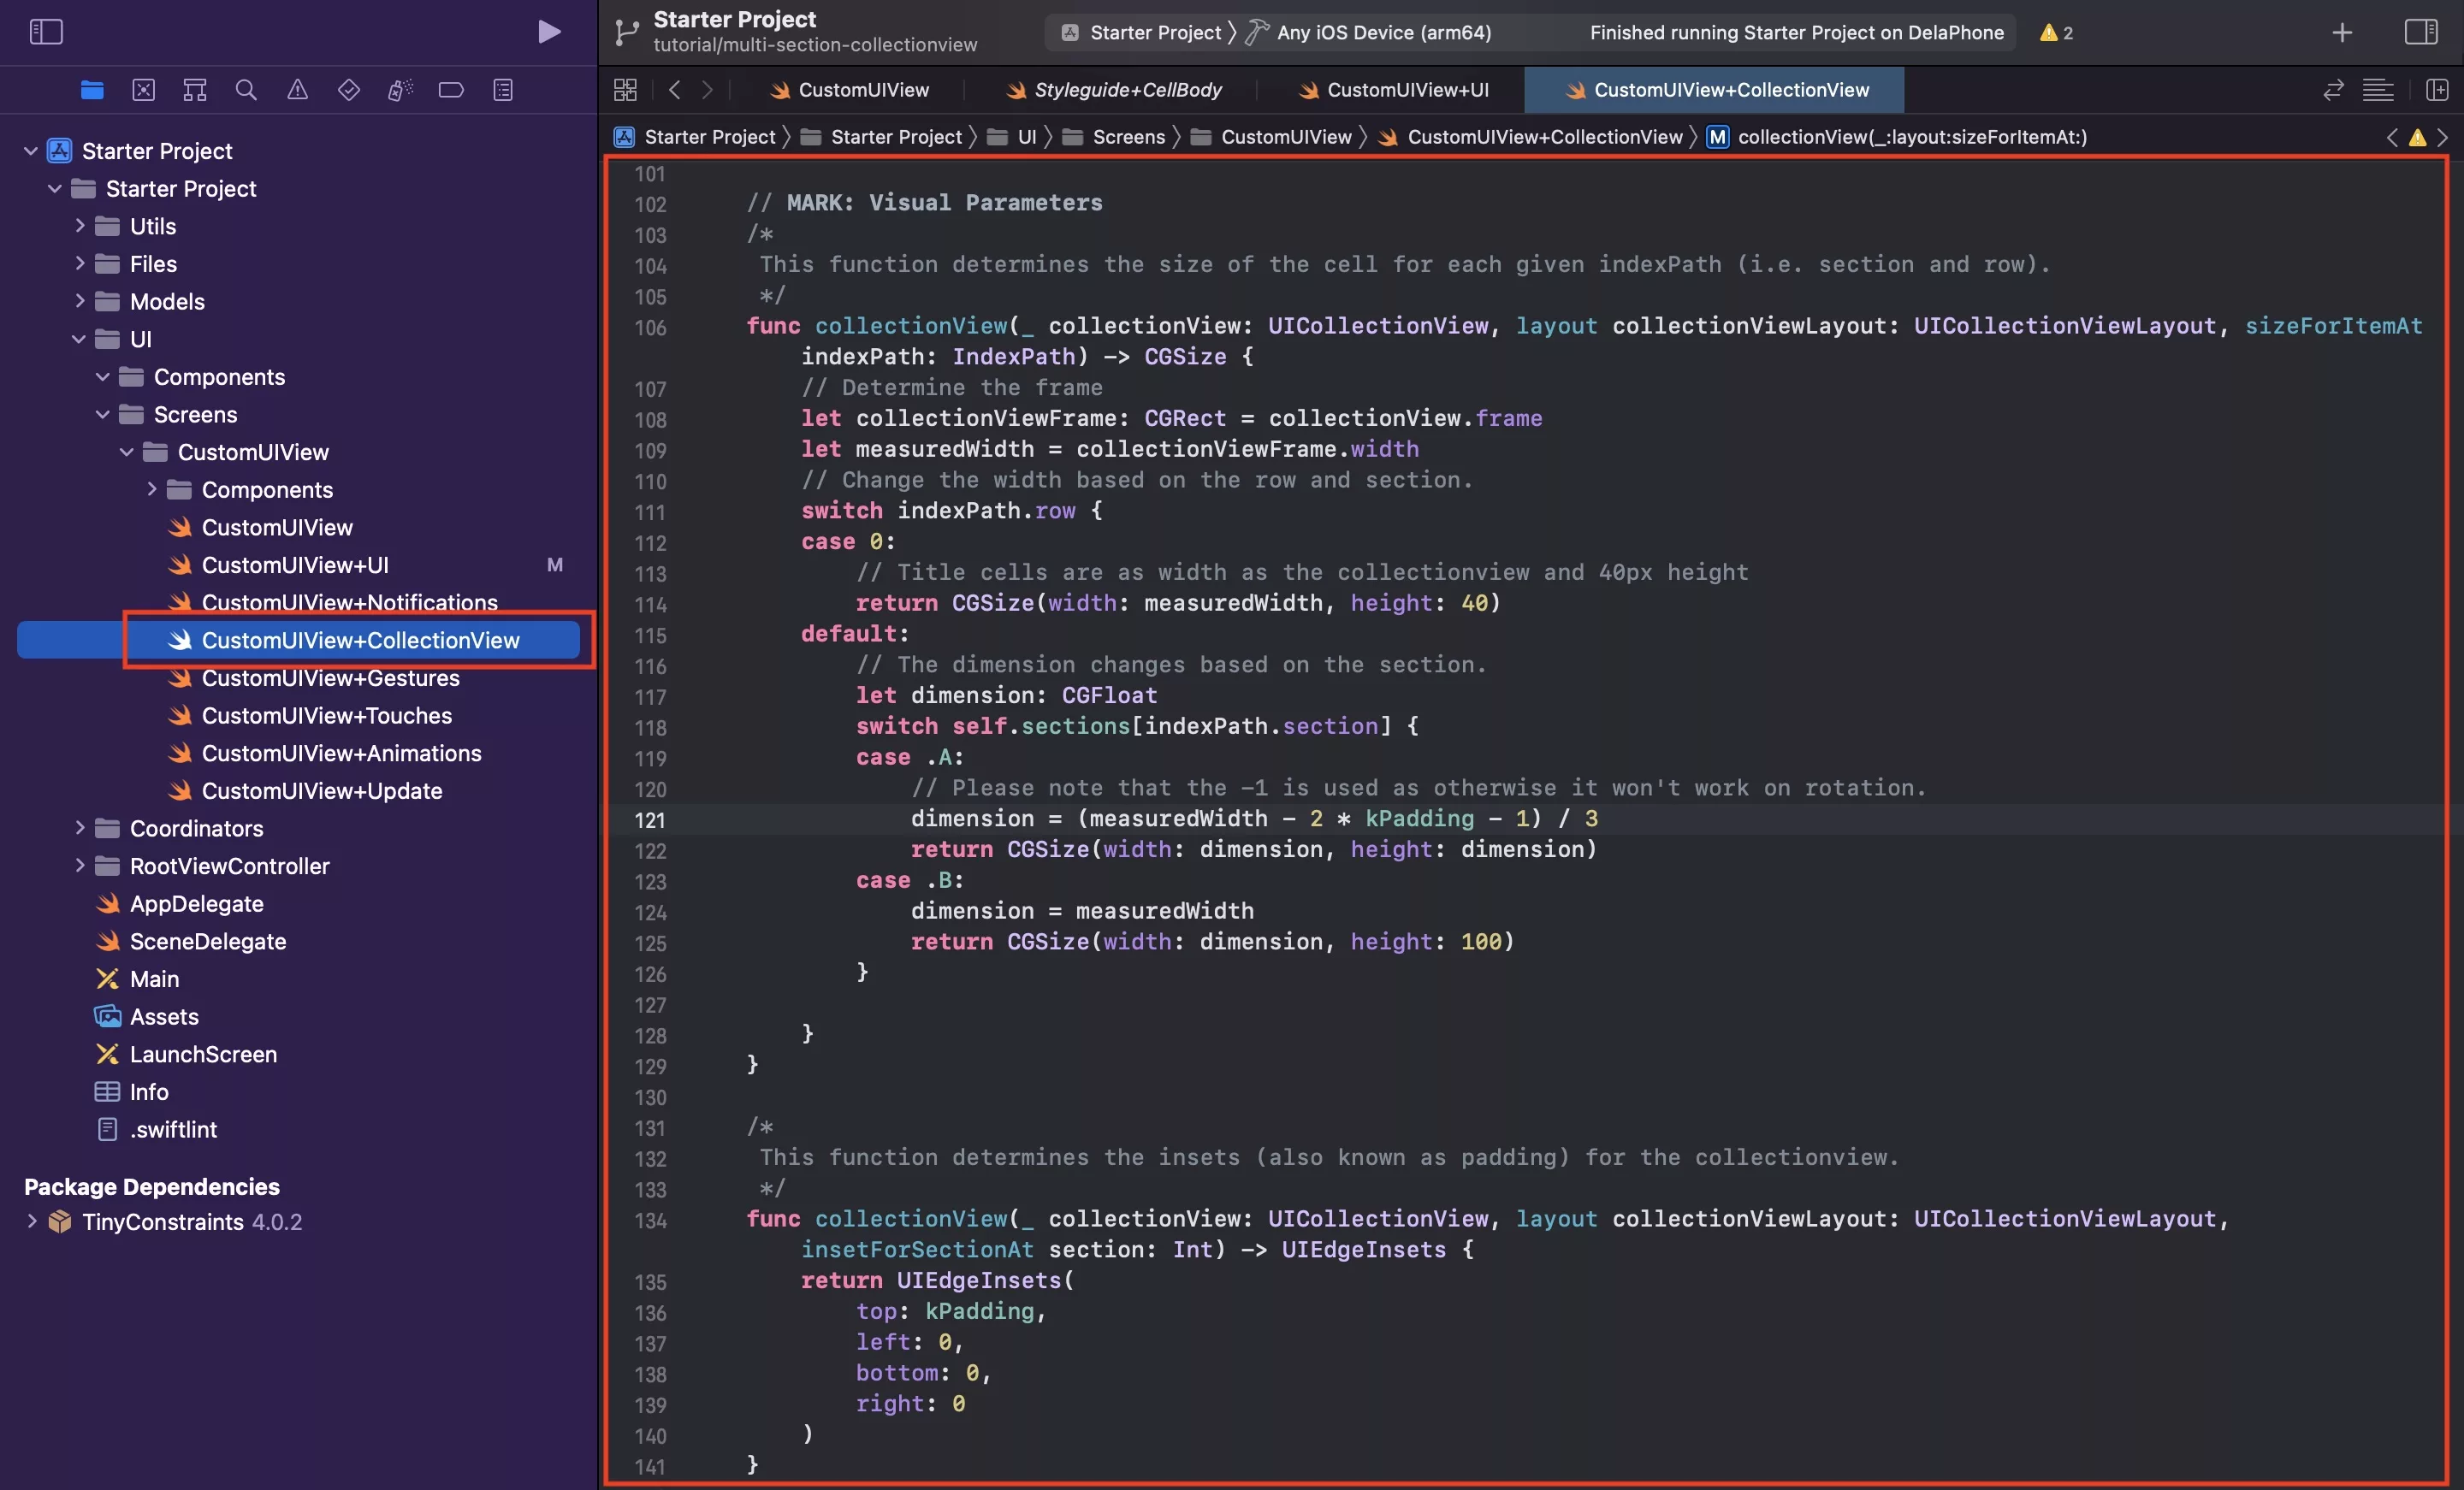
Within CustomUIView+CollectionView.swift, below the delegate and datasource functionality, add the following code.
Step Eighteen: Reload UICollectionView on content update
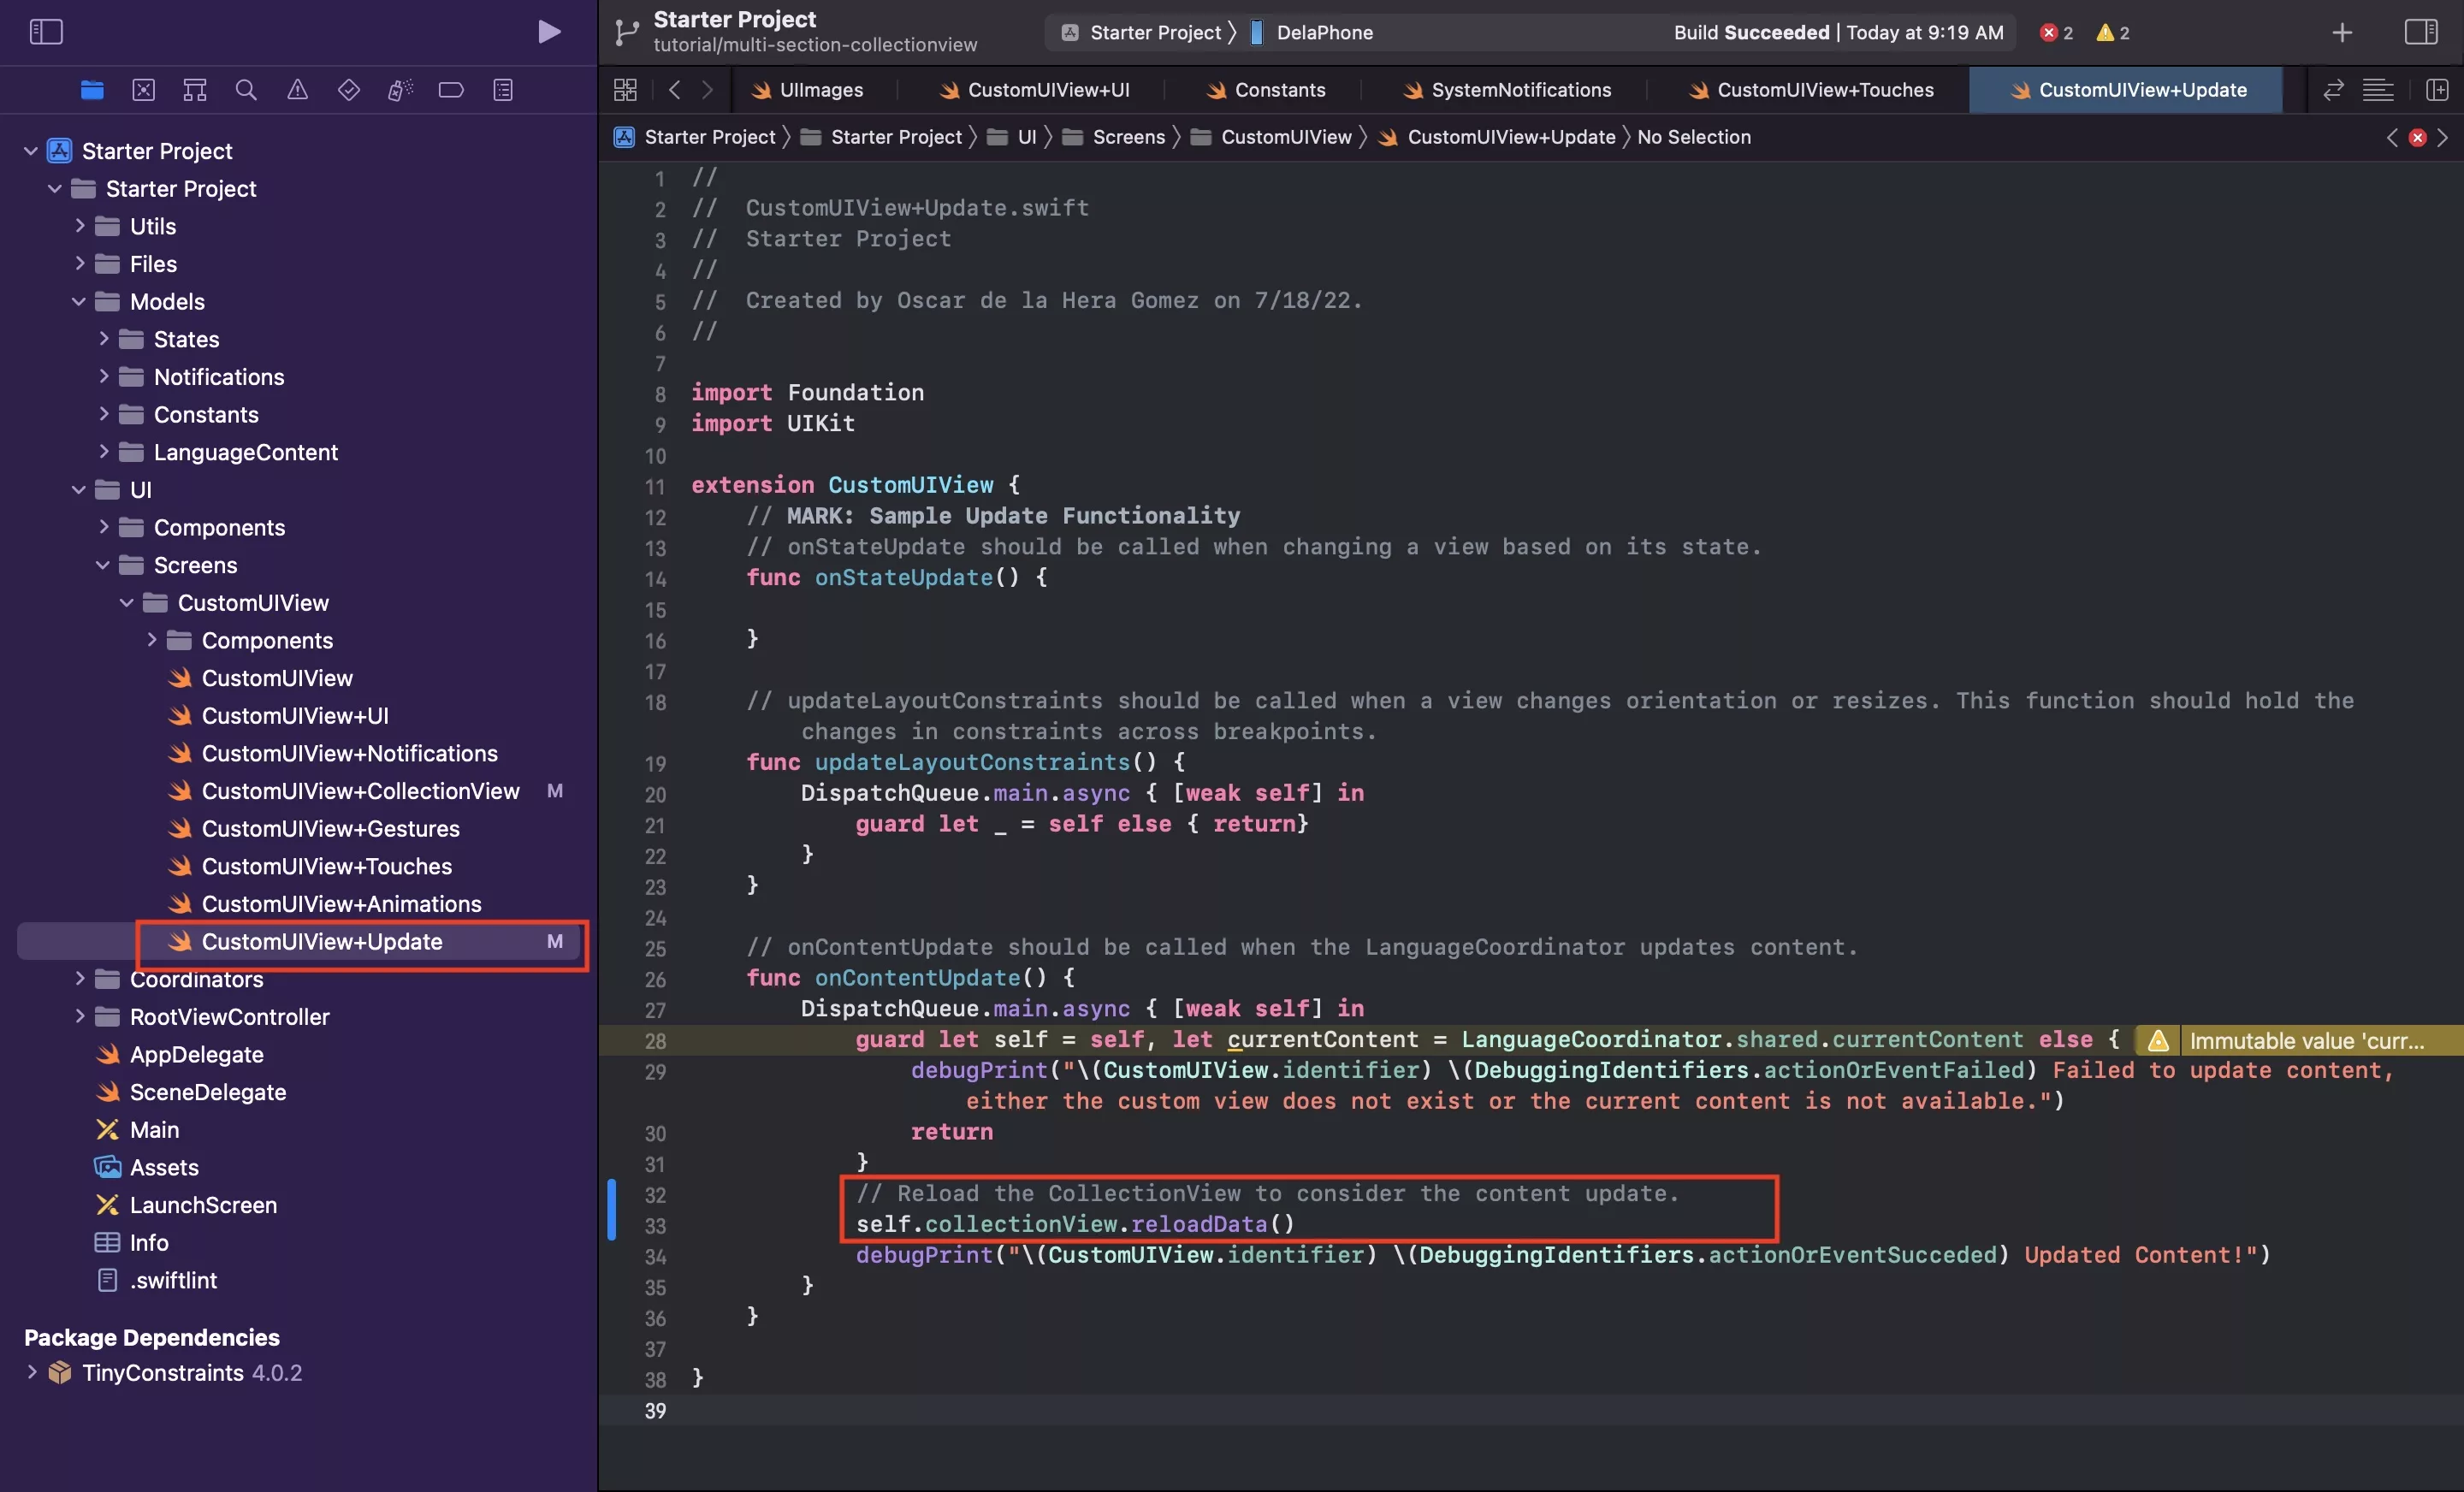
To make sure that the UICollectionView loads, in CustomUIView+Update, replace the onContentUpdate function with the following code.
Step Nineteen: Invalidate the Carousel Layout
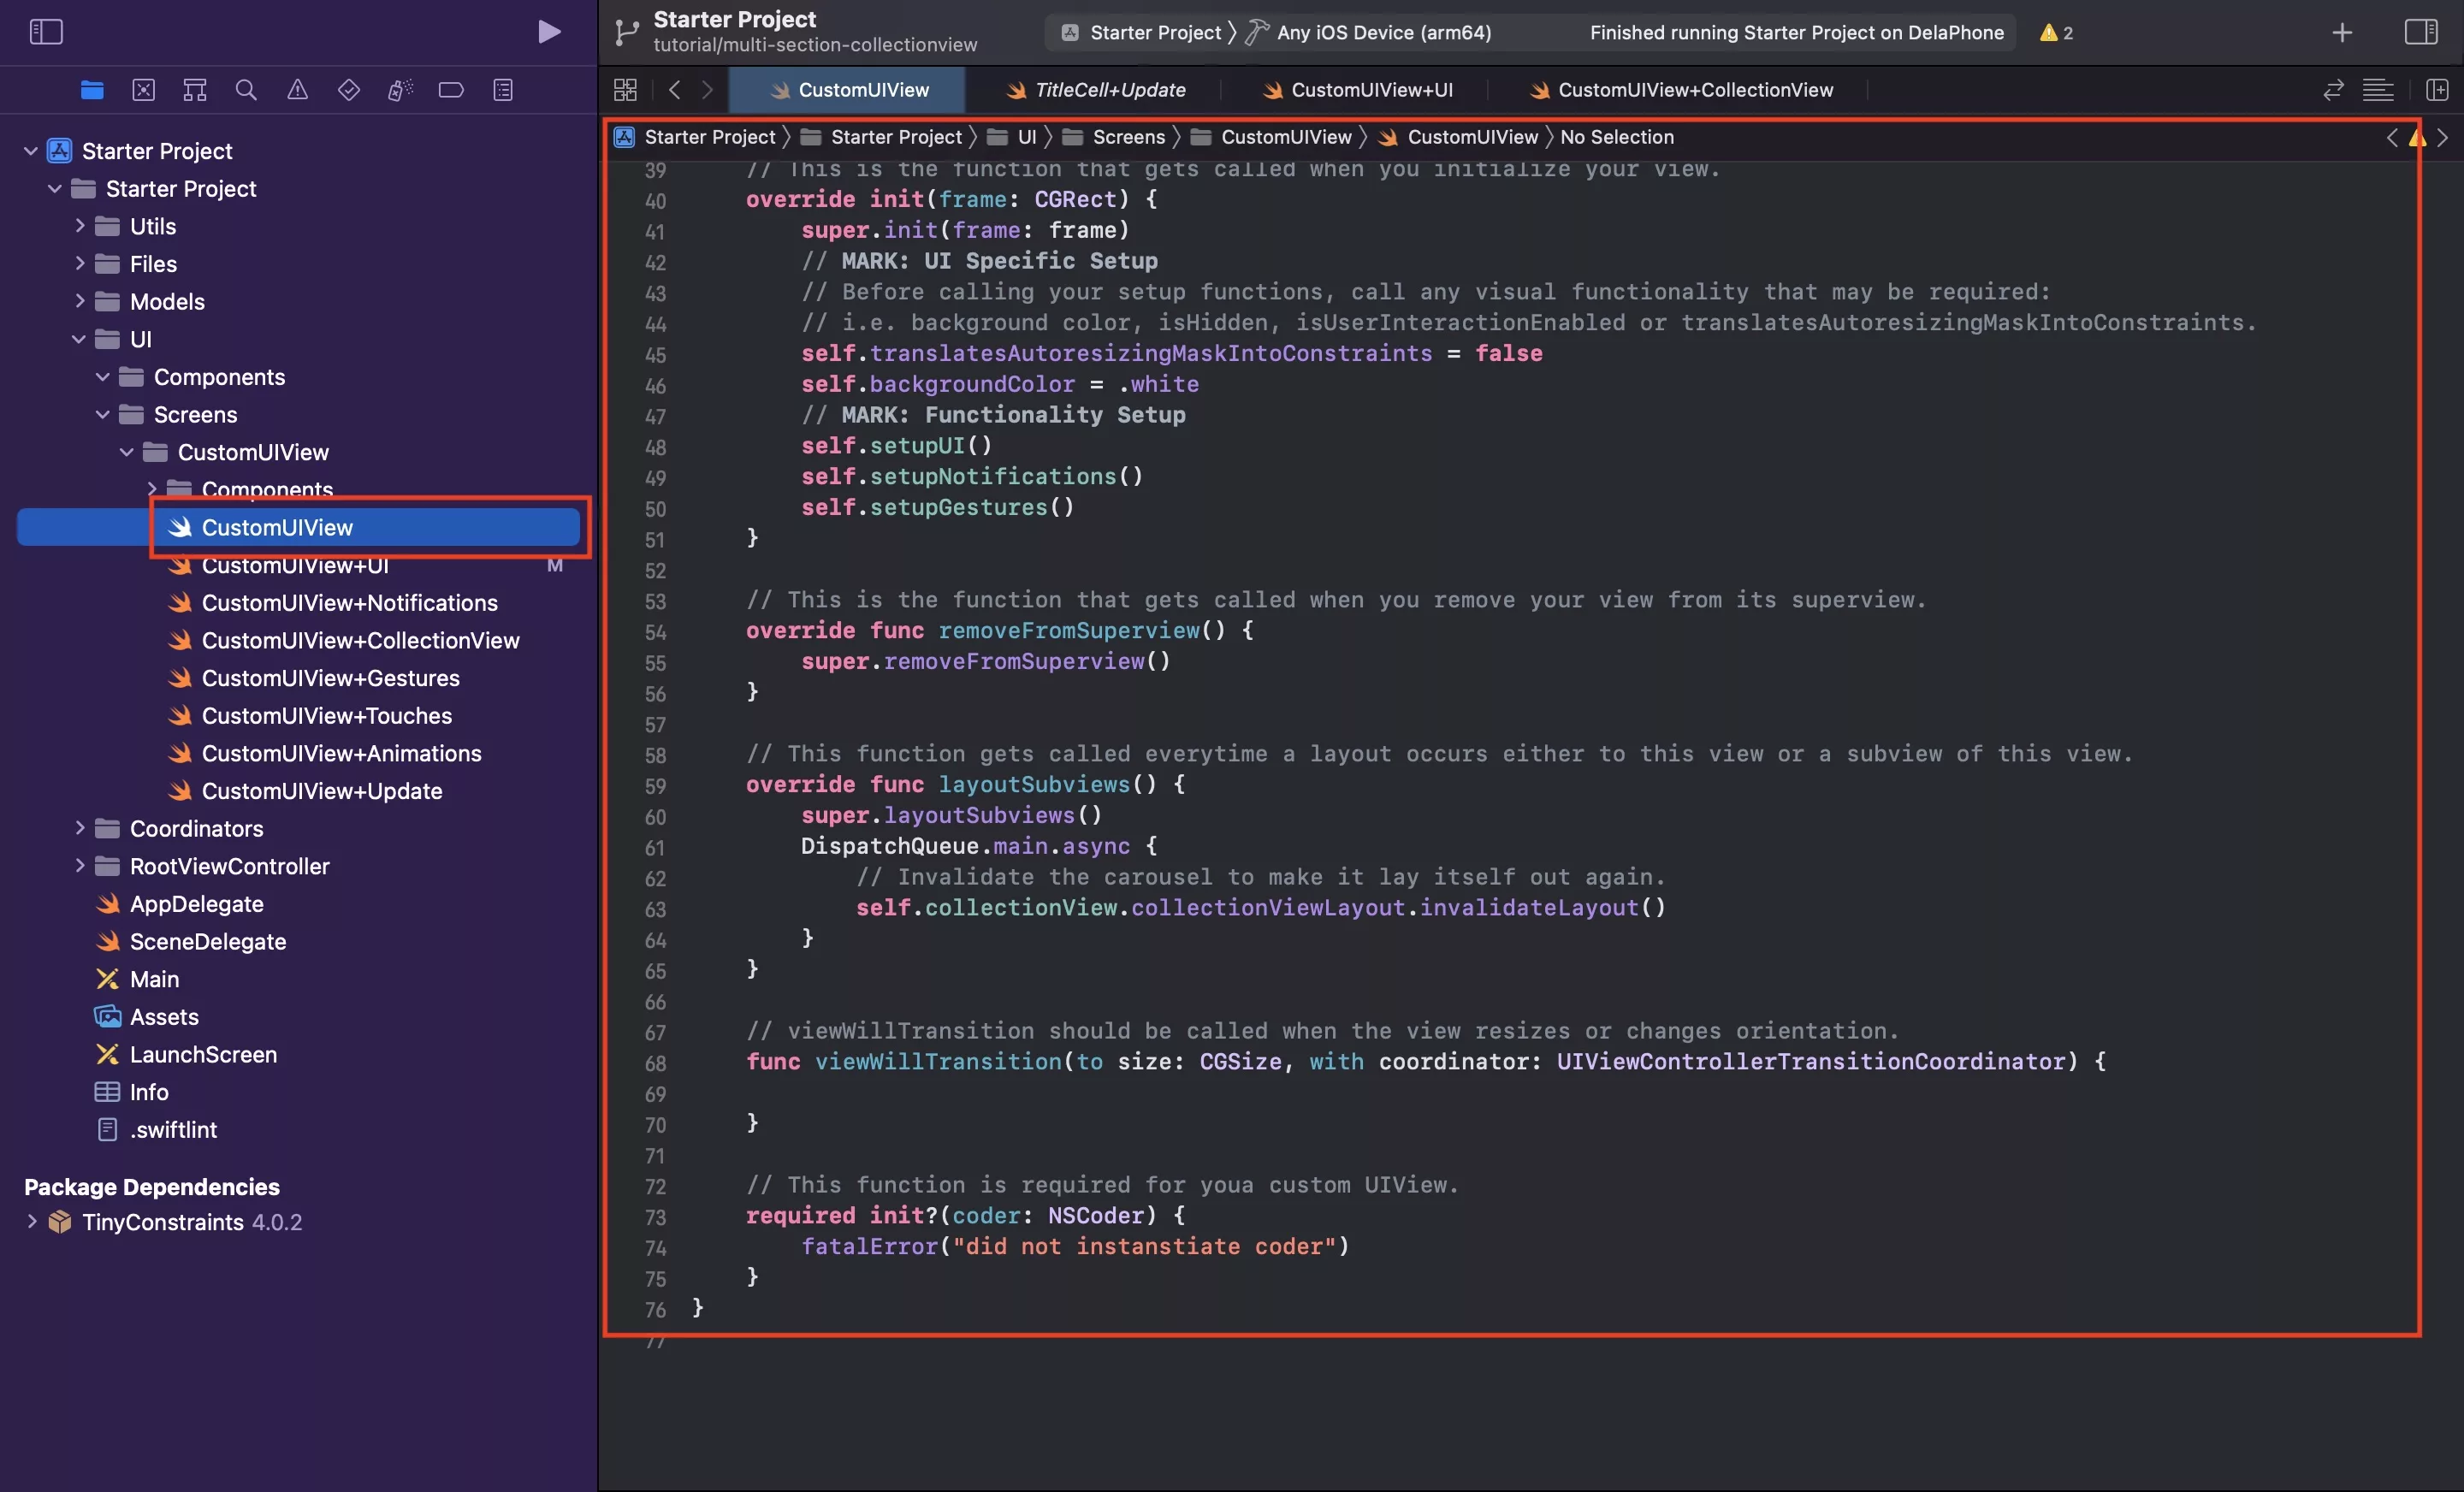
In CustomUIView.swift, add the following code to your lifecycle, below the removeFromSuperview functionality.
Step Twenty: Verify
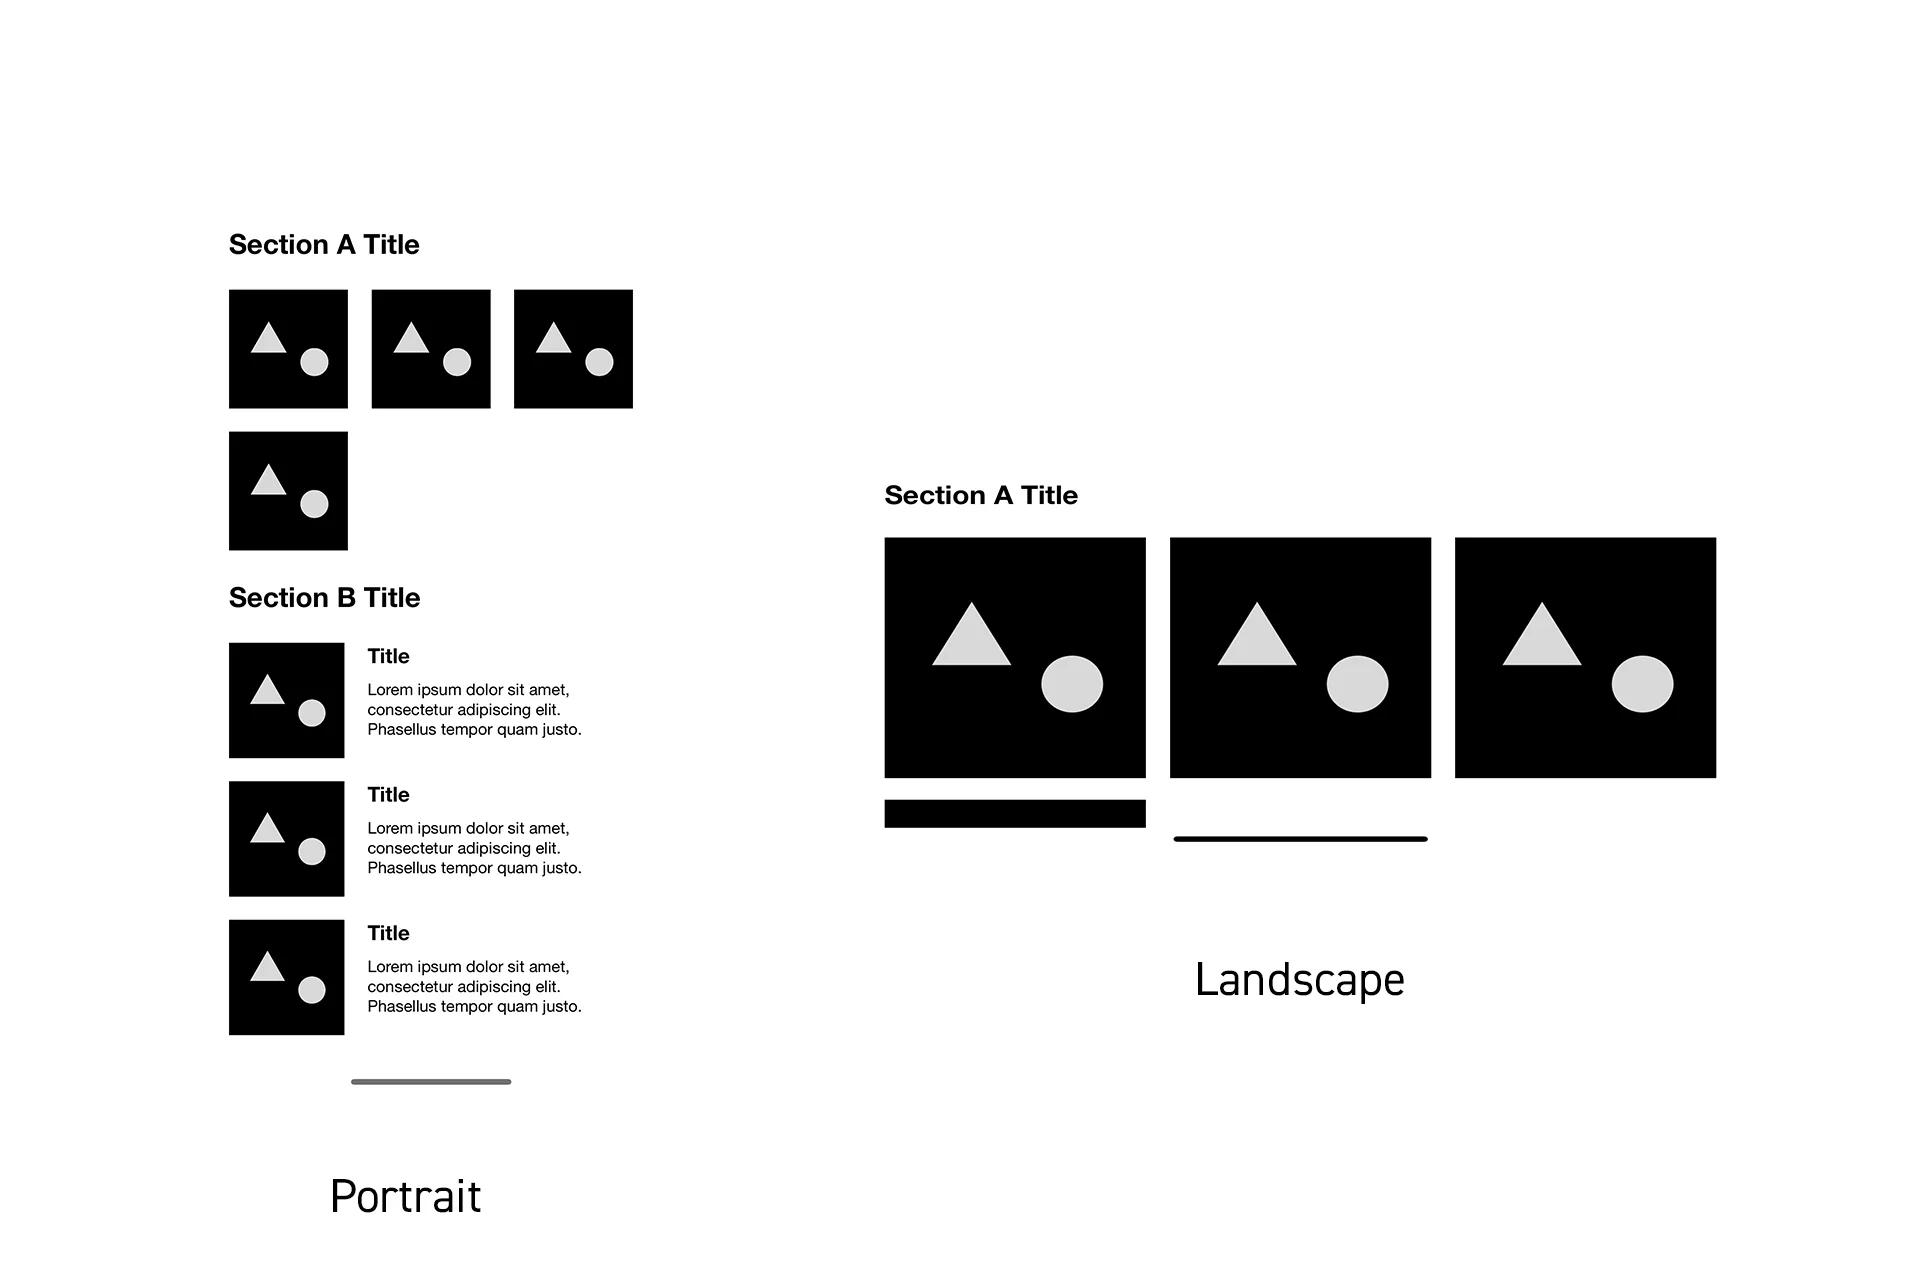
Run your code to see your results. It should look as above.
Any Questions
We are actively looking for feedback on how to improve this resource. Please send us a note to inquiries@delasign.com with any thoughts or feedback you may have.