How to add localizations to local In-App Purchases or Subscriptions
A step by step guide on adding localizations to local In-App Purchases and Subscriptions using XCode.

A step by step guide on adding localizations to local In-App Purchases and Subscriptions using XCode.
SubscribePlease note that this is the information that users see when they manage their In-App Purchase or Subscriptions.
If you are looking for tutorials on adding localizations to In-App Purchases or Subscriptions on App Store Connect please consult the links below.
Step One: Select the StoreKit Configuration File
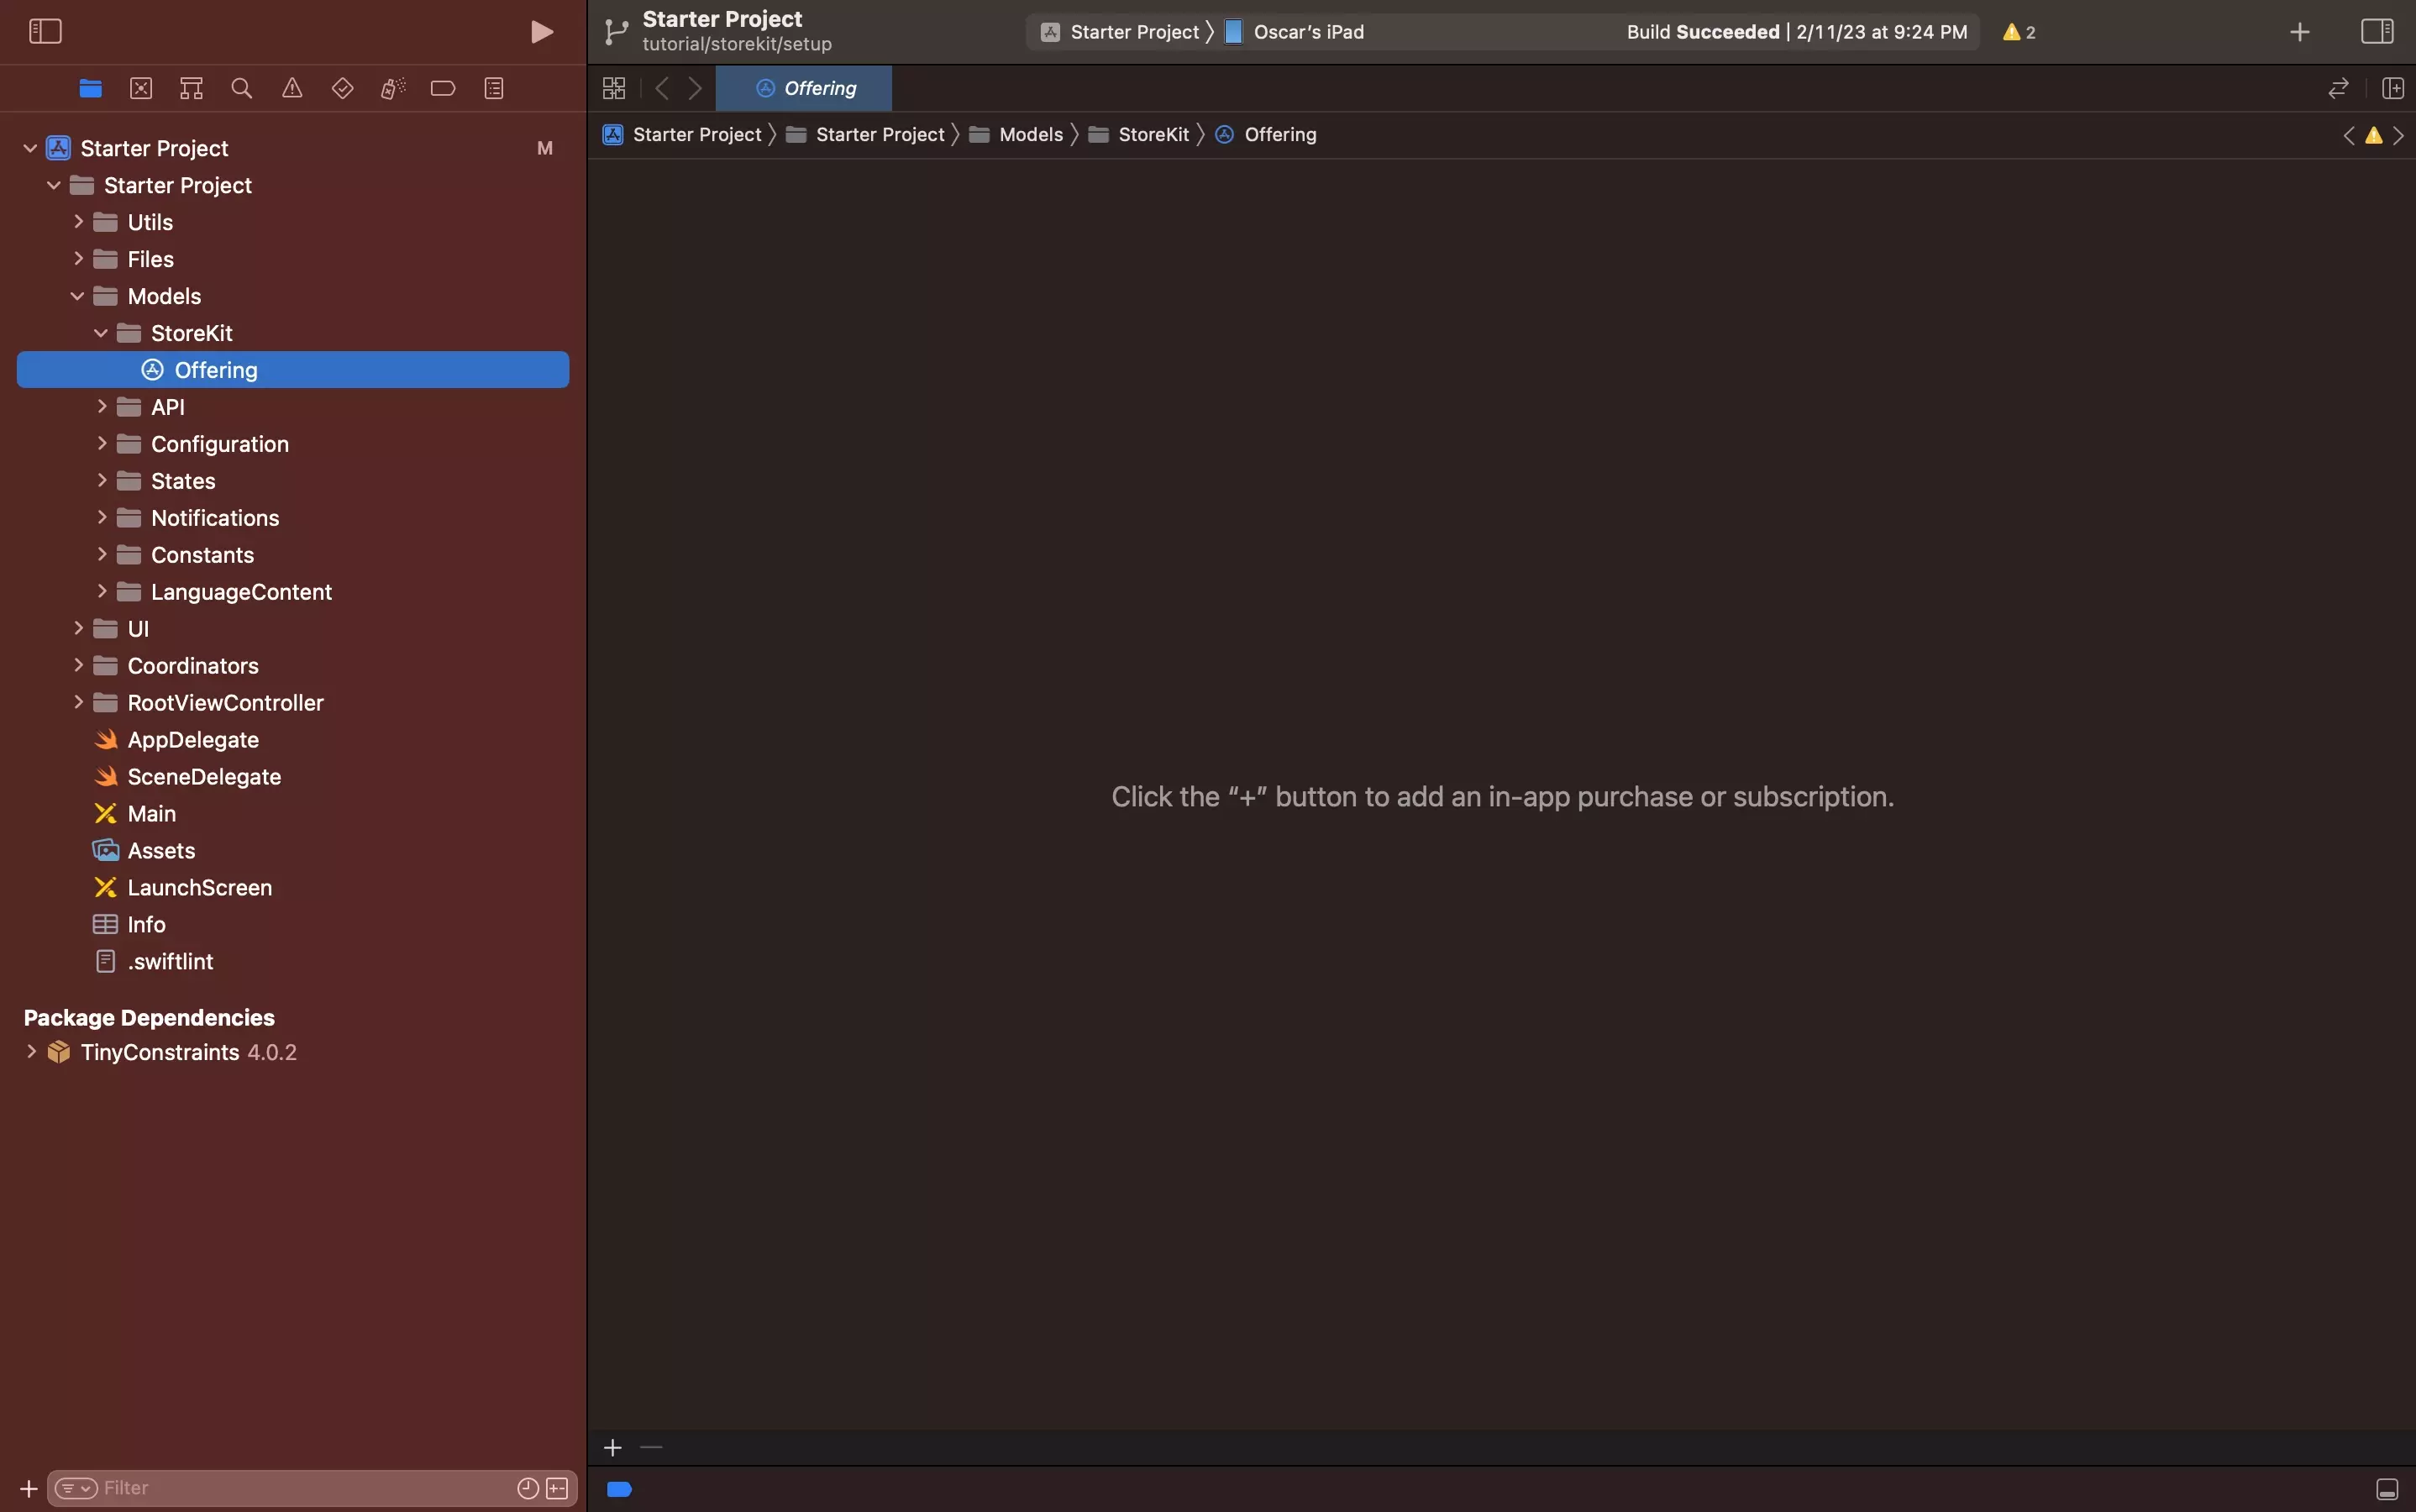
Select the local StoreKit configuration file.
If you have yet to create one, follow the tutorial below.
Step Two: Select the product
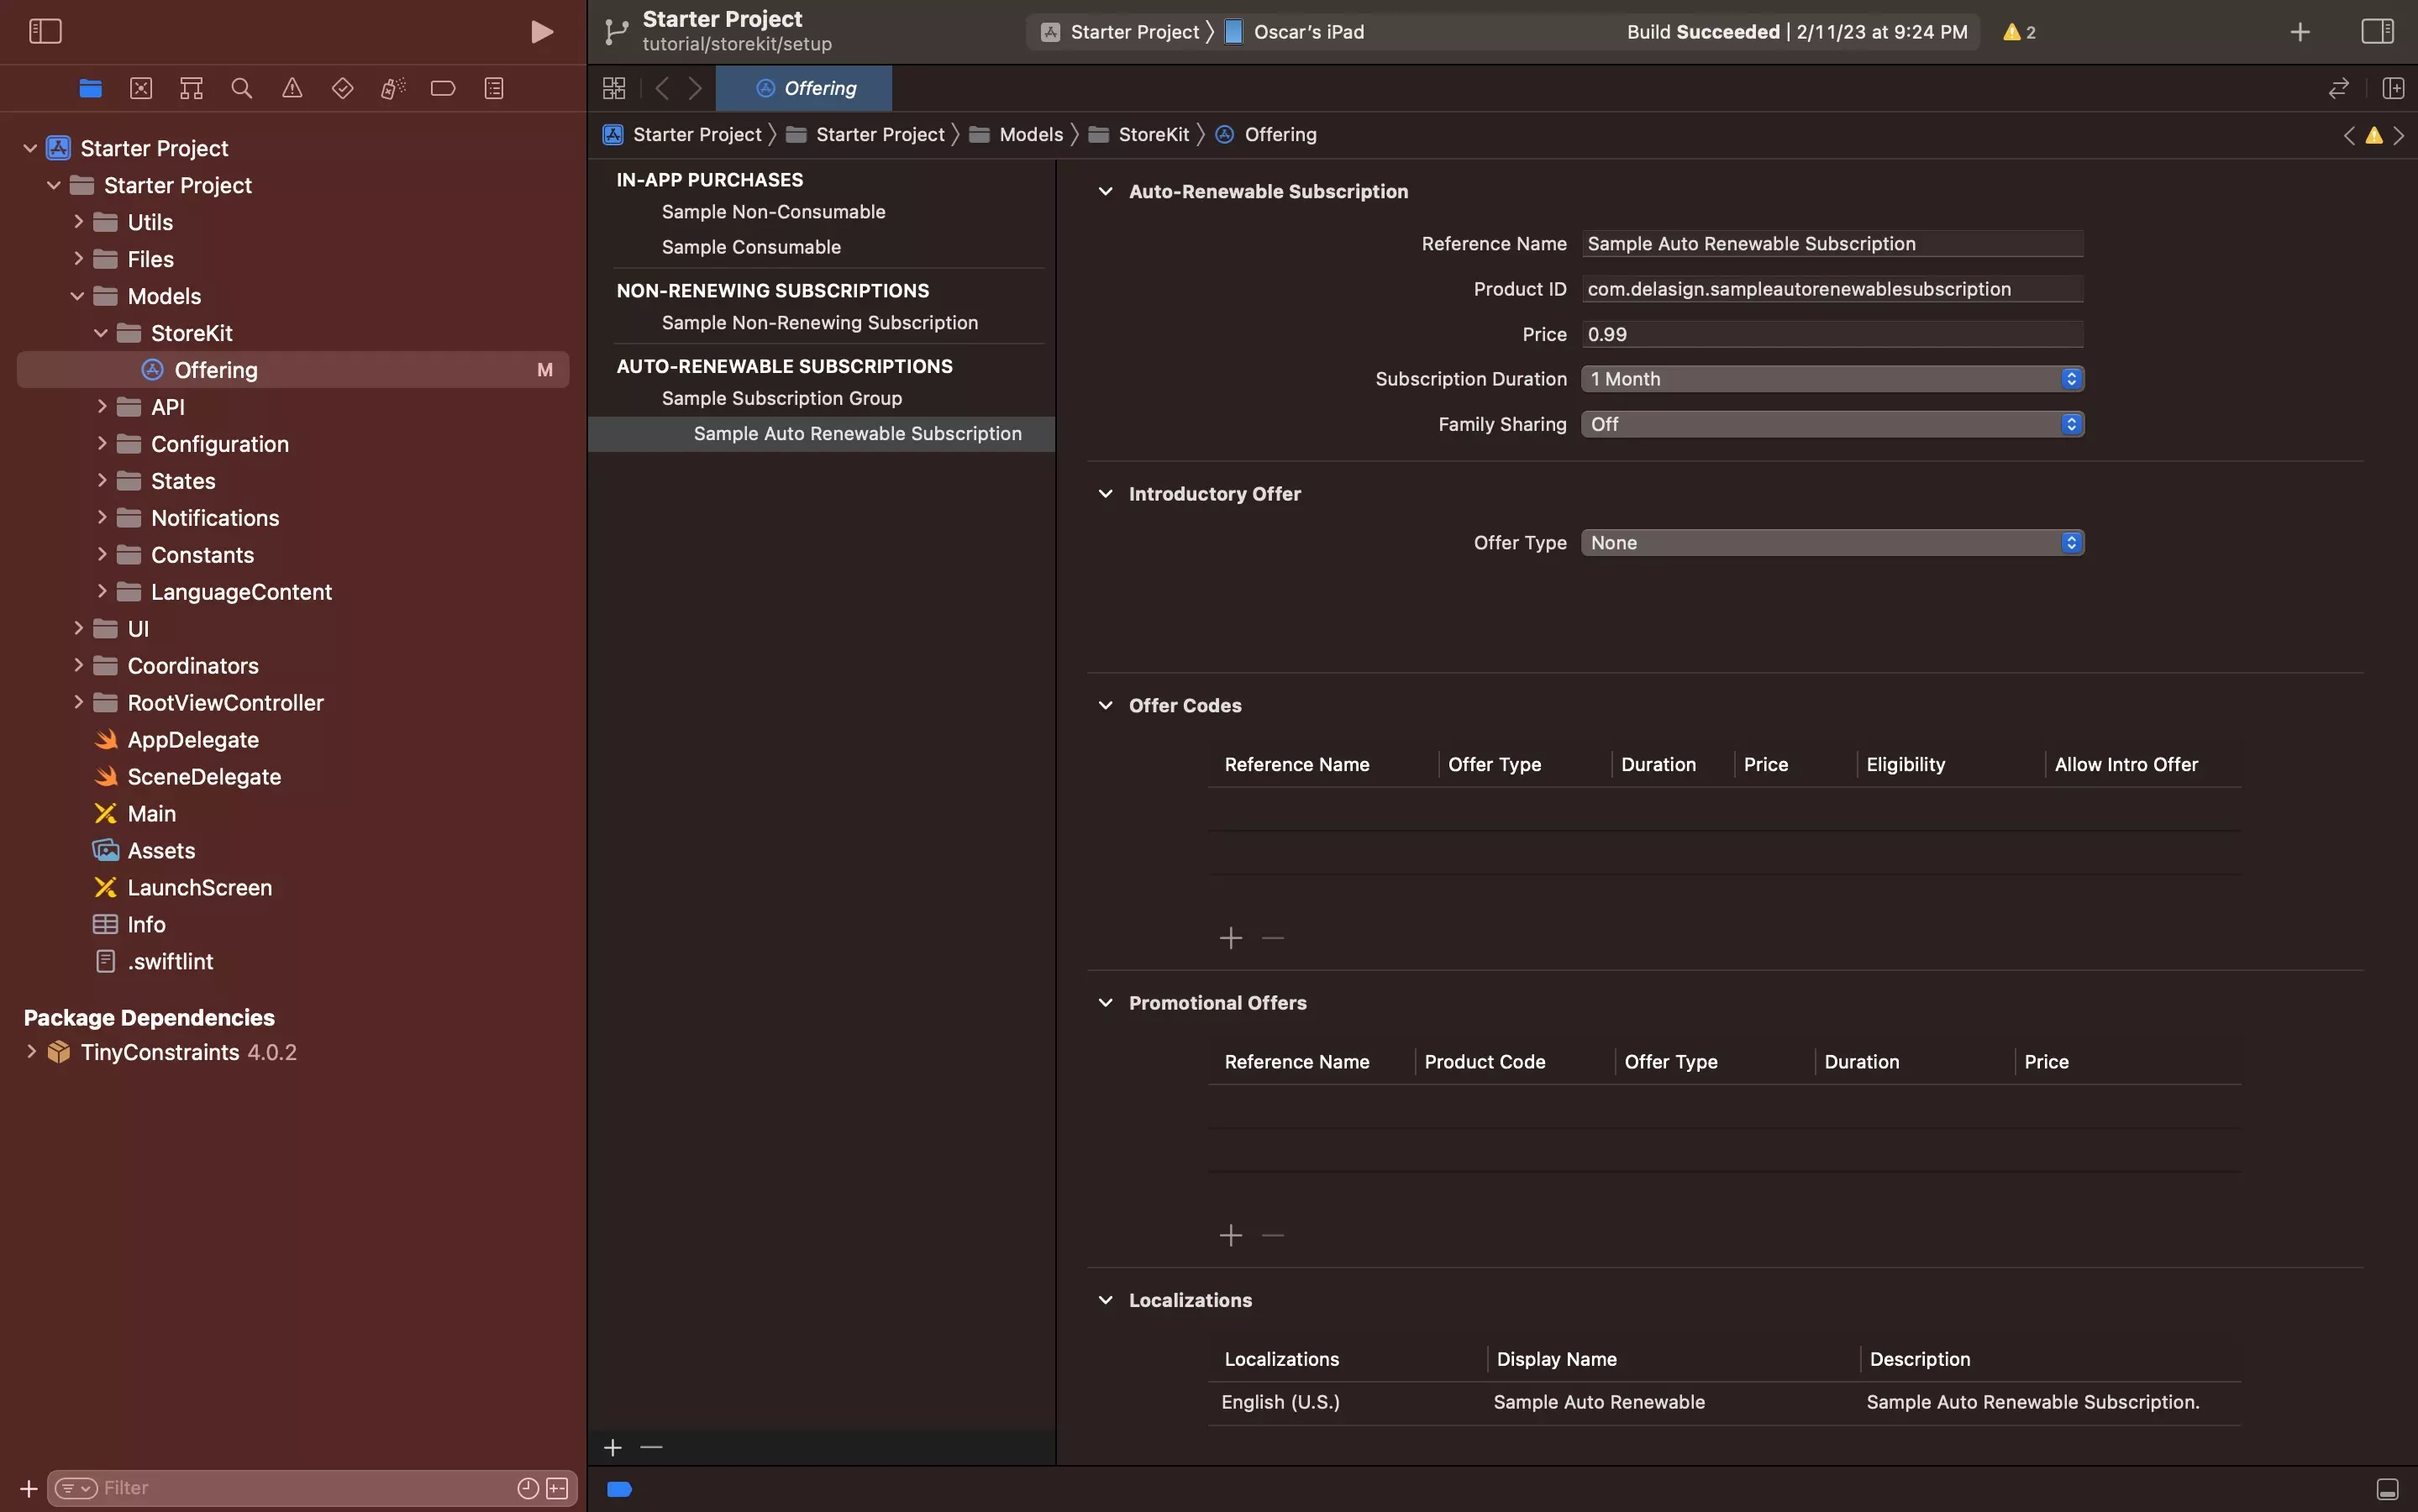
Select the In-App Purchase or Subscription in the local StoreKit Configuration File.
If you have yet to create an In-App Purchase or a Subscription, follow the relevant tutorial below.
Step Three: Add Localization
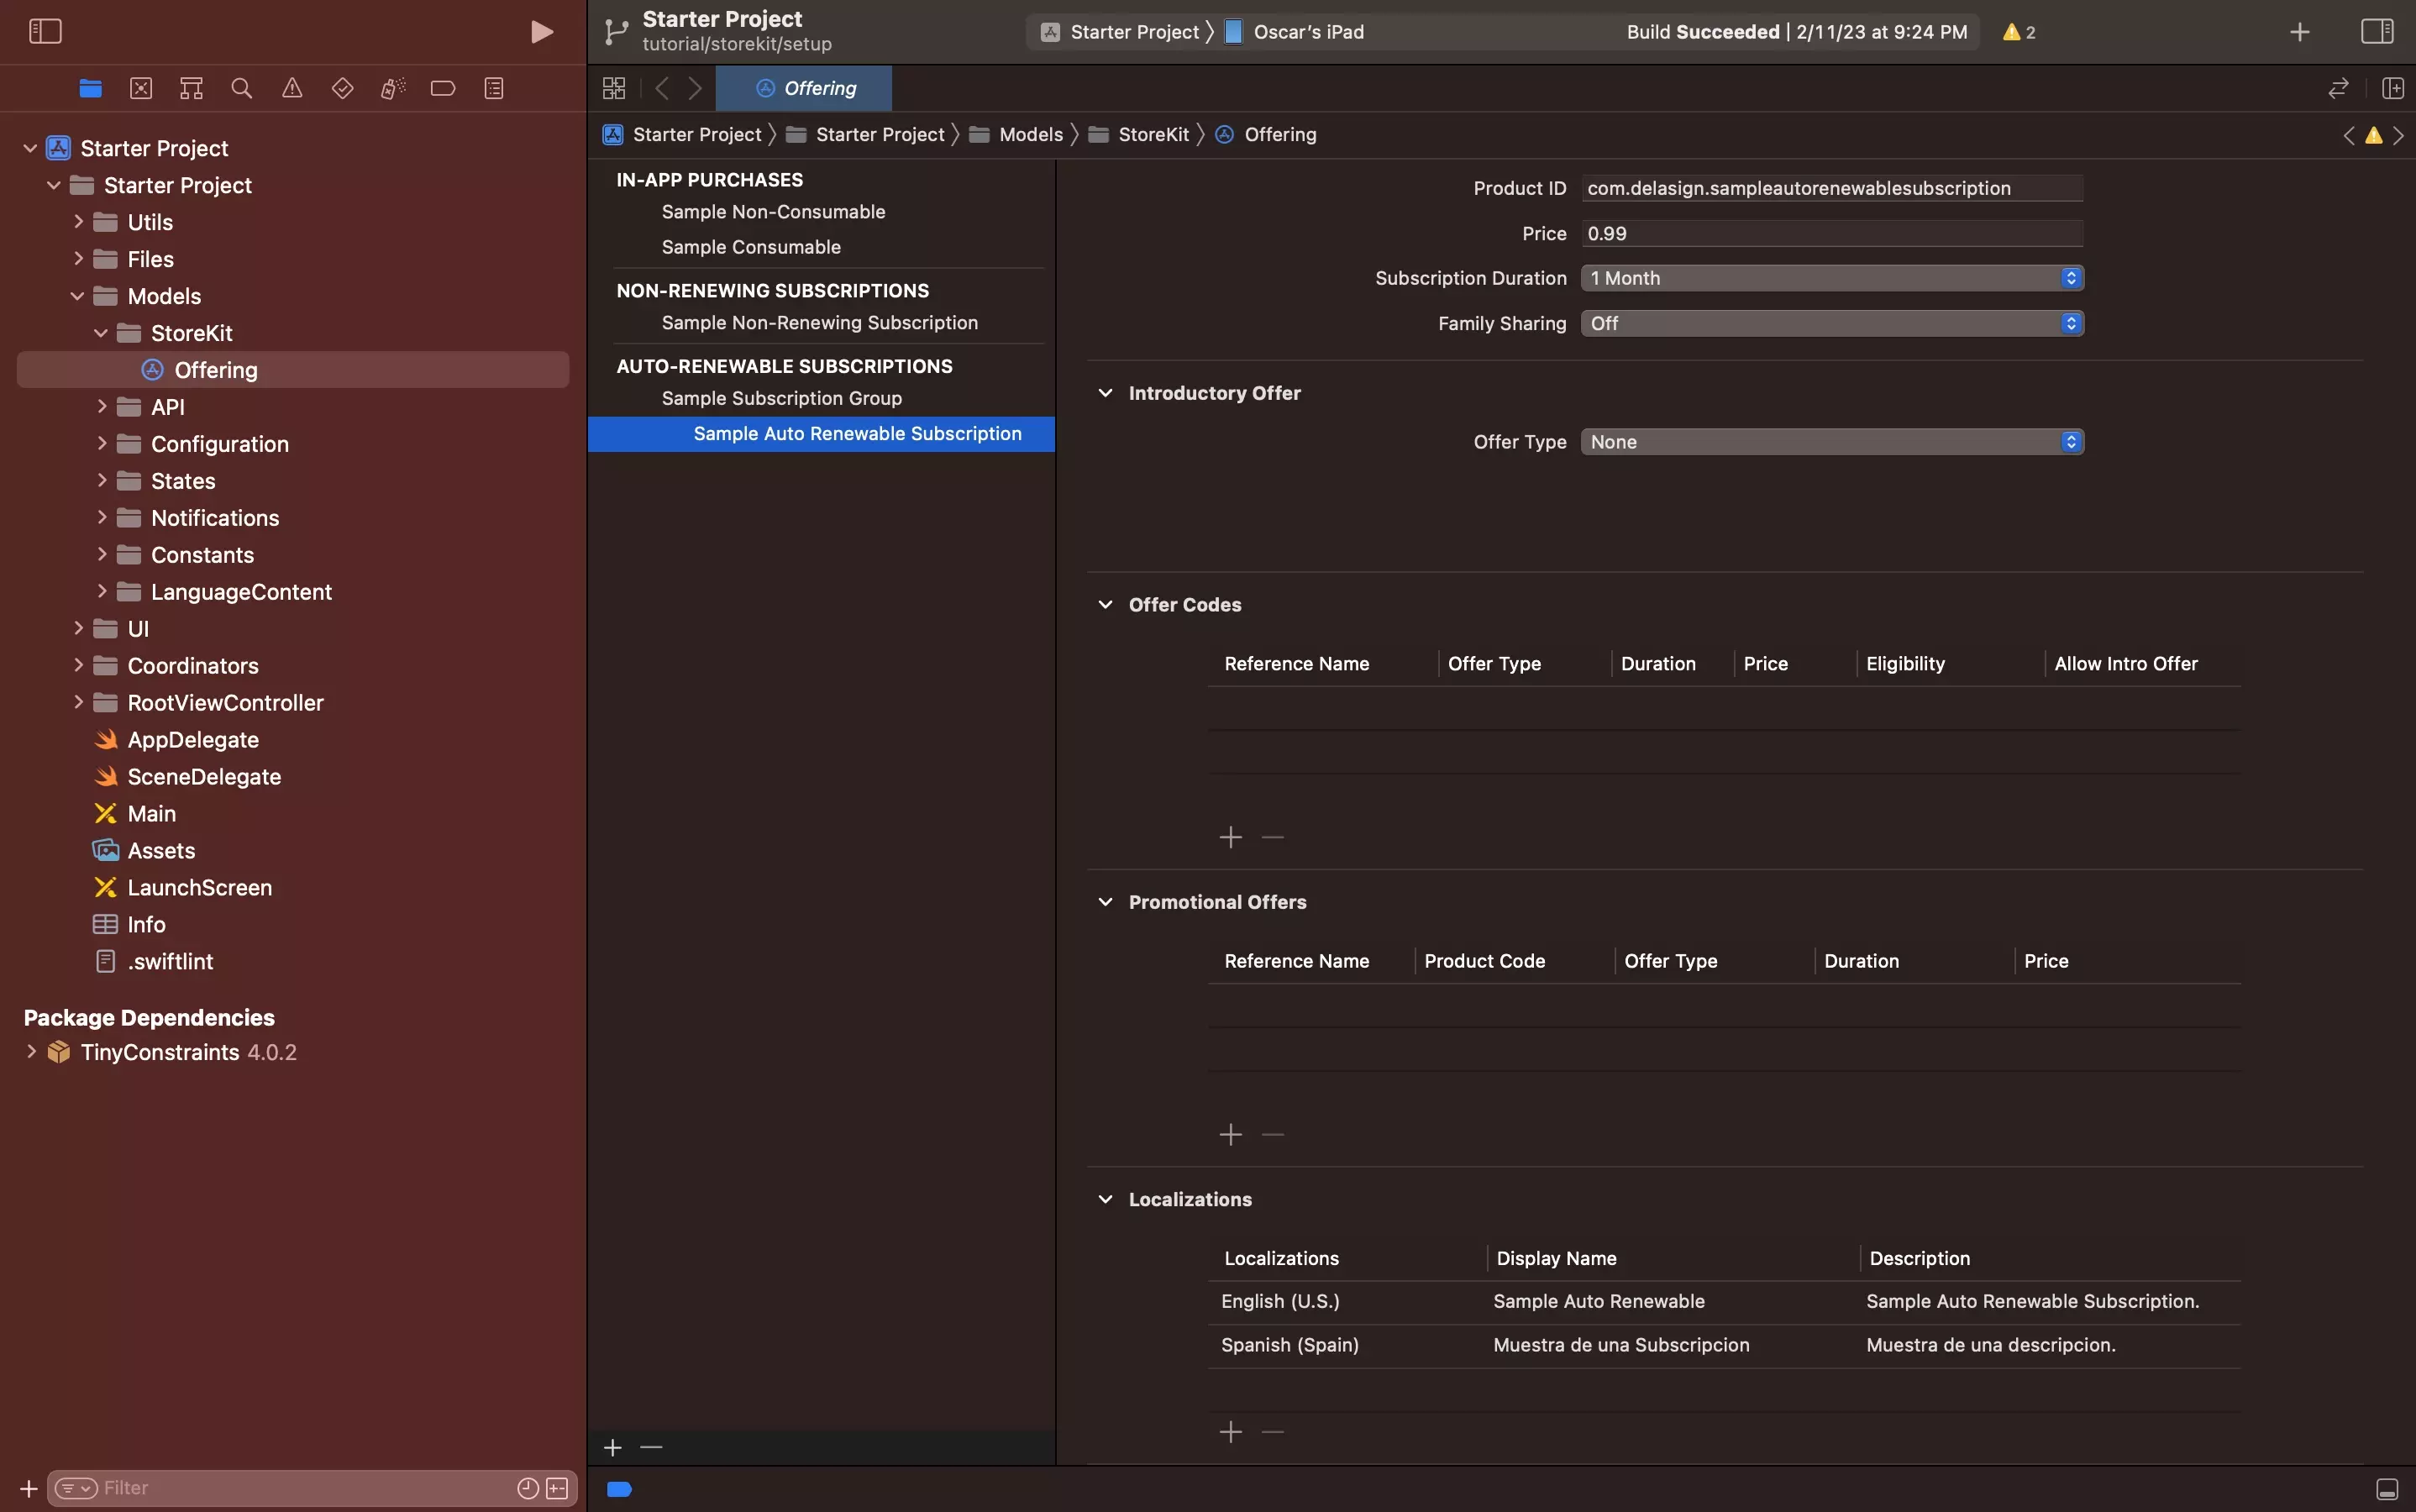
Please note that this is the information that users see when they manage their In-App Purchase or Subscriptions.
In the In-App Purchase or Subscription in the local StoreKit Configuration File, do the following:
A | Click +
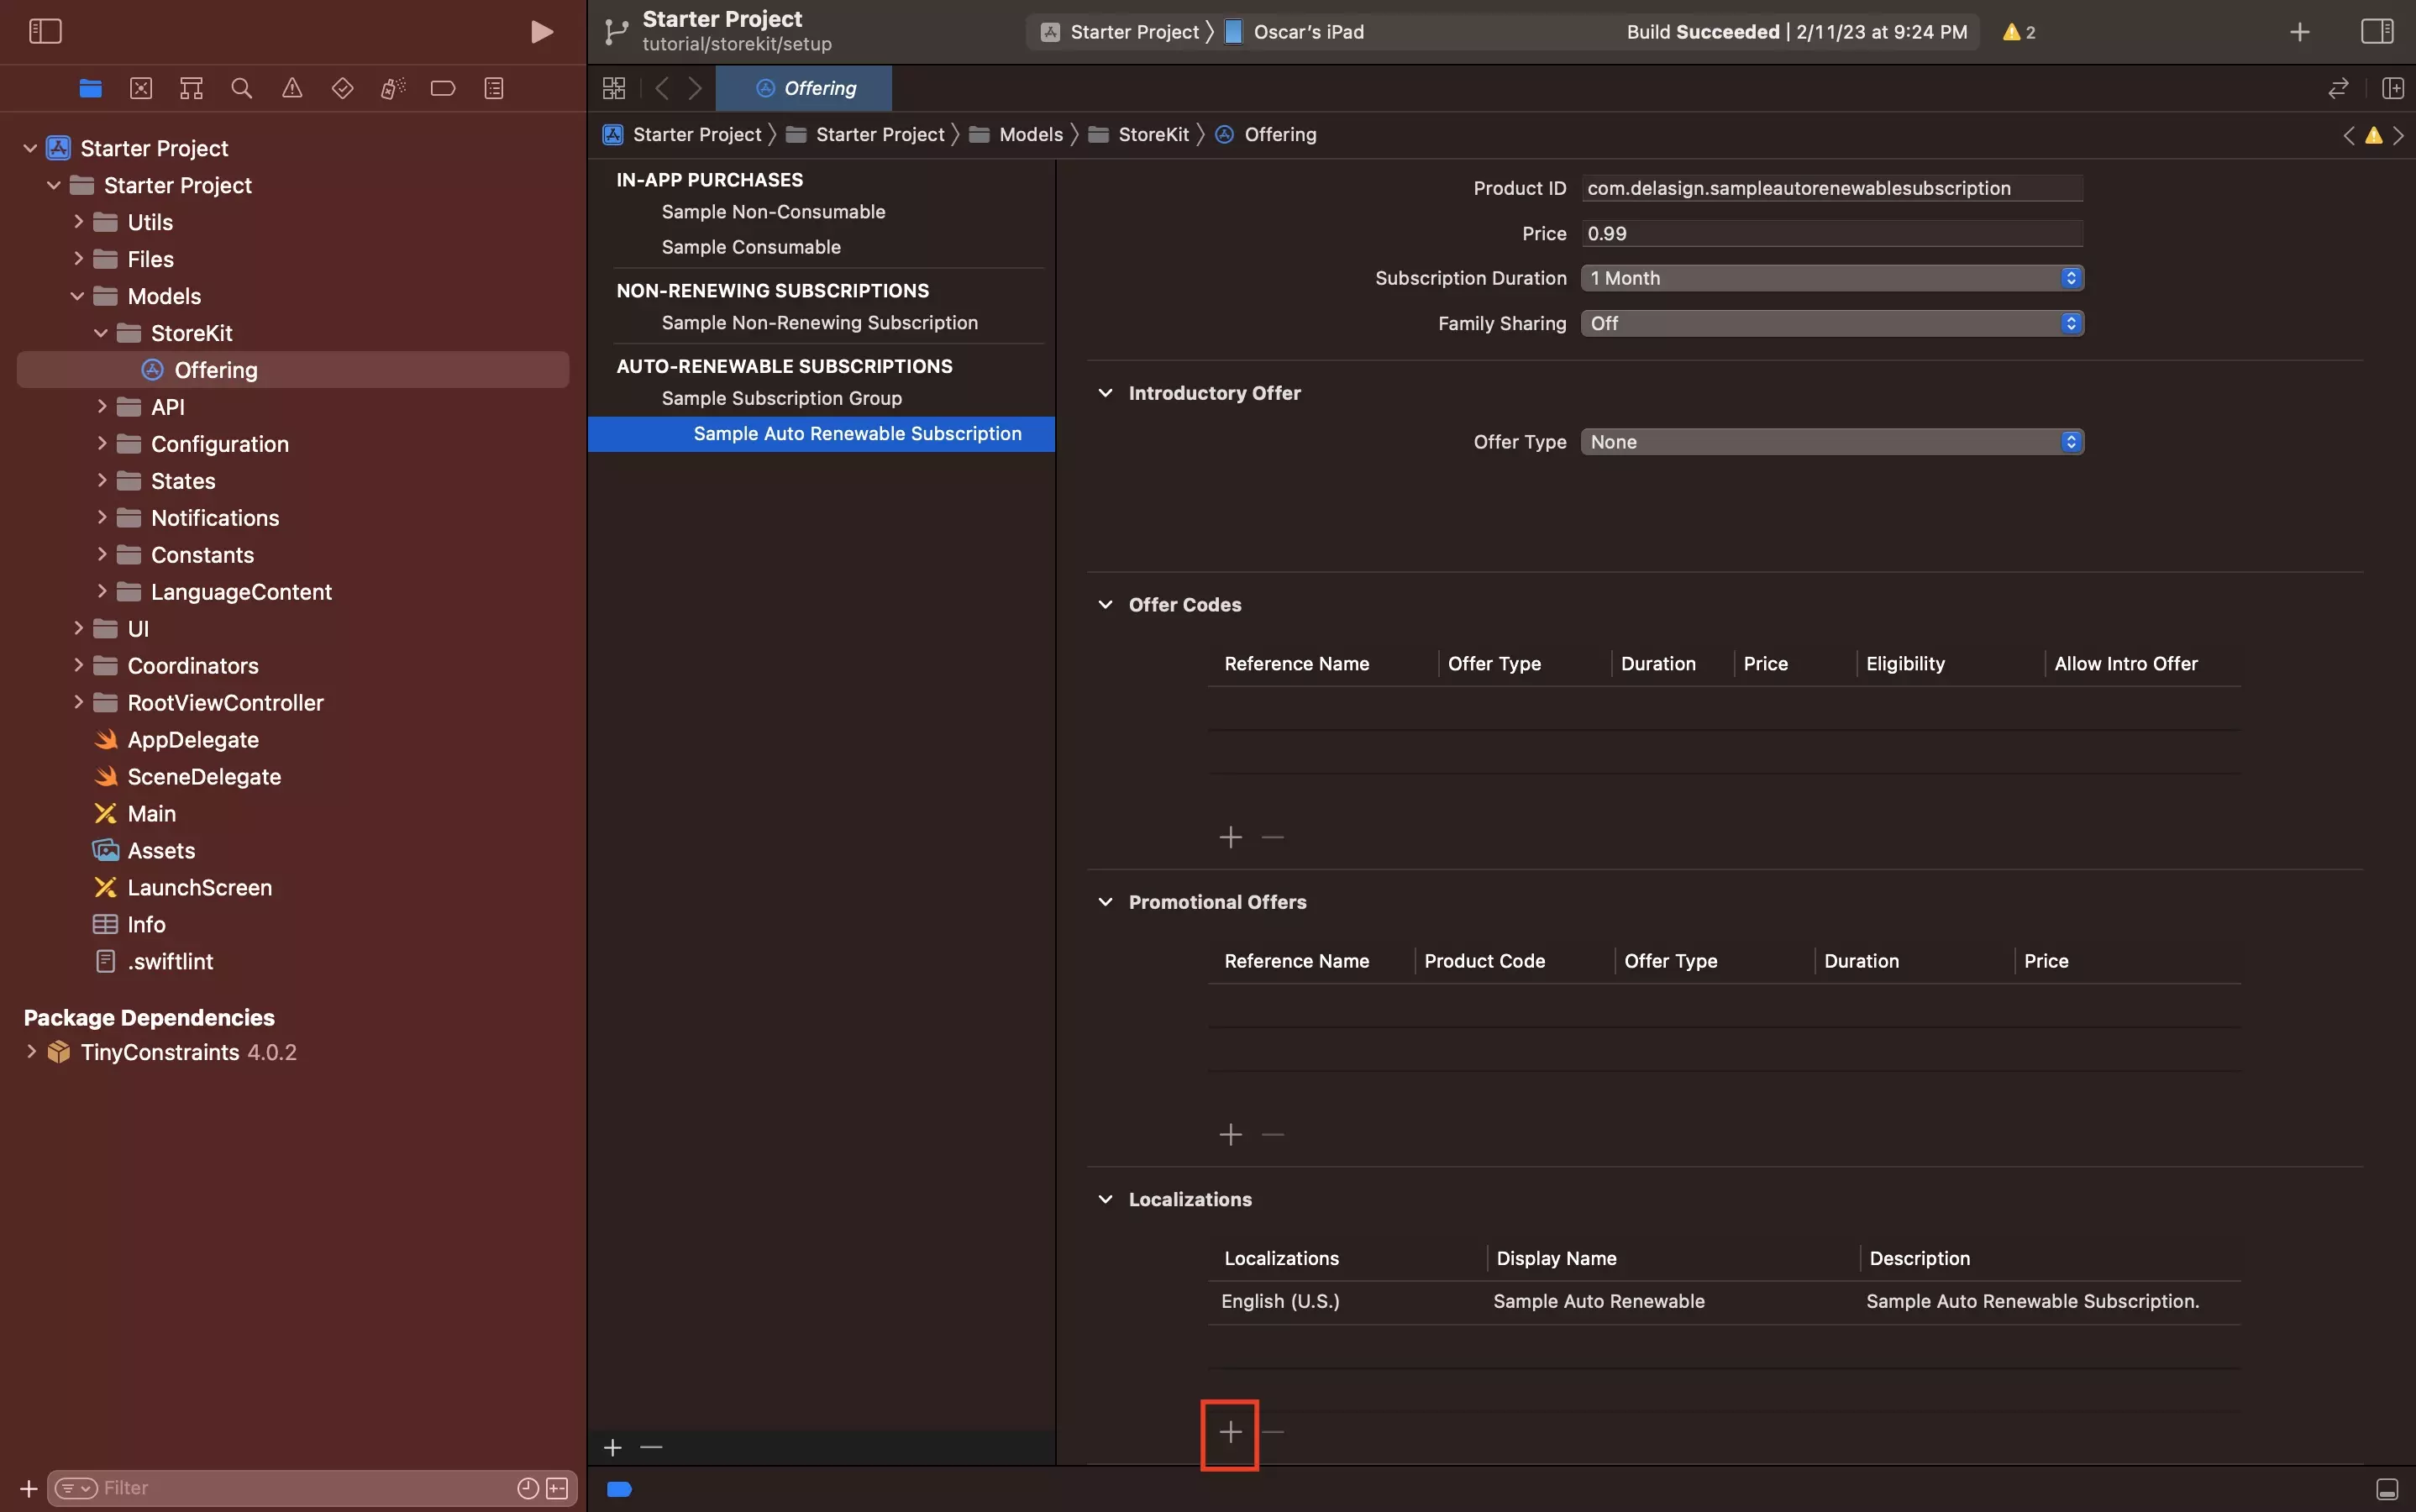
In the Localization section of the In-App Purchase or Subscription, click +.
B | Configure
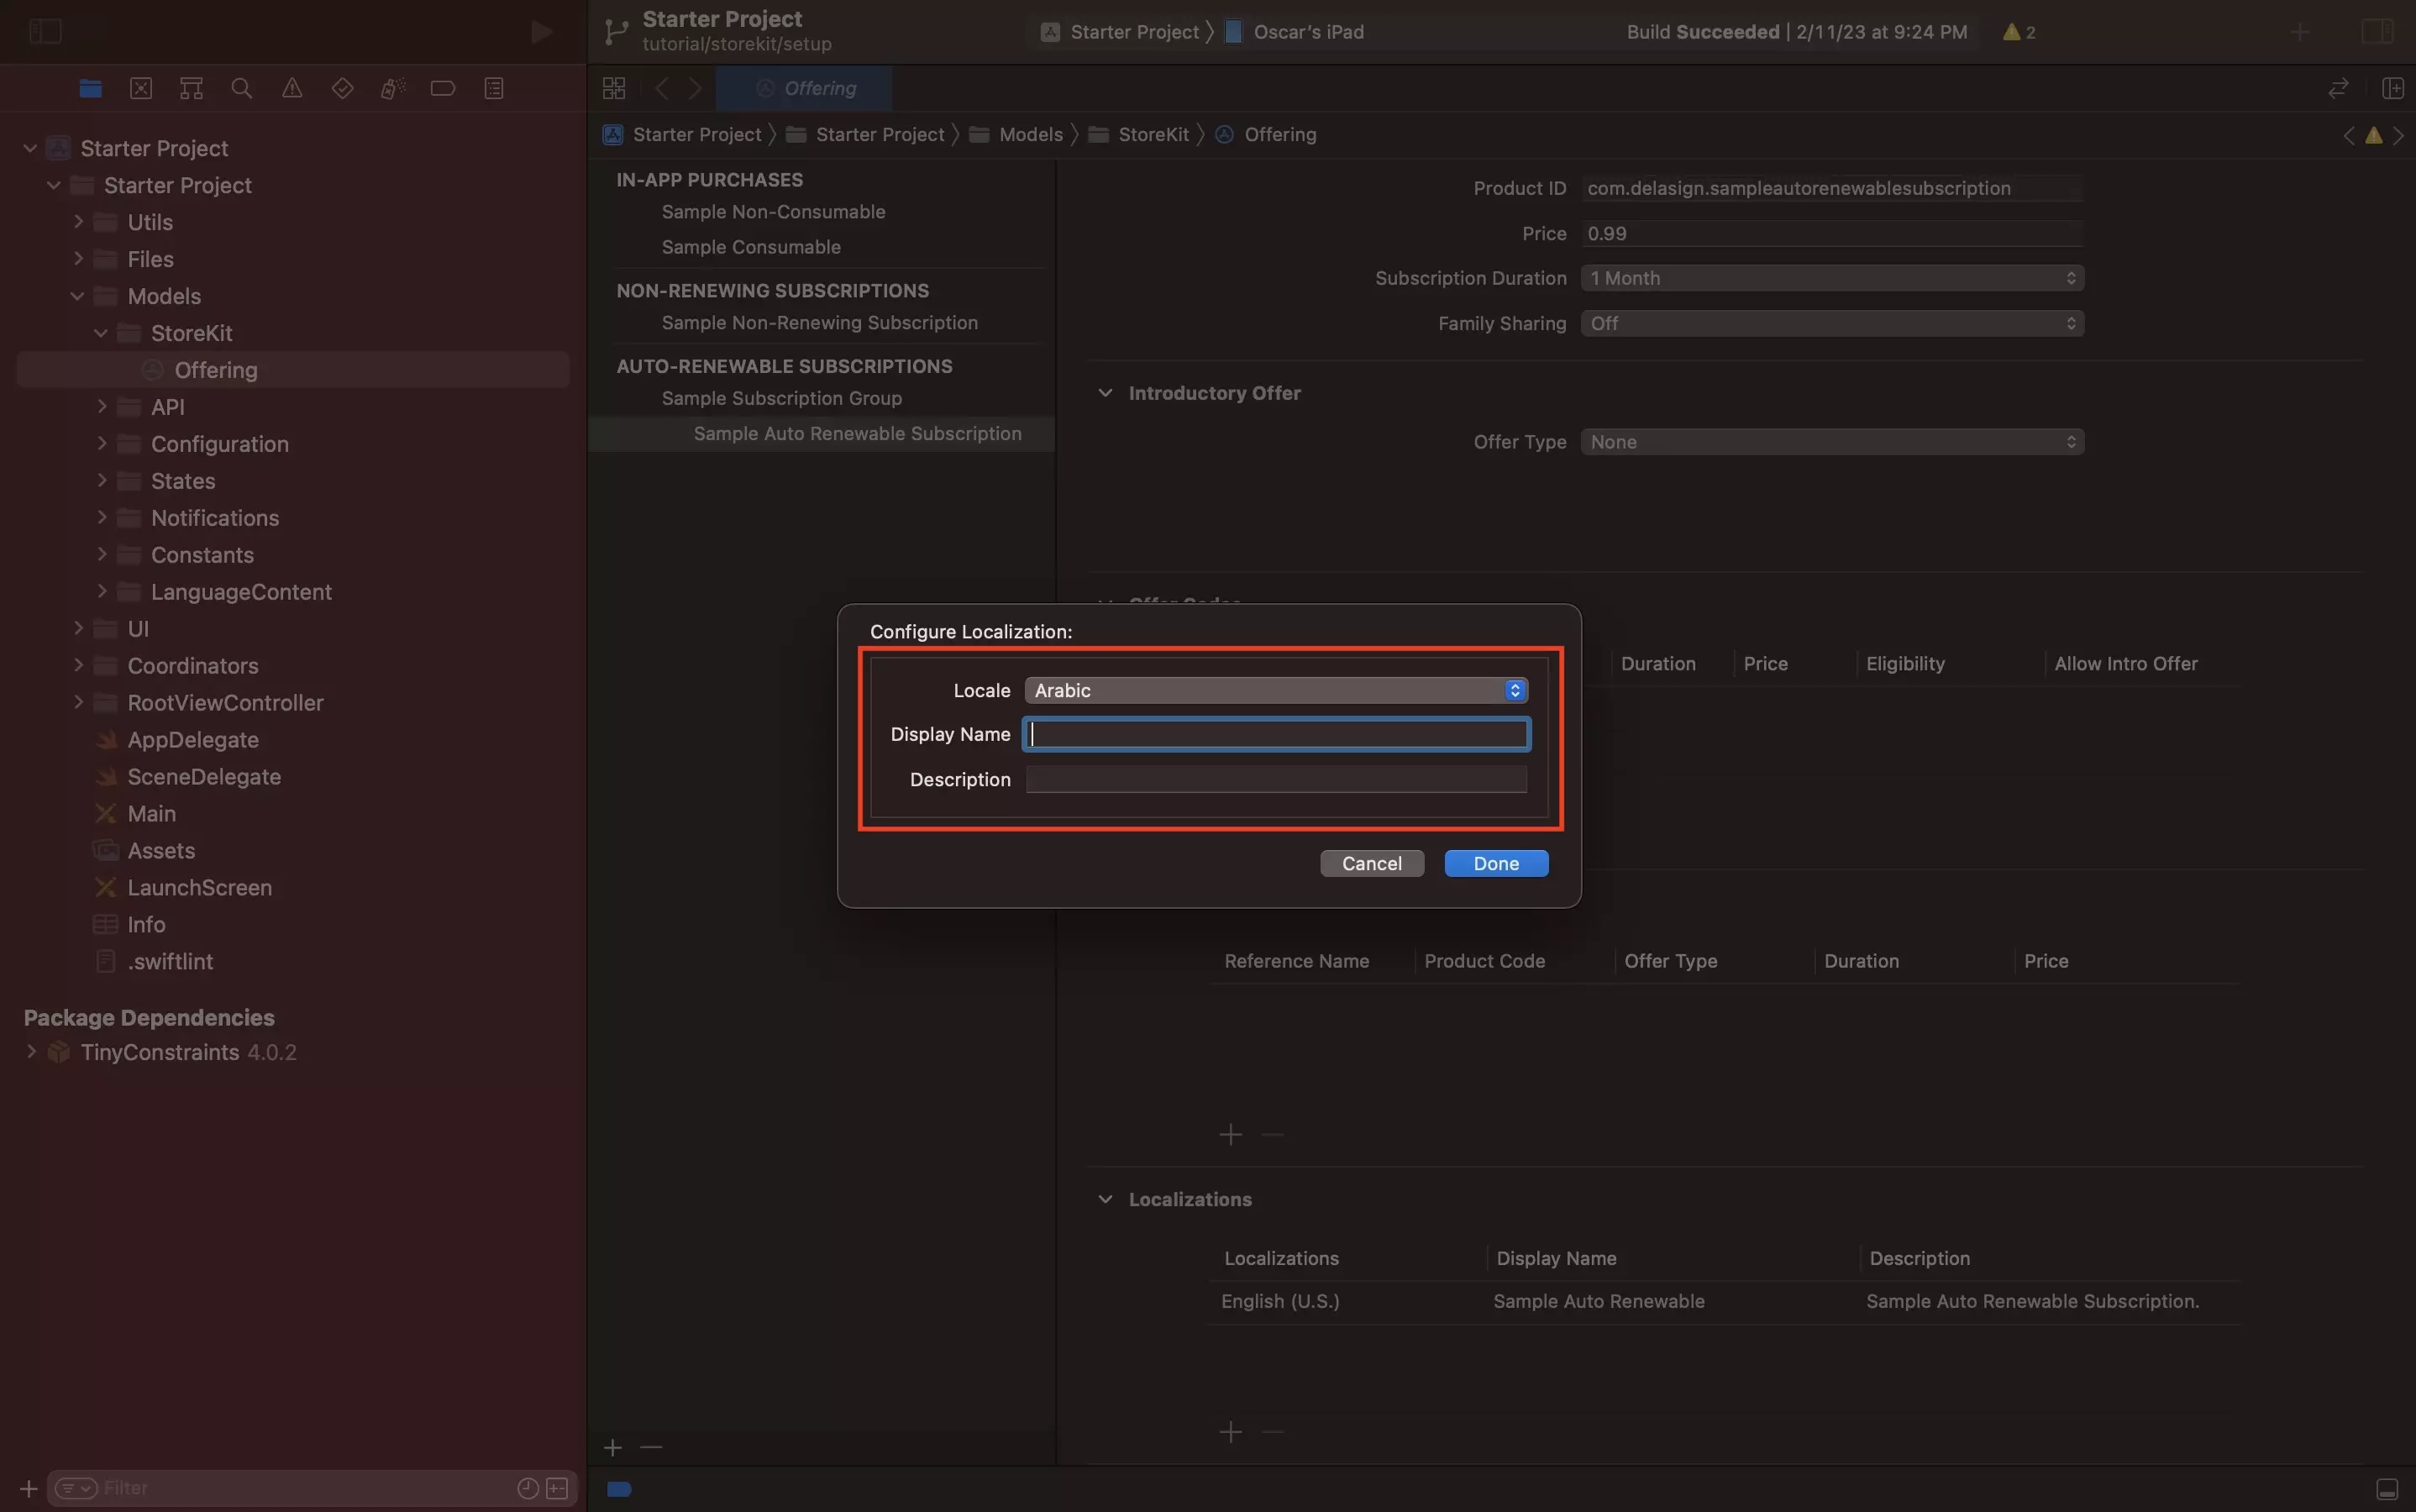
Select the Local and enter the Display Name and Description.
C | Done
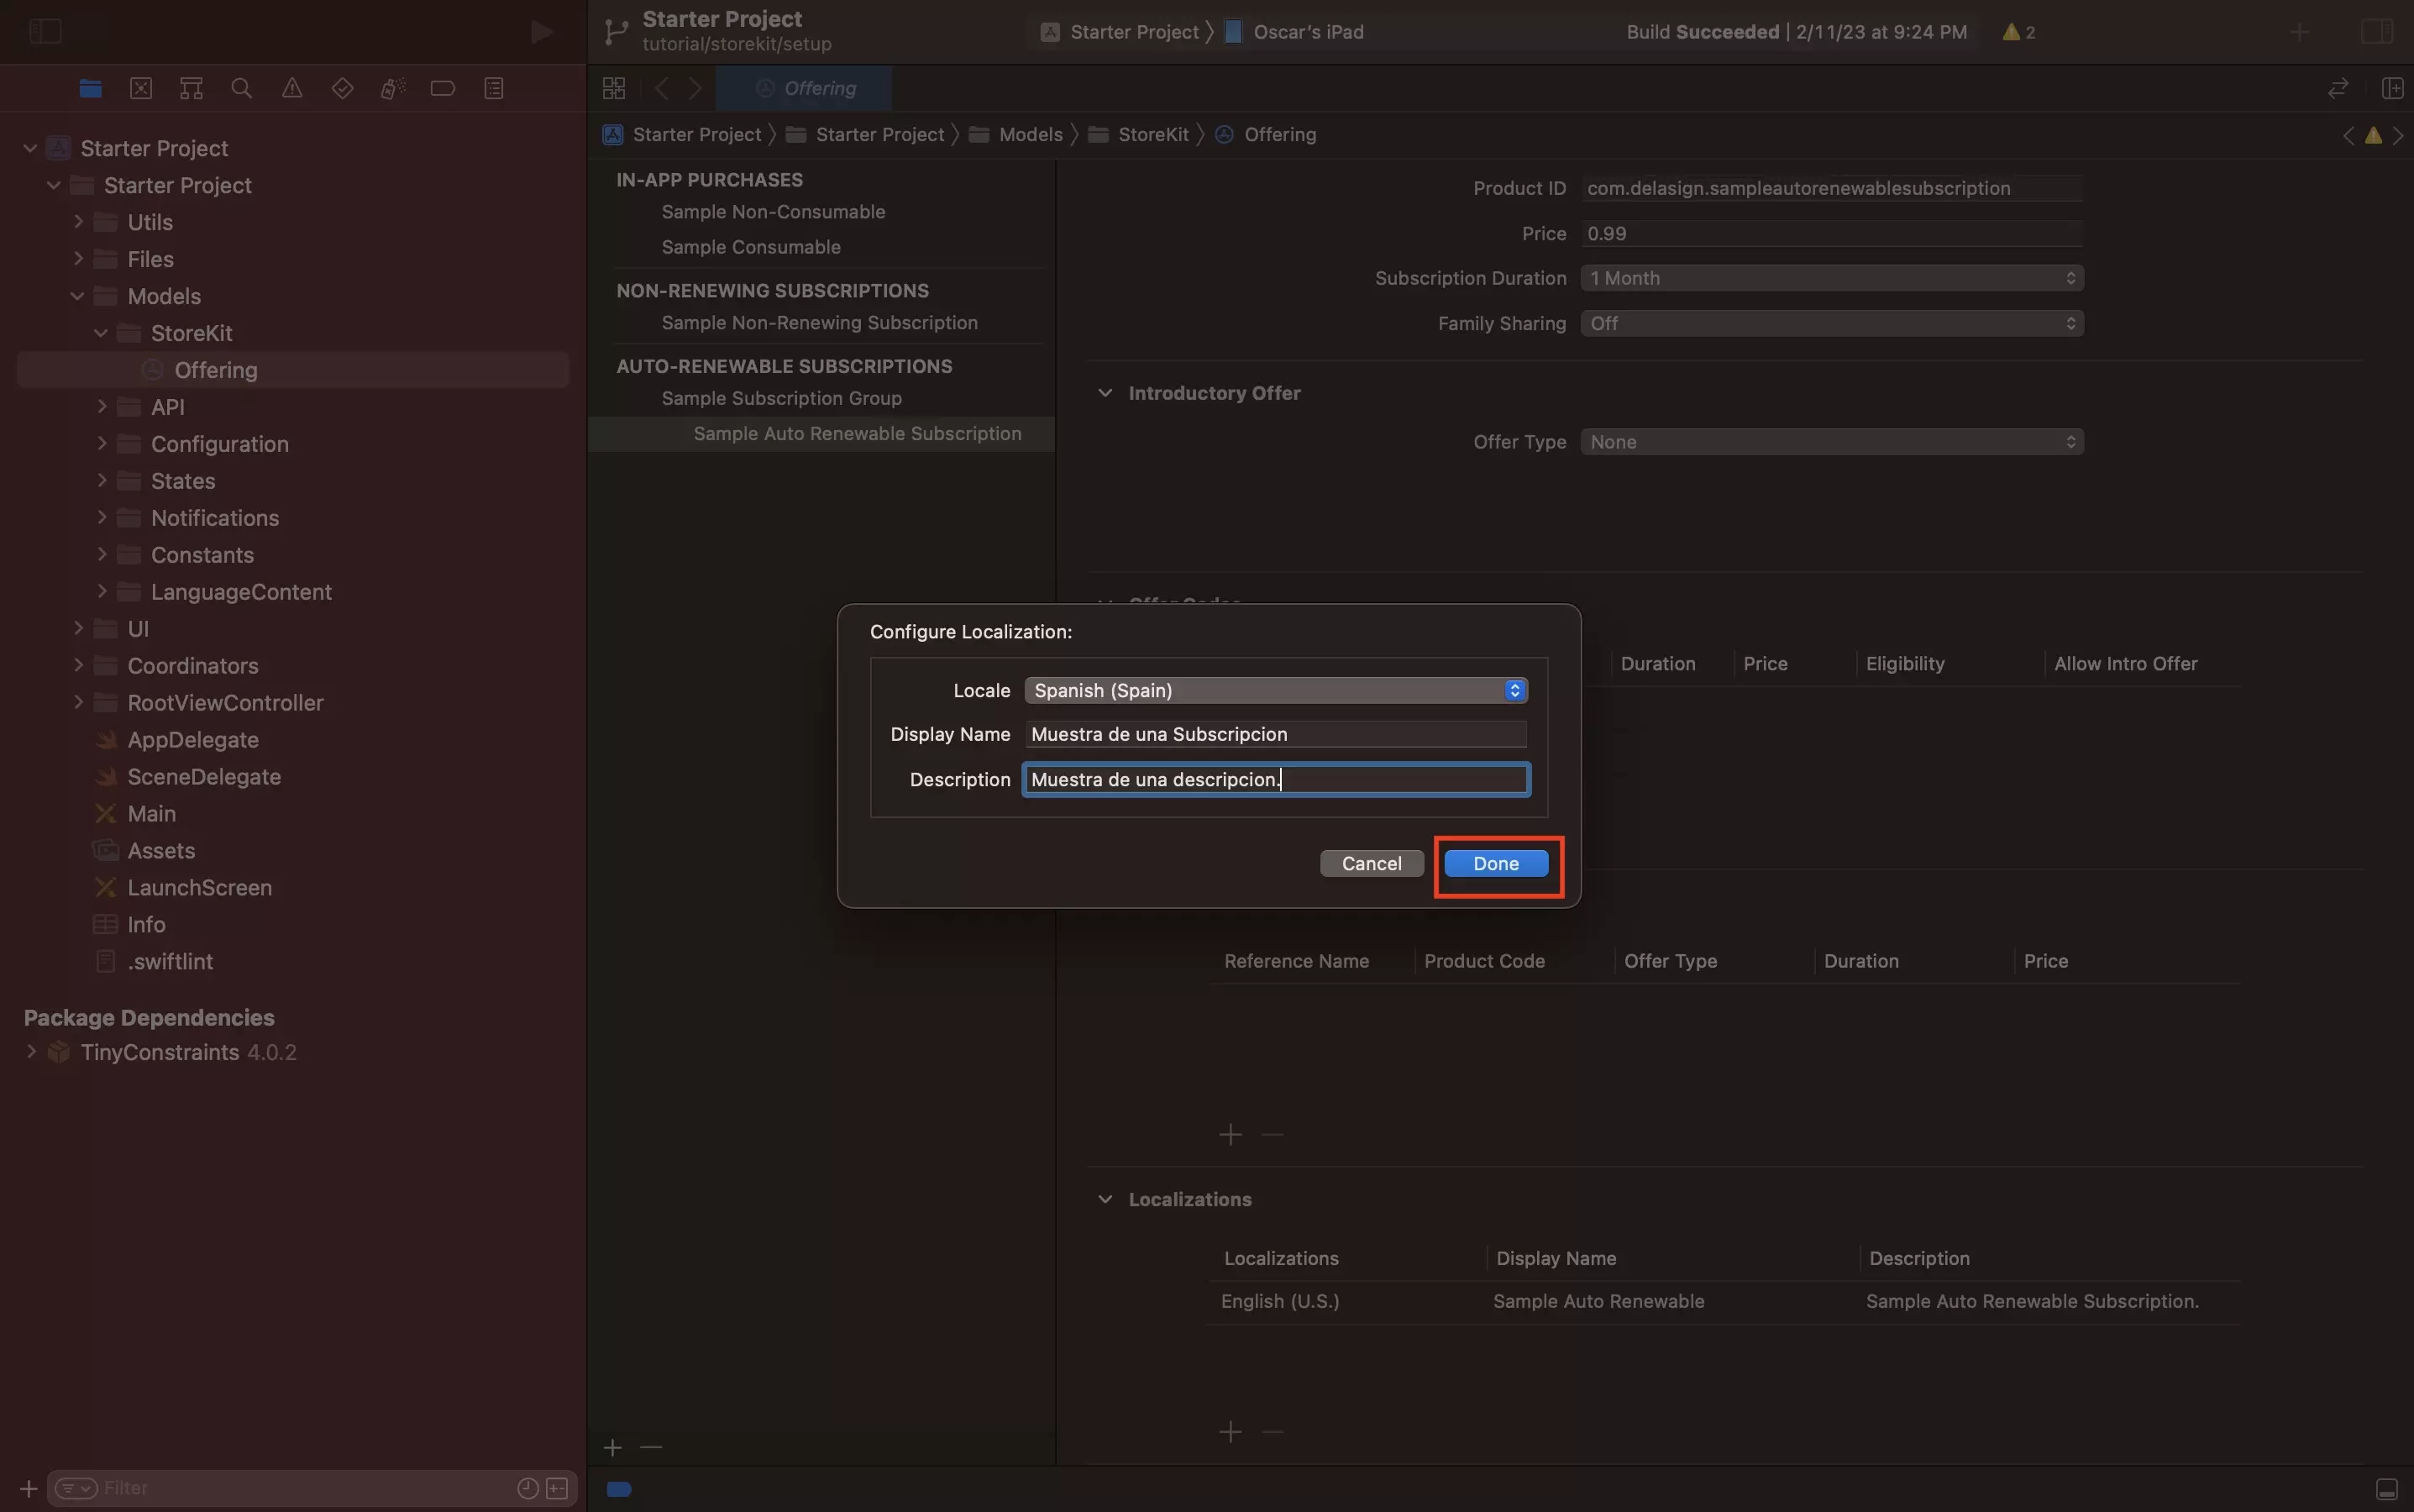
Click Done.
The In-App Purchase or Subscription should now reflect the new localization.