How to create a UICollectionView with cells that size to fit content
A step by step guide on implementing a UICollectionViewCompositionalLayout where UICollectionViewCells dynamically adjust to fit text content in Swift.


A step by step guide on implementing a UICollectionViewCompositionalLayout where UICollectionViewCells dynamically adjust to fit text content in Swift.
The following tutorial uses our Open Source Swift Starter Project to walk you through how to create a UICollectionView similar to iMessage where UICollectionViewCells dynamically adapt their height to elegantly display content.
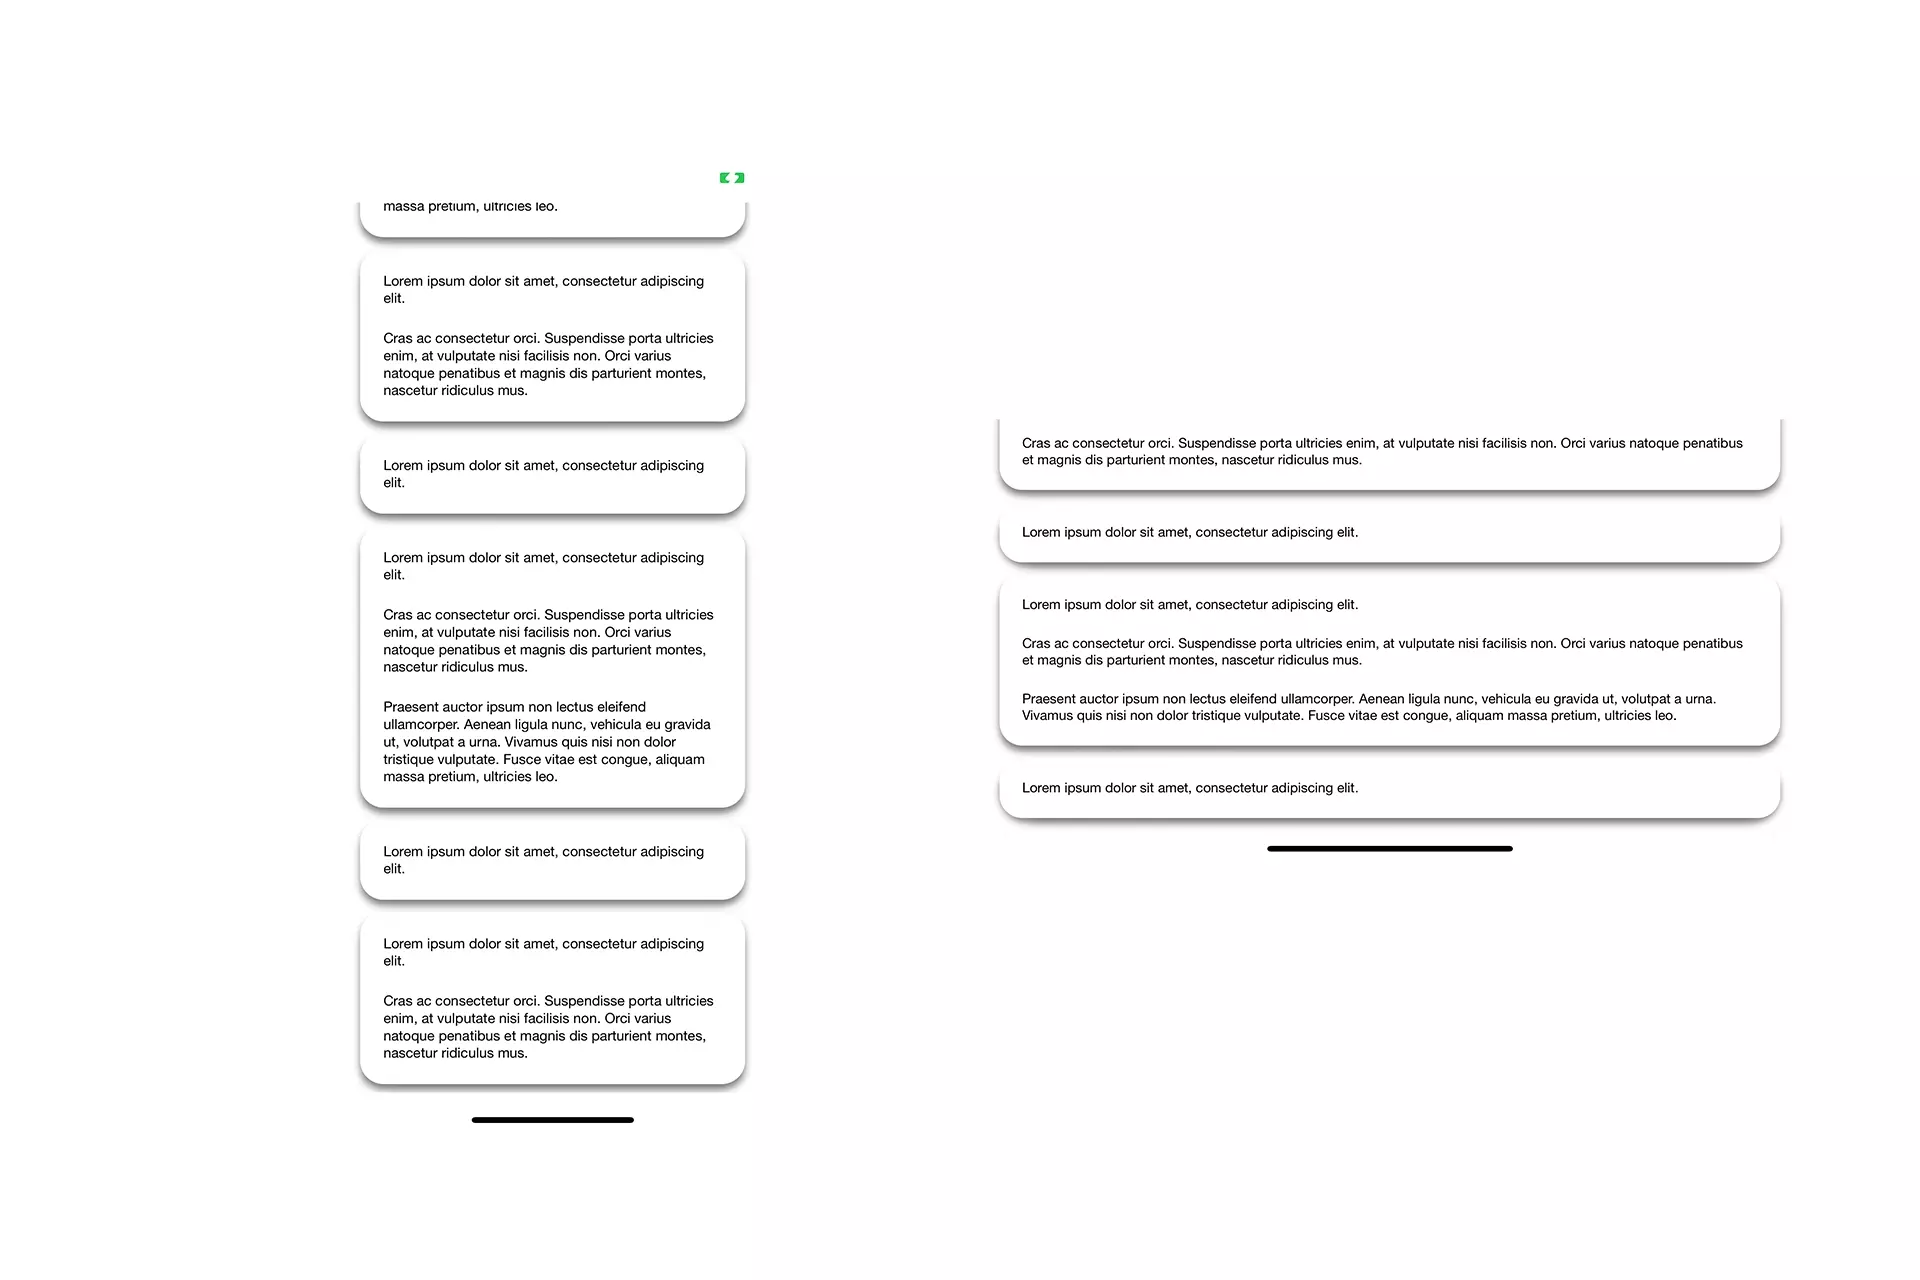
The results of this tutorial.
As demonstrated above, tutorial uses the example of a UICollectionViewCell that holds between 1-3 labels, depending on its index; to demonstrate that the algorithm adapts the UICollectionViewCells height to fit the text of the labels.
If you wish to learn how to create data-driven UICollectionViews, please consult the tutorial below before adapting Step Four to your solution - data should be applied as part of the configuration of the Data Source.
We recommend that you clone our Open Source Swift Starter Project, checking out the main branch and carrying out the steps below. The changes can be found on the tutorial/uicollectionview/dynamic-cell-size branch.
git clone git@github.com:delasign/swift-starter-project.gitStep One: Add the Content
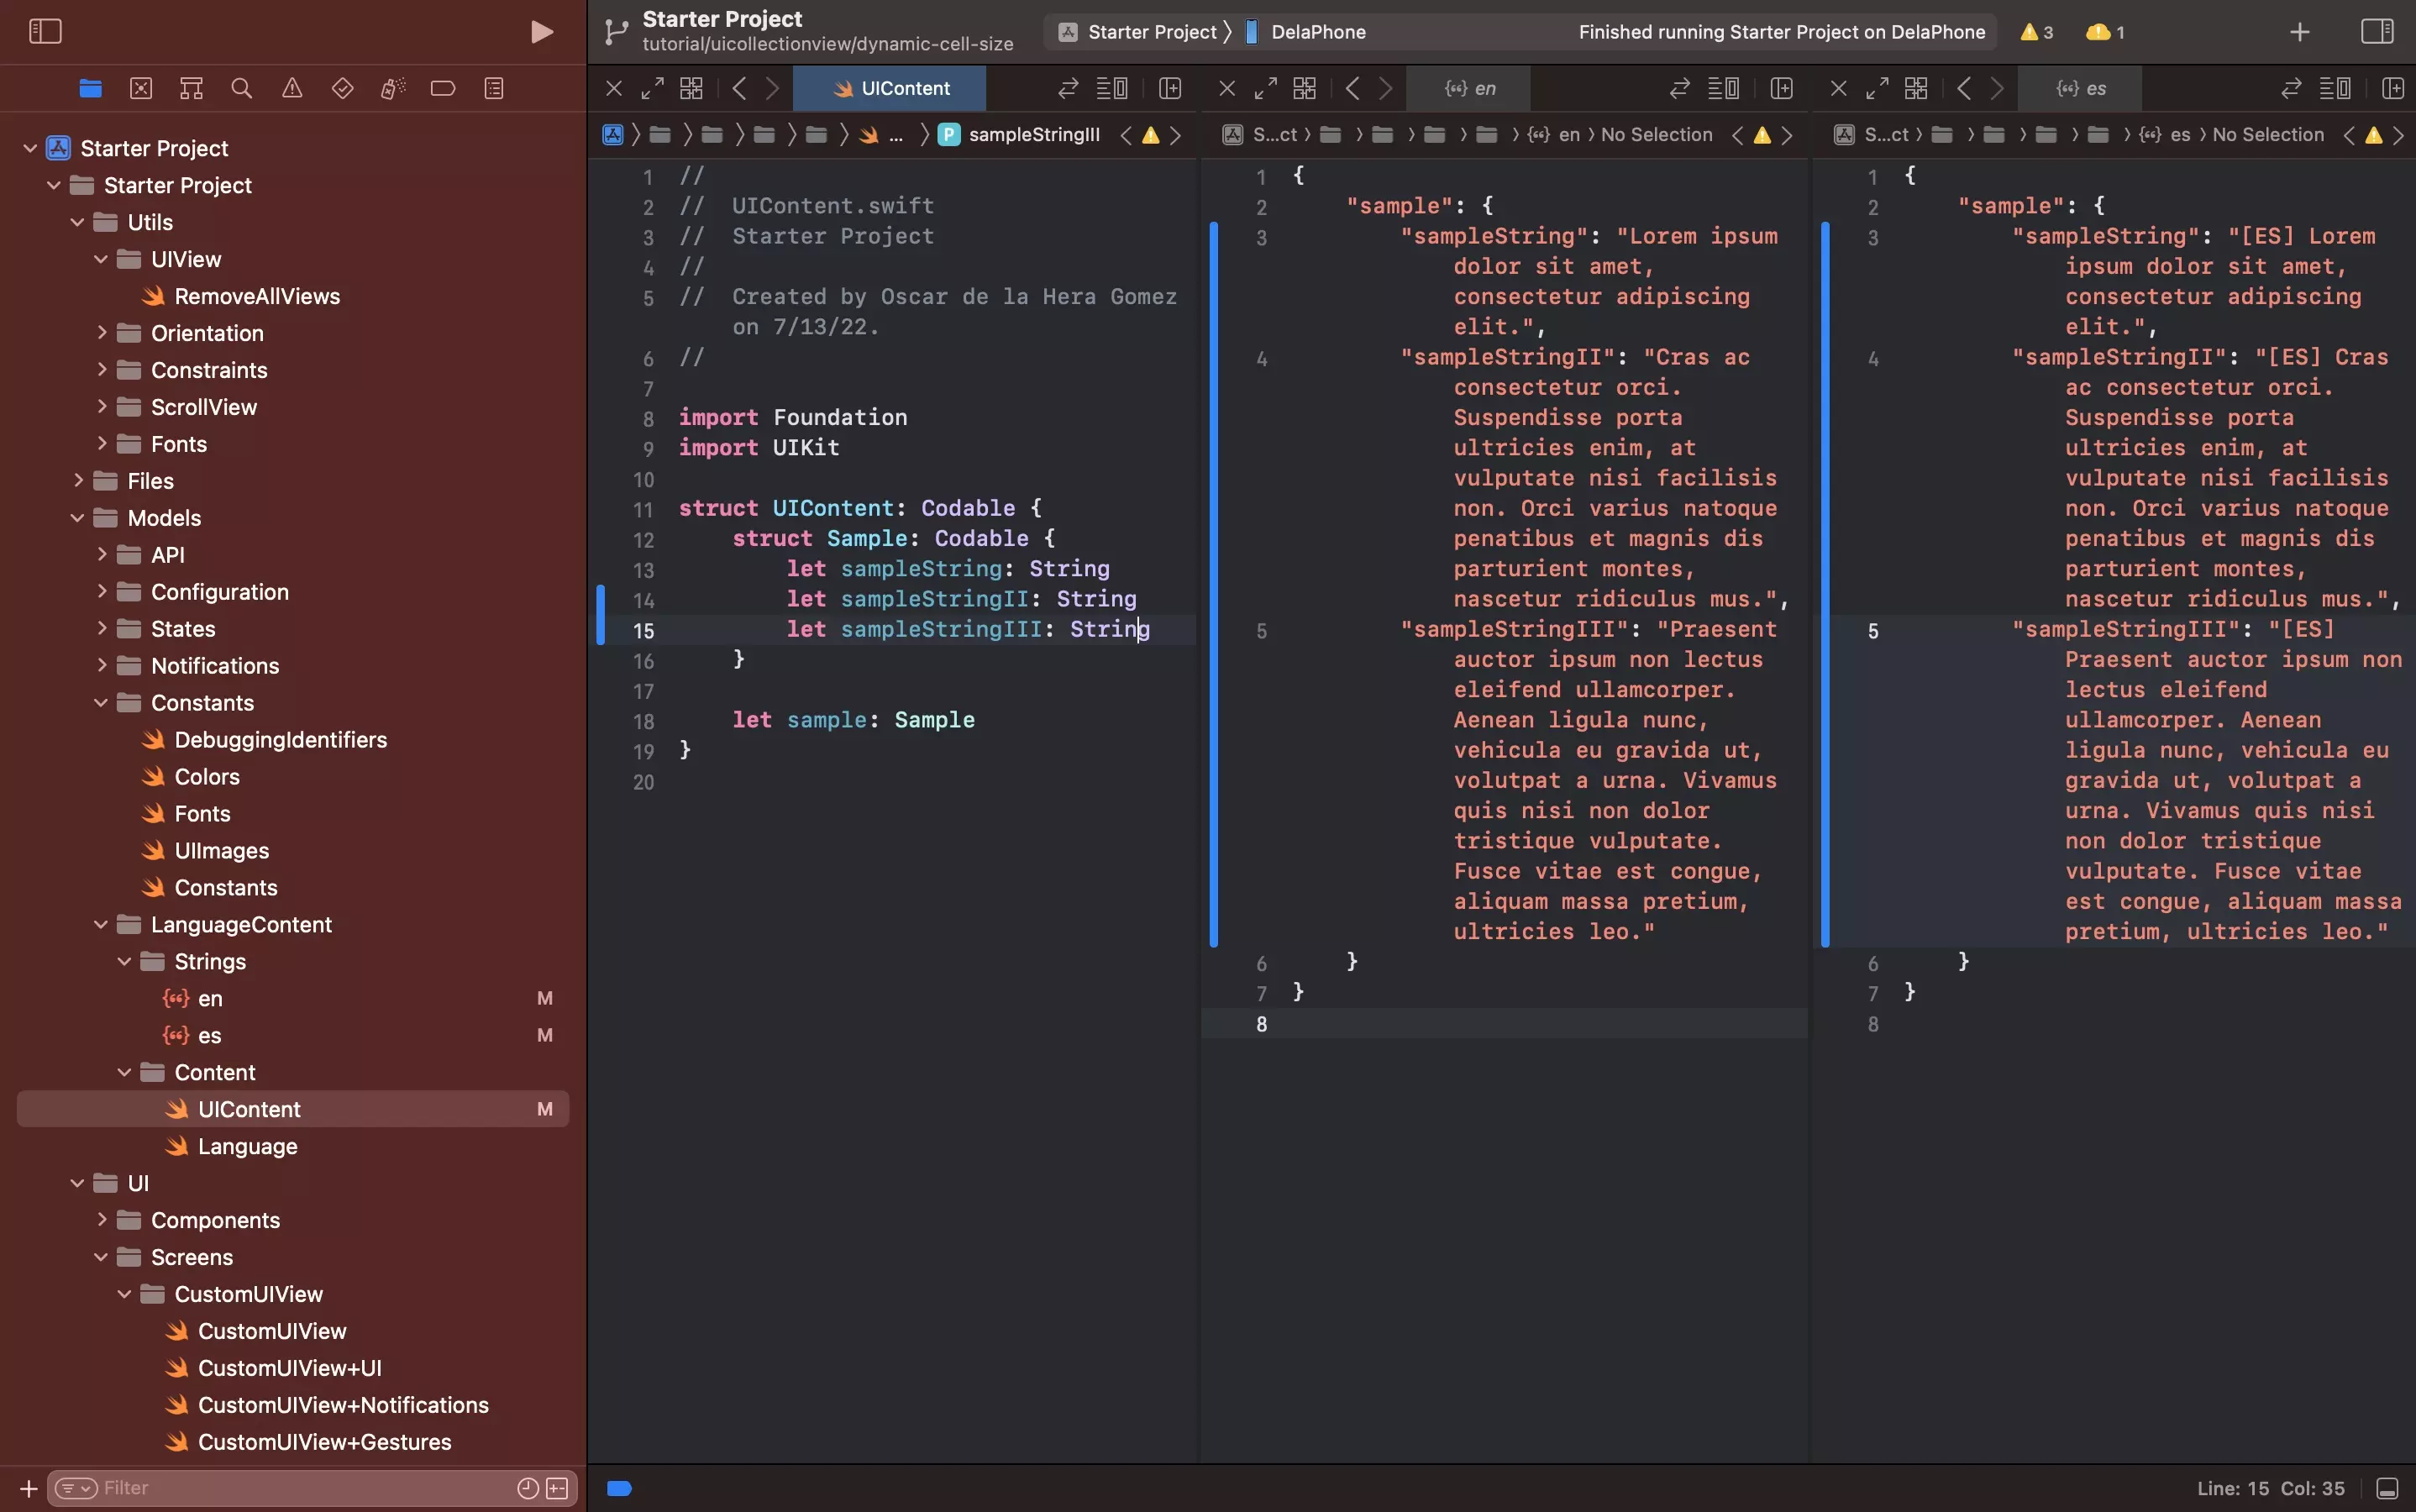
The following step is intended to create three sample strings that will be consumed by the application.
This step builds on our Localization tutorial which is available below and follows our methodology that allows apps to be created for multiple languages.
A | Create the UIContent
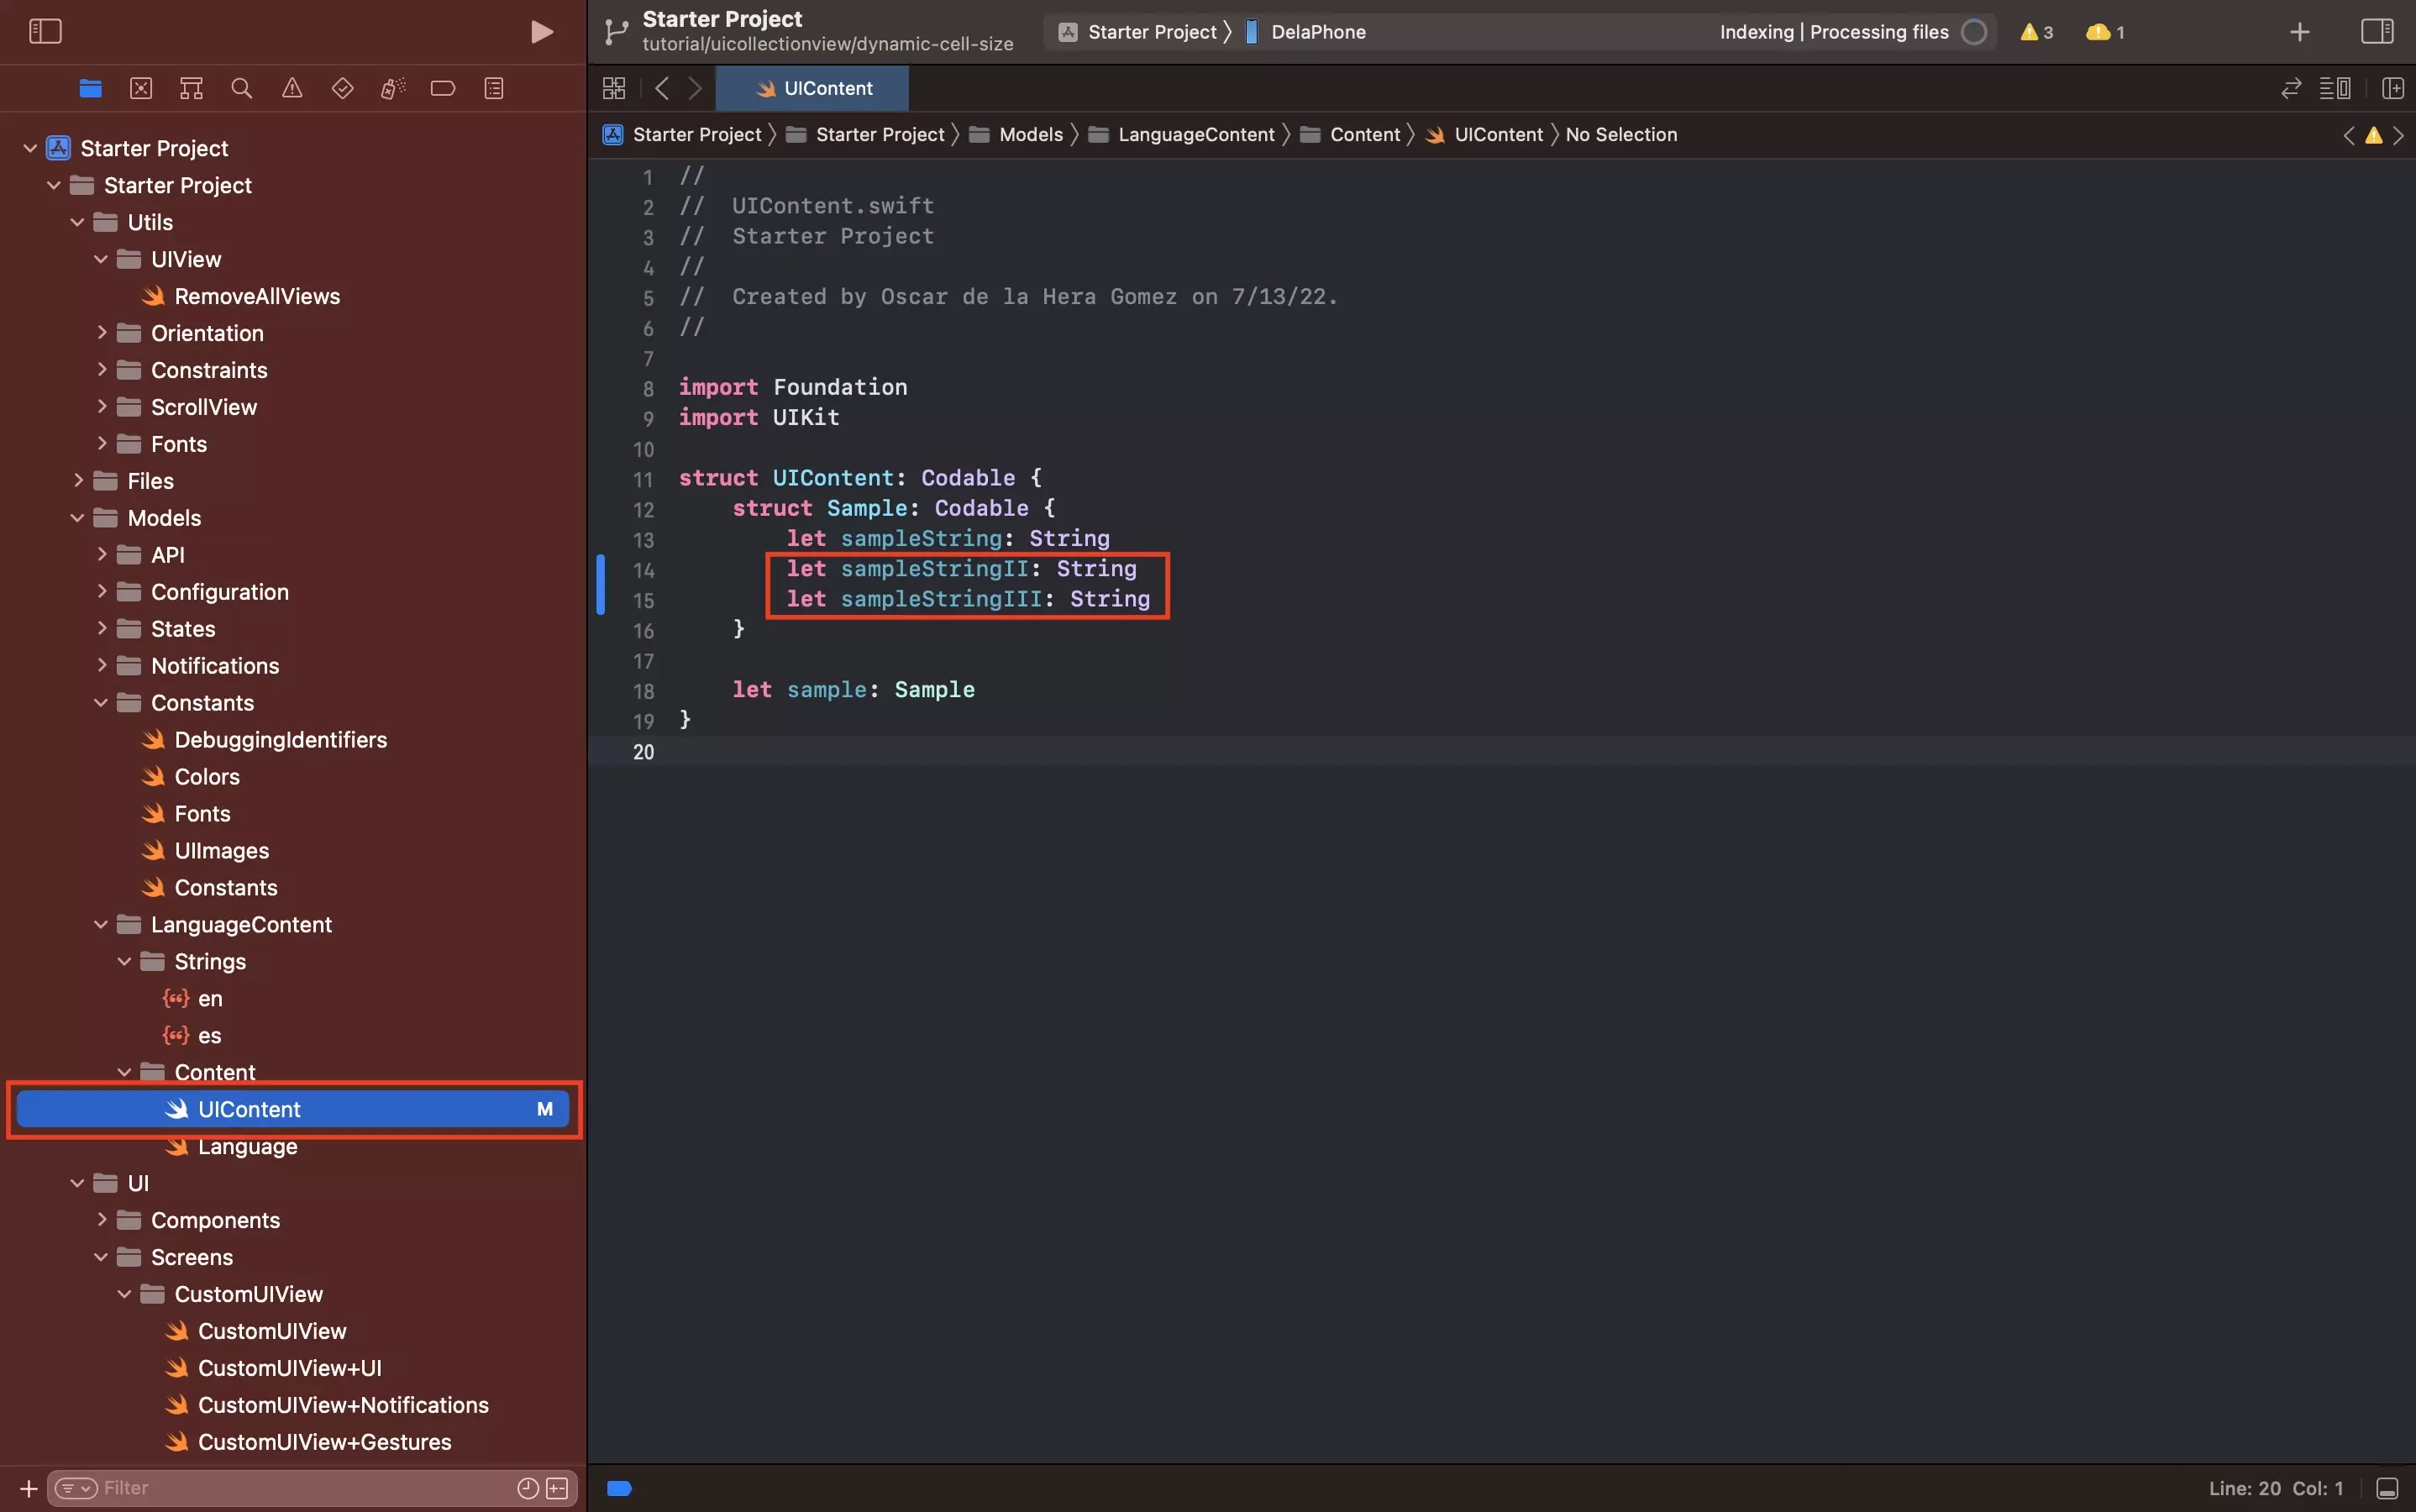
Add your content to the UIContent file.
In our case we have added two additional sample strings to the existing sample string.
B | Add Strings
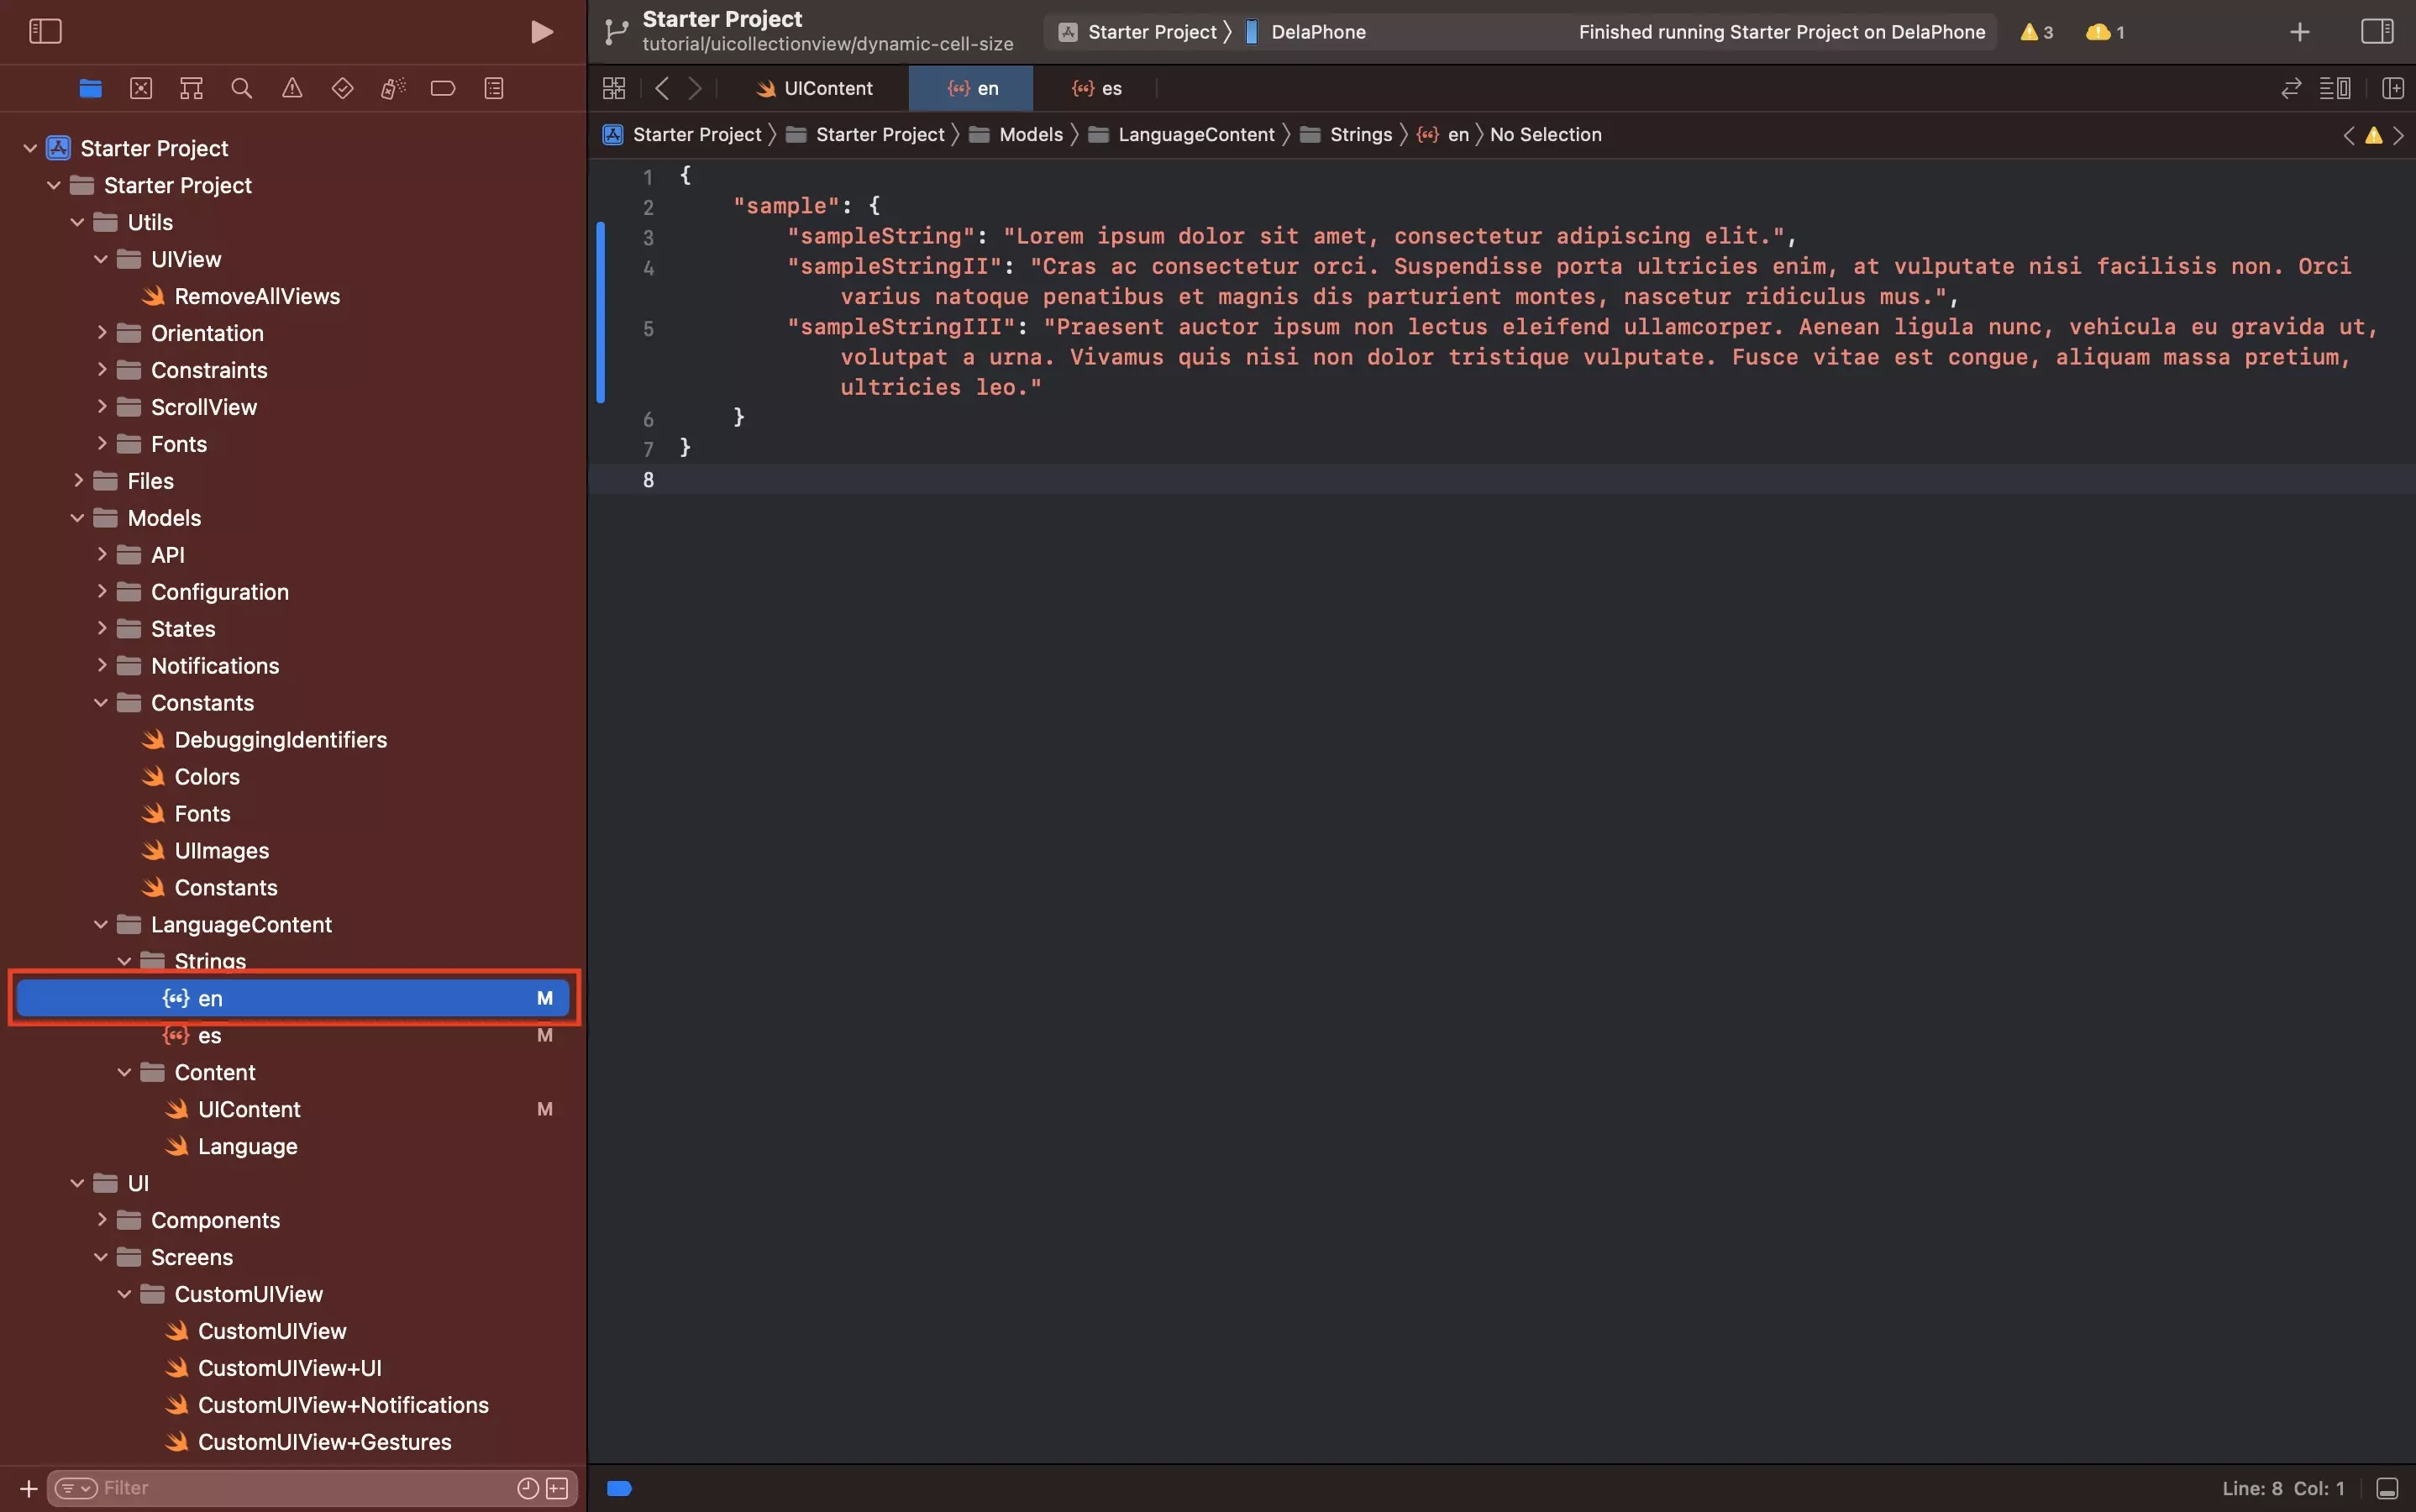
Add the relevant strings to en.json and es.json; or the necessary language files for the app to operate.
Step Two: Add the Attributed Styles
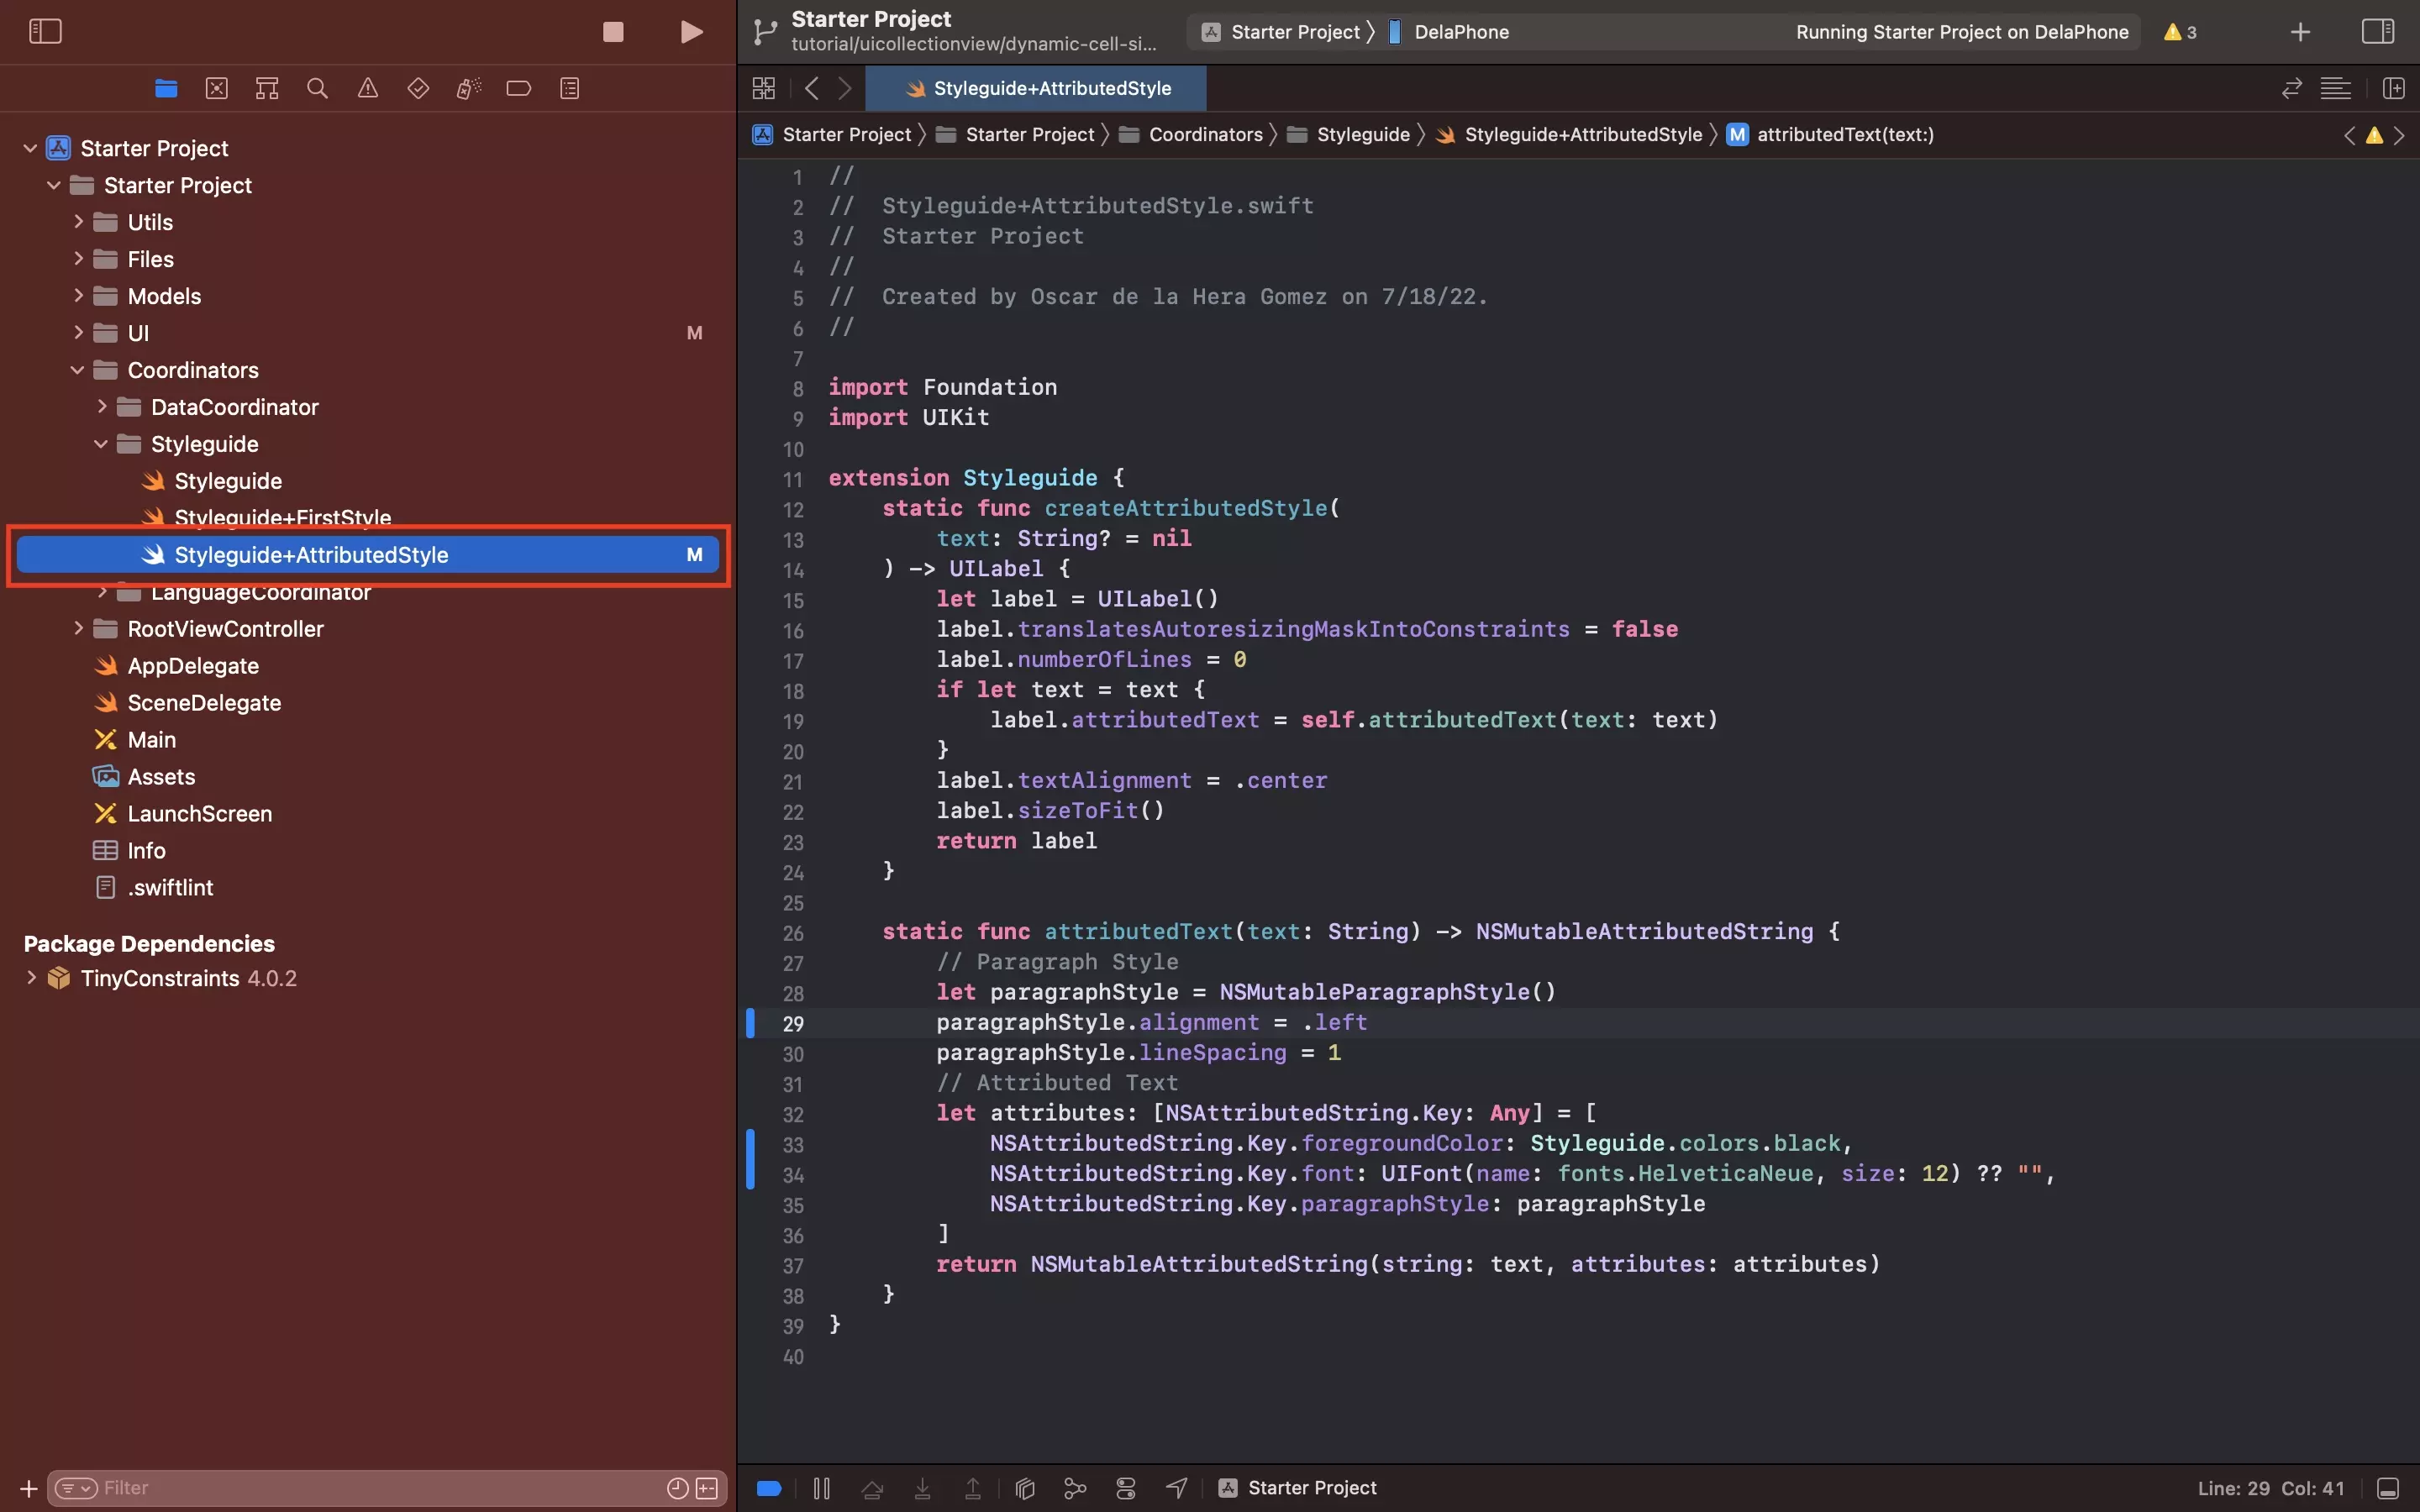
As part of this step, we modified a previously created custom attributed style.
For more information on how to create these or why we use them, please consult the articles below.
Step Three: Create the UICollectionViewCell
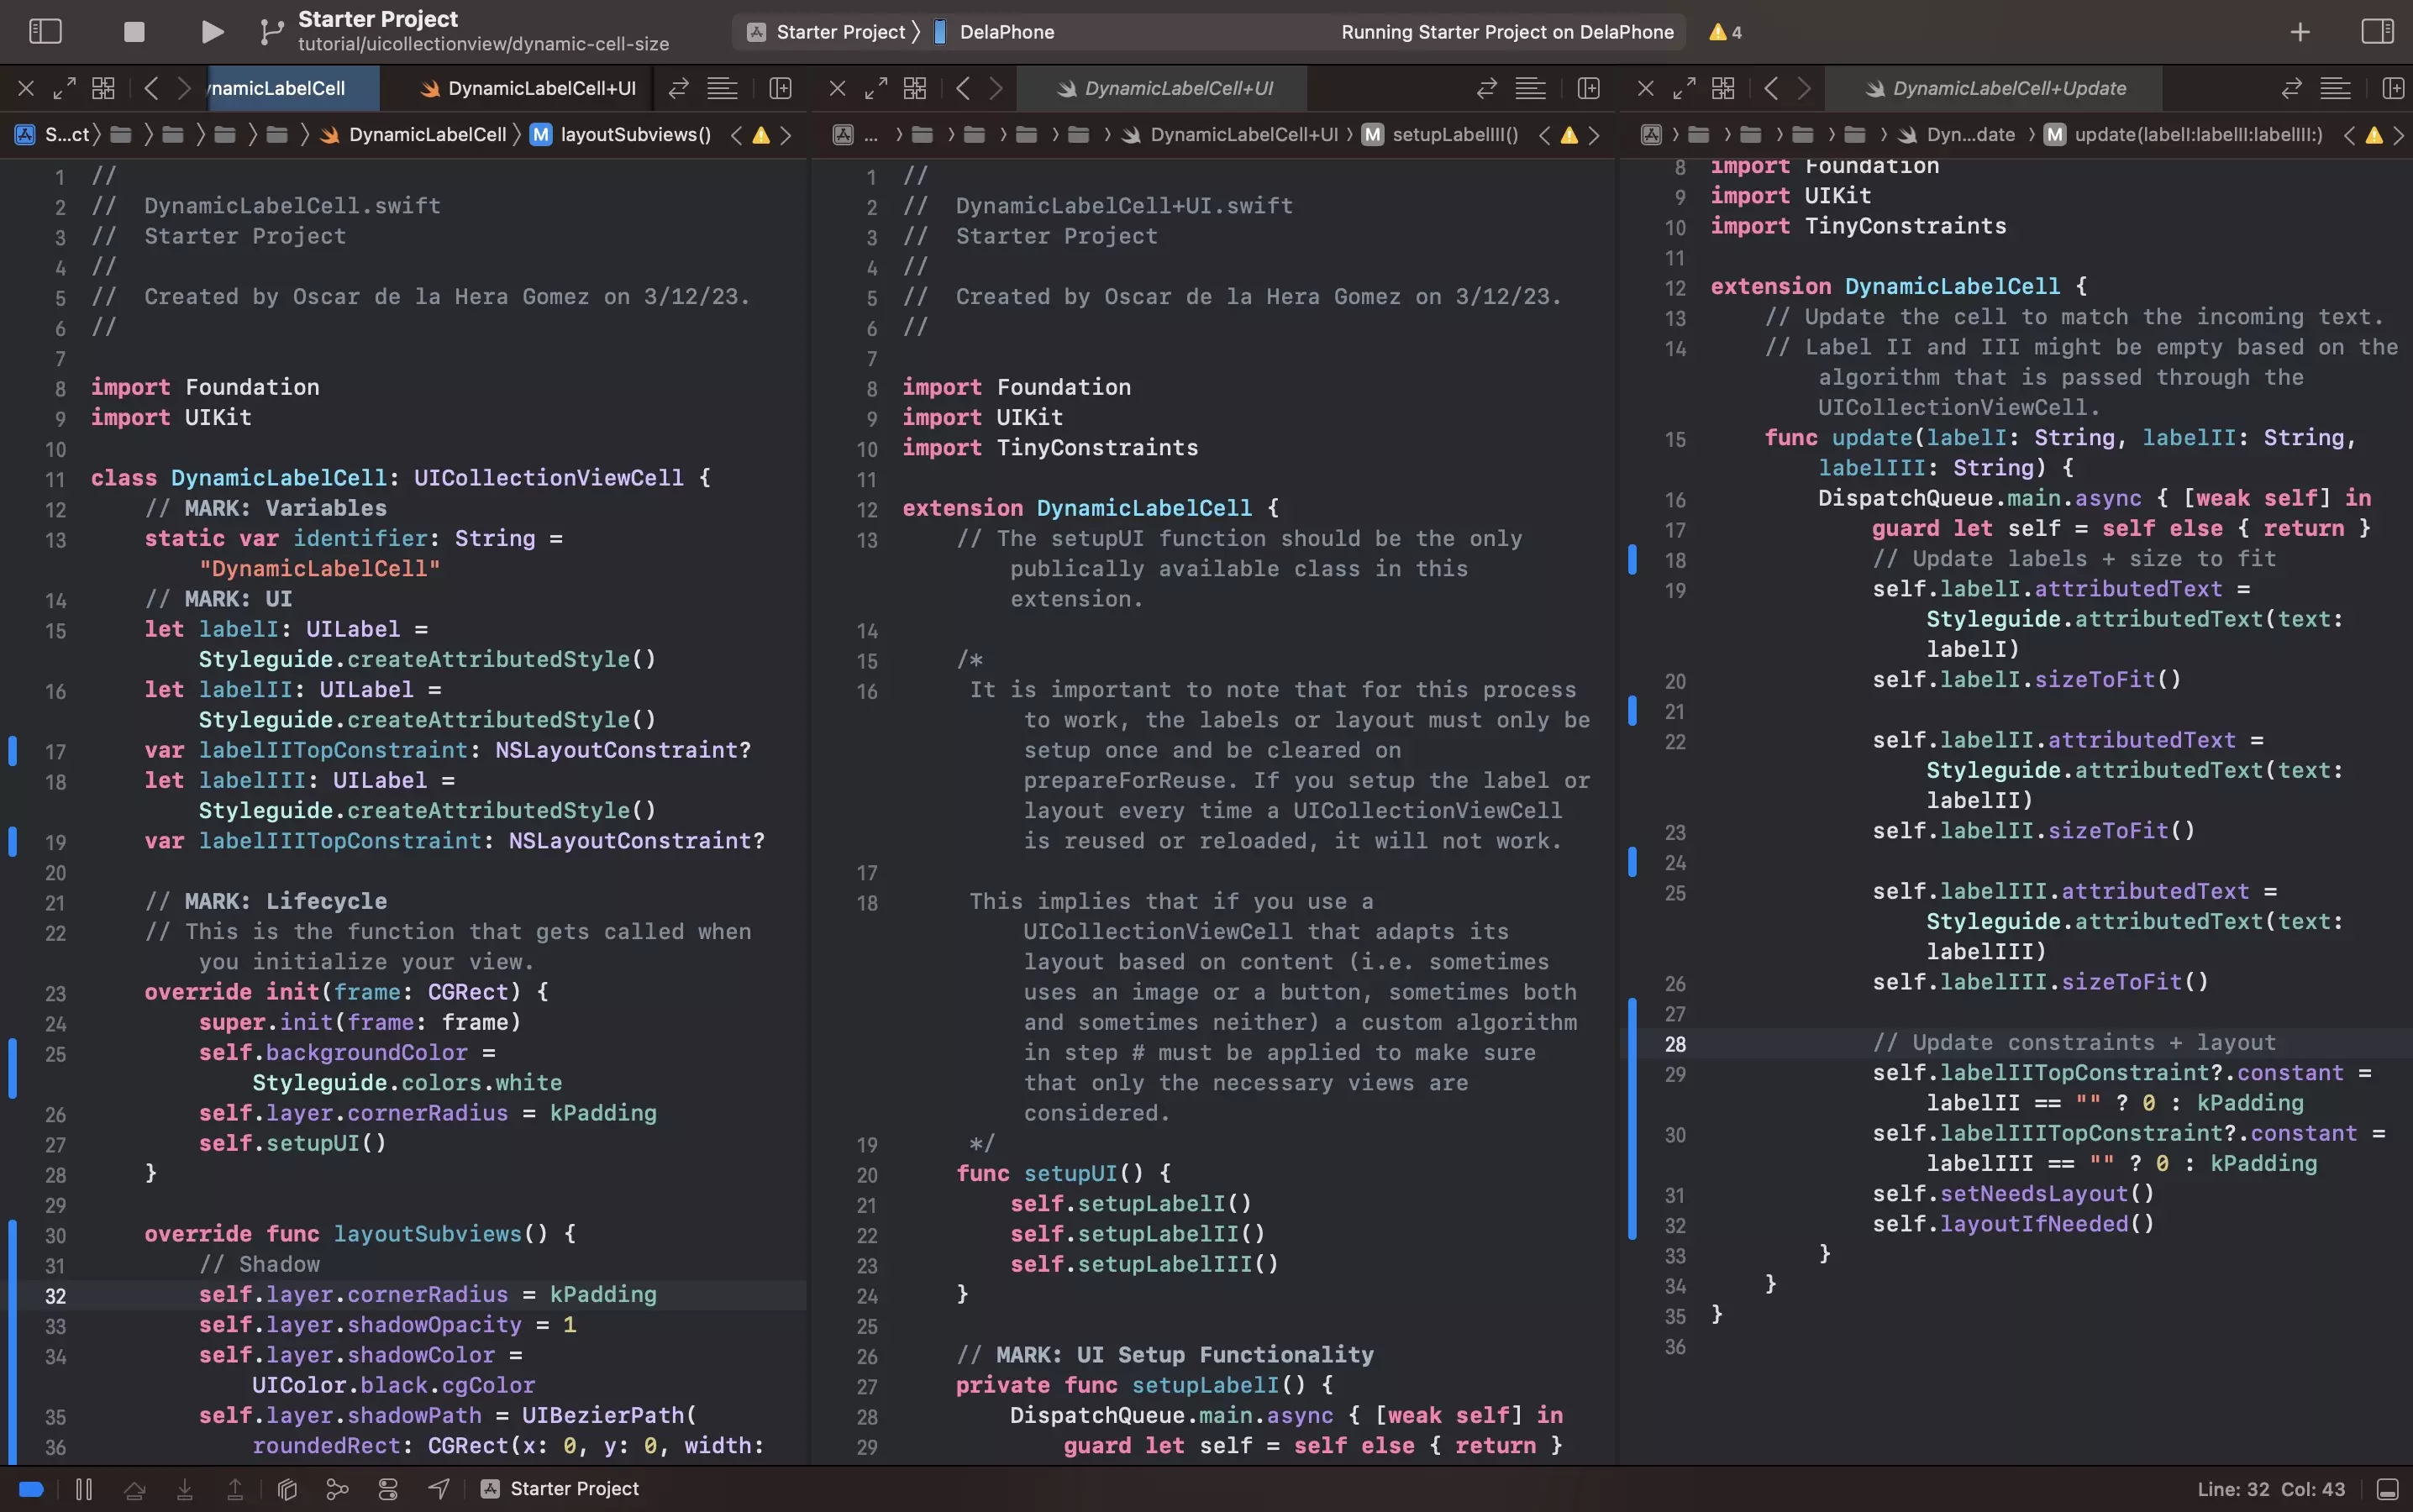
The following step creates a UICollectionViewCell whose content view holds three labels that are initially empty.
It is important to note that for this process to work, the labels or layout must only be setup once and be cleared on prepareForReuse.
If you setup the label or layout every time a UICollectionViewCell is reused or reloaded, it will not work.
This implies that if you use a UICollectionViewCell that adapts its layout based on content (i.e. sometimes uses an image or a button, sometimes both and sometimes neither) a custom algorithm must be applied in Step Three, Part C to make sure that only the necessary views are considered.
This content will be updated through a UICollectionView.CellRegistration method in Step Four, Part C.
A | Create the declaration file
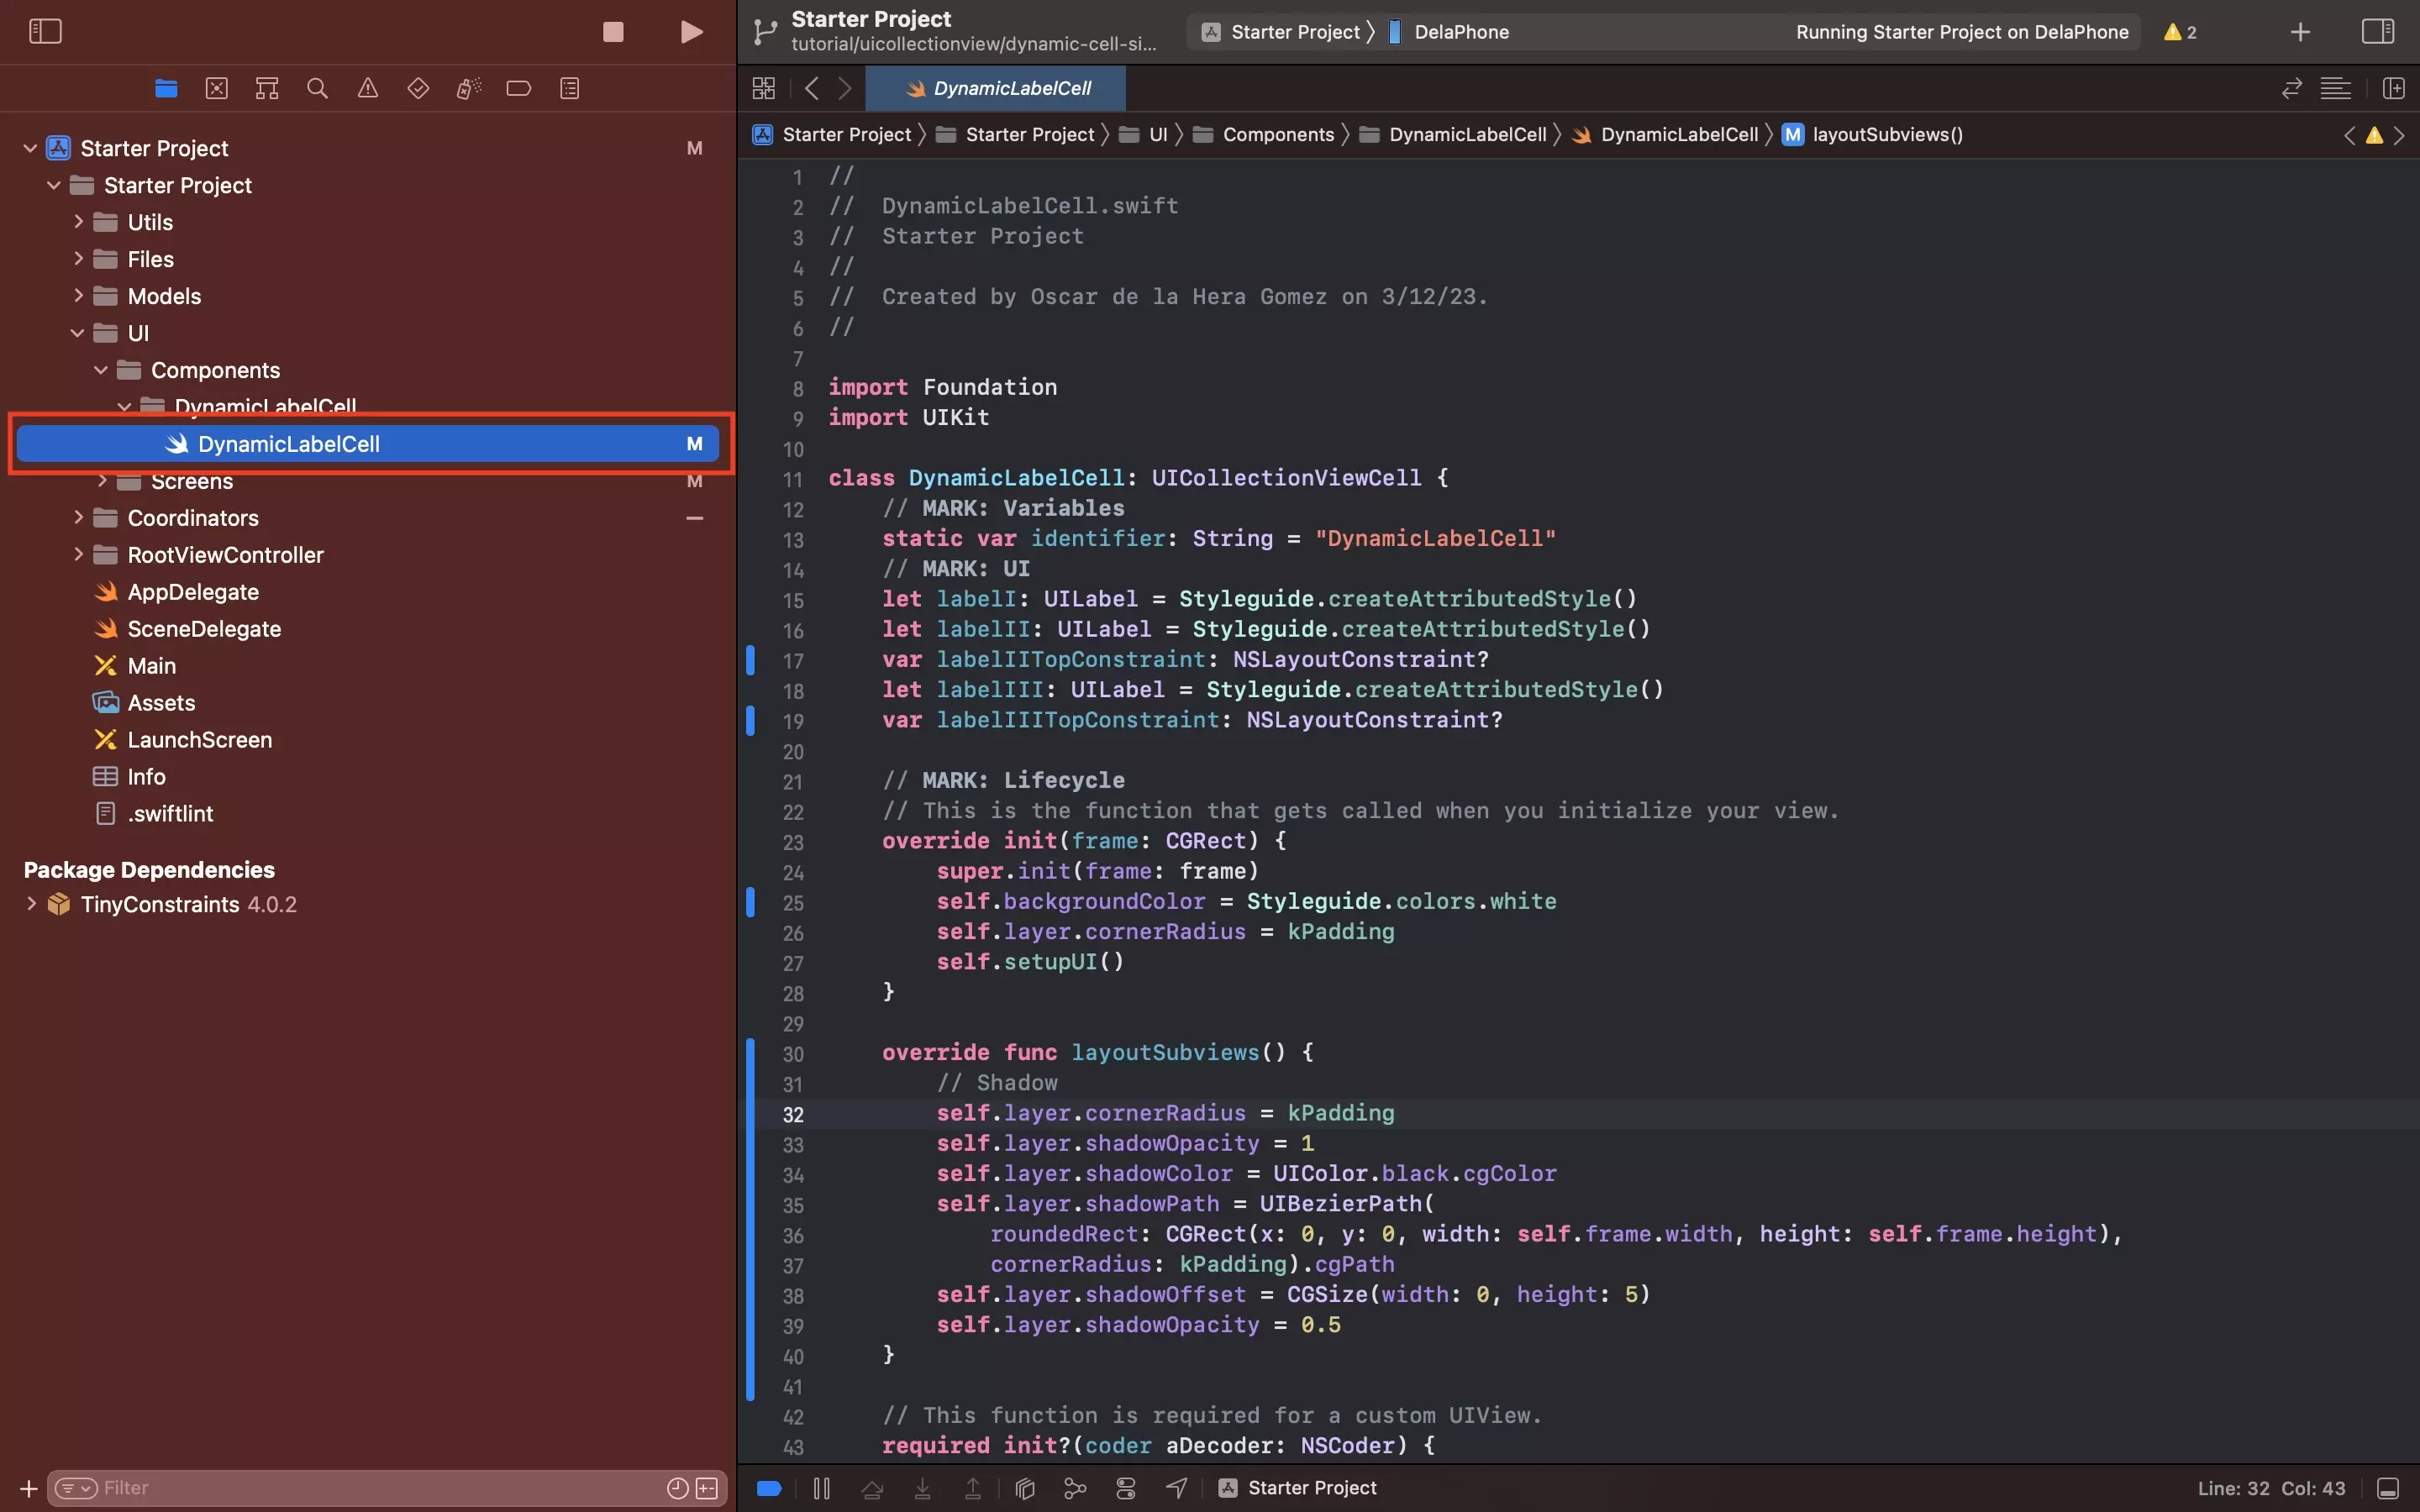
Under UI/Components, create a new folder called DynamicLabelCell.
Within the newly created DynamicLabelCell folder, create a new file called DynamicLabelCell.swift and paste in the code below.
B | Create the UI file
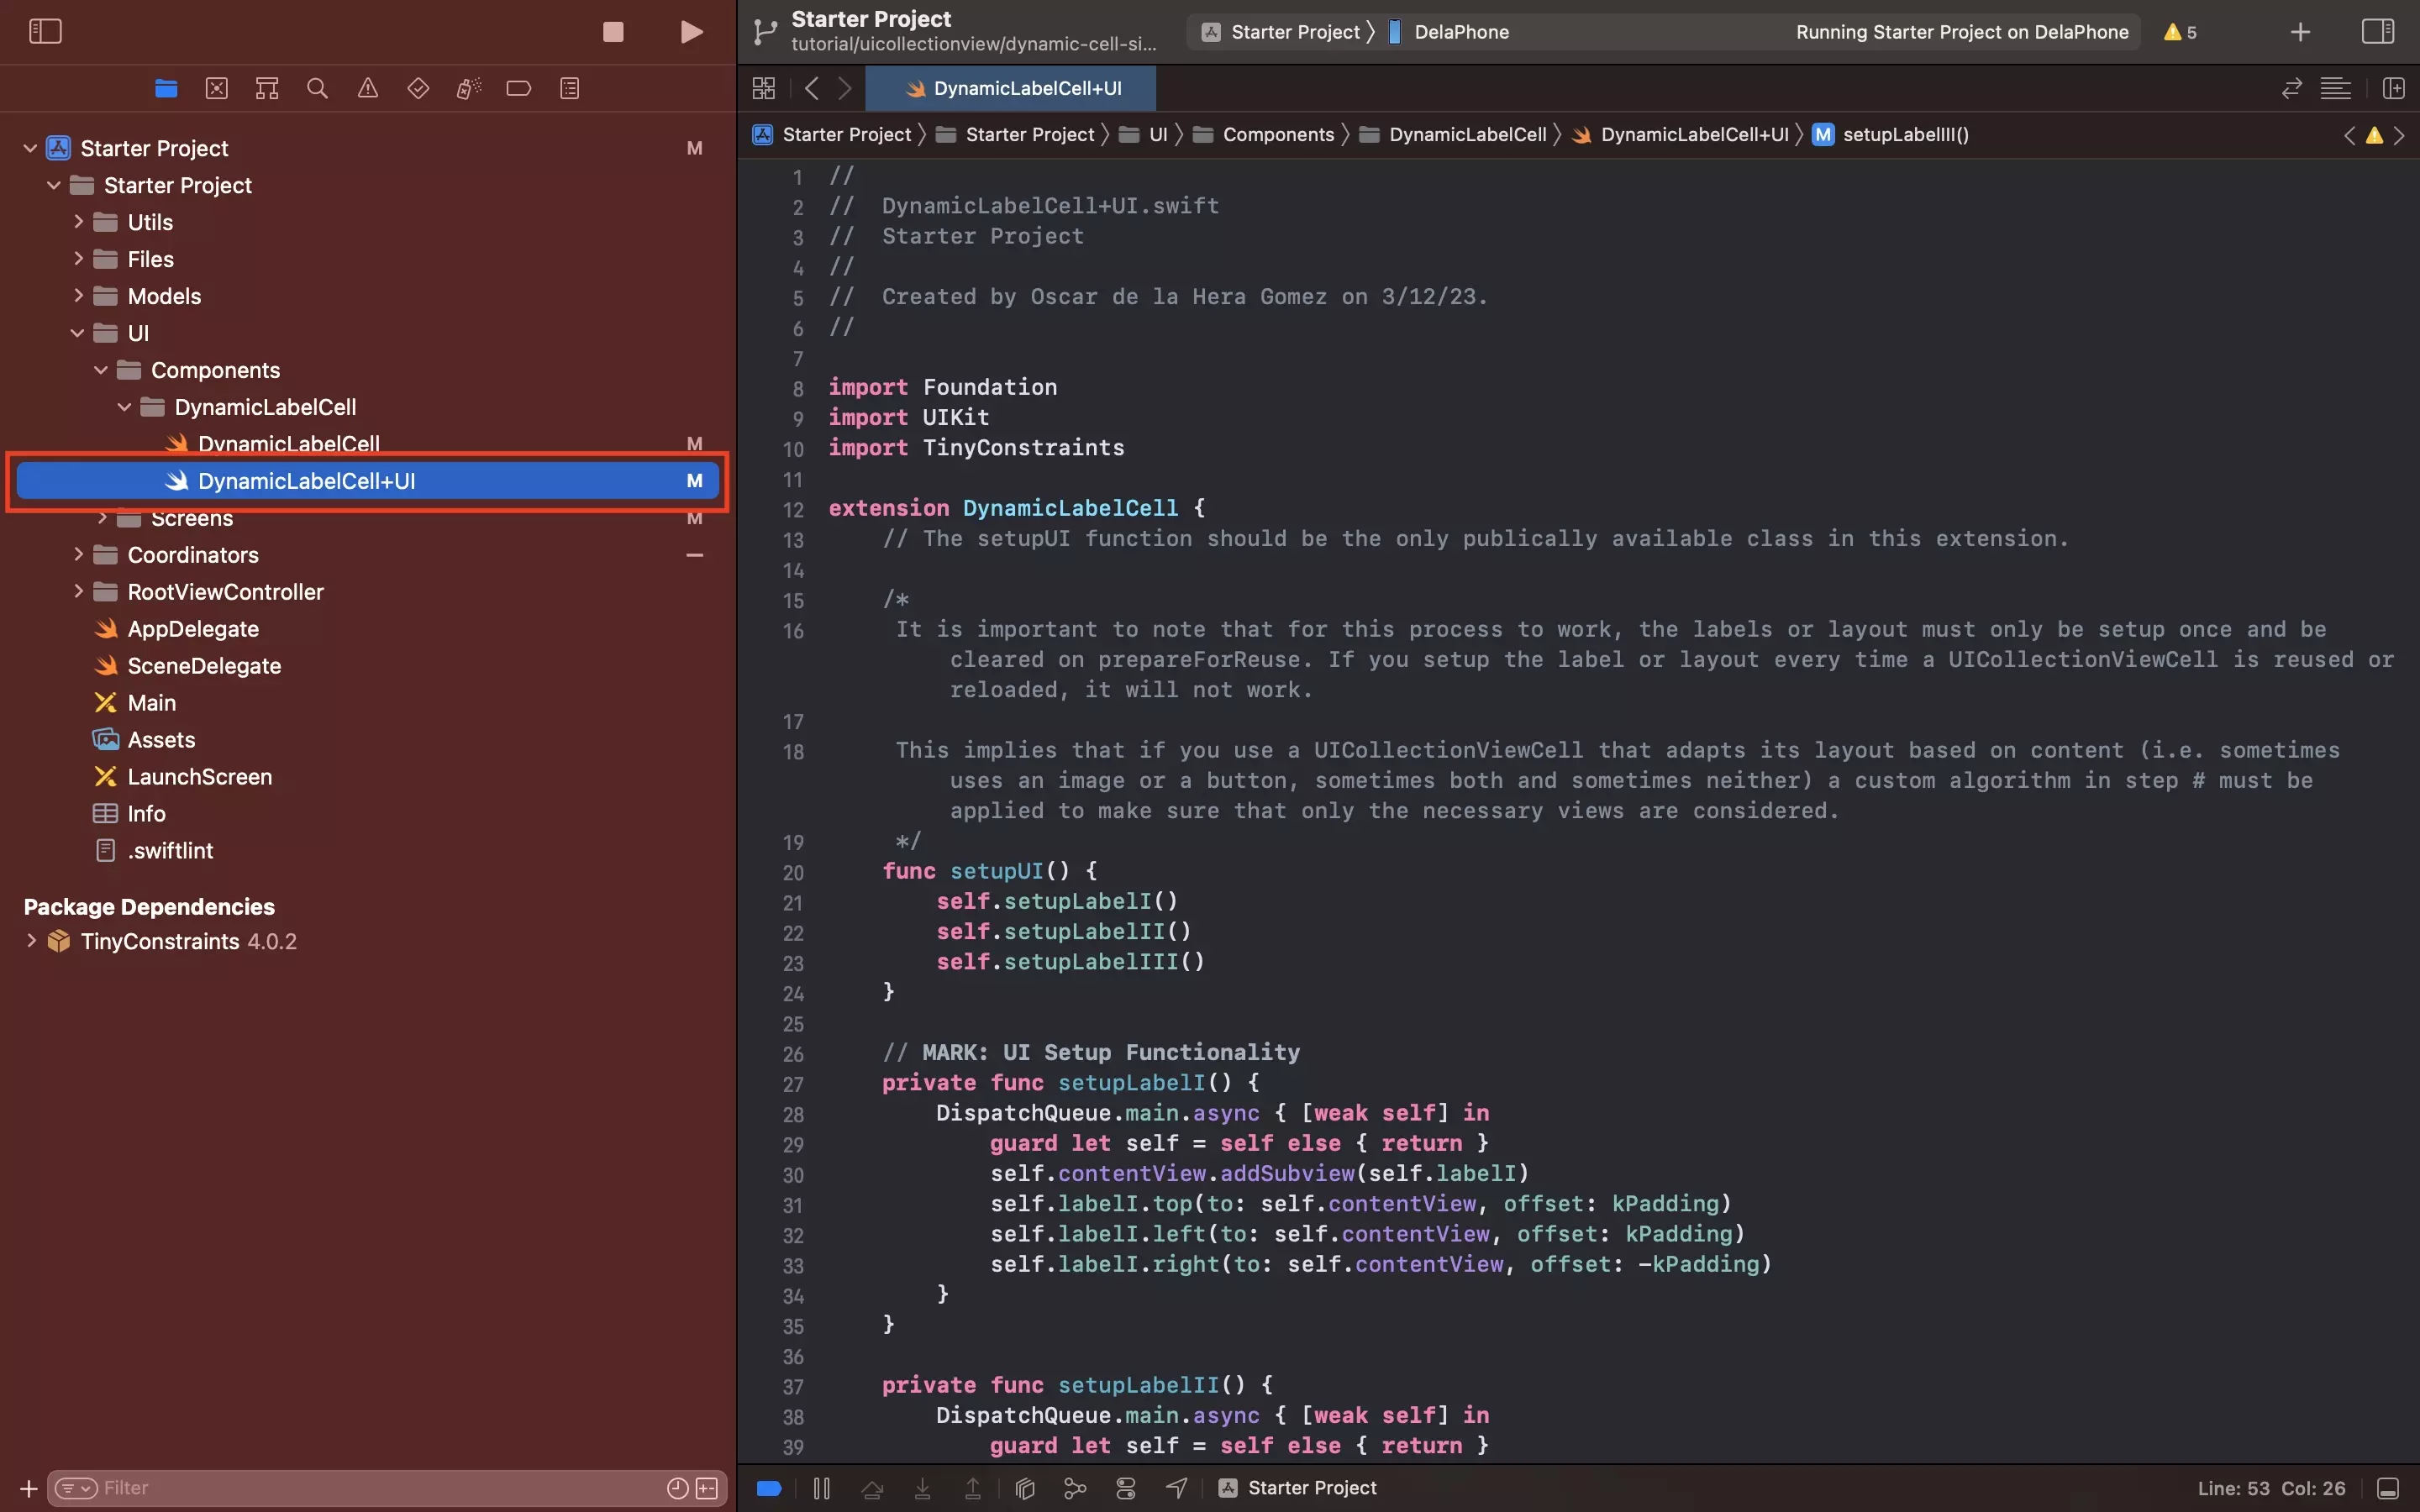
In the newly created DynamicLabelCell folder, create a new file called DynamicLabelCell+UI.swift, and paste in the code below.
Please note that in order for the dynamic sizing to work, at least one piece of content (i.e. an image or a label) must be constrained to the top and bottom of the content view.
C | Create the Update file
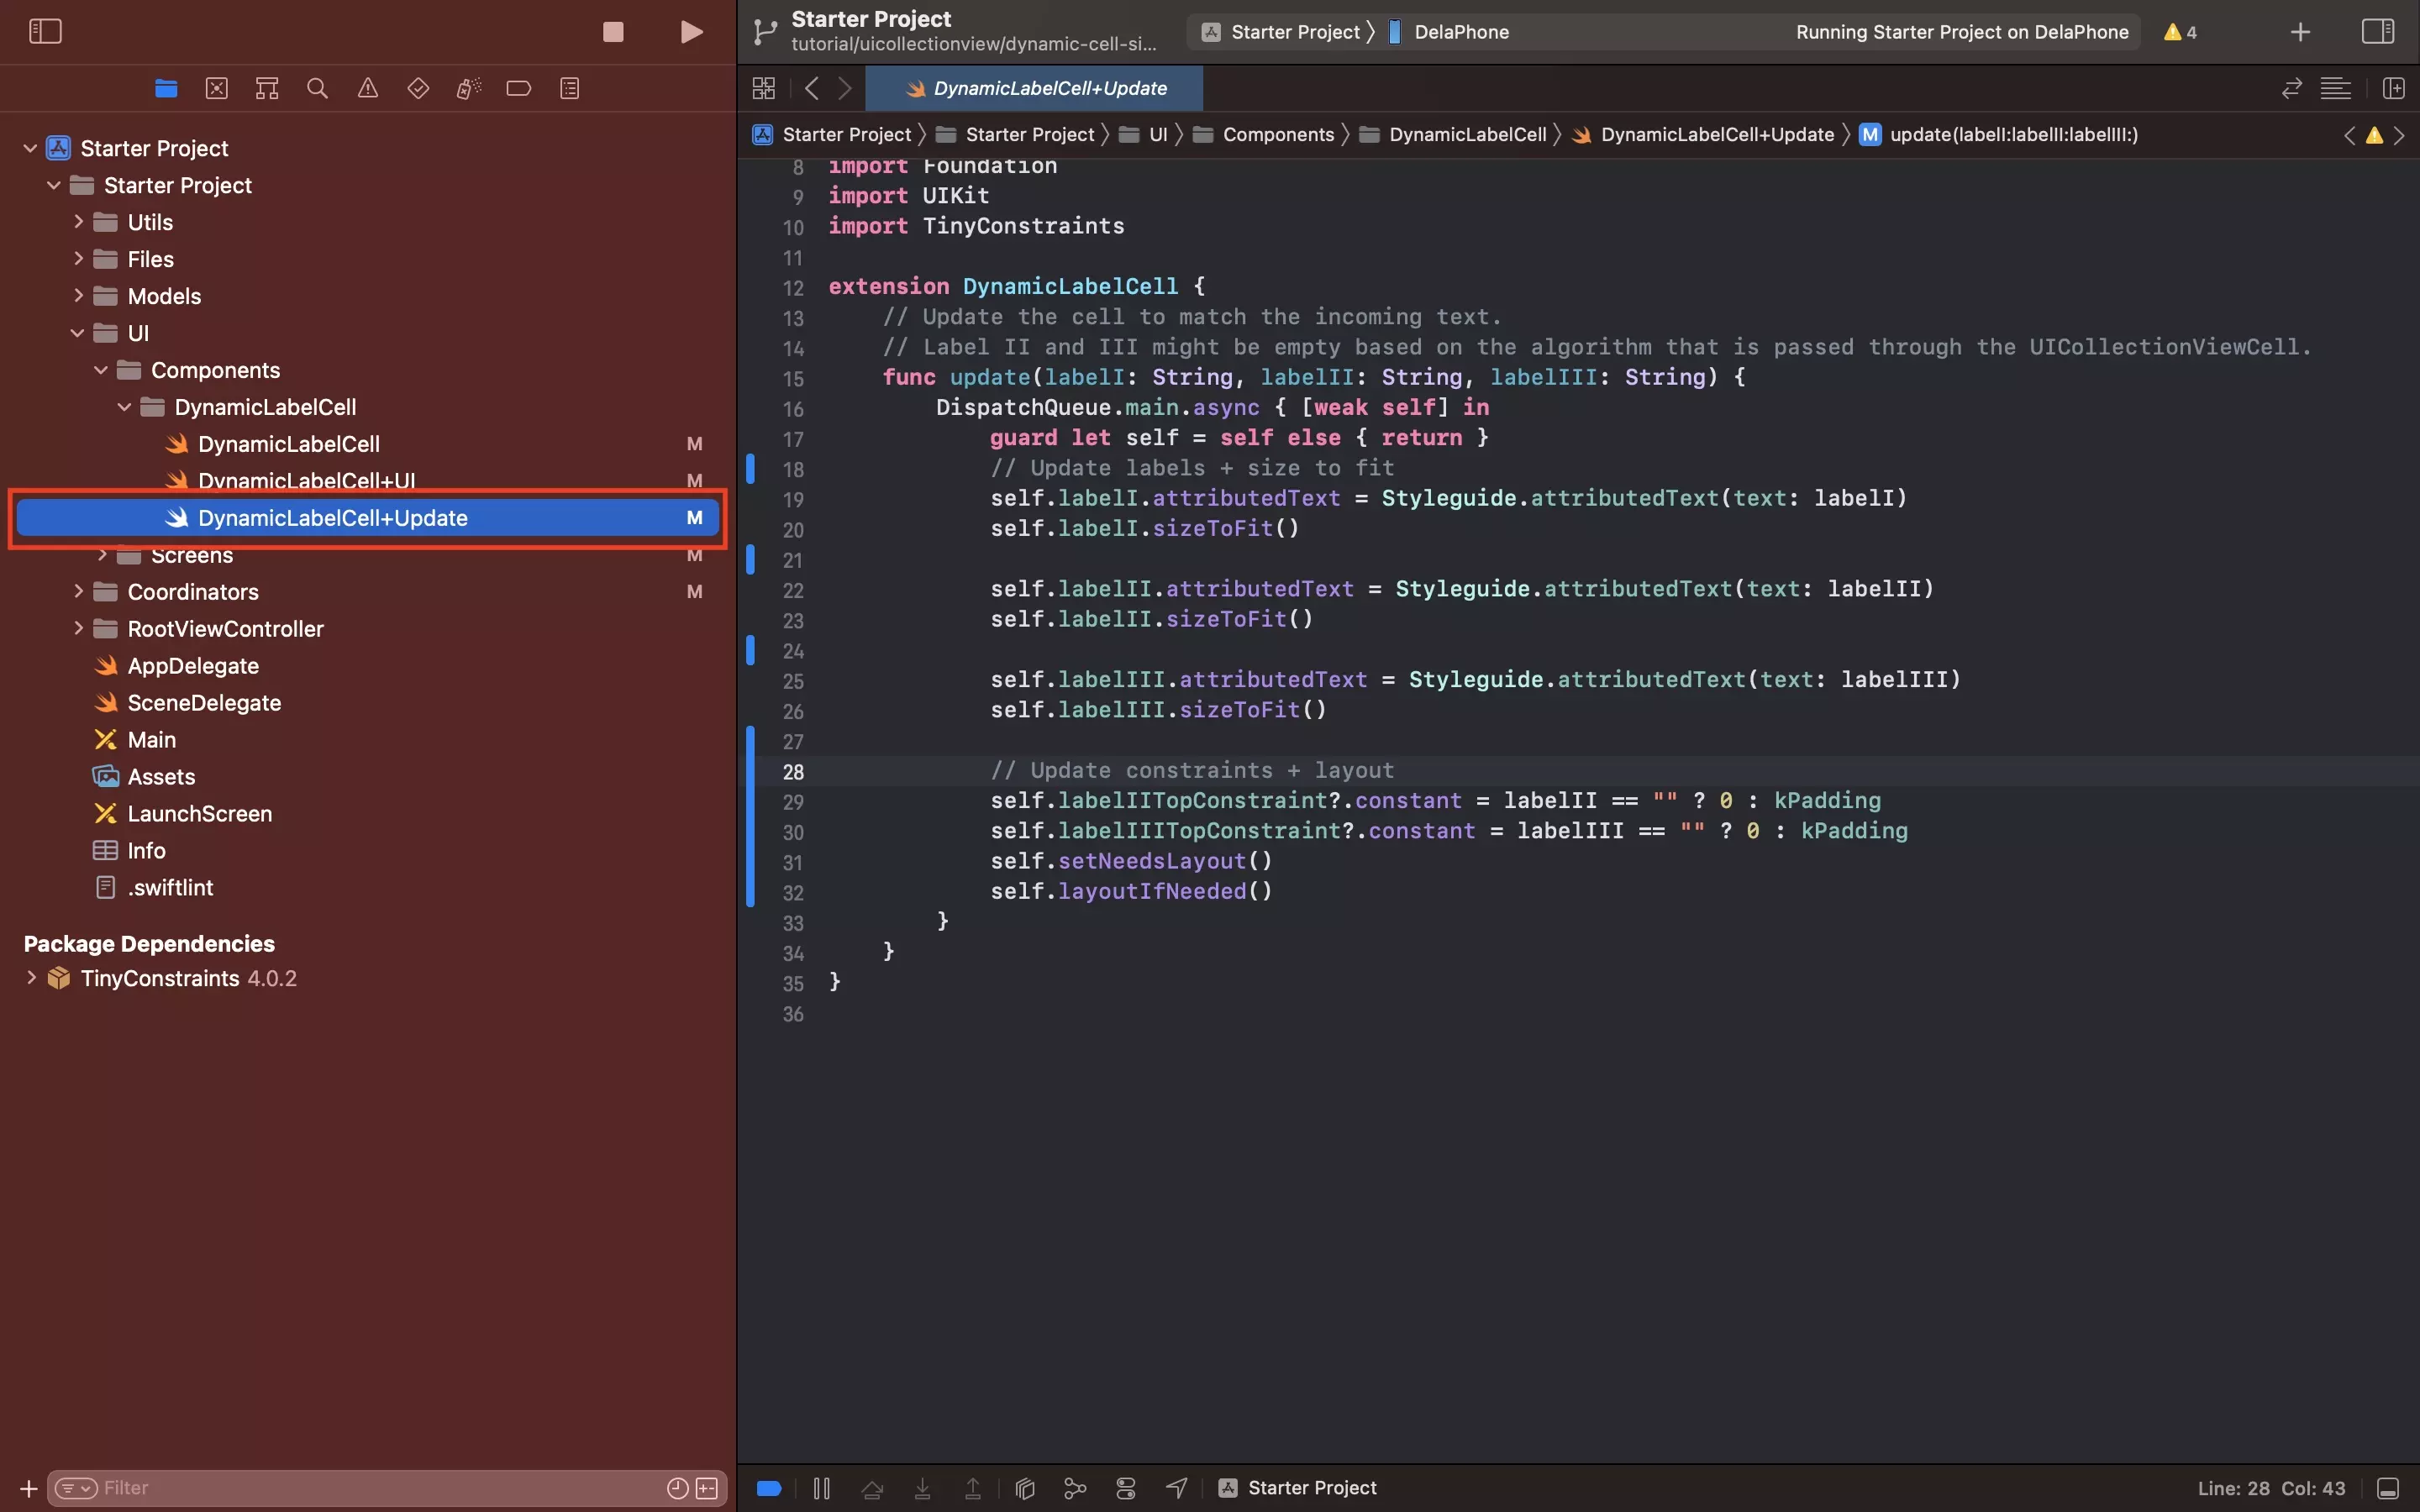
In the newly created DynamicLabelCell folder, create a new file called DynamicLabelCell+Update.swift, and paste in the code below.
Please note that the update function is where we recommend that you adapt the cell to the new content; and alter constraints so that everything looks right.
Step Four: Create the UICollectionView
The following step declares the UICollectionView and associated variables within our CustomUIView and configures the UICollectionView to work with the DynamicLabelCell using a UICollectionViewCompositionalLayout.
For examples of standard, fixed sized data-driven UICollectionViews or a UICollectionView that uses multiple cells within different sections, please consult the articles below.
Please note that we removed all UILabel functionality from the CustomUIView and the removal of that functionality is not documented in this tutorial.
A | Declare the UICollectionView, sections and data source

In CustomUIView.swift, declare the UICollectionView, sections and data source using the code below.
Make sure that you call configureDataSource, in the init(frame: CGRect) function. The configureDataSource function will be created in part C of this step.
B | Setup the UI
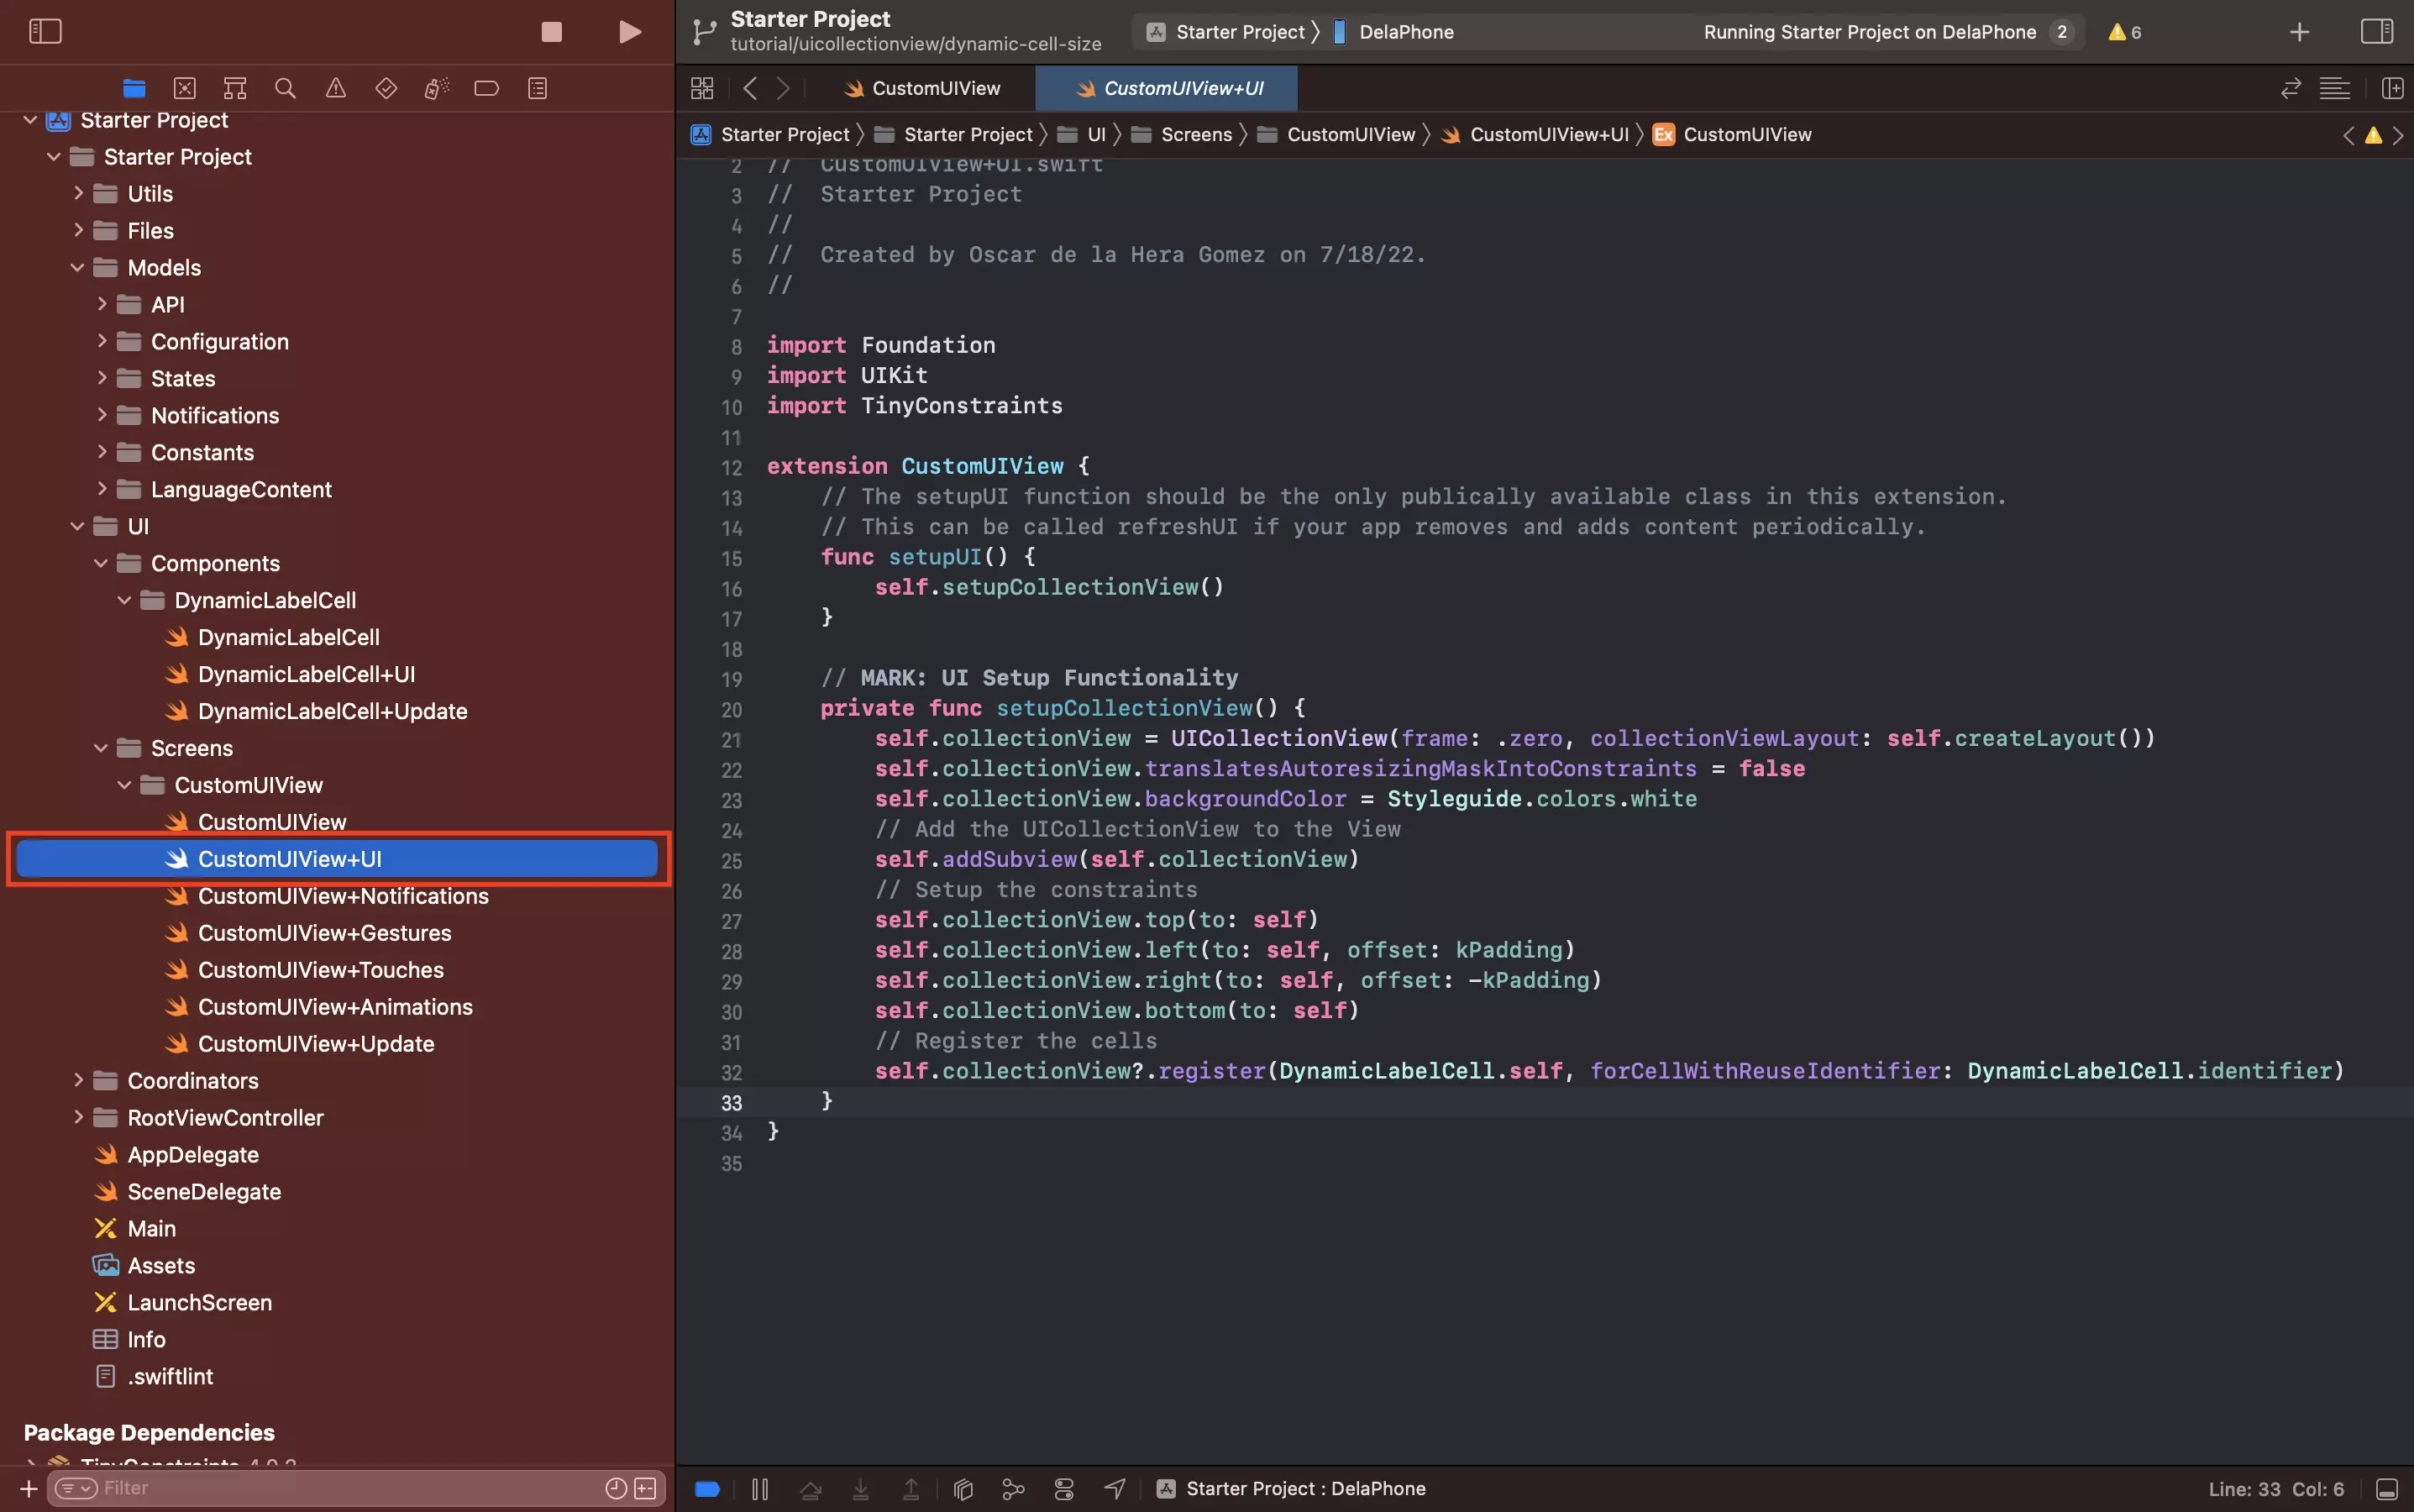
In CustomUIView+UI.swift setup the UICollectionView.
Sample code on how to achieve this is available below.
Please note that the setupCollectionView cannot be wrapped in a DispatchQueue.main.async as it will cause the configureDataSource to crash due to the collectionView being unwrapped as nil.
Additionally, we choose to register the cells in this step but we have since learned that the registration of cells is not necessary in UICollectionViewCompositionalLayouts.
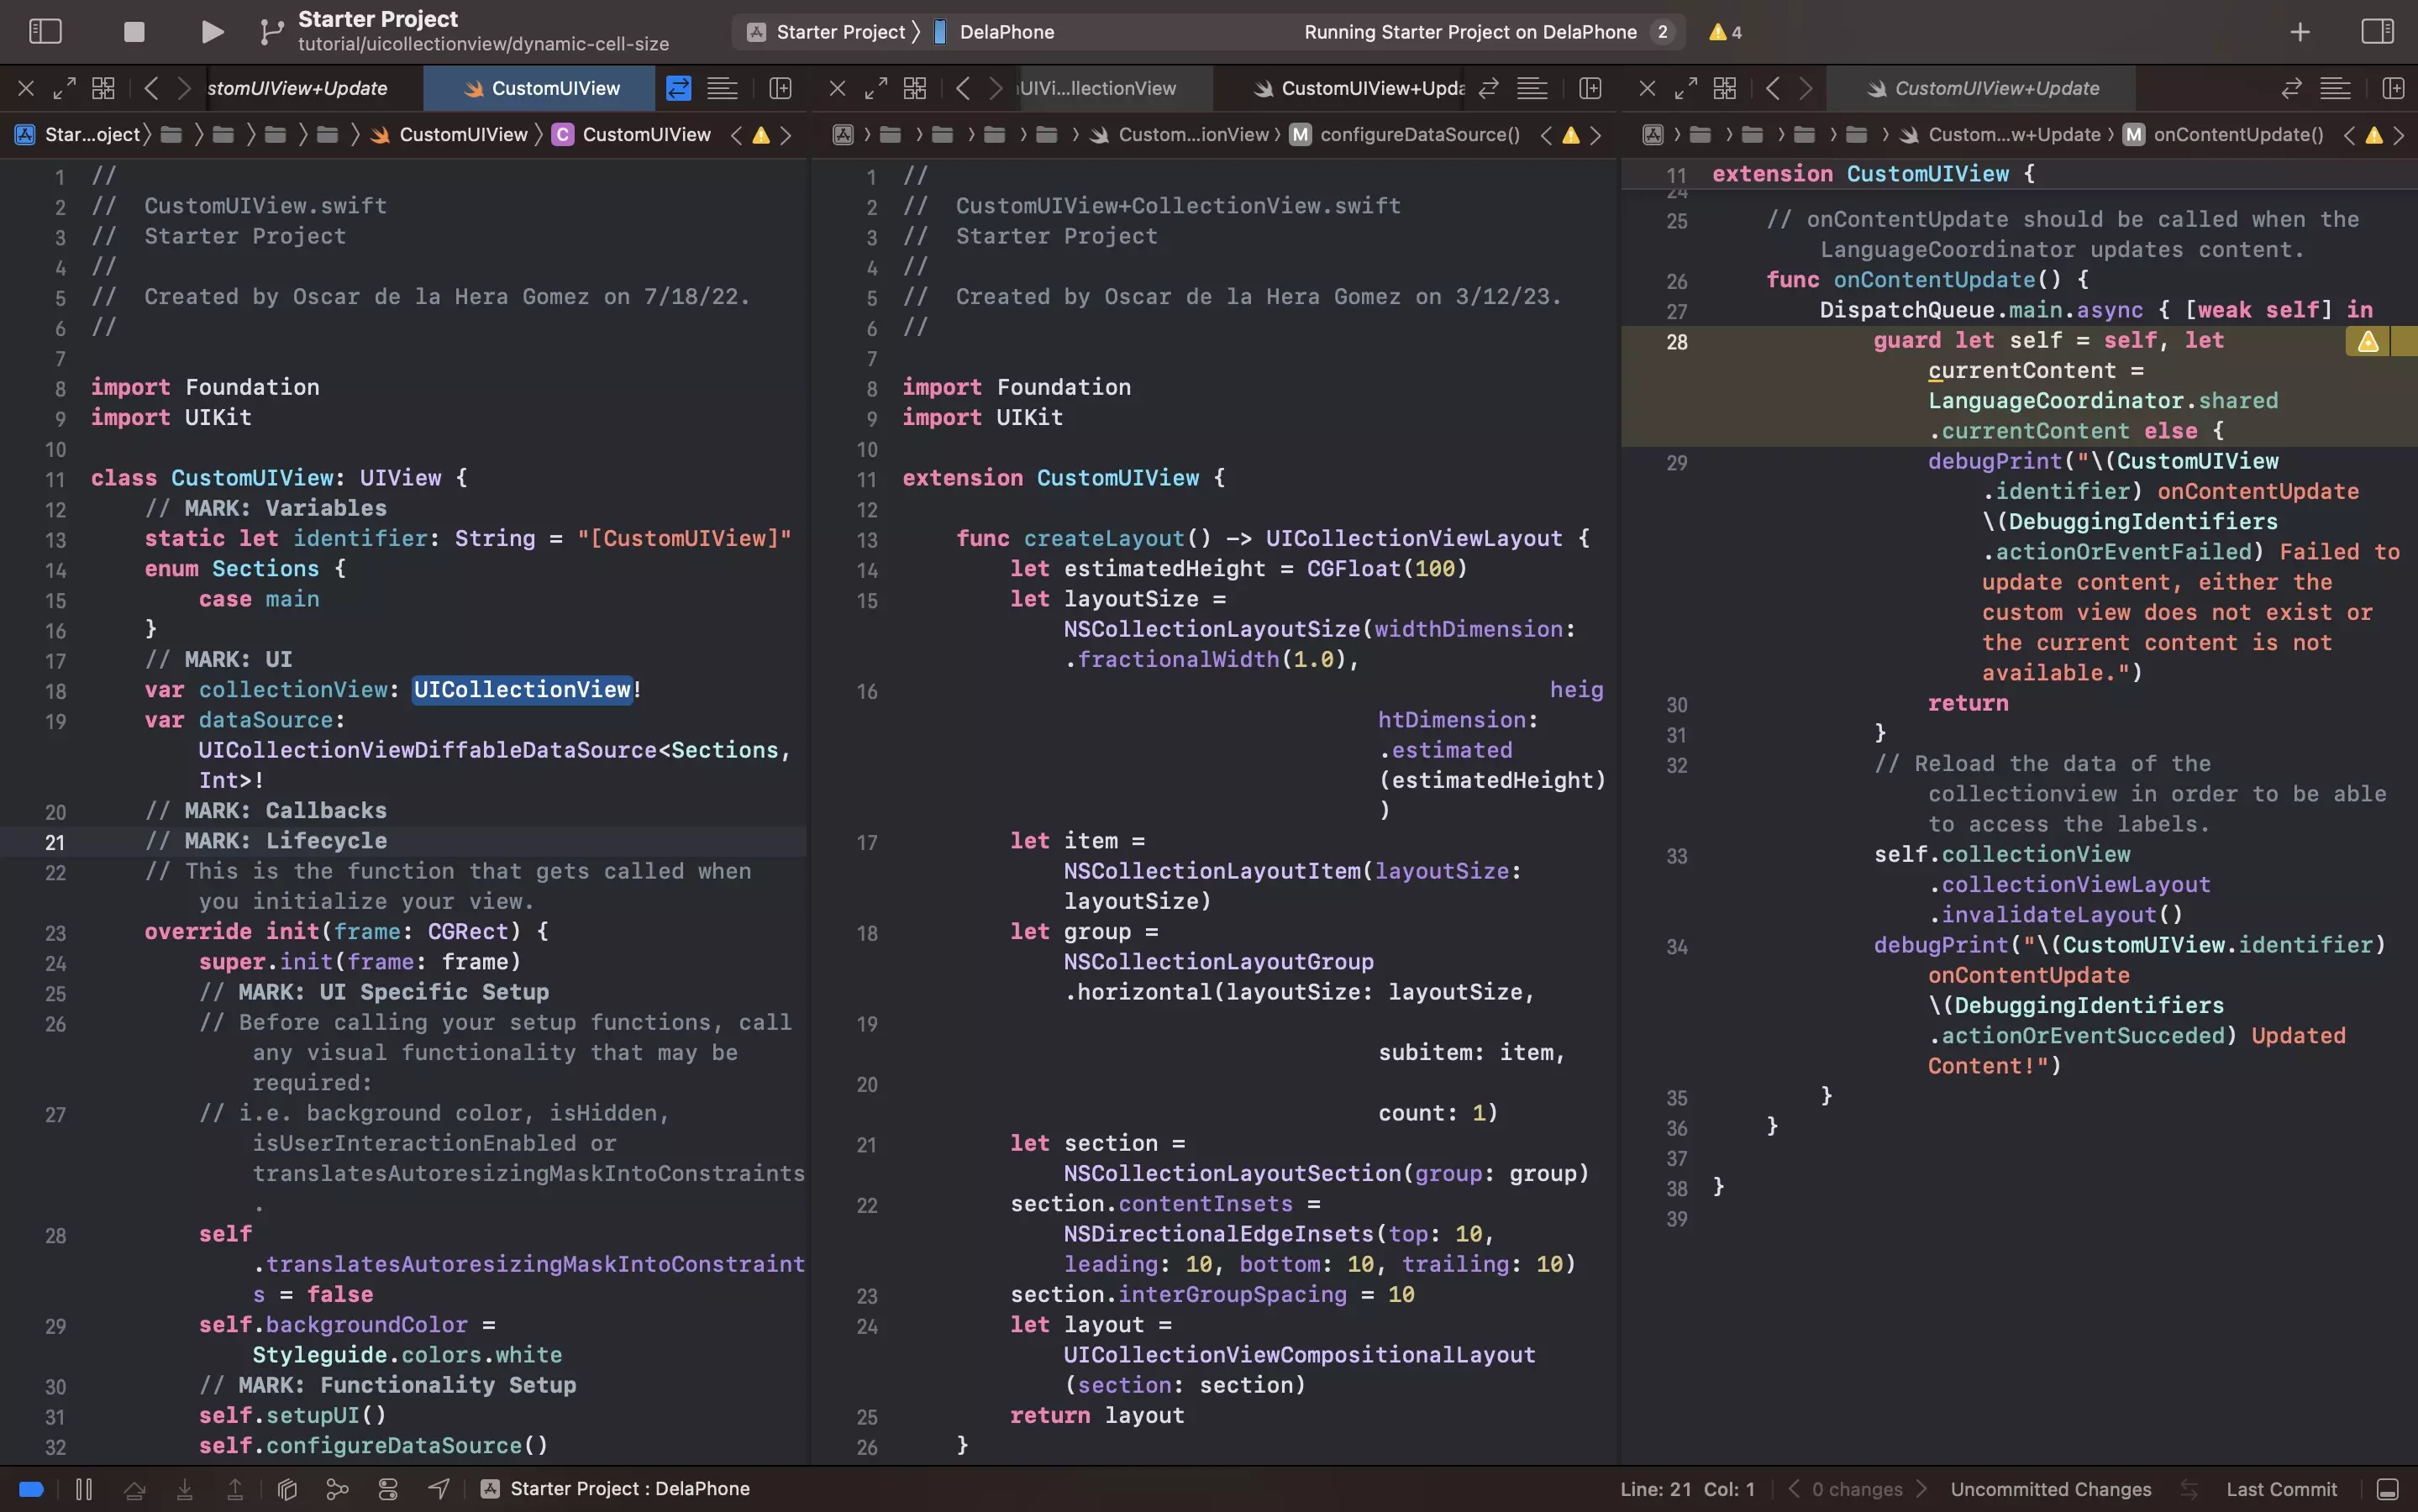
C | Create the UICollectionView Extension
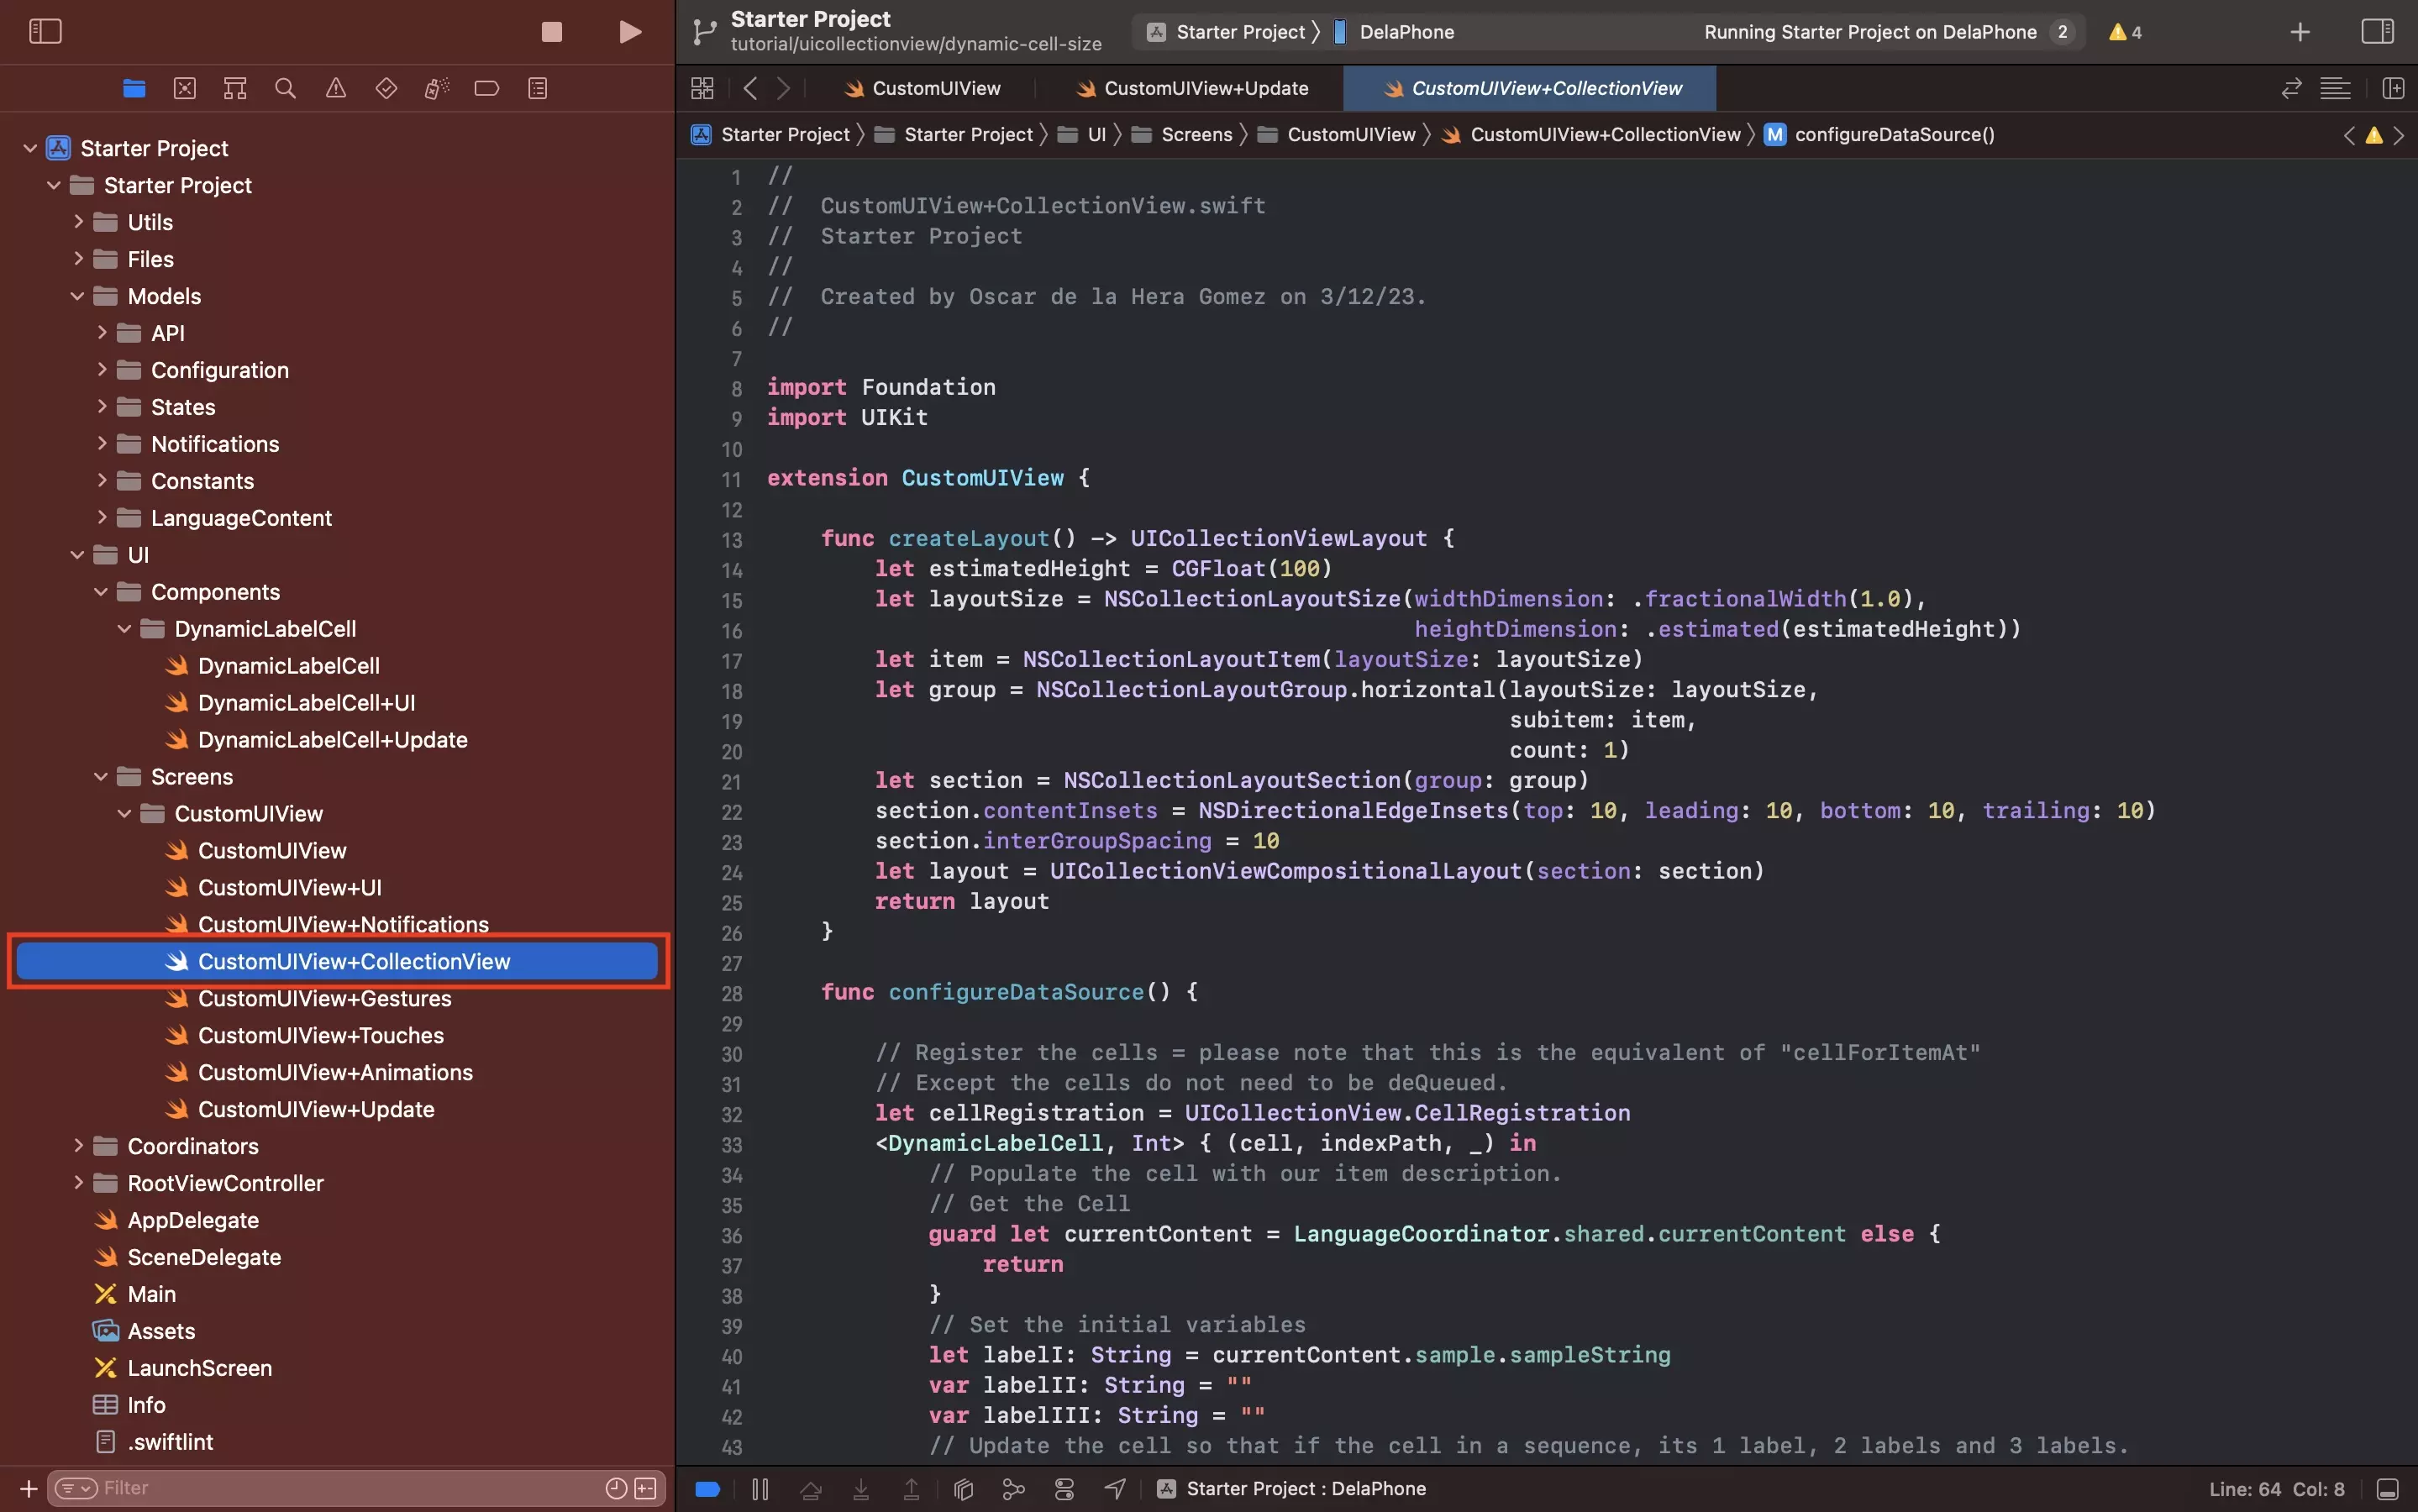
In the CustomUIView folder, create a new file CustomUIView+CollectionView.swift and paste in the code below.
- The createLayout function is consumed by the UICollectionView when we set it up the UI extension and is responsible for dictating the size of the UICollectionViewCells and the way they are laid out. In this example, the layout takes in an estimated height - which will adapt based on the content. Please note that this estimated height should neither be too big or too small.
- The configureDataSource function is responsible for creating the data source for the UICollectionView, determining how the cells update in the UICollectionView and creating a link between the data source and the UICollectionView.
For a tutorial on creating a UICompositionalLayout that uses multiple sections and UICollectionViewCells, consult the article below.
For more information on Compositional Layouts, consult the article below.
Step Five: Invalidate the layout
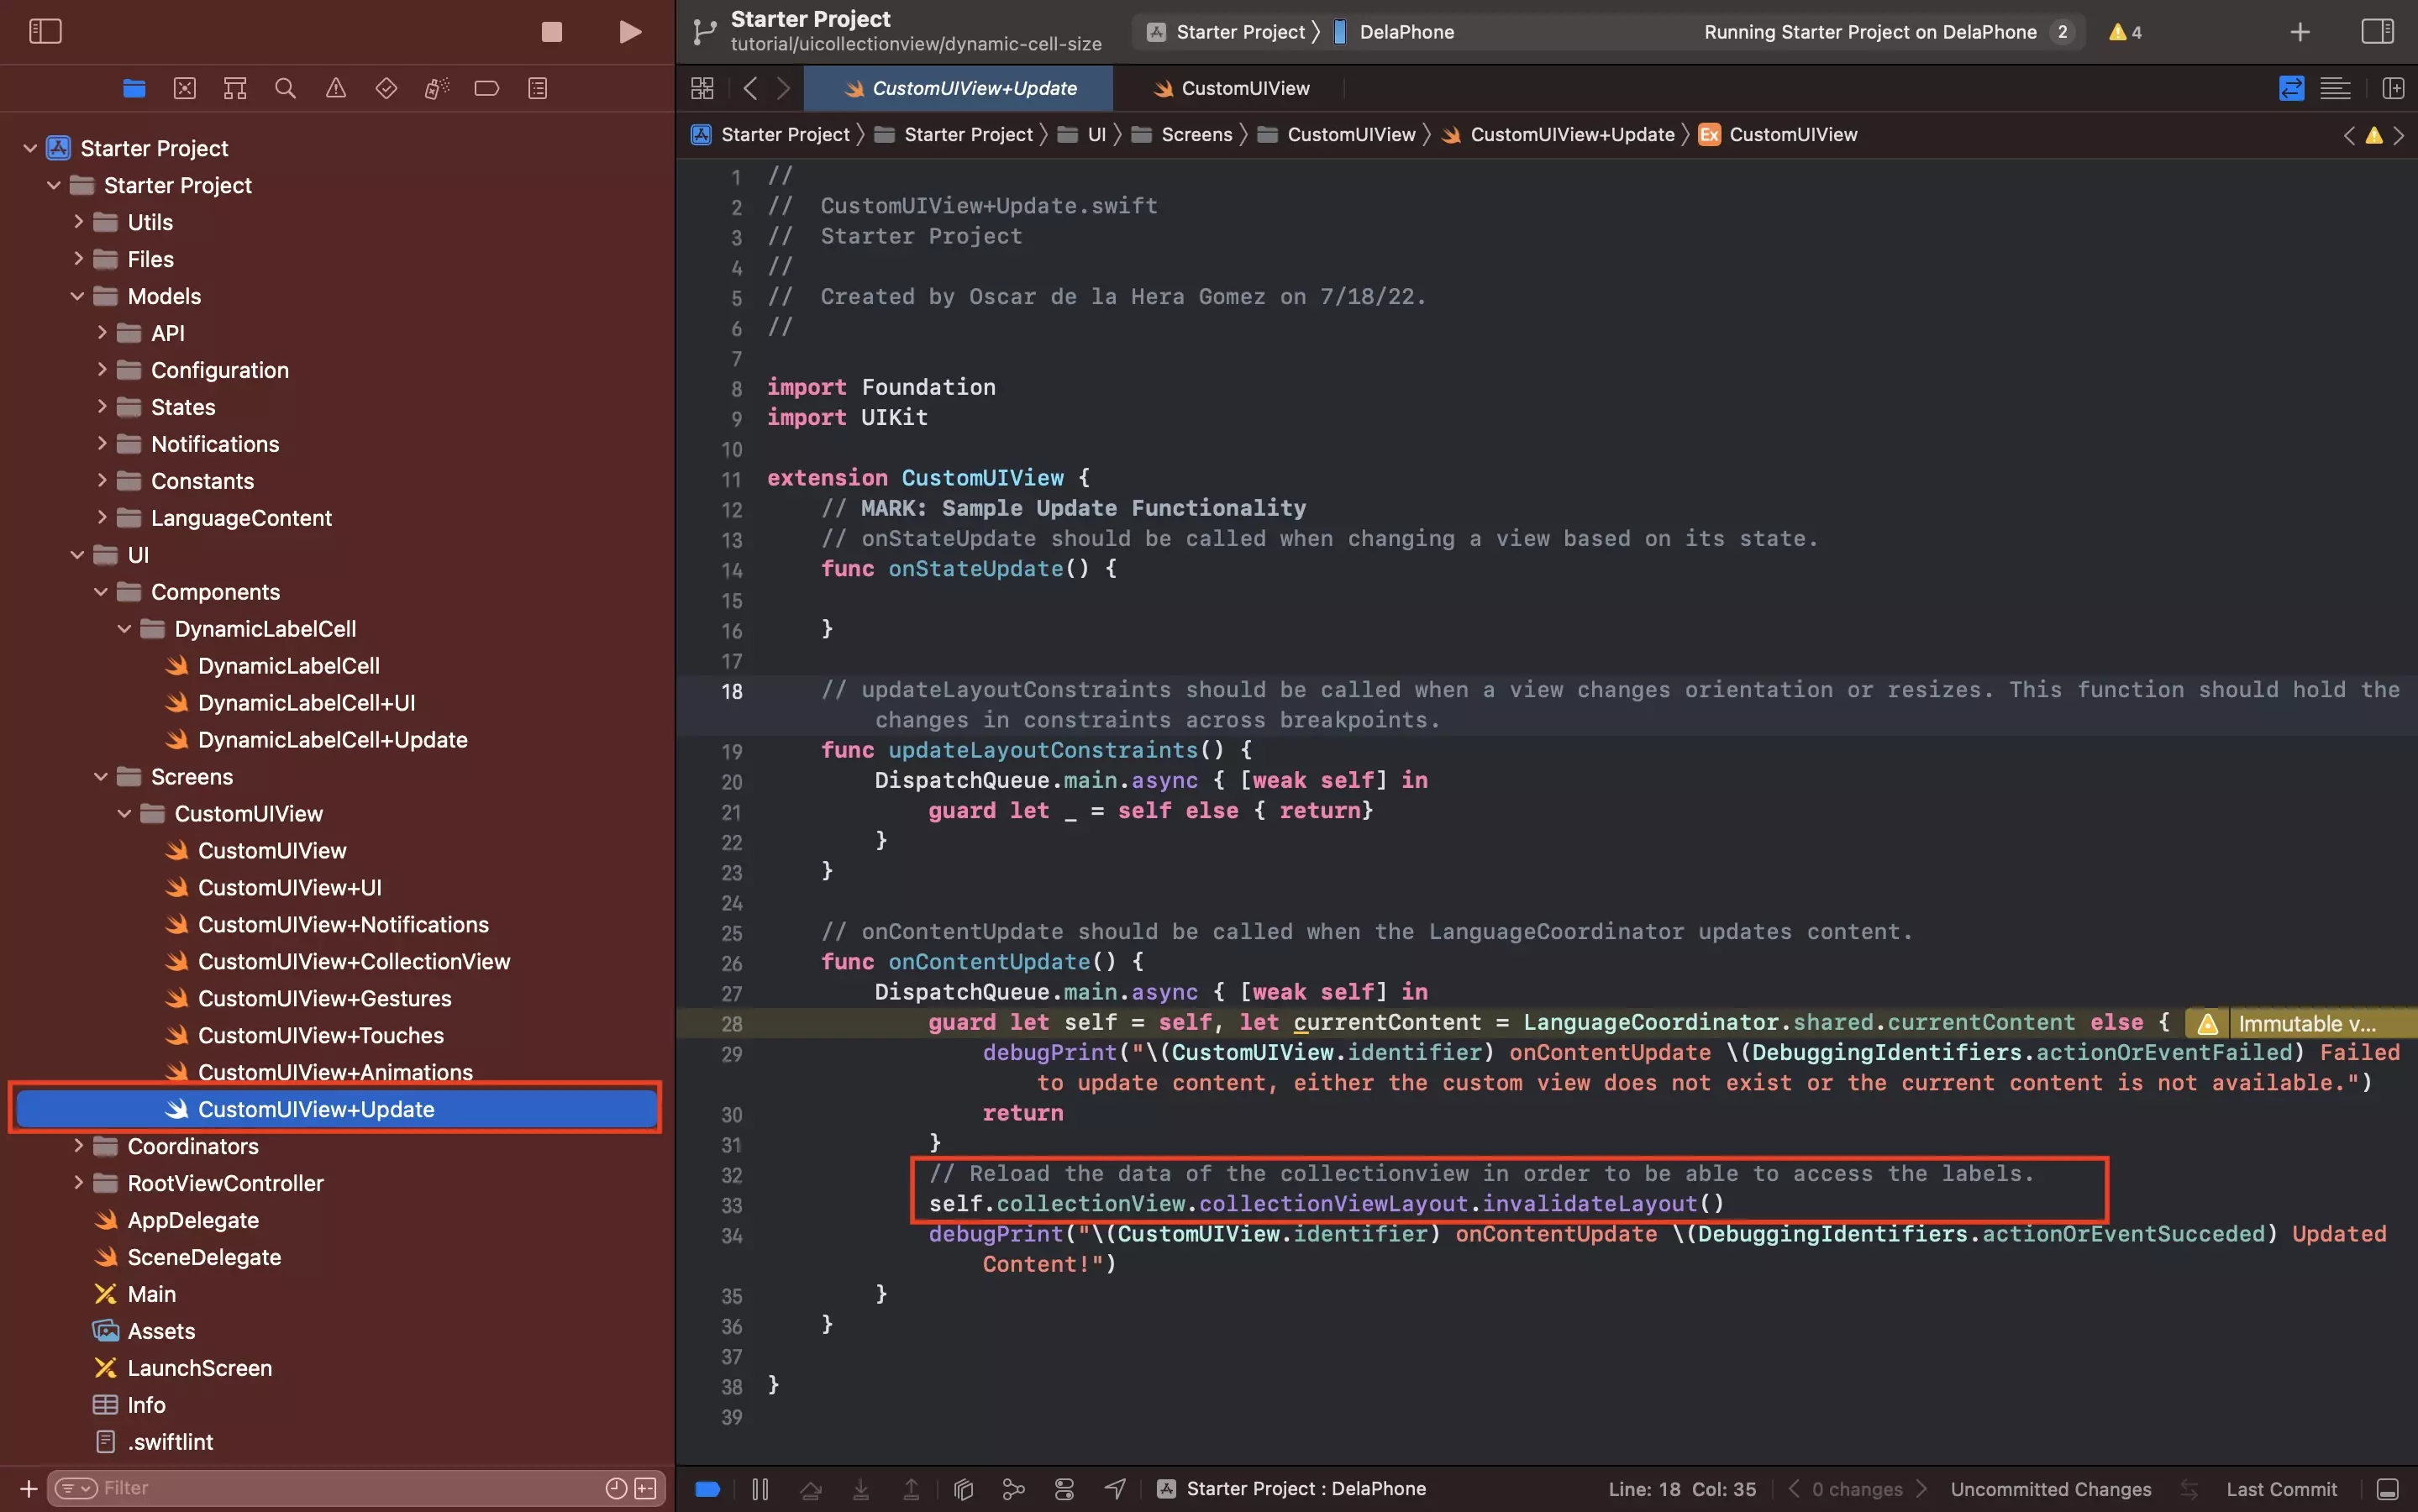
In order for the algorithm to work, the UICollectionView must reload its data when the content updates.
To do this invalidate the layout in the onContentUpdate function in CustomUIView+Update.swift through code similar to the one provided below.
self.collectionView.collectionViewLayout.invalidateLayout()Step Six: Verify
Run the app and you will see that the UICollectionView cells adapt to the size of the content, in English and Spanish; and in any orientation of your liking.